The Conversation (0)
Sign Up
First you want to download ArtRage for iPad. It's a $5 download from the App Store.

I recommend using a stylus for iPad painting but you can get away without one. For this exercise I used Pencil by 53.
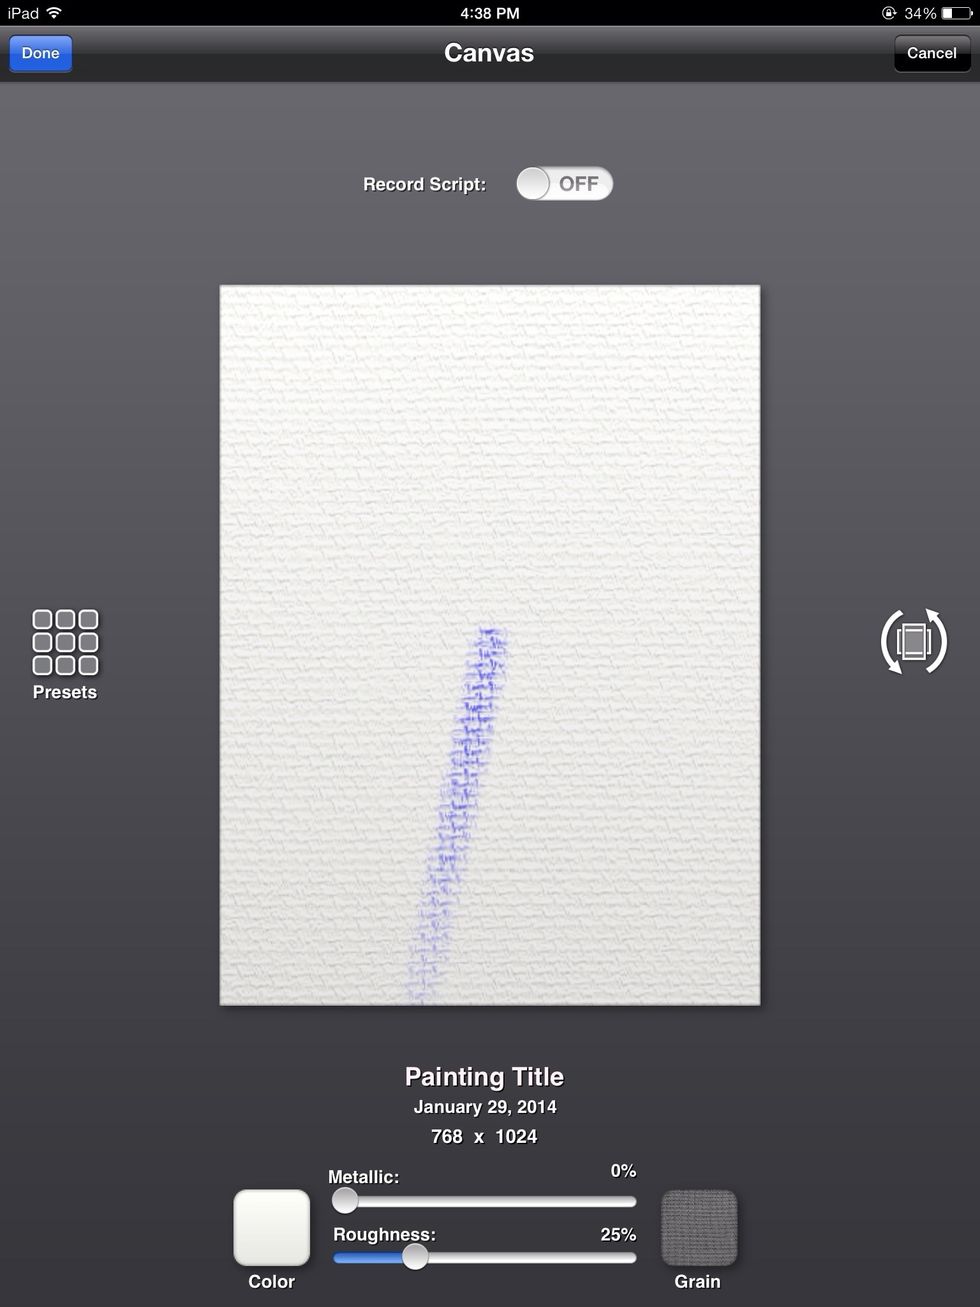
First you create a new canvas.

Next you pick your canvas from the menu.
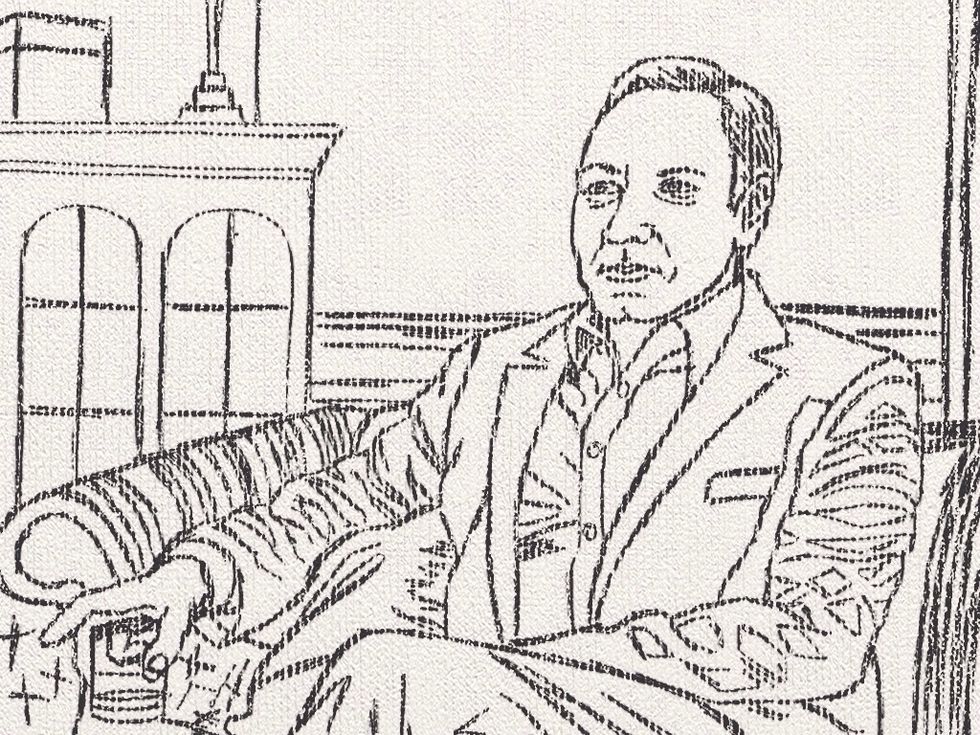
First I start by selected the pencil tool and sketch out the figure.
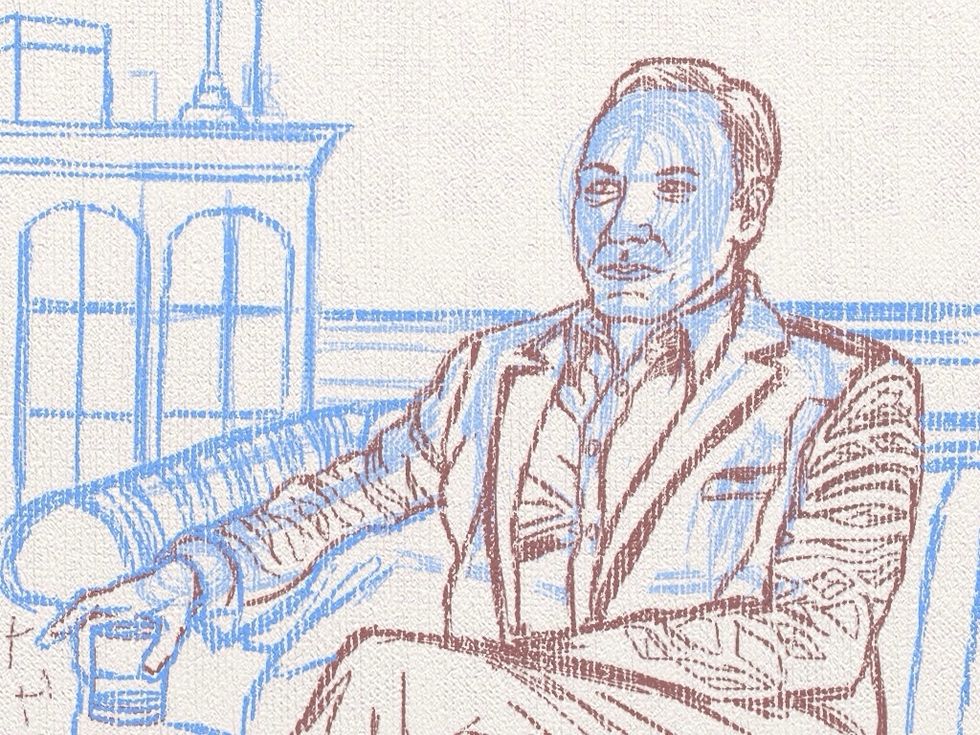
Here's the basic sketch with details starting to form. A pale red sketch goes over the blue for the detail work.

Another graphite like sketch is done to check the anatomy.
Now I delete the bottom two layers. Only my bottom sketch remains.
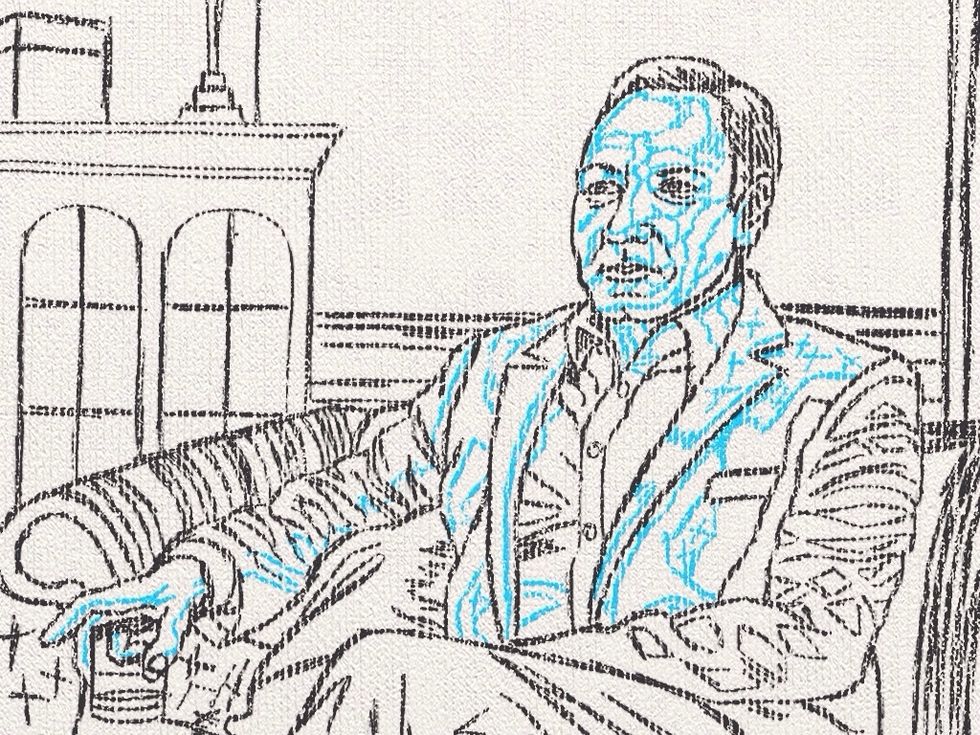
Before I paint I block out the shapes of the face and jacket because it makes painting easier. When I paint I see shapes not color. The Xs mean that it's black.
Now I block in the face (on a new layer) using my shapes as a guide.
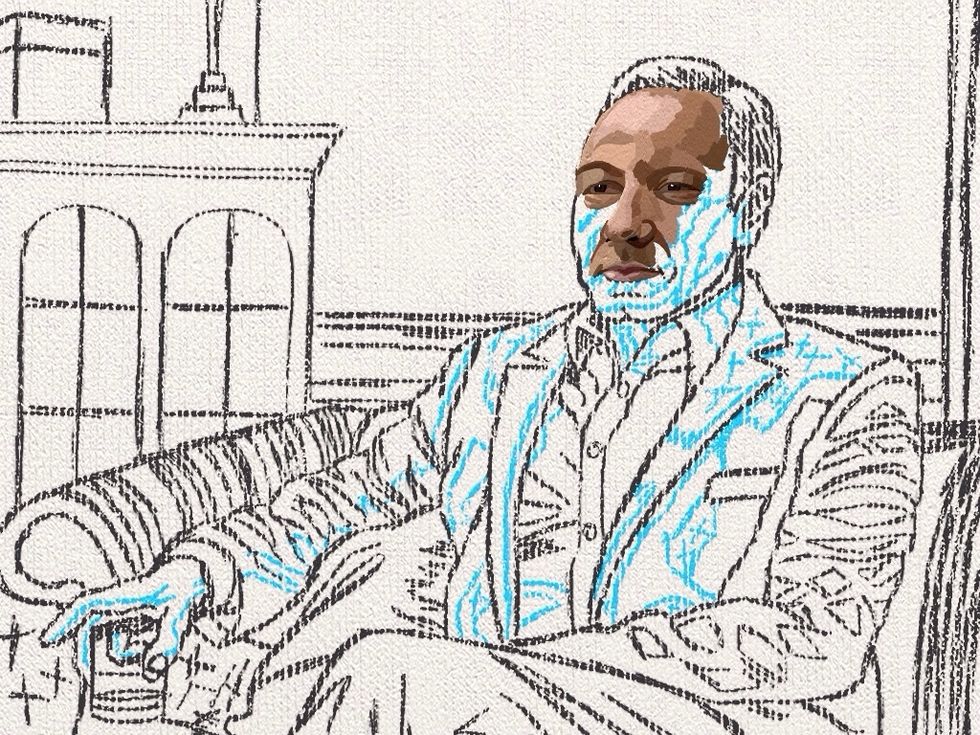
Here's the rendered face with the collar of the shirt. I'm going for an unblended yet realistic approach unlike the first part of this guide.
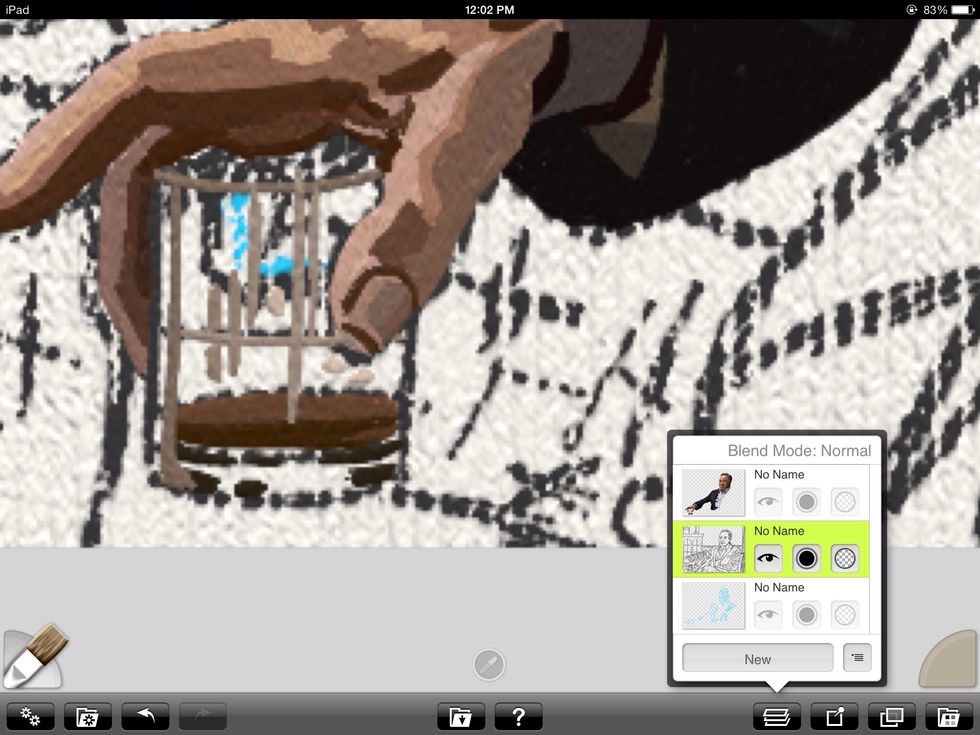
Here's a close up of the hand and his drink. Details are important. Below are my layers.
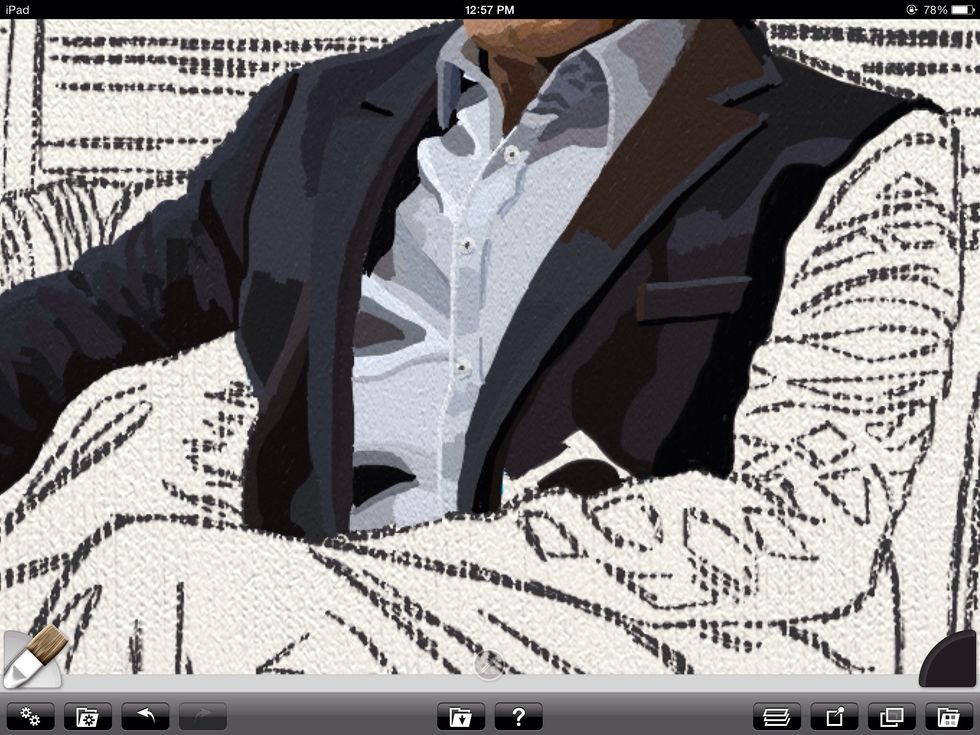
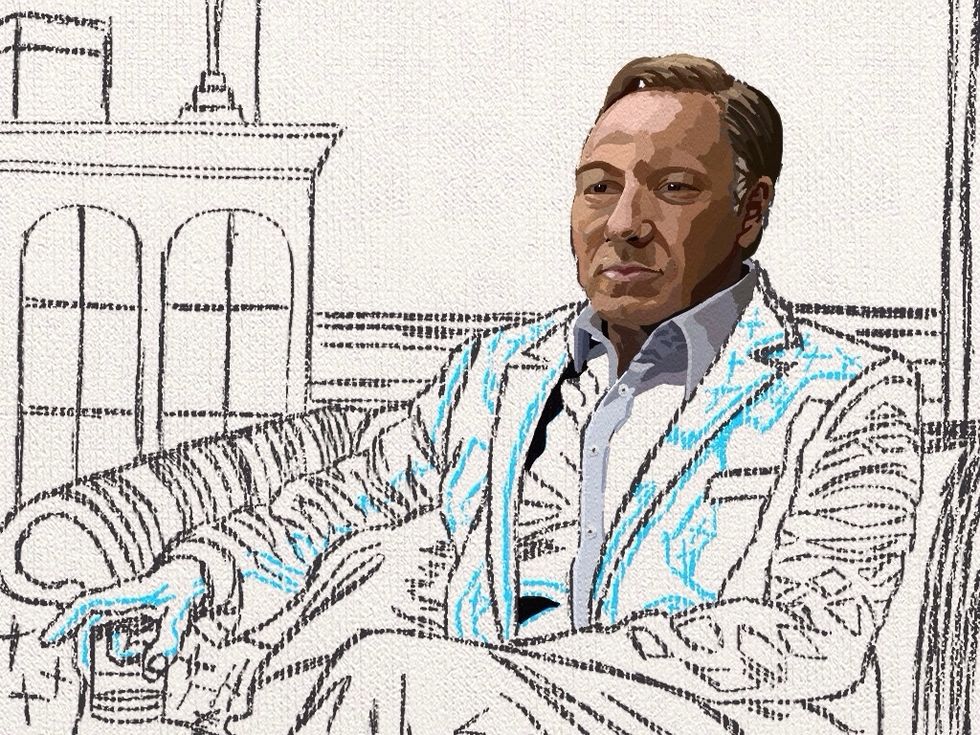
Now it's time to paint the jacket. It's paramount to remember the light source and let that guide the painting. Consistency helps achieve realism.
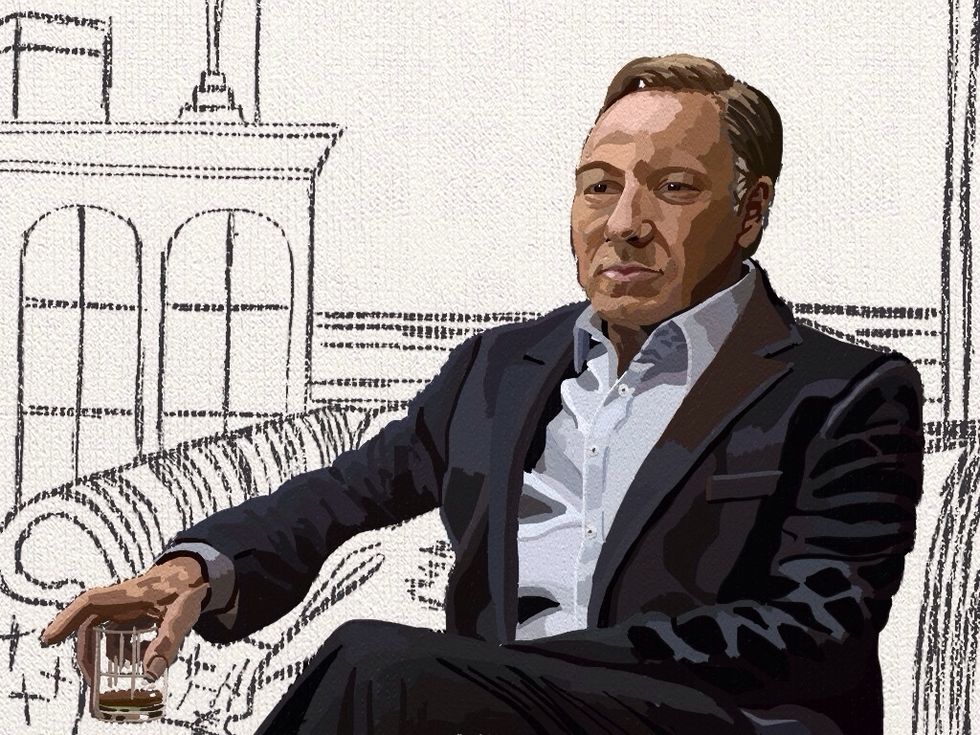
Here's the finished Frank Underwood. (Kevin Spacey) I create a new background layer so I can paint the furniture and the room.
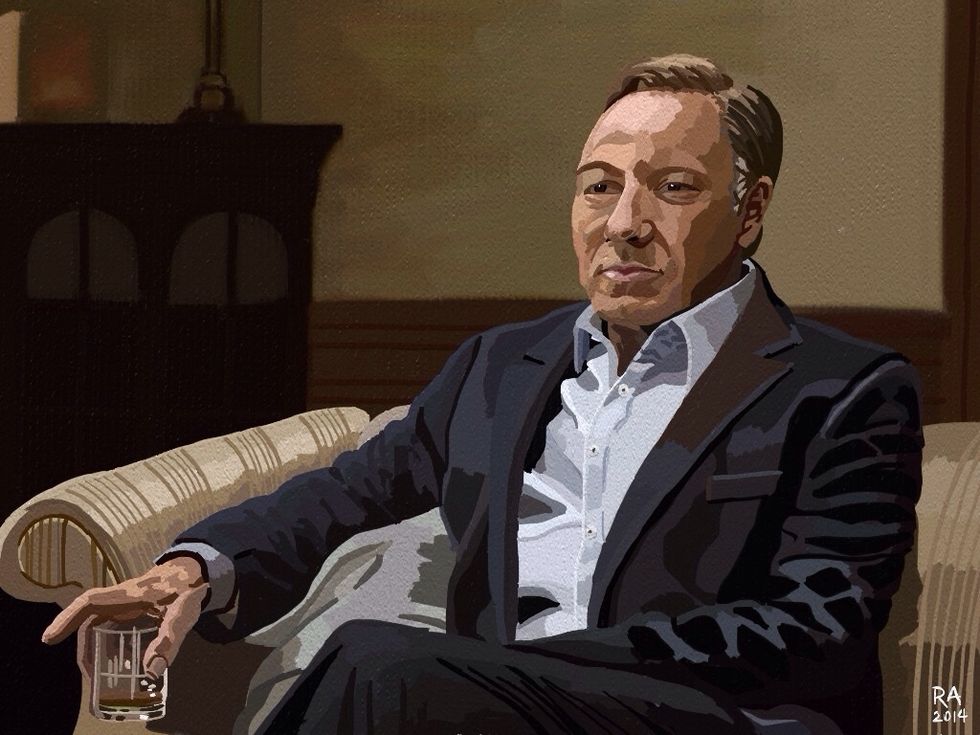
After painting the background I use the palette knife to smear and blur the paint. This helps make the figure the point of focus. (pun intended) I sign the work and export it to my photos.

Hope you enjoyed the guide! Please feel free to ask questions and give feedback. Visit http://raheemnelson.com to see more work.