The Conversation (0)
Sign Up
First you want to download ArtRage for iPad from the App Store. It's a five dollar app. Keep in mind this app can push your iPad to it's limits. I recommend closing all apps that before using.
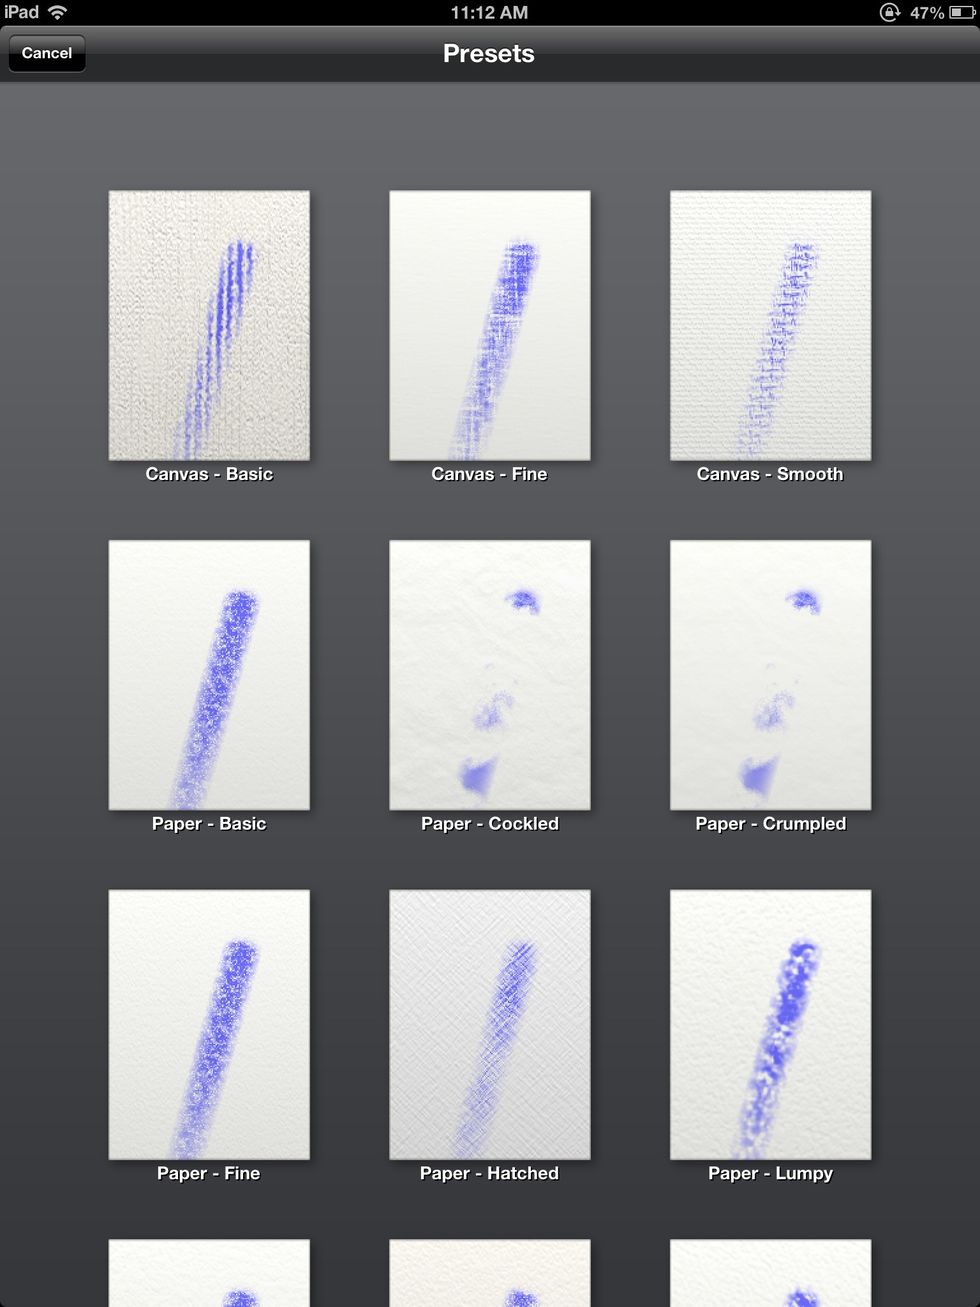
Once you open it, start a new canvas and pick your settings. Keep in mind each canvas has different properties. For this painting I choose a smooth canvas. It'll absorb the paint and blend easily.
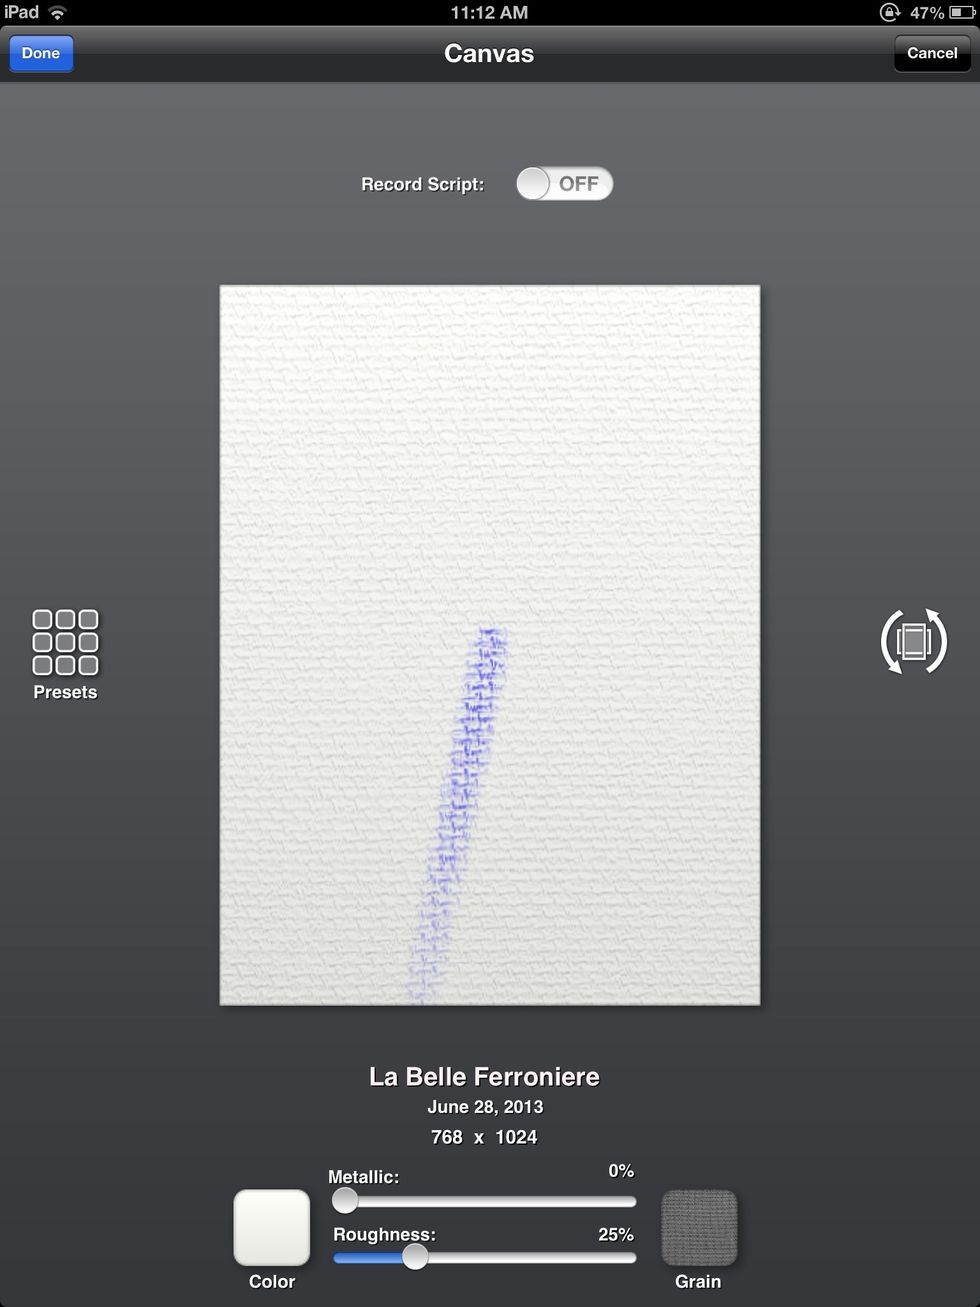
Here's a full size look. Now you confirm and you can start working.
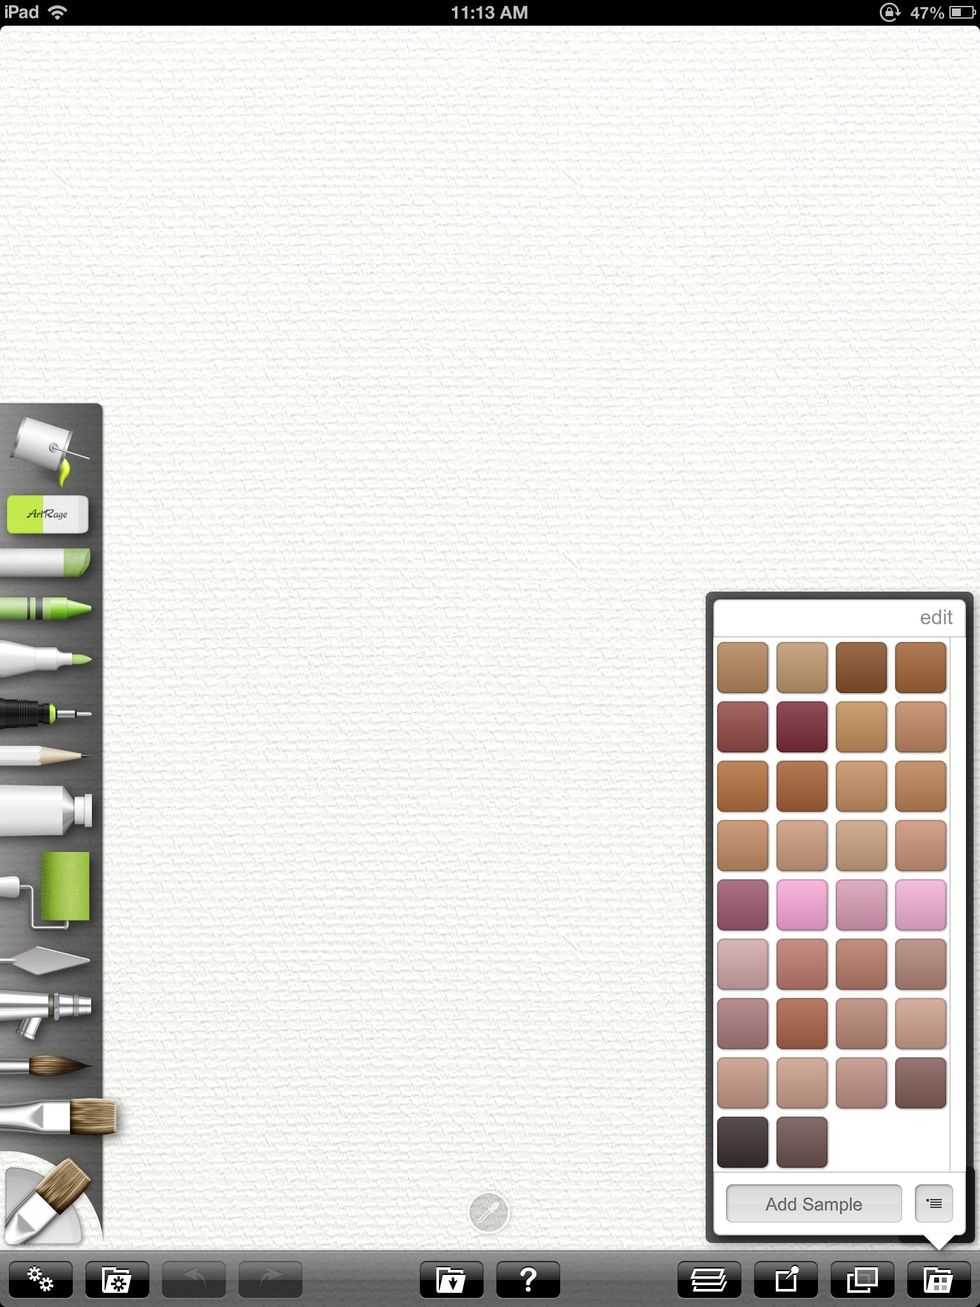
As I mentioned I will be using oils. You select your tools from the left. On the left are the colors that I already picked from my reference photo. I'll show that later.
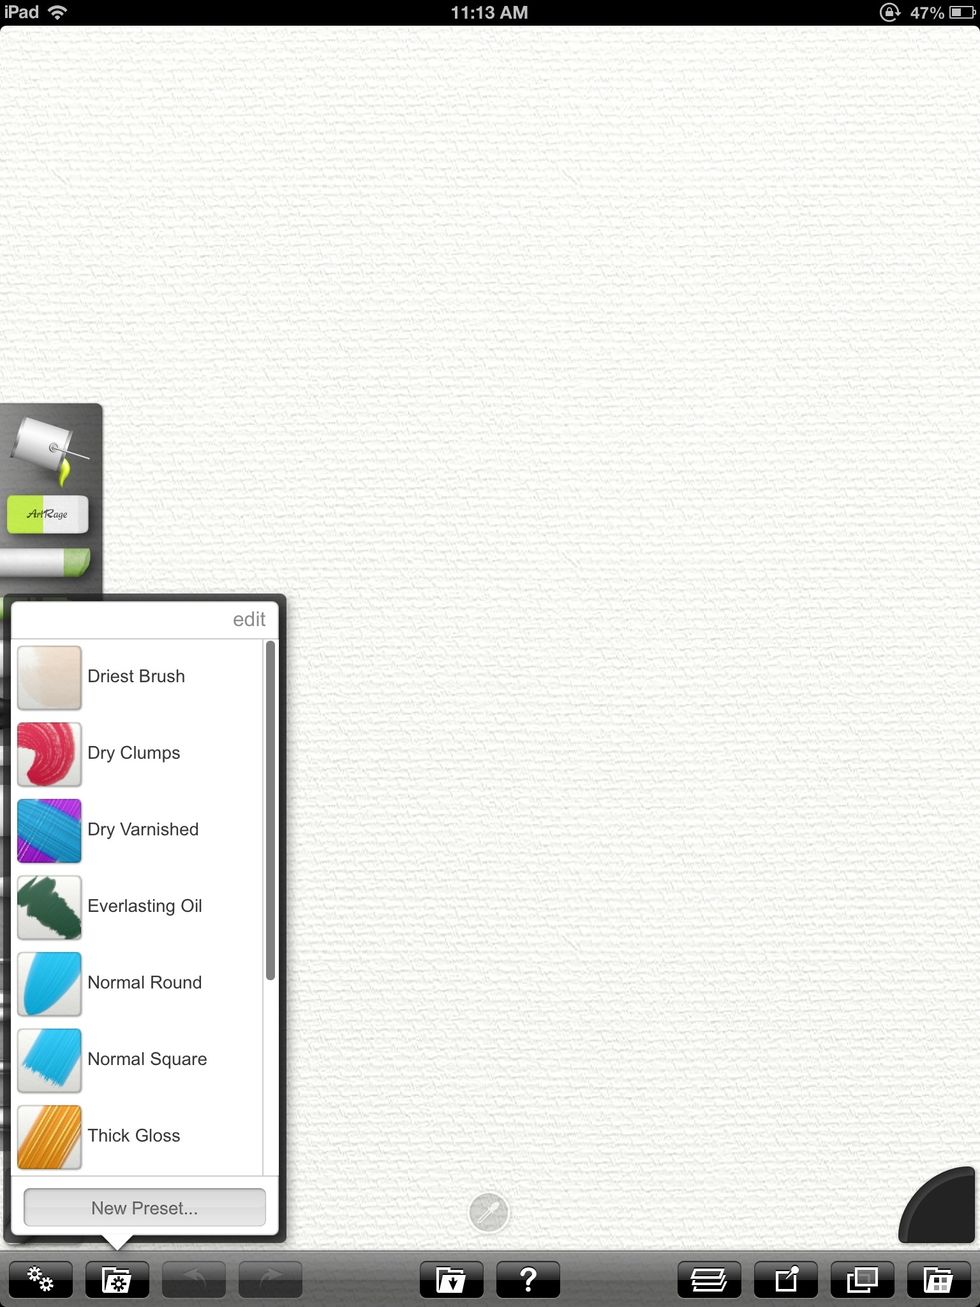
Here are my presets for the brush settings. I usually go with Normal Square to simulate real oil painting. The paint will run out after a few strokes like in real life. You can also adjust the output.
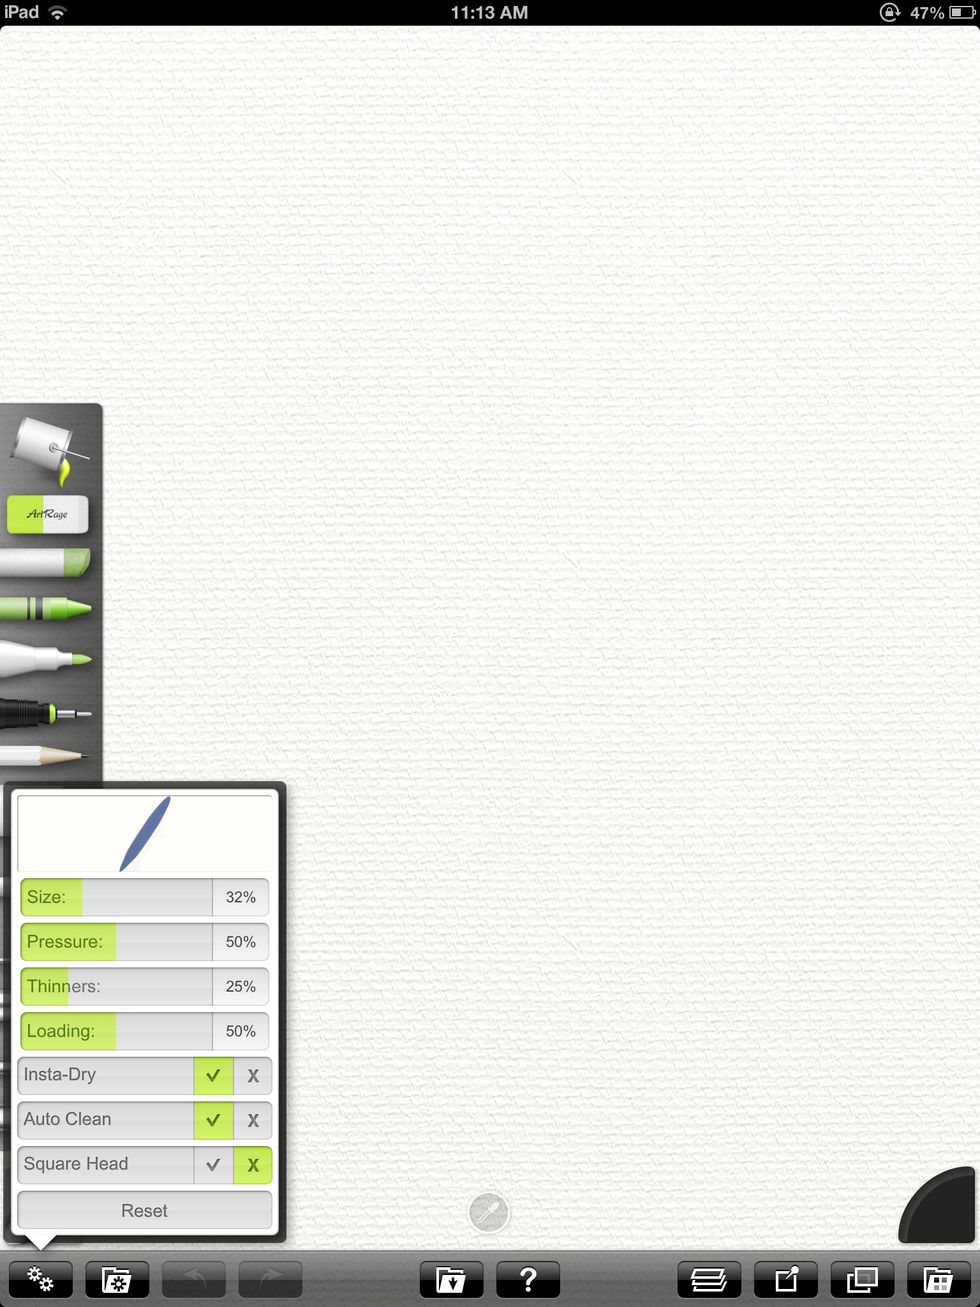
Here's a closer look at the adjustable settings.
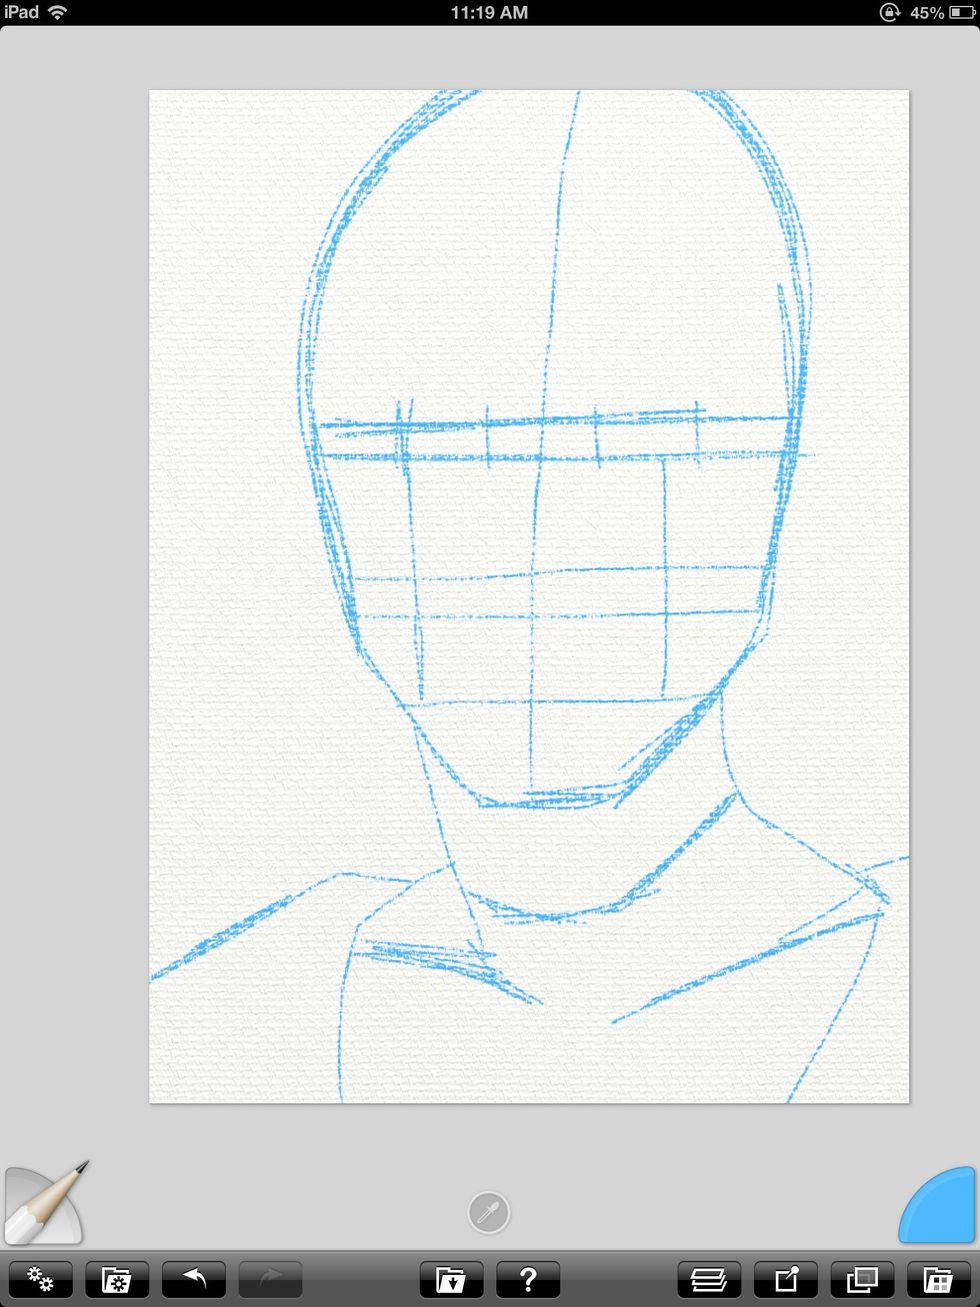
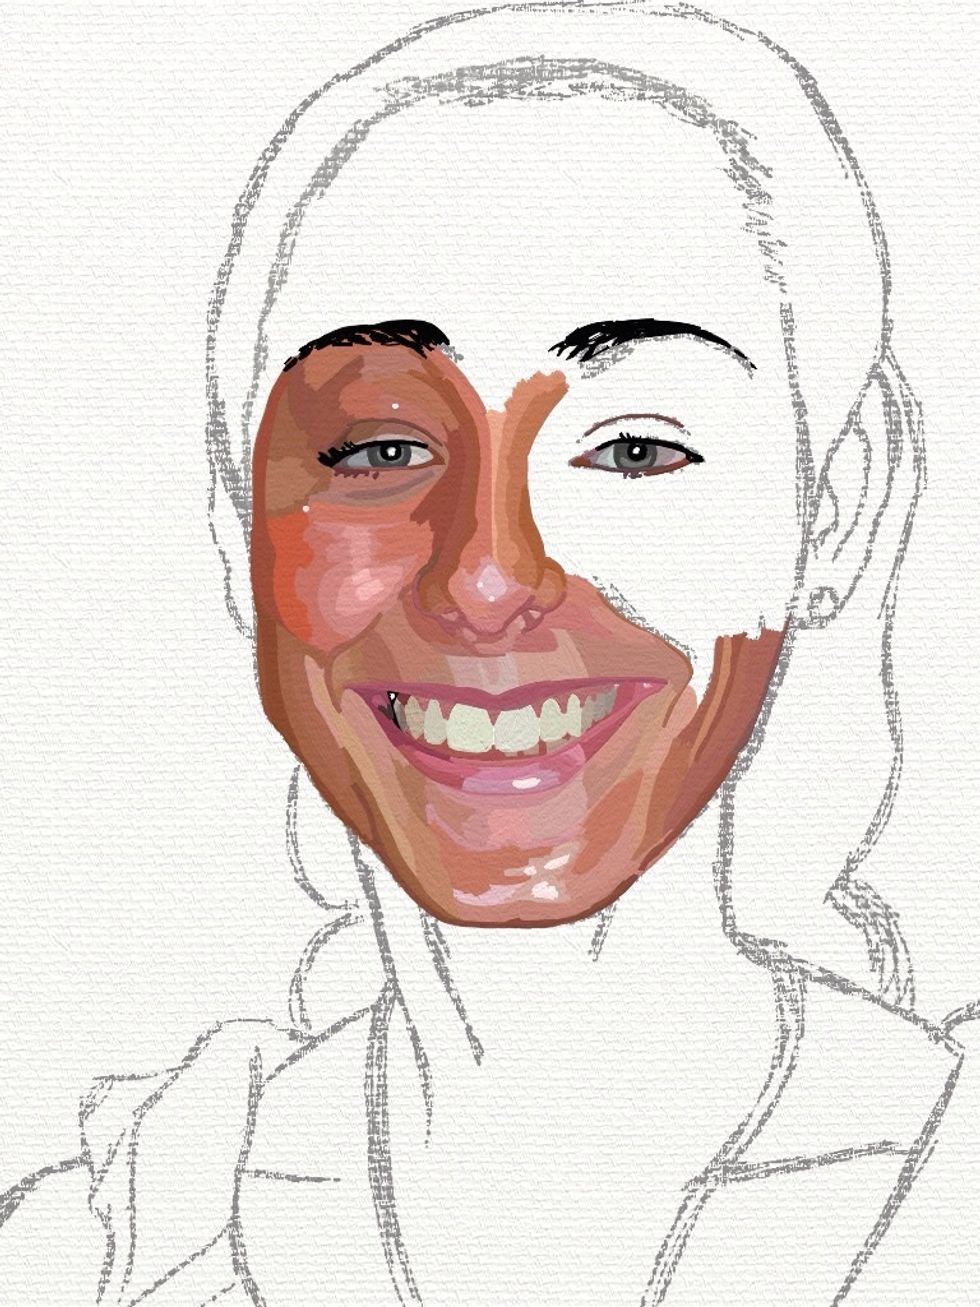
First I start with a comic book style sketch of the figure in blue 2B pencil. I select the pencil tool from the left and my colors from the wheel on the right.
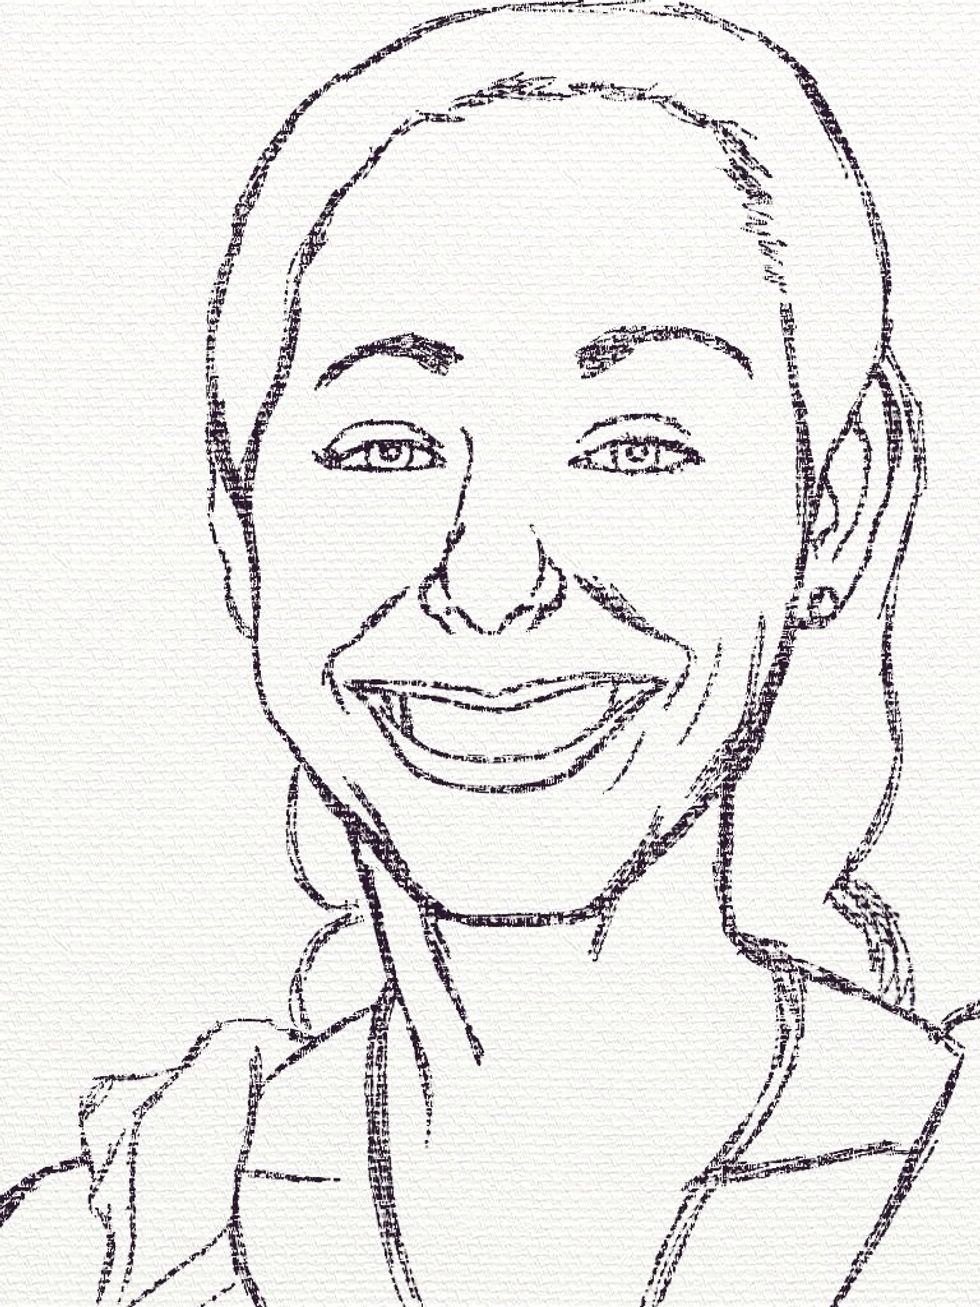
Next I create a new layer on top of the blue line drawing and draw in the details with a graphite color. The blue lines from before serve as guidelines.

Here's my reference photo. I save it as a new document to conserve memory on my iPad. Remember to save often. ArtRage will crash if the memory gets too low.
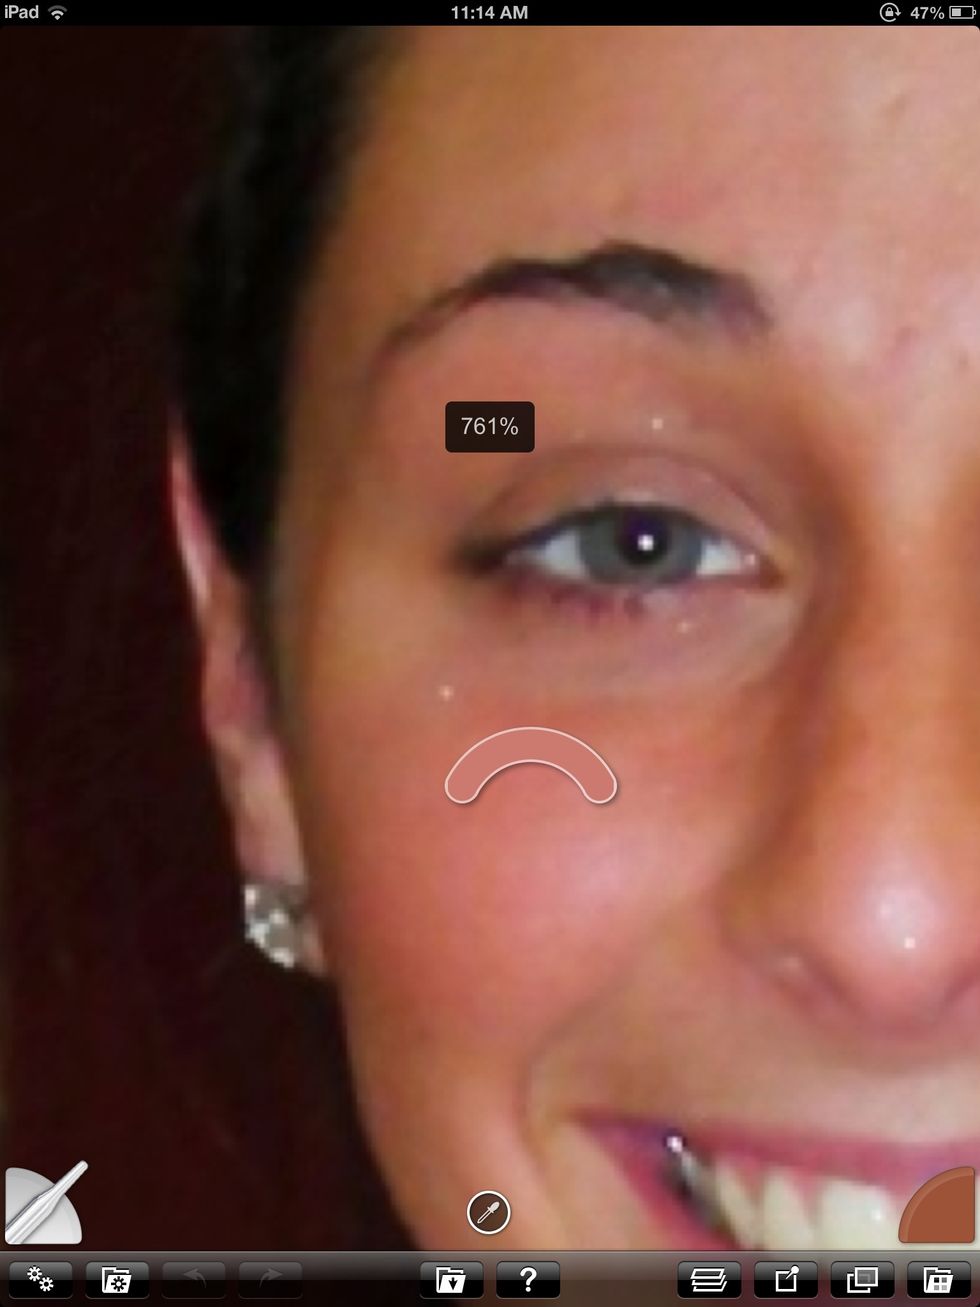
Now I open the photo doc and use the eye dropper tool to select all of the colors I need.
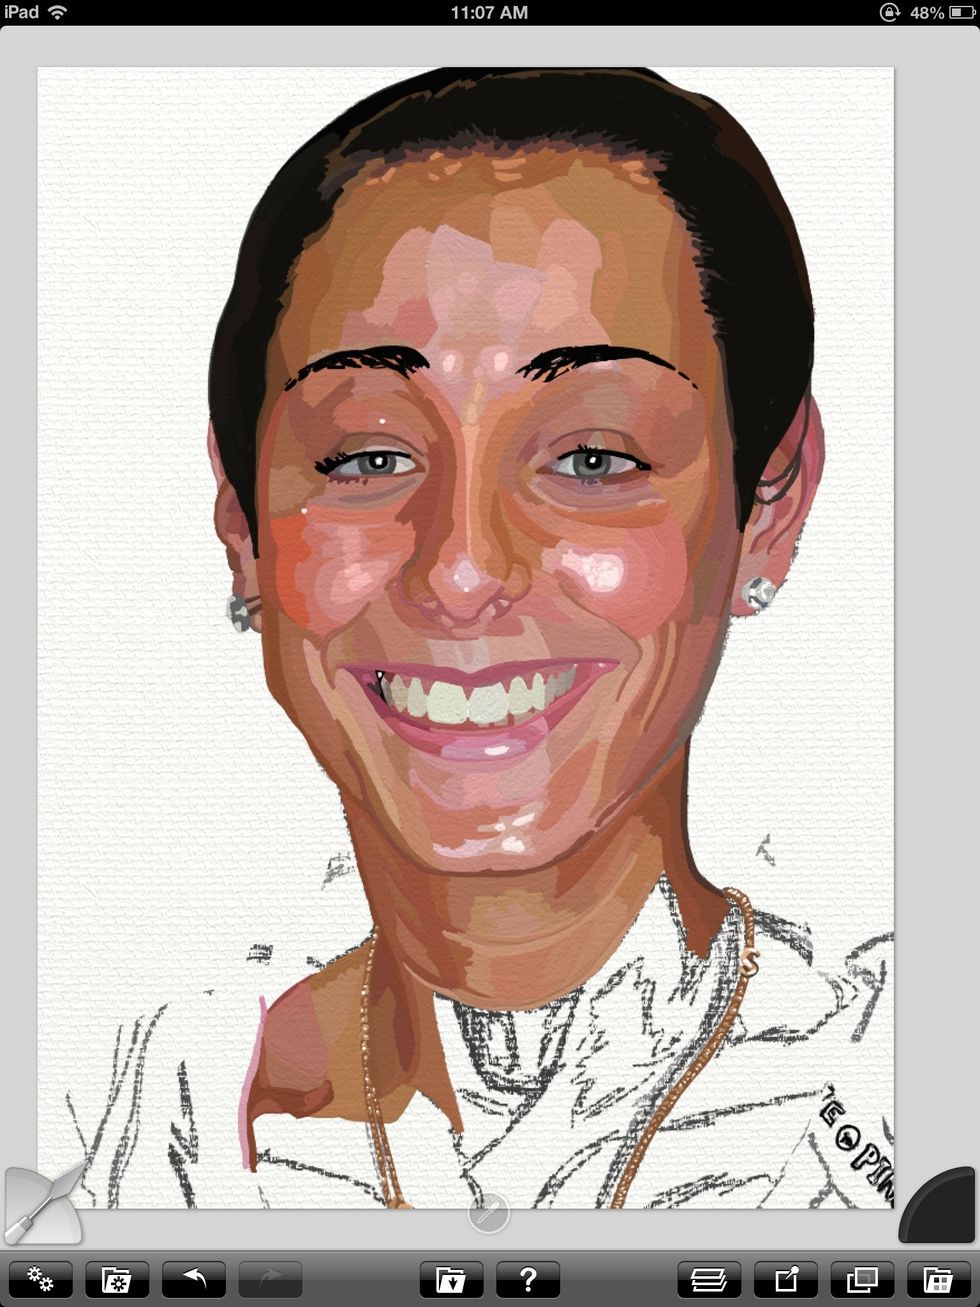
This part of the process is called blocking in color. An oil painter traditionalist would start loose but I work more like a Cartoonist who also happens to enjoy oil painting.
I see all of her skin tone variations as shapes. Using two fingers to measure proportions against each other also helps to capture the figure. For example her lips are one and a half eyes wide.
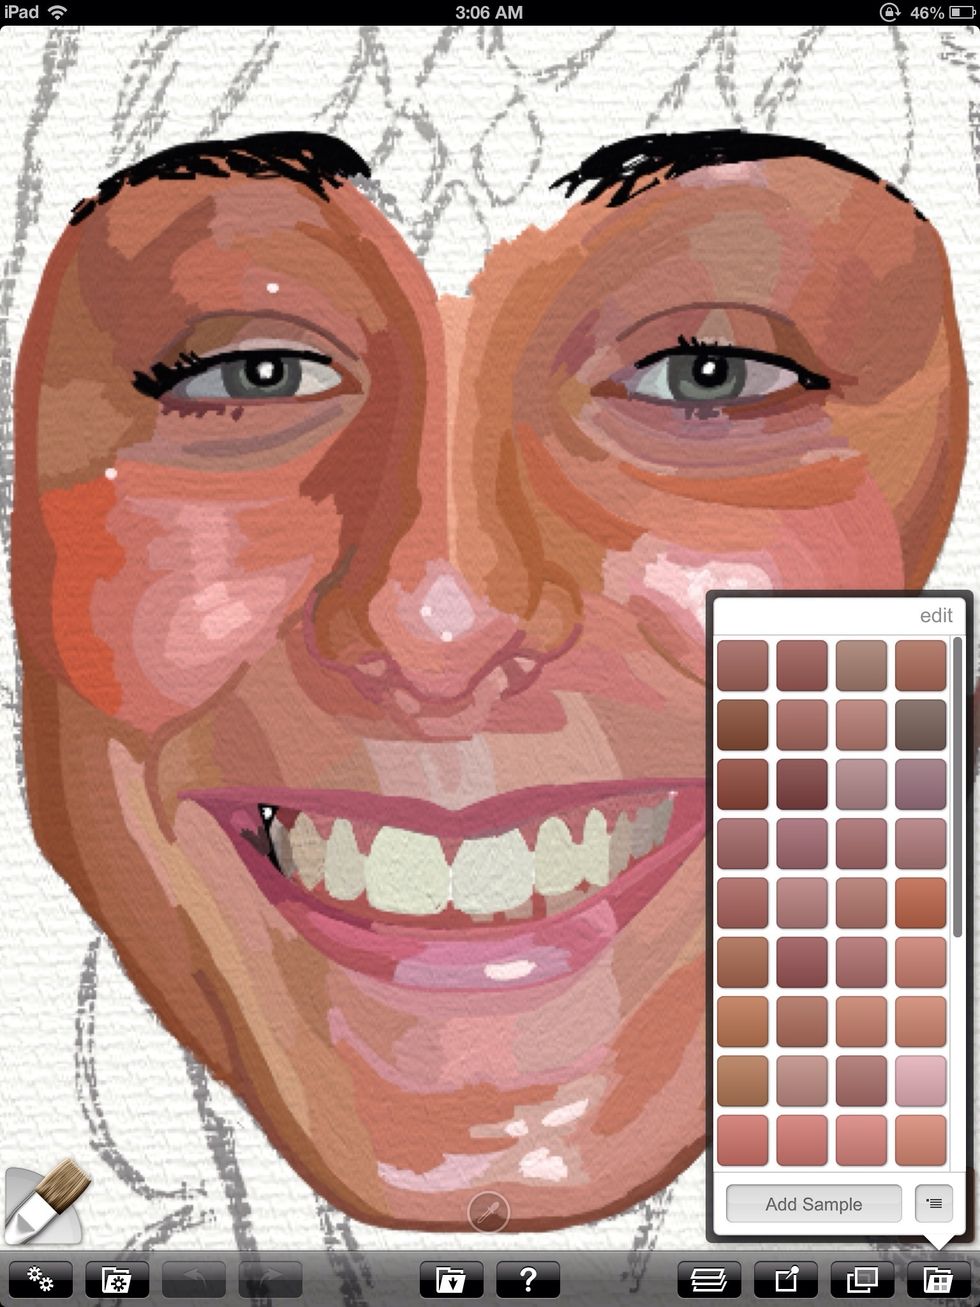
I continue adding all of the little details that make her her. Painting like this is very labor intensive but extremely rewarding at the same time.
My sketch (on the bottom layer) helps to guide me while I'm painting.
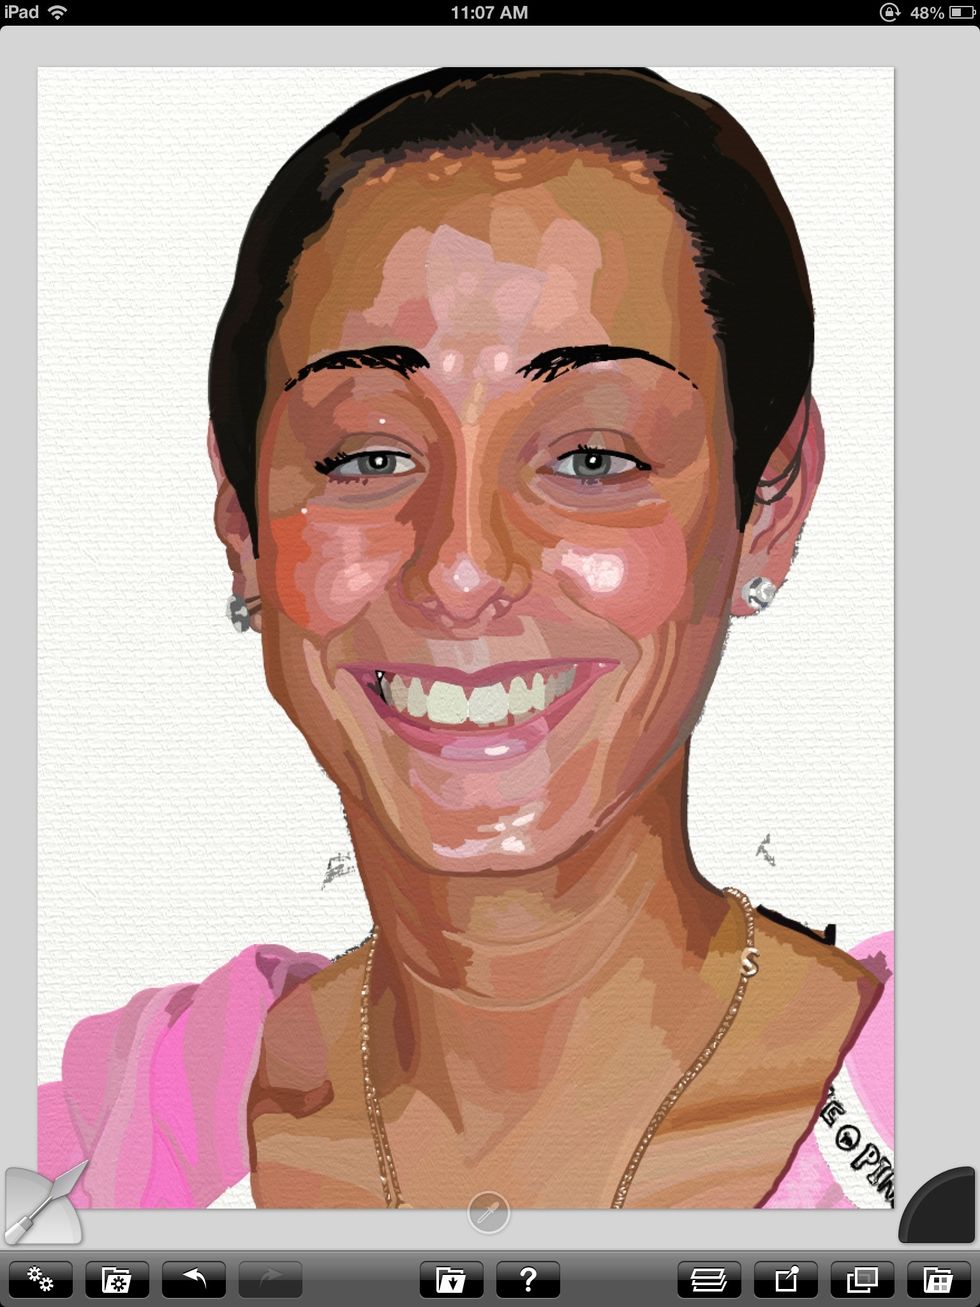
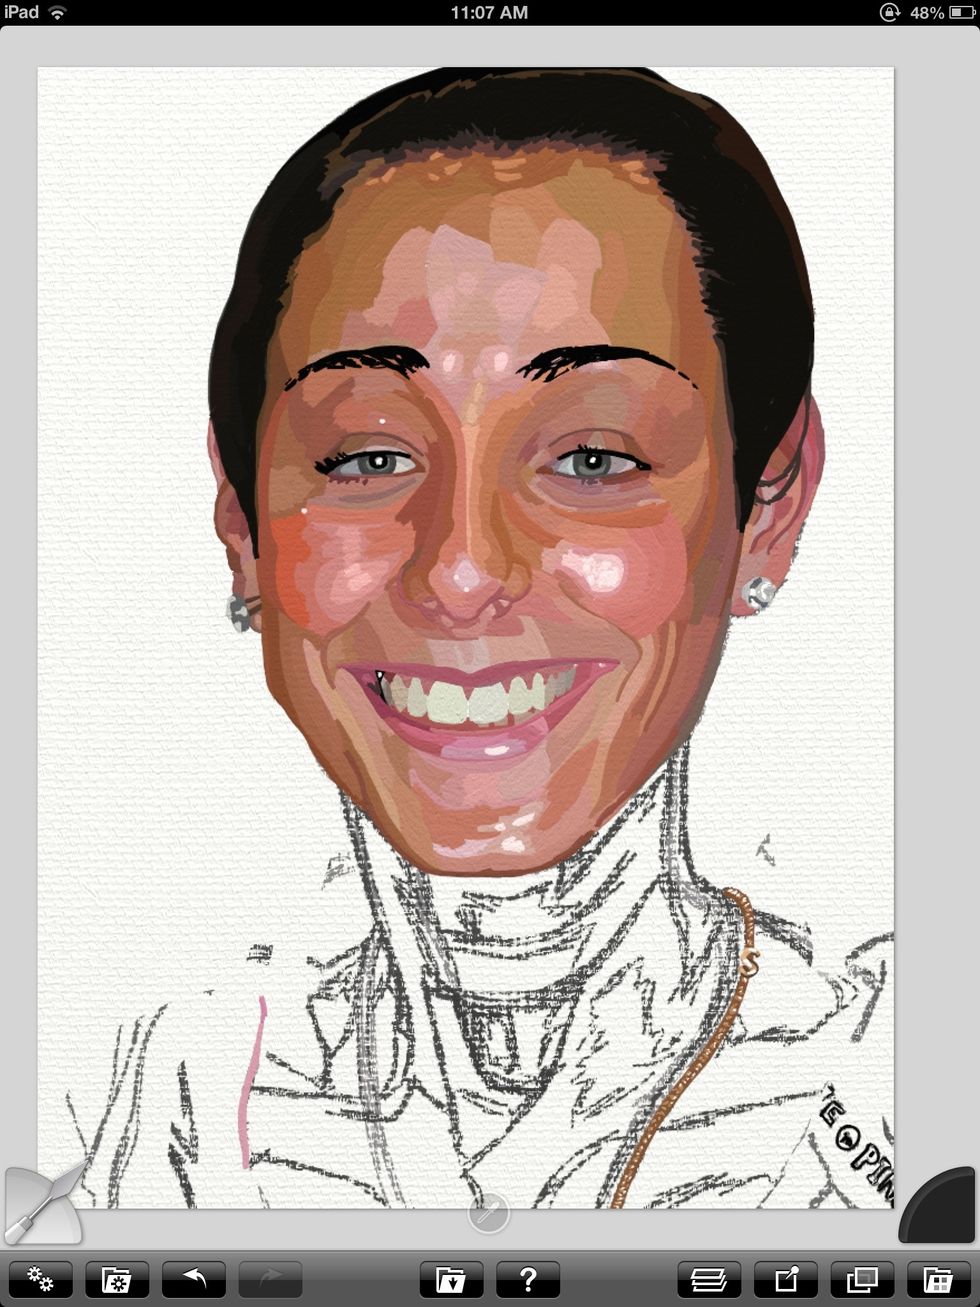
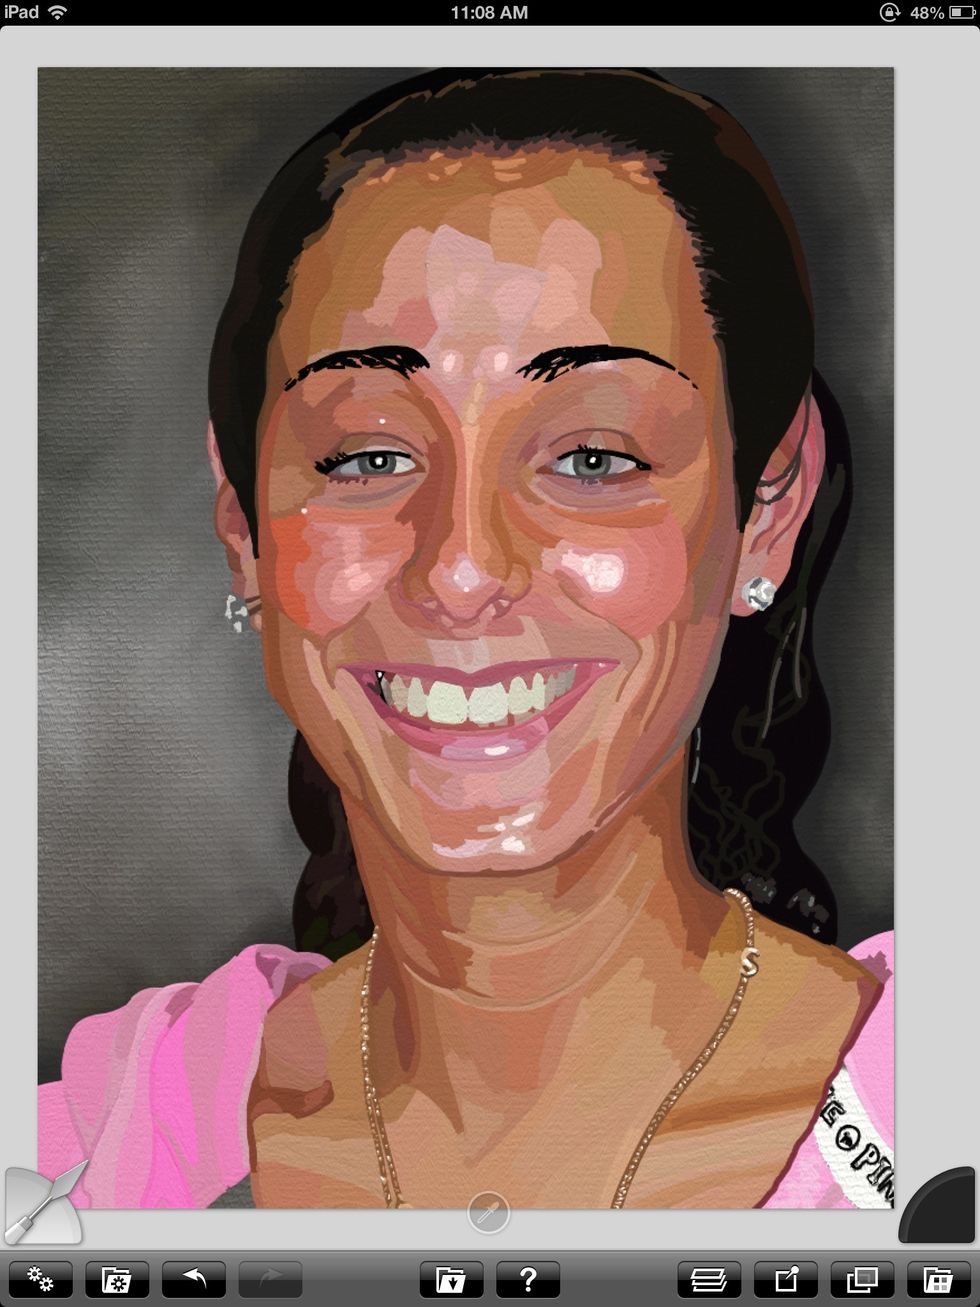
Here she is with the skin completely filled in.
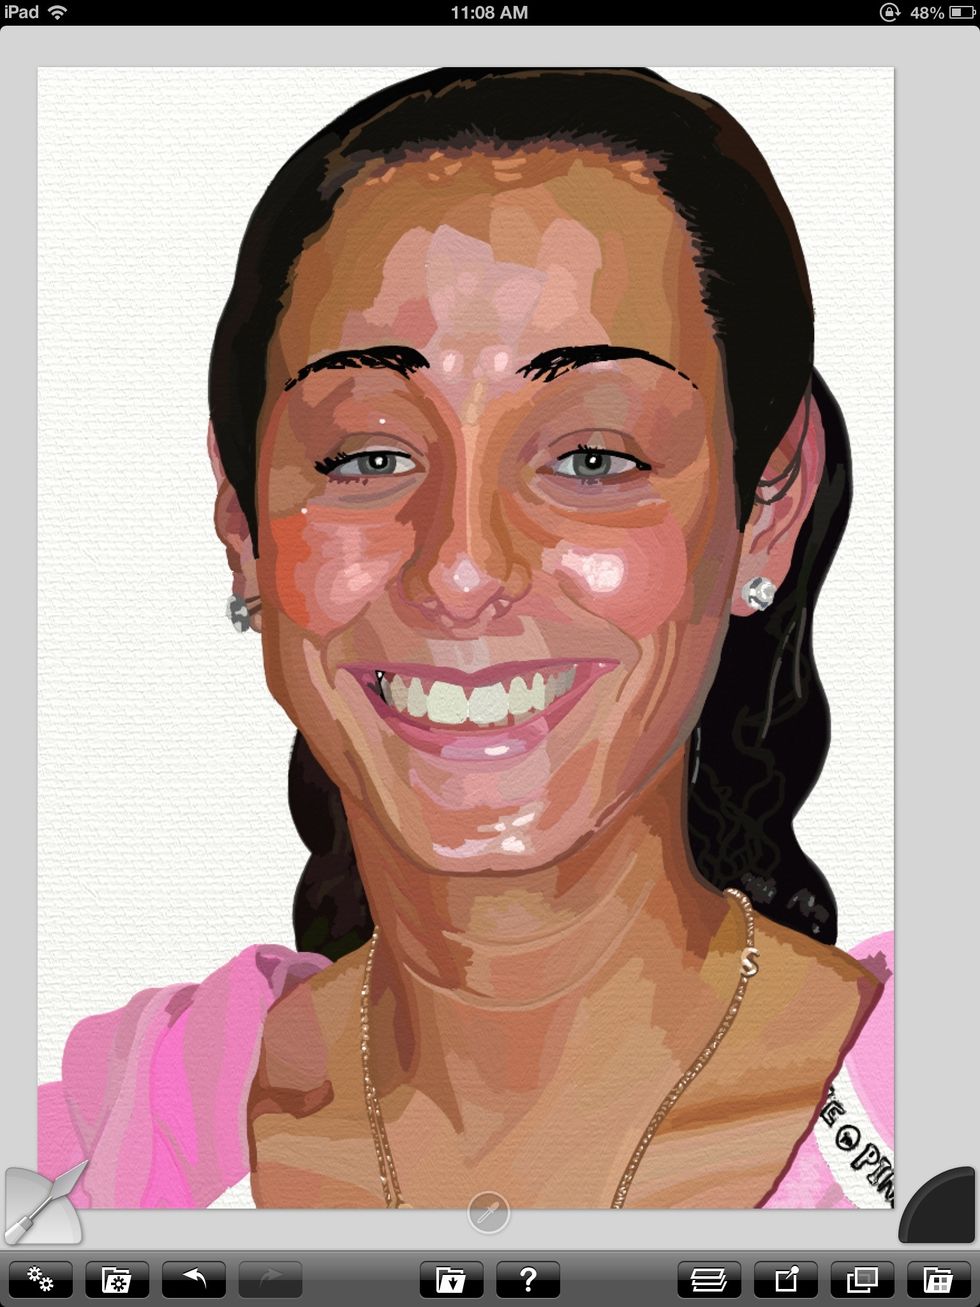
Now I add the hair on a different layer. Note that this layer is under the "skin" layer. I like to keep everything separate until the end.
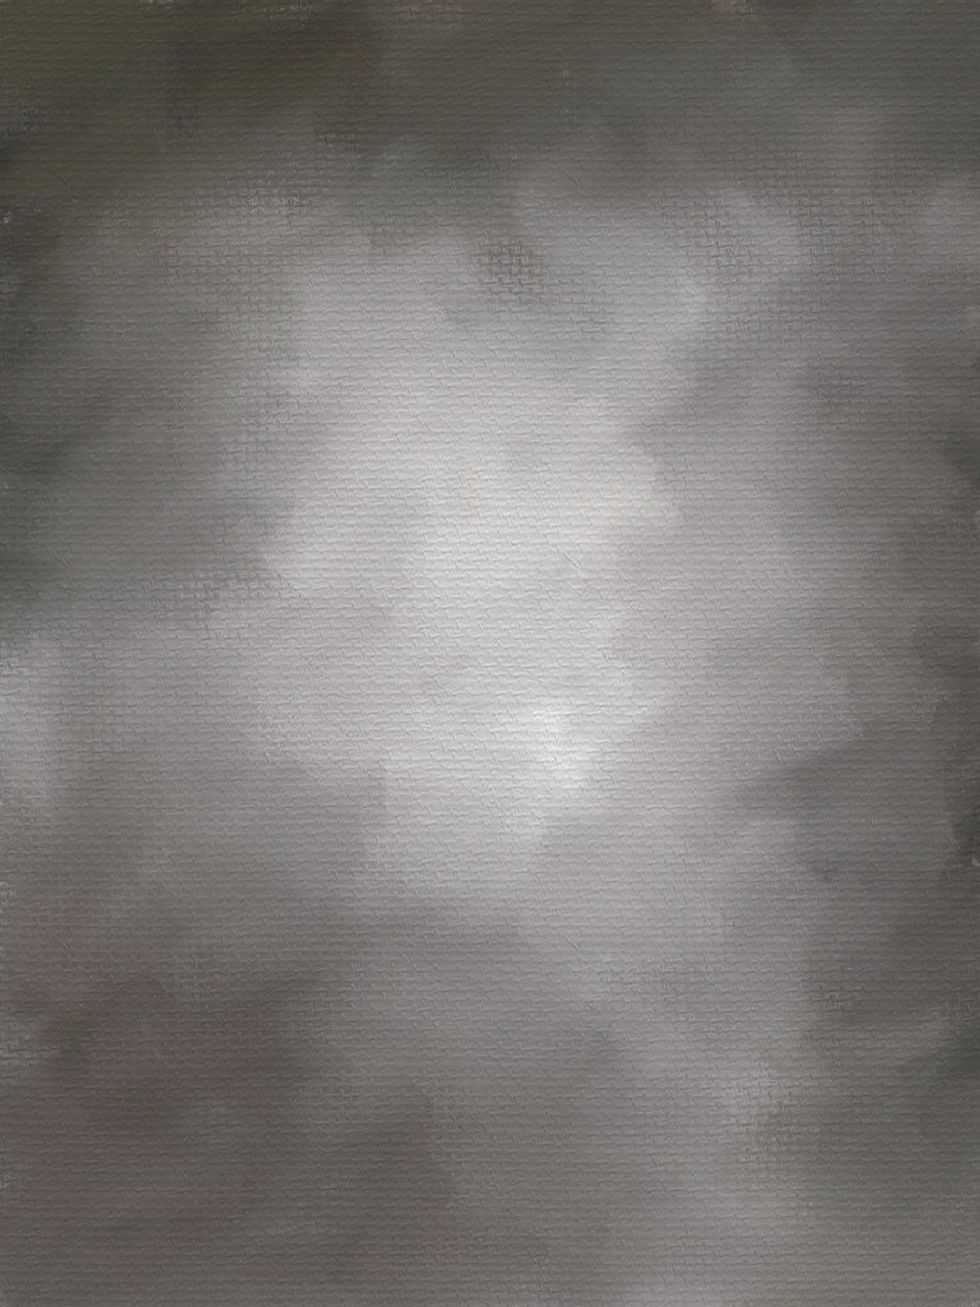
On a separate document I create a background. This was inspired by portrait painter, David Kassan.
Now I come back to my original painting and paste the background in.
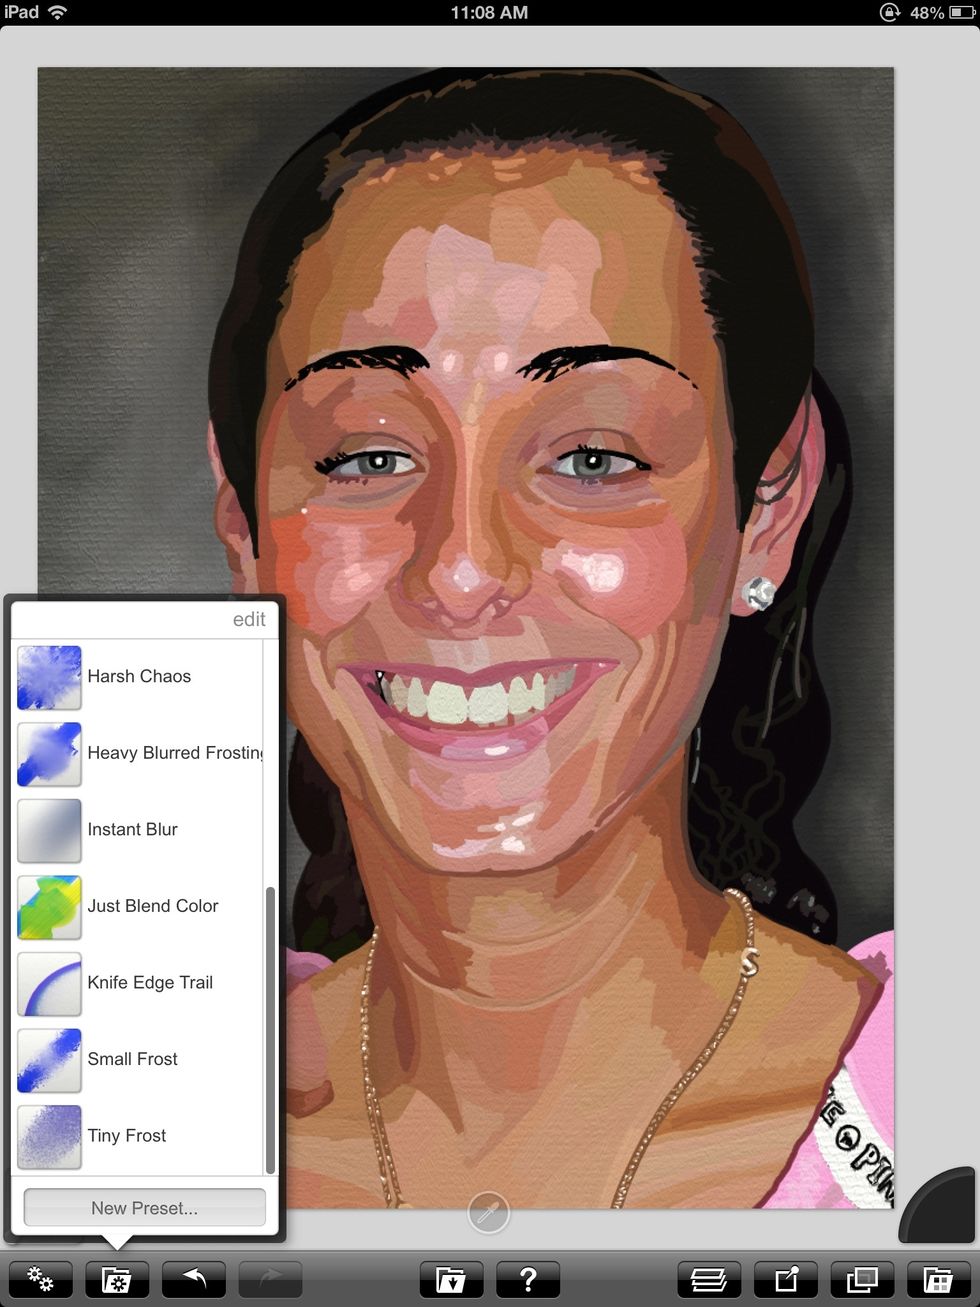
Now I switch to the palette knife and go into my options. "Just blend color" seems to be the best option for skin tones.
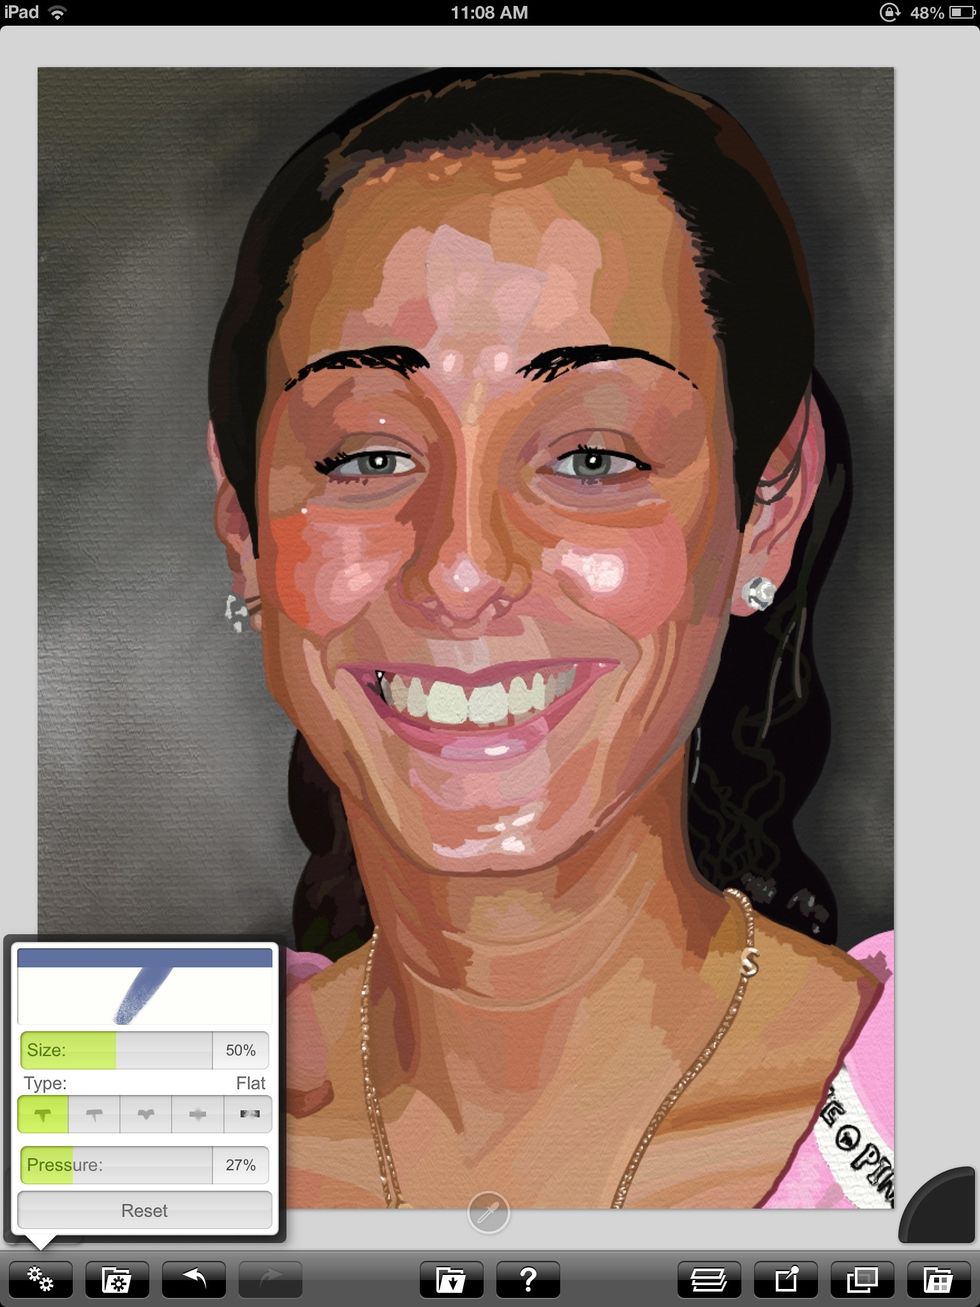
Like the brush I can adjust the pressure and size of the knife. I merge all of my layers (except the background) before I get started.

Now I zoom in and go over the skin to blend. Also I use the blur option on the edges to give her a 3D appearence.
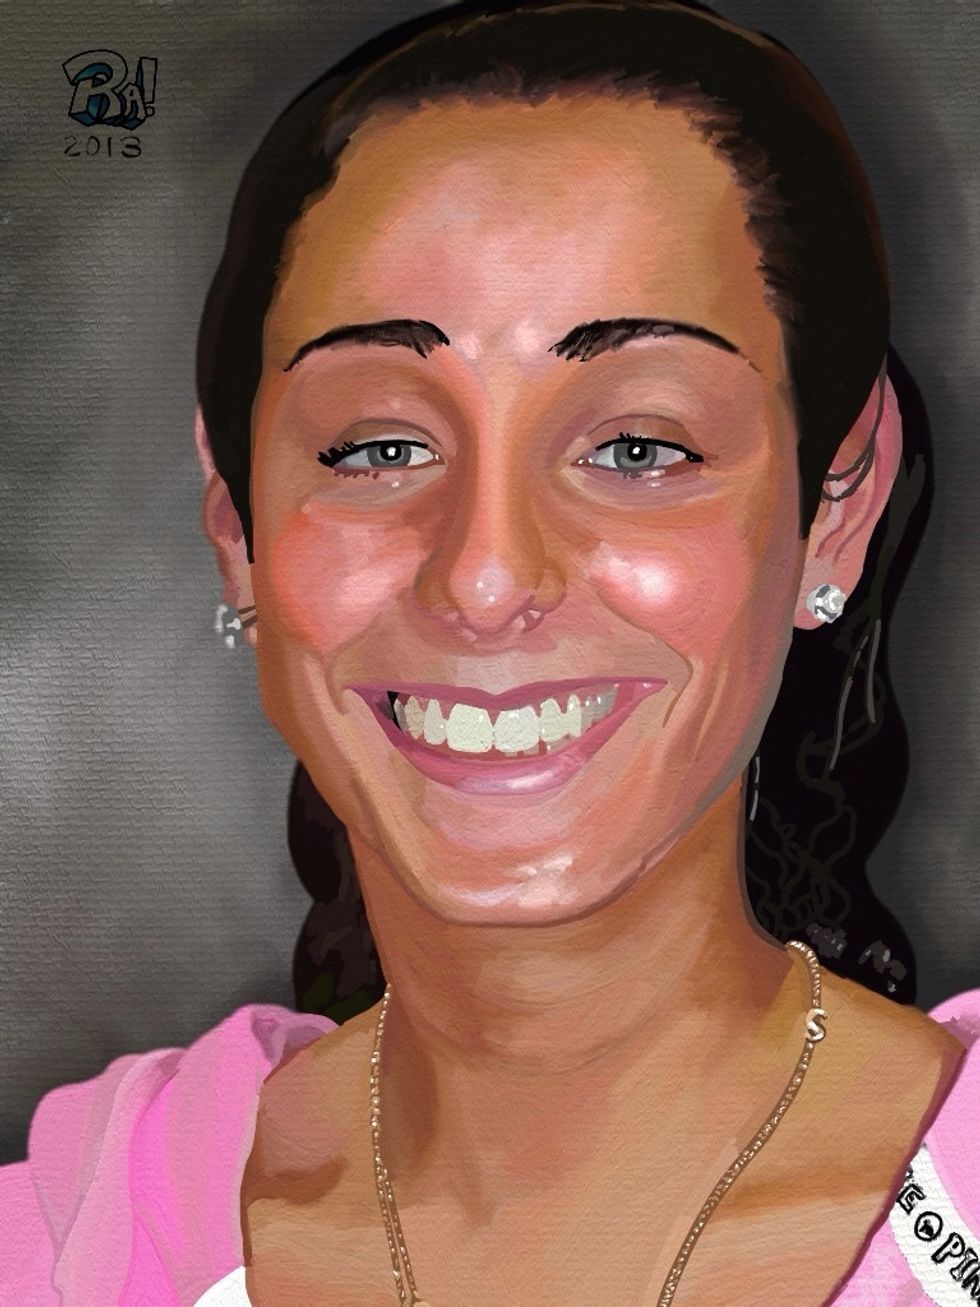
Here's the final painting. I sign my name and save.
That's it. I hope you enjoyed the guide. Feel free to leave comments and feedback. See more by going to raheemnelson.com.