The Conversation (0)
Sign Up
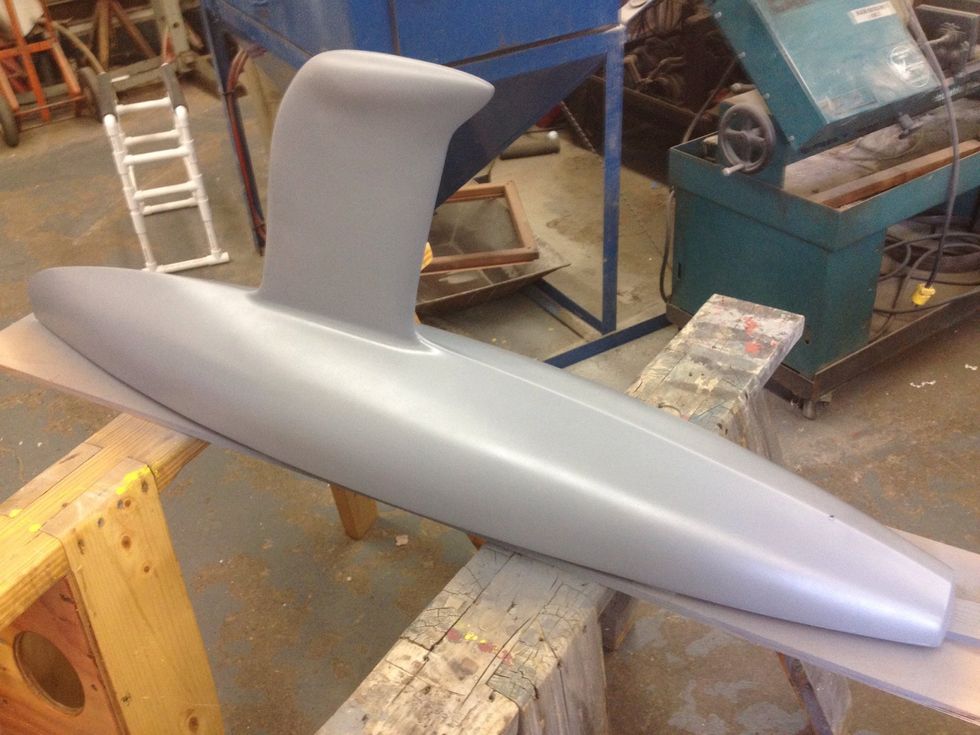
I used three coats of primer the first coat was thin the second heavy and the third was to achieve a glossier finish, also spray a test piece so that you can test how fast the epoxy is kicking.
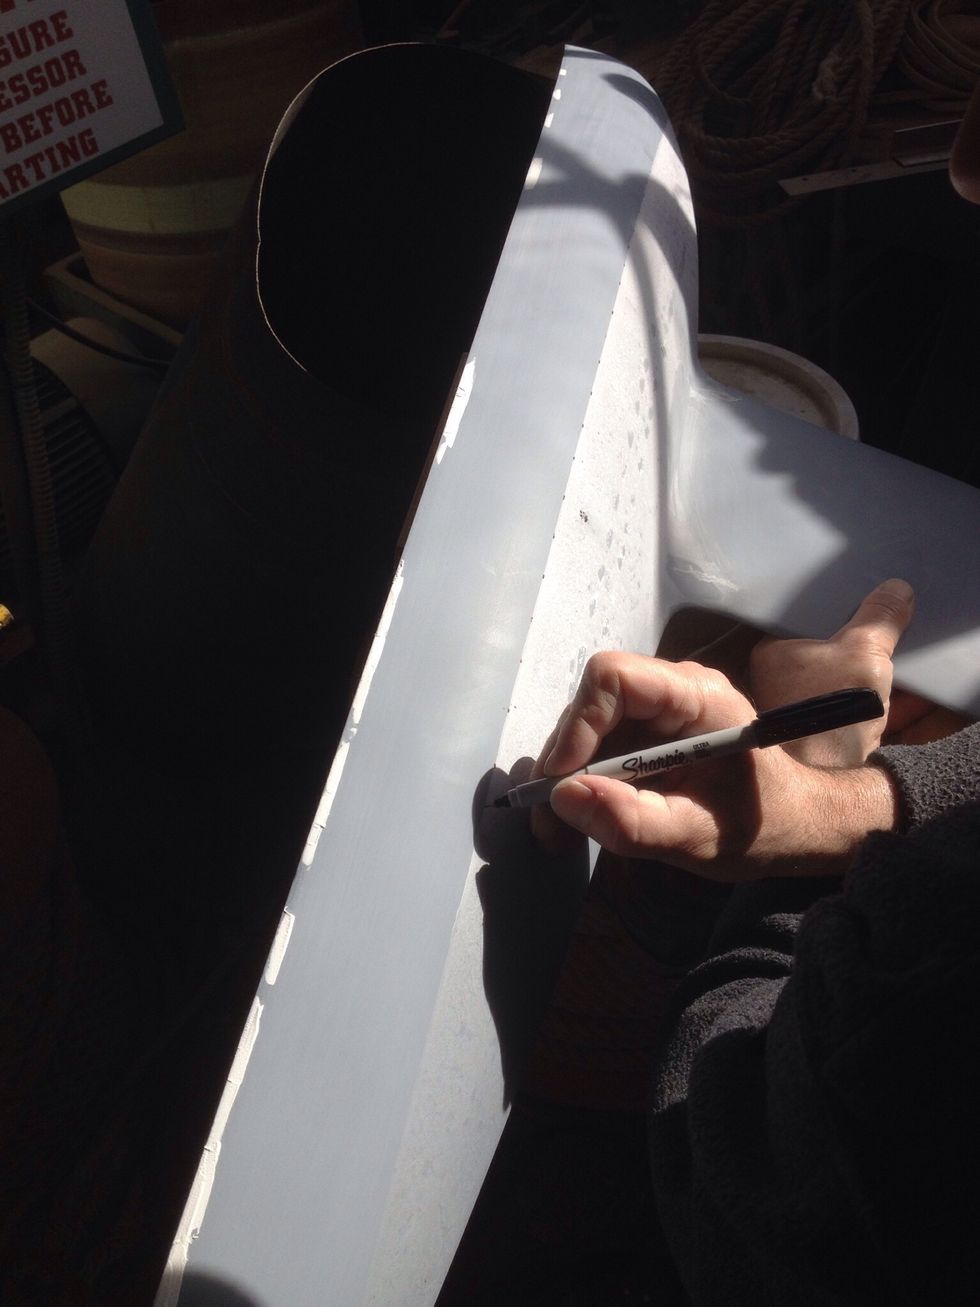
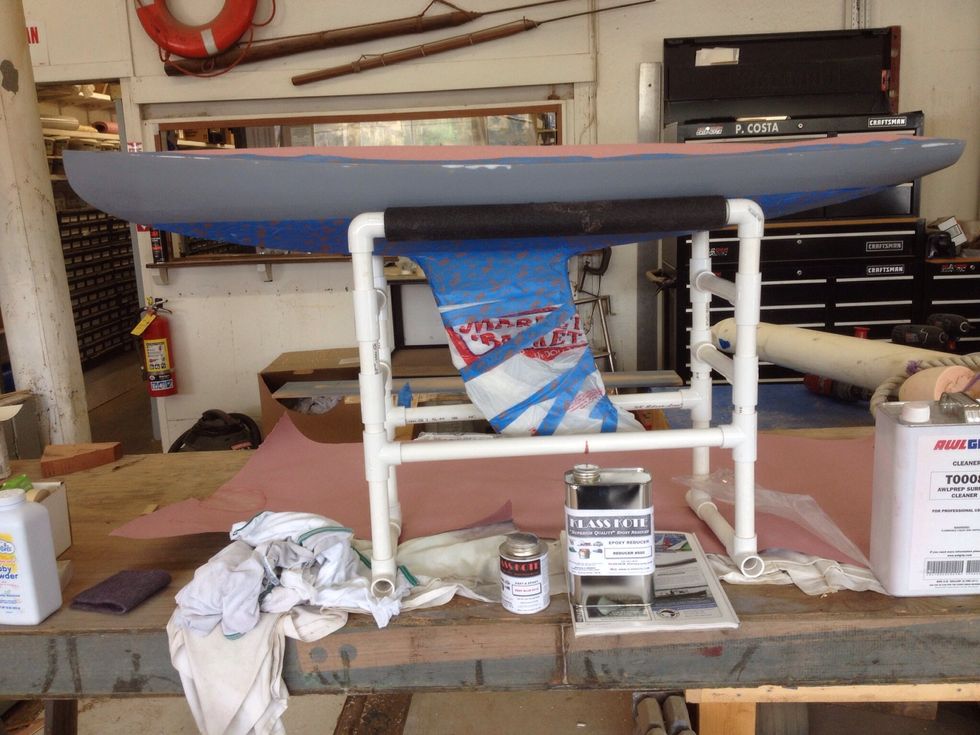
Sand the hull with 320 and then 400 grit sandpaper, you can also use a 3M red sanding pad. Here you see the waterline identified by baby powder that was added to the surface of the water.
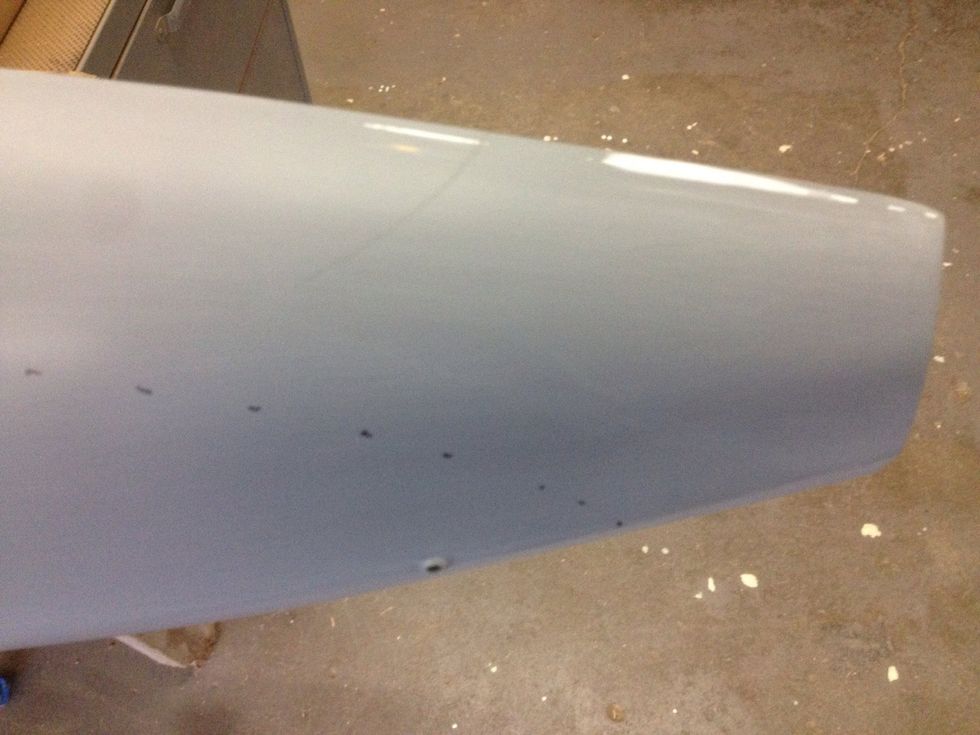
Mark the waterline with a sharpie note the use of filler to correct any imperfections.
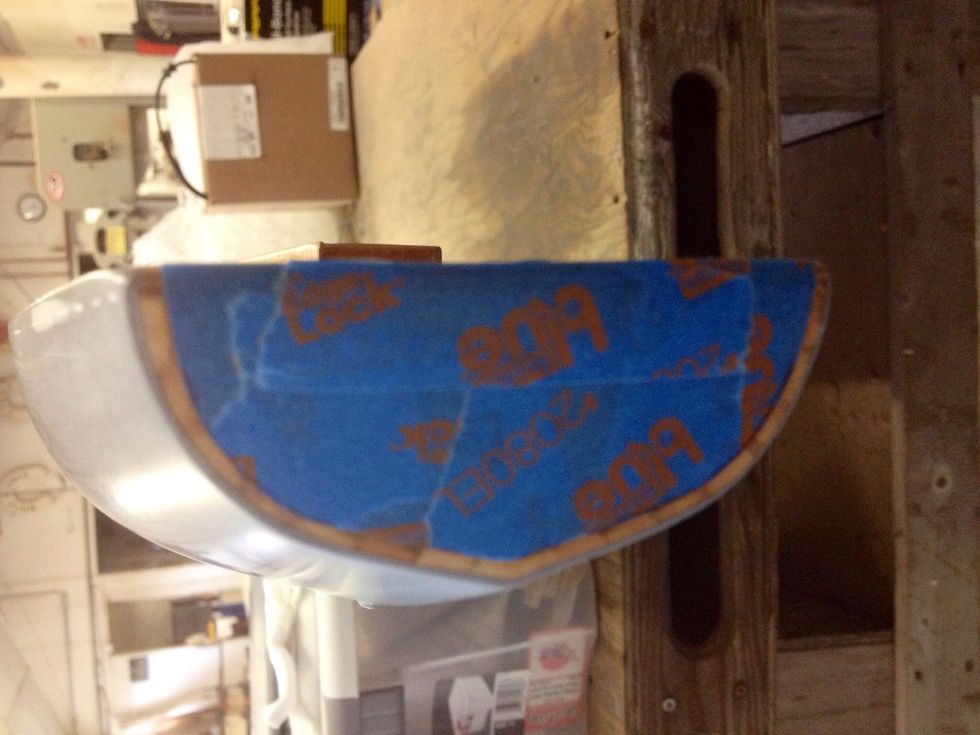
Tape the transom and then cut, with a sharp X-Acto knife, so that you can paint over the ends of the planks.

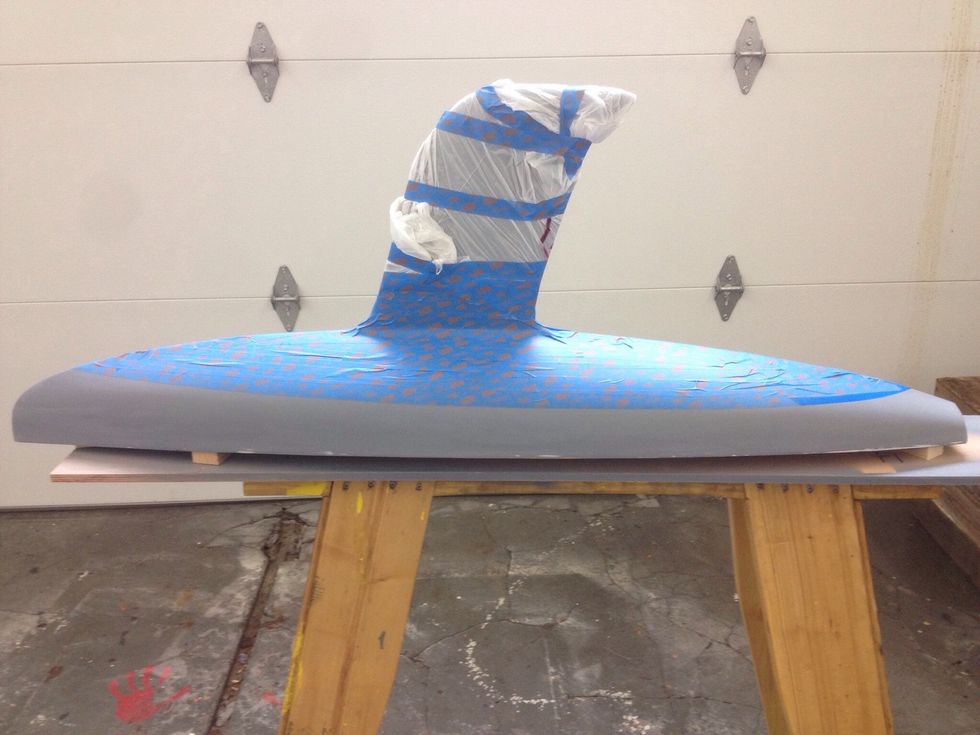
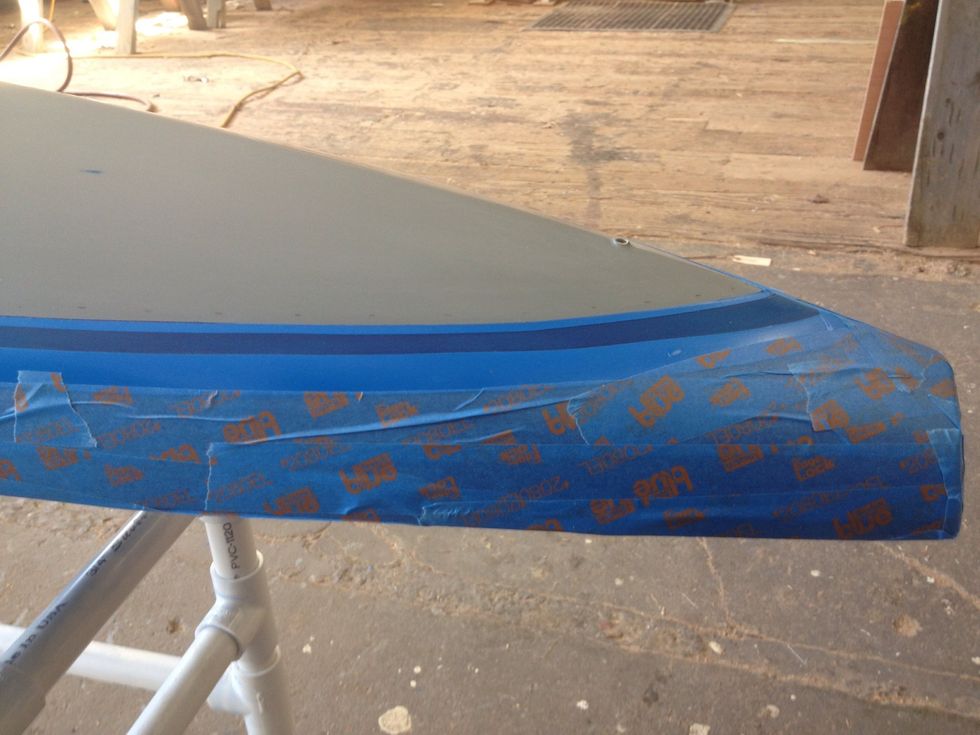
Here you see the deck has been taped. The tape is a 16th of an inch from the edge of the deck to allow the paint to cover and hold the edge.
Ready to wipe down with alcohol and a clean dry rag. The dry rag is used to pull out any dust or grit left on the surface that the alcohol soaked rag may have left behind and it helps dry the surface.
Cleaned and ready to paint the first thin coat.
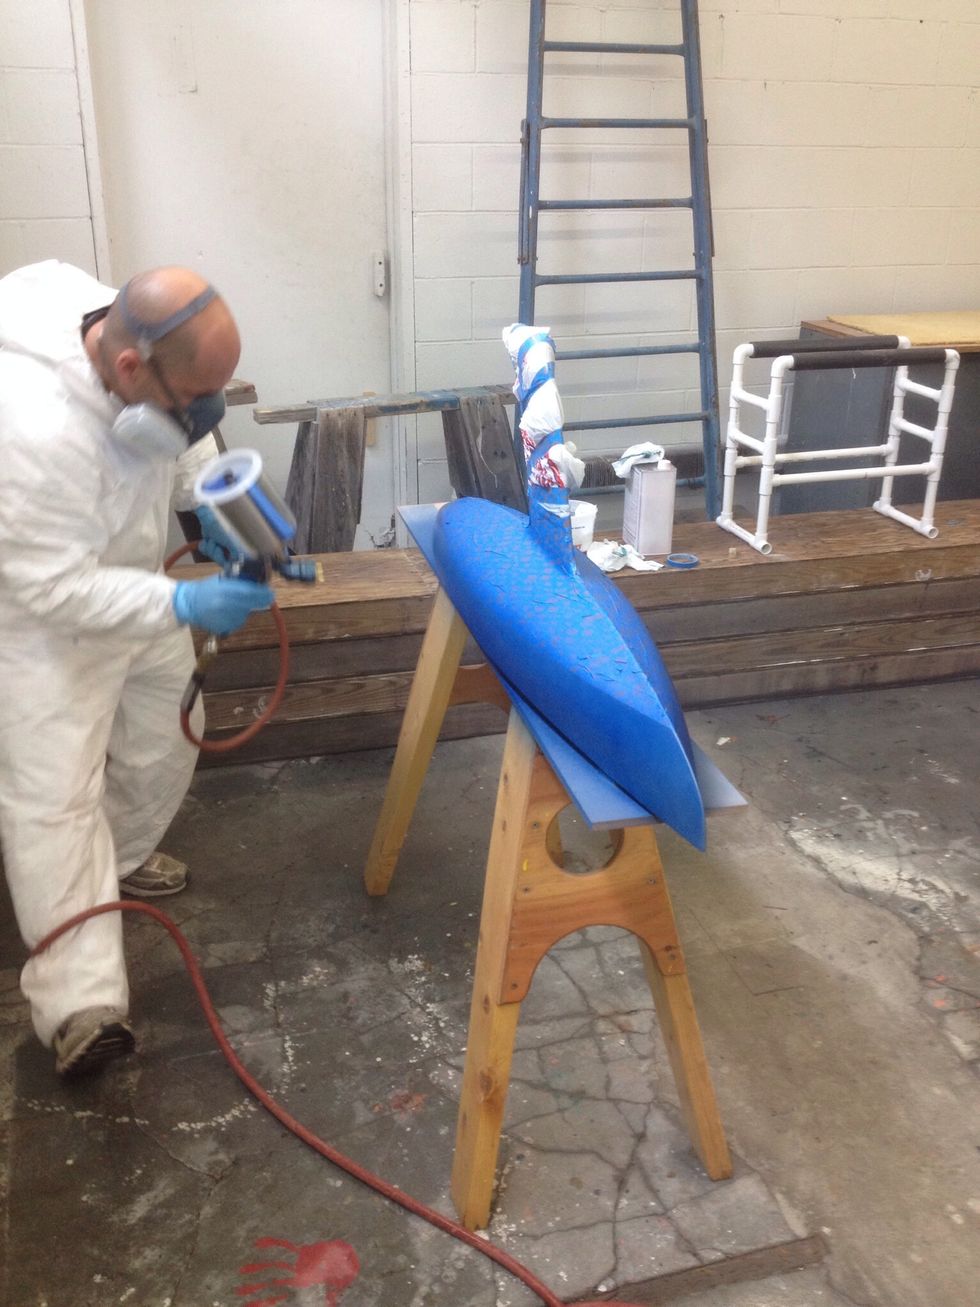
Third coat being applied.
Blue hull finished ready to clean and tape for second color.
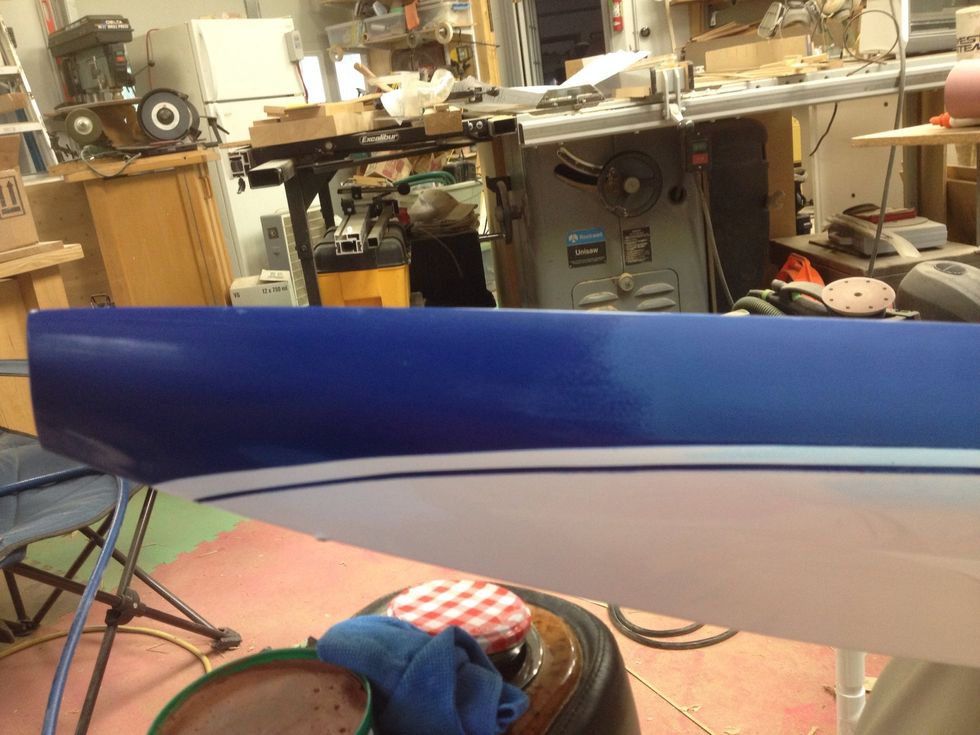
Taping boot strip note the boot strip is wider on the ends so that when it is in the water the strip looks like it is the same thickness along it's entire length.

Prepped and ready to spray.
After the paint has cured, according to the manufactures specifications, sand and compound the boot strip and hull. I start out sanding with the hull dry it's easier to see the orange peel.
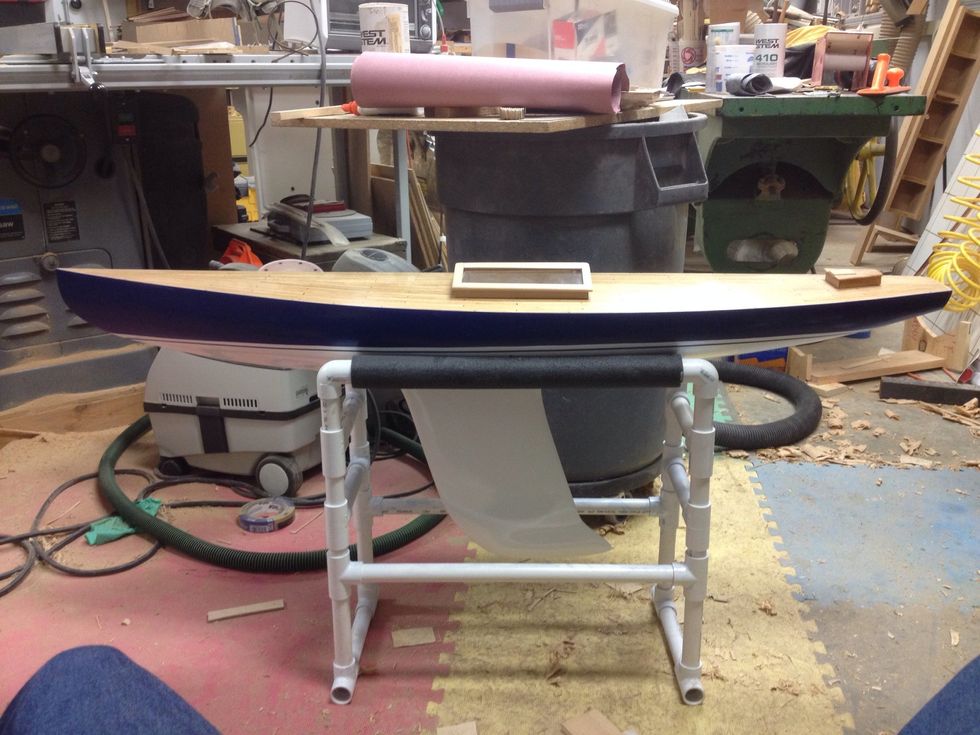
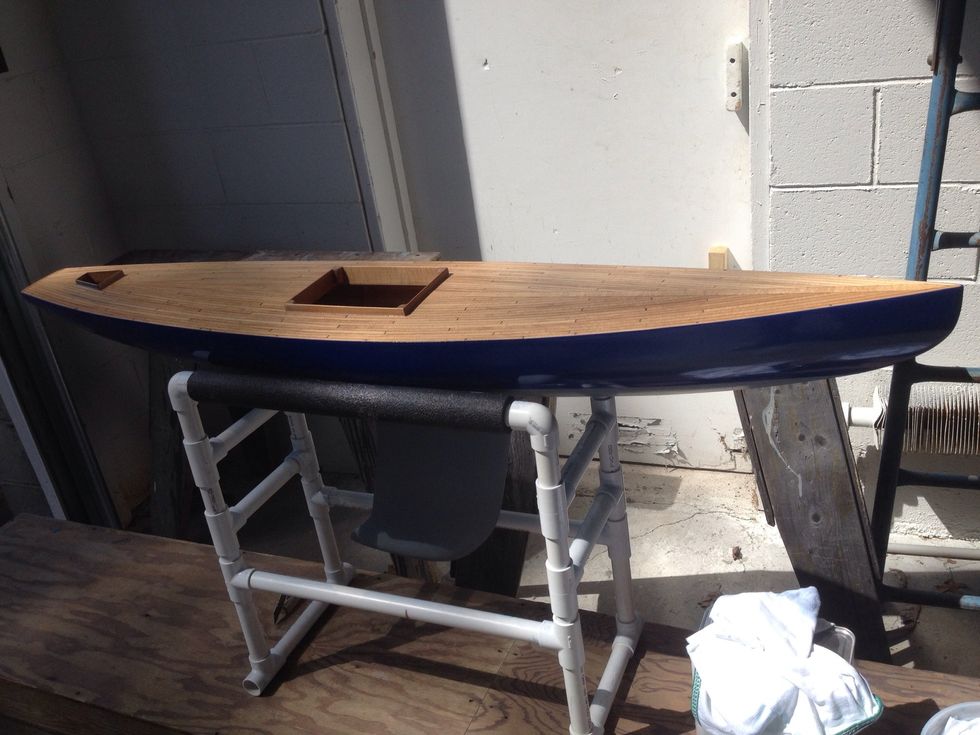
Paint job done time to rig her.

Here I have used 220 grit sandpaper to create a even dullness across the entire deck even up to housings. It is important to prevent a build up that could effect the fit of the hatch.