The Conversation (0)
Sign Up
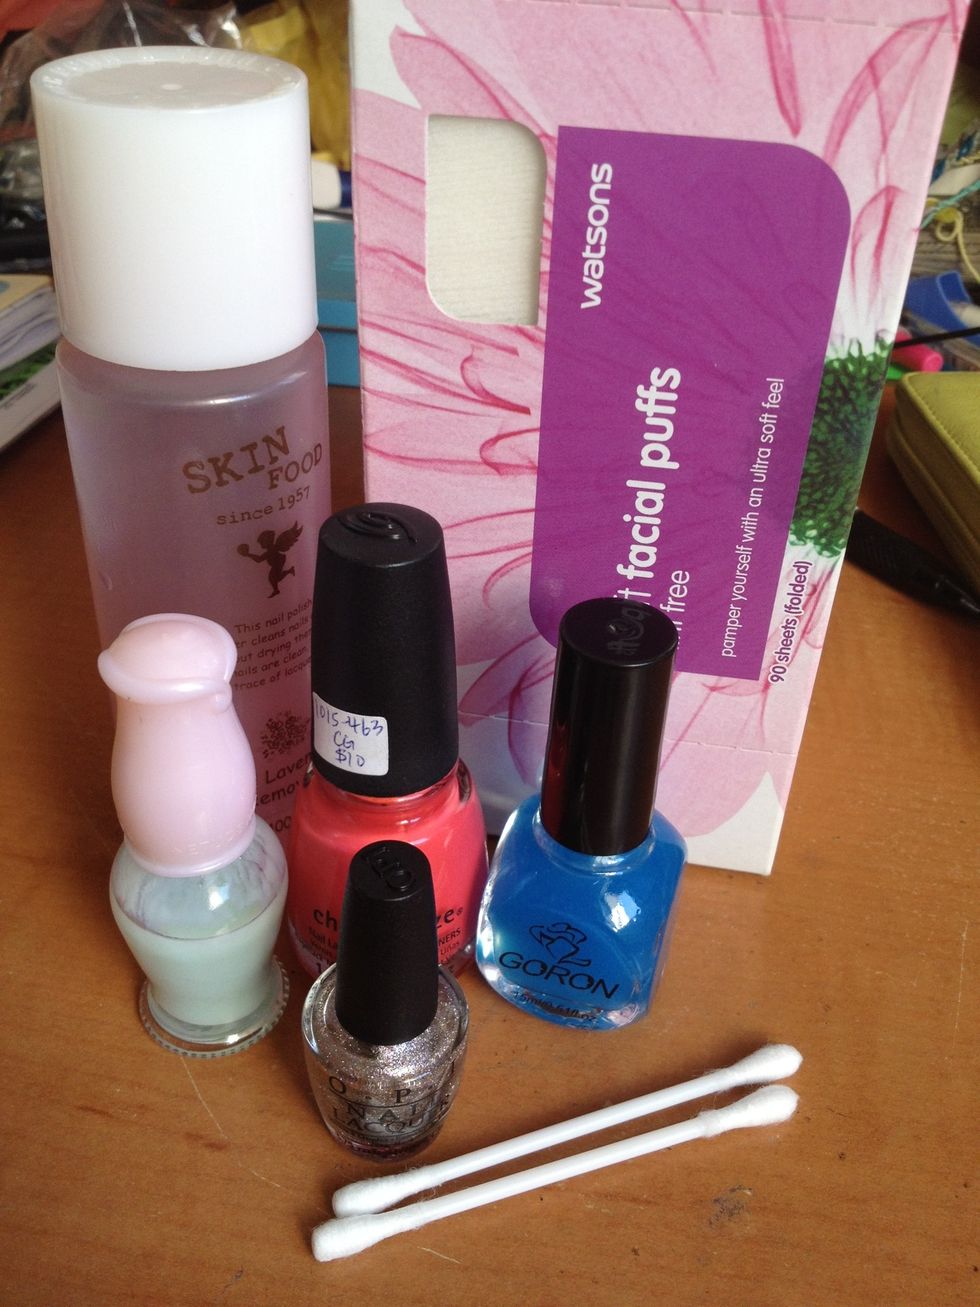
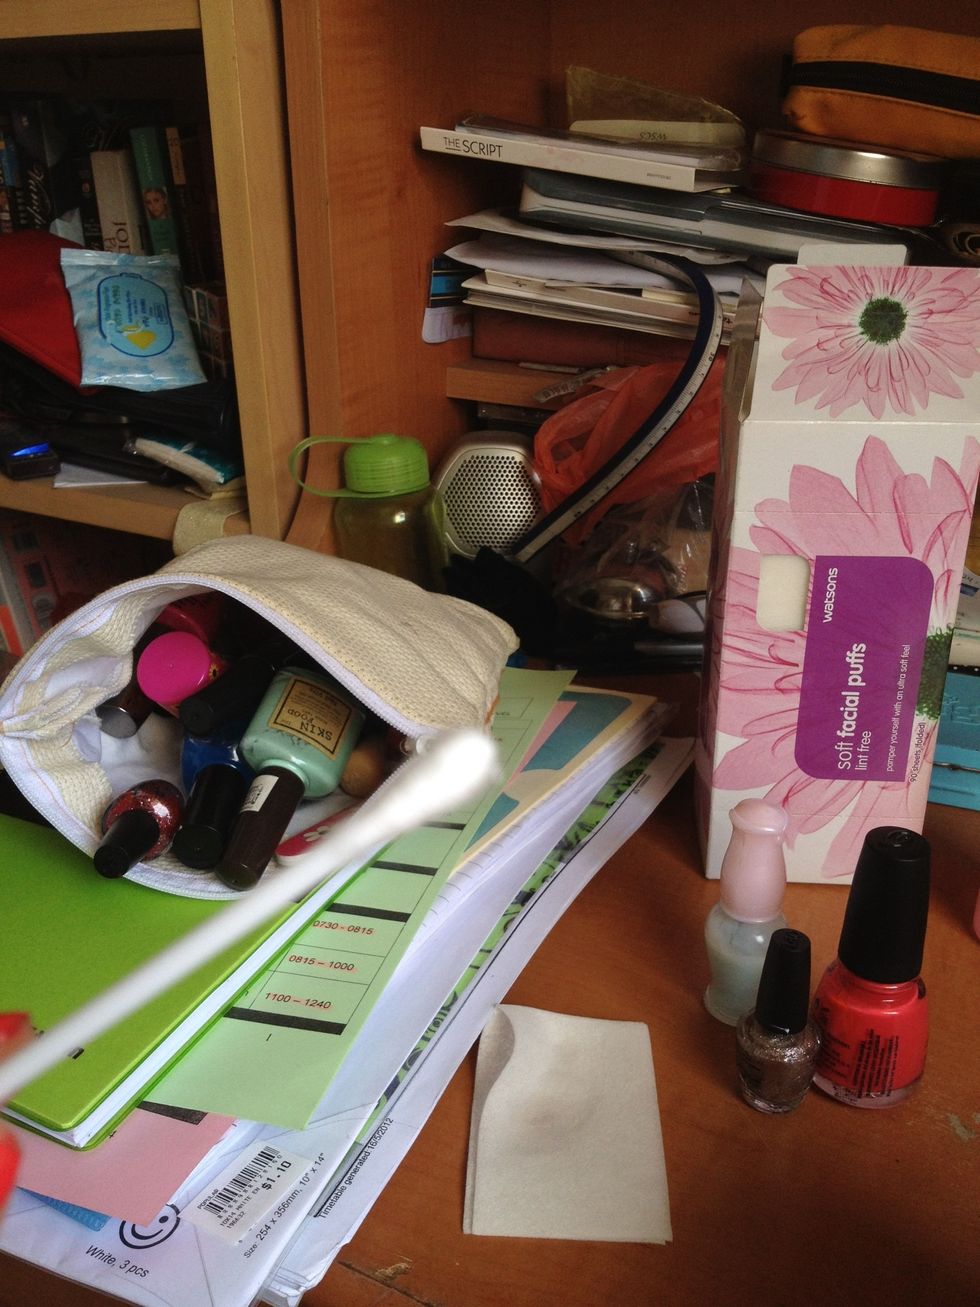
This is what you'll need. I'm doing a pretty pink colour on my nails with a glitter accent nail.
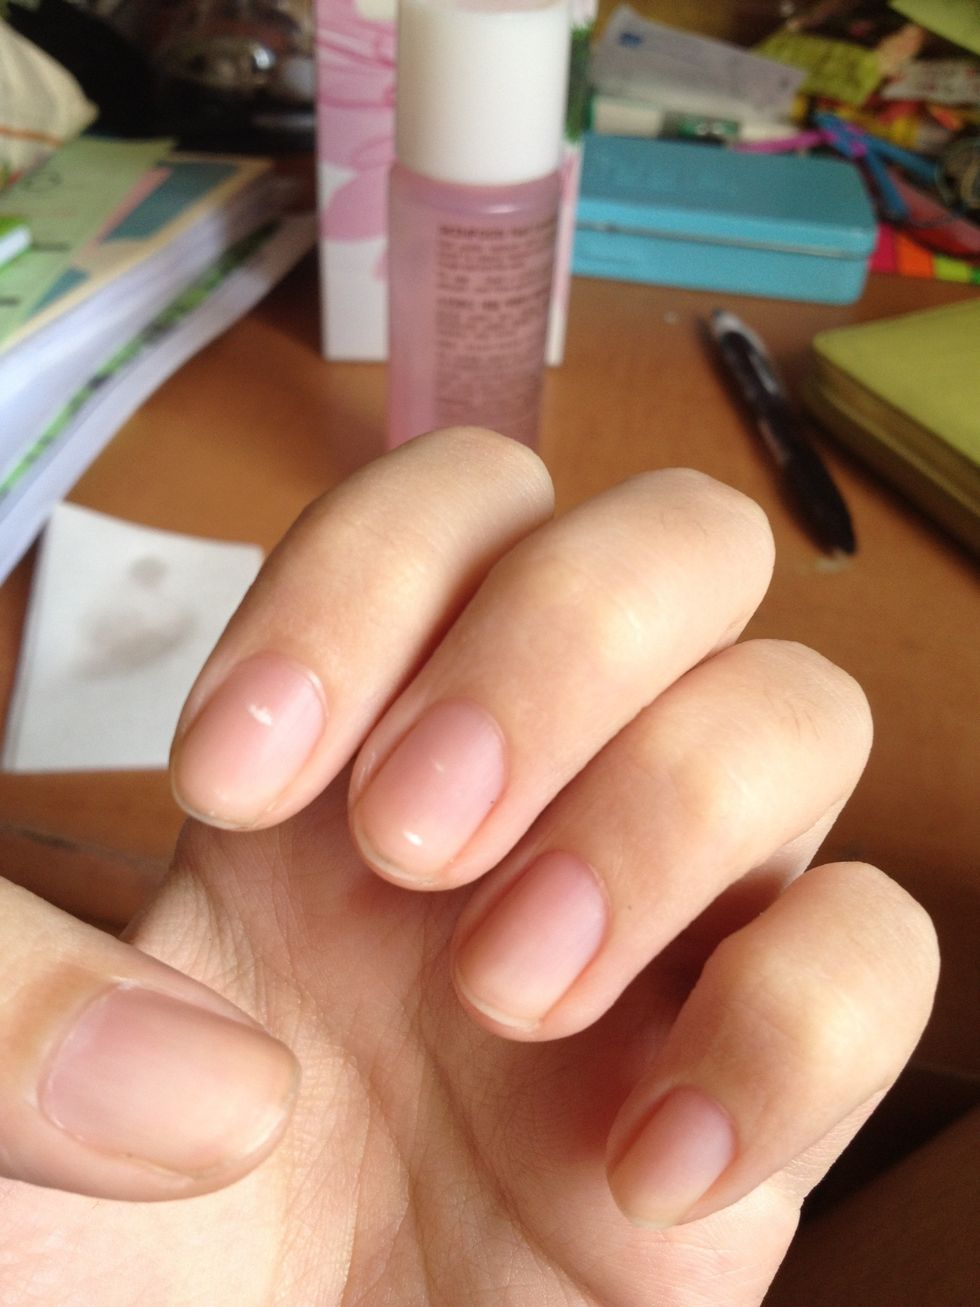
First, start off with clean nails. If you had polish on before, clean it all off.

Now, apply one coat of your base polish. This helps make the nail smooth for your coloured polish to paint on later. It also protects your nail from staining.
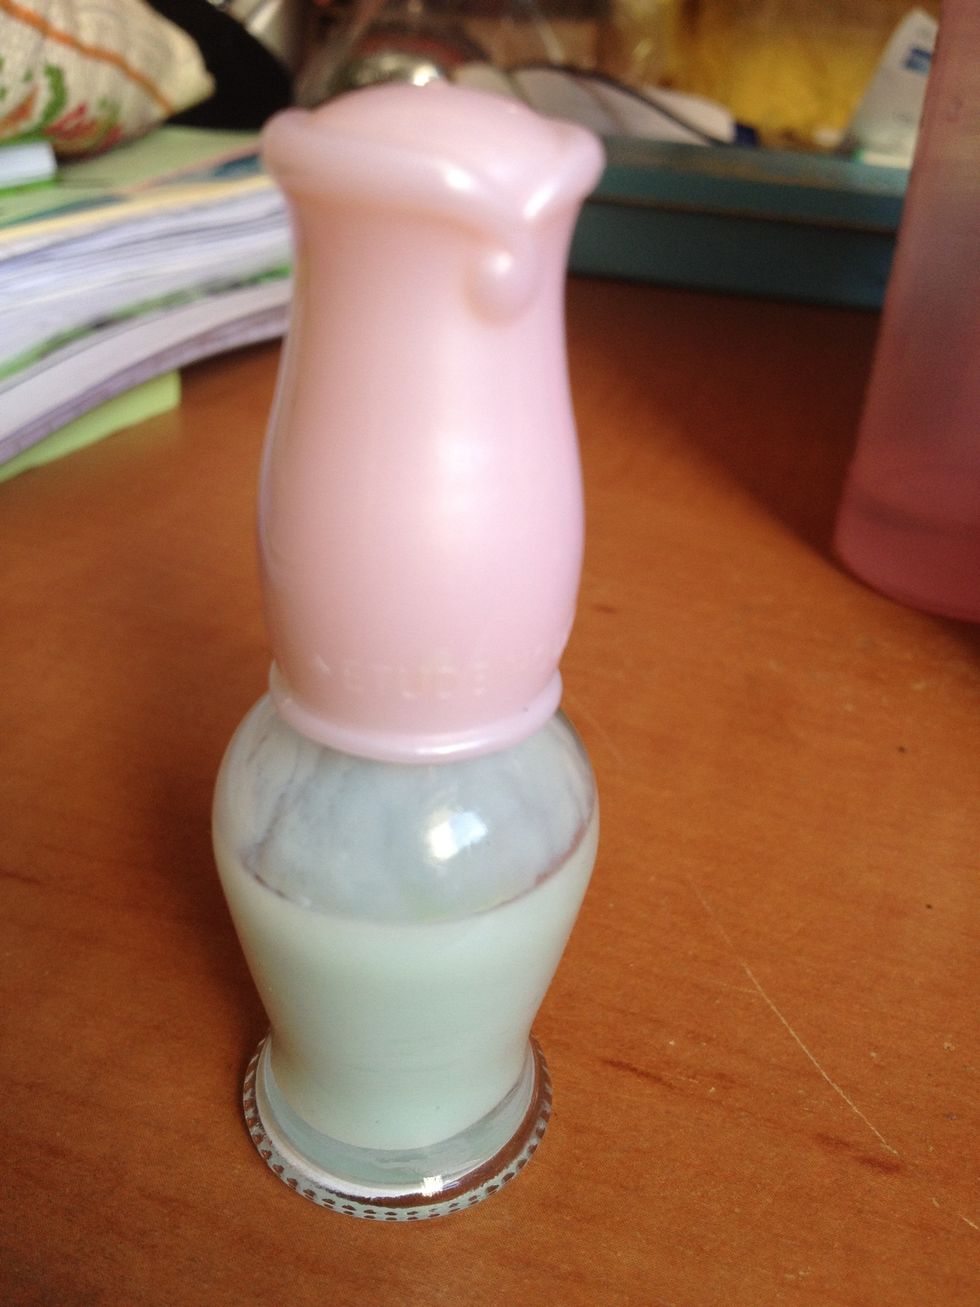
Here's the base coat I used. It's a small, cheap bottle from Étude House that cost SGD$2.50. I don't bother getting really expensive bases, but you can if you like.
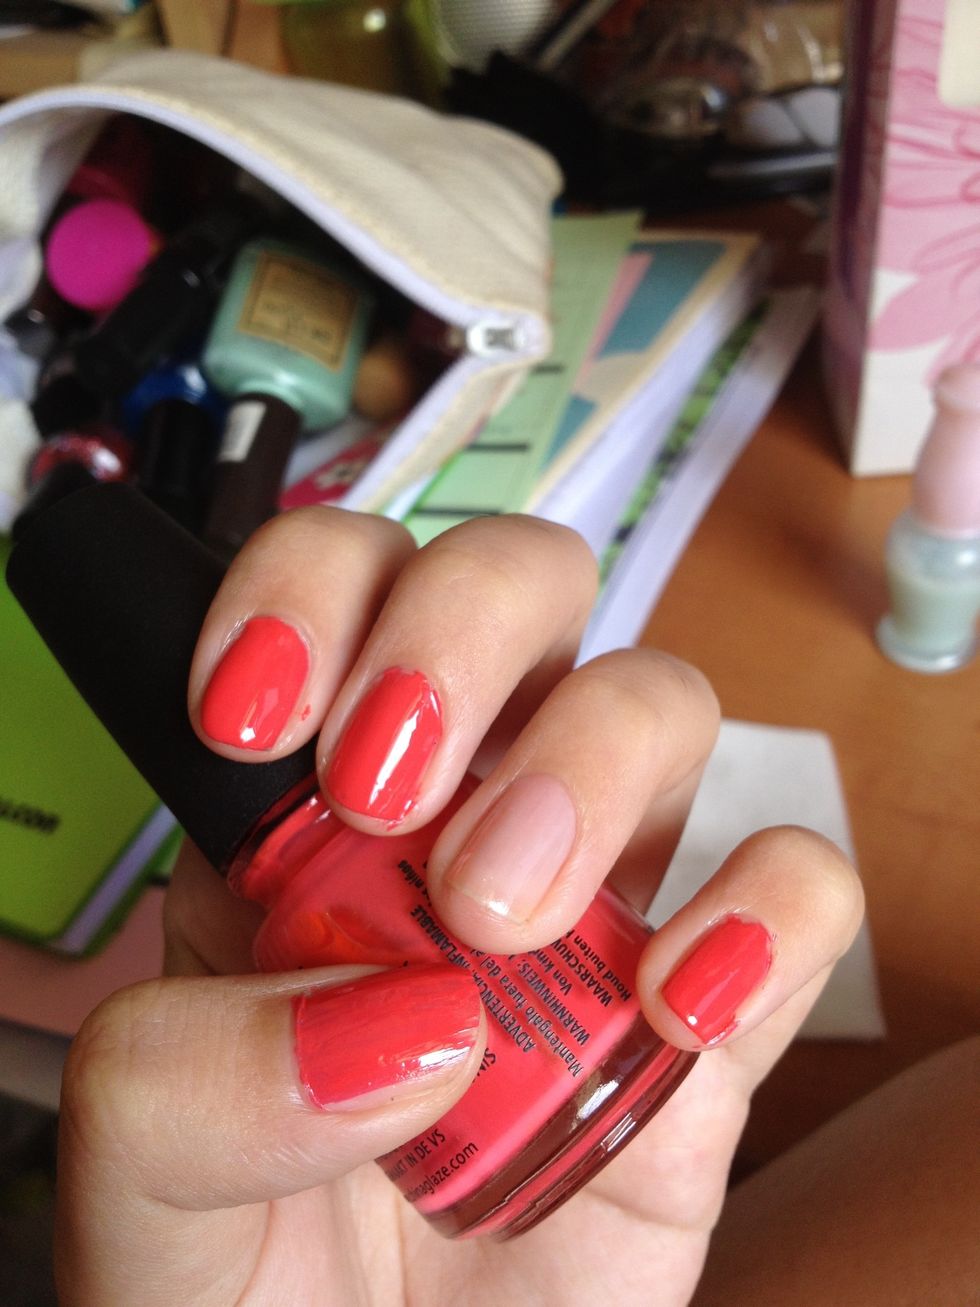
After your base coat dries, paint on your colour nail polish. Don't worry if it gets messy around the edges, we'll clean it up later. Skip the ring finger if you want to do an accent nail.
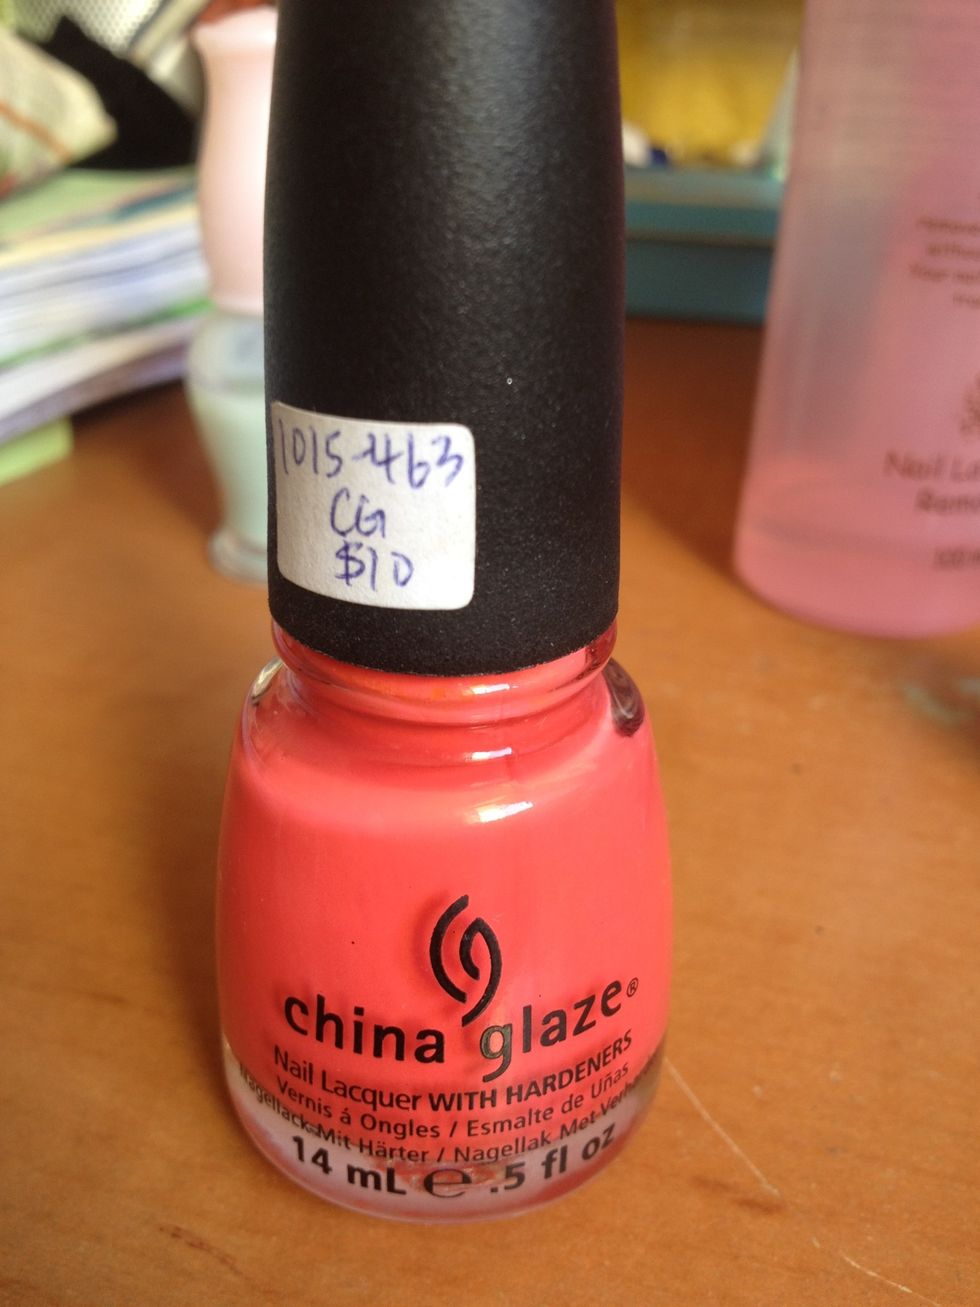
This is the colour I used. It's a very nice salmon pink that I got from China Glaze for SGD$10.
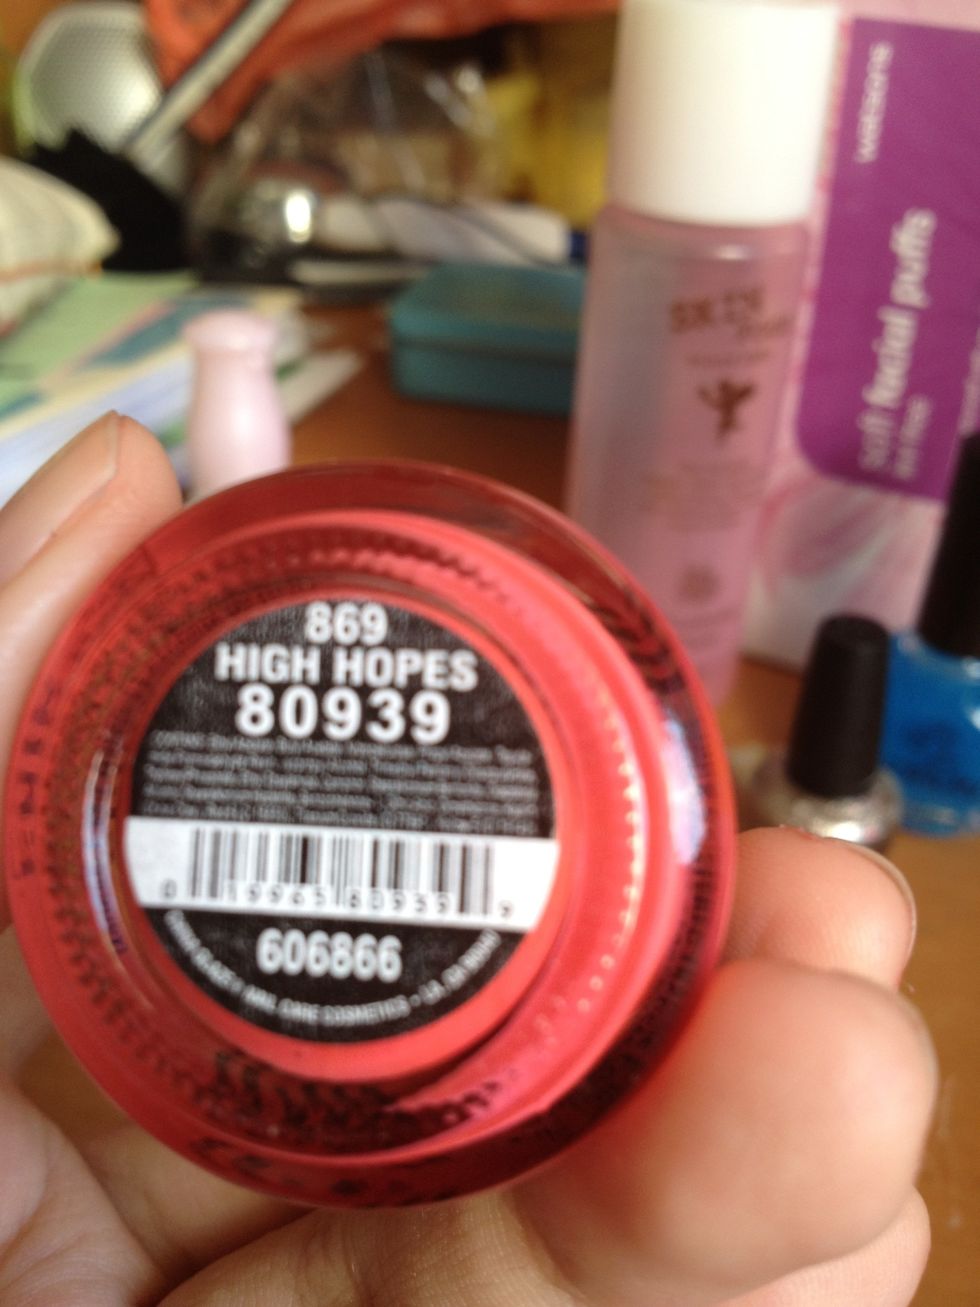
This is the label on my polish, if anyone's wondering. The colour's called High Hopes.
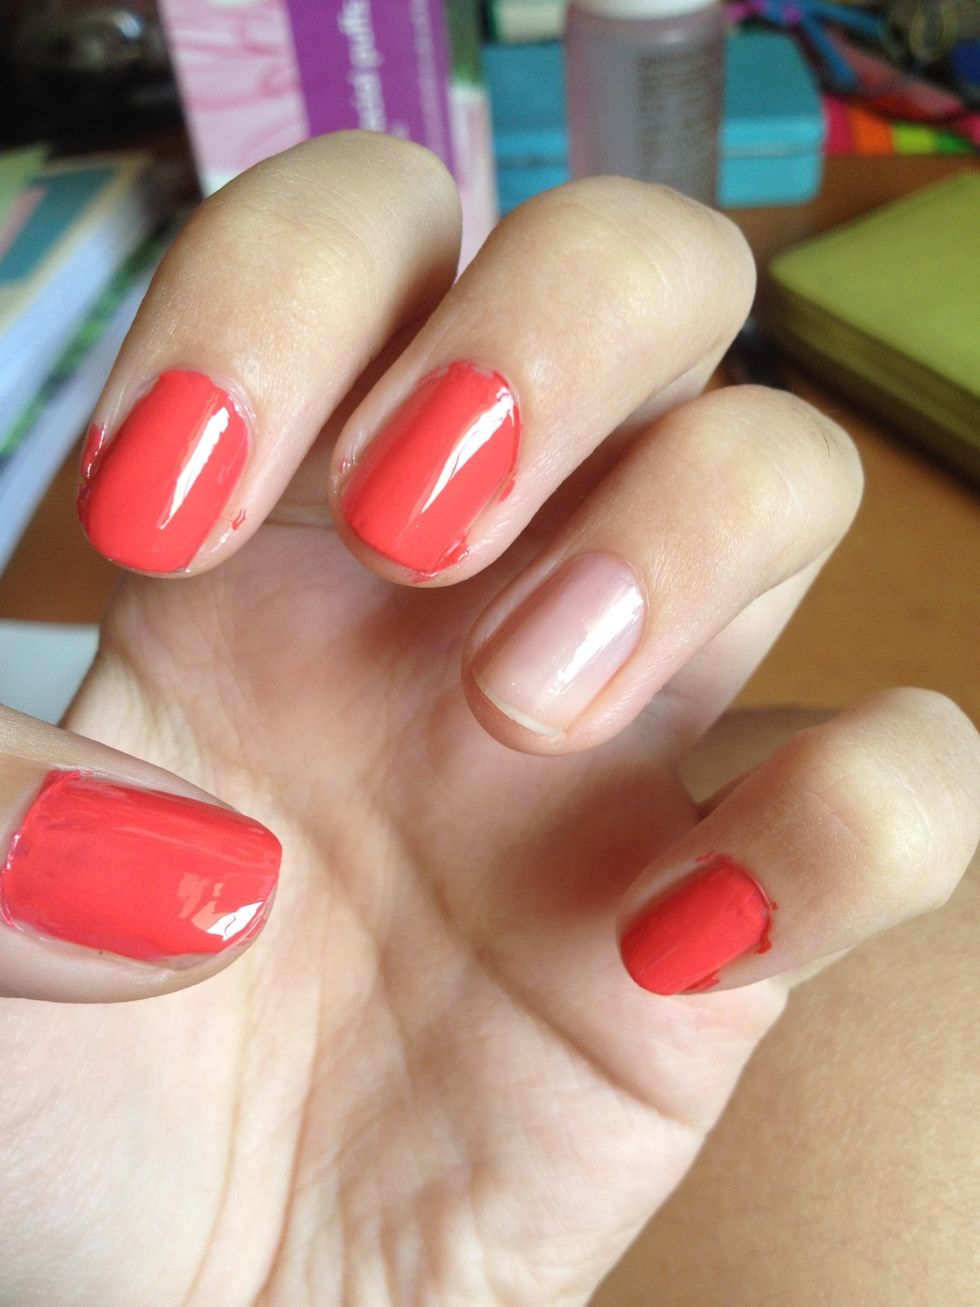
I painted a second coat after about 10 seconds. You don't need to wait till its completely dry, as long as the surface is generally dry. I test this by tapping my finger lightly against the nail.
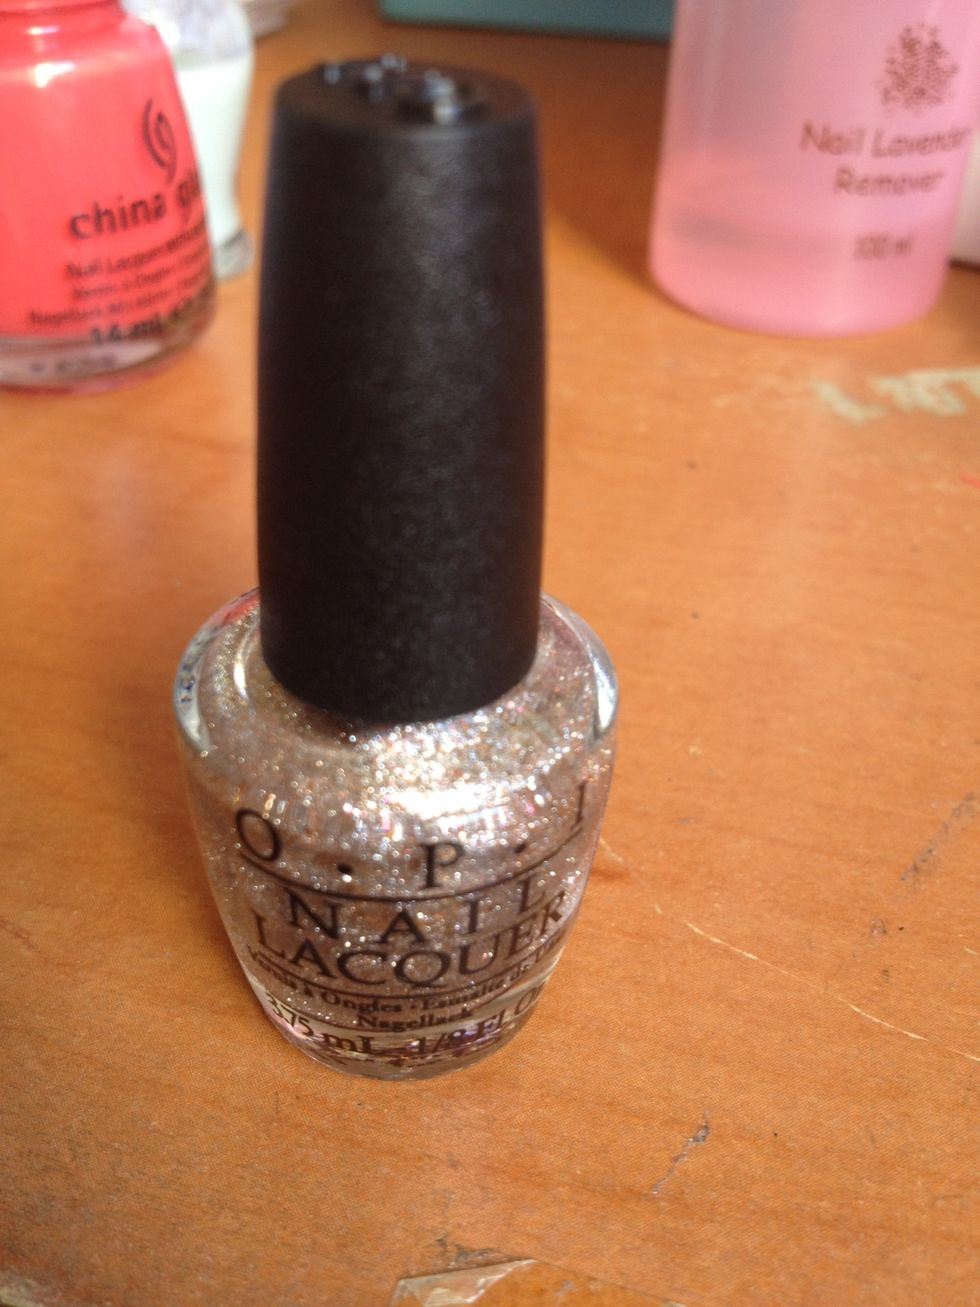
Now time for the glitter! This is a silver glitter from OPI's Muppets collection. It's a mini bottle that came in a pack of four as a gift.
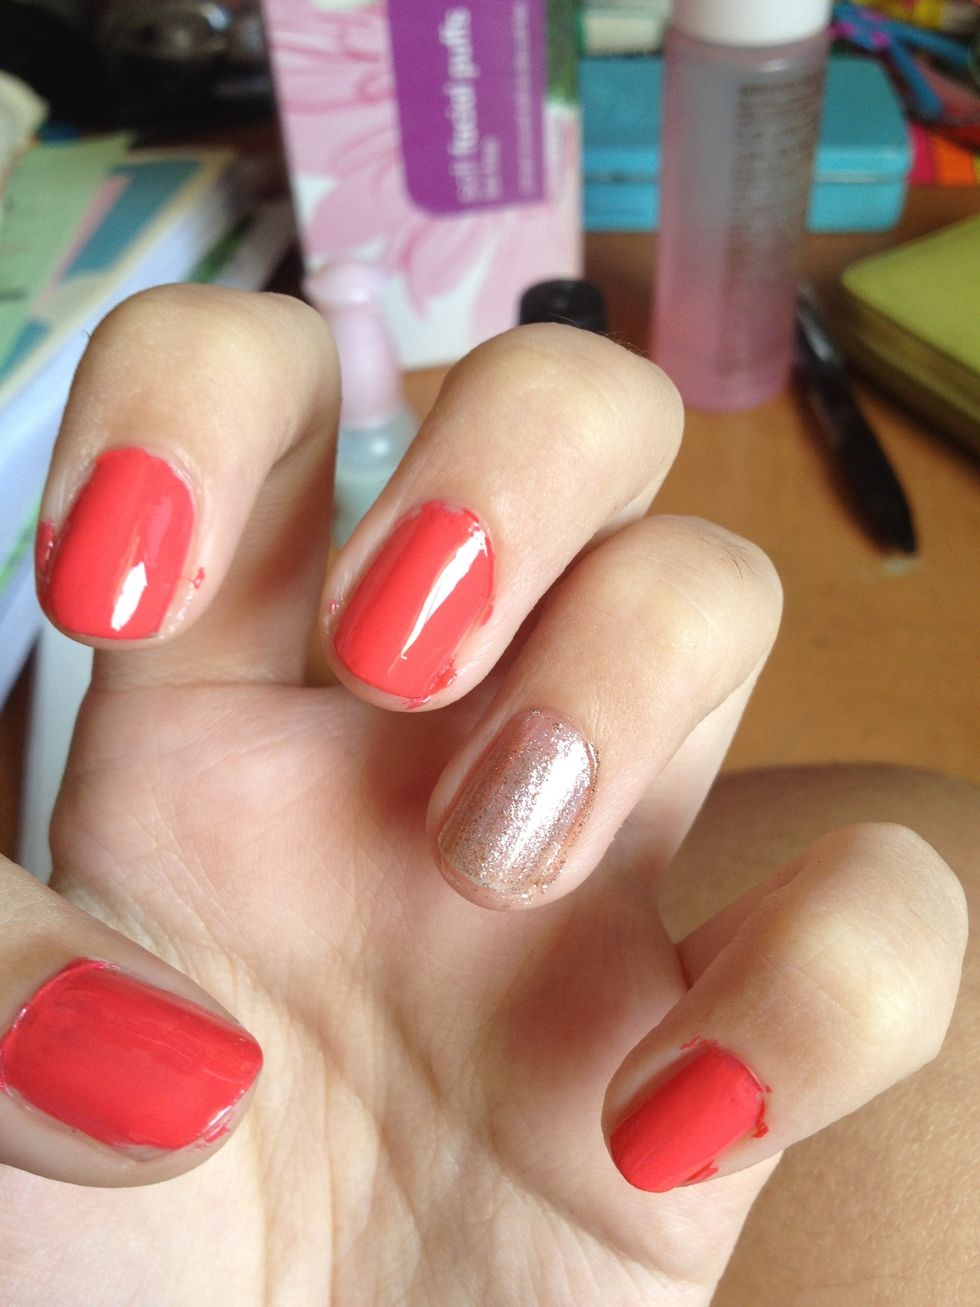
One coat on my ring finger....
And another coat! Feel free to paint a couple more coats. I usually stick with 2-3 coats for glitter mainly because it gives really good coverage while not being a pain to remove.
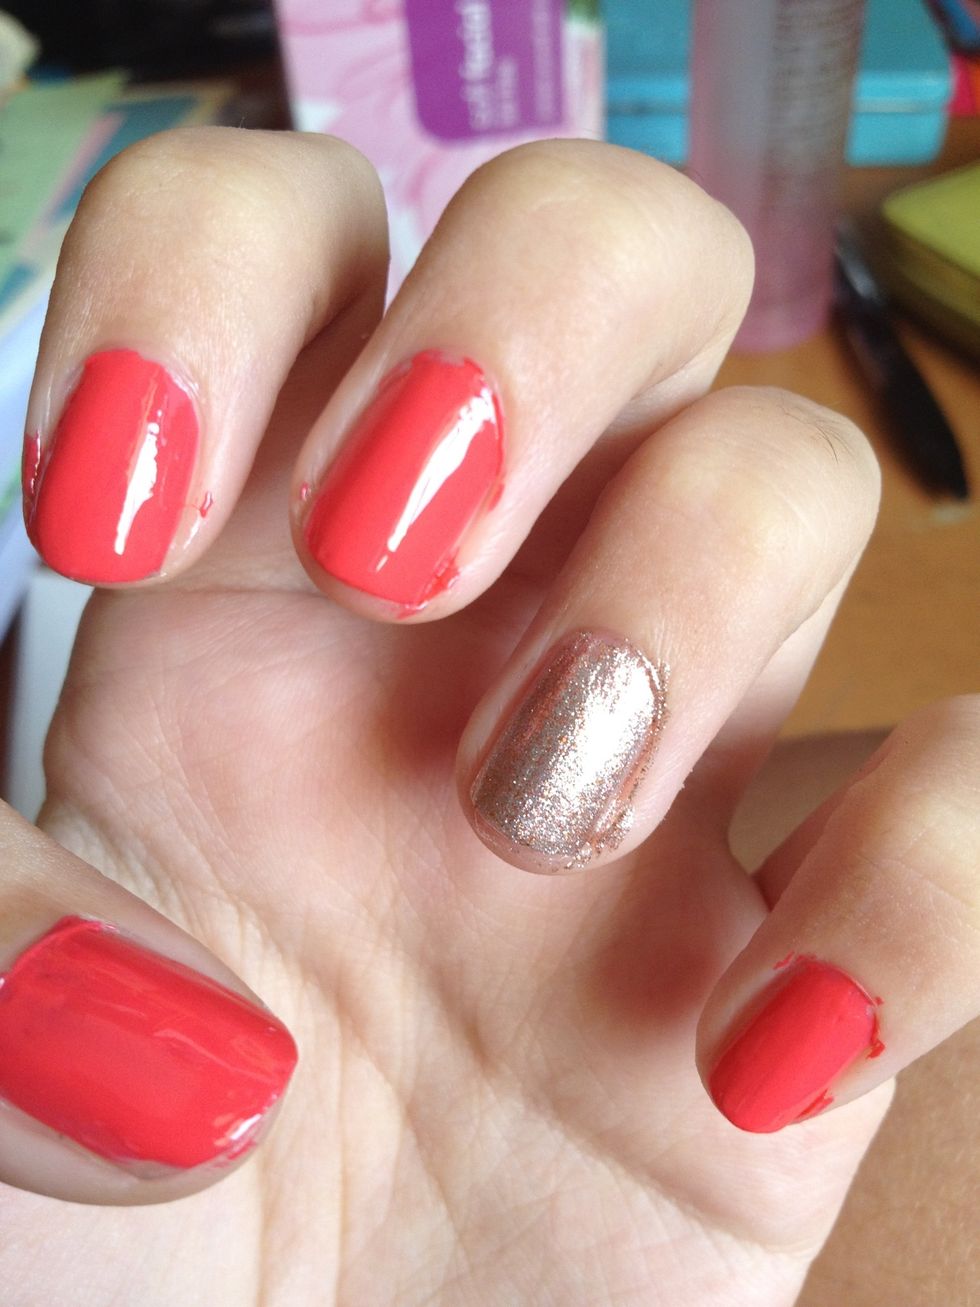
Now, take a Q-tip. I bought a huge box for about SGD$9.00, and they last me pretty long, so consider investing! If you have no Q-tips at home, use some cotton pads.
Soak it in some remover and use this to clean the excess polish around the side of your nails.
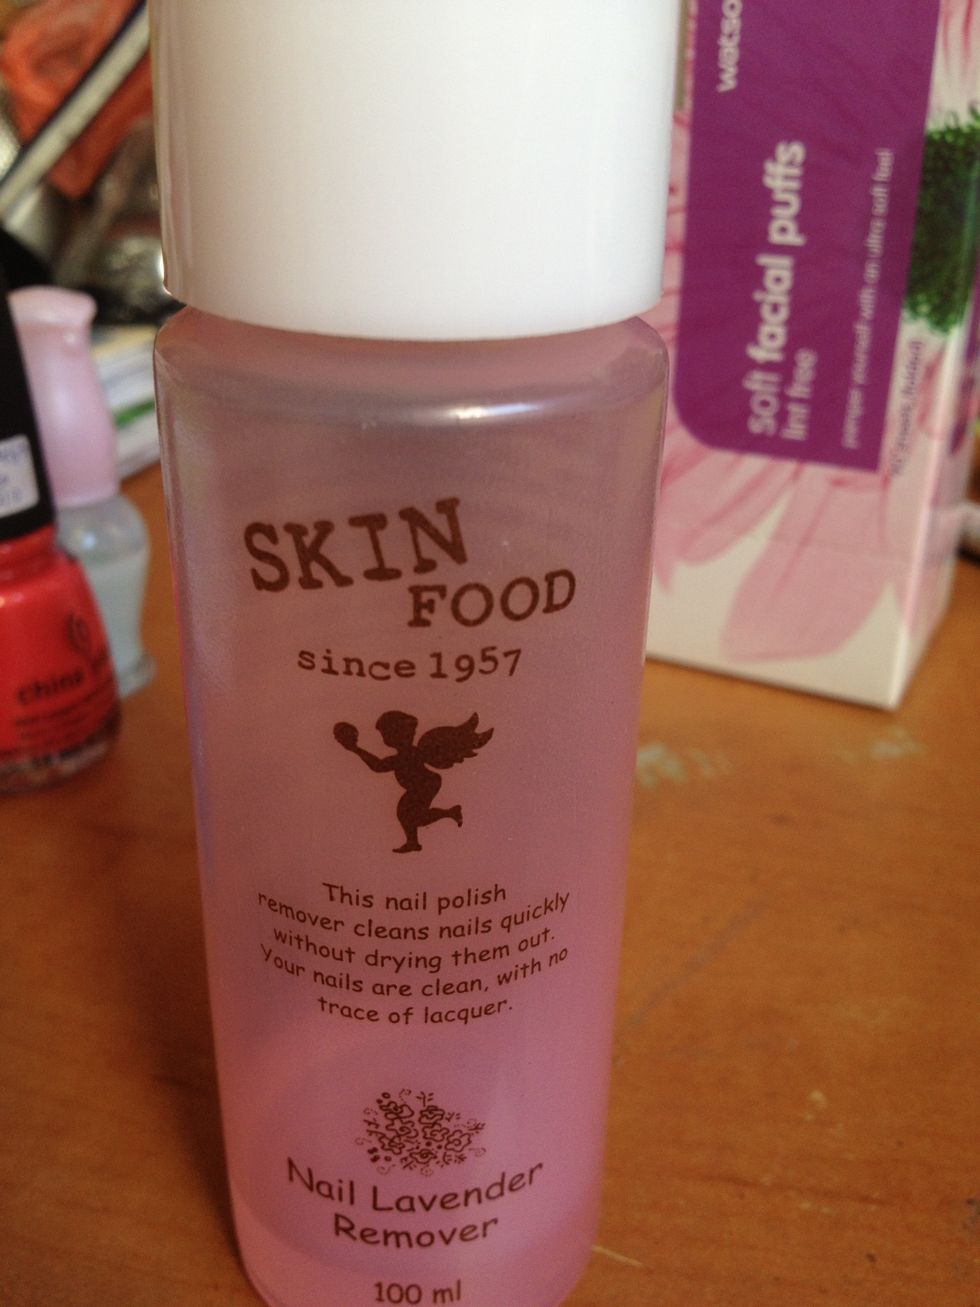
I use this Lavender scented remover from Skinfood. It cost somewhere around SGD$7.90.
This is what it looks like after cleanup. Tip: do the nails with glitter last, so the excess glitter polish on the Q-tip doesn't mess up your other nails.
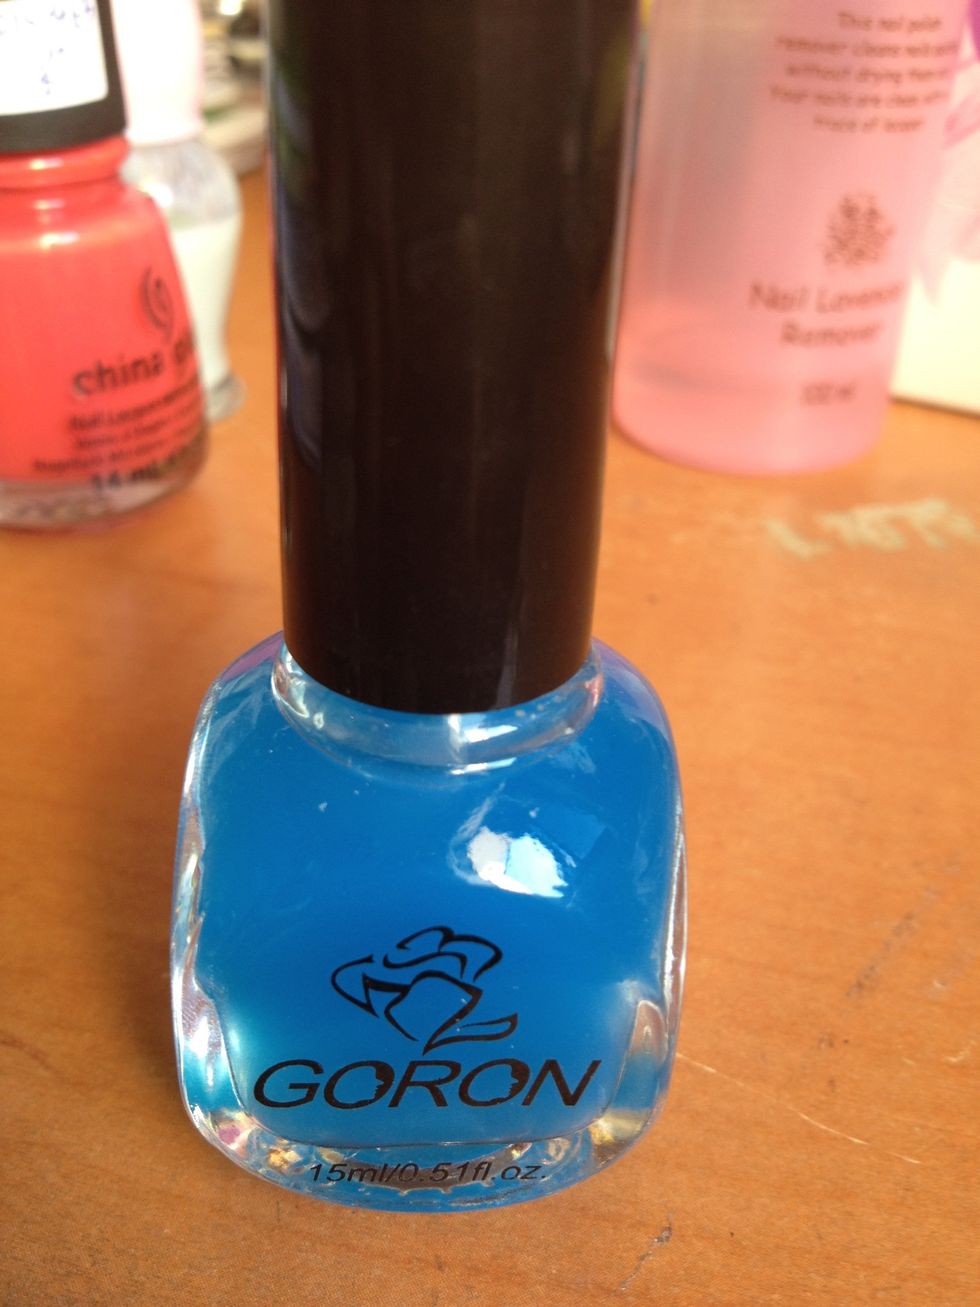
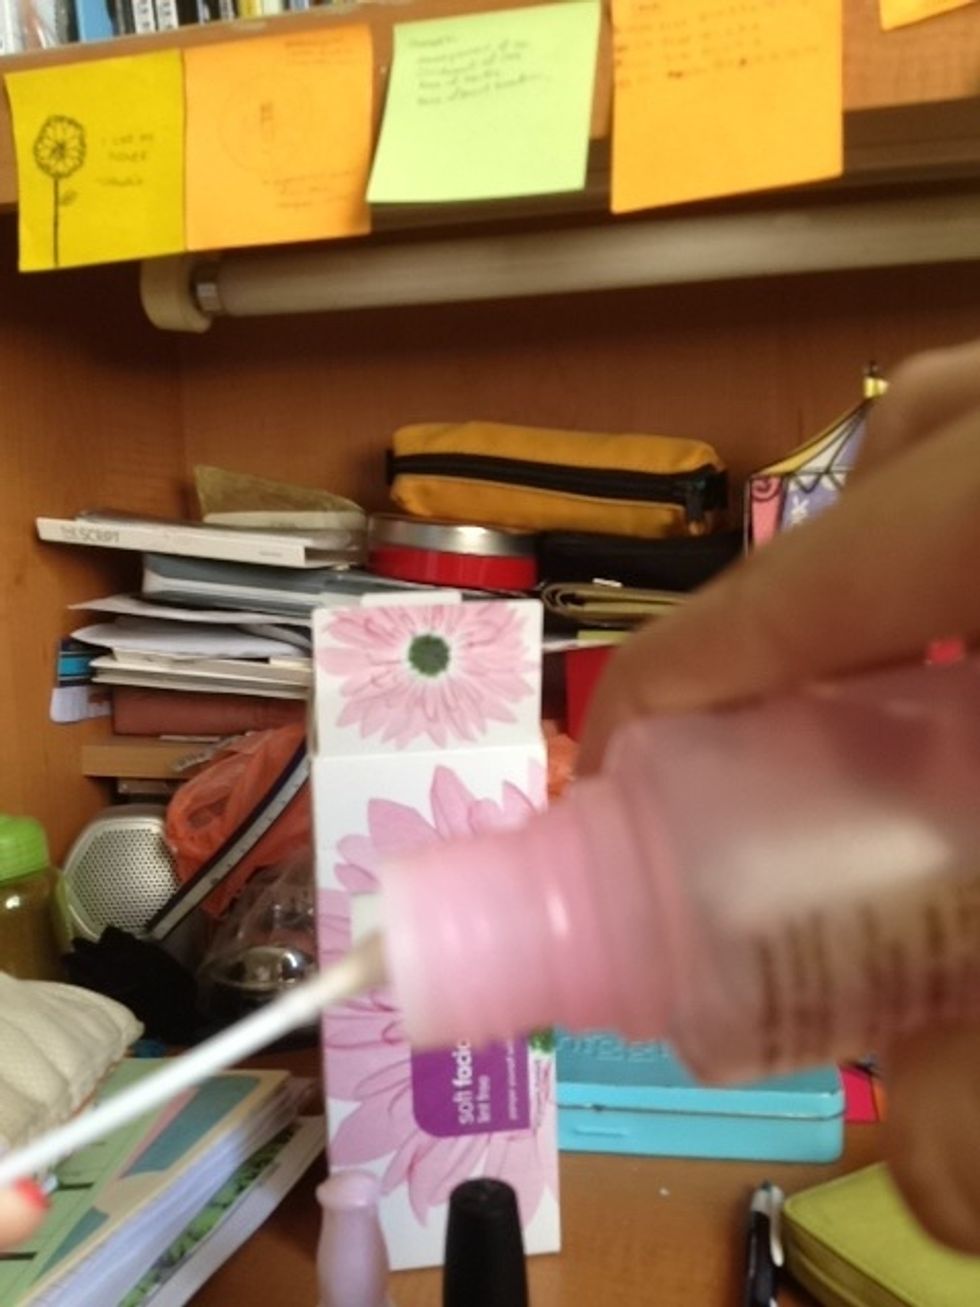
Now add a top coat. I used this cheap top coat that my friend got from one of China's night markets for about SGD$1.00. Not the best, but it works. It's slightly tinted blue.

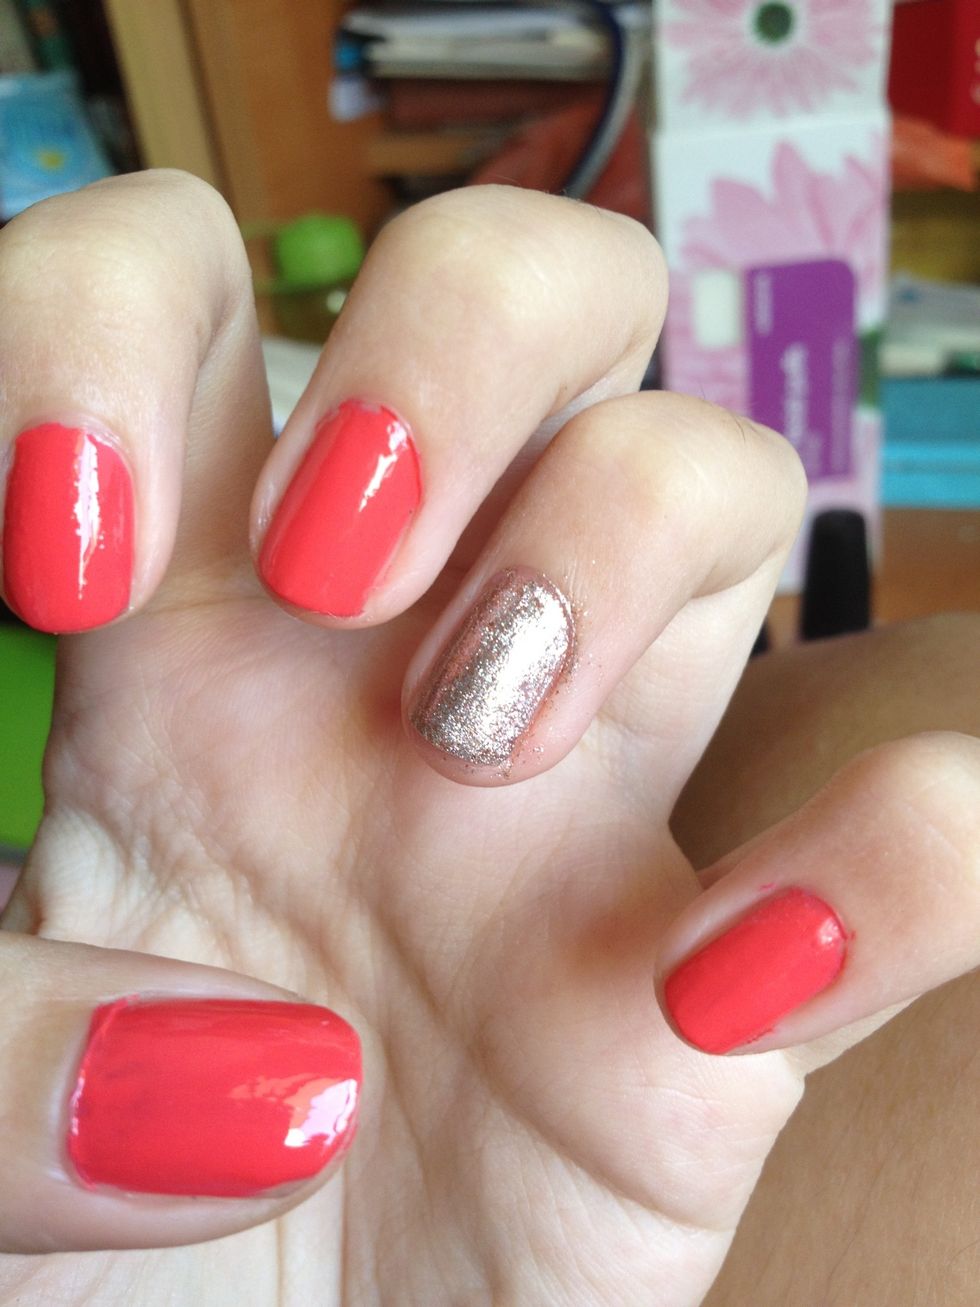
End result! Try not to let your nails touch anything for the next 1h or so, and remember that after that, it's still only surface dry. It takes about 3-4h to dry completely. Enjoy your new nails! :)