The Conversation (0)
Sign Up
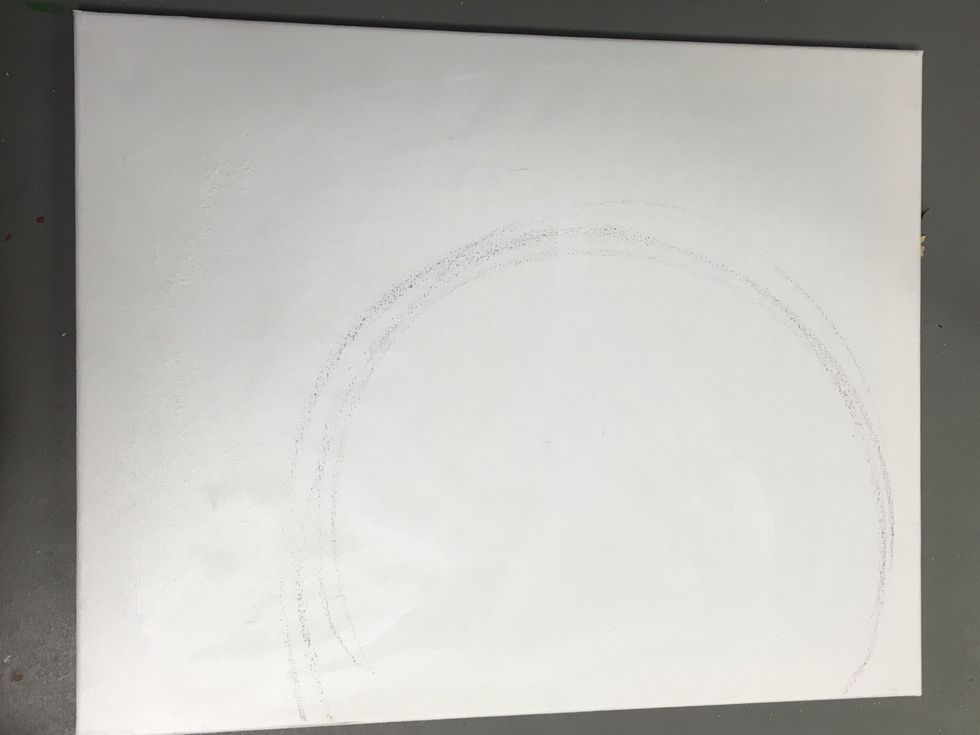
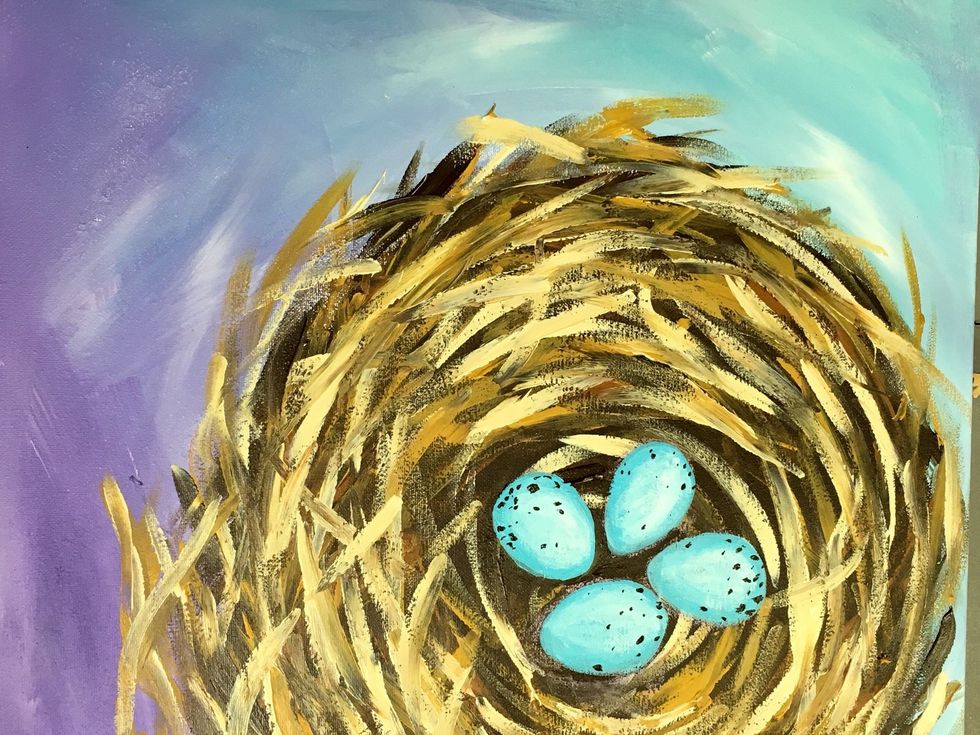
Sorry, all of these photos are sideways, but I can't figure out how to rotate them in Snap guide. The orientation of this painting really doesn't matter. So, to begin, use chalk to draw a circle.
The circle needs to be large and hanging off the canvas.
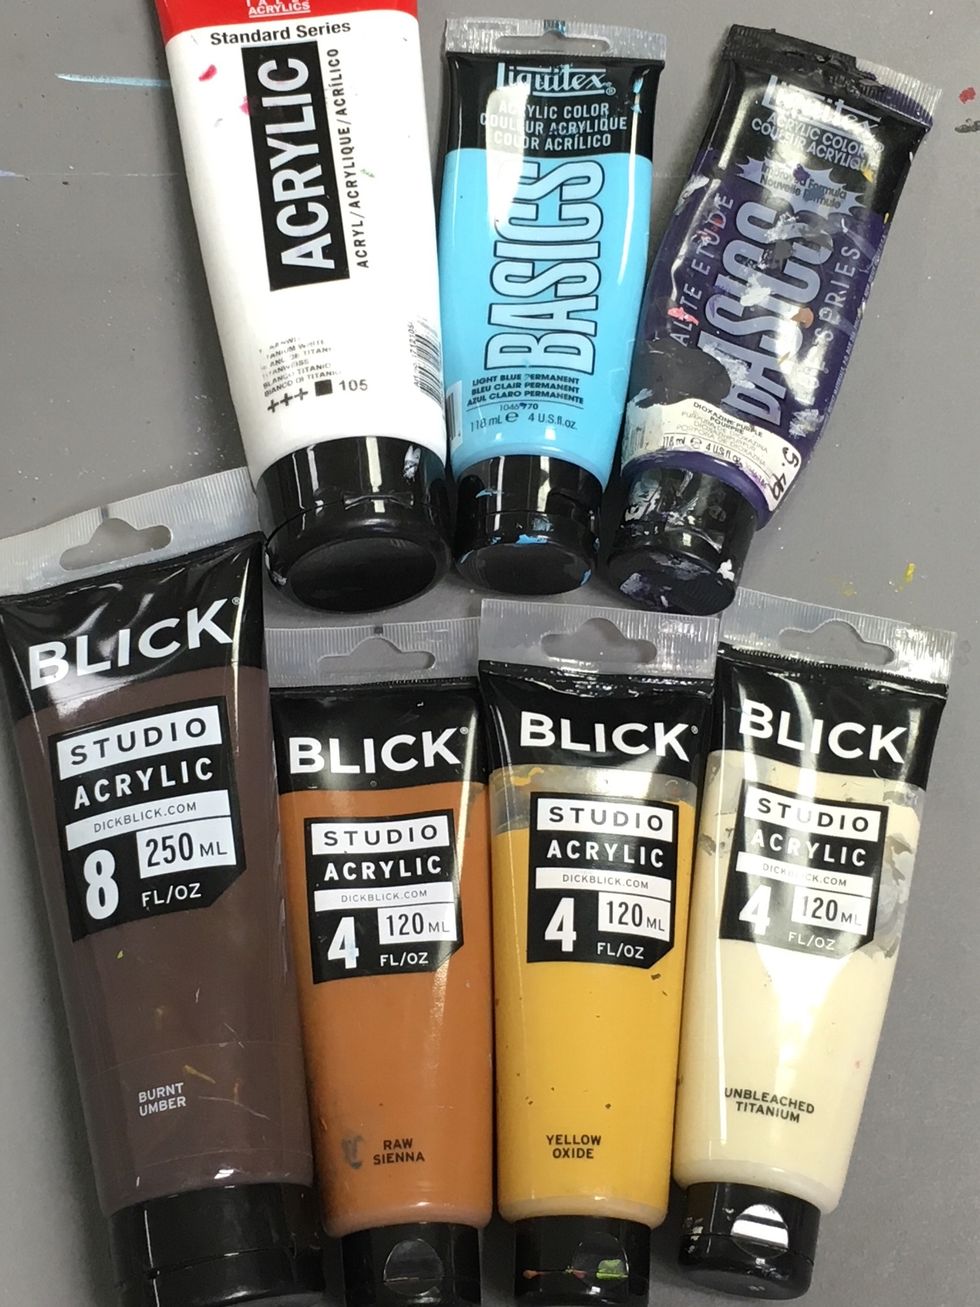
Here are the colors of paint I used.
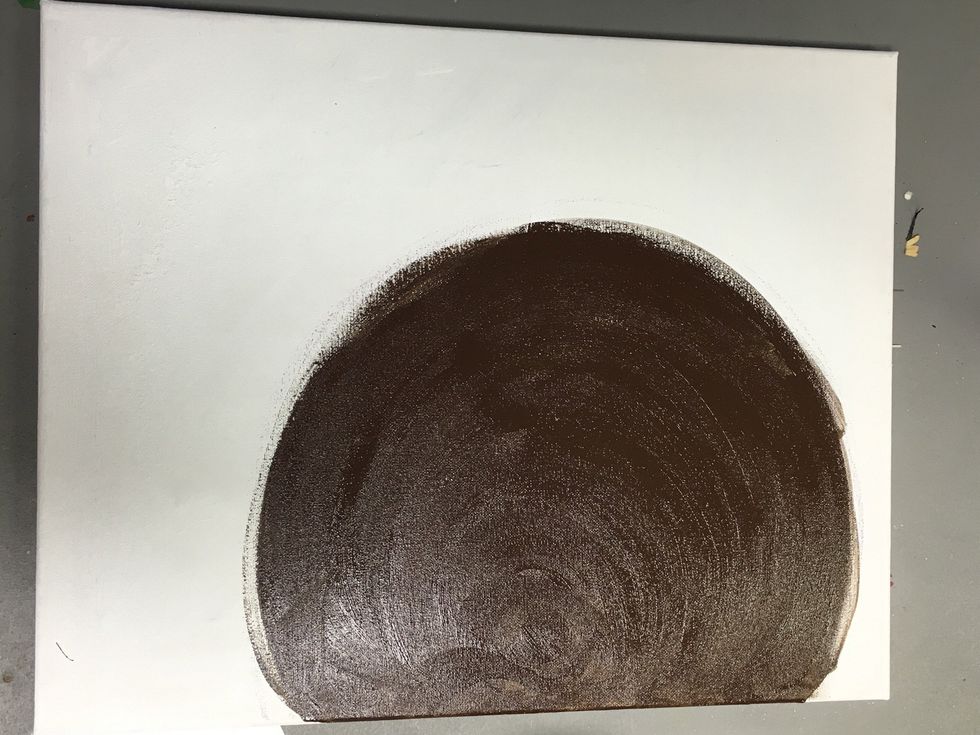
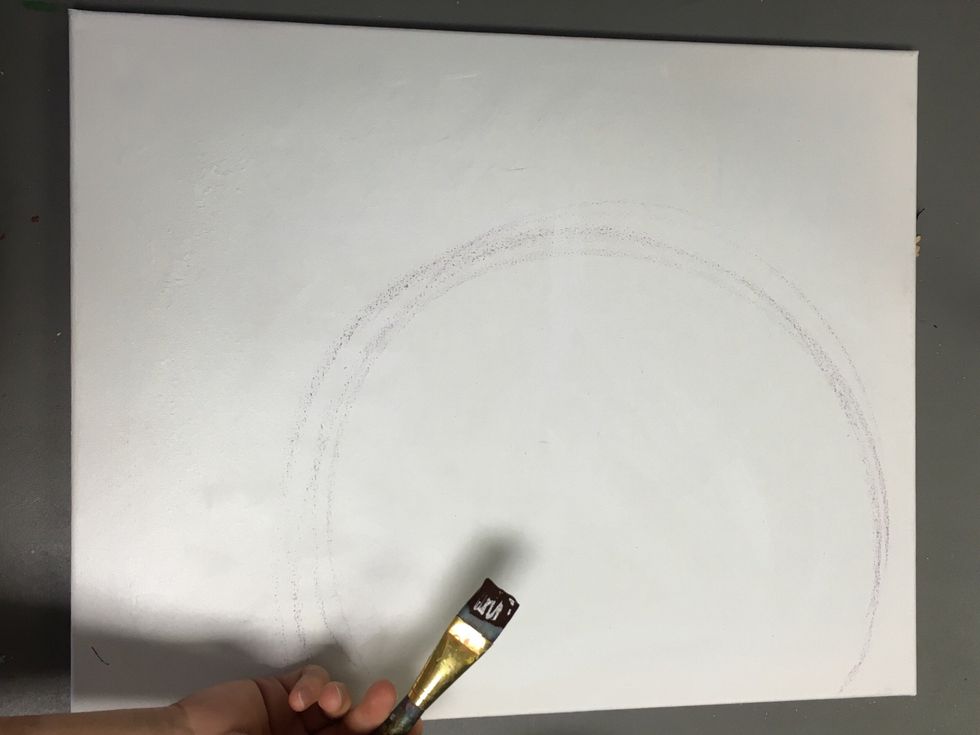
Next, Paint the Circle brown.
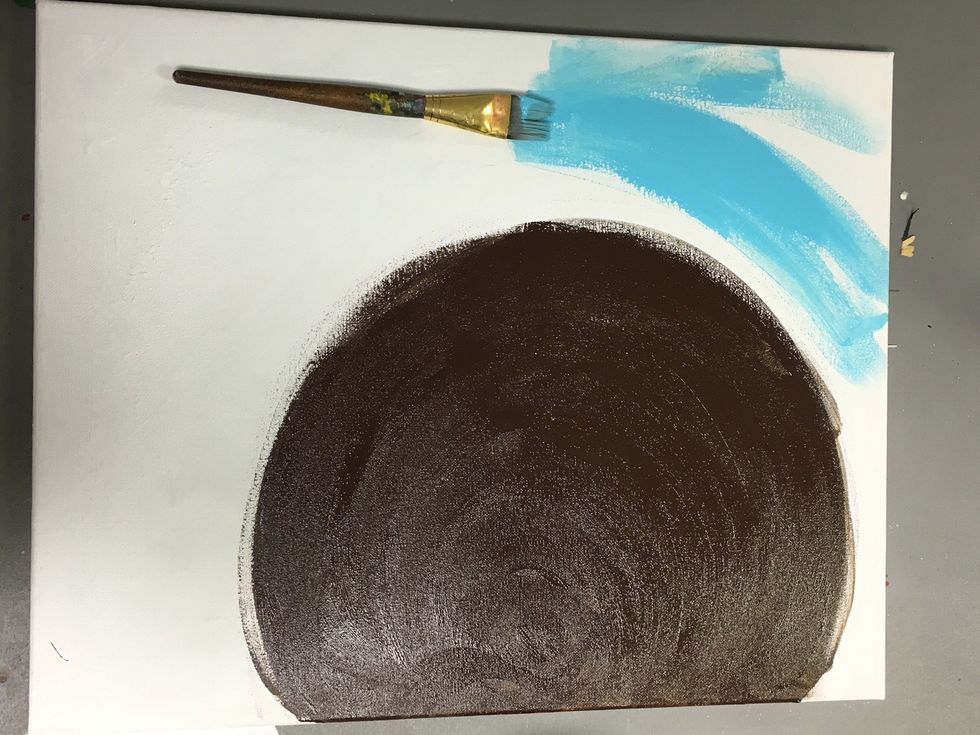
The back ground will be a mixture of blue, purple and white. Mix these colors however you want, as rough or smooth as you want.
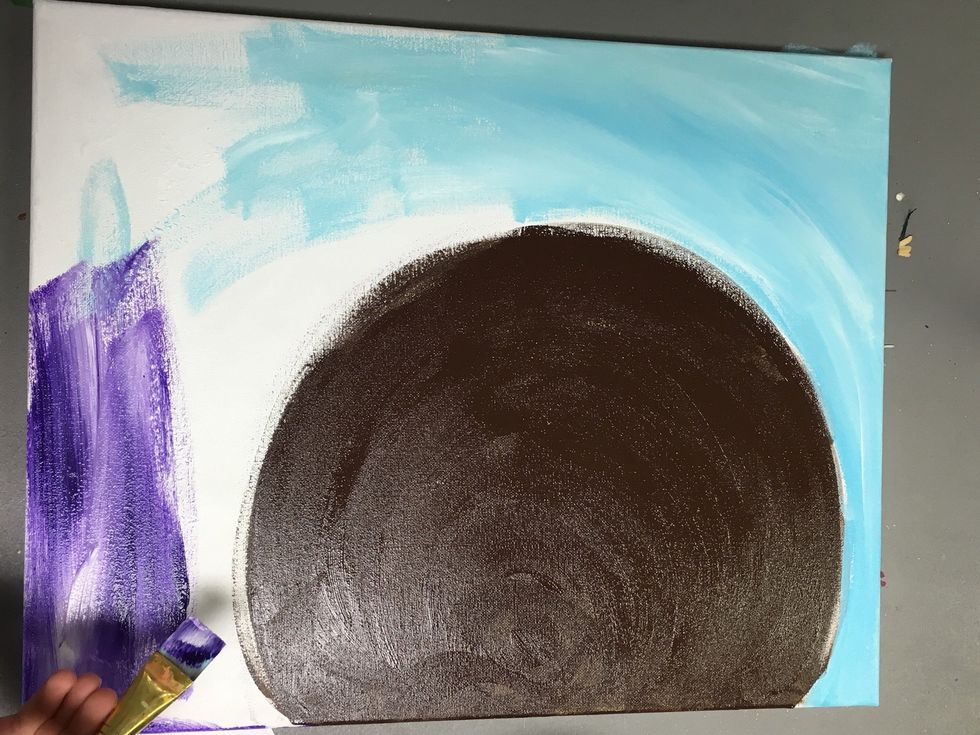
I blended mine from light blue to light purple.
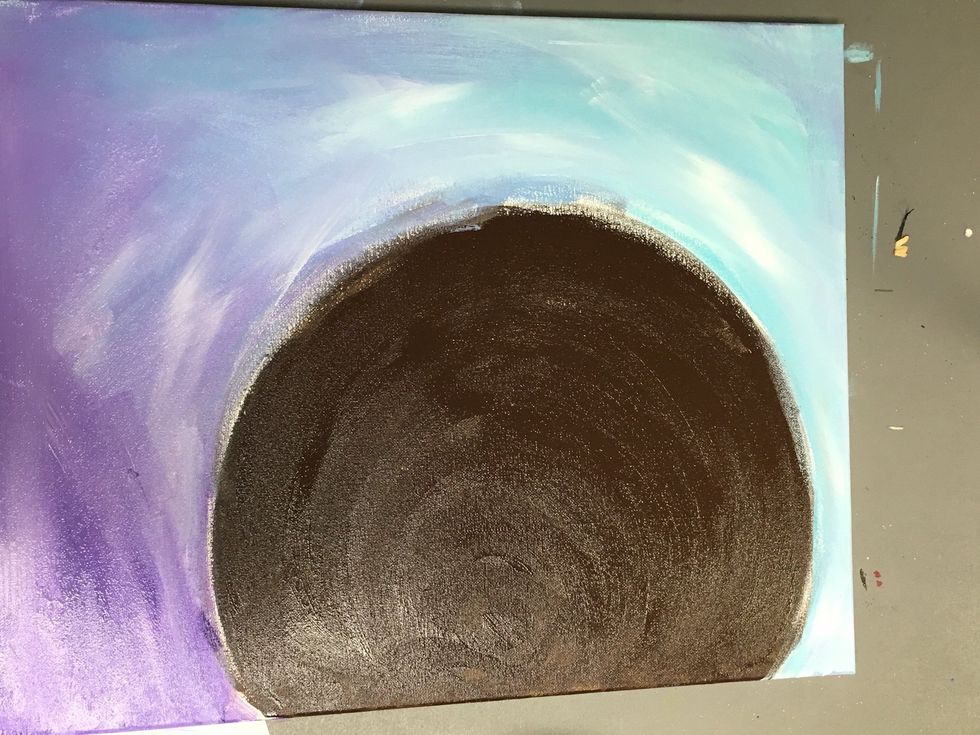
You can see my brush strokes through out the background.
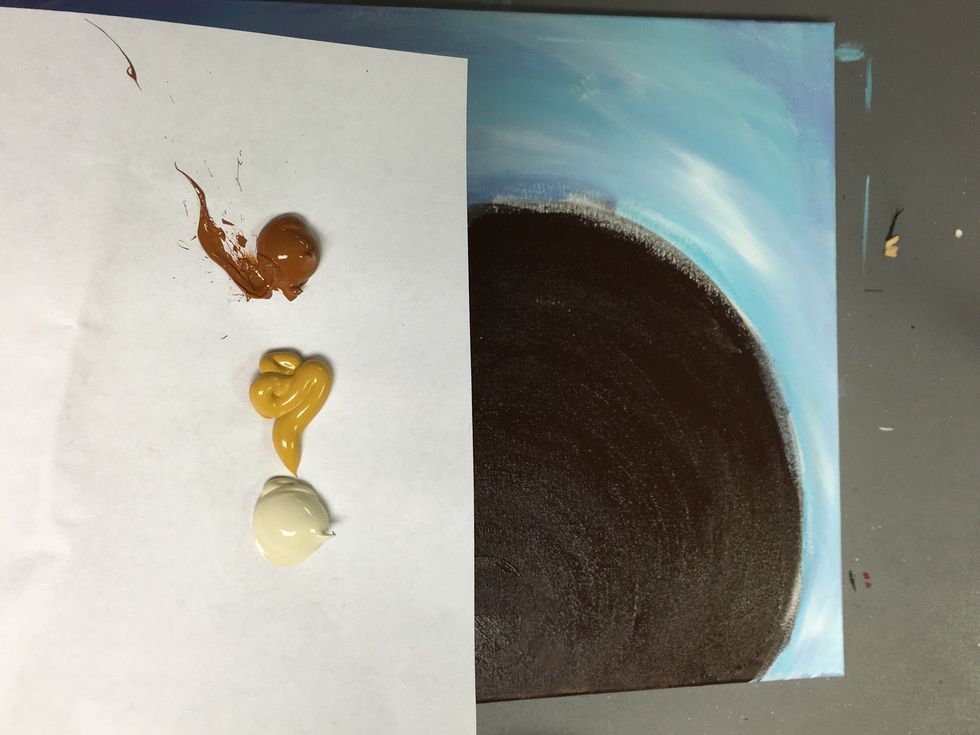
Now for the nest. I am using three colors, light brown (burnt Sienna), mustard (Yellow ochre), and off white (unbleached titanium).
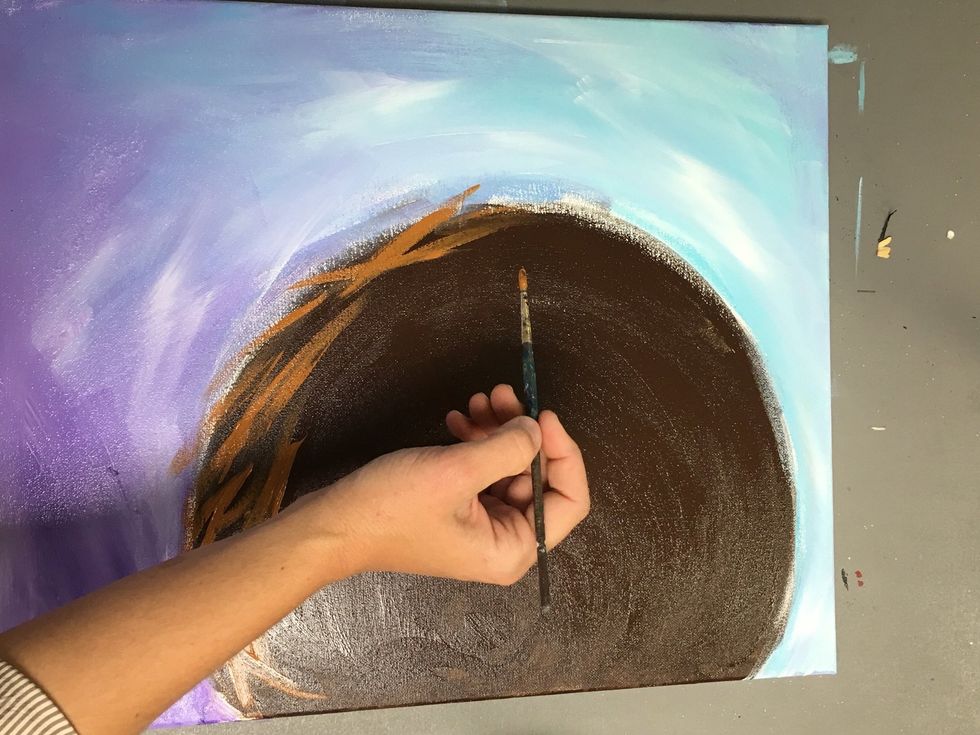
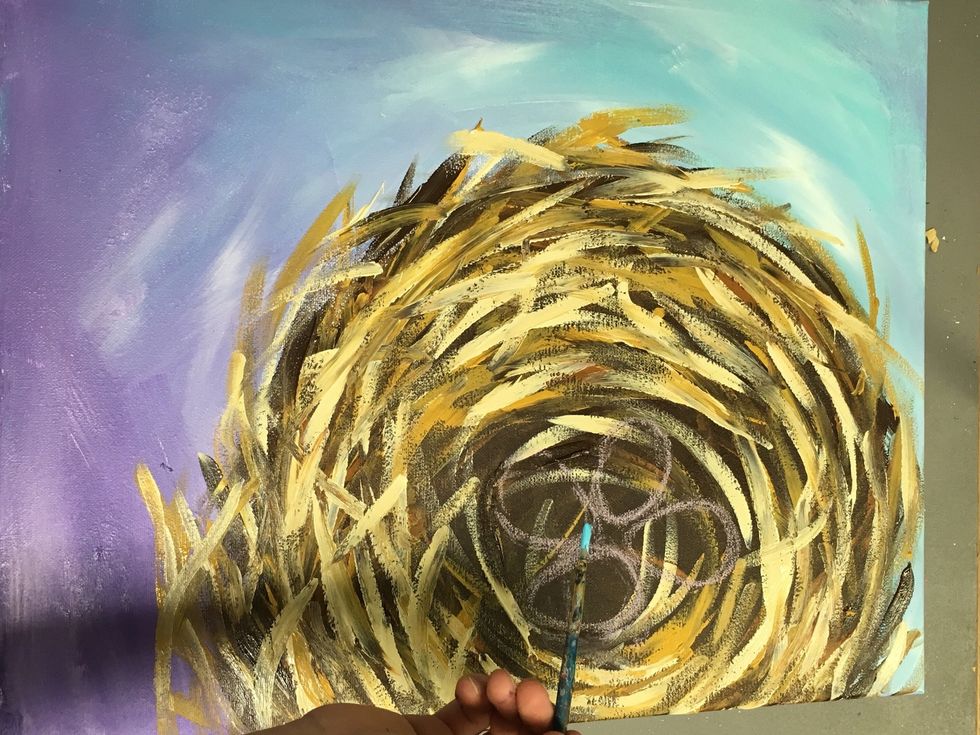
Use a small round tip brush and start with the darker of the three colors to add a twig like texture around the brown circle. Brush strokes should go off the circle and cross each other.
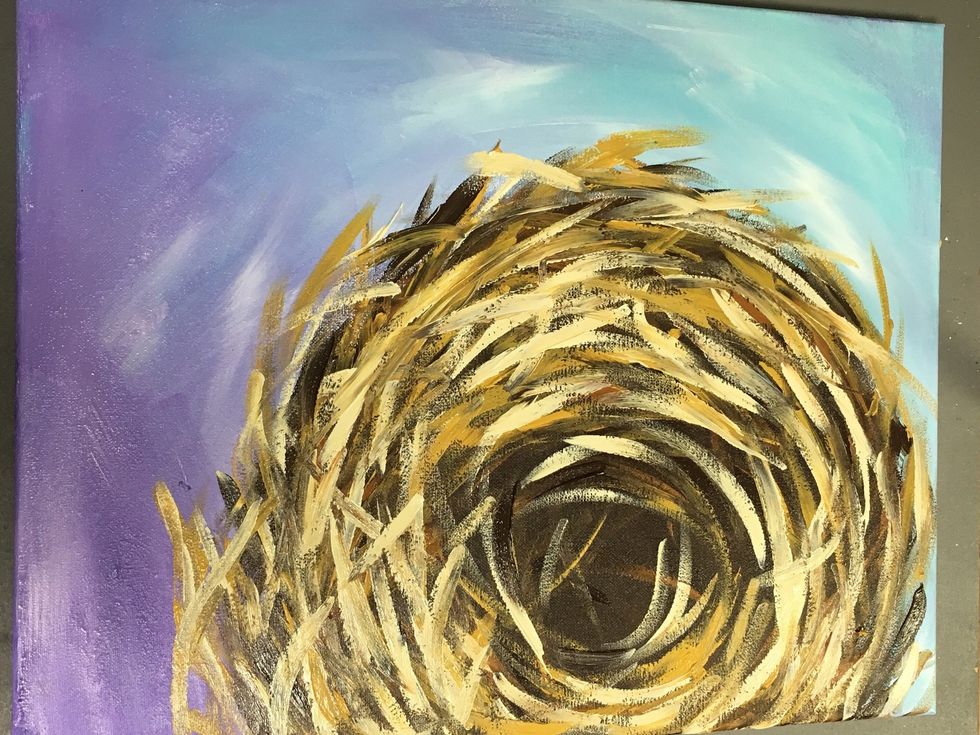
Keep doing this around the circle working from dark to light. Notice the textured strokes follow the contour of the circle which is darkest in the center.
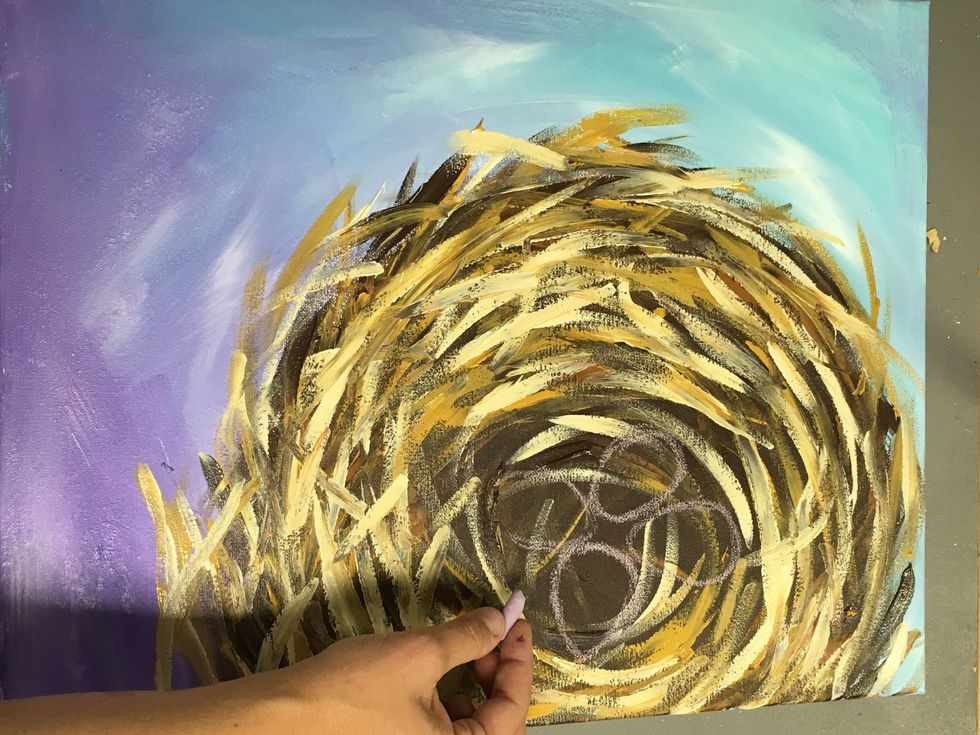
Allow that to dry for a few minutes, or break out the blow drier. Use your chalk to draw a few egg shapes. Make sure they are all the same size. I drew four, you can draw 2 or 3 or 4.
Use the same small brush to paint the eggs the light blue color. We will also use white towards the center of each egg to make them look more 3D.
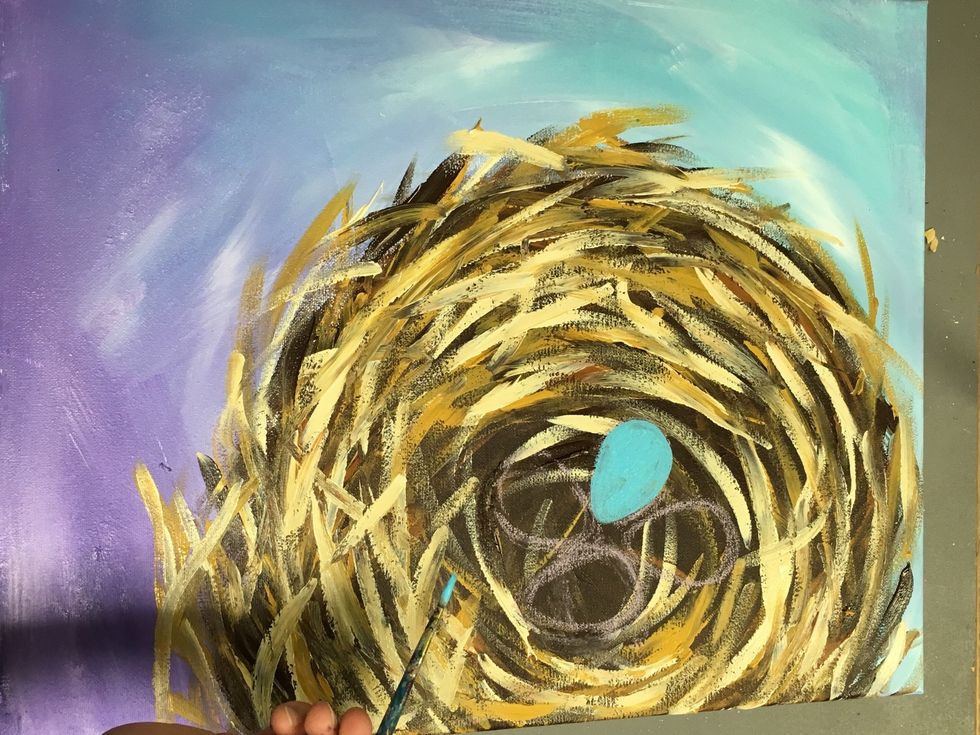
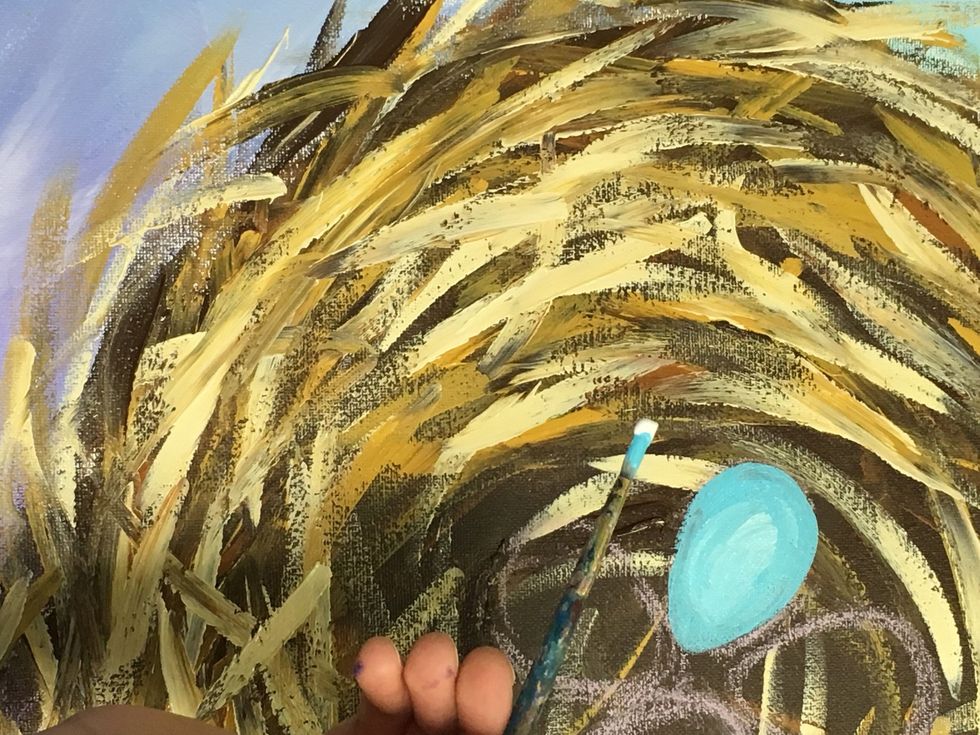
Blending in the White paint. Don't worry about rinsing your brush, allow the colors to blend.
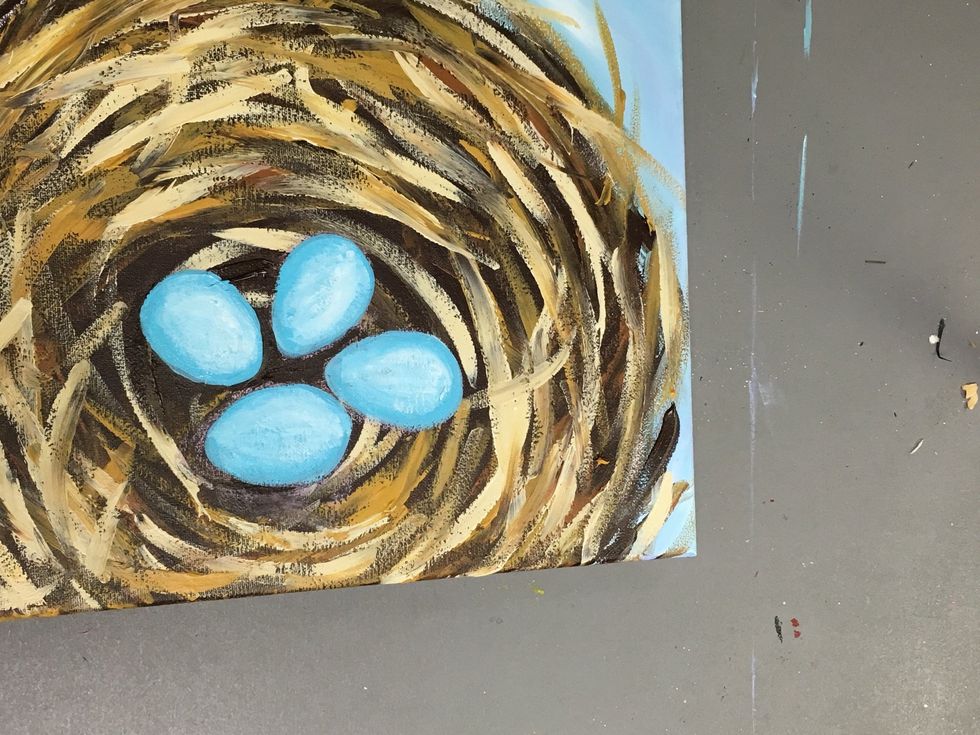
Notice they are a darker blue around the outer edges.
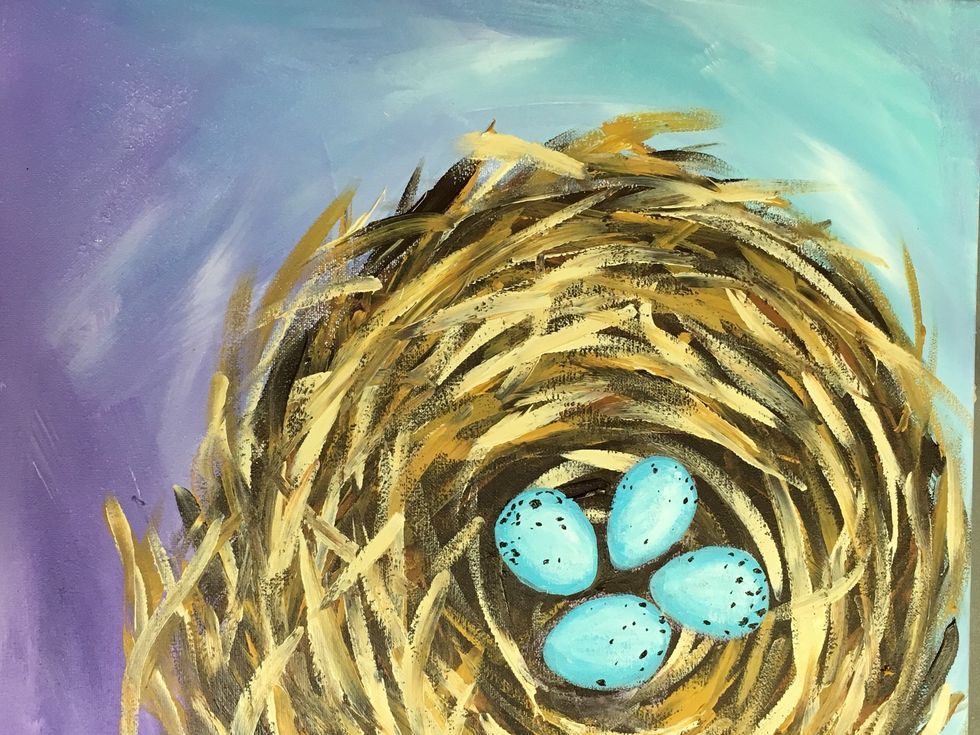
Lastly, add a few dark brown speckles of various sizes on the eggs.