The Conversation (0)
Sign Up
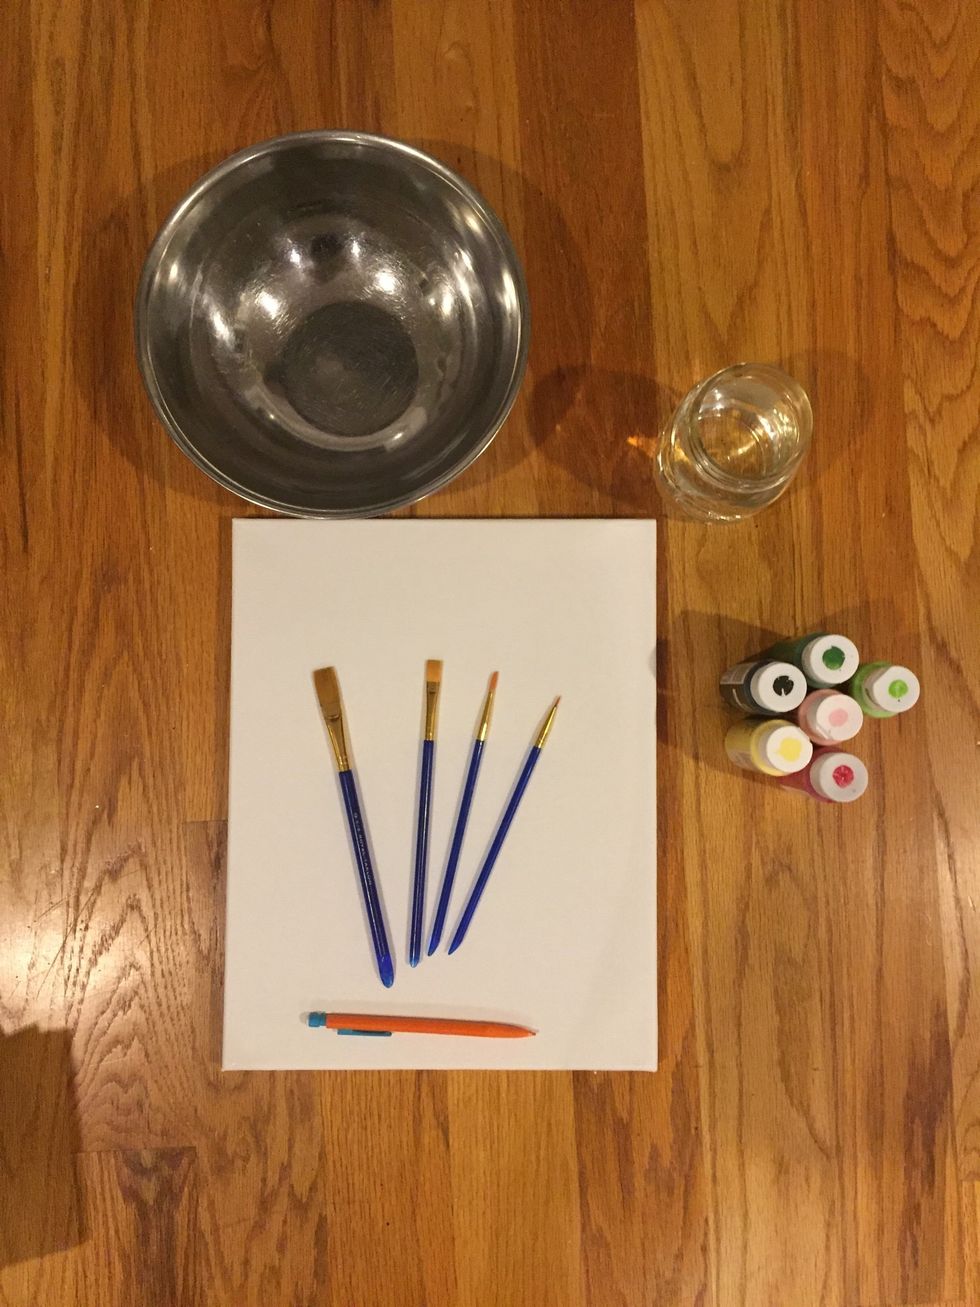
Start by gathering your supplies. You can use any size canvas you like; I used an 11x14. You can also use any color scheme you like, o chose pinks and greens.

Before painting anything, trace your circular object onto your canvas, this will serve as our guide for the perfect floral wreath. I used a medium mixing bowl, but use whatever works best for you.
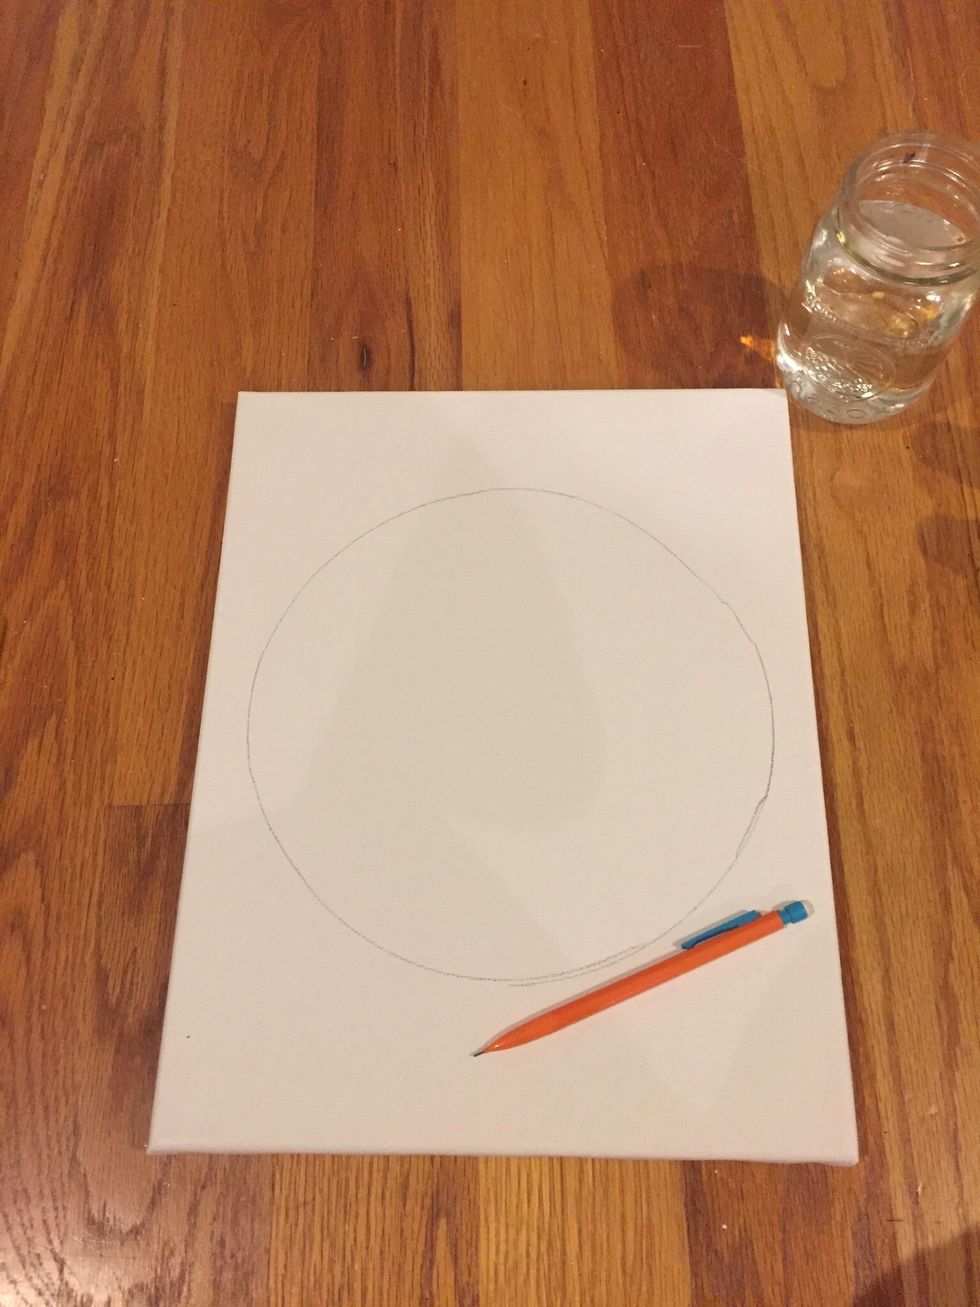
Your canvas should look something like this once you've traced your object. Don't worry, the circle doesn't need to be perfect.
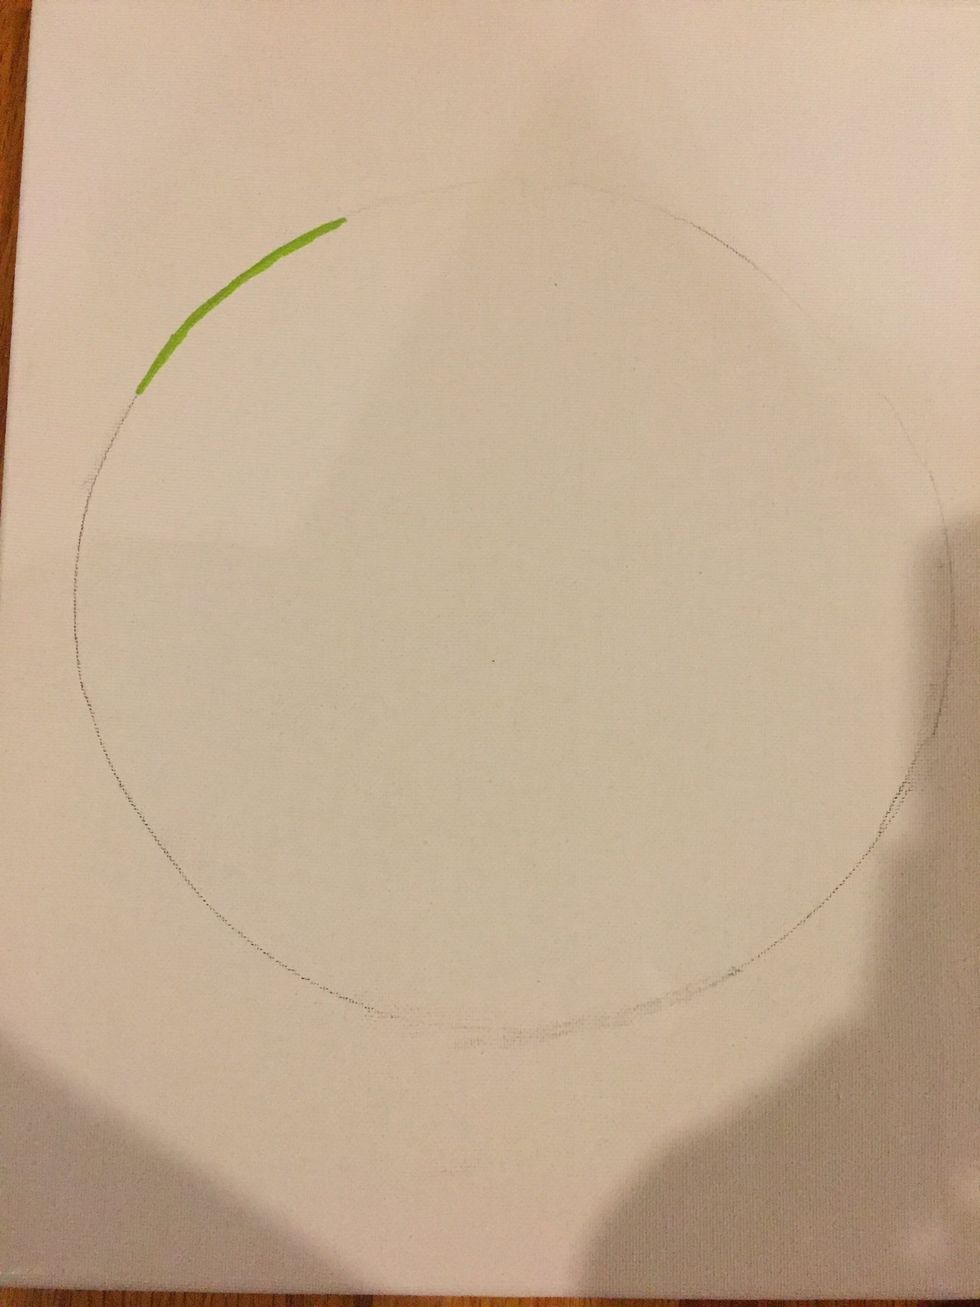
To start your floral wreath, paint a green line following along the top edge of your circle.
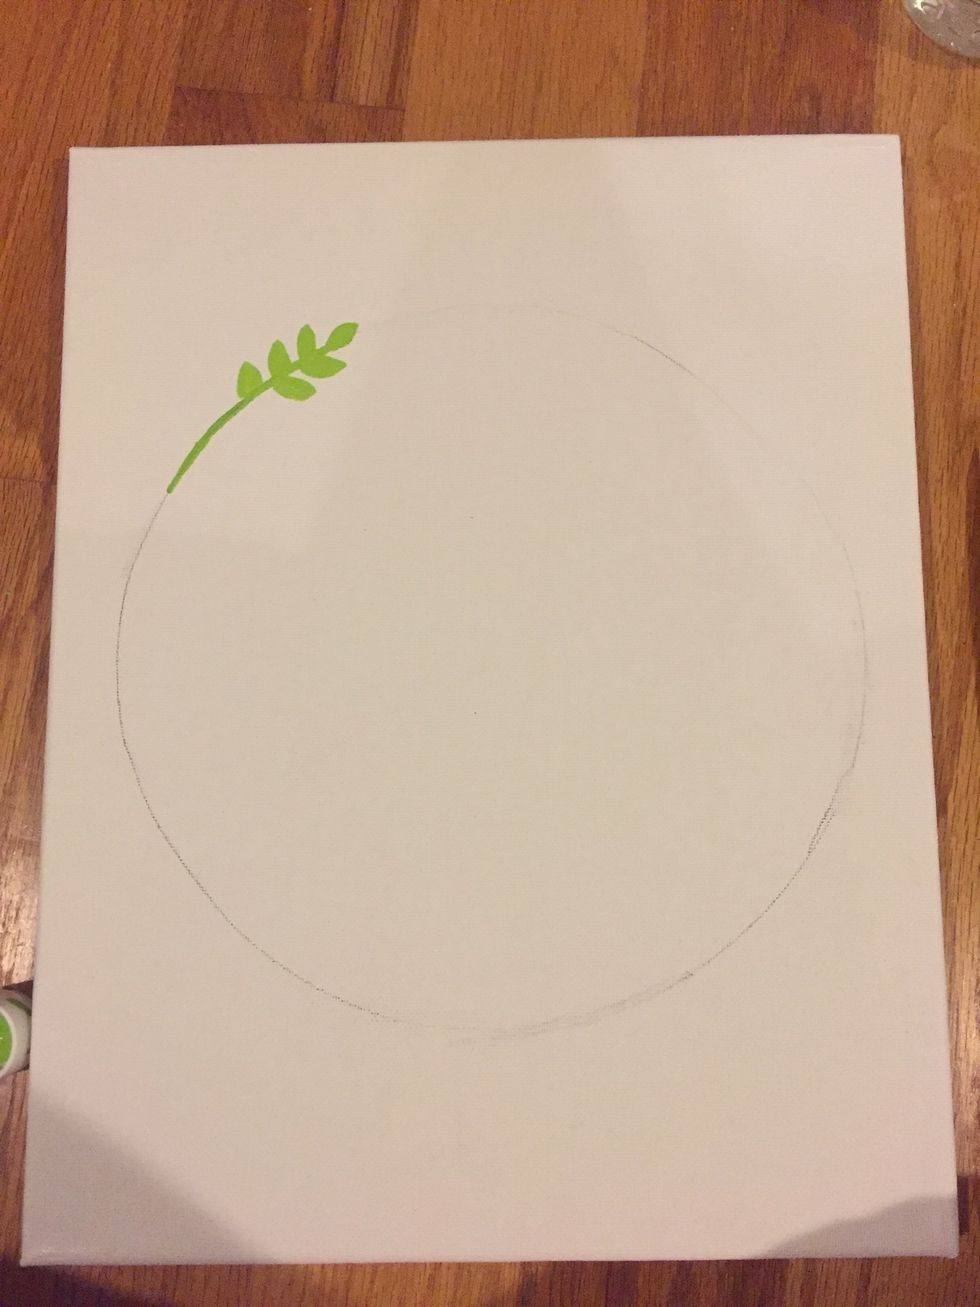
Begin adding leaf like shapes to each side of that line.

Once you have finished adding leaves to your line, you can go back and add some other shades of green for a more dimensional look.

Once you're done adding shade of green, your leaves should look something like this.
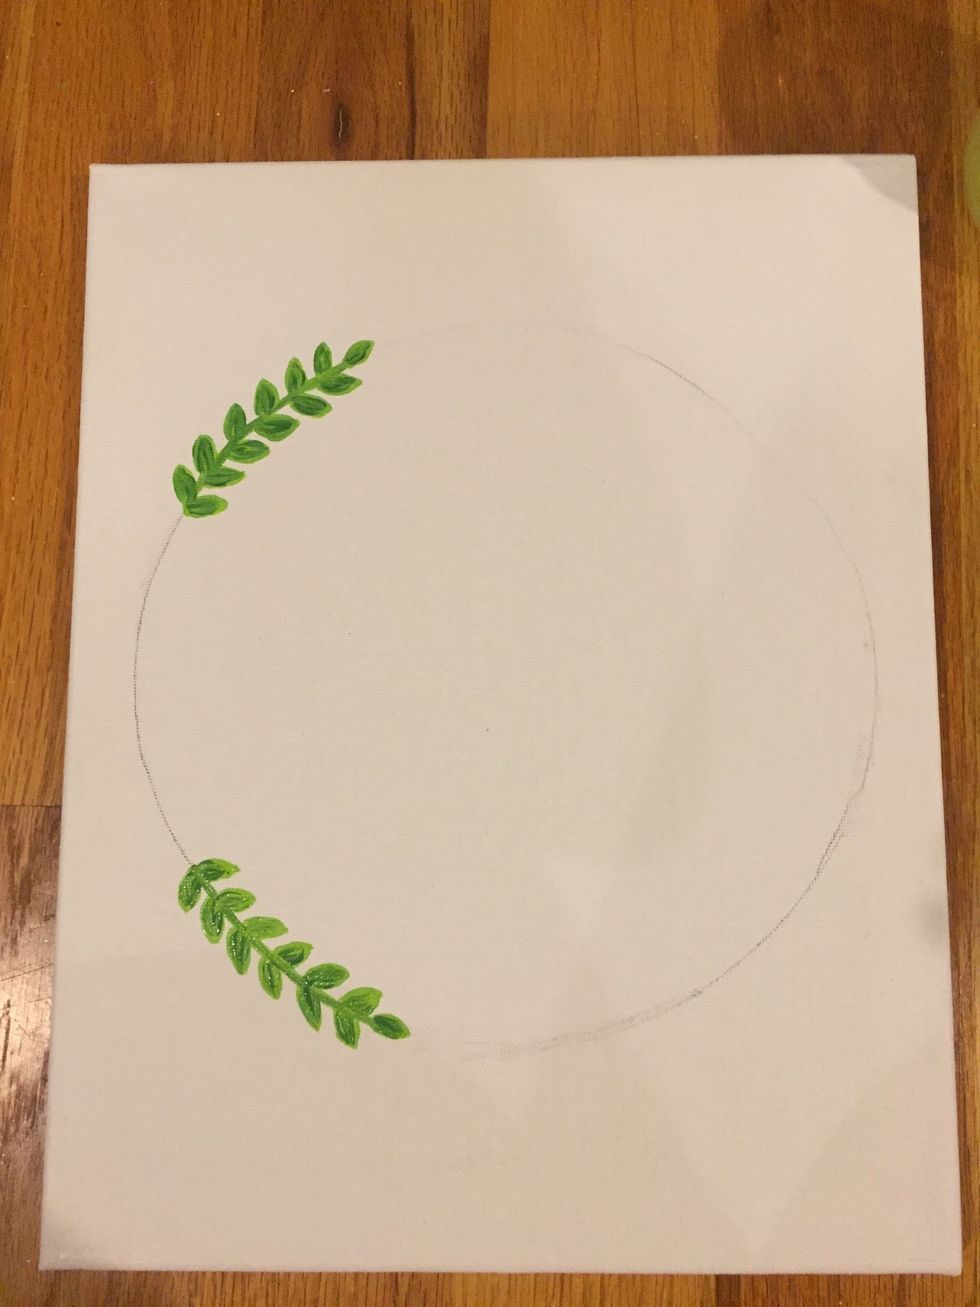
Repeat that same process on the bottom edge of your circle. It should look something like this.
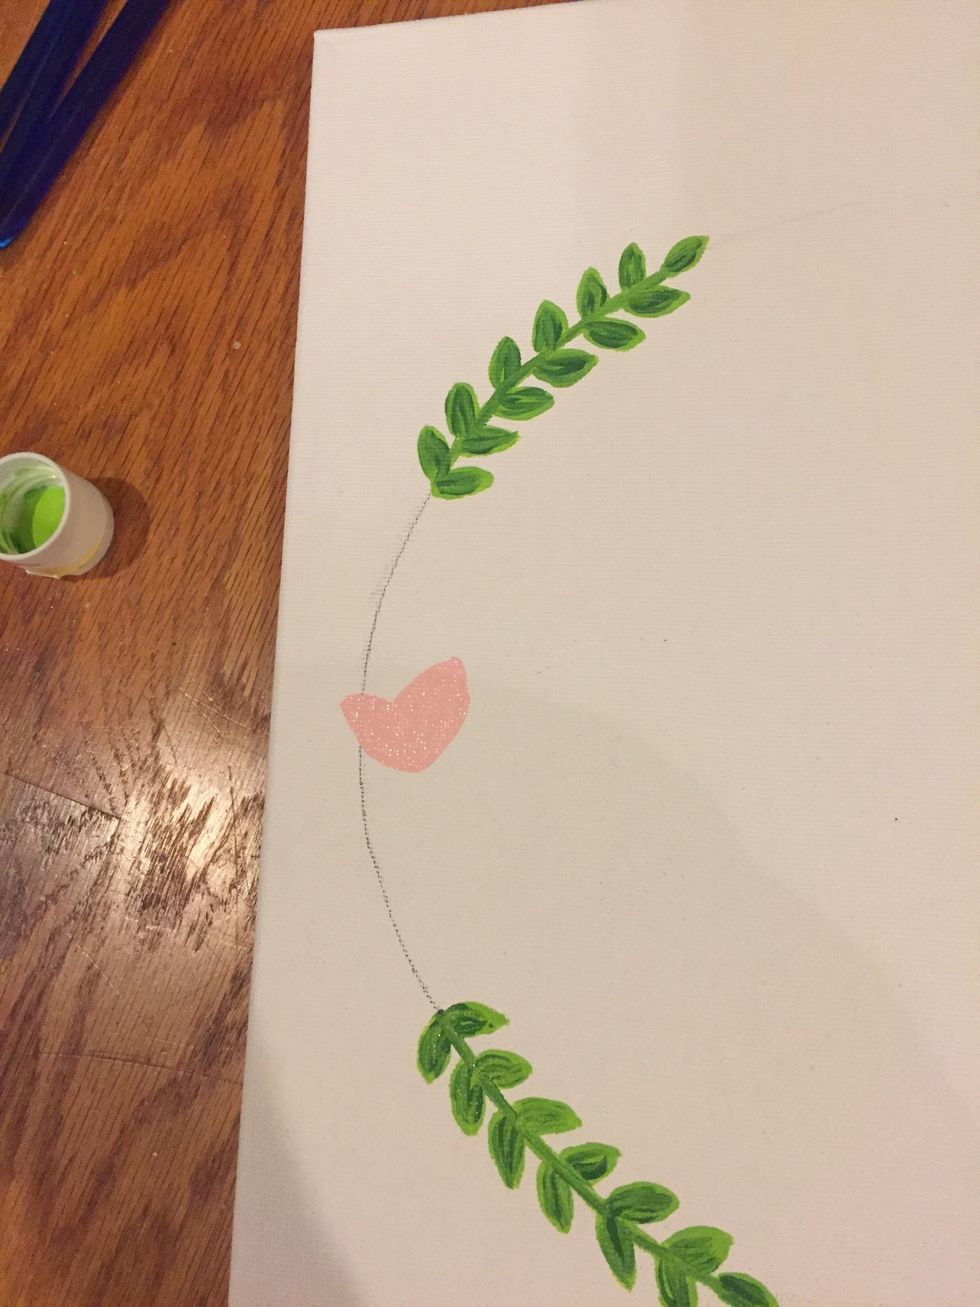
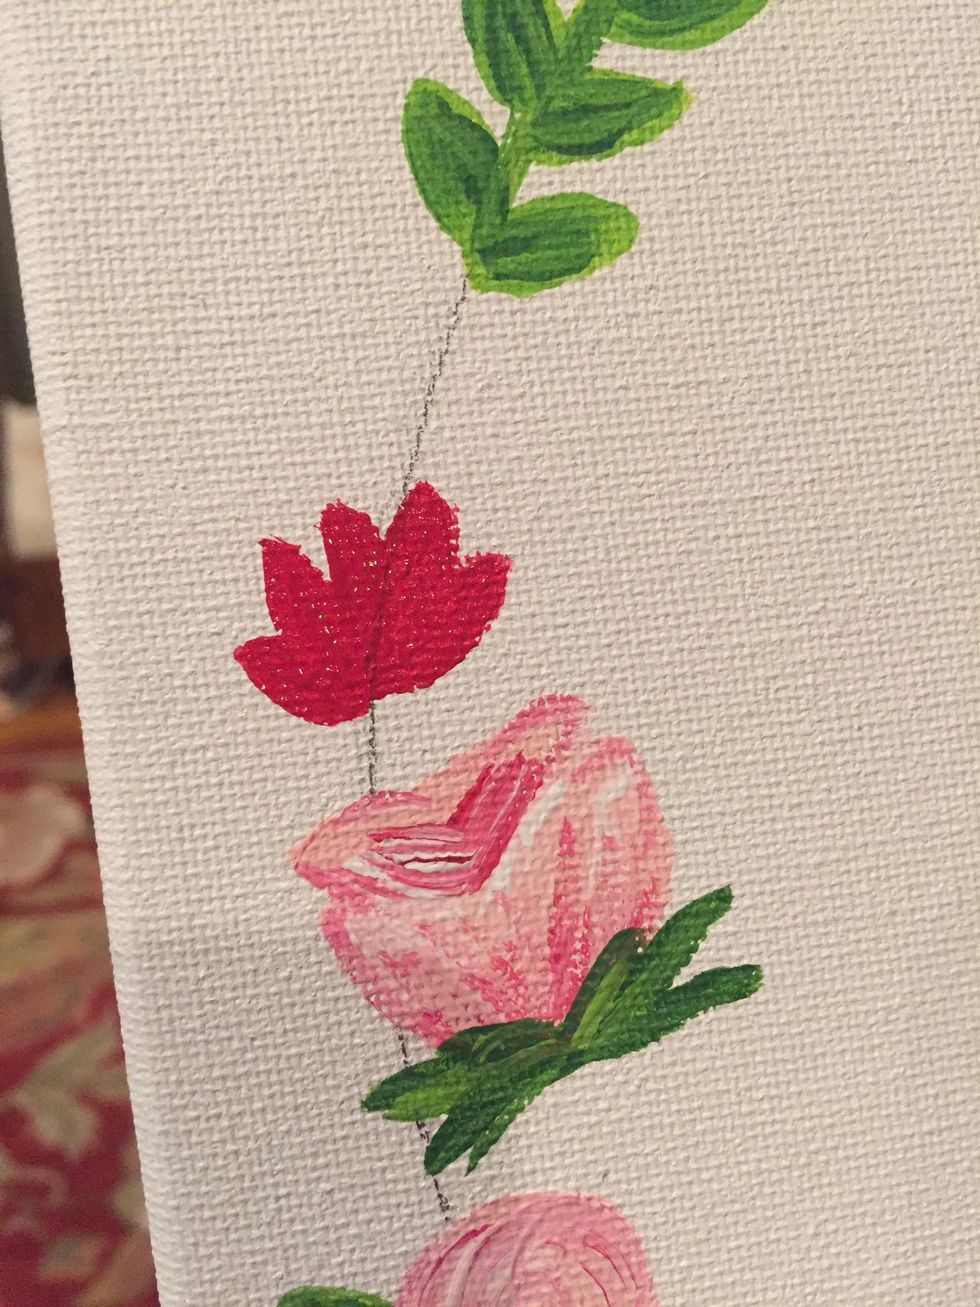
Now it's time to start the flowers. Begin with an asymmetrical heart shape.

Once you have your heart shape, add a triangular shape to the top of the heart, making sure the edges don't meet perfectly, giving a petal like effect.

Add deeper pink (or whatever color you chose) and white accents to add dimension.

Use a combination of green shades to great leafy lines at the bottom of this flower. It should look something like this.

The next flower is easy, just start with a circle.
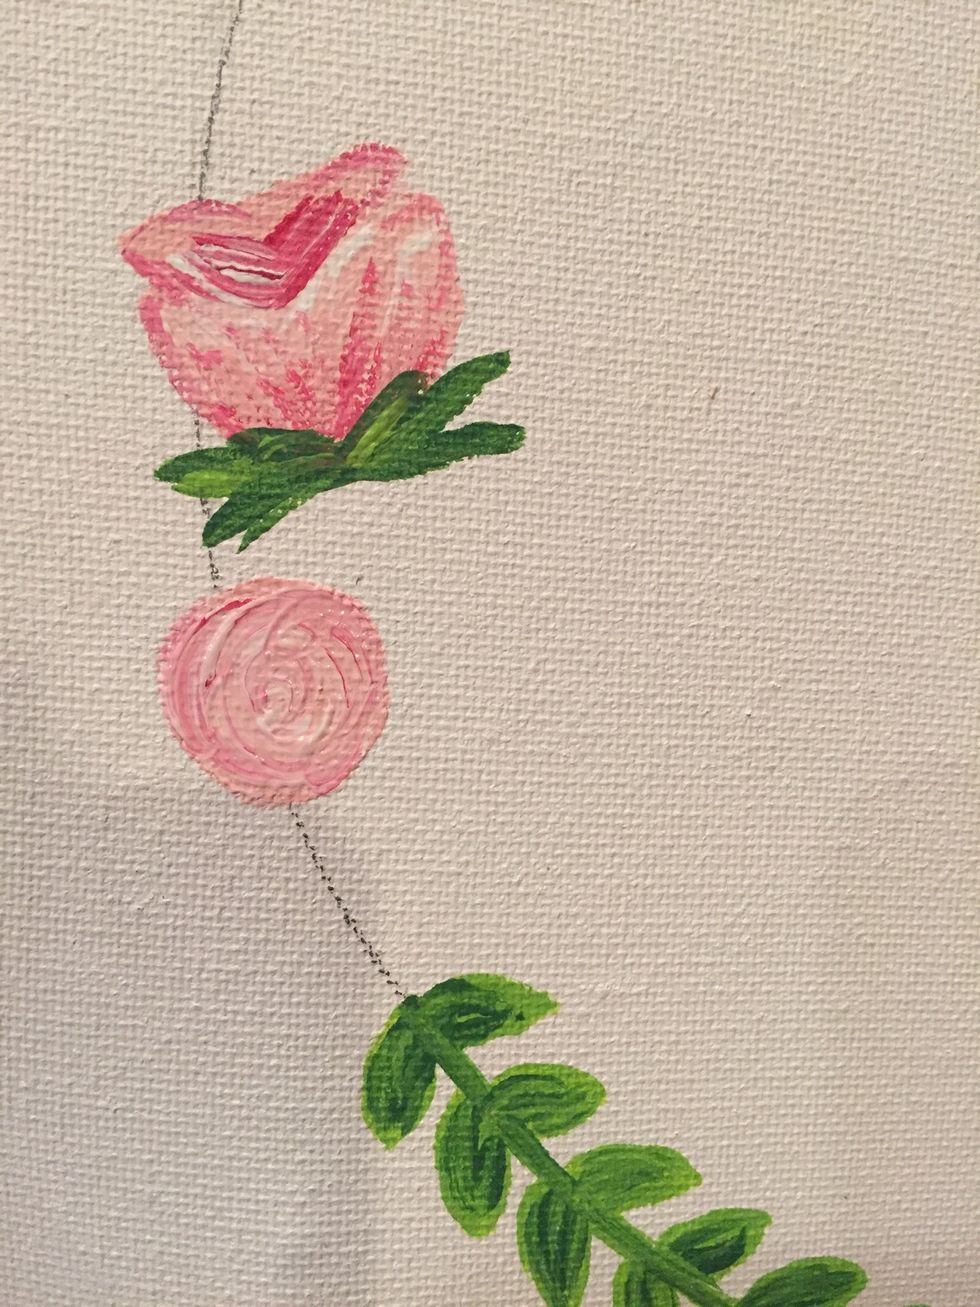
Add deeper pink and white accents to the circle in a spiral pattern to add more dimension and add leaves.
The last style of flower you are going to create is fun. Make thinner leaf like shapes in the color of your choice to create this water lily type of flower.
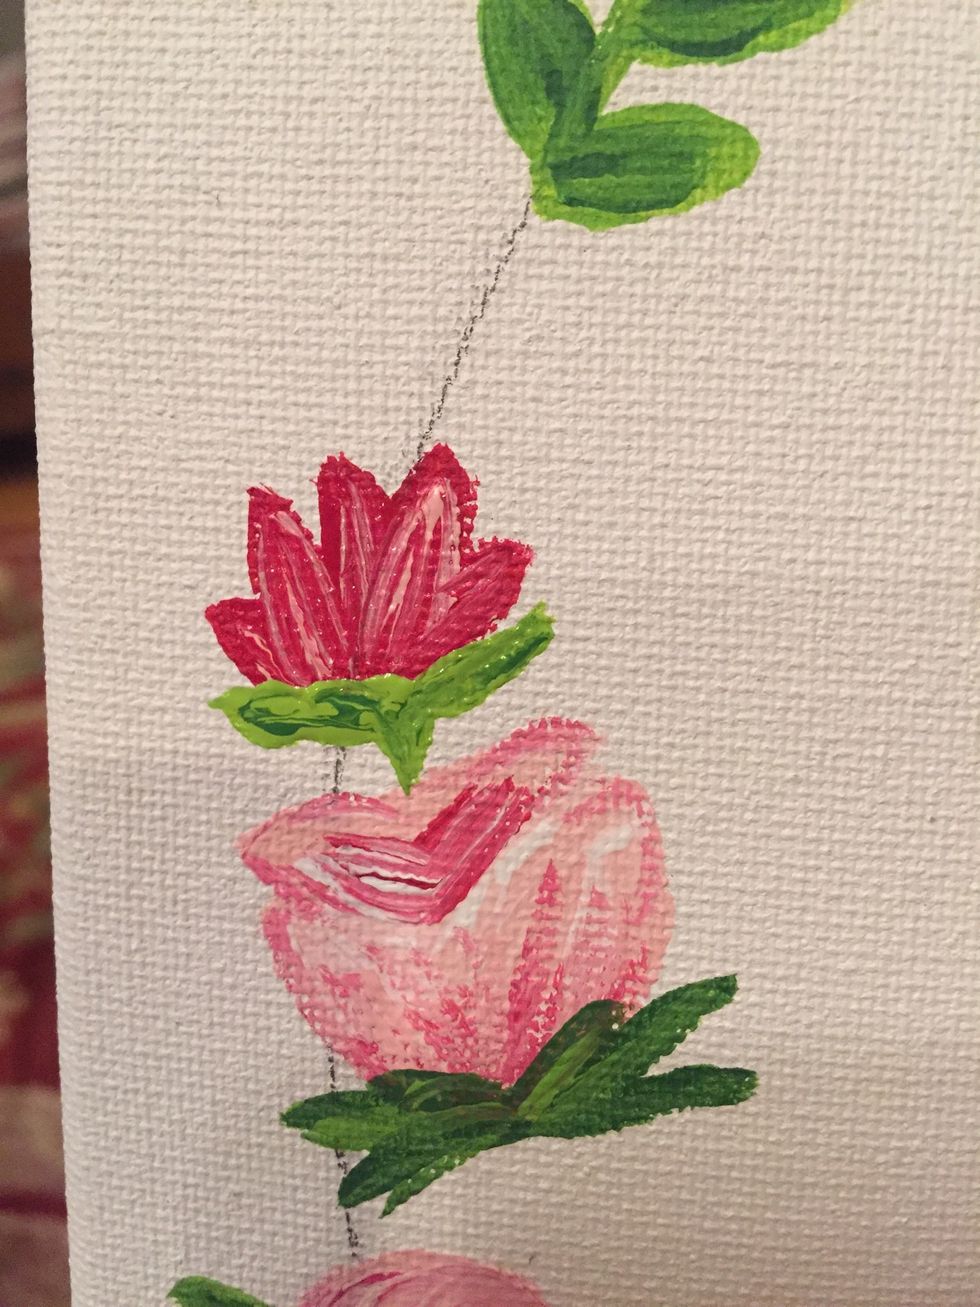
Add lighter accents and a "V" shaped leaf at the base of the flower to help it look more realistic.

Now that you know the three basic flower shapes, fill in the rest of the space with the styles of your choice. Then, begin adding thin, vine like lines around the leant bits you painted earlier.

At the ends of your vine like lines, start adding densely packed together dots, I used the round end of a paint brush for this part. It creates the illusion of several tiny flowers sharing one stem.
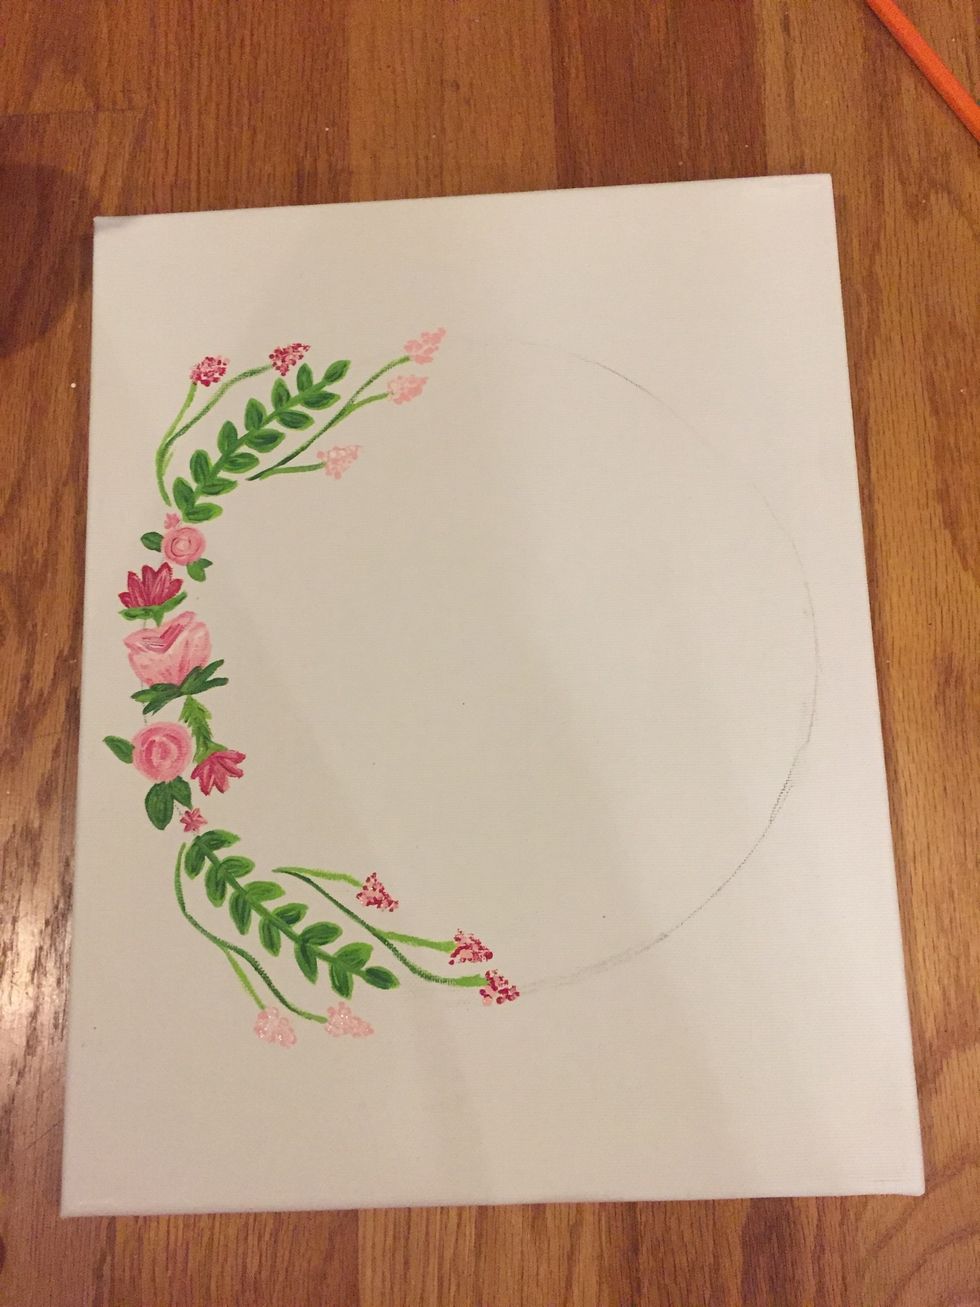
The completed half of your floral wreath should look similar to this.
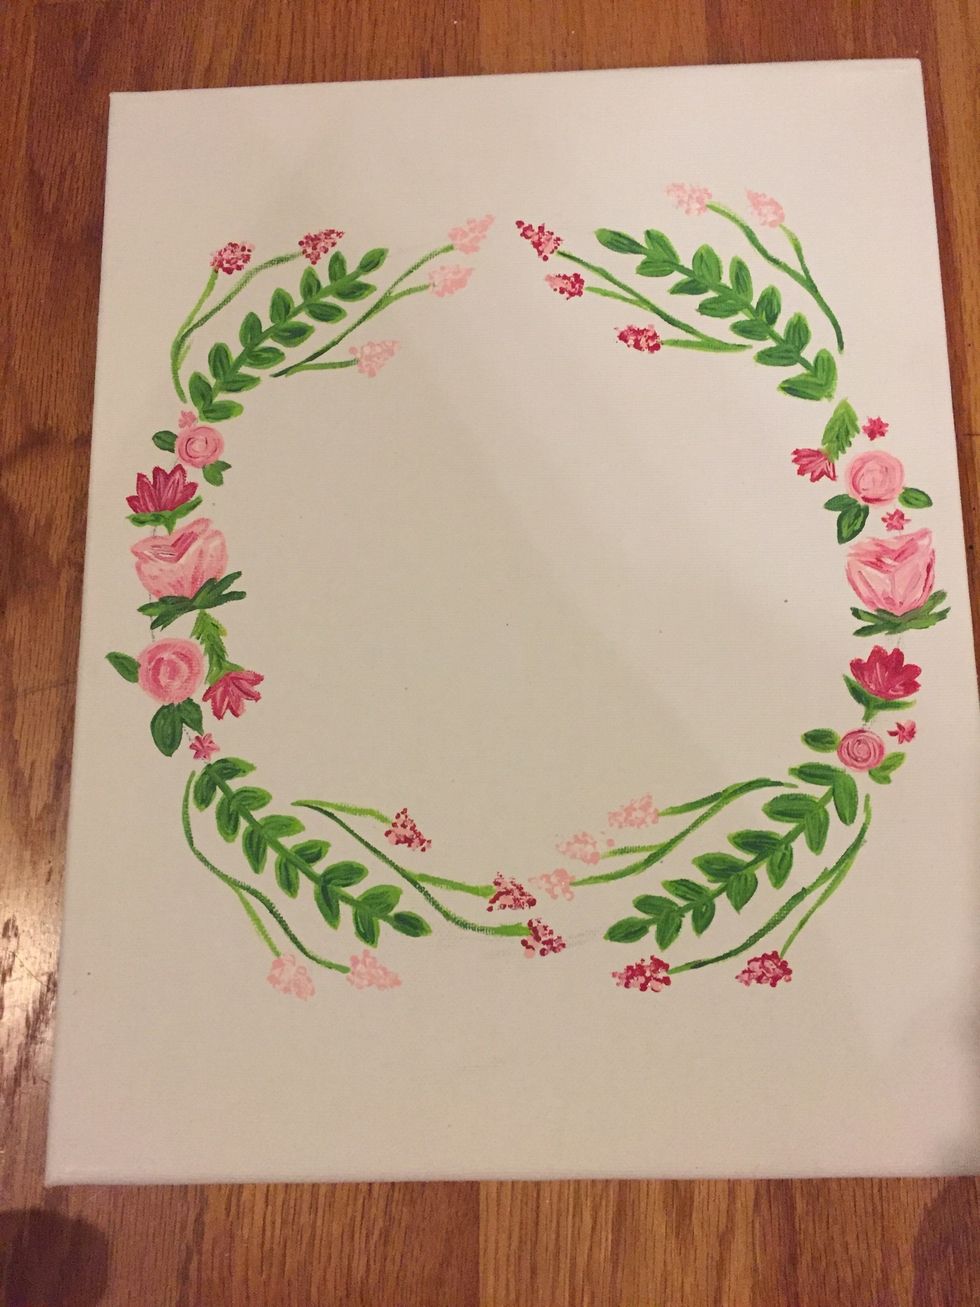
Repeat steps 4-18 on the other side of your floral wreath.
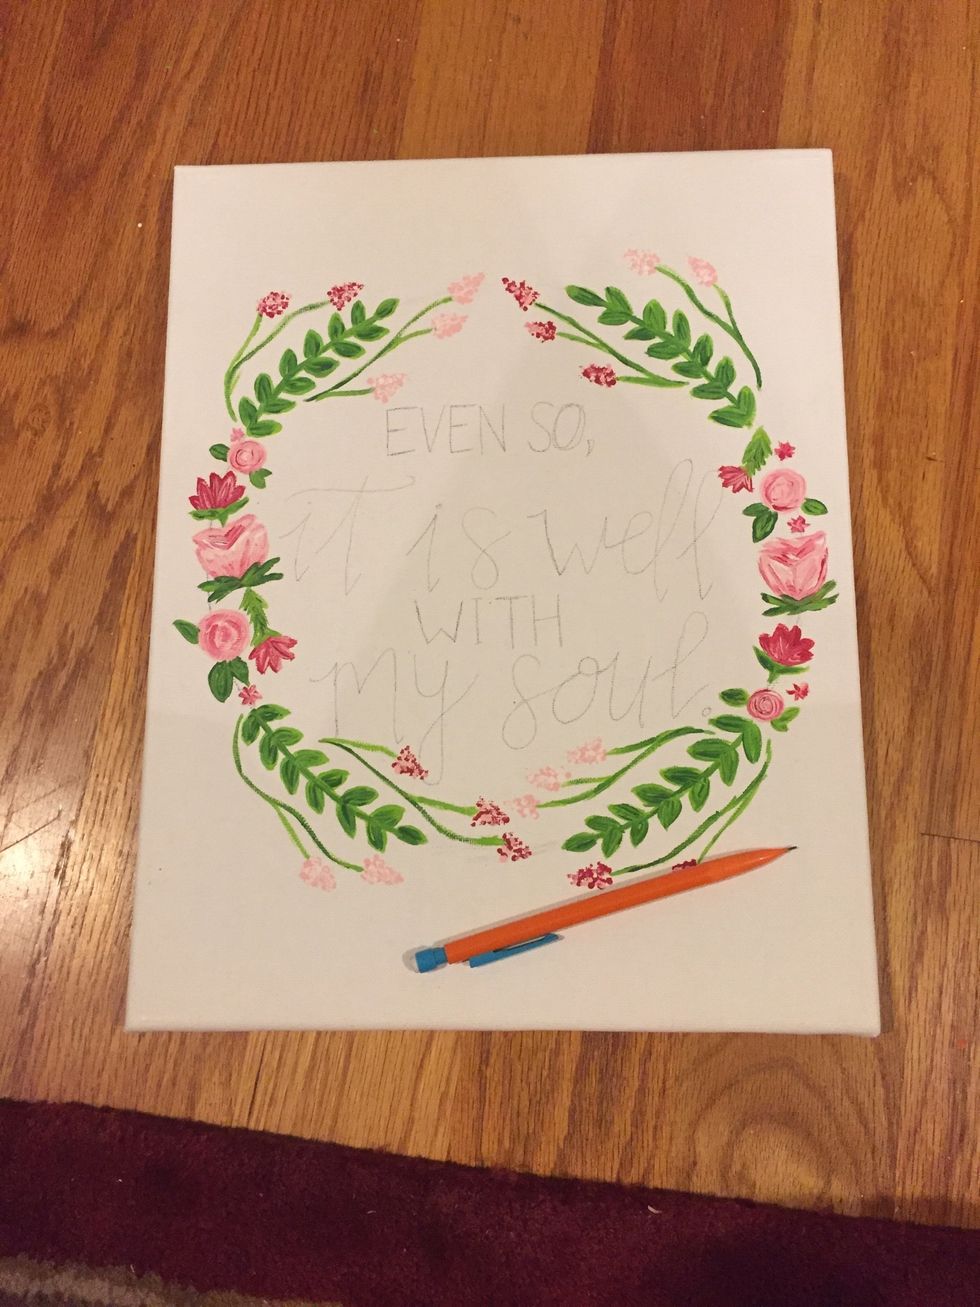
Once your wreath is all painted, pick the quote you would like to write on the inside and sketch it out so that the font and spacing will be just as you want it to be when it's painted on.
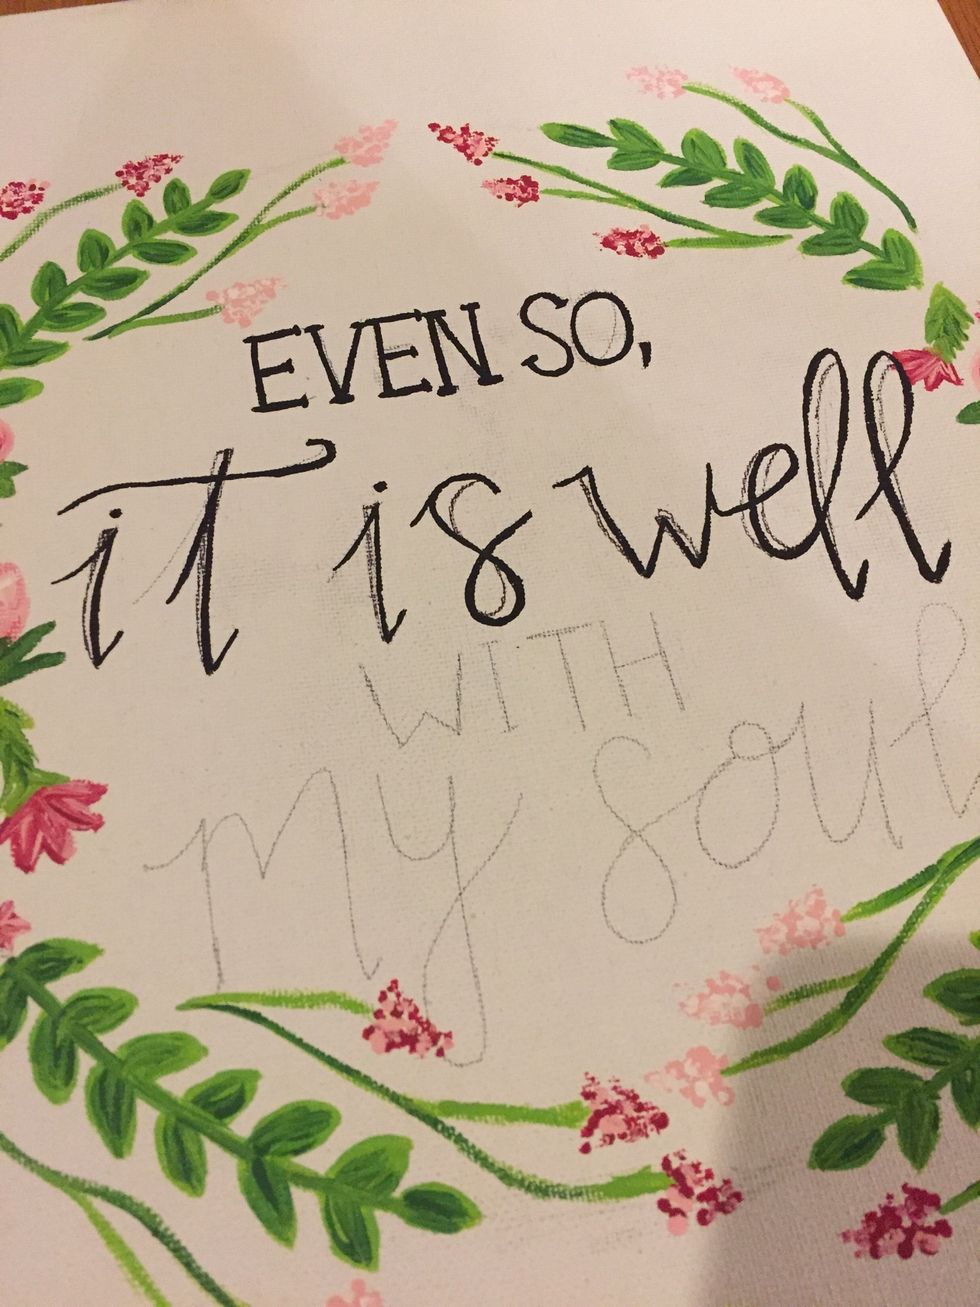
To make your cursive letters look more like calligraphy, thicken up portions of the letters where a fountain pen would naturally release more ink.
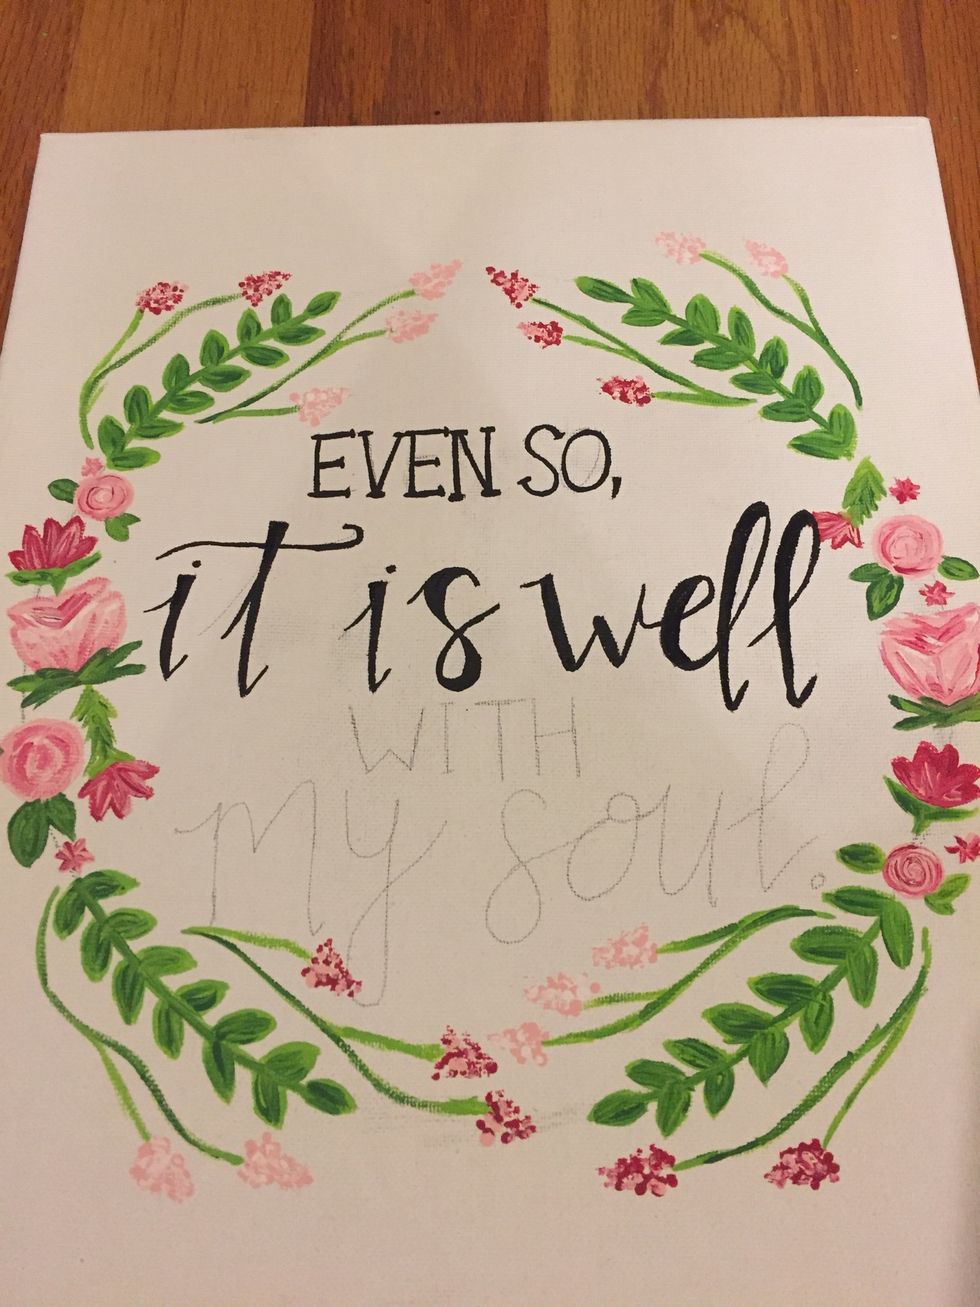
This is a general idea of what your faux calligraphy letters should look like.
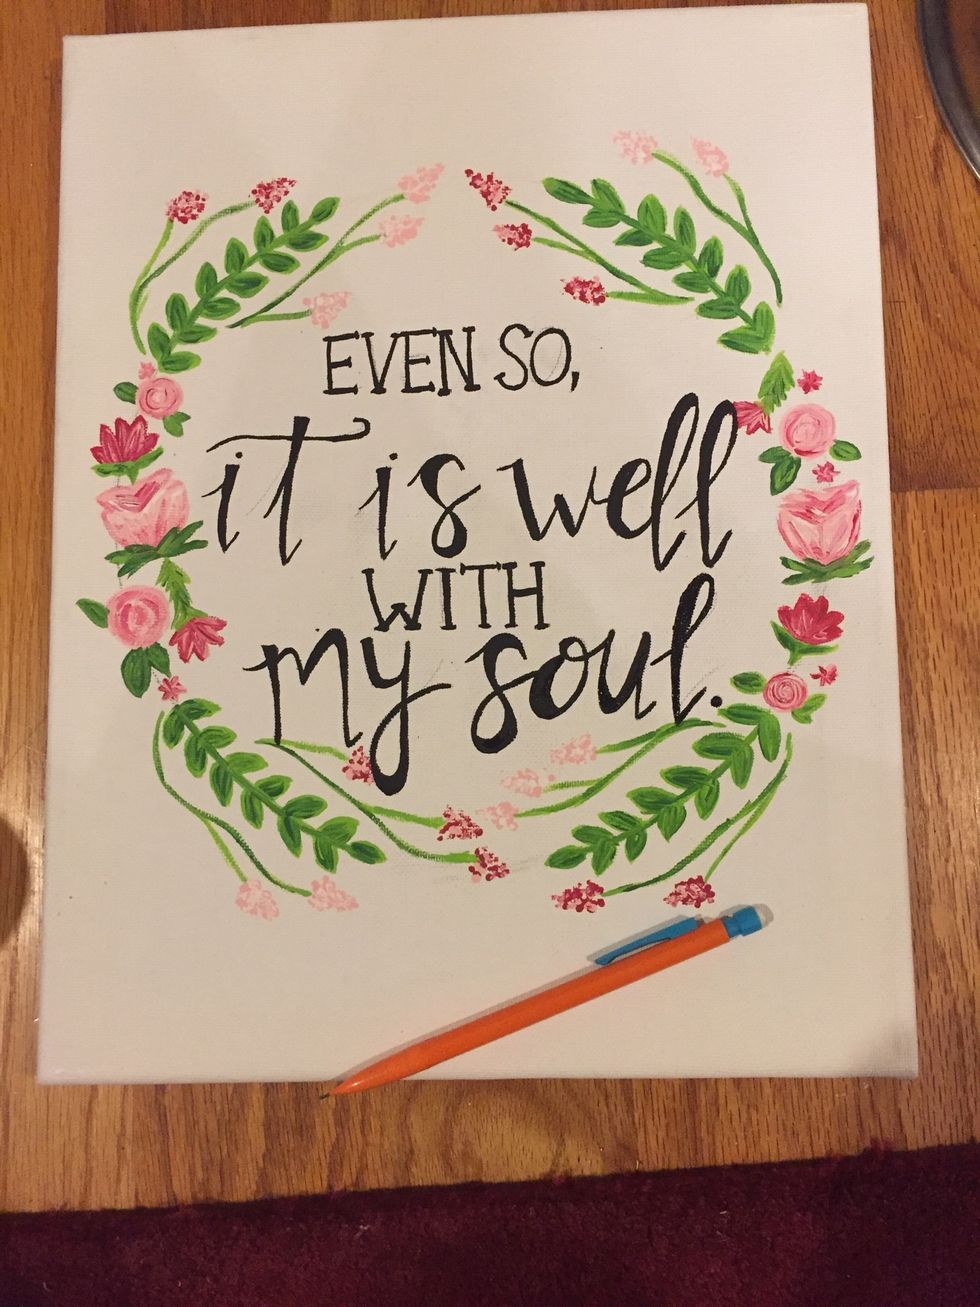
Once you're done and everything is dry, be sure to erase pencil marks from your canvas, as they can be quite an eyesore.
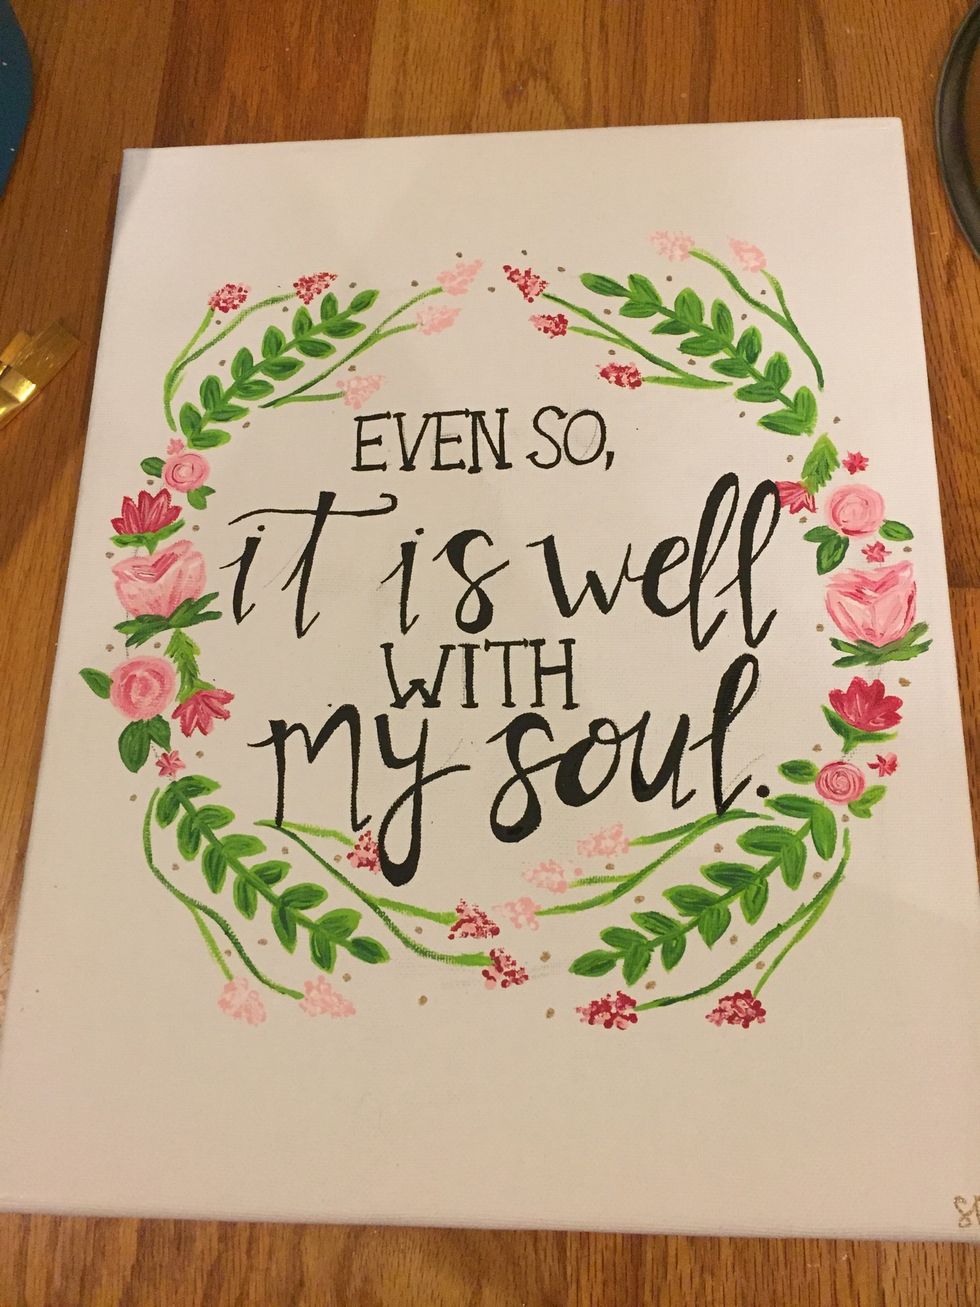
And you're done! Add any finishing touches and sign/initial your work! Well done!