How to paint a dog portrait
Art has been a lifelong passion & I've painted 40+ years. My first print was published by Wild Wings in '95 & though it's a livelihood, I paint because it's FUN! I love dogs & painting dog portraits.
16285
STEPS
TOOLS
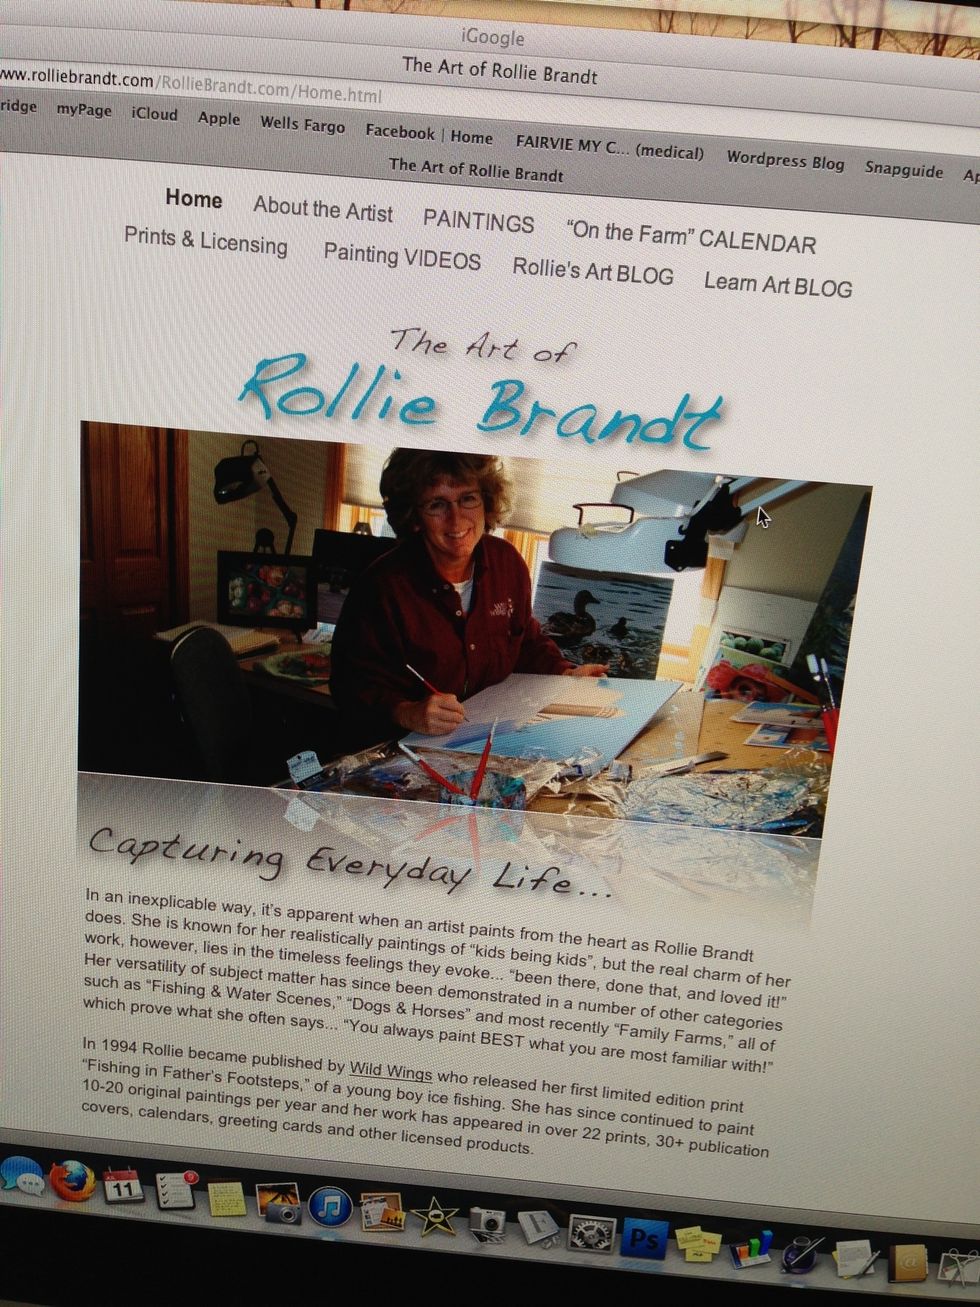
For almost 20 years my artwork has been published & licensed in a variety of products (cards, calendars, mugs, puzzles, etc) To see all of it check out http://www.RollieBrandt.com
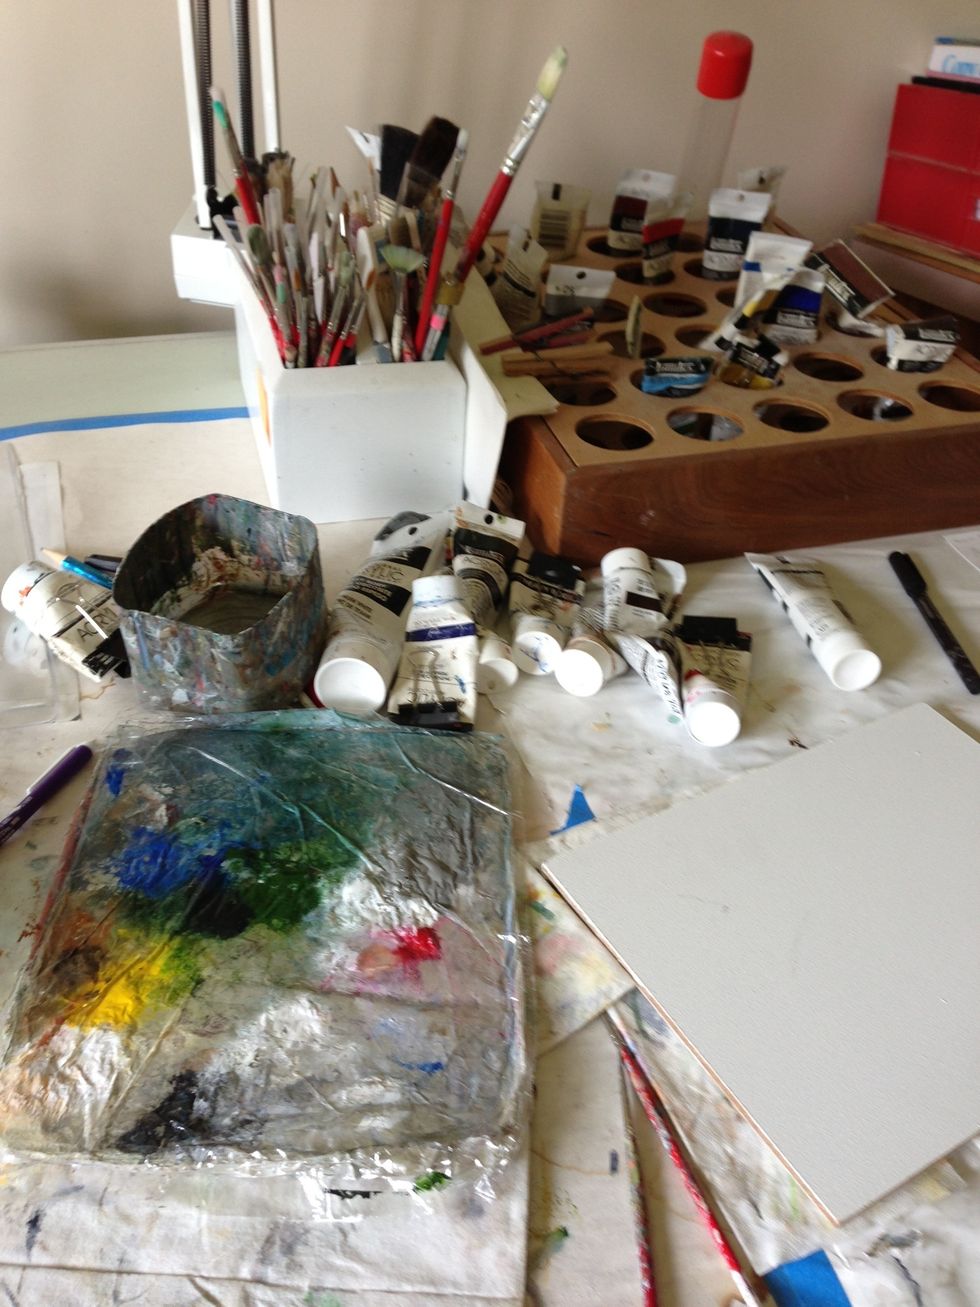
My work place...nothing fancy. My nice husband built me the paint and brush holders which work great. I do not paint vertically on an easel but prefer a drawing table with a slightly angled surface.
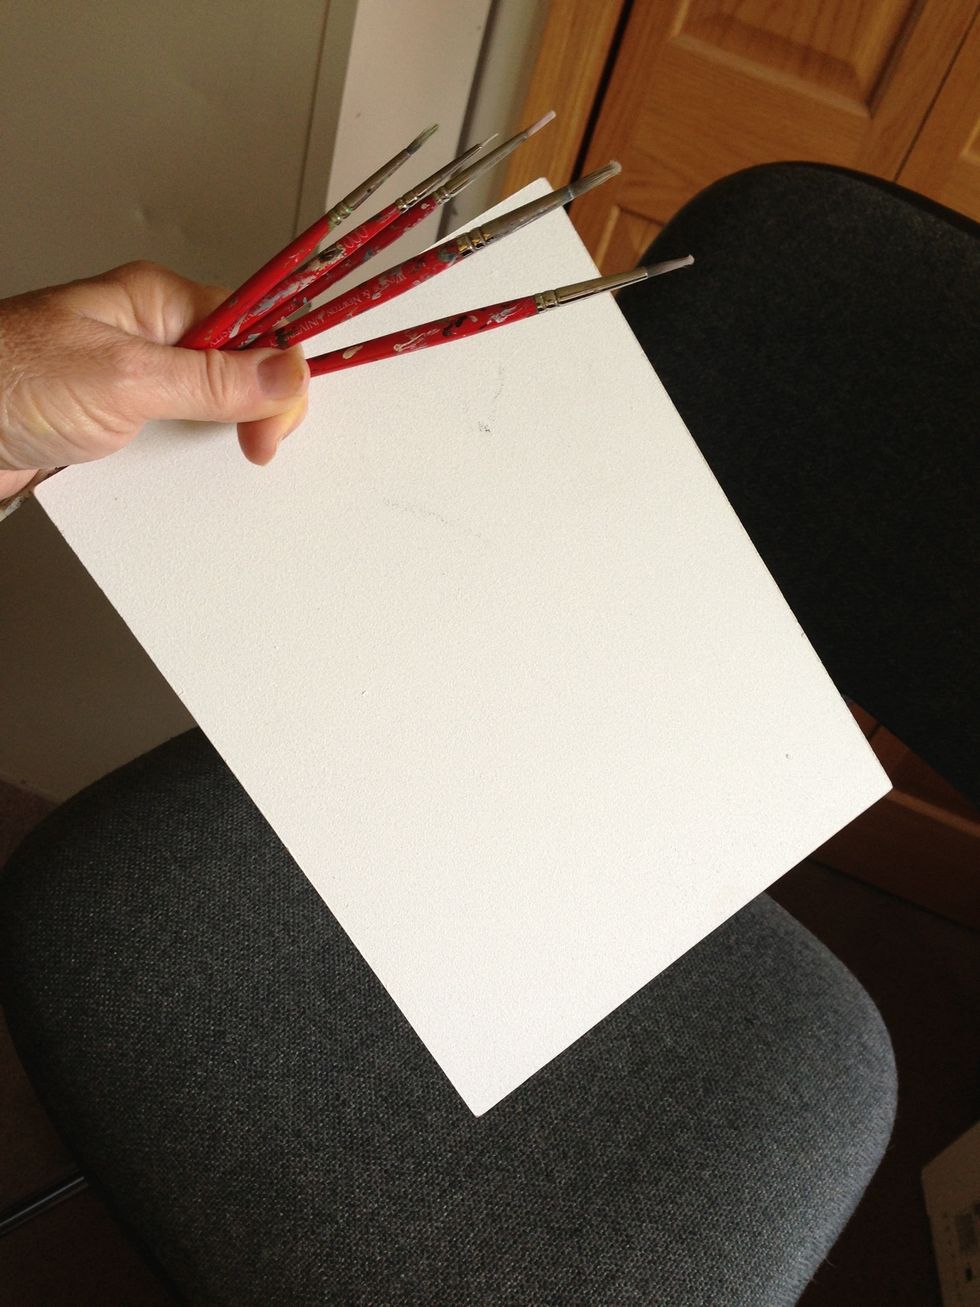
I usually have my masonite cut into some of my most common size pieces, gesso them all at once and store ready to use. It's important to seal the edges too.
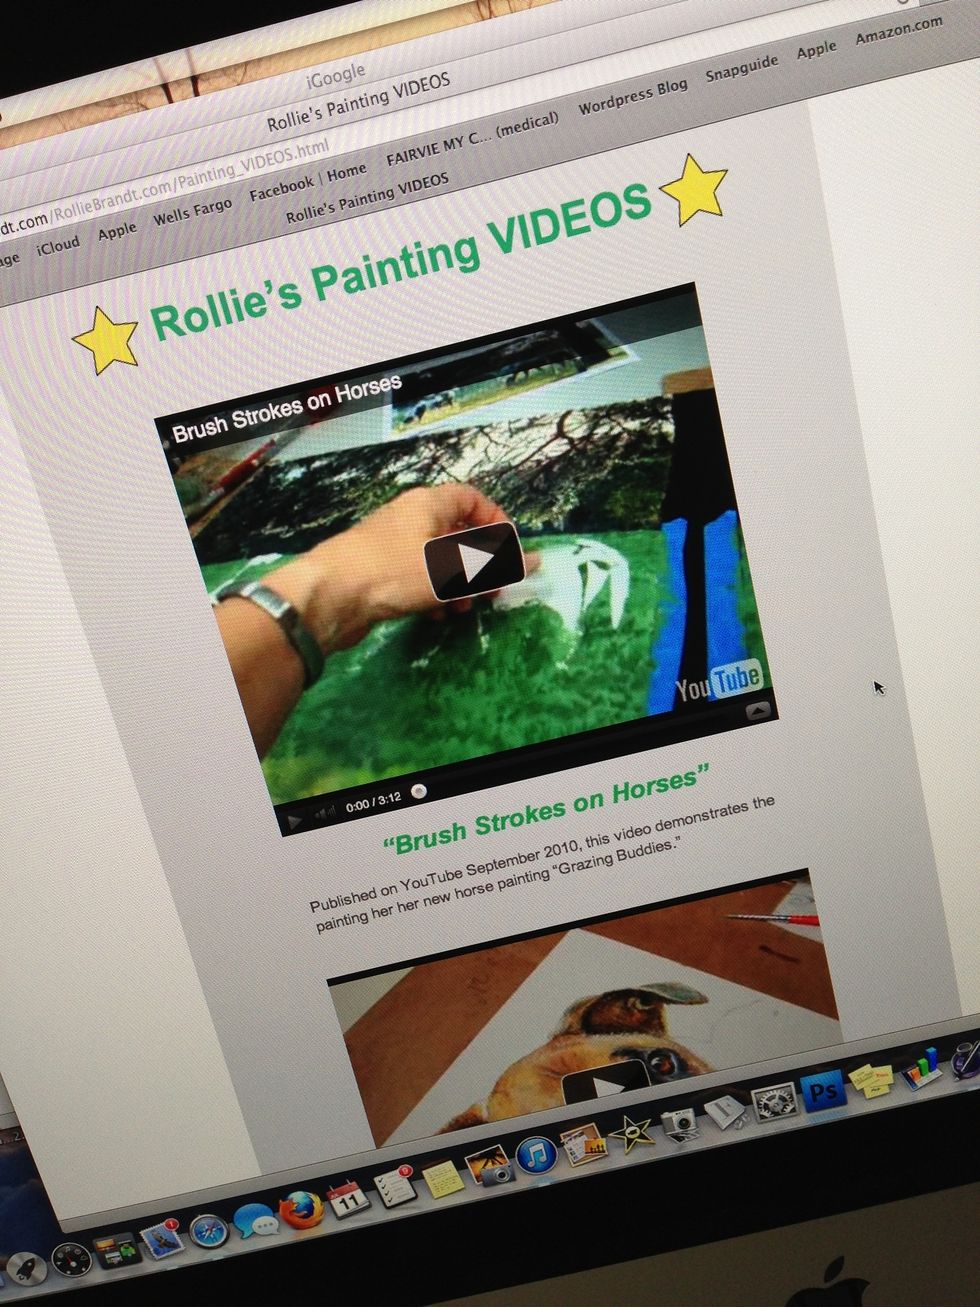
On my website you can watch 3 painting videos which I created (using iMovie on a Mac) for more tips and ideas. I have a teaching page there too. I really LOVE painting and am happy to share.
Each artist has a preference of brush size & style, surface, paint, technique and you'll likely find your niche. I'm showing you the only way I know, having taught myself with no formal training.
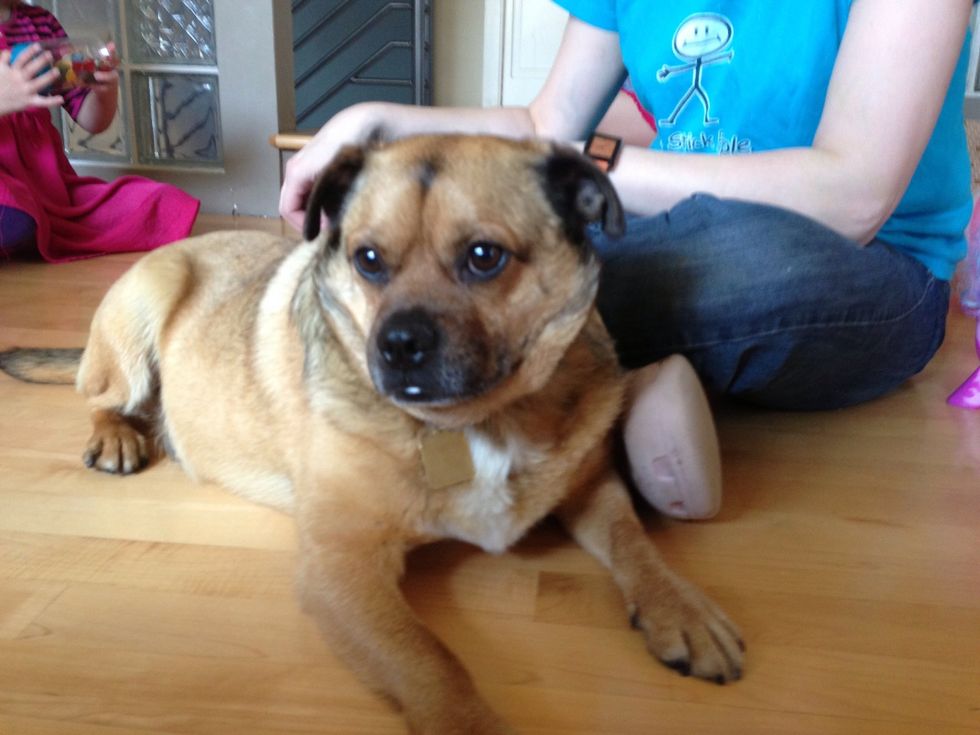
Meet one of my new "Grand-dogs" Hurley! I'm painting a small 8" x 10" portrait of him as a gift to his family. Once in a while I've been commissioned and that size runs about $500.
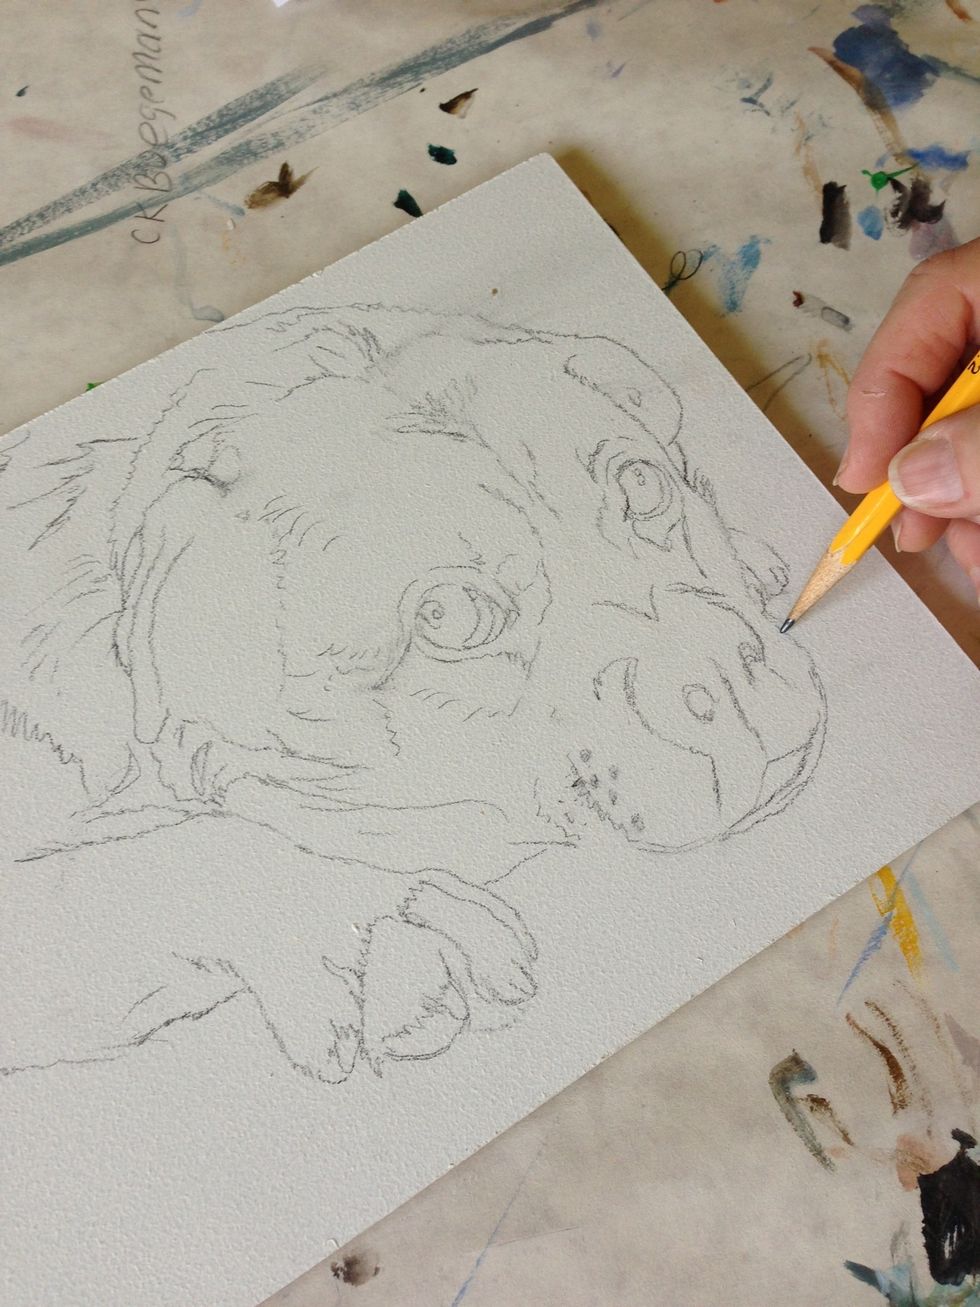
I start by drawing in pencil on masonite which has been primed using 2 coats of gesso, applied with a fine paint roller, giving it a slight stipple surface which is nice to paint on.
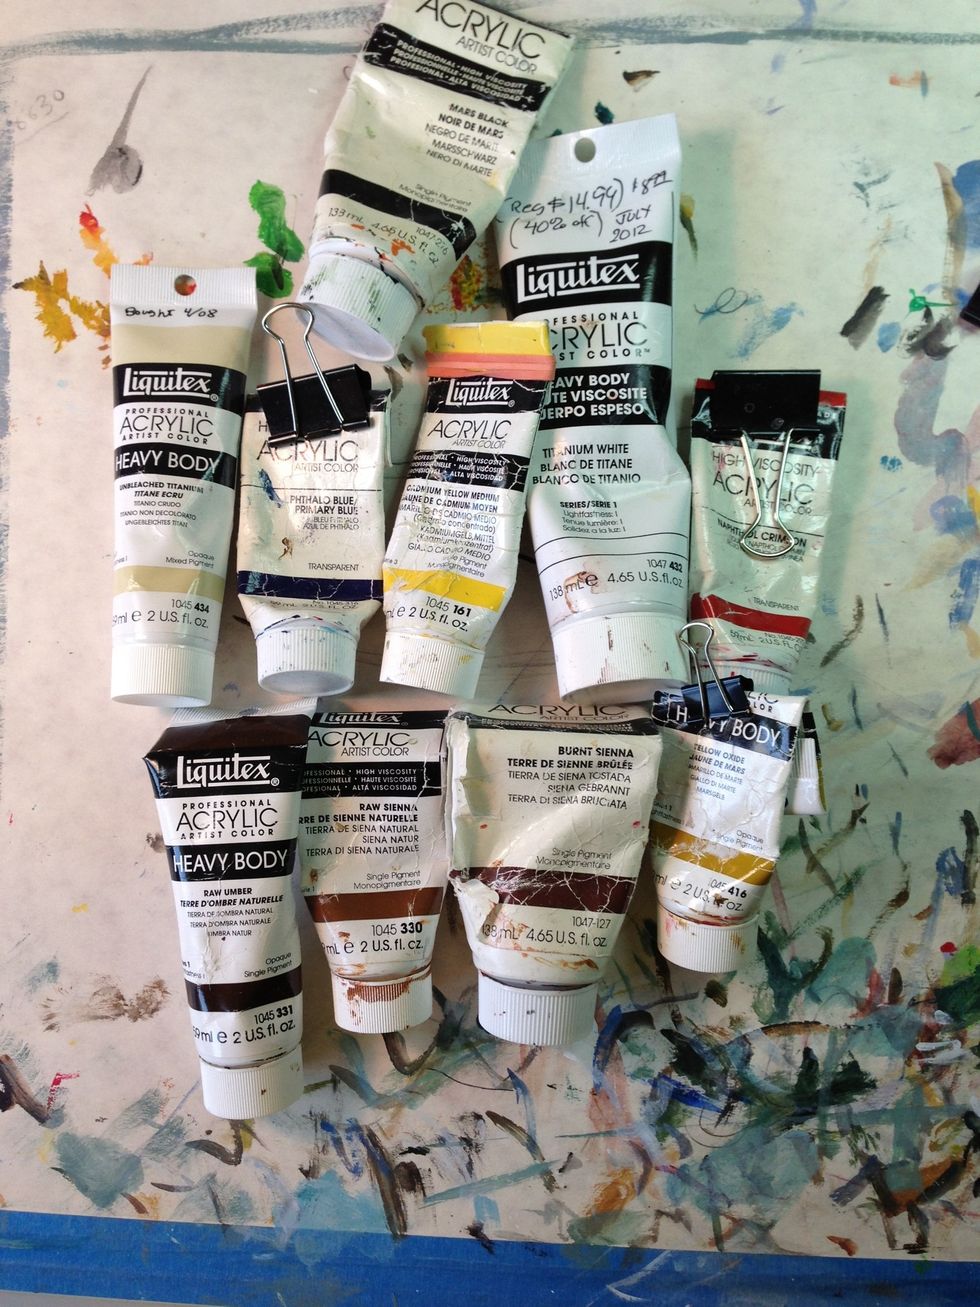
These are the colors I will use (plus Cobalt Blue which I added after this photo) I've always mixed colors by sight, usually using just these basic color "ingredients."
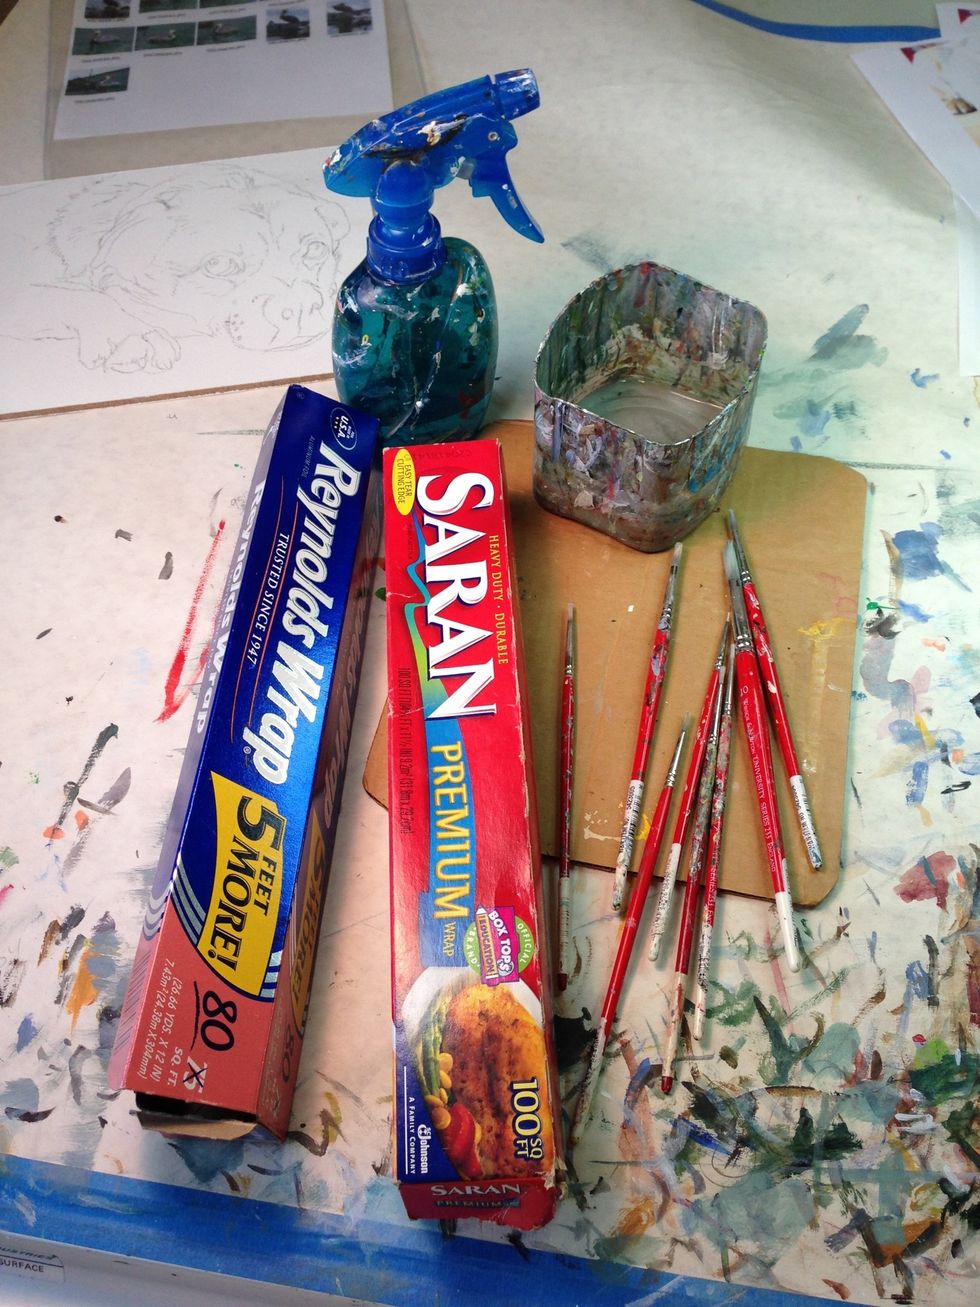
I'm a "mom" so I chuckle at my use of basic simple kitchen items.... Aluminum foil, plastic wrap, cut off plastic Miracle Whip jar, cardboard.
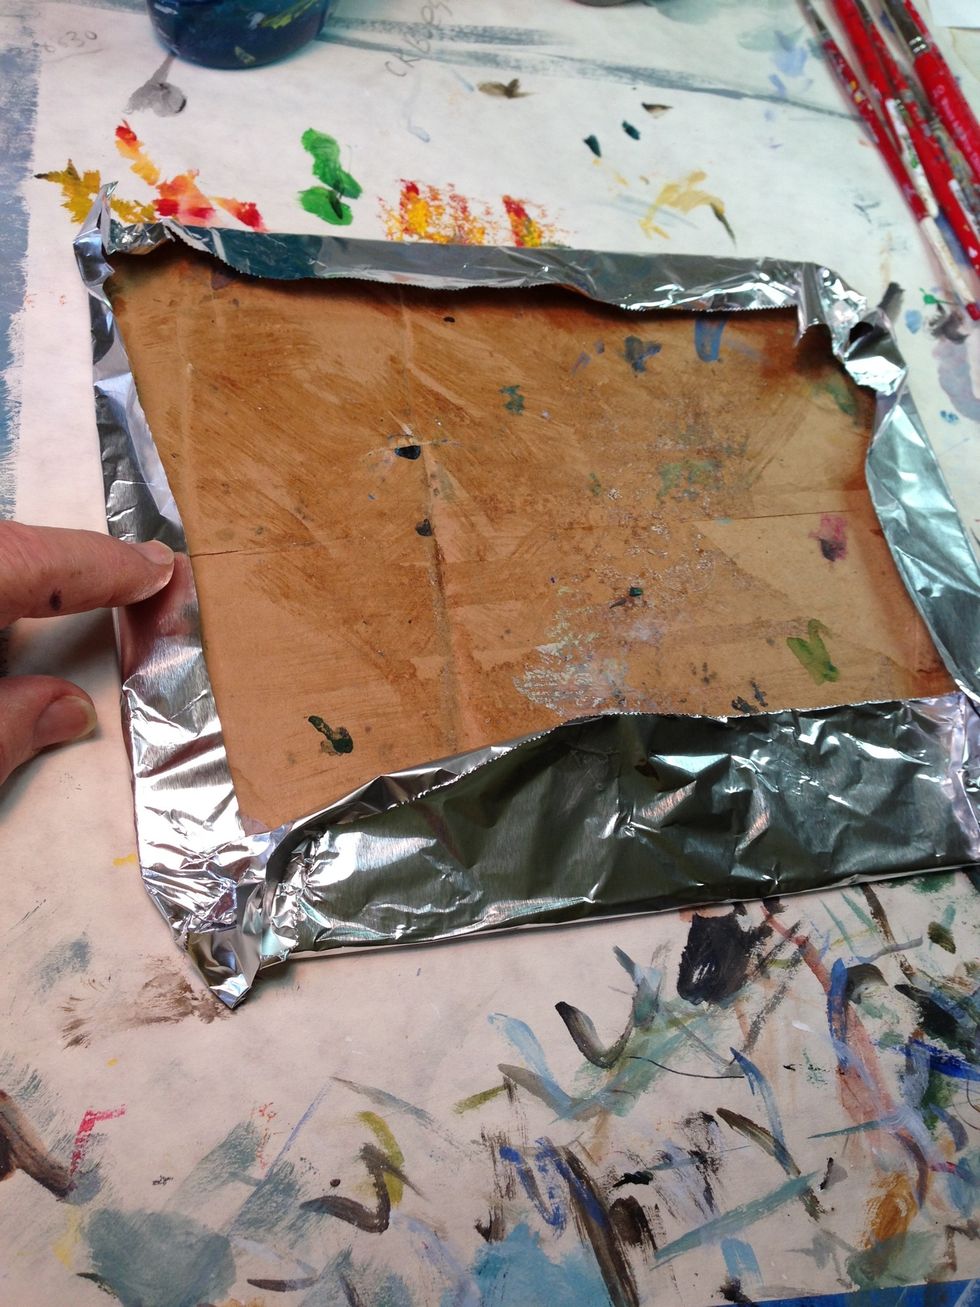
I wrap cardboard in foil for my palette.
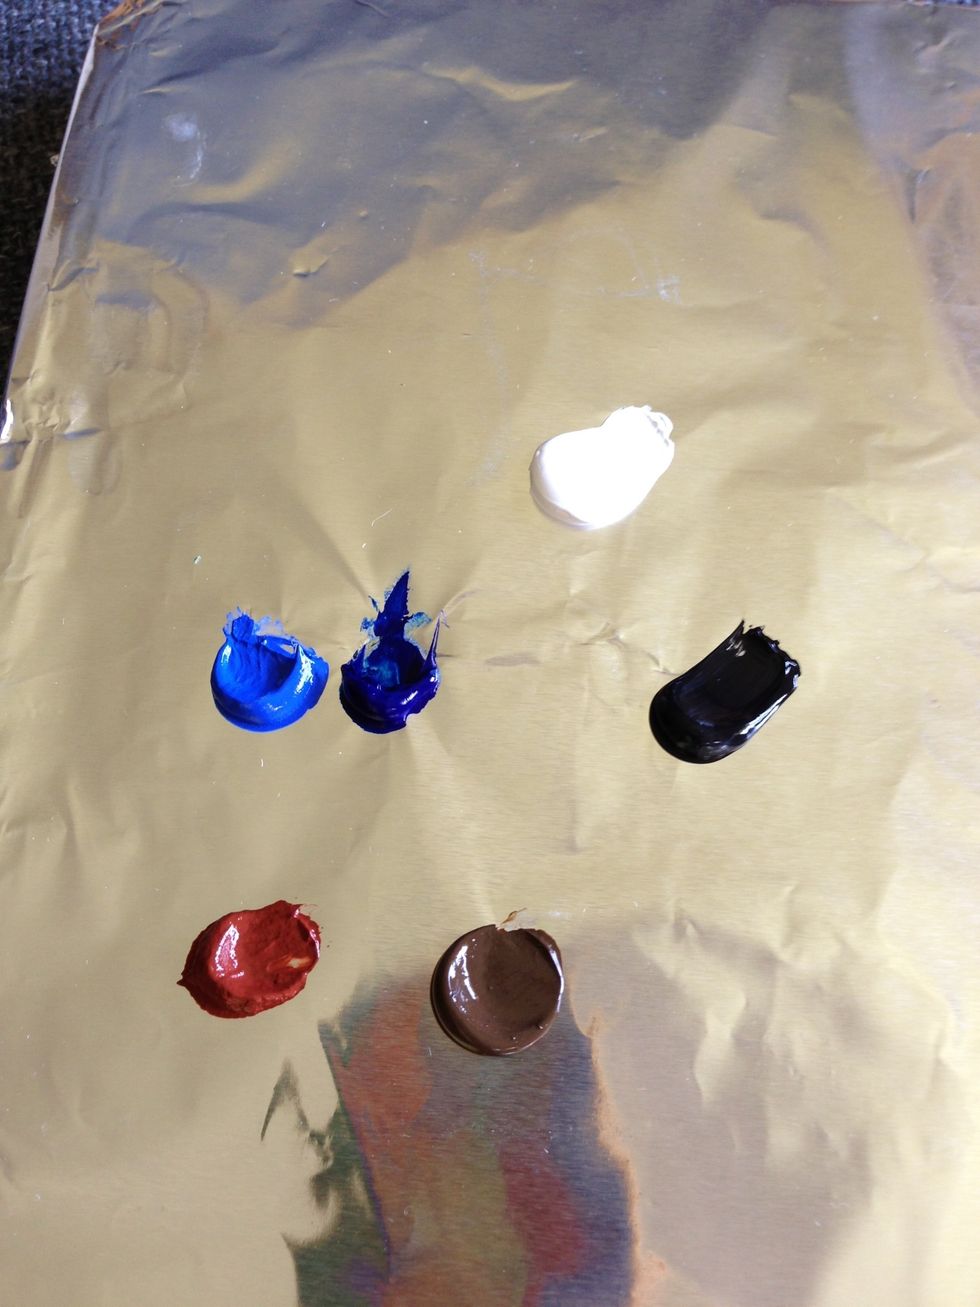
I love to start with the Dog's eyes. These are the colors the eye will require.
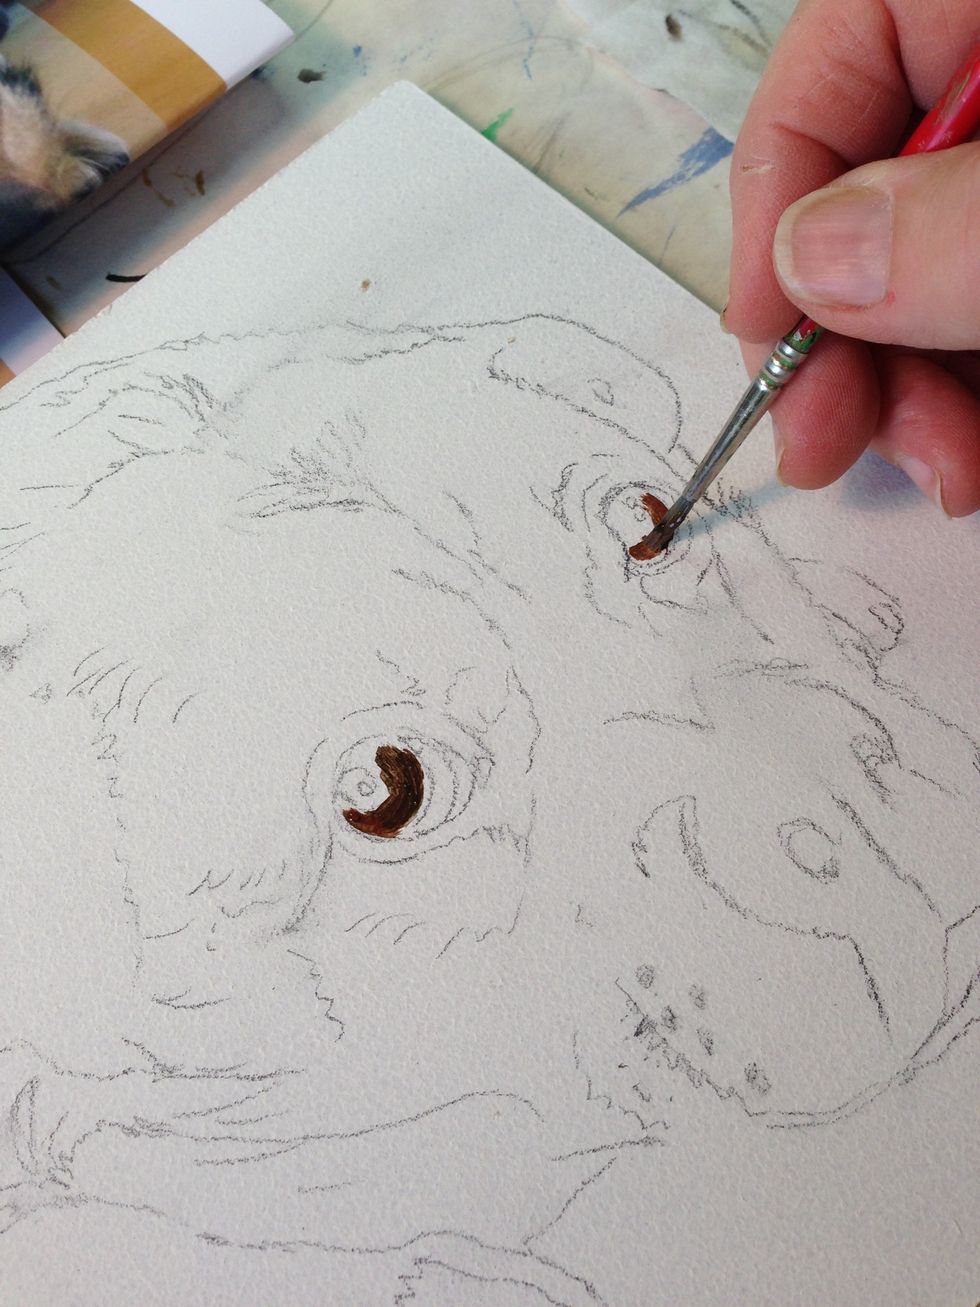
Starting the eyes...
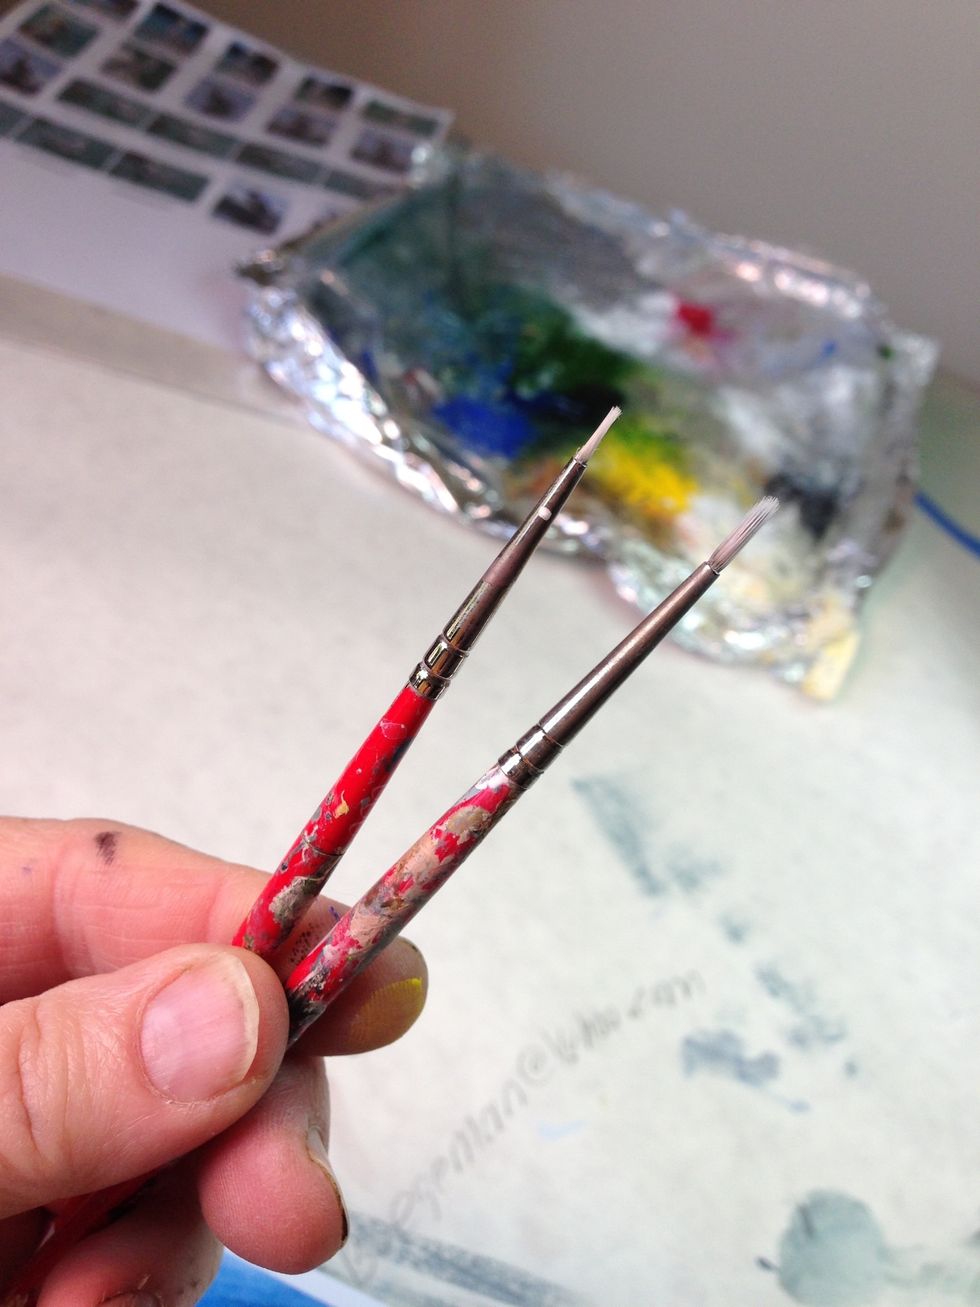
I use some tiny round brushes... And you can see they've seen some use.
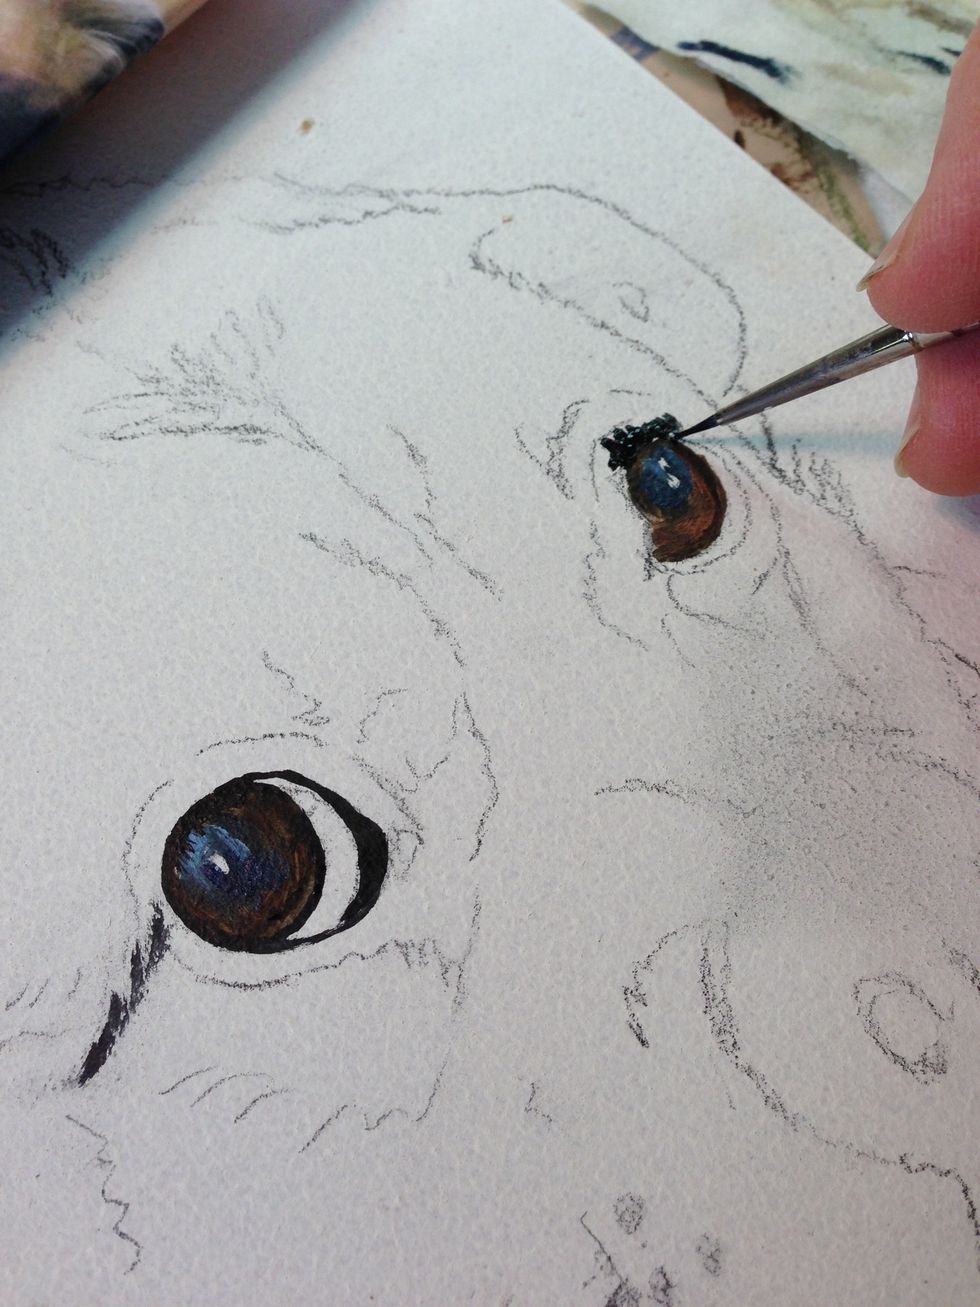
It's fun to paint the eyes first and have the eyes looking back at me for the rest of the painting.
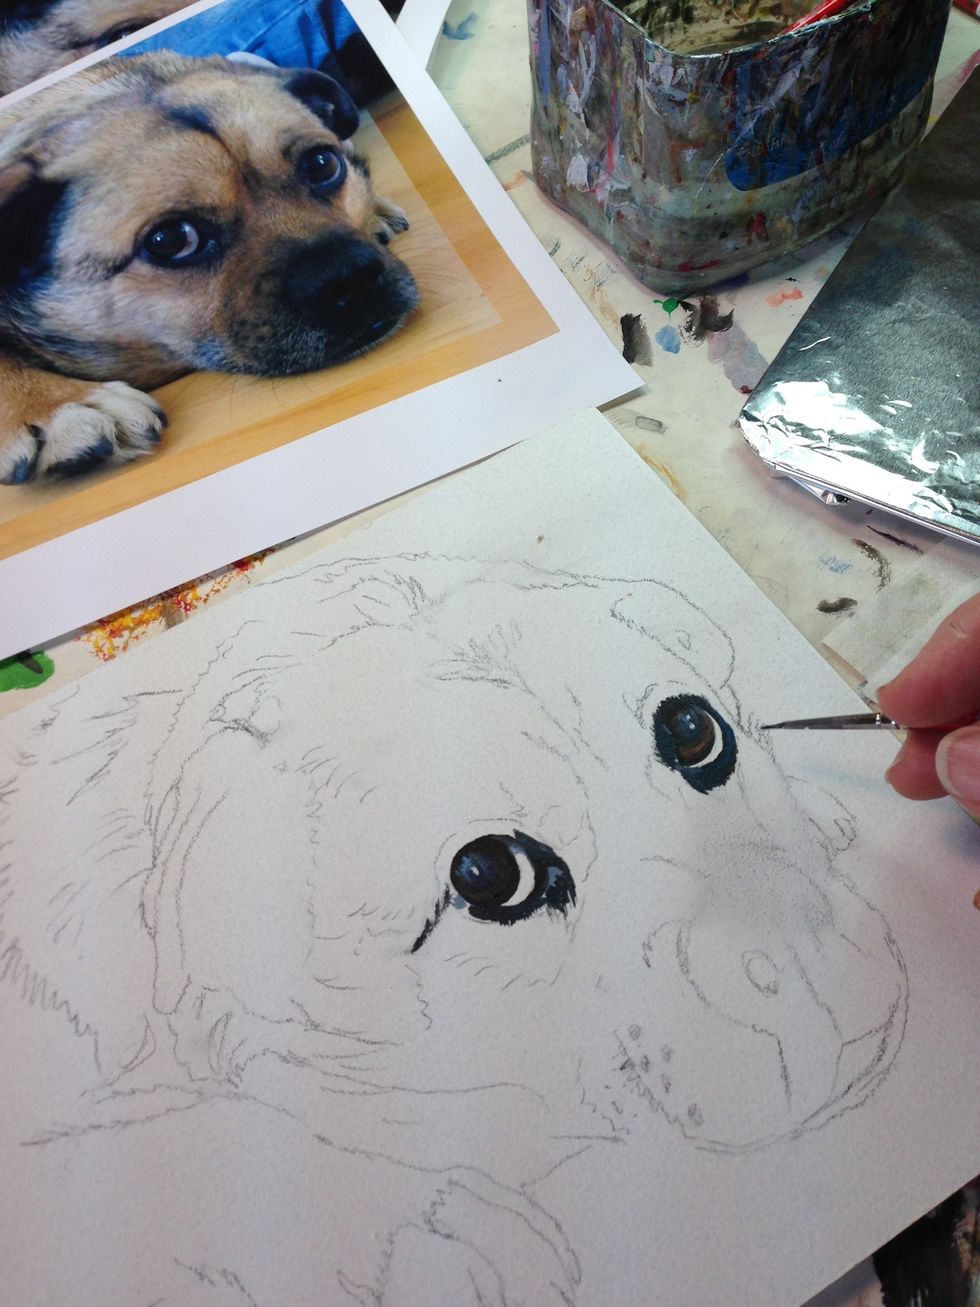
I use my own photos for reference.
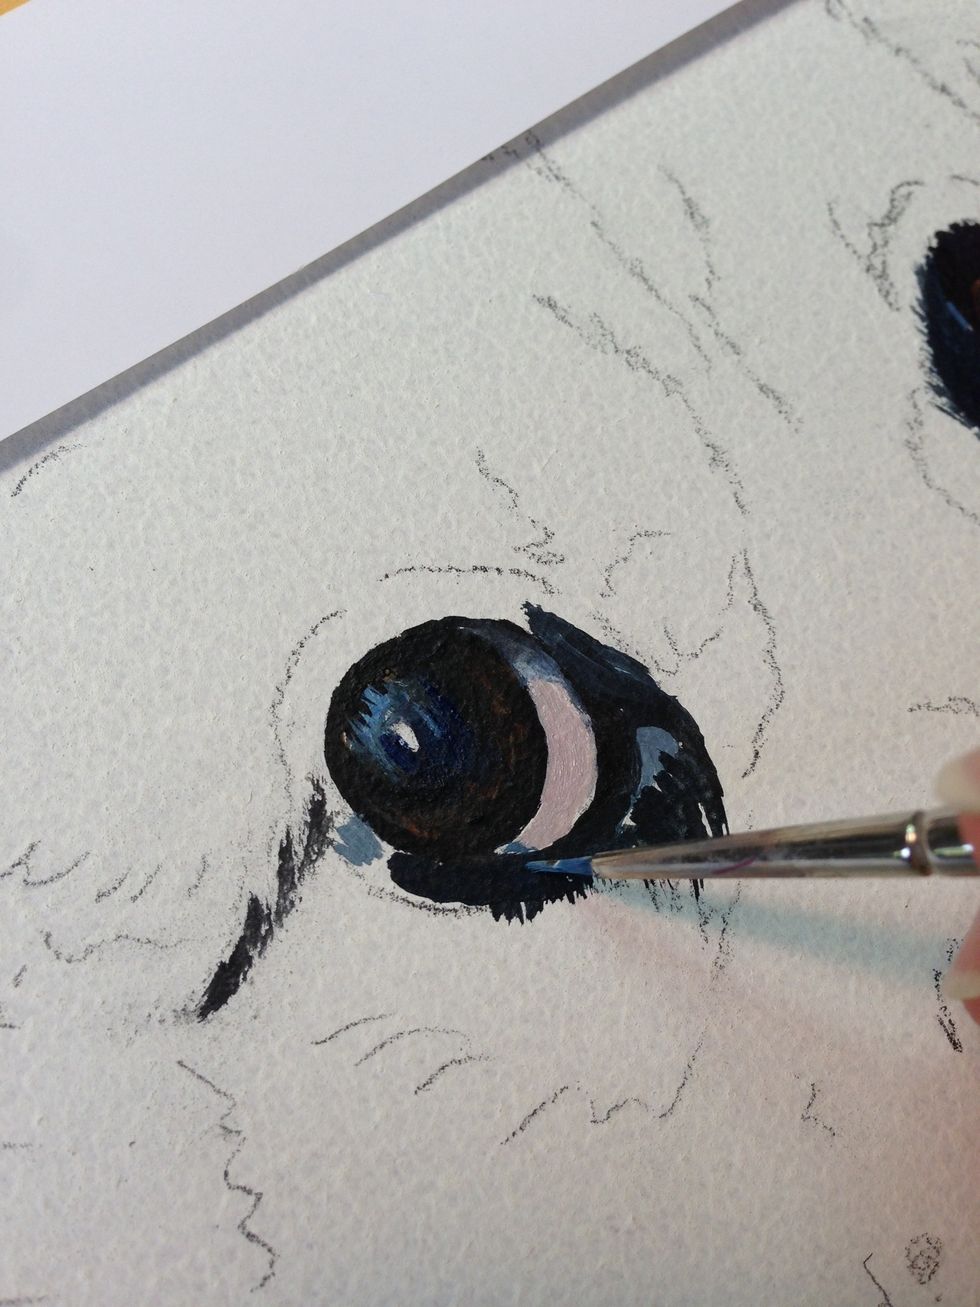
Hurley is showing the whites of his eyes, but if you study the photo you'll notice the "whites" are ever so slightly pink. 90% of being an artist is SEEING!
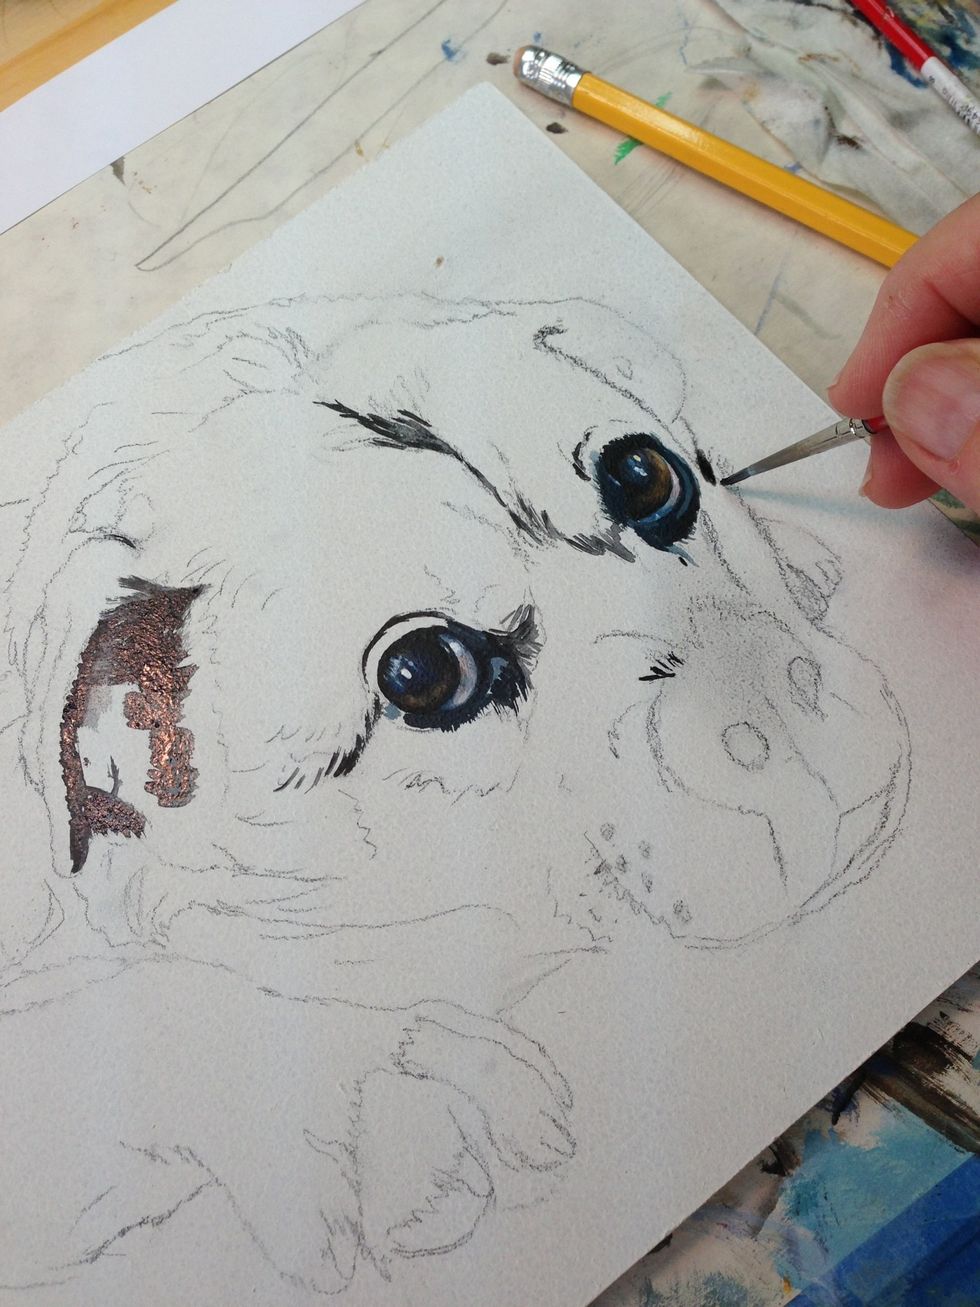
Time to start on the face and ears.
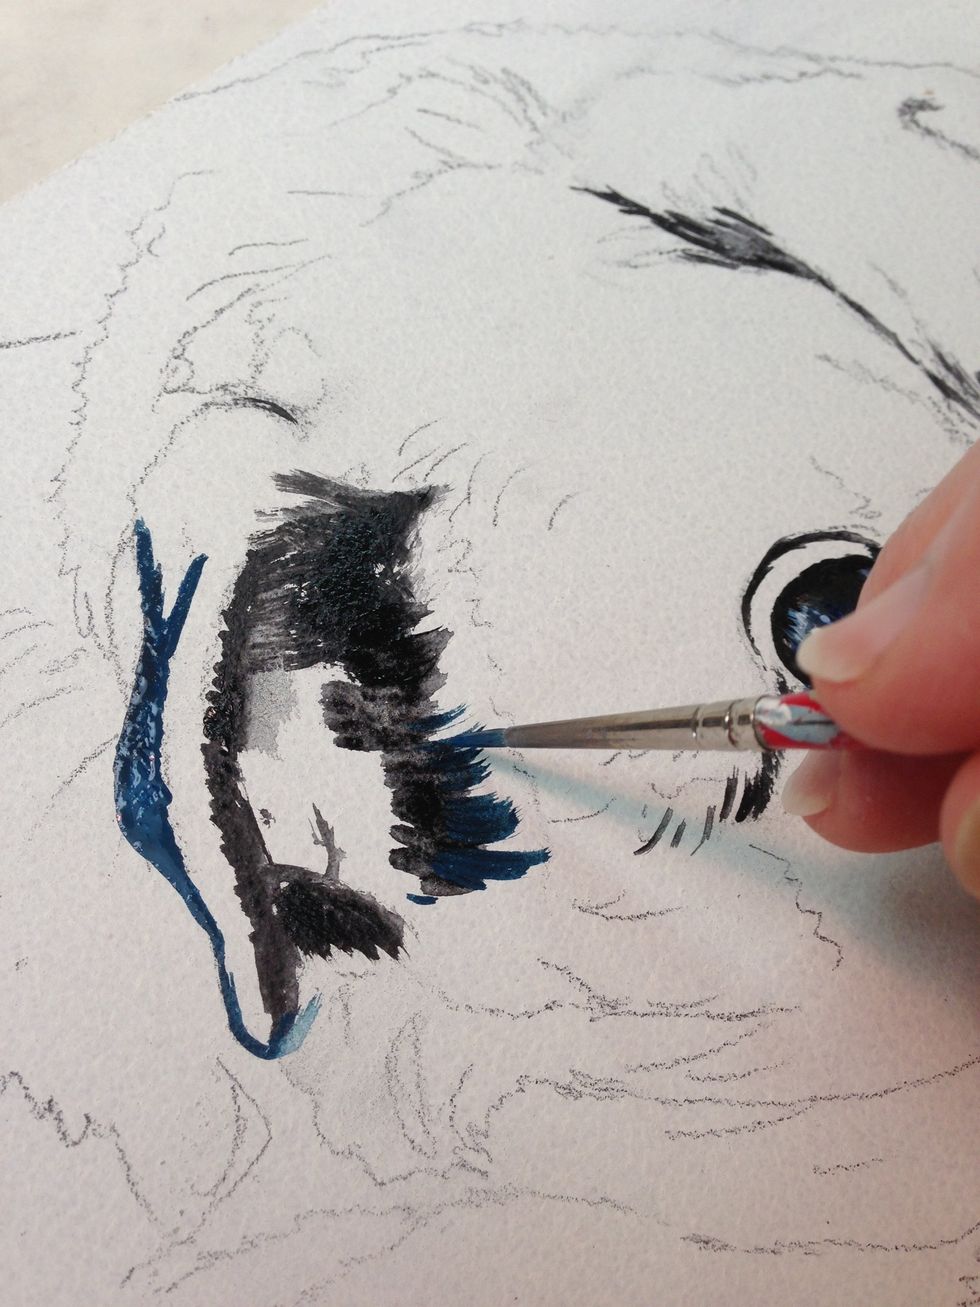
Ears...
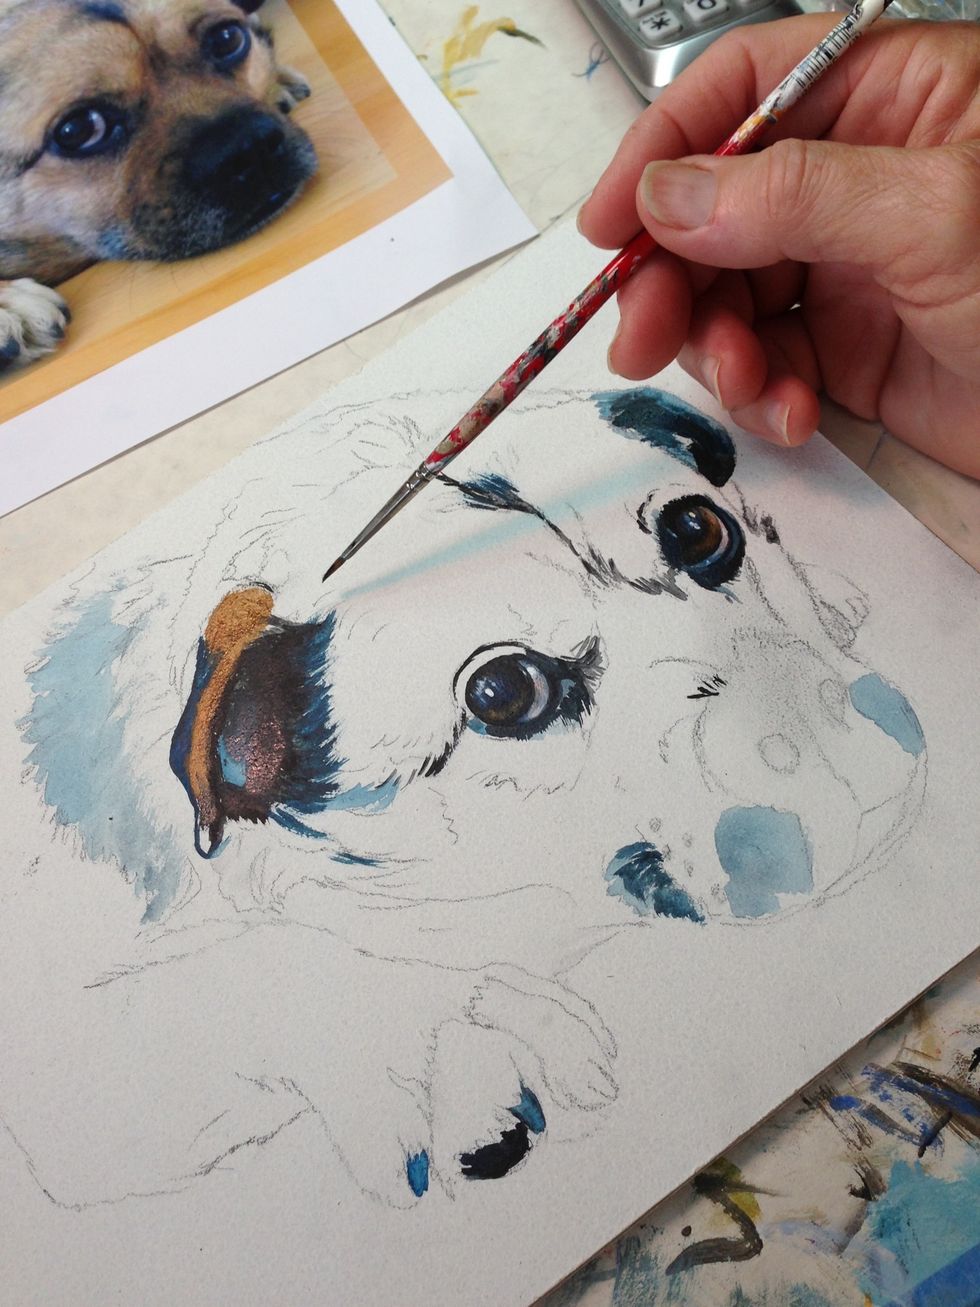
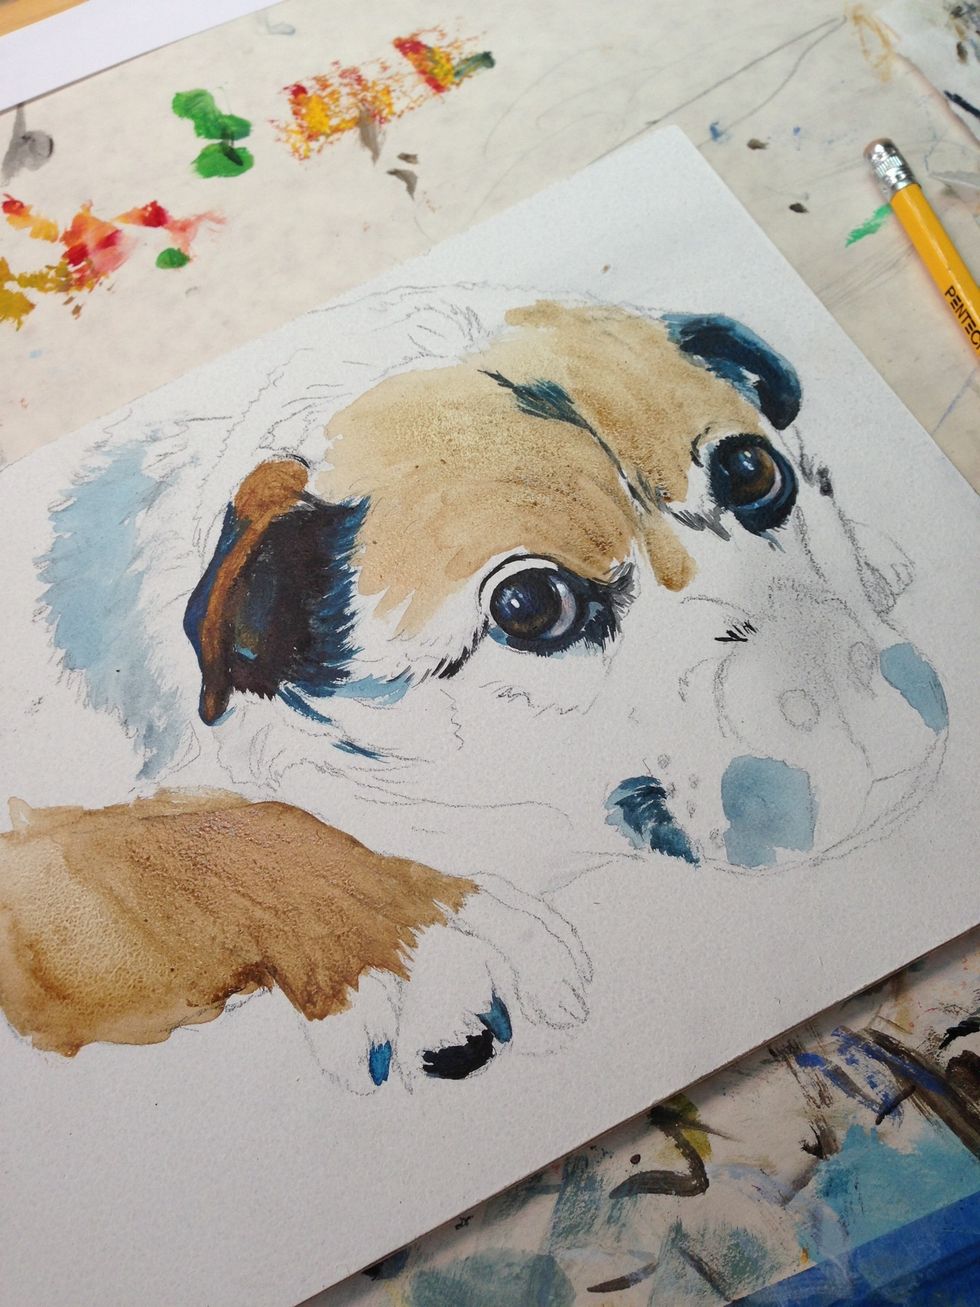
Base coat of color here and there...
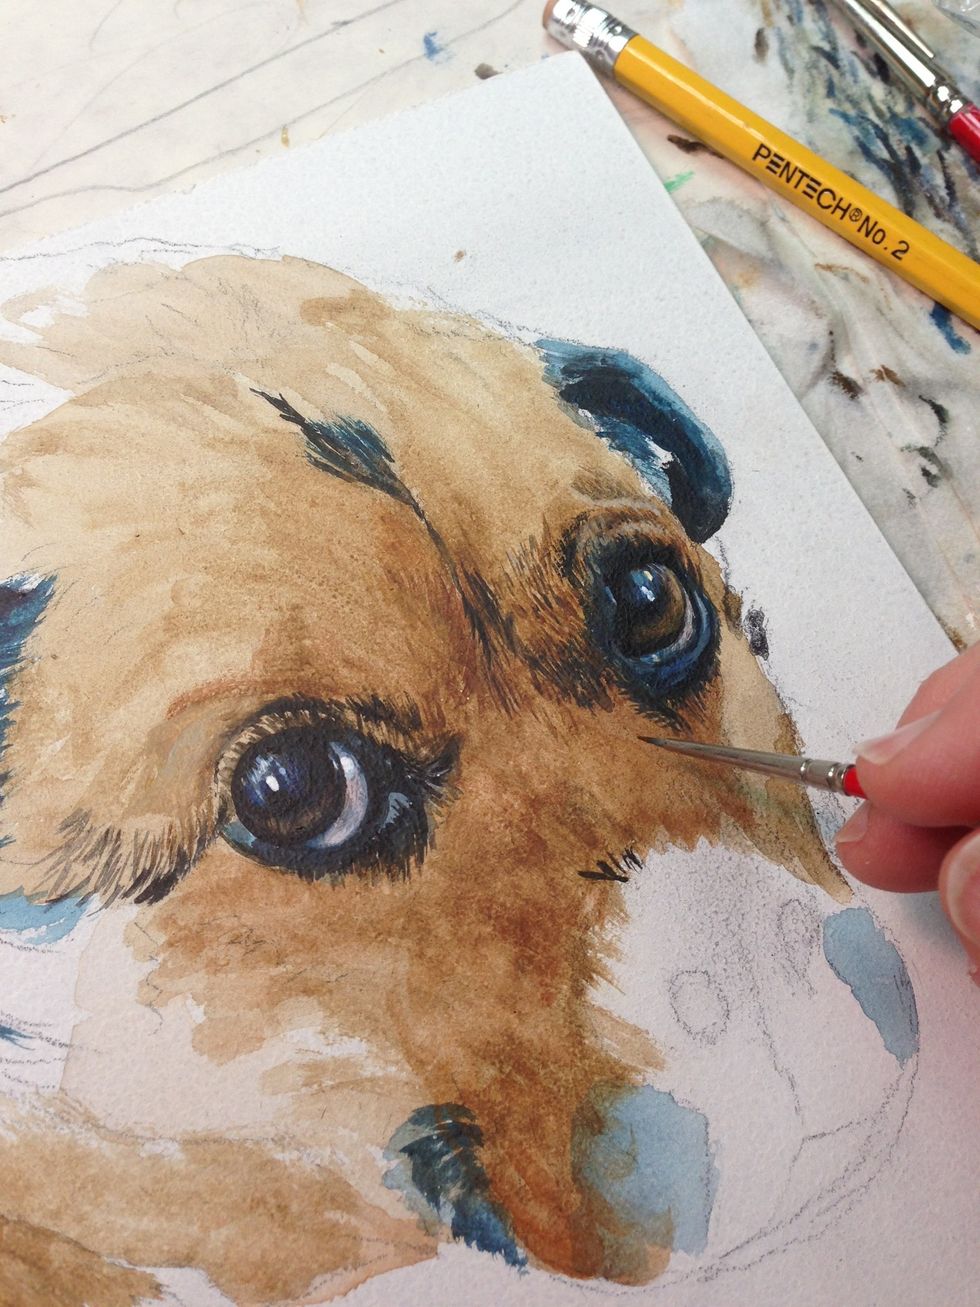
Starting fur...
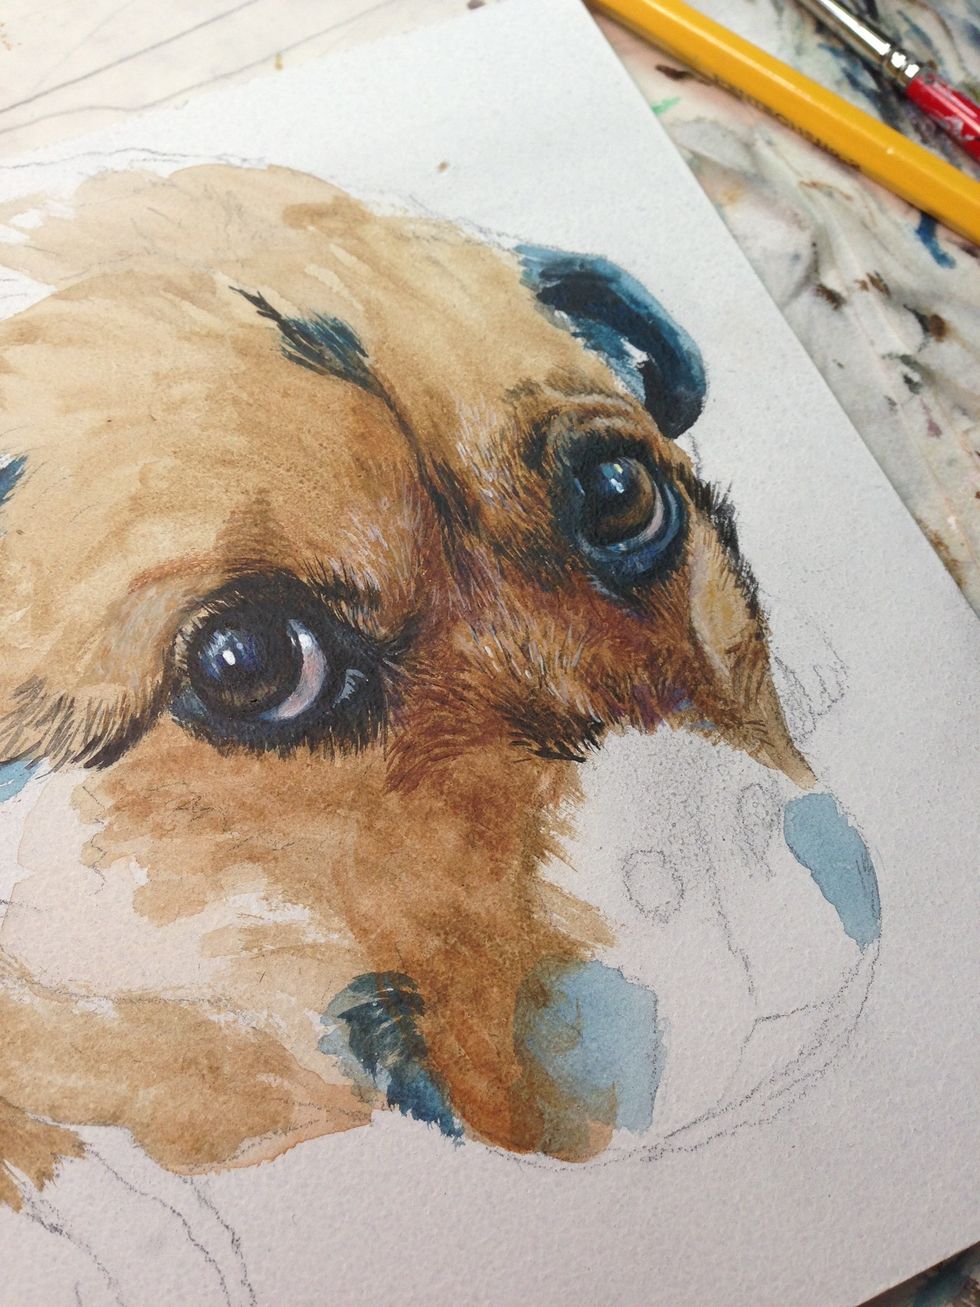
Takes time with a tiny brush...
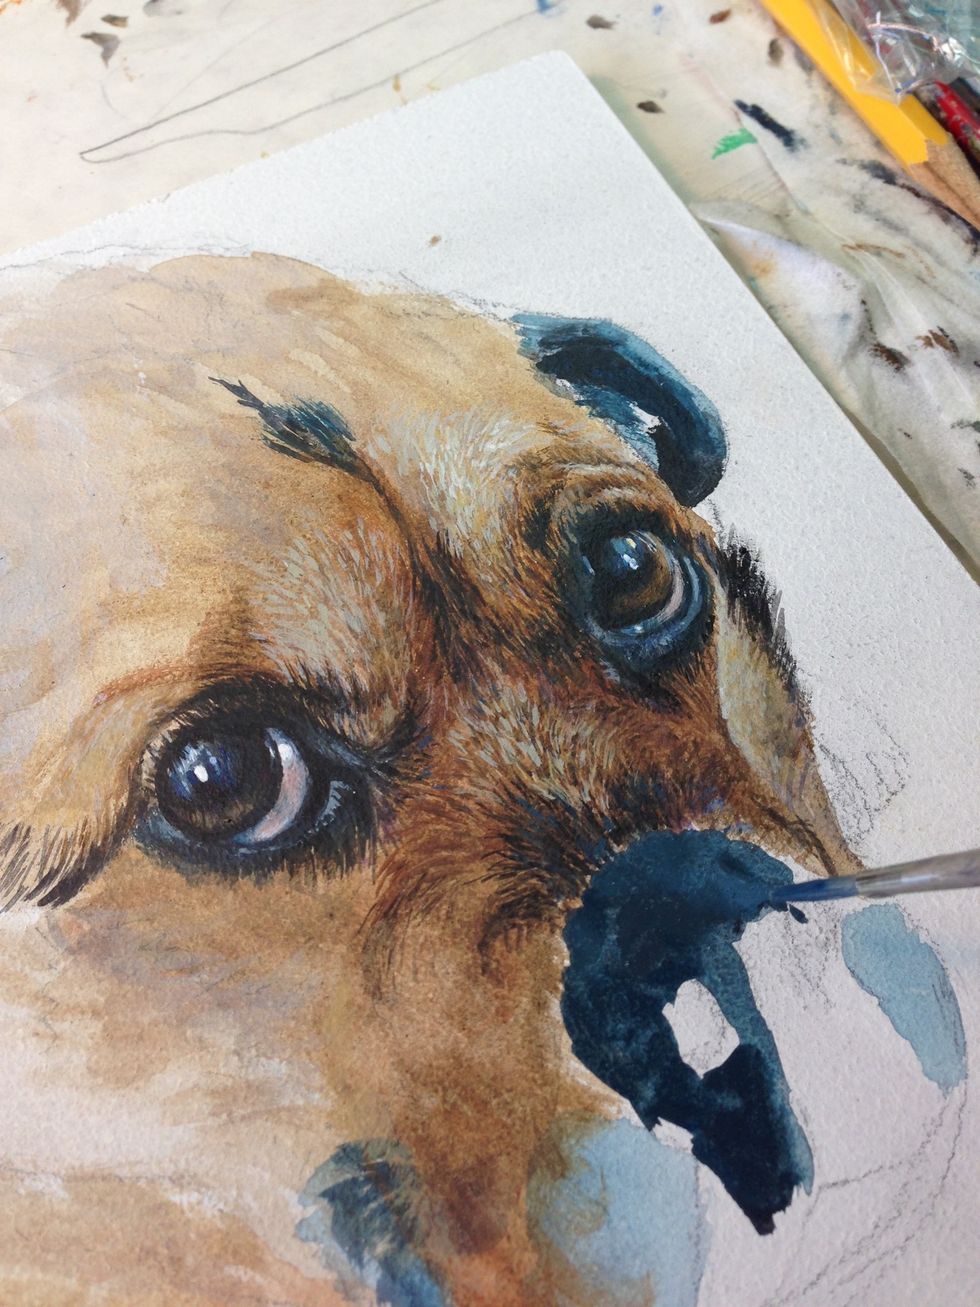
Time to start on the nose and muzzle.
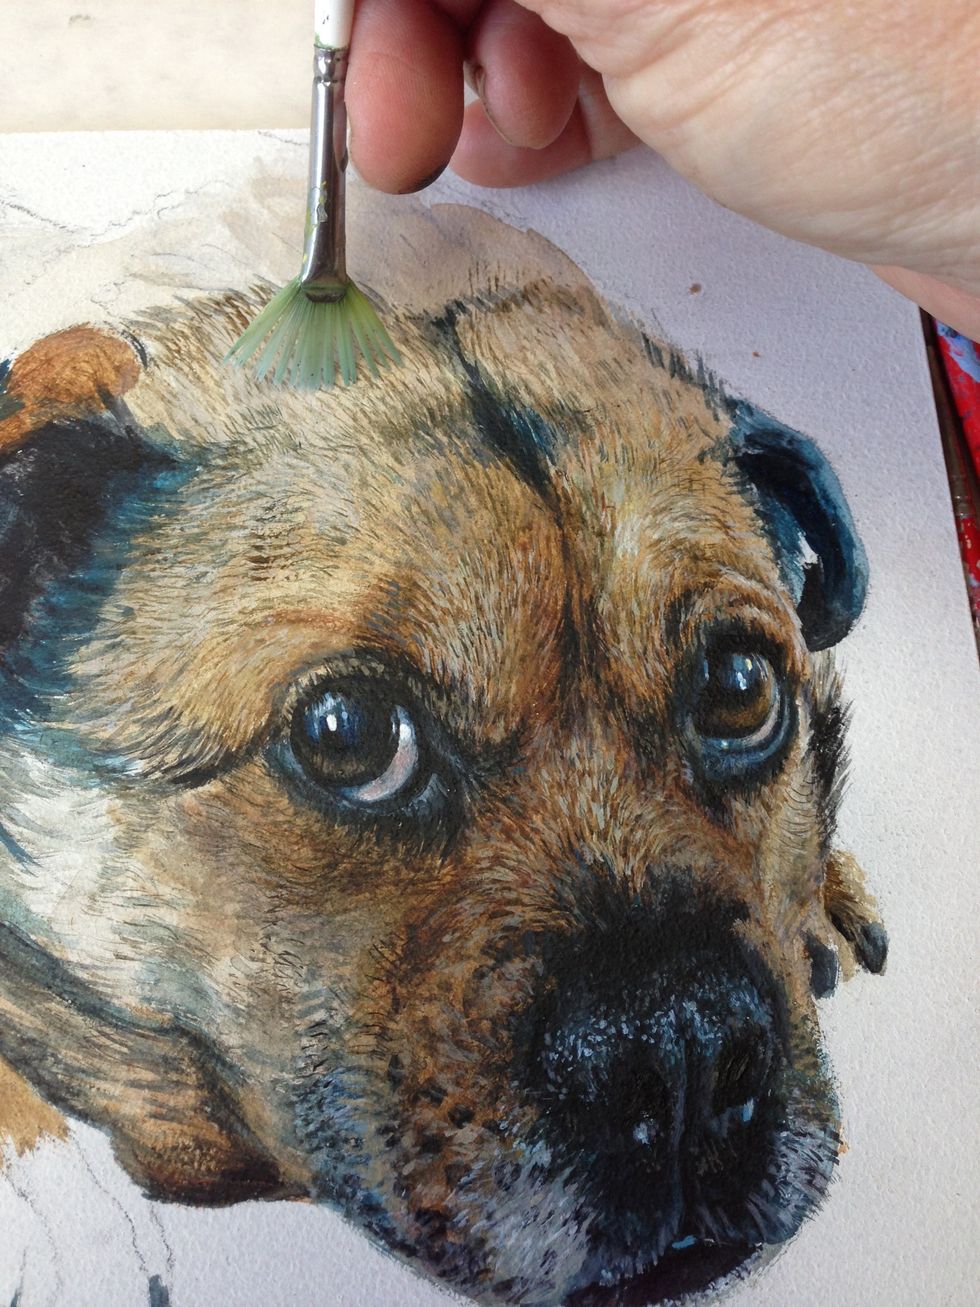
There is a lot of blue hidden among the brown and black.
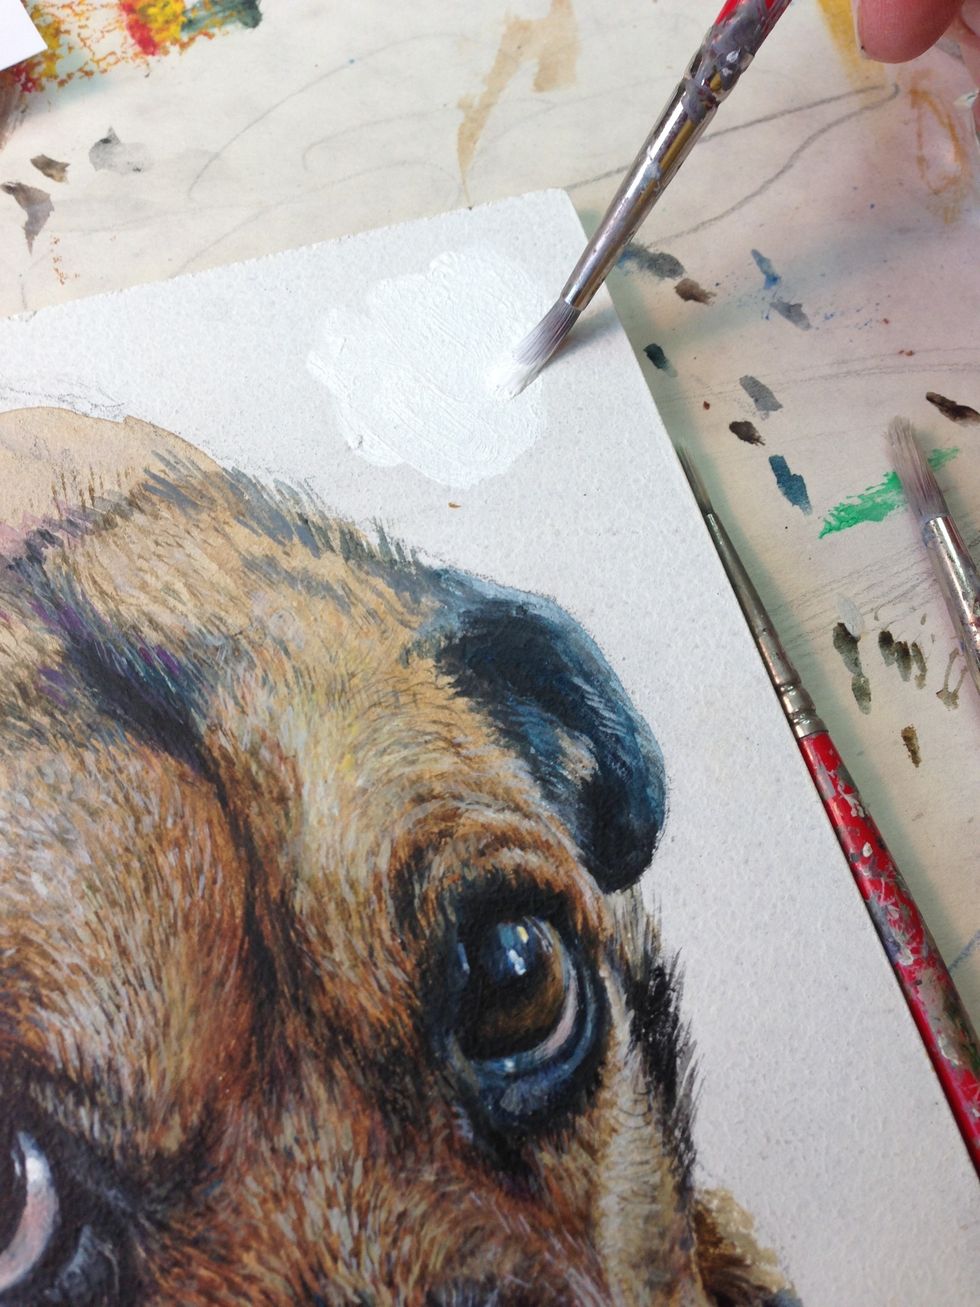
Time out to develop the background. Often with my dog portraits I use white with a little shadowing. These are the only paintings I don't do background first on.
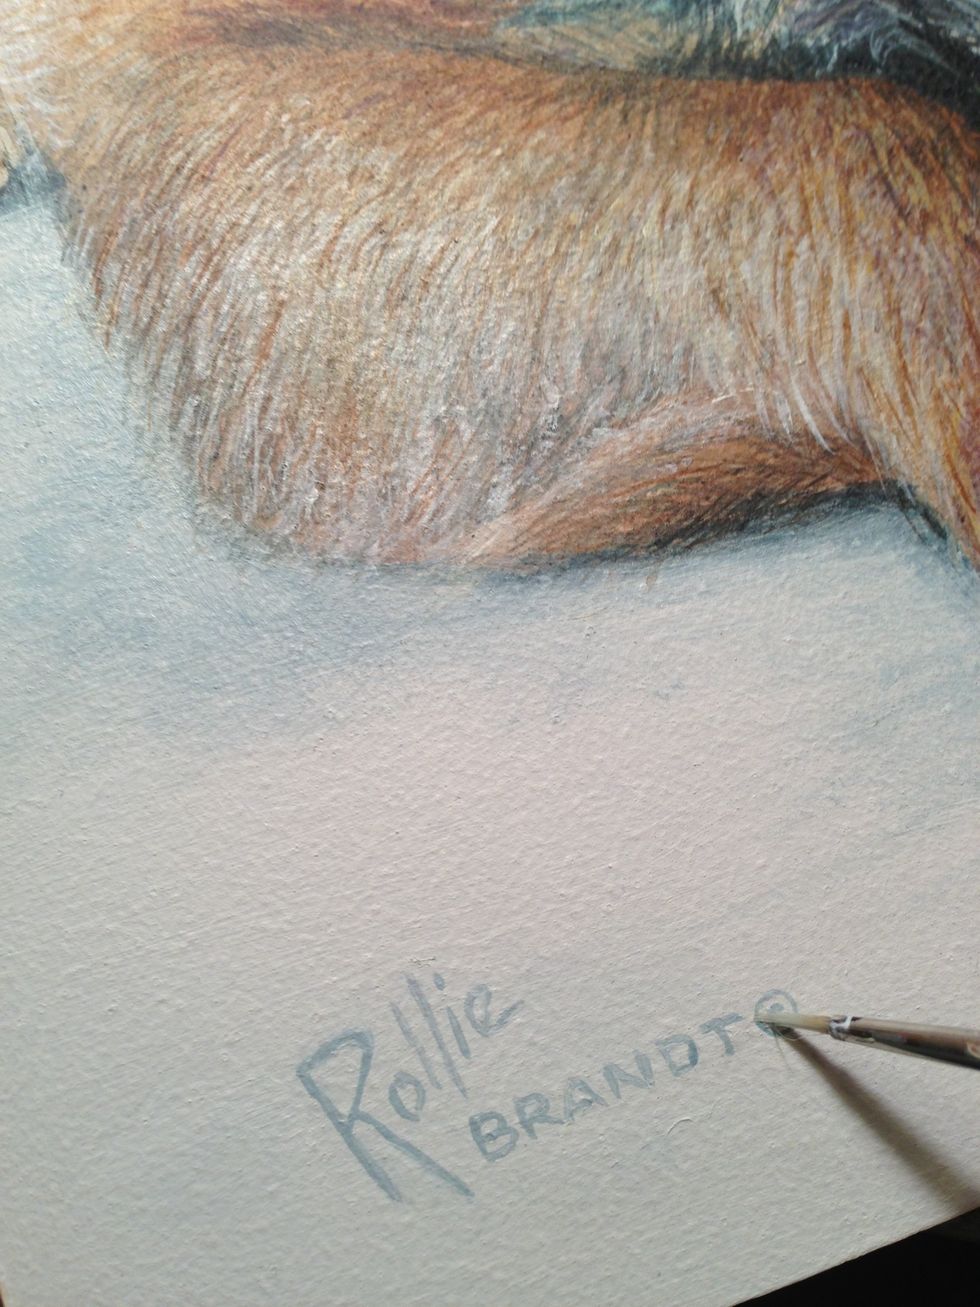
I sign bottom left or right and not too bold... I try to somewhat compliment the painting color. Sometimes I sign before I'm finished like with this one.
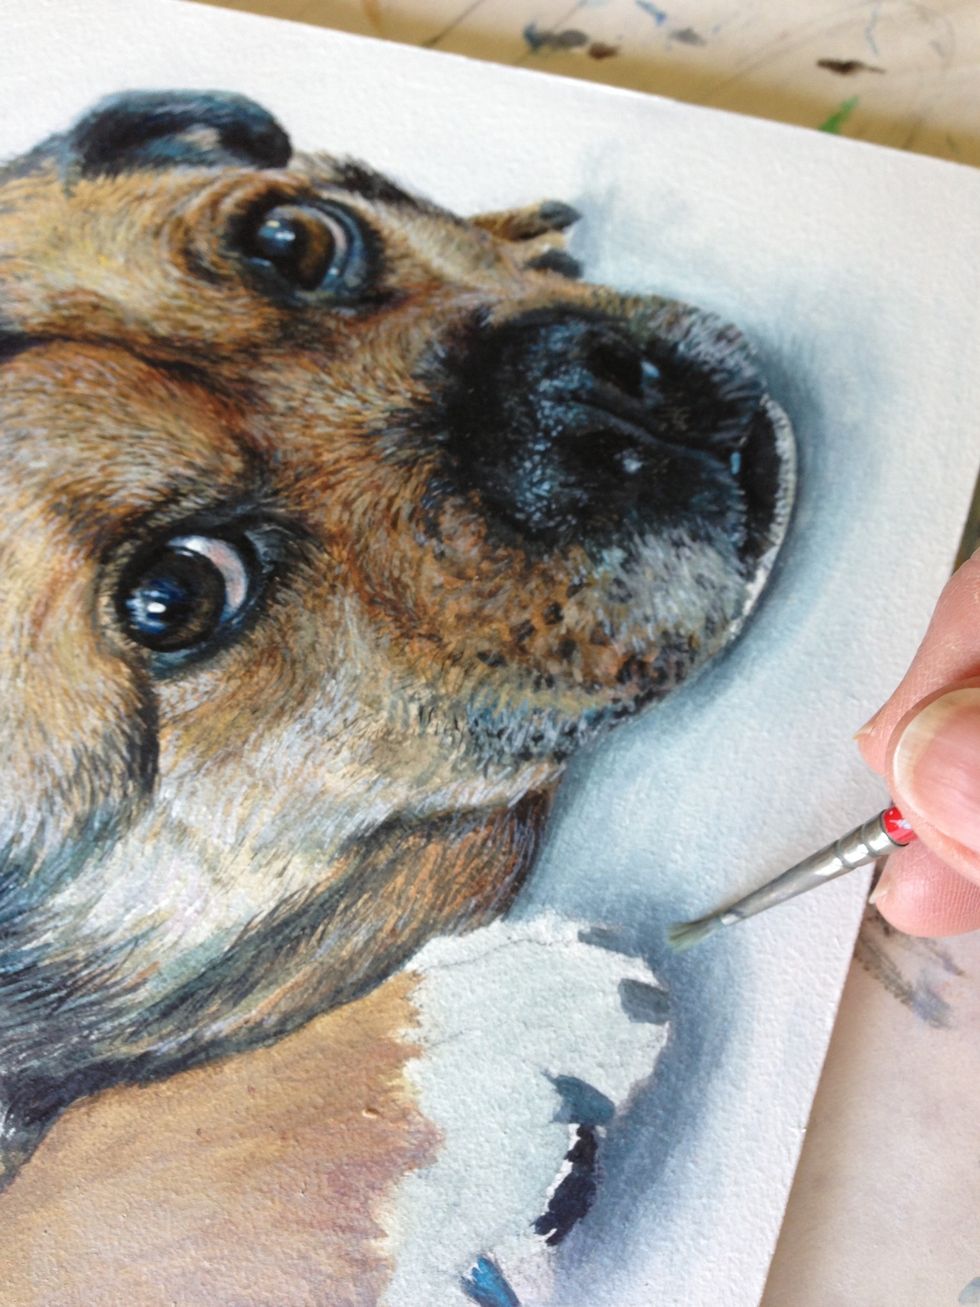
I chose a white background but want a shadow under Hurley so he doesn't appear floating in space.
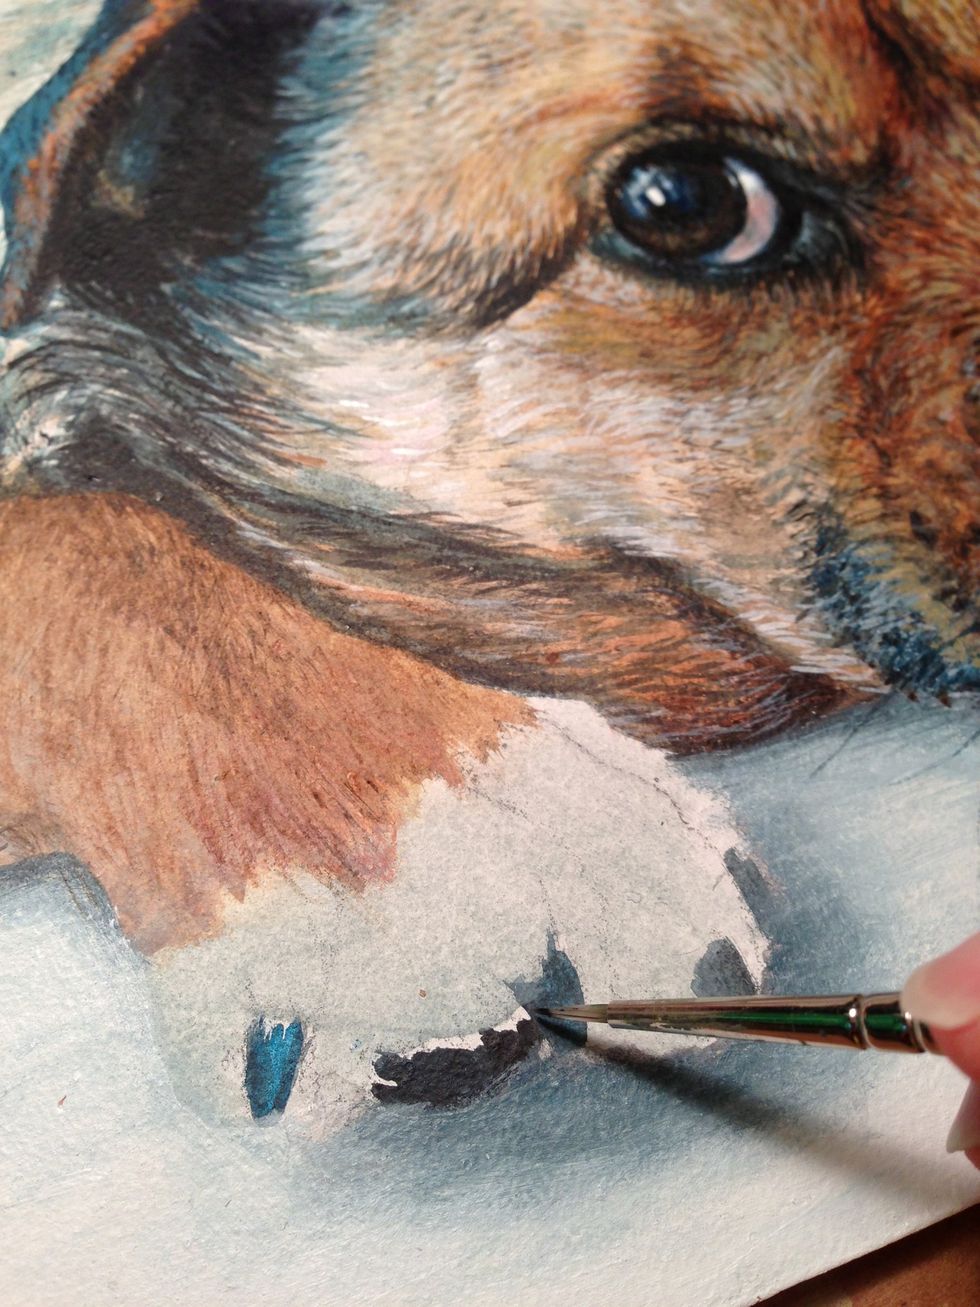
His toenails are actually bluish black.
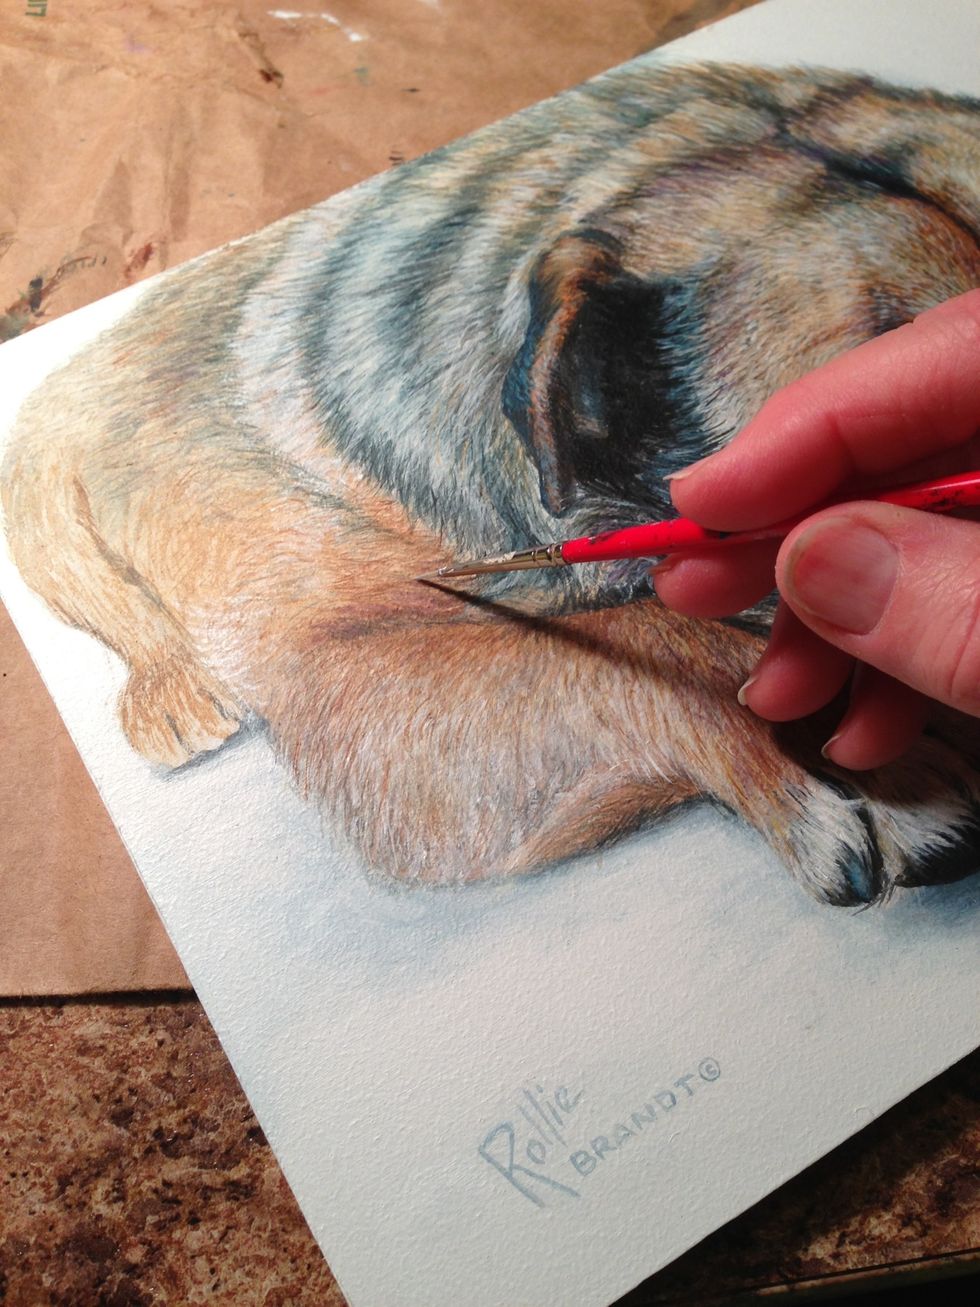
His face is the focal point but I chose to show his stocky little body and cute short legs.
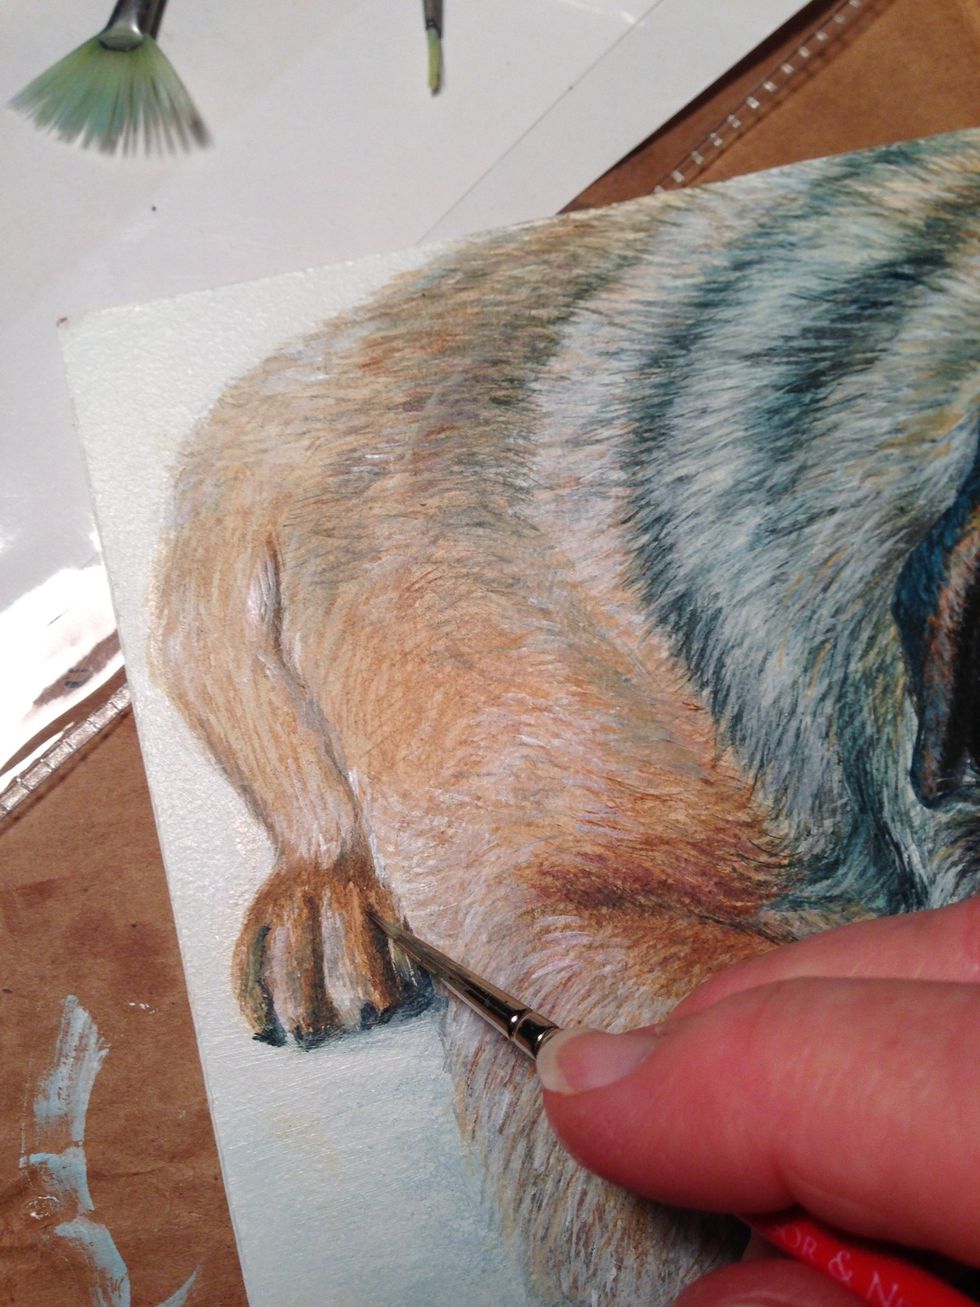
And the back paw... The finished painting will have painted edges and be given along with a decorative easel to sit on a shelf rather than be framed.
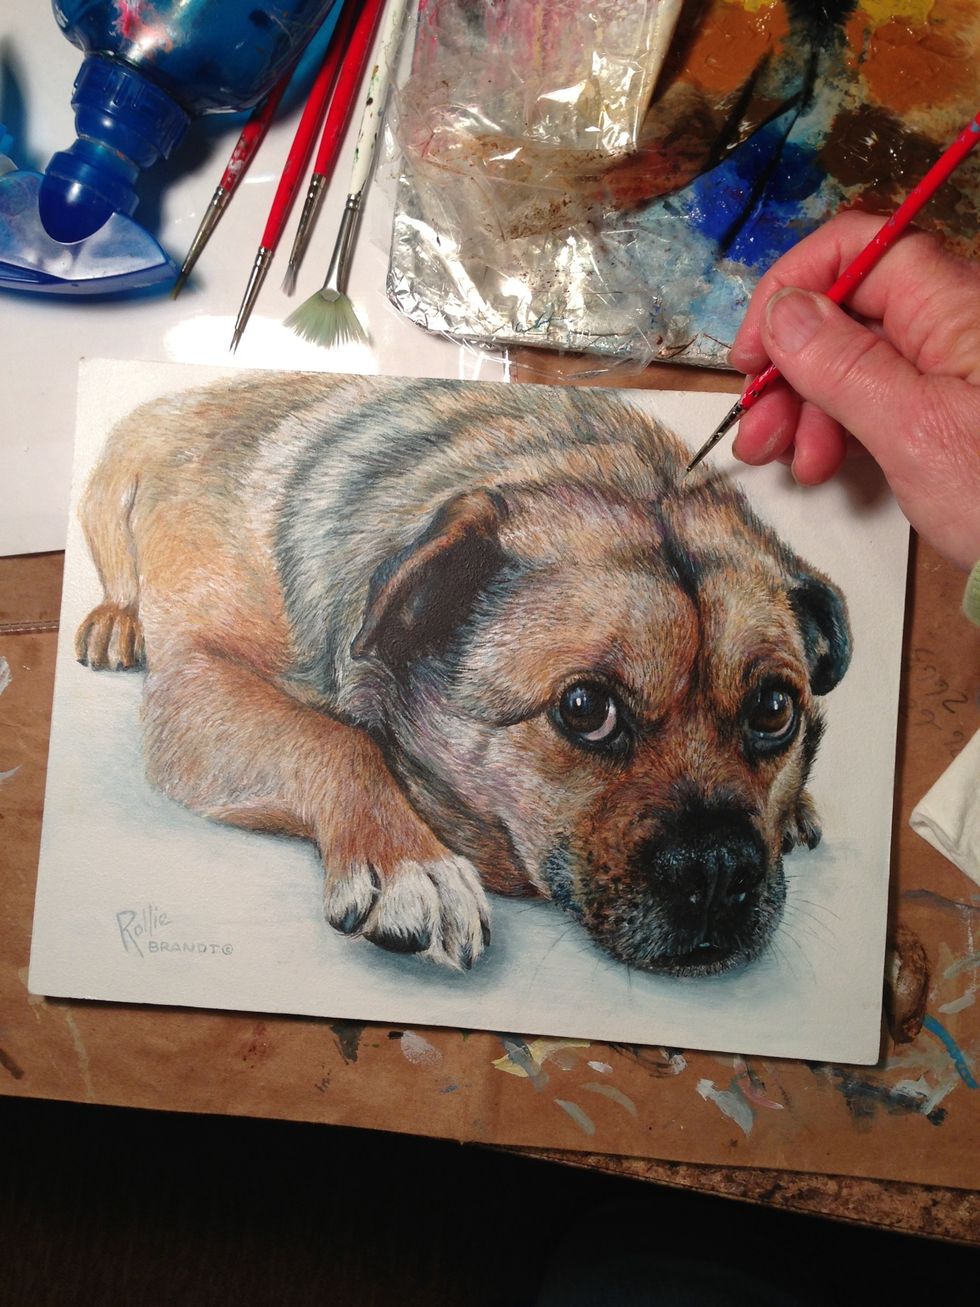
I always put up a finished painting for a day or so to look at it for things that need fixing... Then tweak here and there. Give it a final spray coating to protect it. I use Kamar Varnish Spray.
- Canvas works, but I use...
- Un-tempered Masonite
- Gesso applied w/paint roller
- Acrylic Paints such as Liquitex
- Water
- Spray bottle
- Palette (I use foil wrapped cardboard)
- Plastic wrap to keep paints moist
- Brushes in various sizes
Rollie Brandt
I've been an artist all my life and raised my children as a stay at home mom. Happily married 40 years. I love to share what I do...
The Conversation (0)
Sign Up