The Conversation (0)
Sign Up
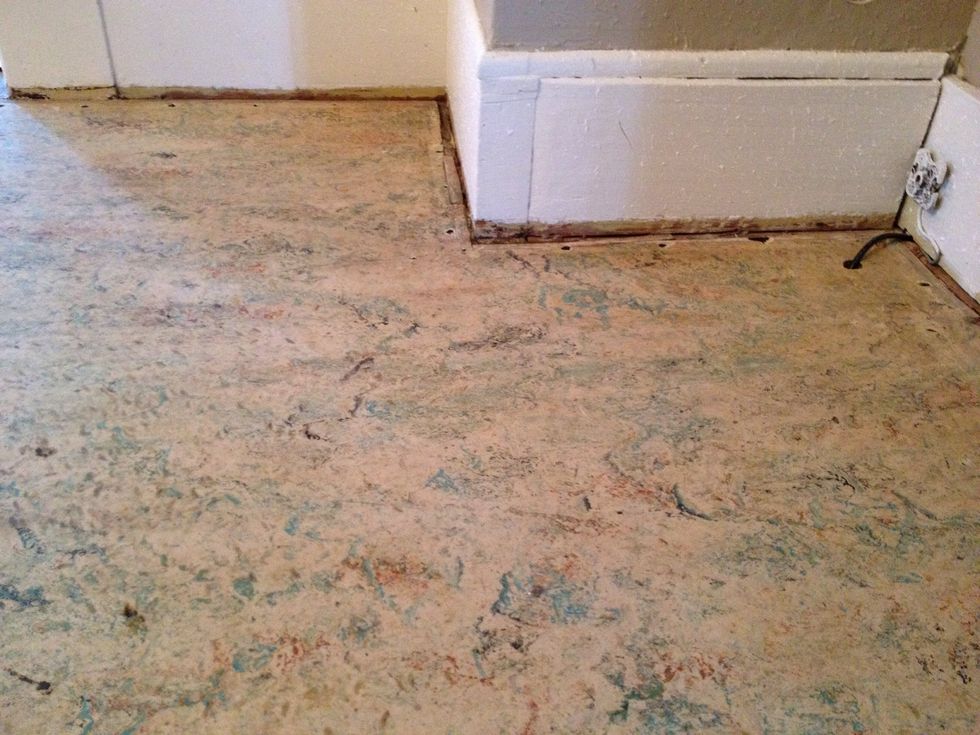
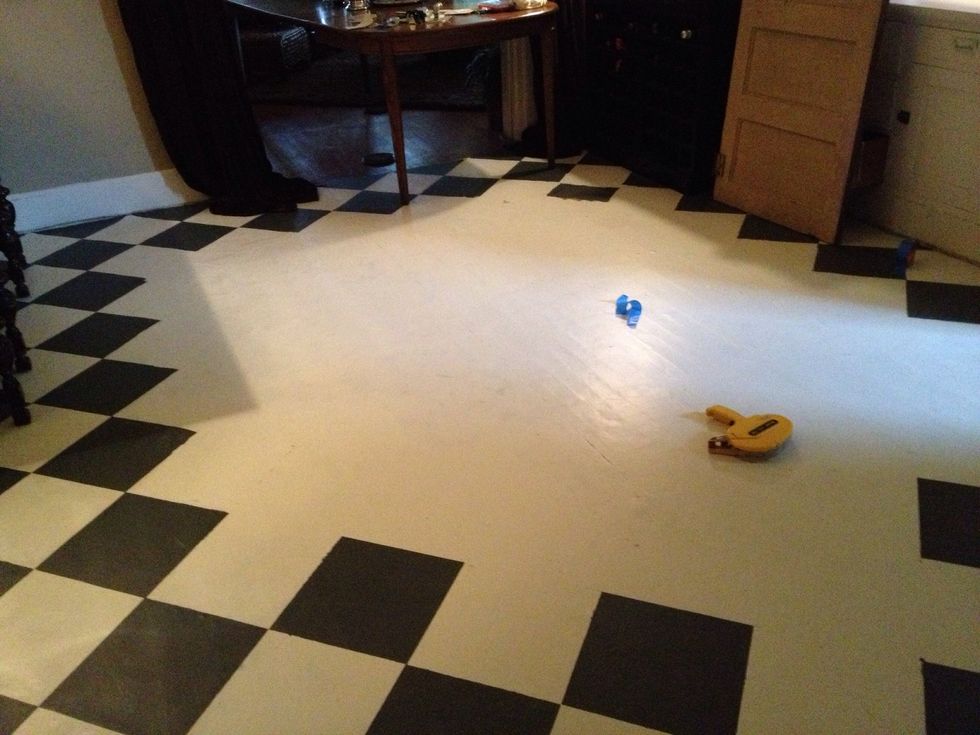
This was how my floor looked to start. O-L-D linoleum. Make sure floor is clean & dry. Start with the white paint and paint the whole surface solid white. Let dry.

See the white. (Didn't get a pic of just white). Using the wall as a straight edge, adhere 12x12 paper to floor. make sure to match corners as perfectly as possible.
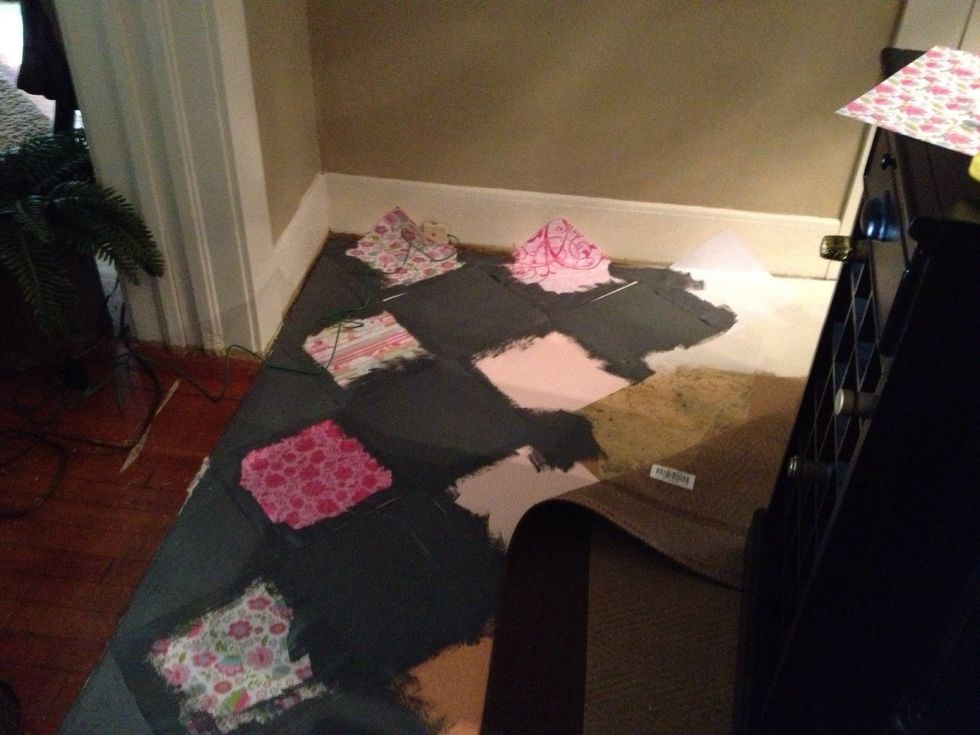
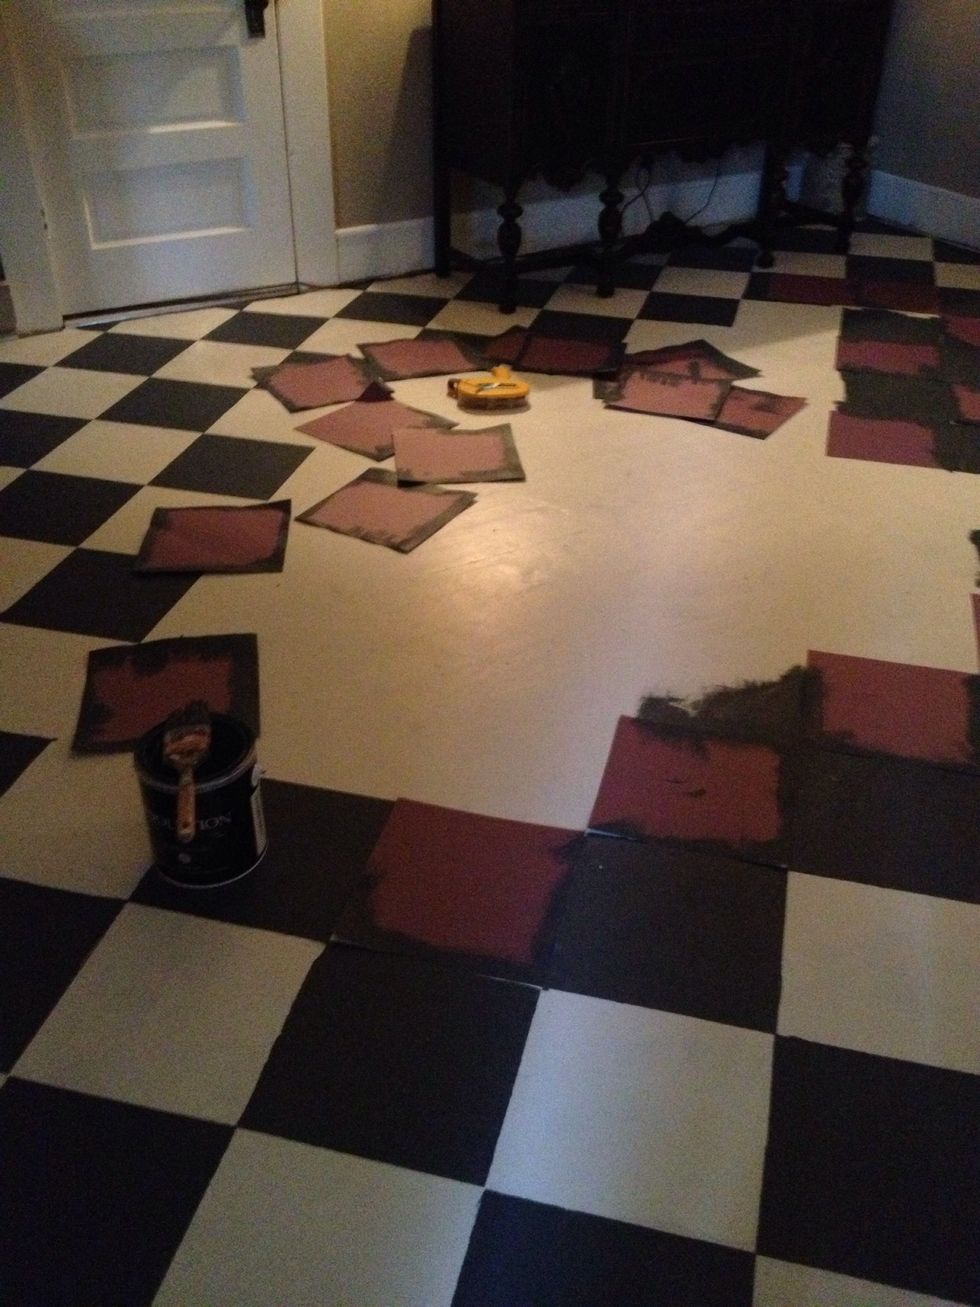
Once paper is down, paint the open sections with black paint.
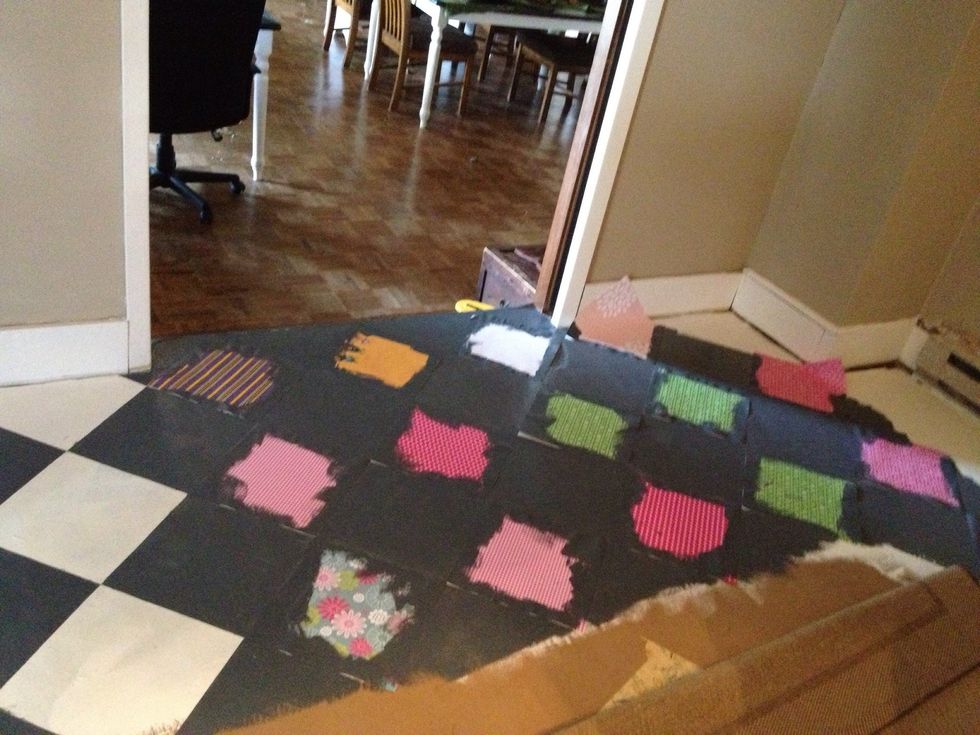
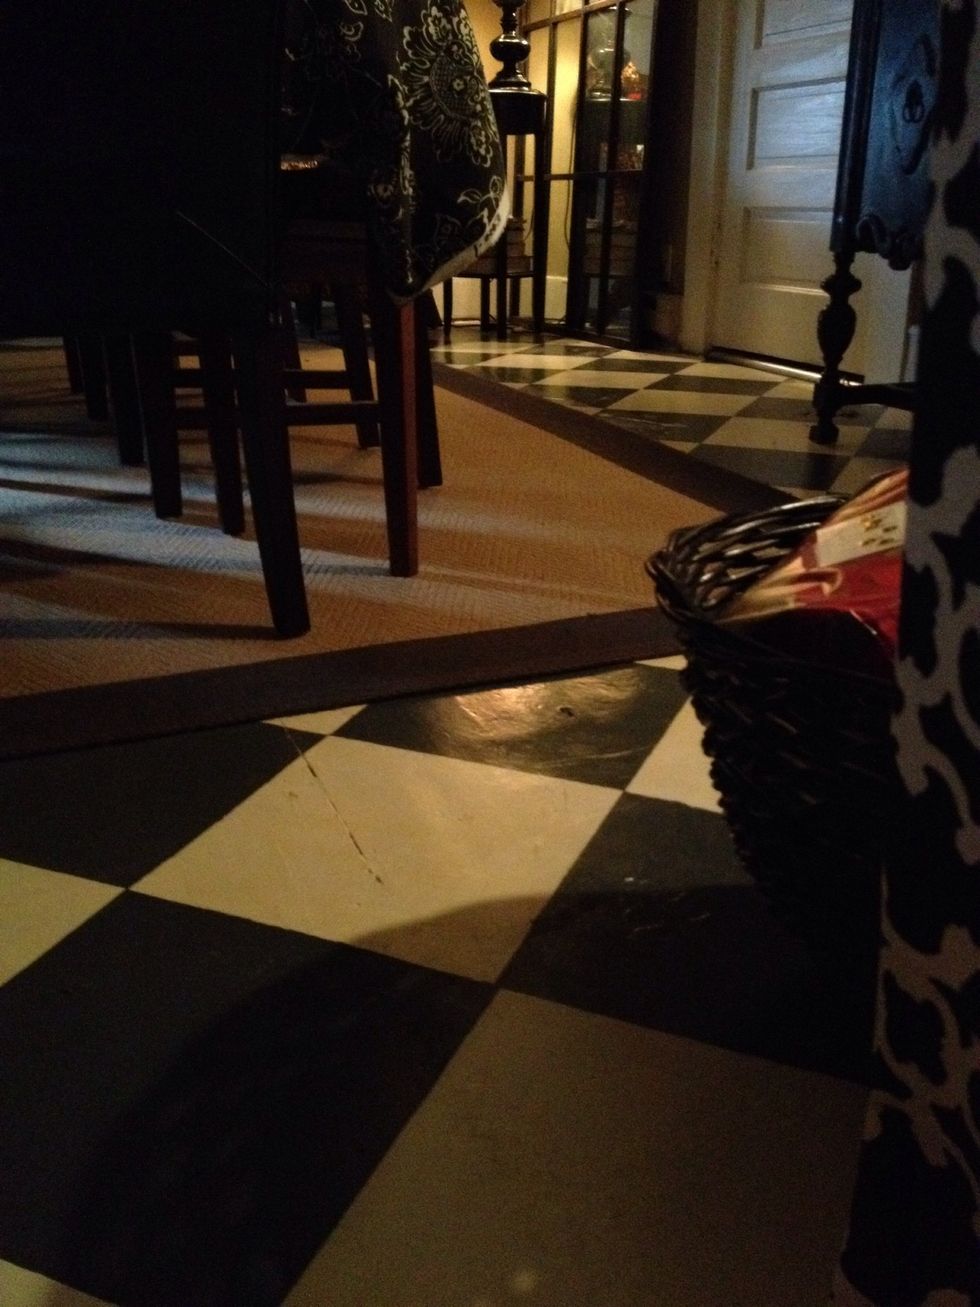
I worked in sections, over a few days. Cordoning off areas to dry and allowing access through this main hub of the house.
I worked around the edges first. My lines stayed nice and straight this way. I was amazed when I came to the final few squares how close they matched up!!
I let this outer area dry for a day or so.
I finished the middle section in the same fashion, using the existing, dried squares as guides.
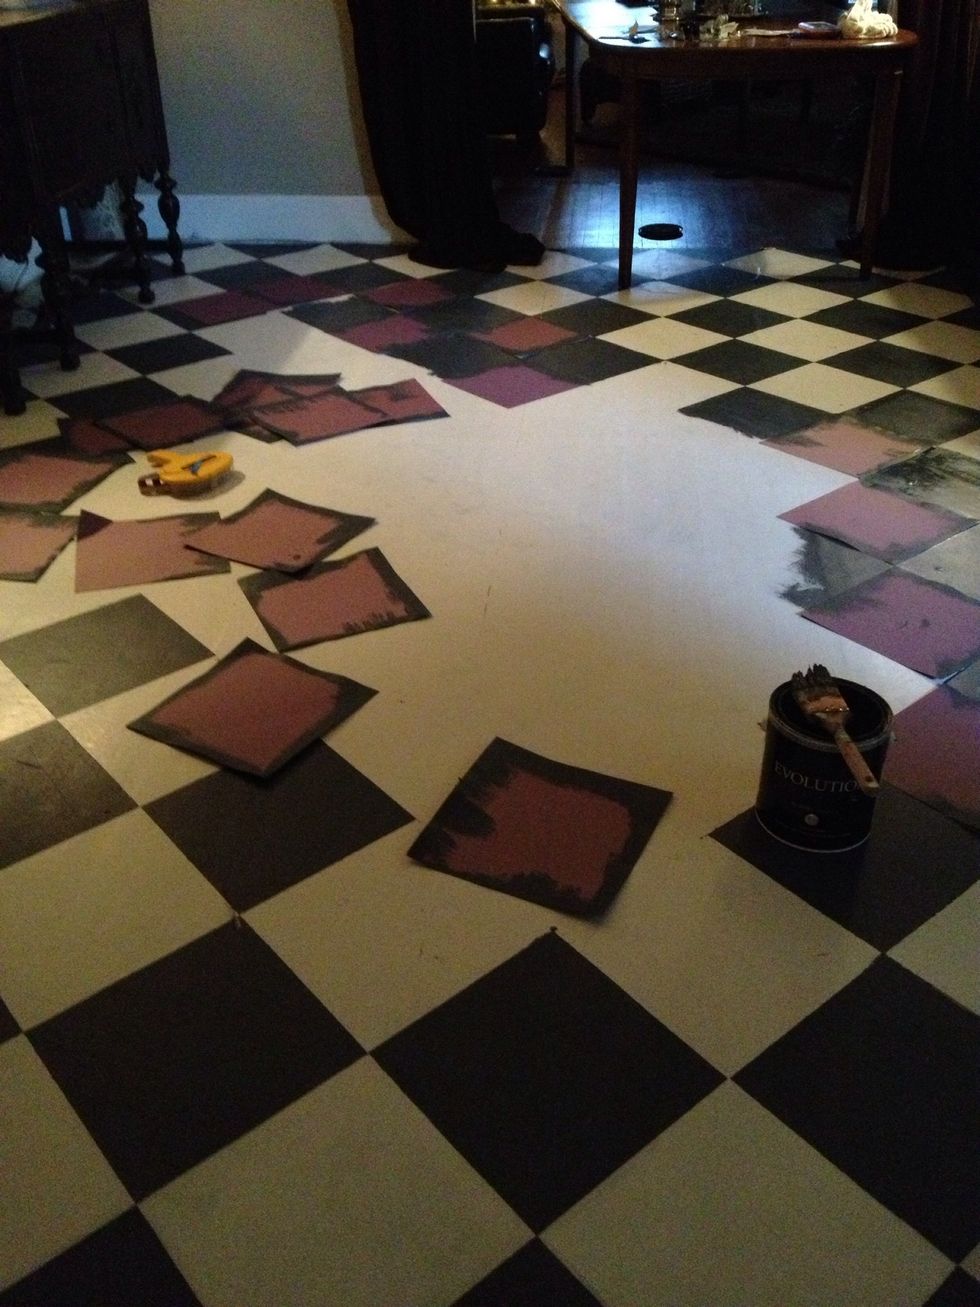
I tried to re-use my squares. This makes a mess & gets black paint where you don't want it. I would suggest just using fresh pieces through the entire project or allowing used pieces to dry overnight
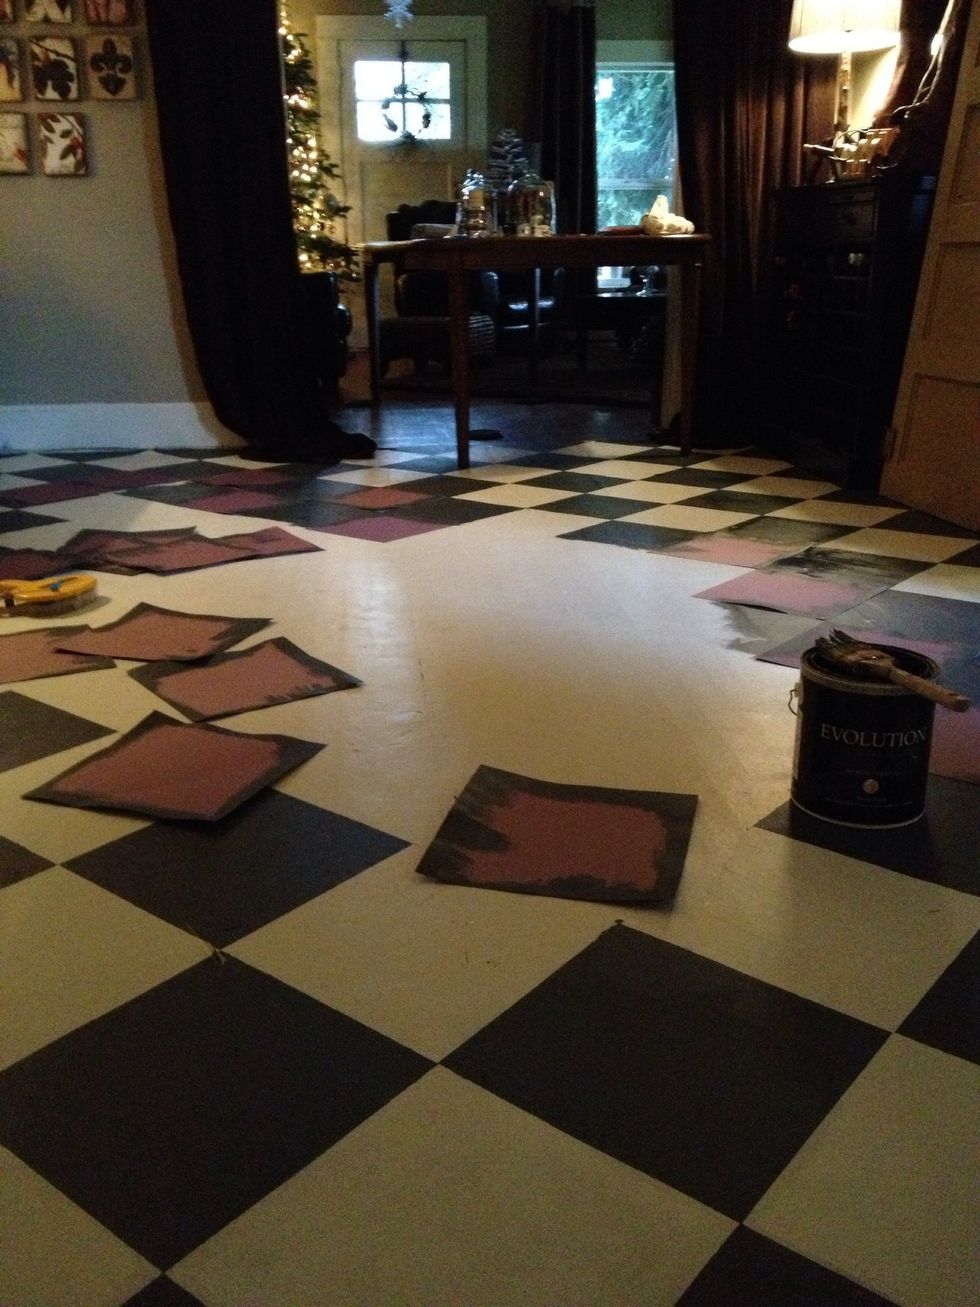
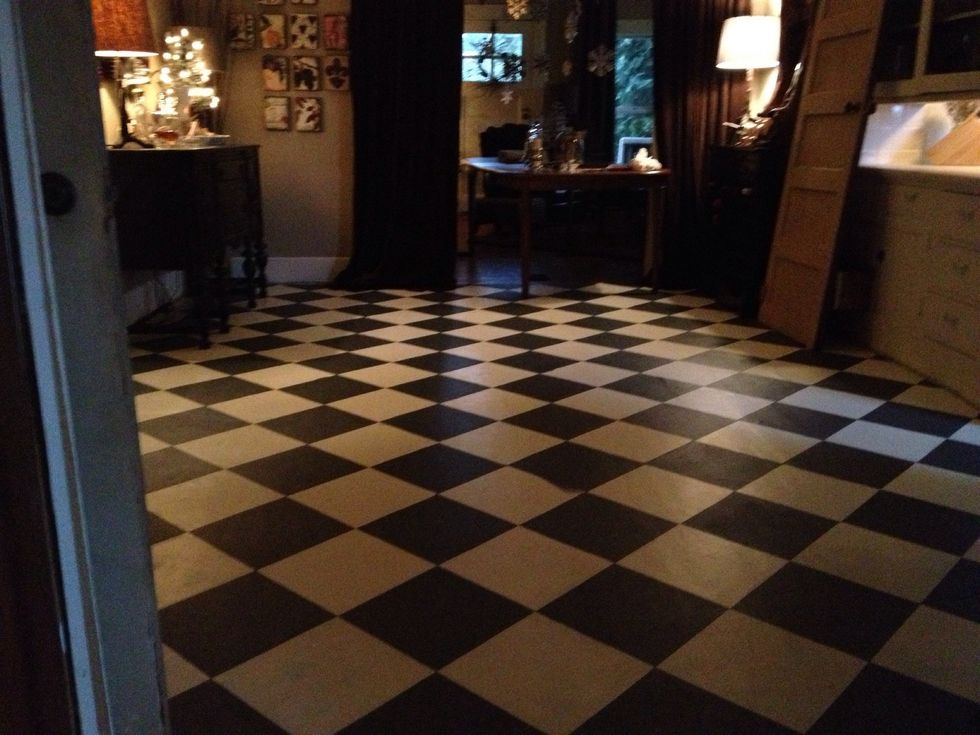
Almost done!
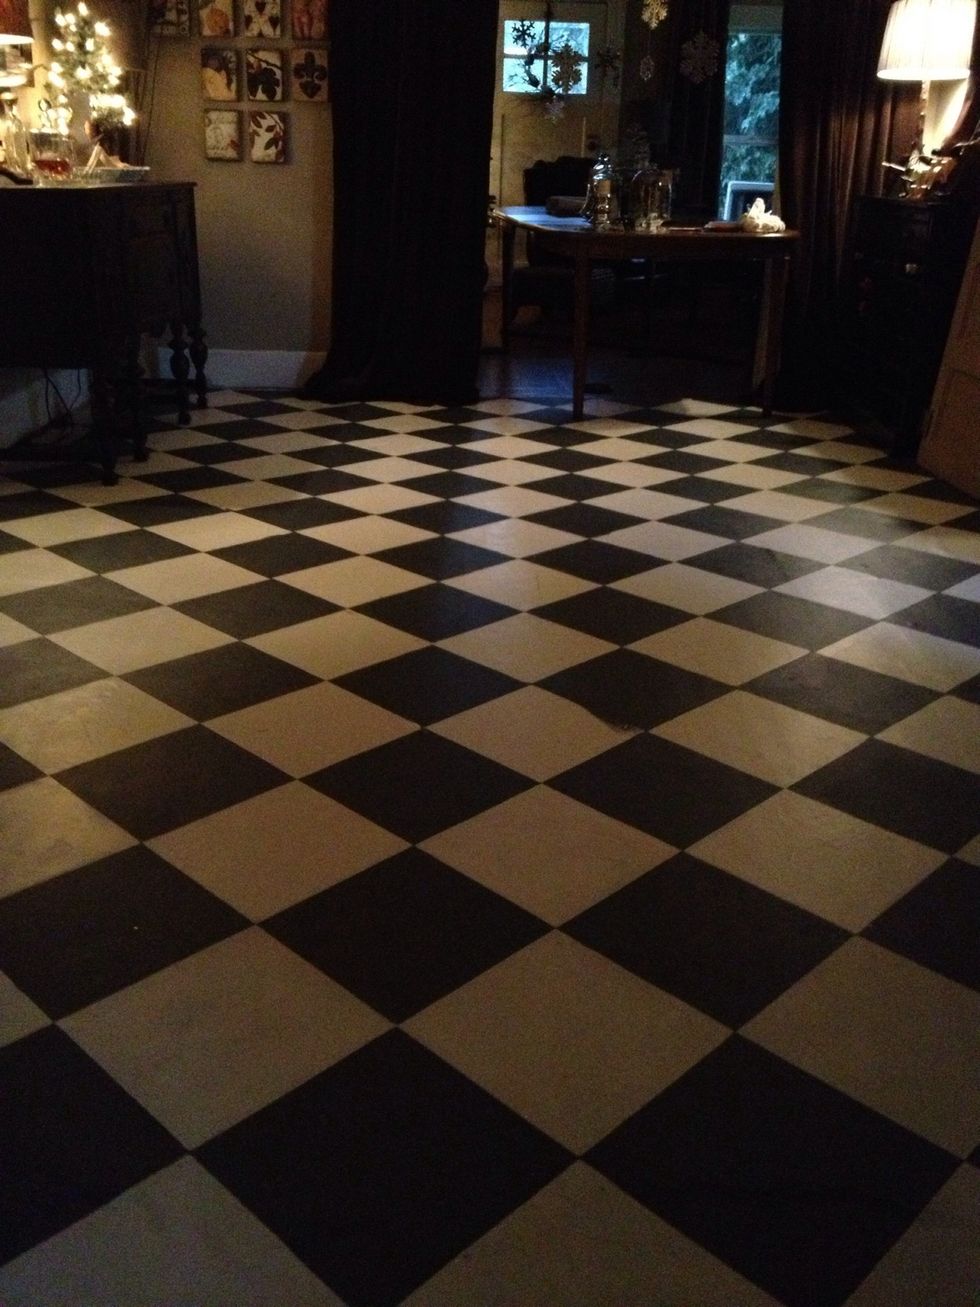
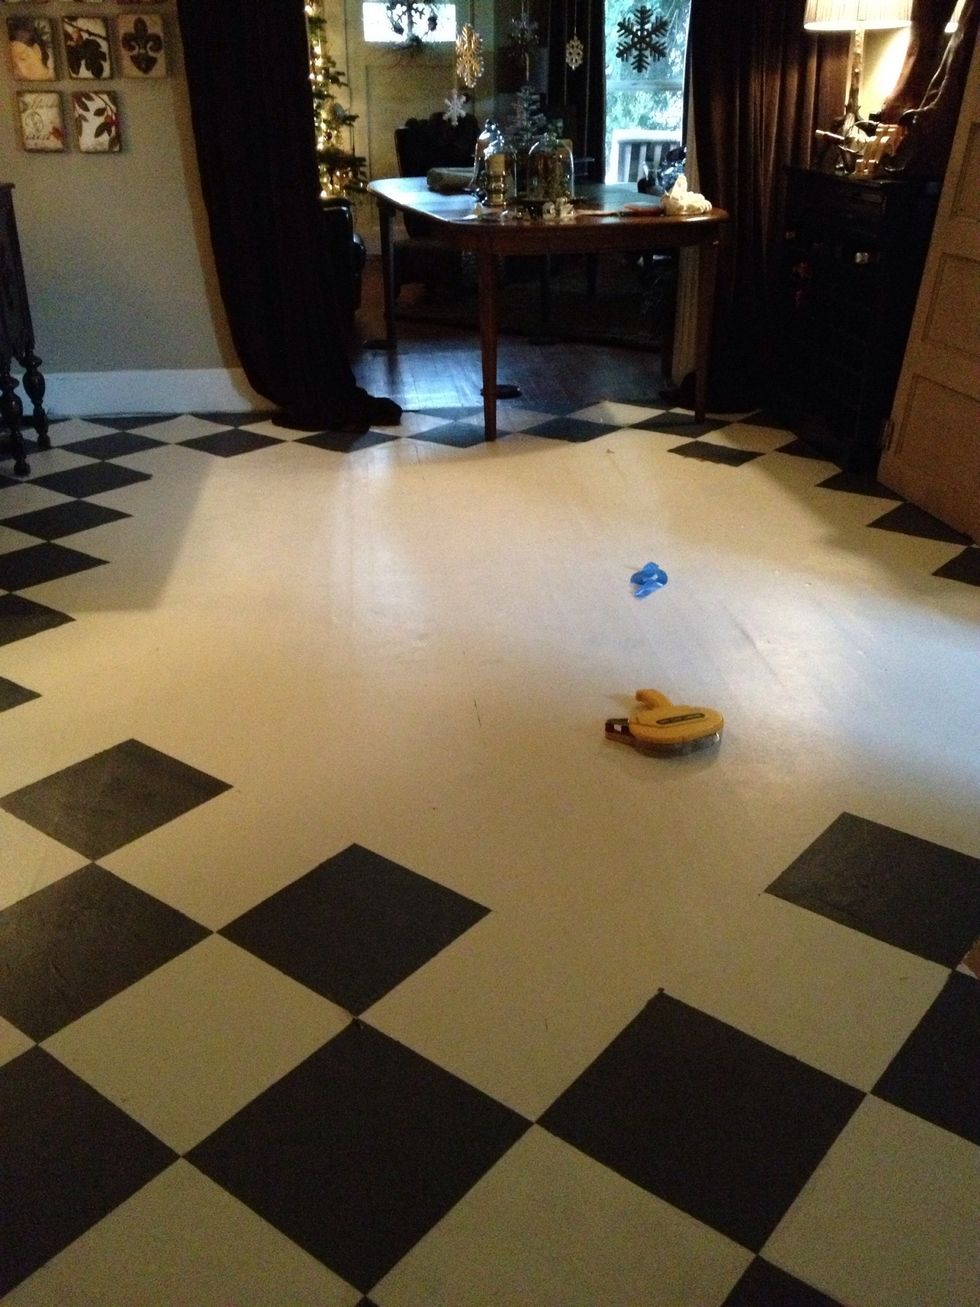
Voila!

I went in with a fine brush & a straight edge to fix a few spots. But mostly my lines came out nice and crisp. I waited a week or so then painted the entire floor with a coating of polyurethane.
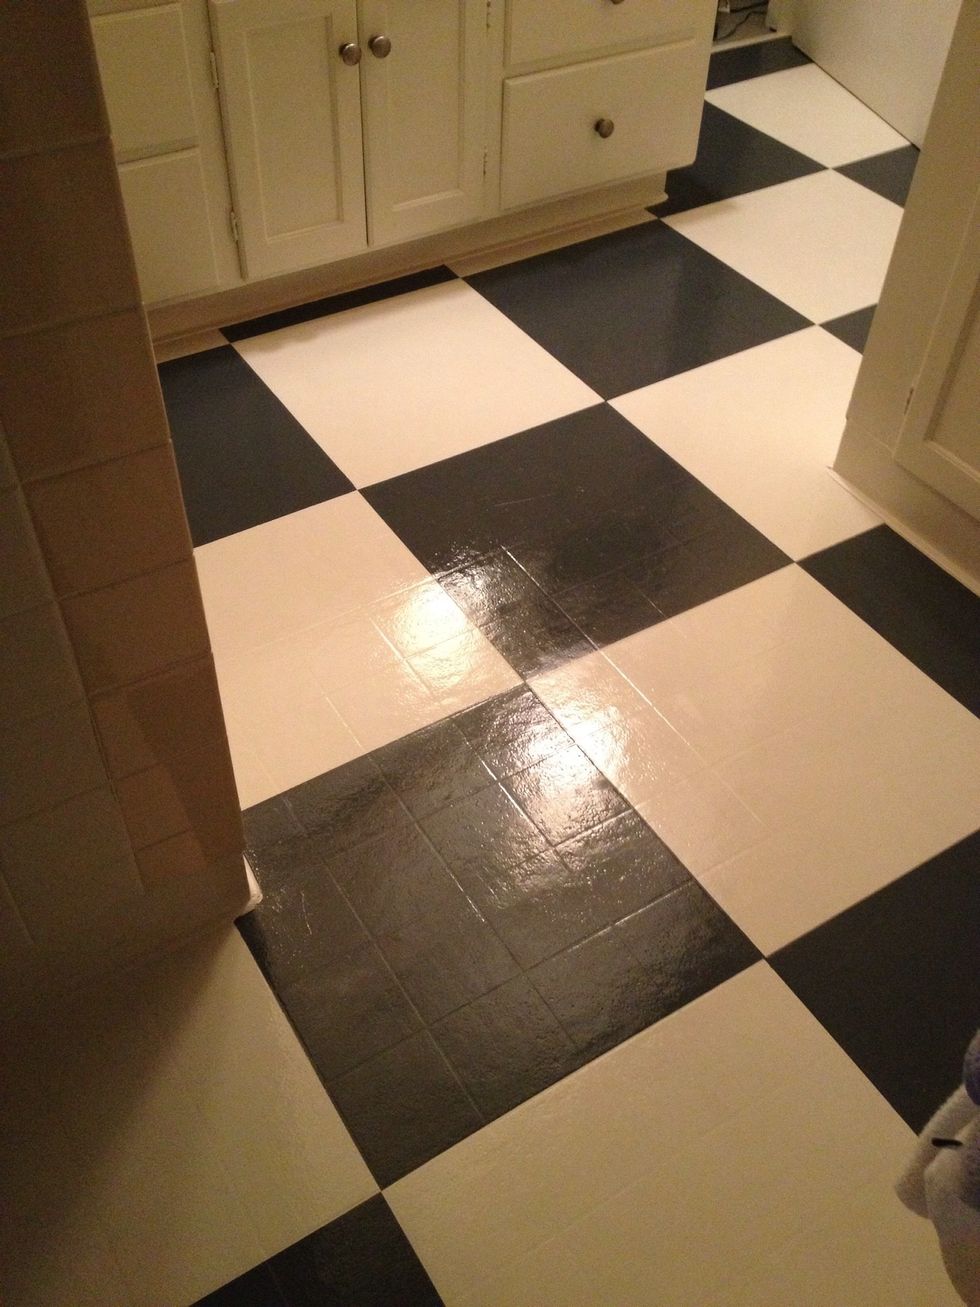
I loved my dining room floor so much that I soon painted my bathroom floor also!!
This is a year later, it's held up really very well.
Easy to clean also (with the poly finish).
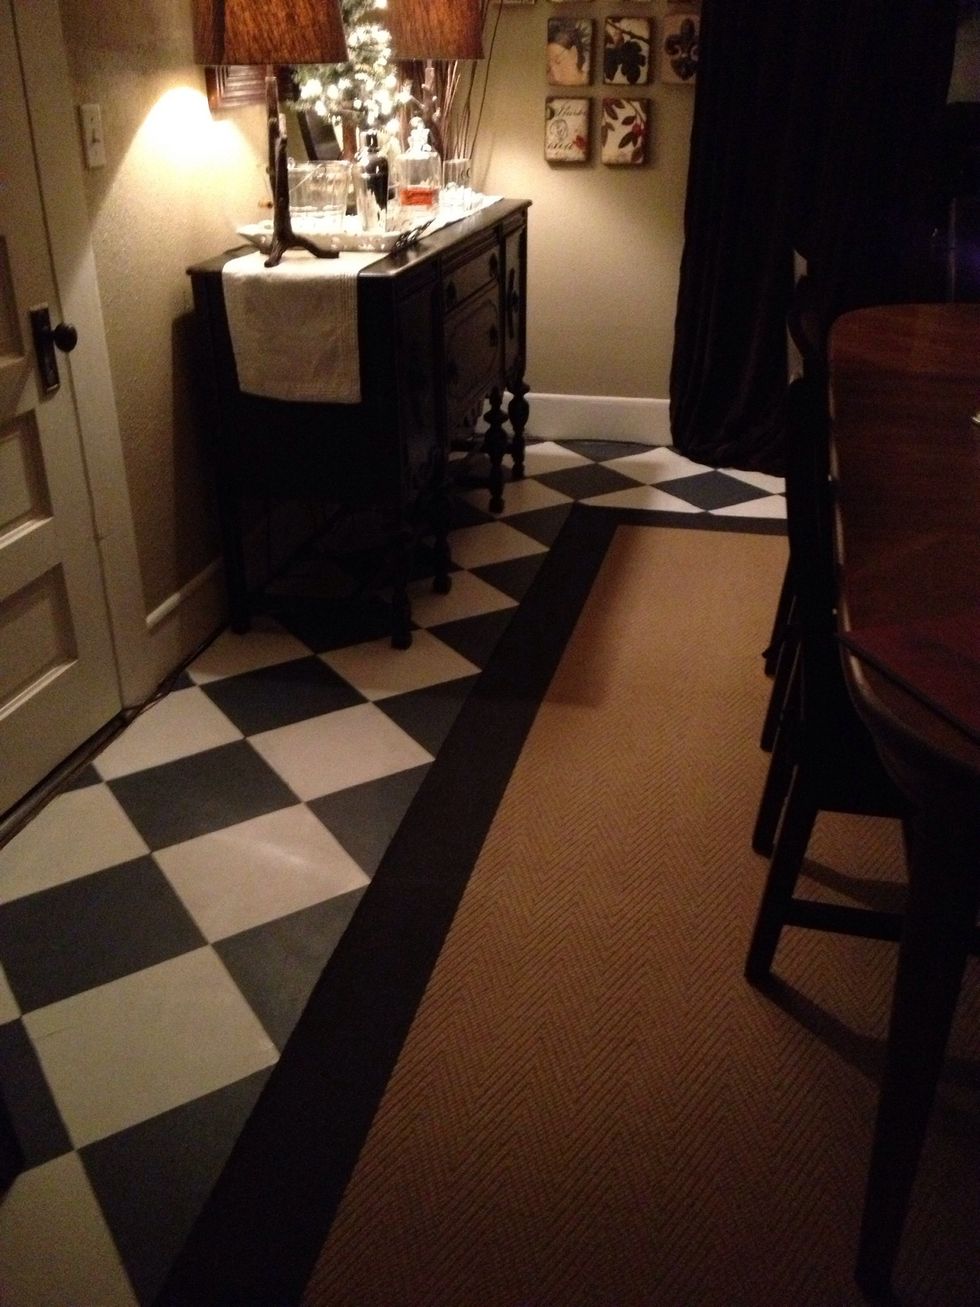
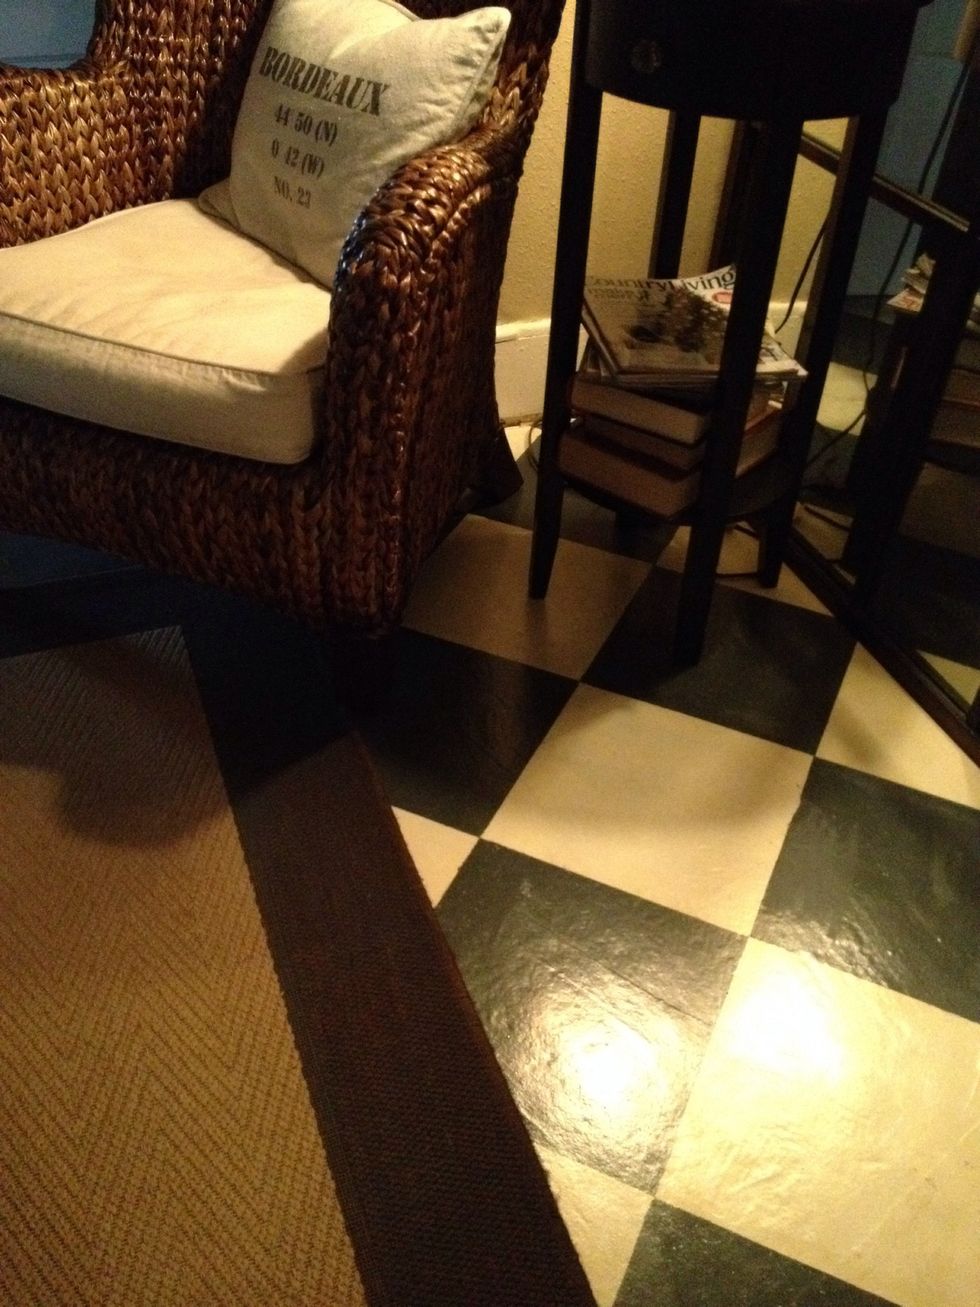
An easy, super cost effective flooring technique to get us by until the remodel!
Fun huh!!? :)