The Conversation (0)
Sign Up
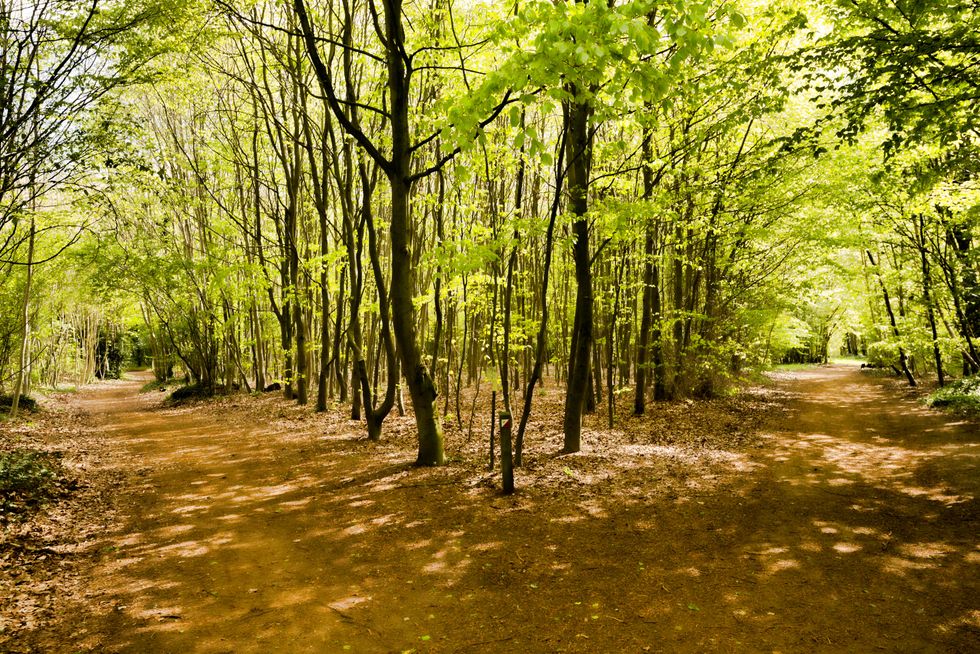
This is our reference photo for this project
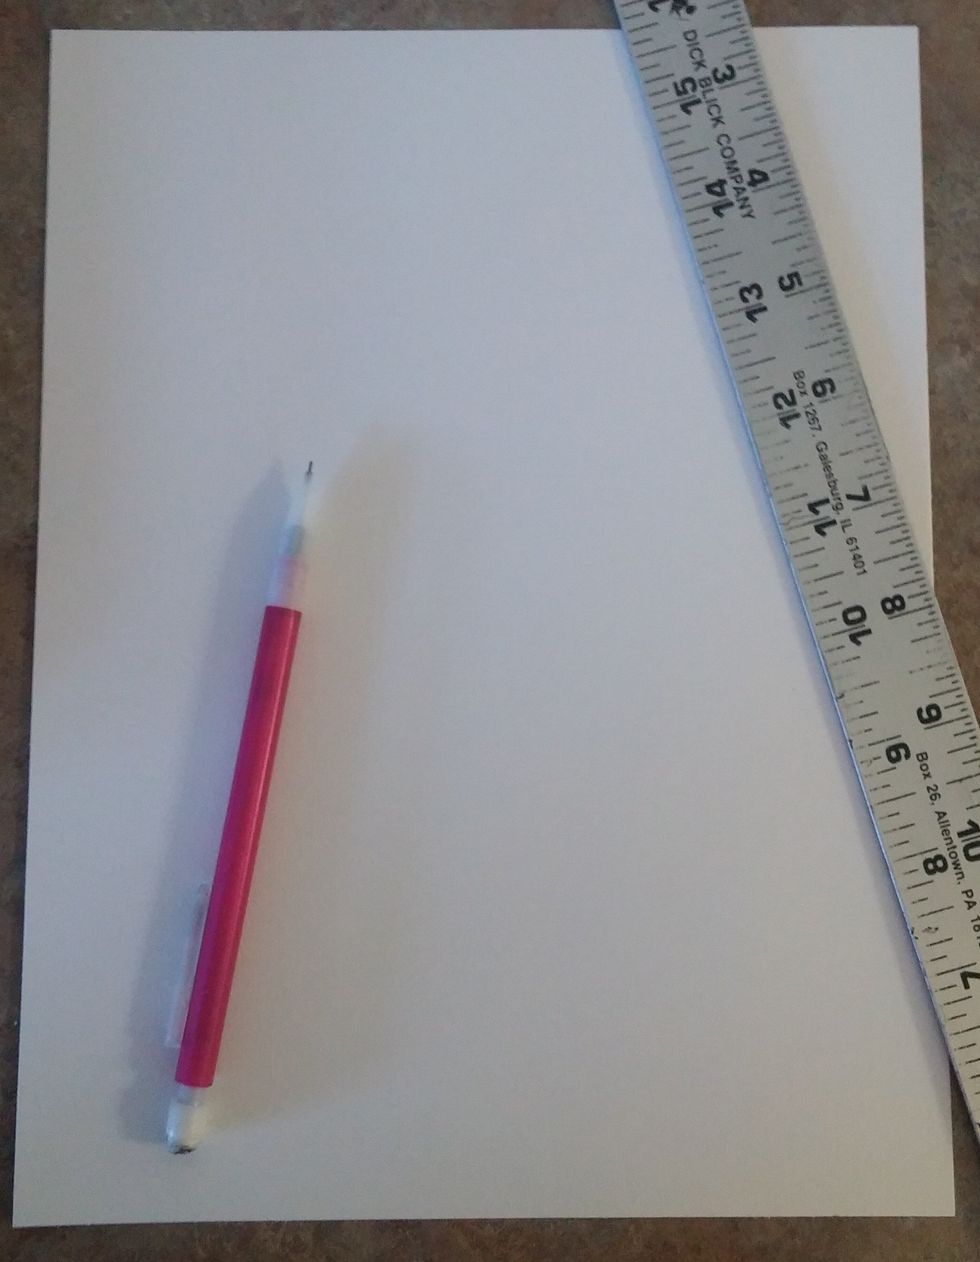
Start with a 10 1/2 x 8 inch piece of thick drawing paper, a pencil, and a ruler
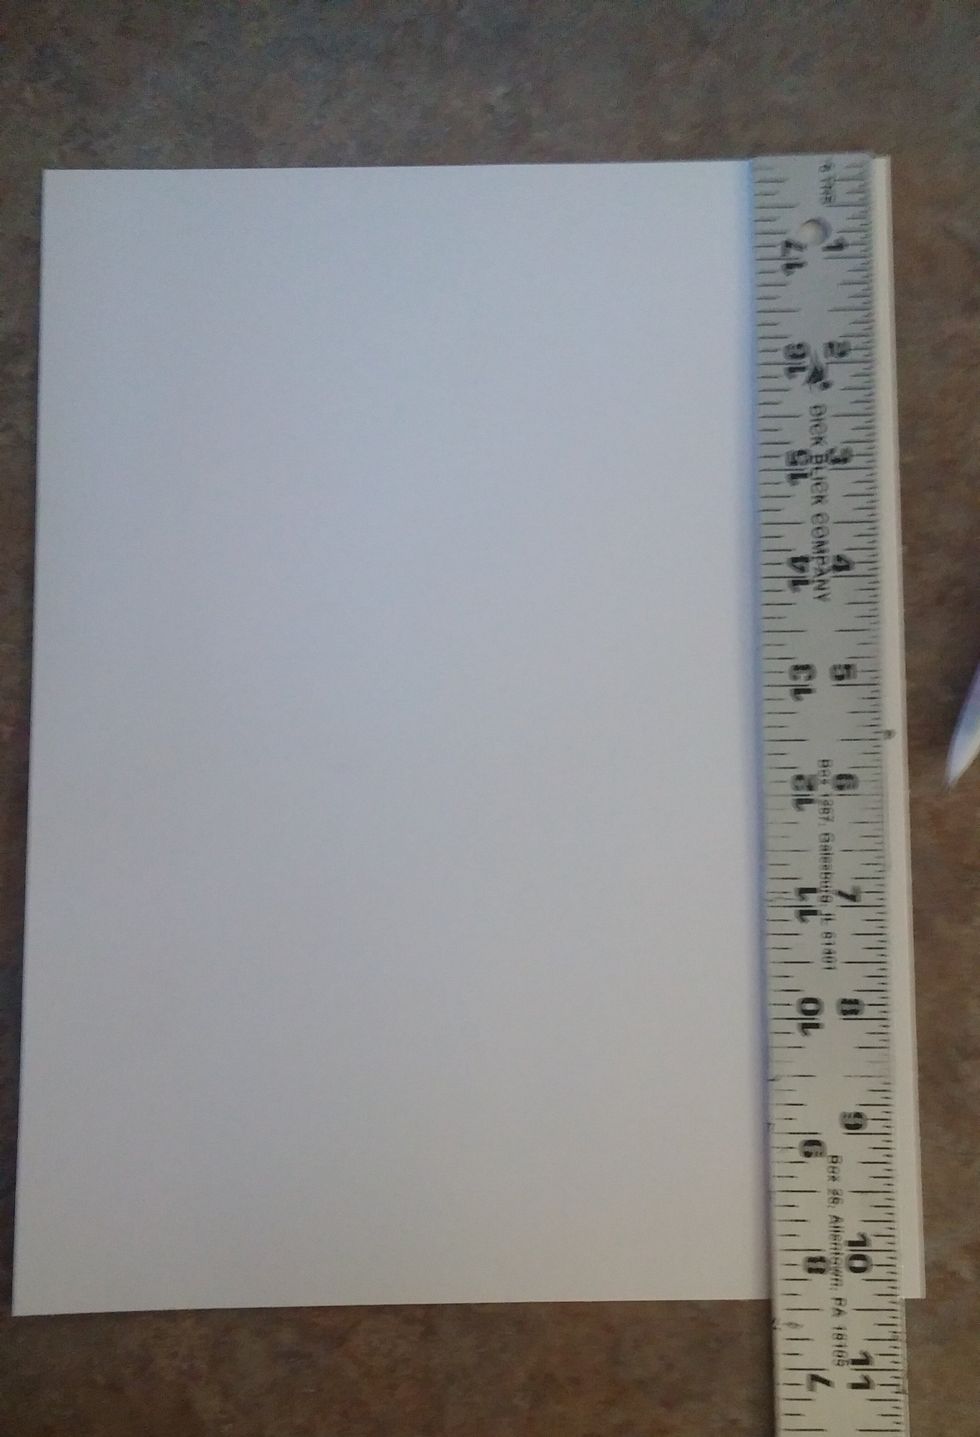
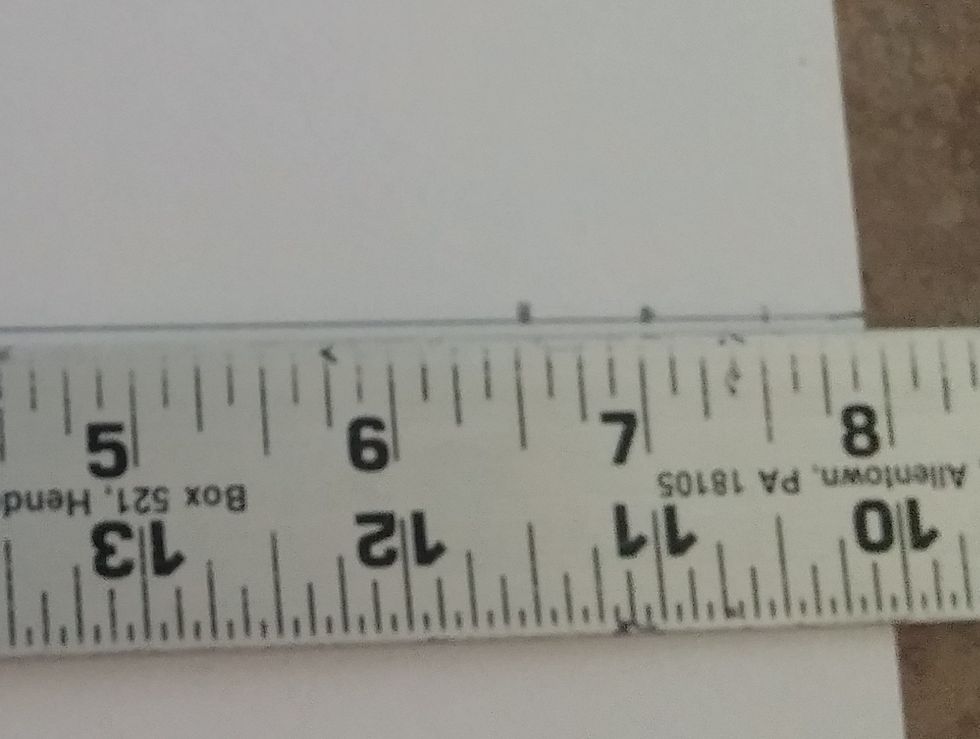
Putting the ruler along the side, make a mark at 5 1/2 inches on both the left an right side of the paper
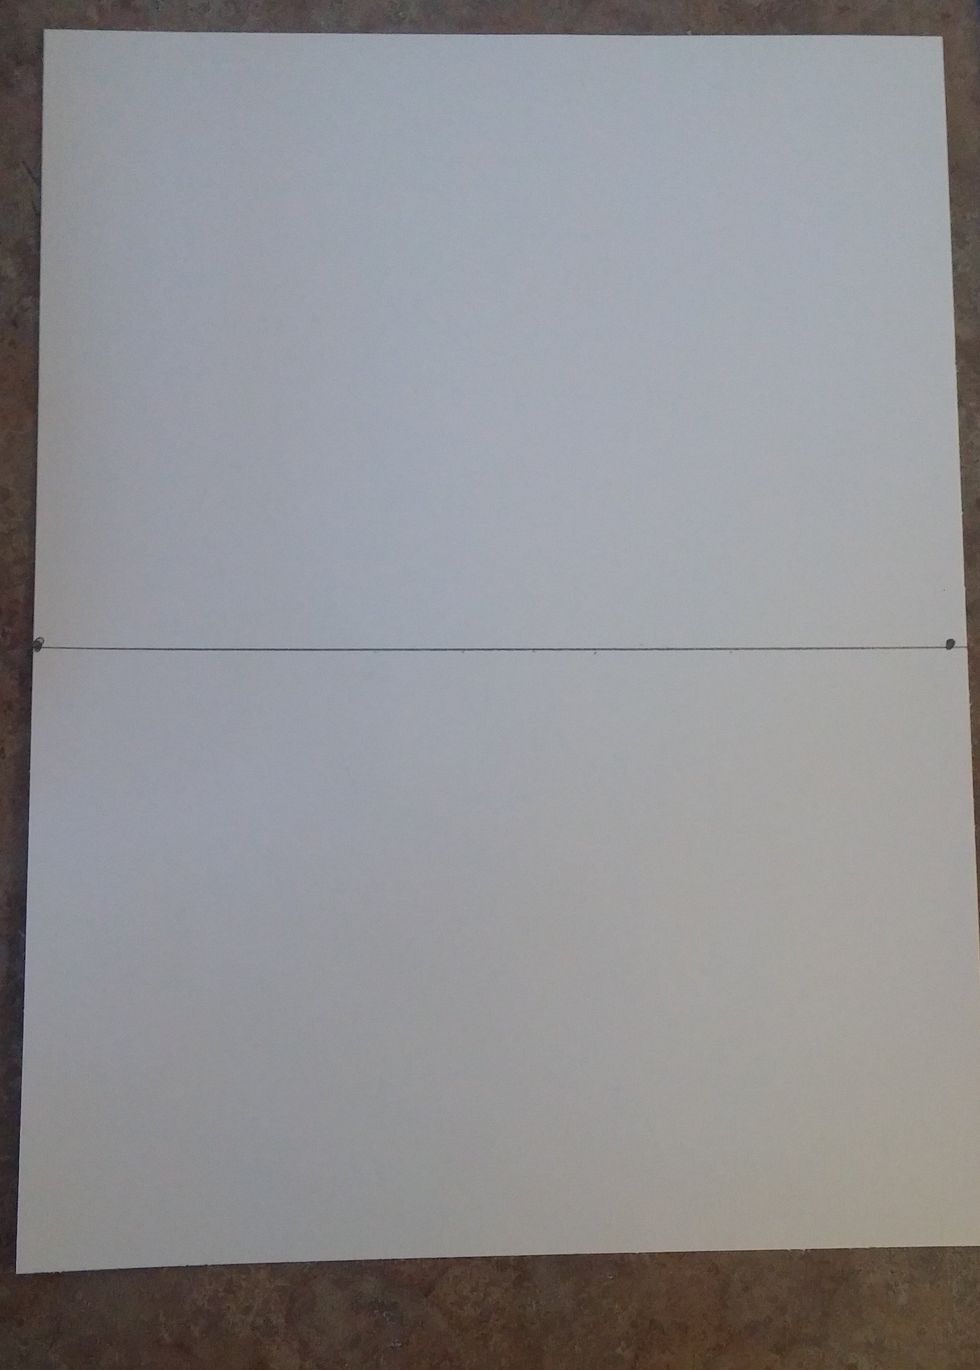
Connect the two dots previously made. This is the horizon line at 5 1/2 inches across the paper.

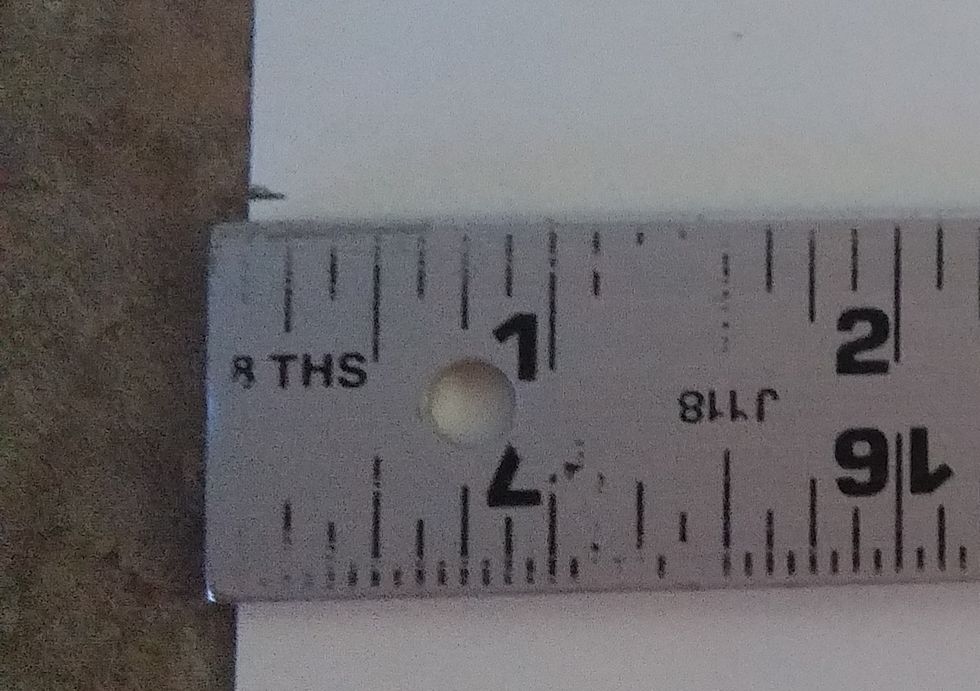
Place the ruler along the horizon line. Make a mark at 1 and 1 1/2 inches. This is the first perspective point.
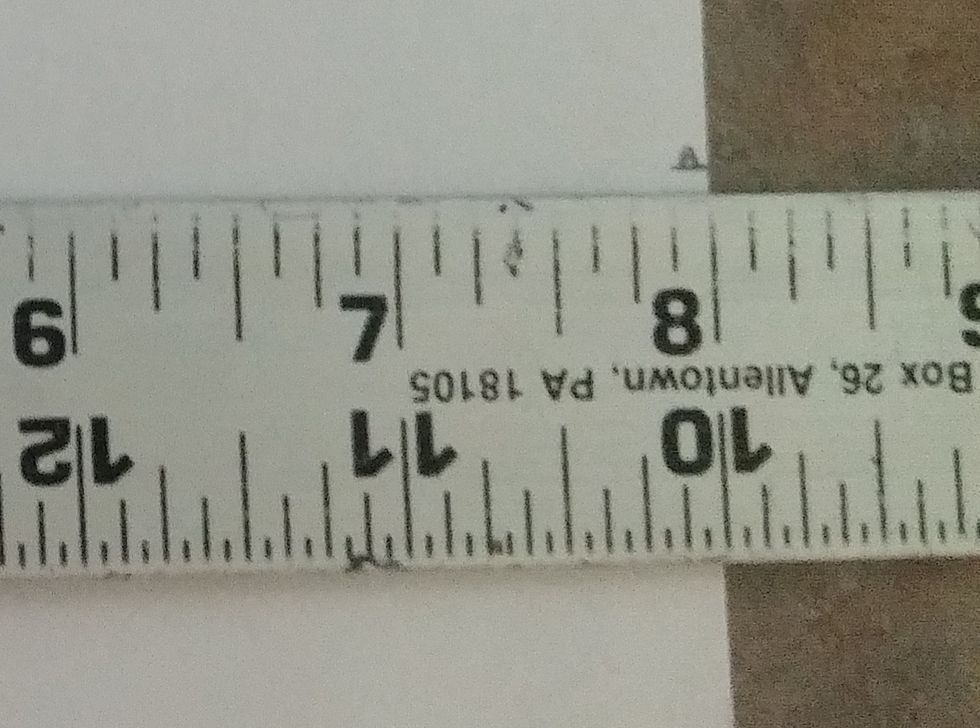
With the ruler along the horizon line make a mark at 6 1/2 and 7 inches. This is the second perspective point.
Place the ruler 2 inches up from the bottom across the page. Make a mark on the left side.
Do the same to the right side of the paper. Two inches from the bottom of the paper.
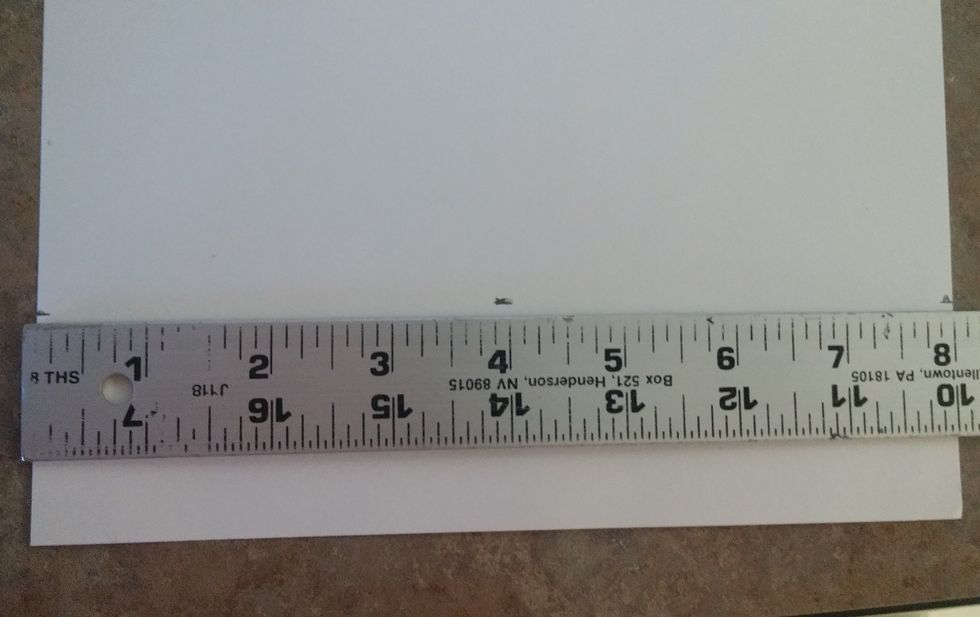
With the ruler still 2 inches up from the bottom of the paper straight across. Make a mark at 4 inches.

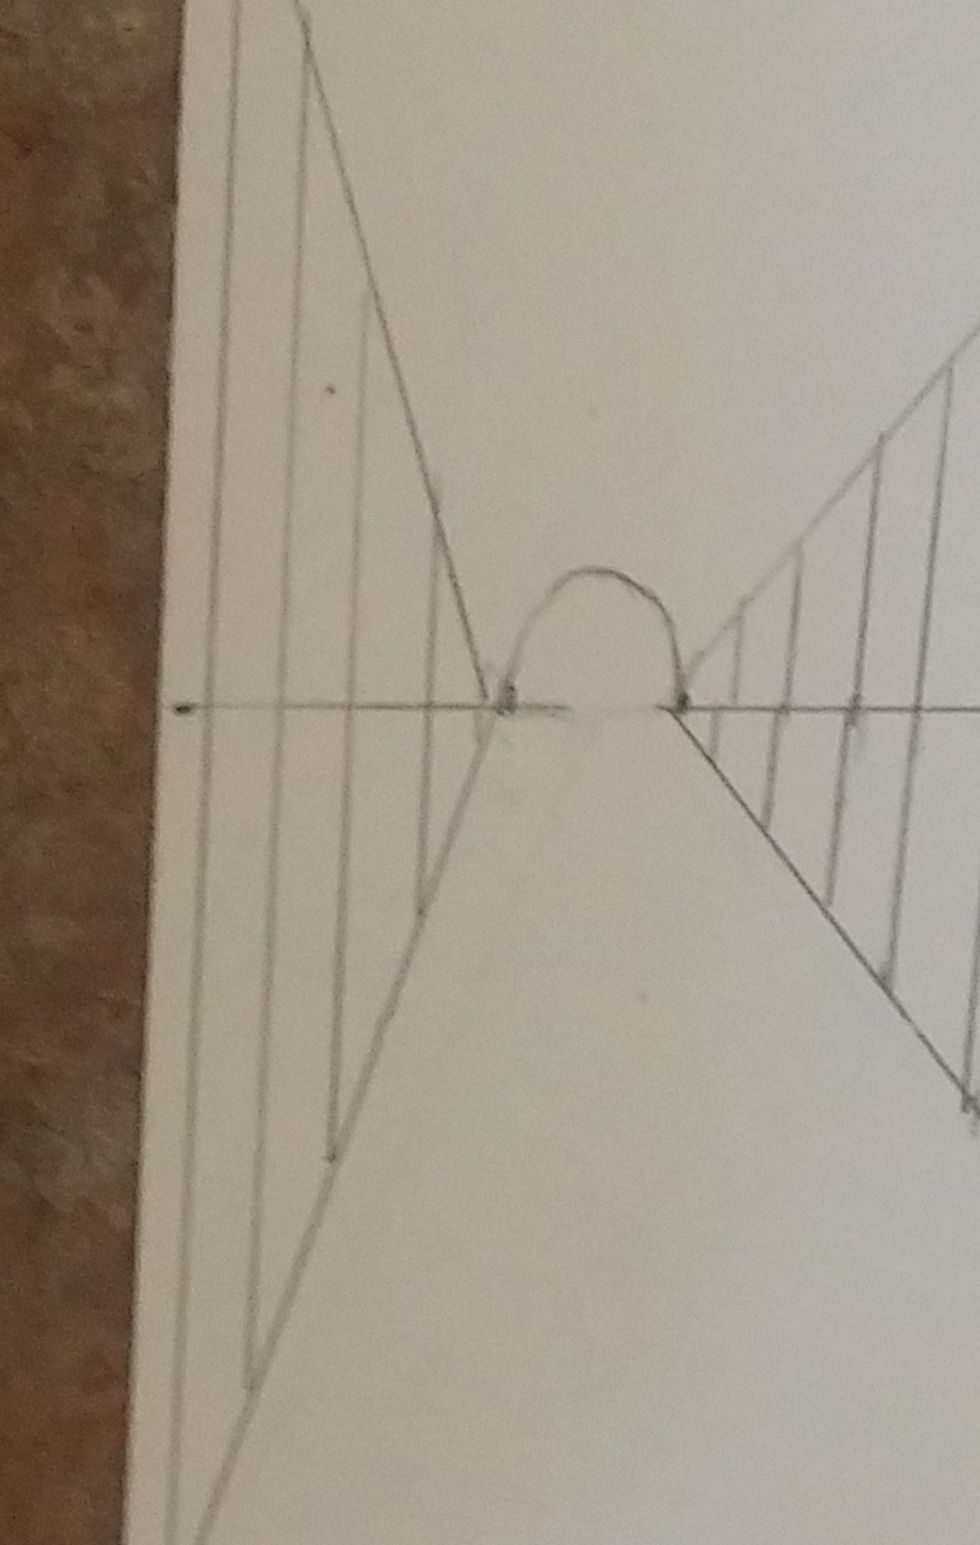
Connect this center dot to both vanishing points. The dot represents the part closest to us.
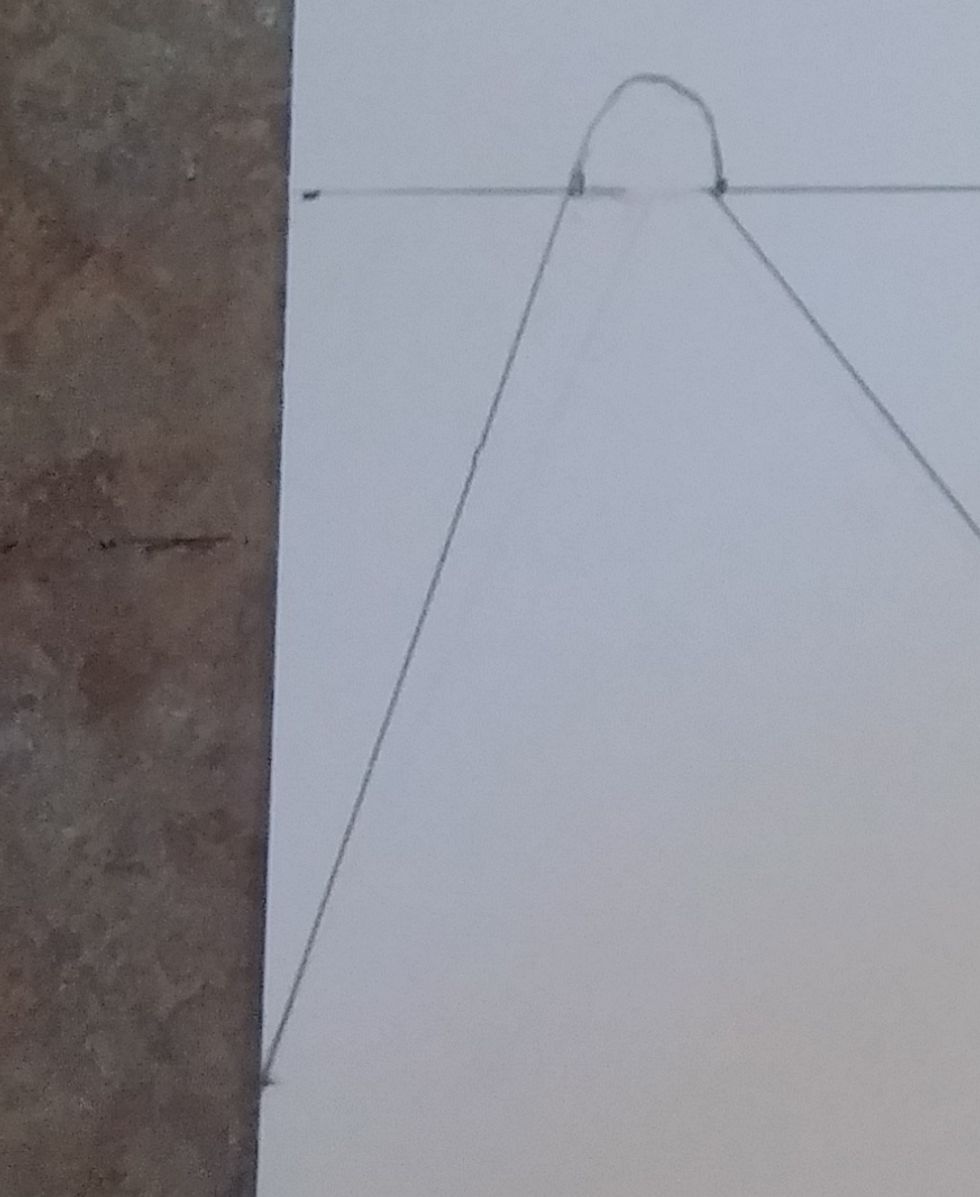
Connect the outside dots (on both sides) to the vanishing point. Also make a semi circle at the two points the represent the vanishing point.

Make a straight vertical line up from the center dot
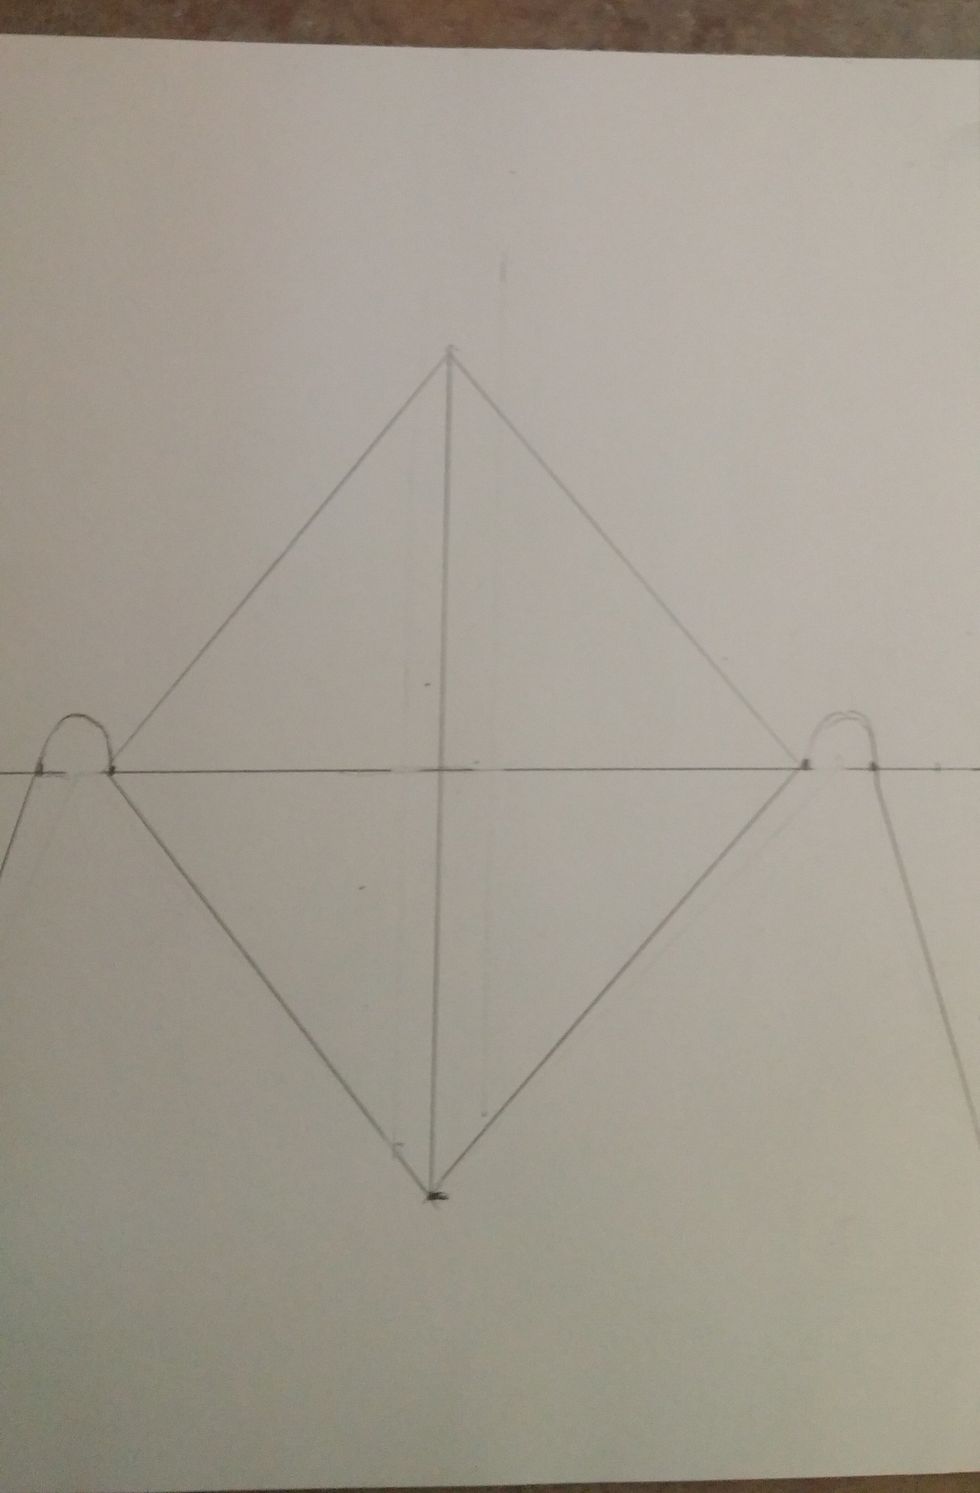
Connect the vanishing points to this center line. It creates a kite shape. This will help us place the trees correctly
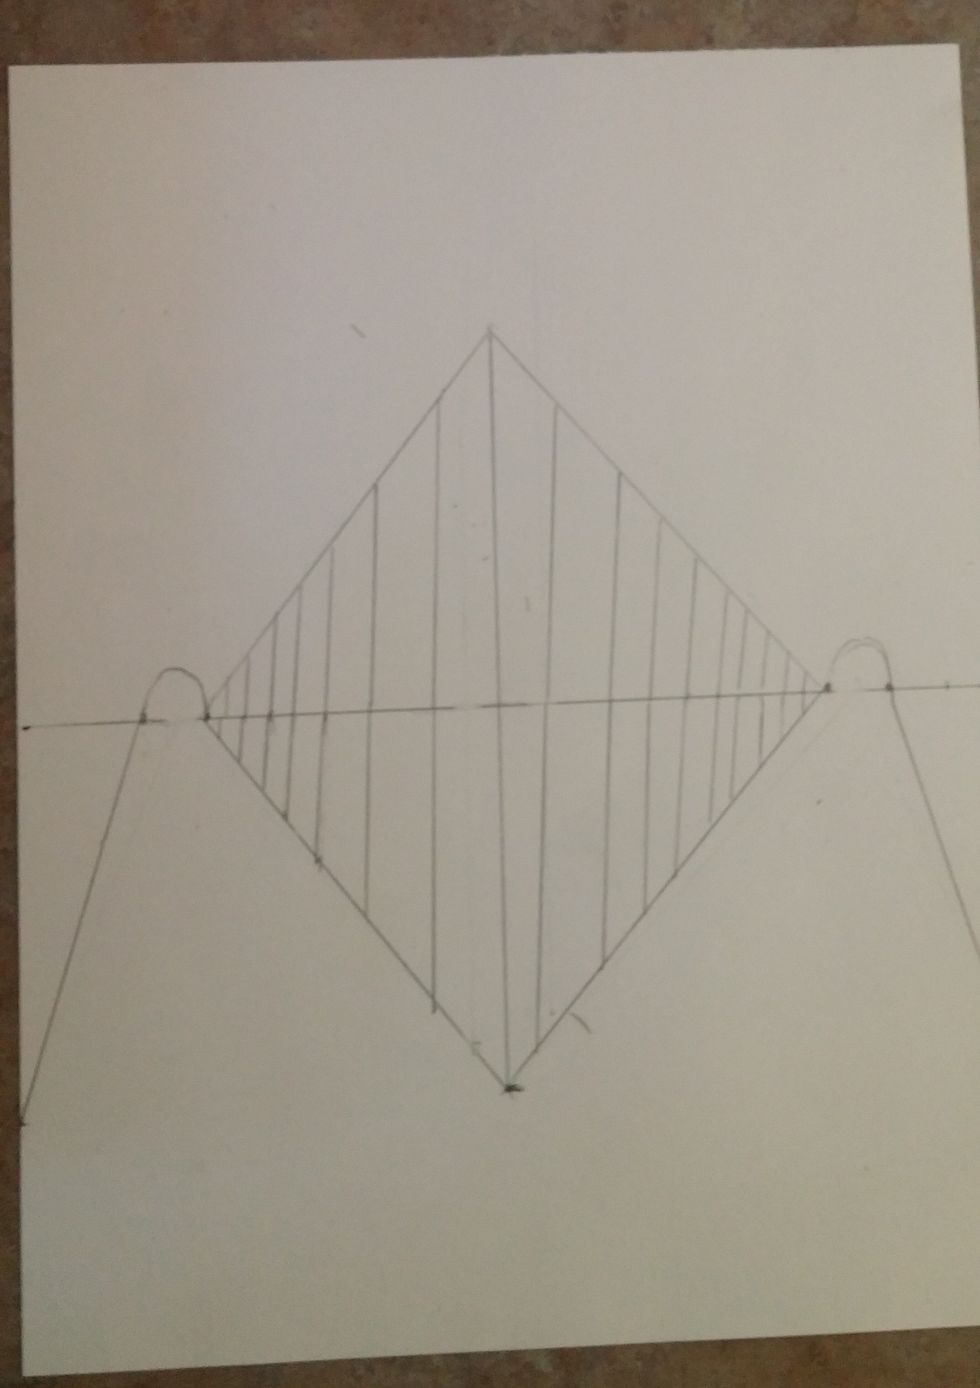
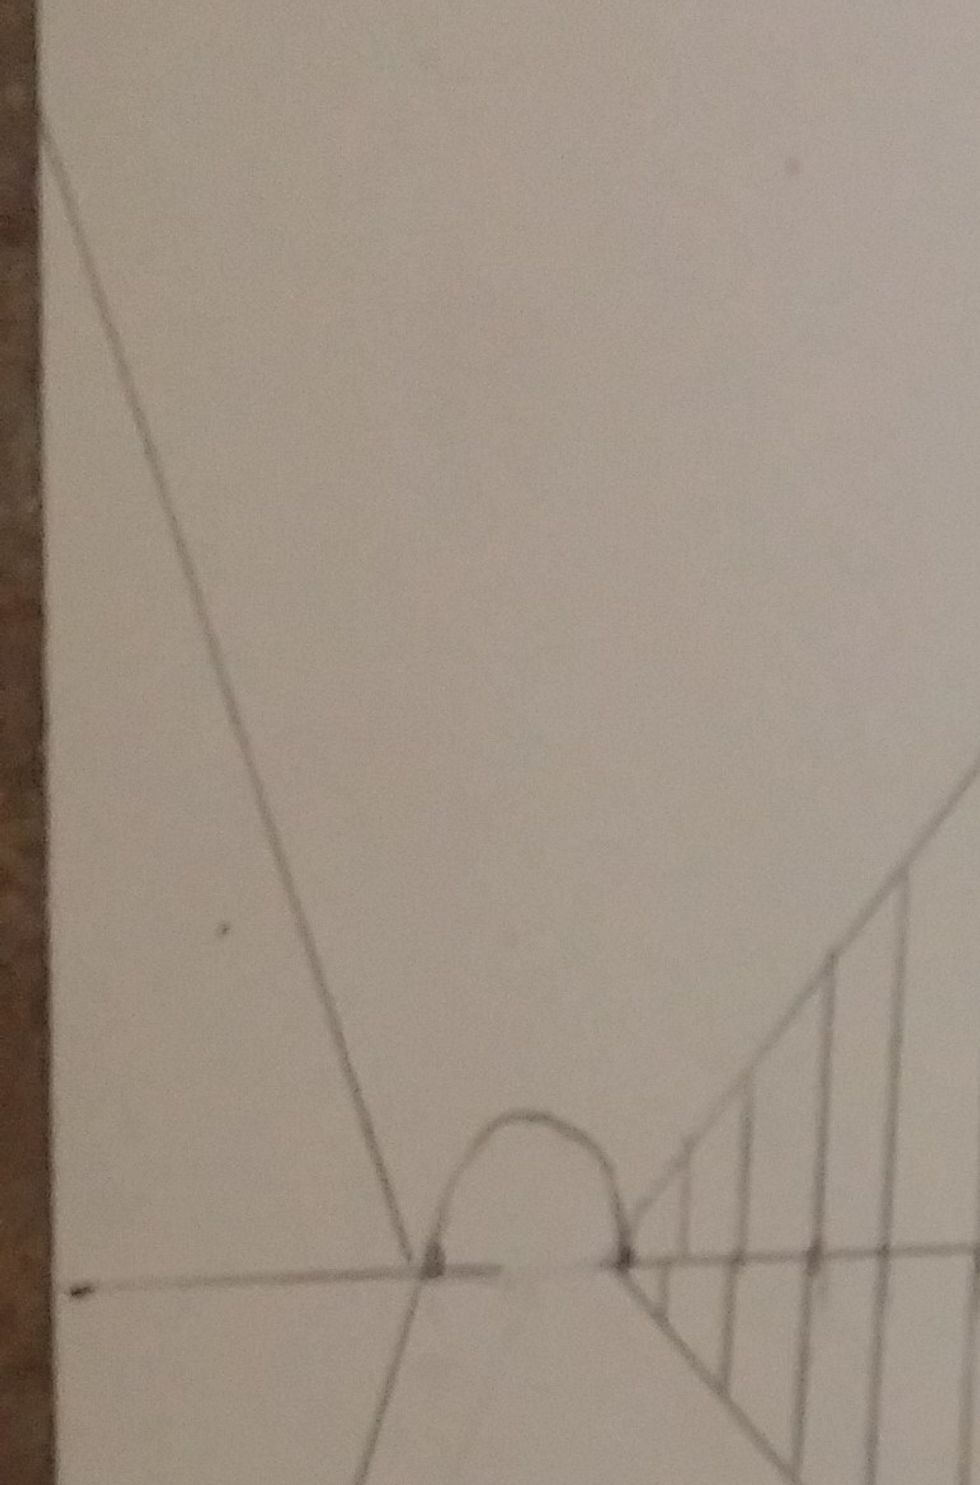
Create straight vertical lines in this diamond. Leave more space between the front few trees and as they go back to the vanishing point make them closer together and shorter.
At the outside vanishing points add another diagonal line going to the edge of the paper, to about the same height as the middle diamond. This will create half a diamond. Do this to both sides.
Add lines like we did with the middle diamond. These lines represent where trees will be placed.
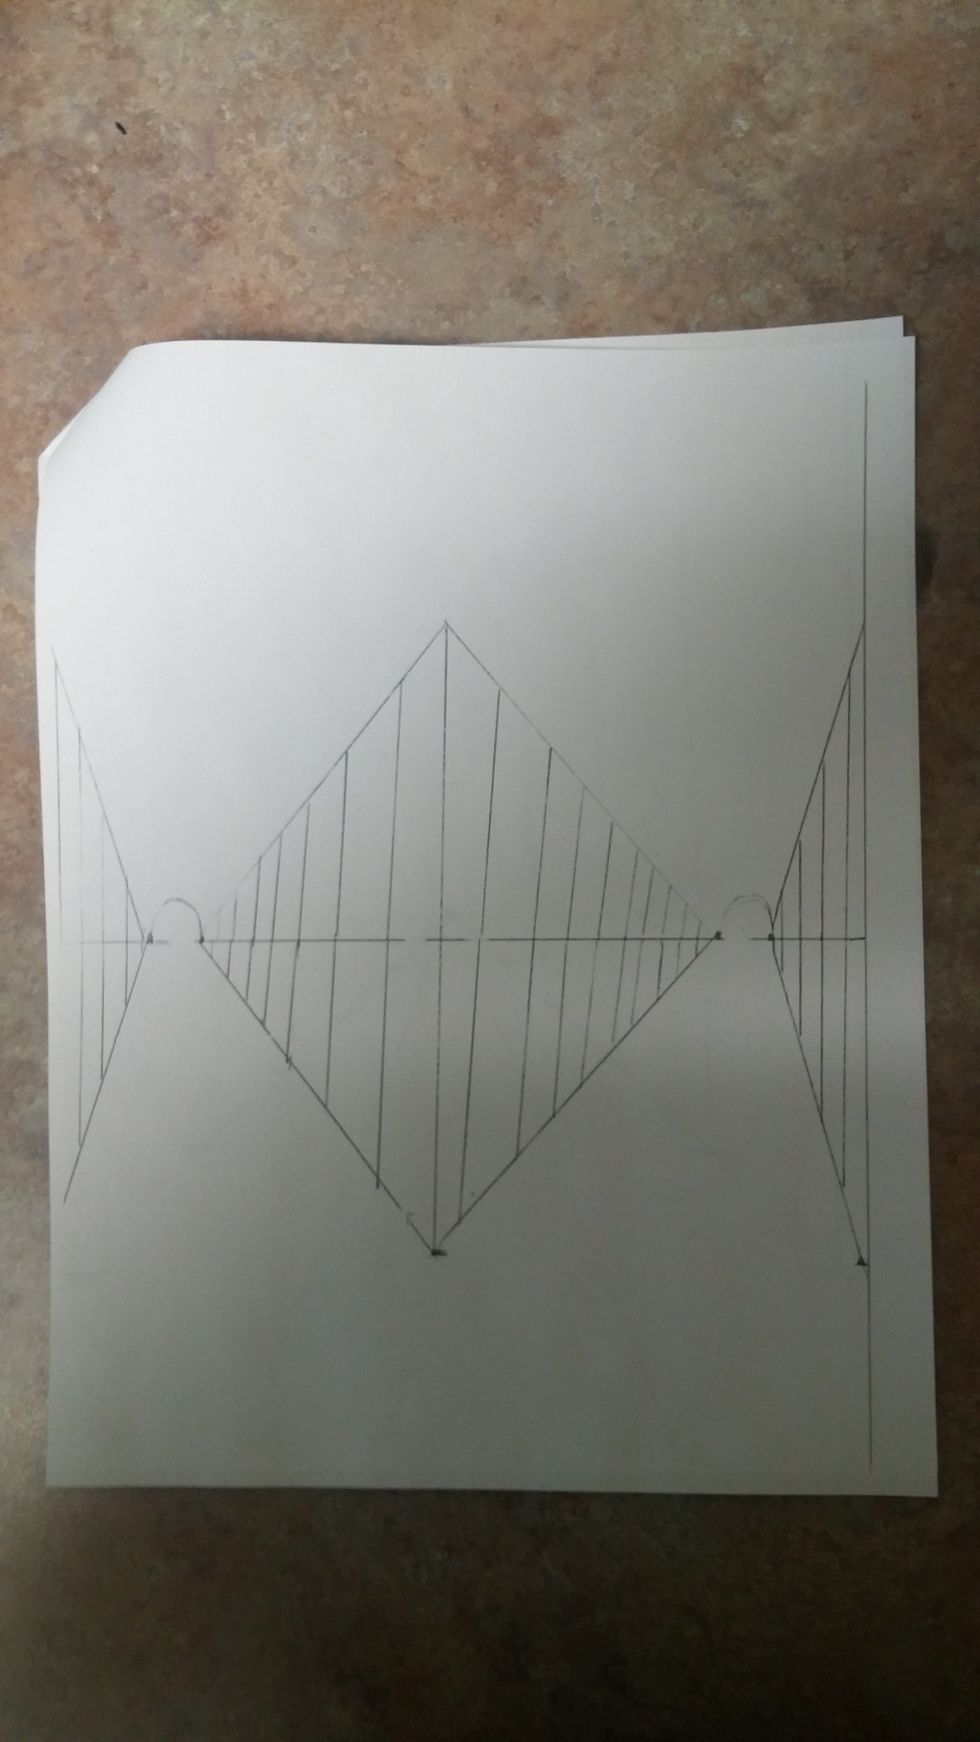
This is what the final sketch should look like (ignore the long line on the right side. That is the edge of the paper)

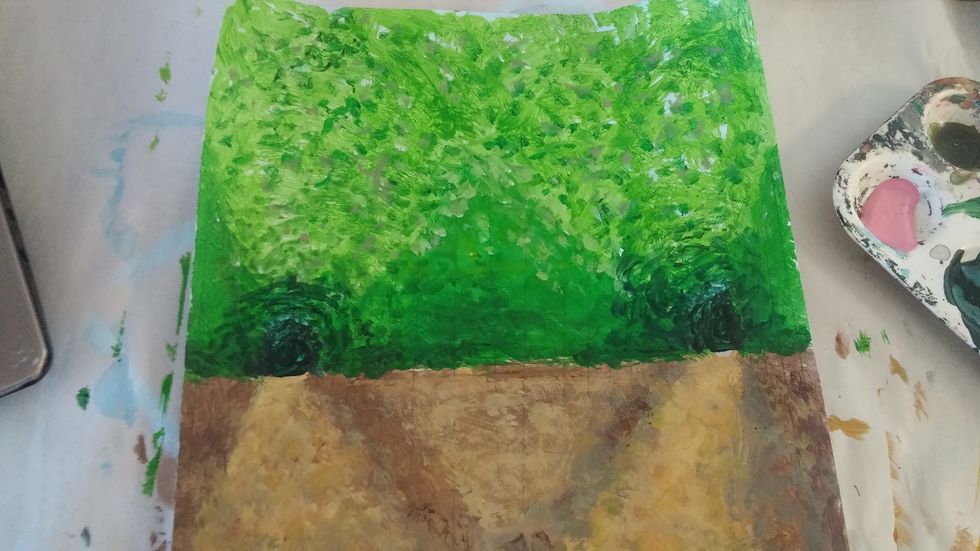
Mix a good base color for the ground. for this summer painting I chose a golden brown. Cover all of the ground areas.

Then mix a darker color for some shadows. For Summer I chose a brown for all of last years dead leaves on the ground. Dab and dot this in the shadowed areas and along where the tree trunks sit.
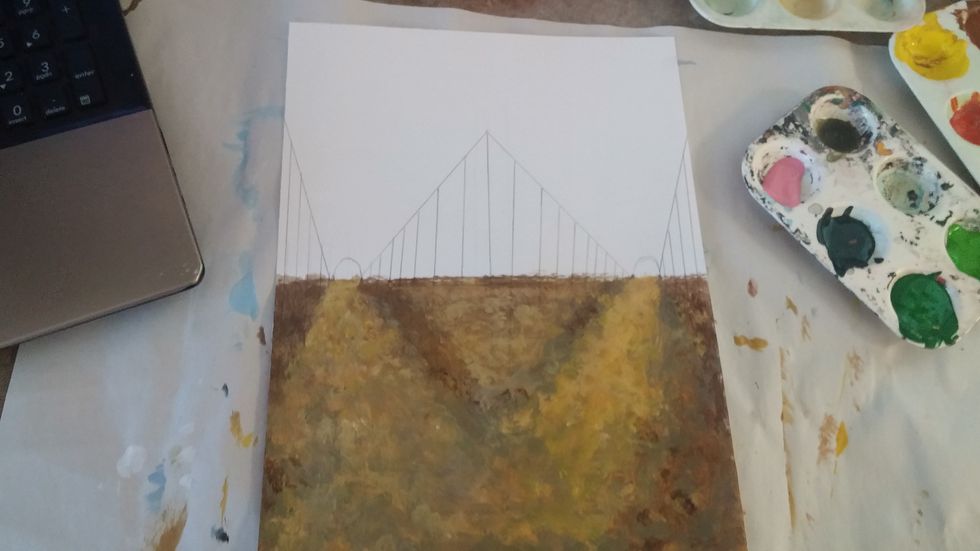
Mix another color you see on the ground and dab and dot this into the ground color. work the colors together by blending. This gives the ground texture.
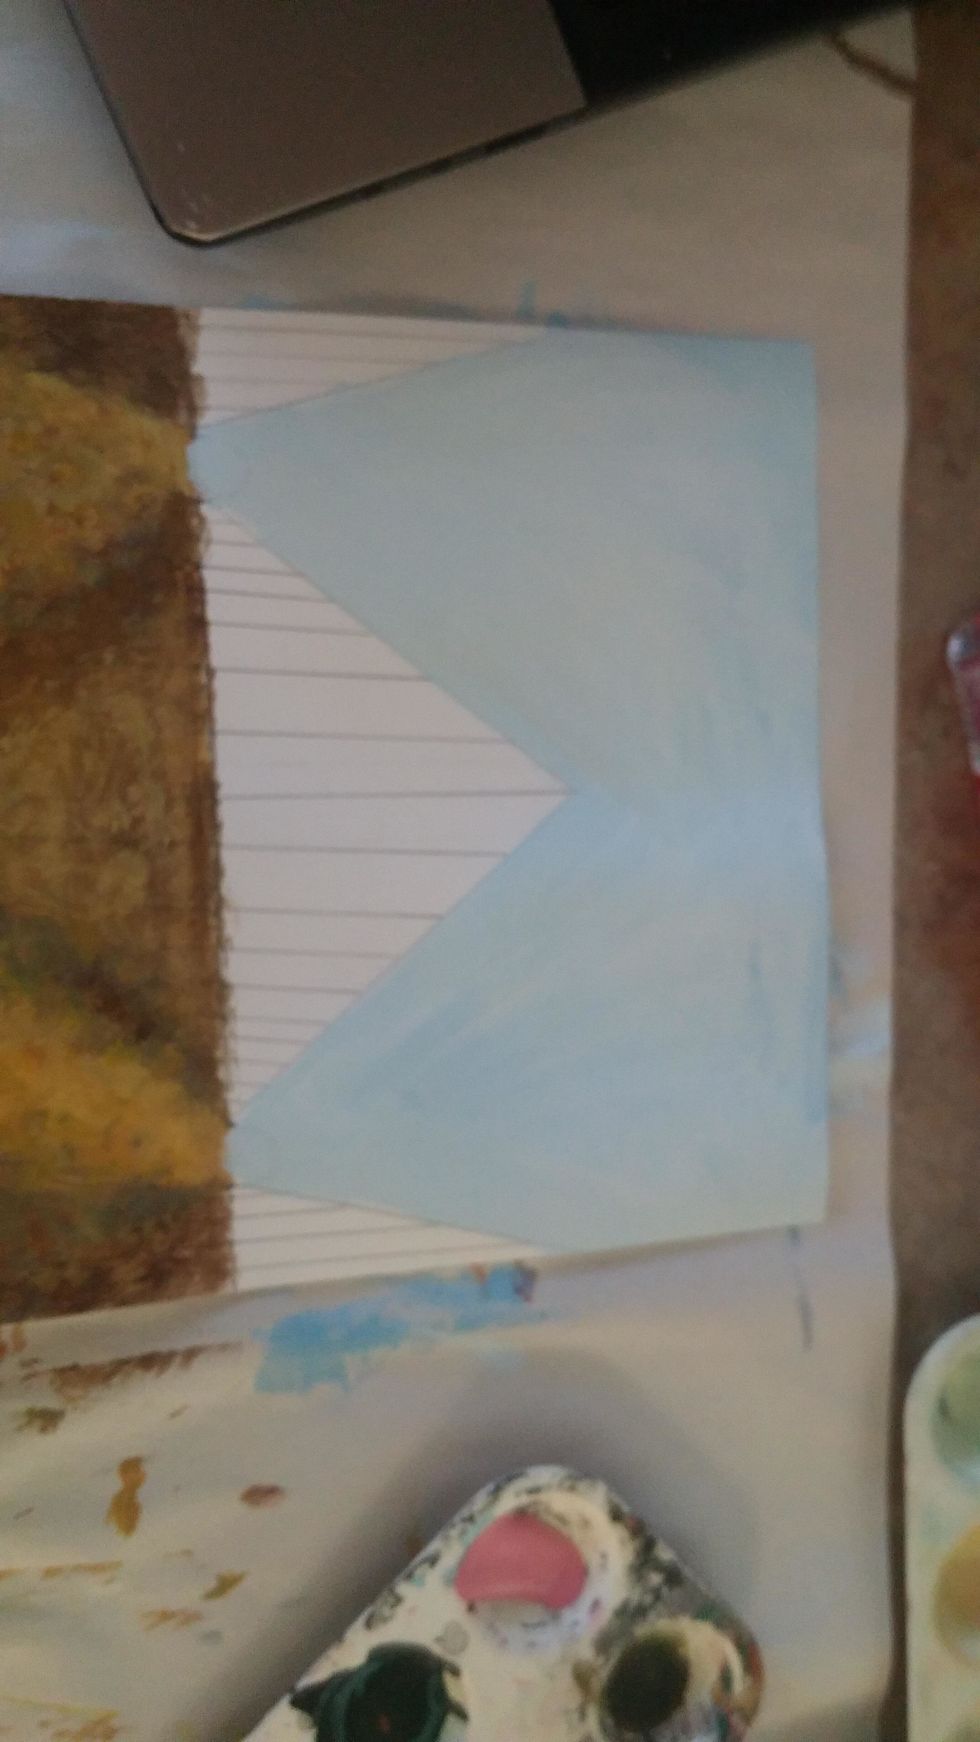
Create a sky color. Fill in areas the sky might peak through the trees.
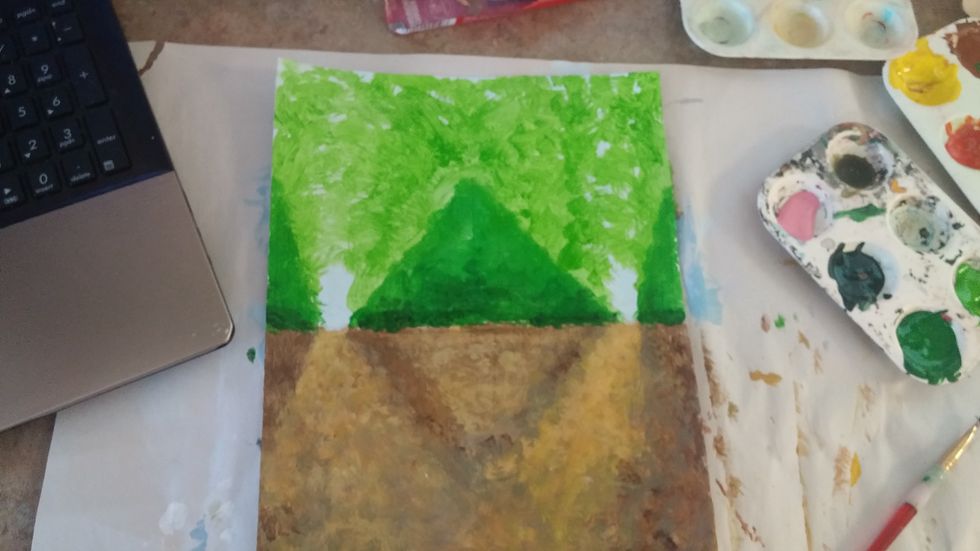
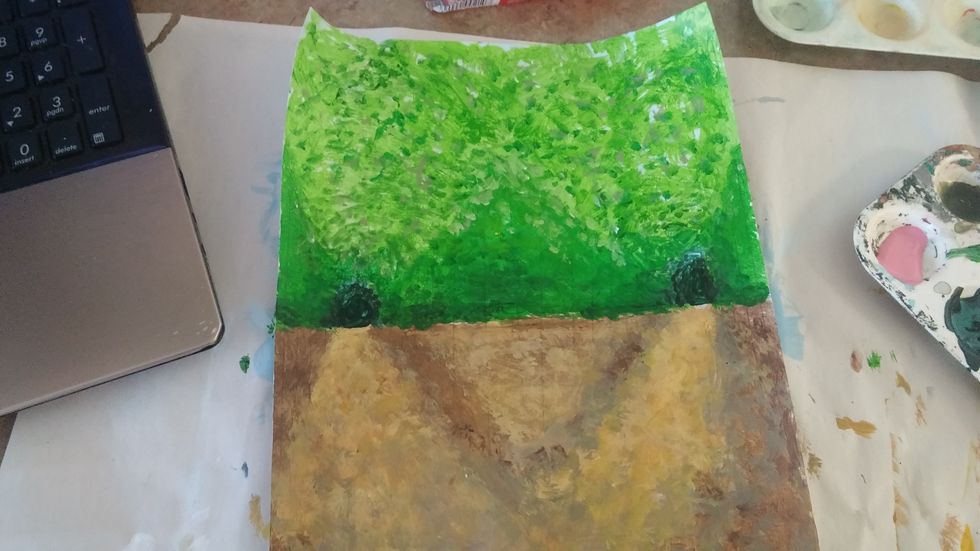
Add a base green to both the top half of the diamonds and then bring that up into the sky, filling most of the area. We are deep in the woods in this picture.
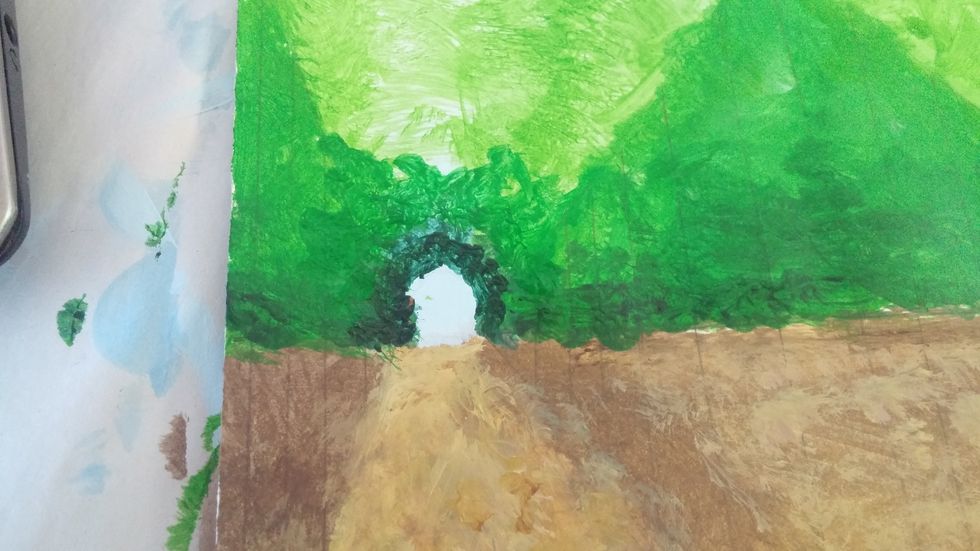
Create a deeper green. dab this around the opening of the trees. This gives the illusion this is further away as its gets darker. do this to both openings
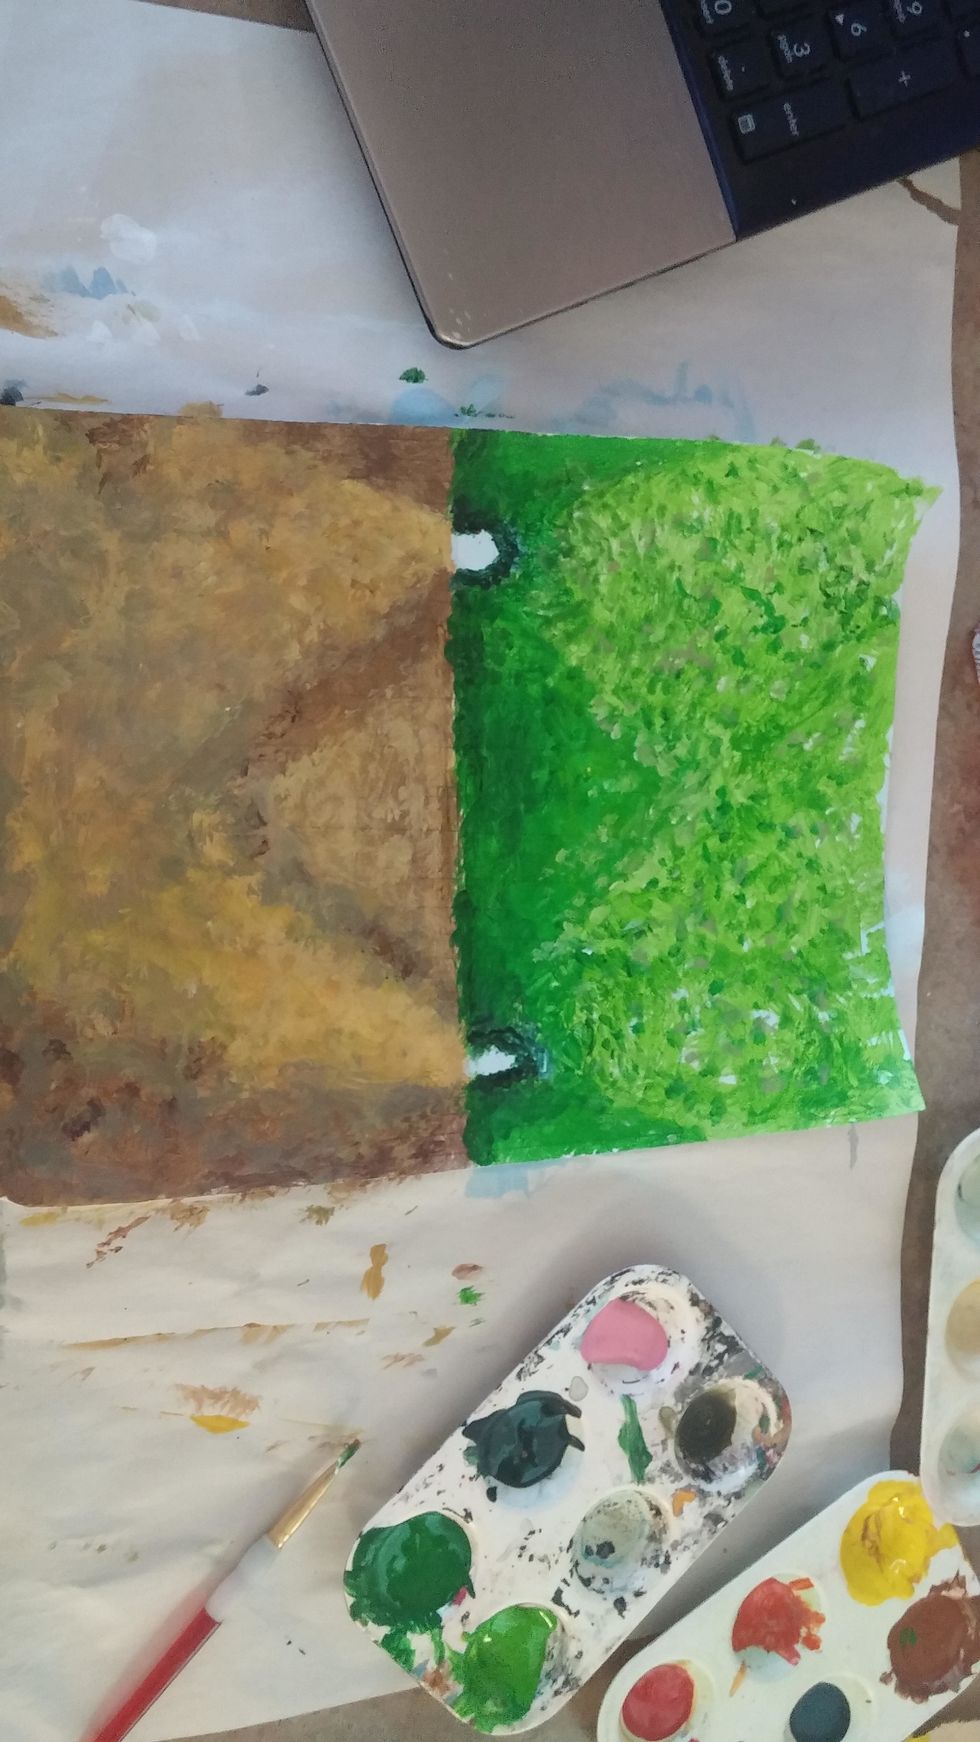
Create several different colors for the leaves. Dab and dot leaves throughout the sky. This will give texture to the leaves. Use a variety of similar colors.
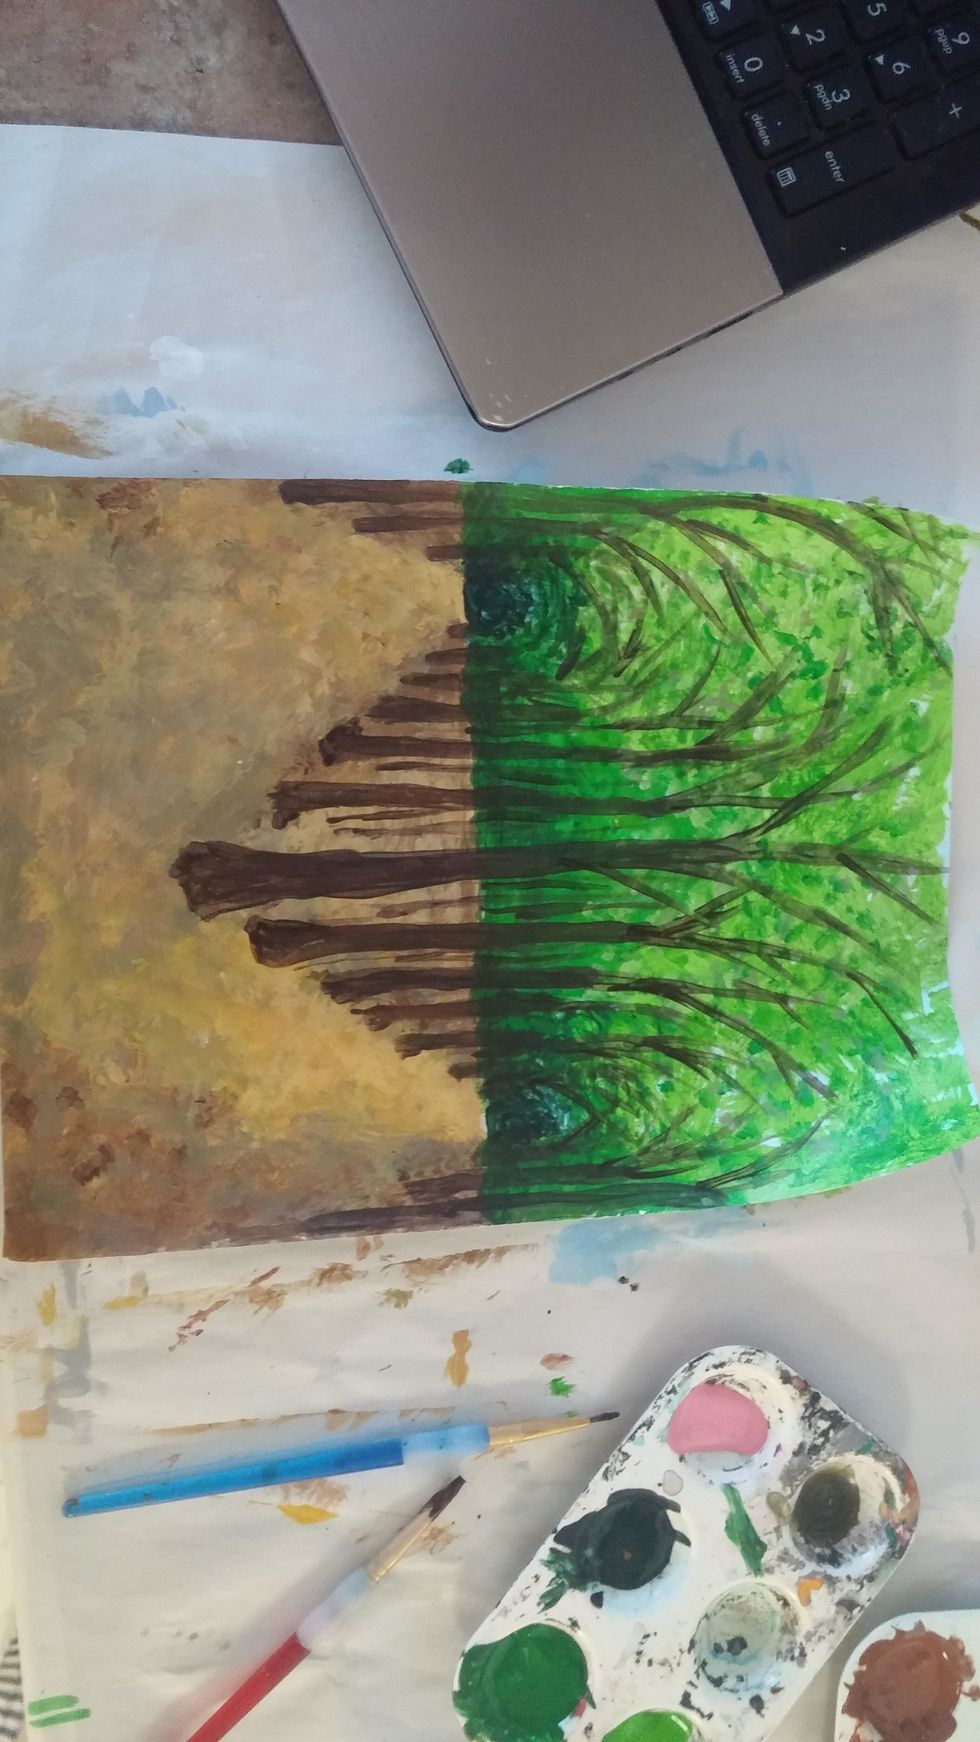
Darken in the openings with a darker color. for this i sued a shade of my green.
bring that color around the opening, kind of creating a semi-circle around the opening. This looks like the trees are surrounding the opening

Use a full brown to make the trunks where they were drawn in.
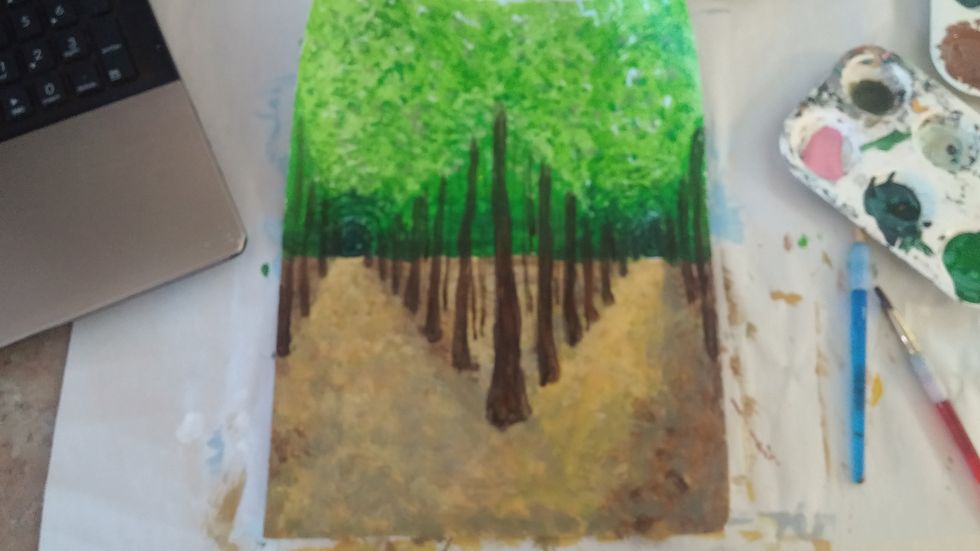
Thicken trunks and add some smaller trunks behind the initial trunks, this shows that there are lots of trees
Add branches to the trees. Be sure to start with the trees in the back and work your way forward. This will make sure the overlap is correct. Remember the trees closest to us have longer branches.
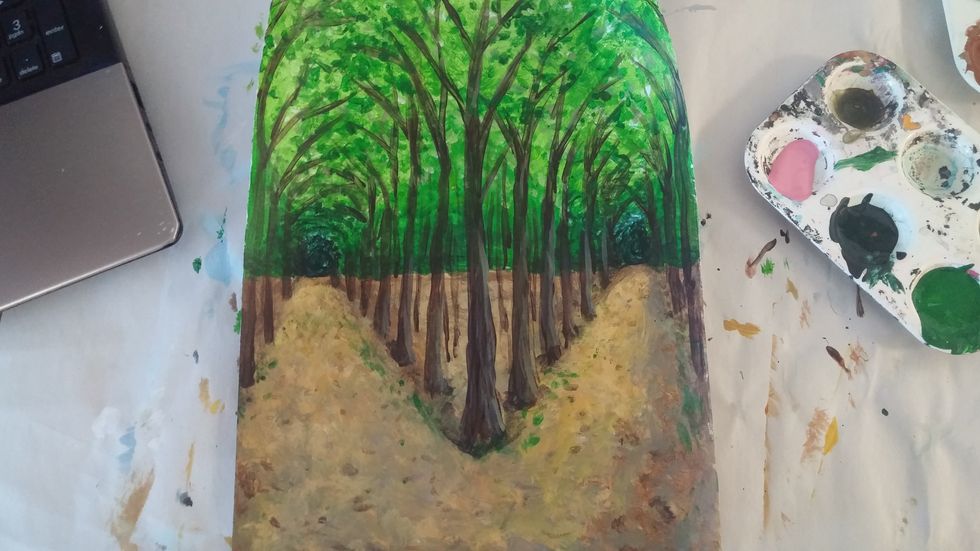
Add details like highlings and shads to the trunks of the trees. Also bring more leave colors and dab some at the end of branches to make it look like they are attached to the branches.