The Conversation (0)
Sign Up
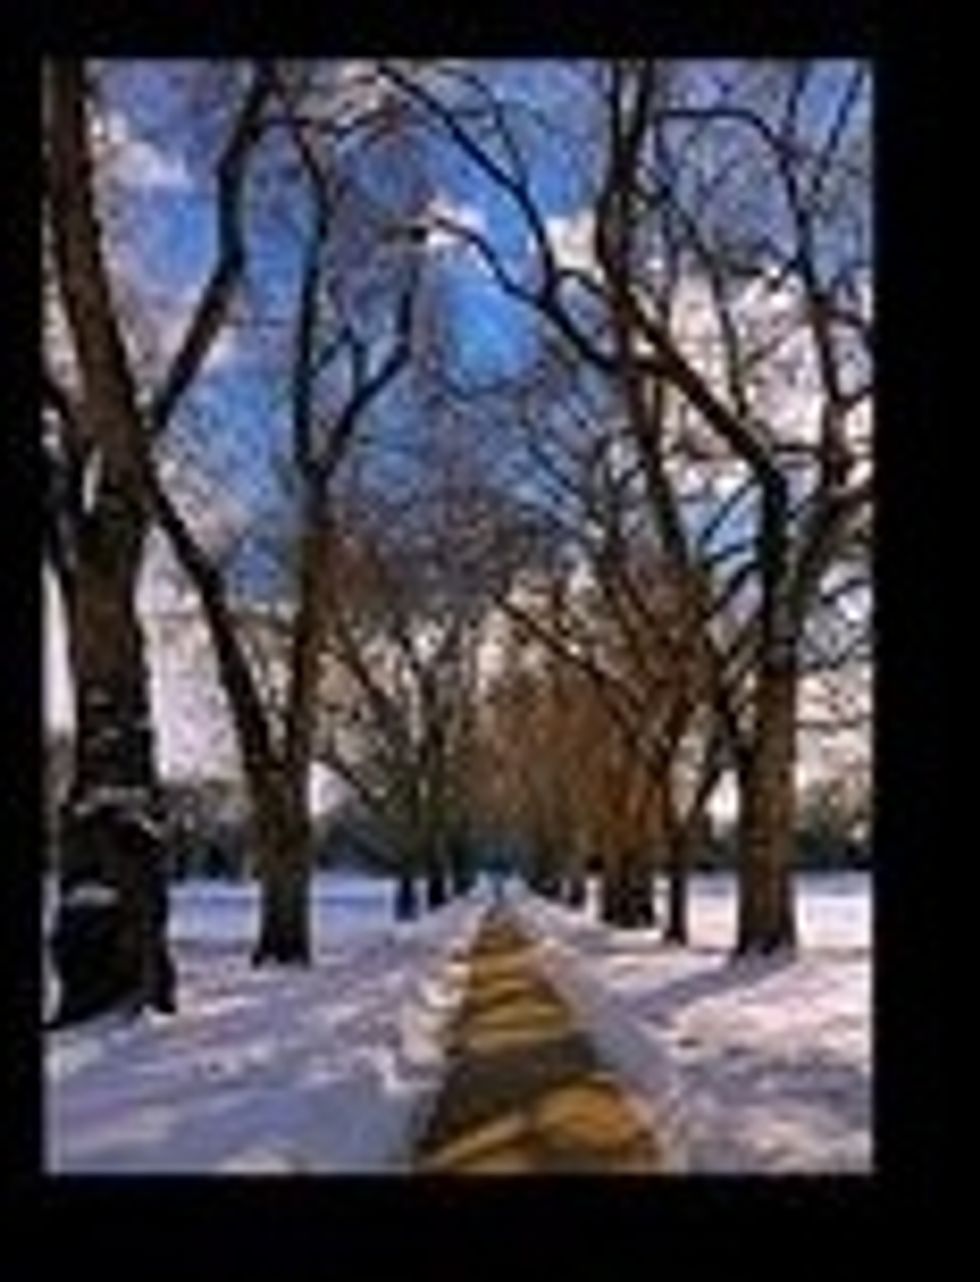
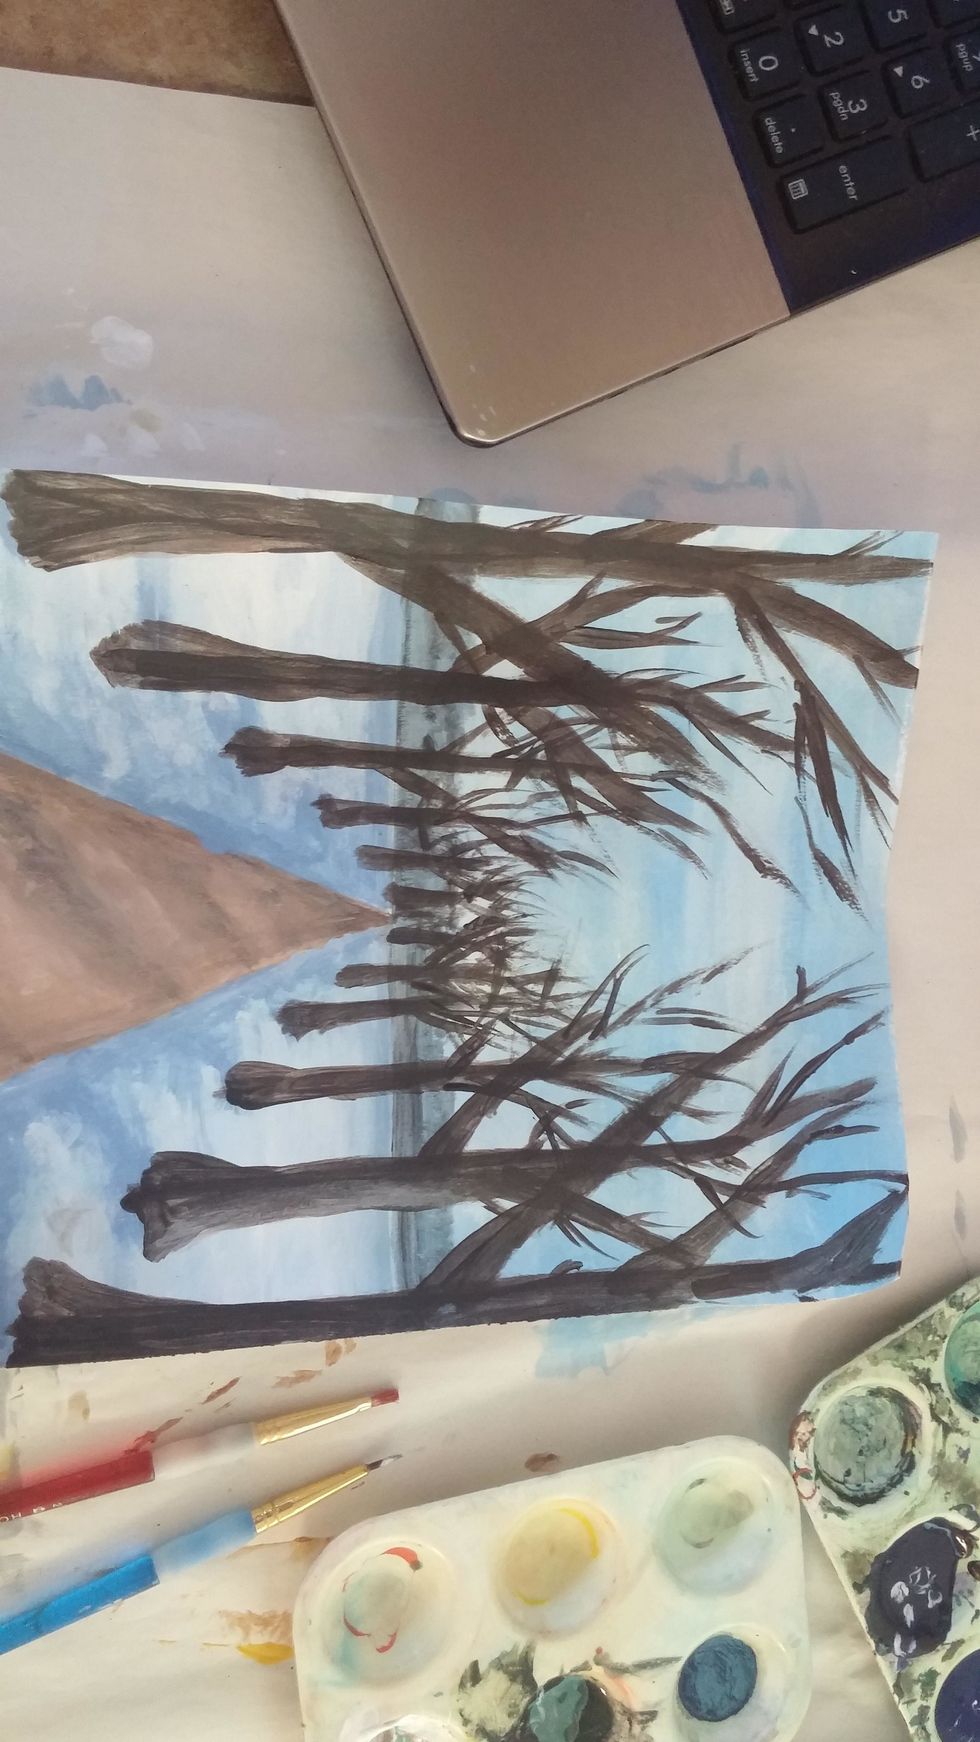
This is the reference photo for this project.
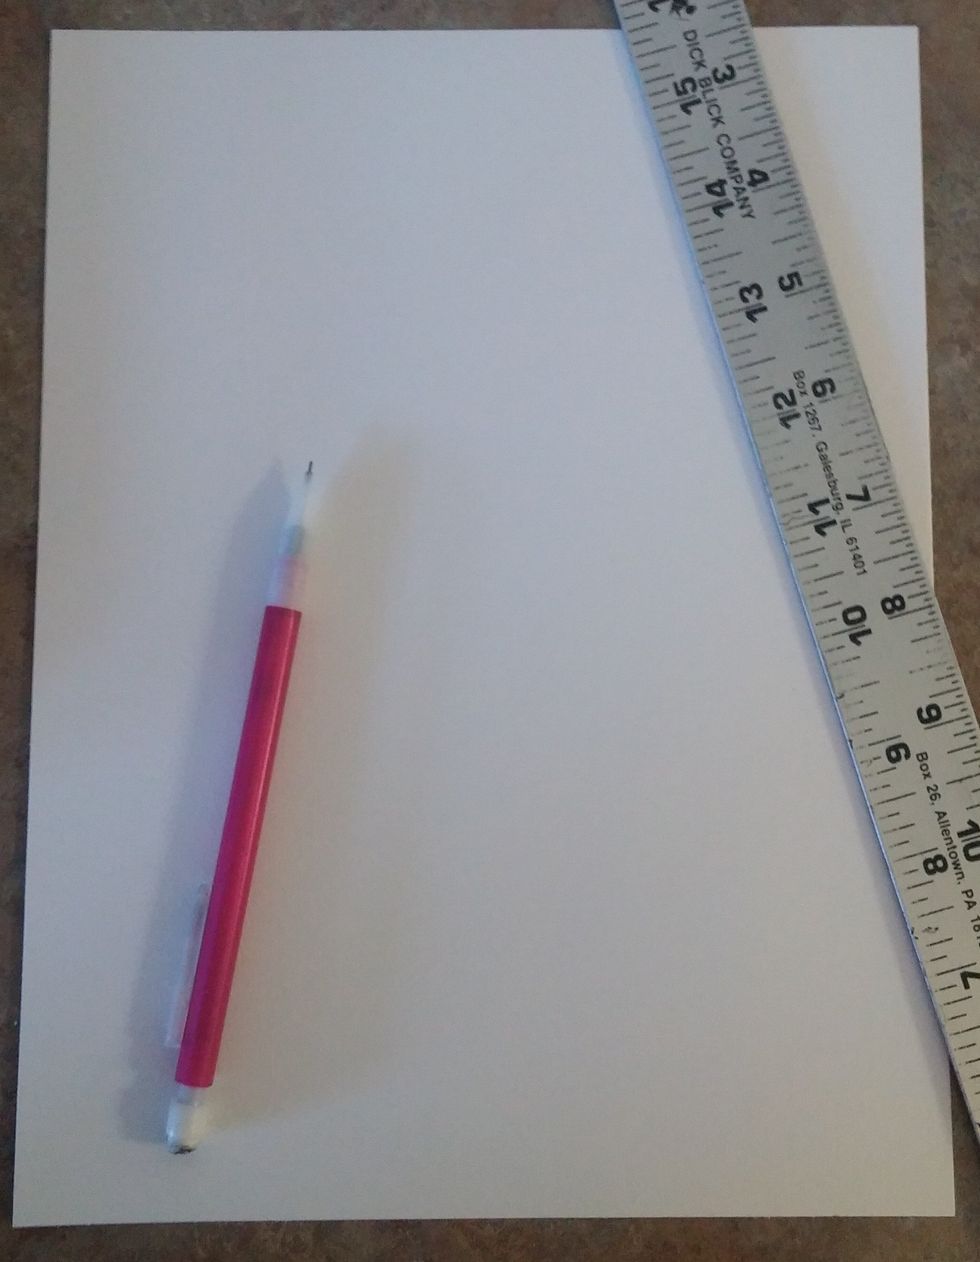
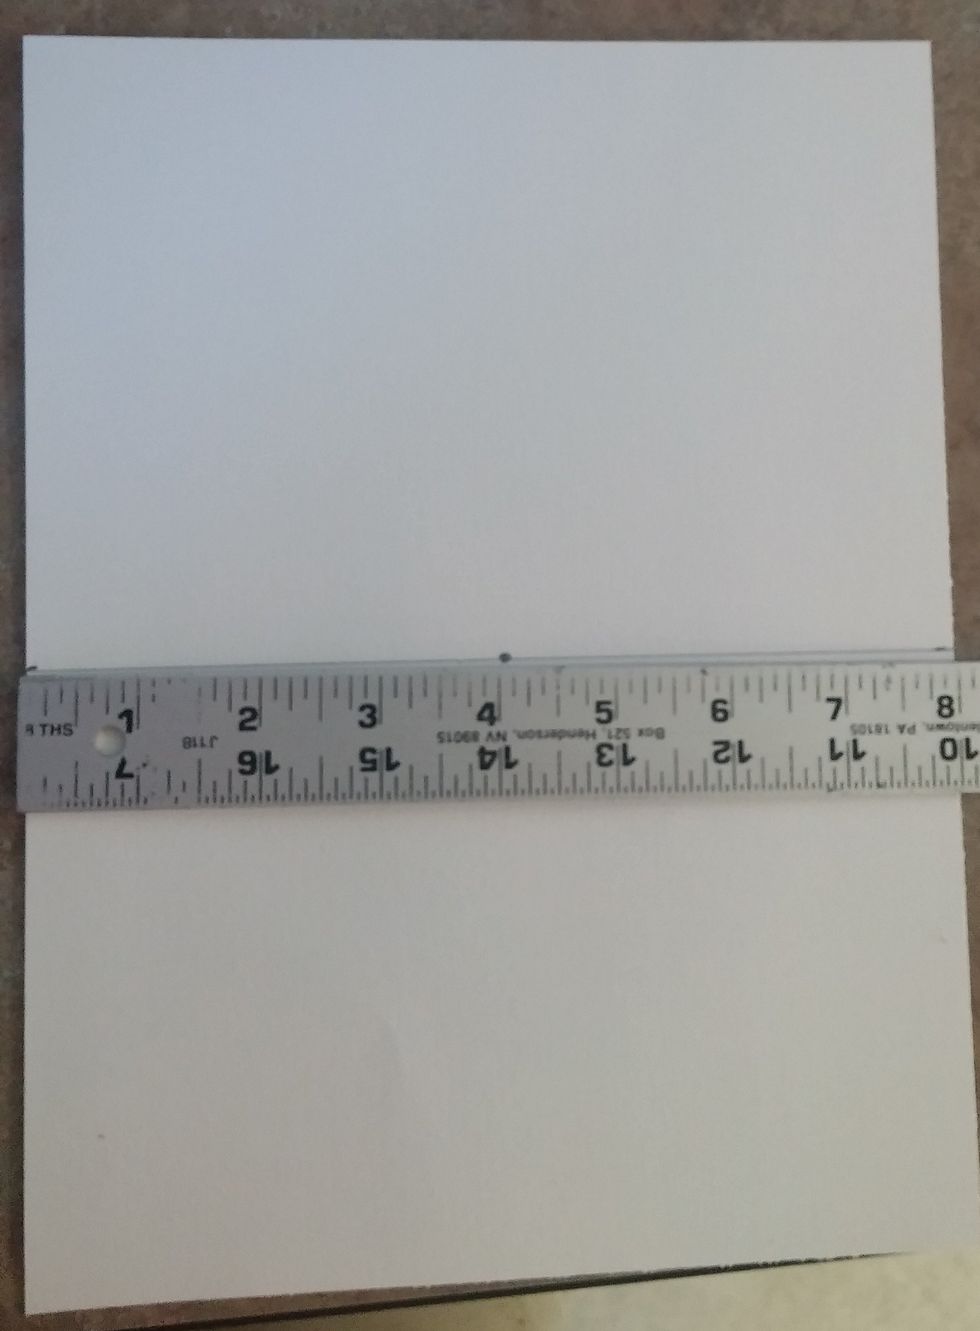
Start with a 10 1/2 x 8 inch piece of thick drawing paper, a pencil, and a ruler
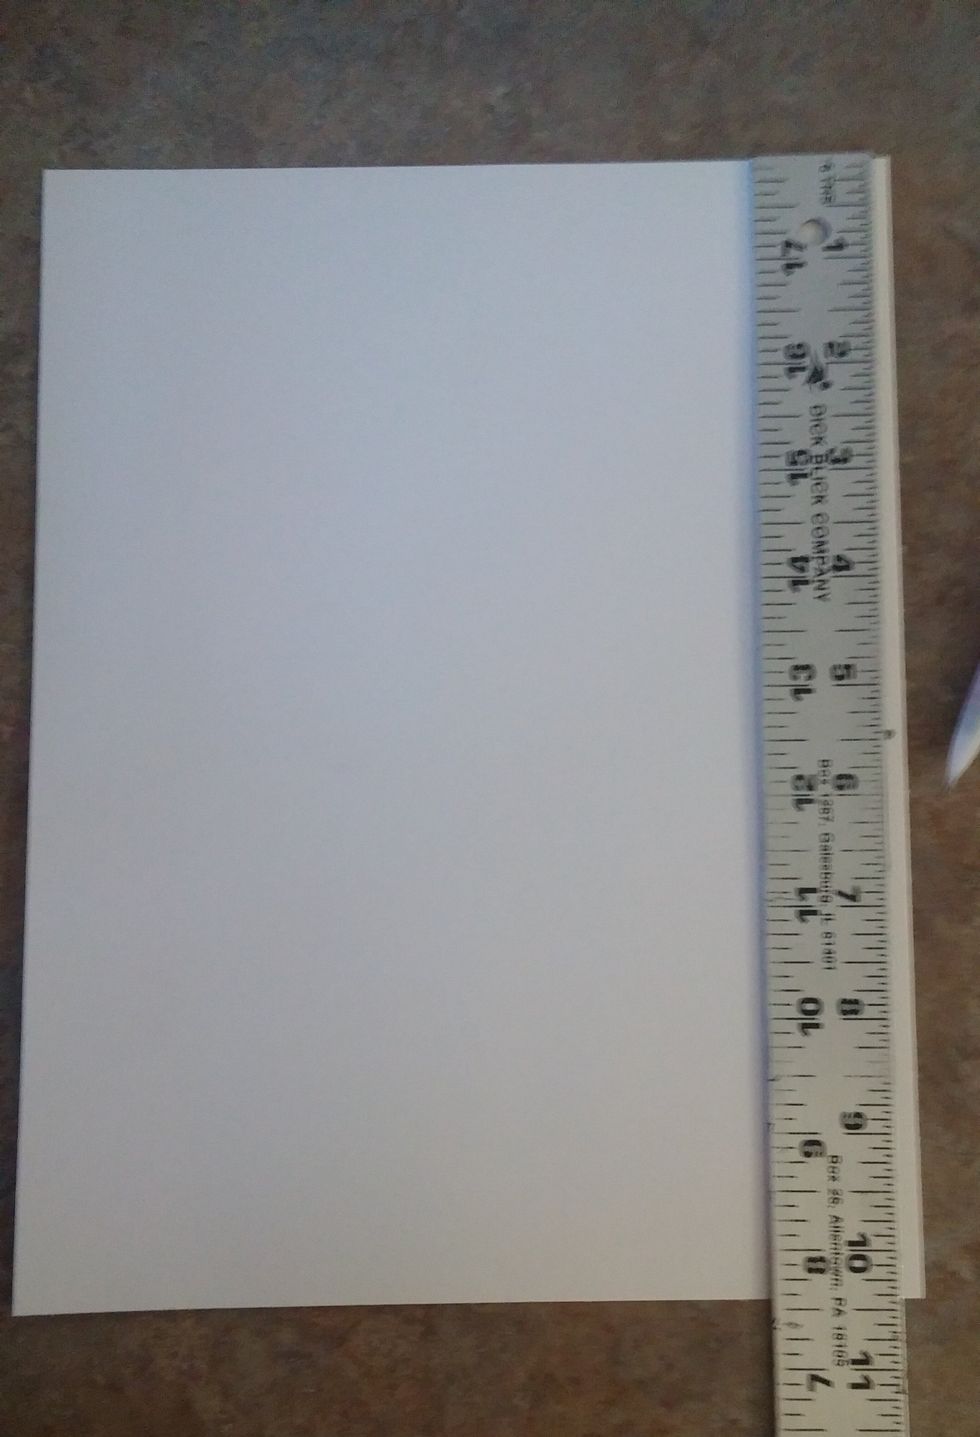
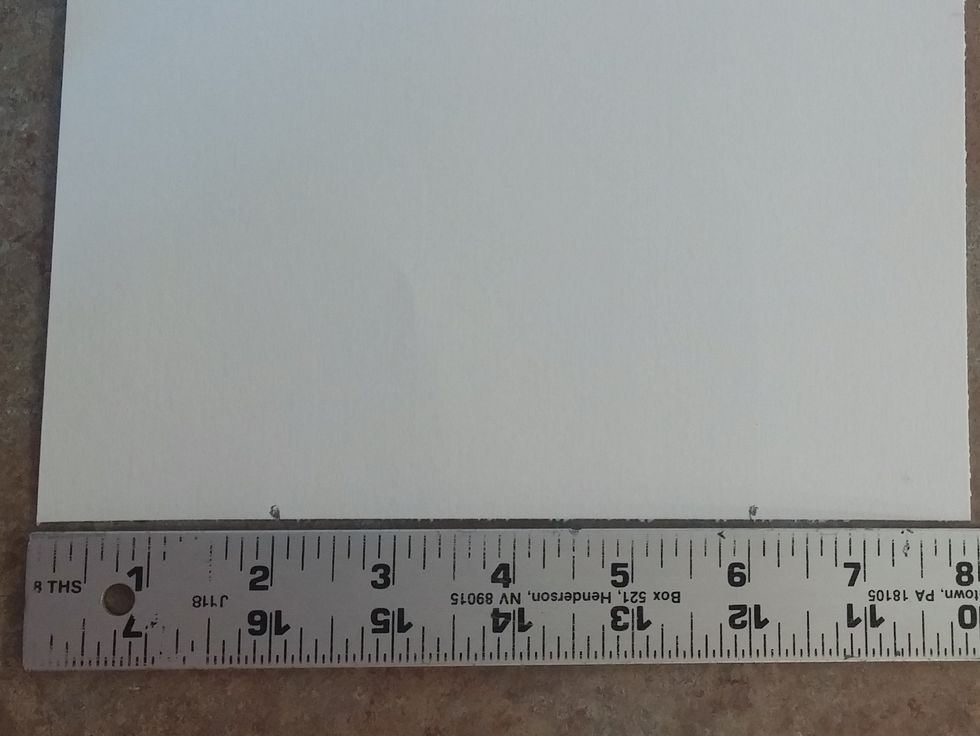
Putting the ruler along the side, make a mark at 5 1/2 inches on both the left an right side of the paper
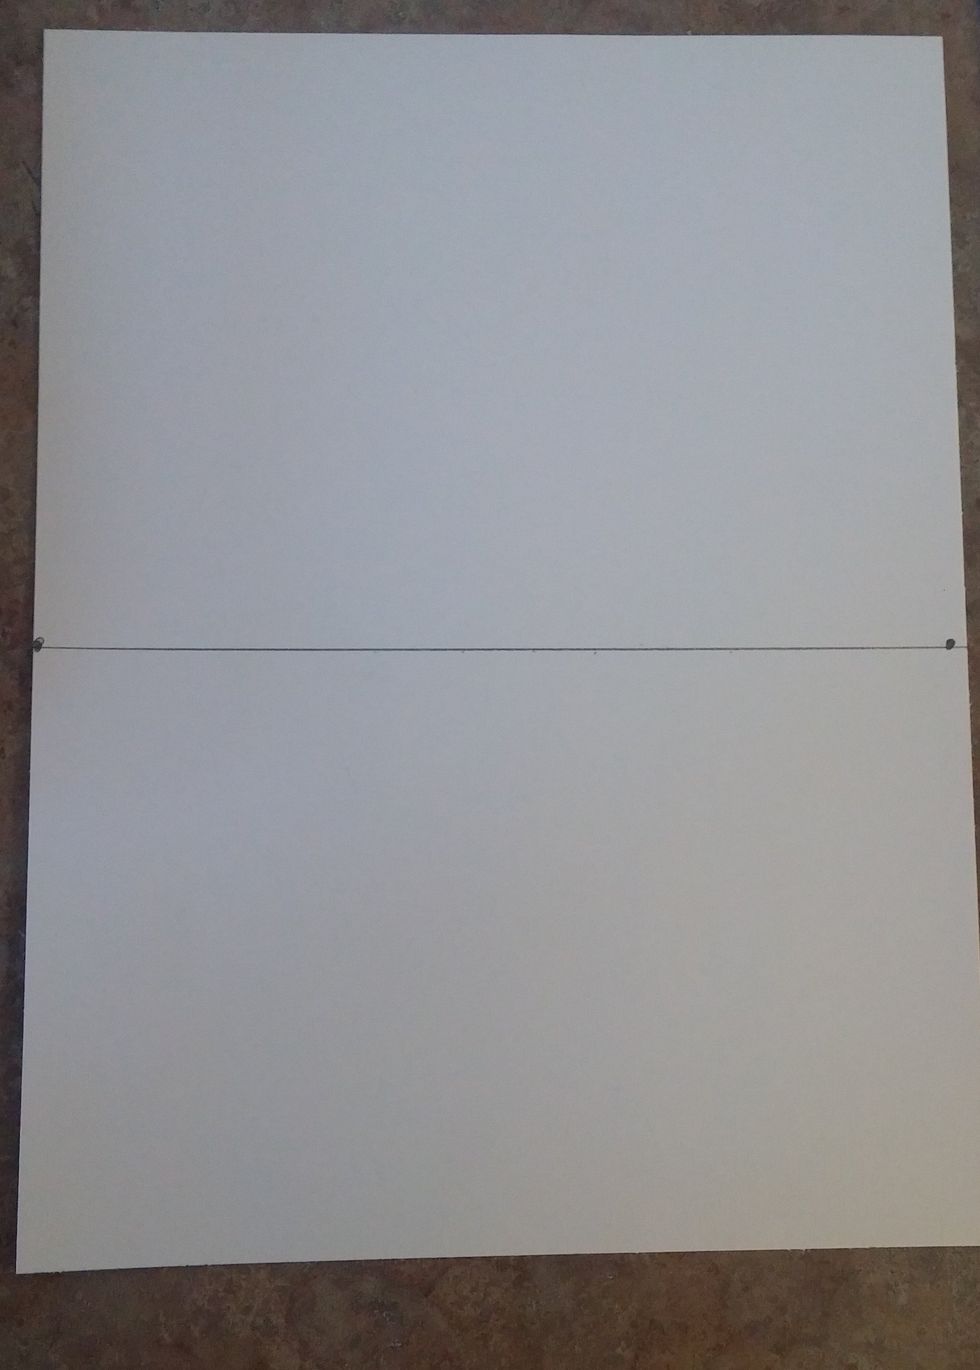
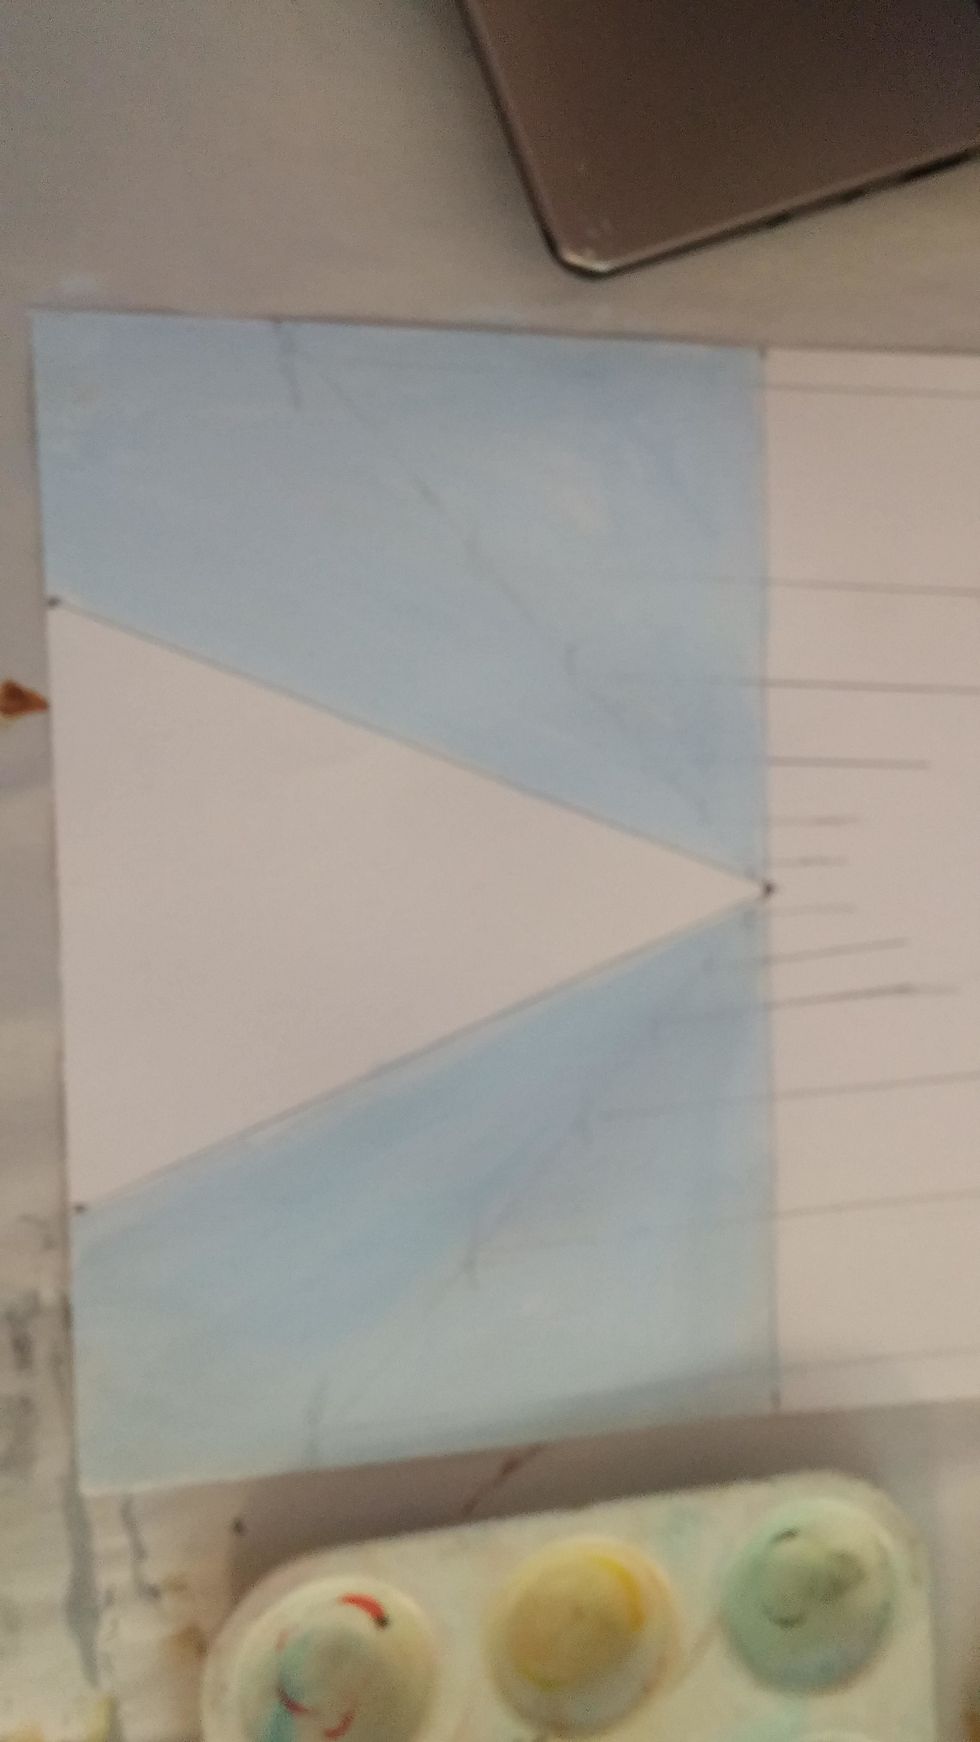
Connect the two dots previously made. This is the horizon line at 5 1/2 inches across the paper.
Make a dot on the horizon line at about 4 inches. This is the vanishing point.
Place ruler at the very bottom of the paper. Make a mark at the 2 inch and 6 inch mark.
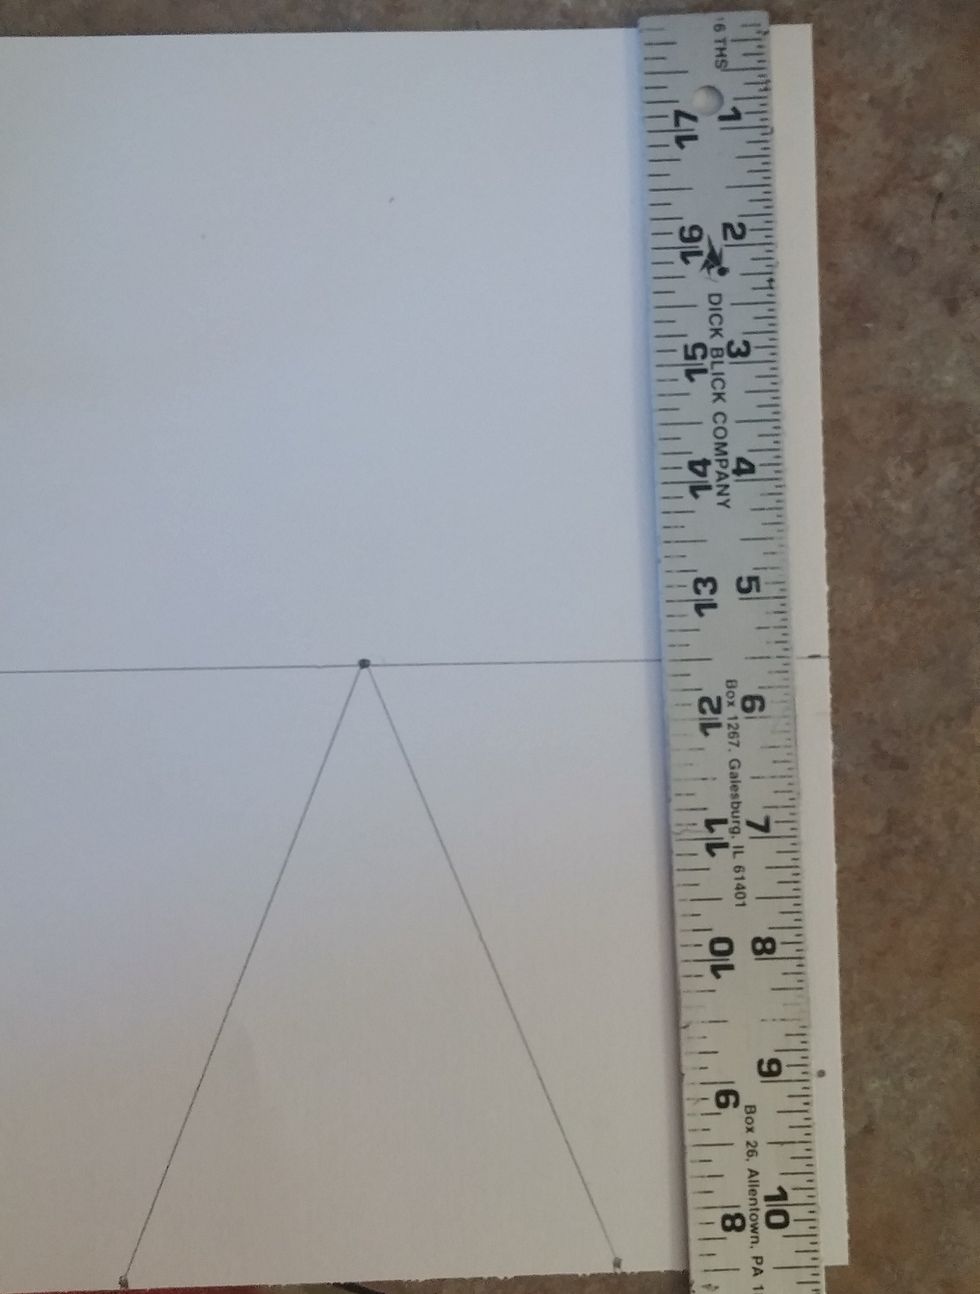
Connect these two dots to the vanishing point. This is the sidewalk.
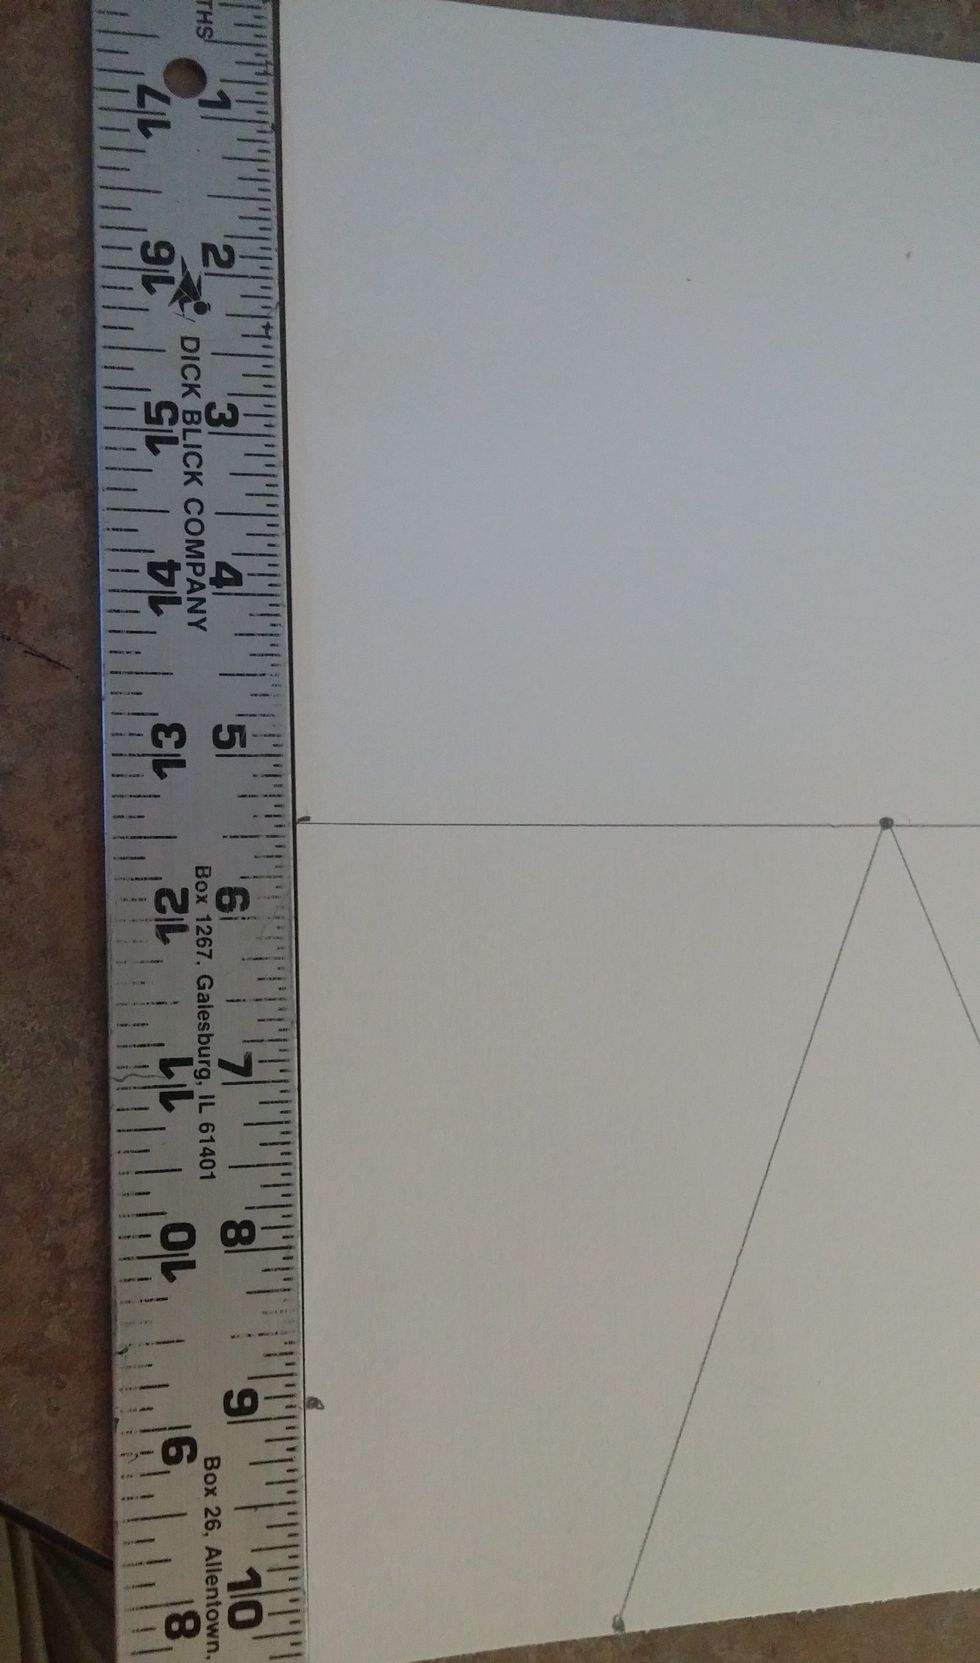
Place the ruler on the left side of the paper. make a mark at 9 inches. Do the same to the very right side of the paper as well.
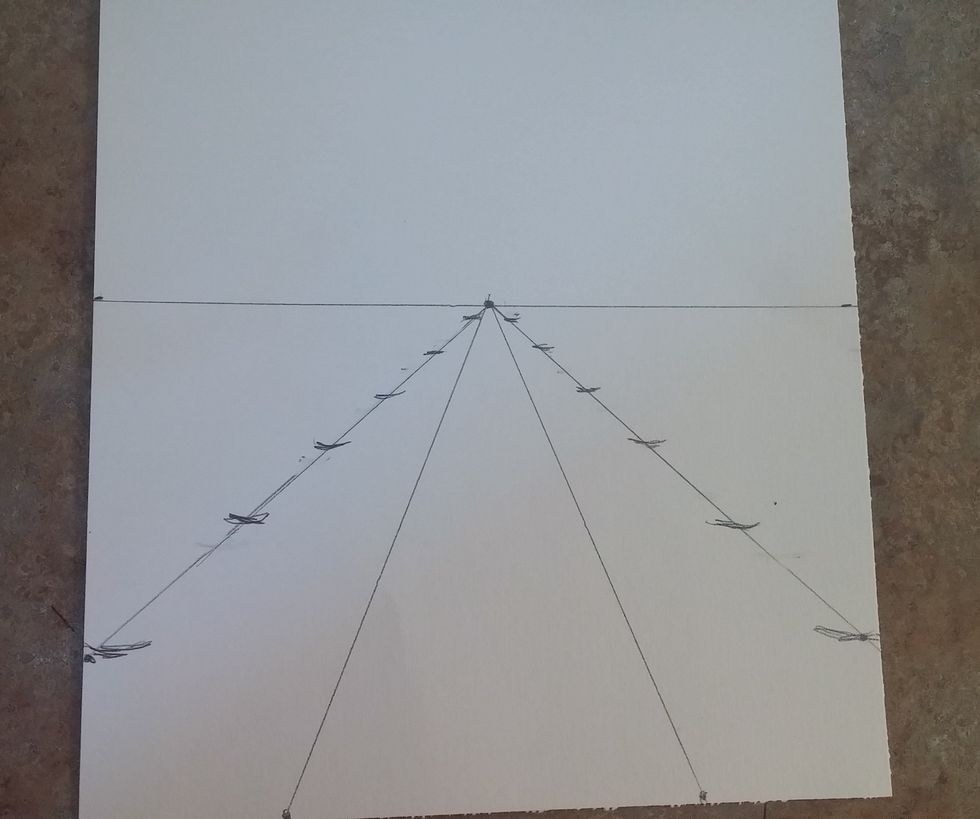
Connect the dots we just made at 9 inches on both sides to the vanishing point. Then place markers where the bottom of your trees will sit. Closer trees will have more space between them,
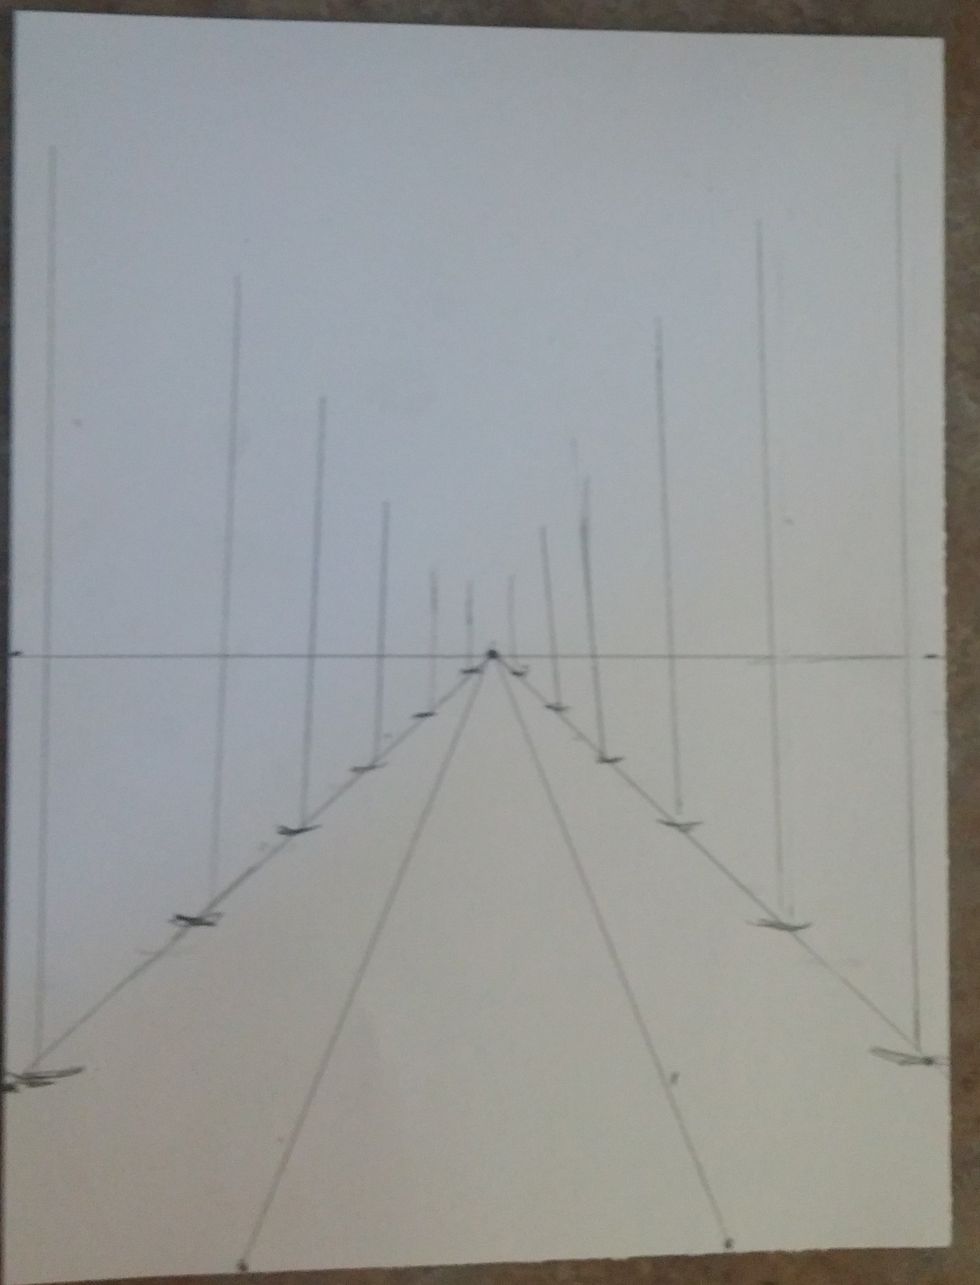
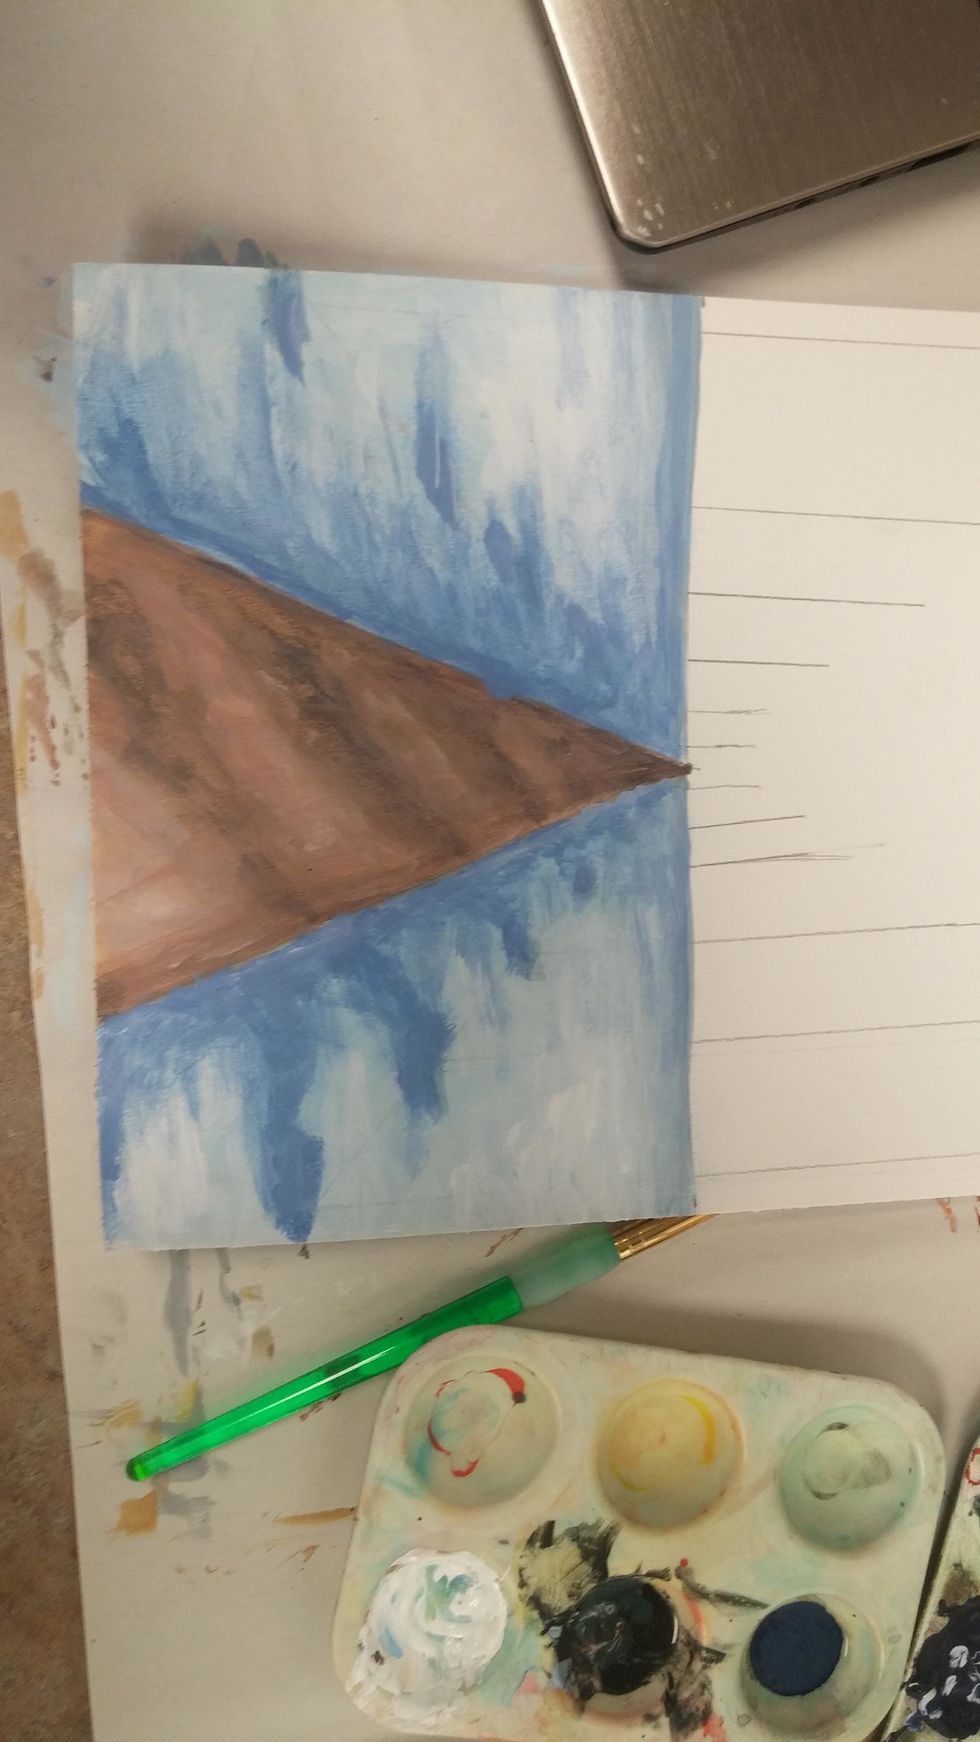
make vertical straight lines at each mark where the trunks of the trees will go. the trees closest are taller, the ones furthest away are shorter. They also form an upside down triangle.
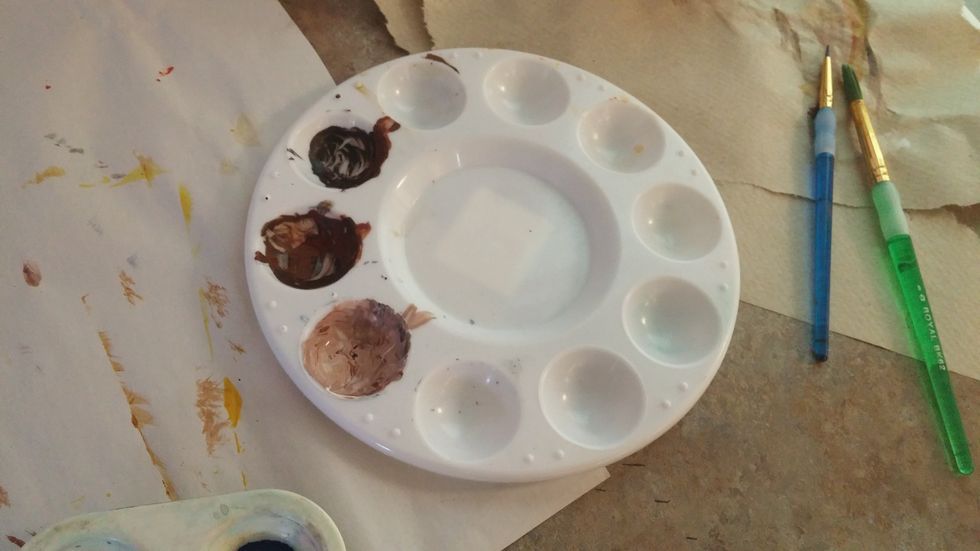
Mix a few browns for the tree trunks. It's a good idea to make a true brown and a shade and tint of that color. This way you can paint shadow and highlights.
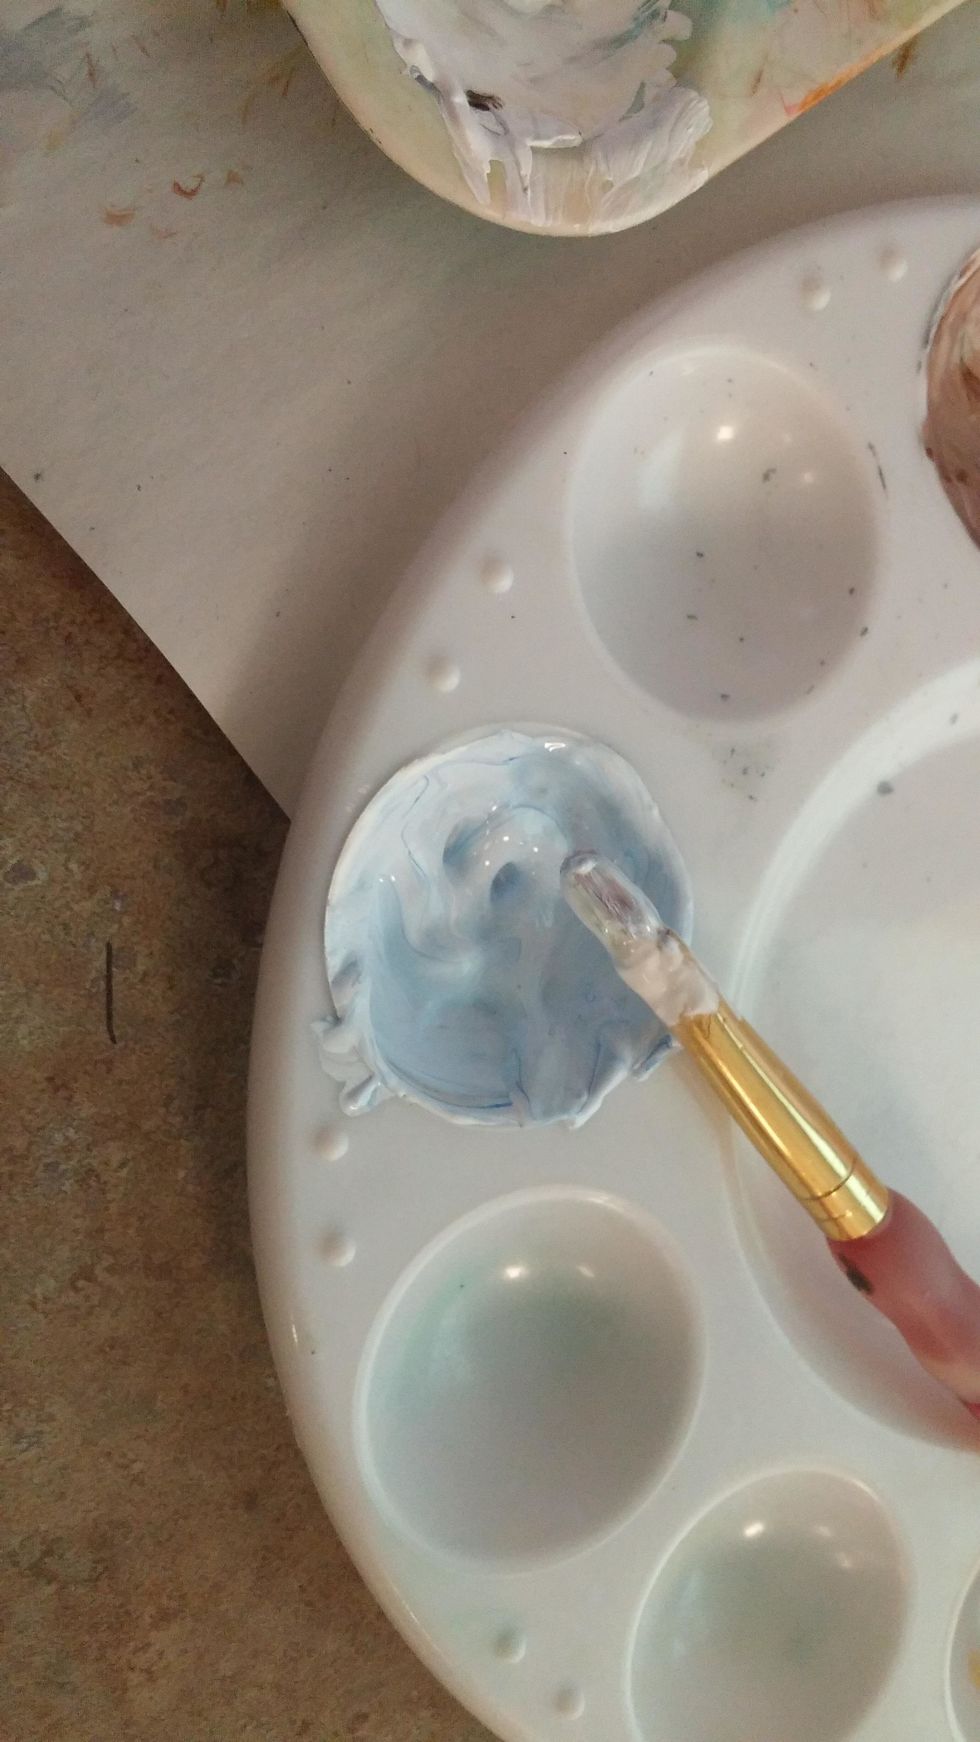
Mix a color for snow. Remember in a landscape the snow is not straight white, there's usually a blue tint to it. Mix a very little blue in with white.
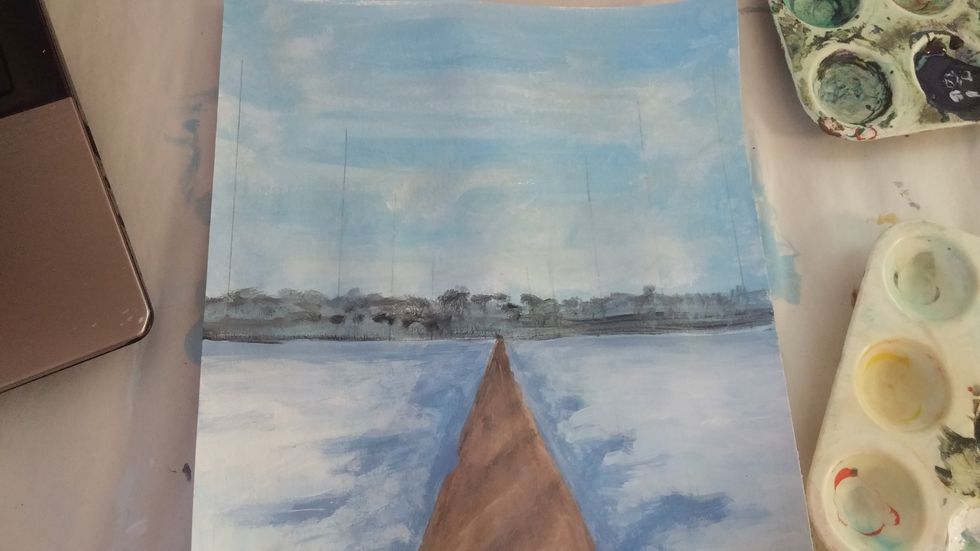
Cover the entire area of snow with this blueish white.
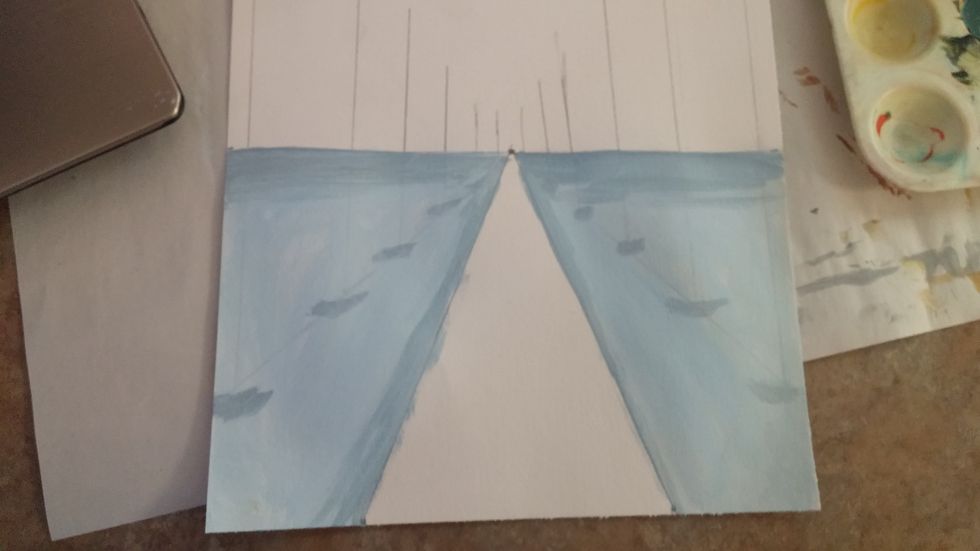
Mix a little bit darker color for a shadow. Winters is more blue and grey. Shade towards the horizon line and around the sidewalk. also shade under where the tree trunks sit.
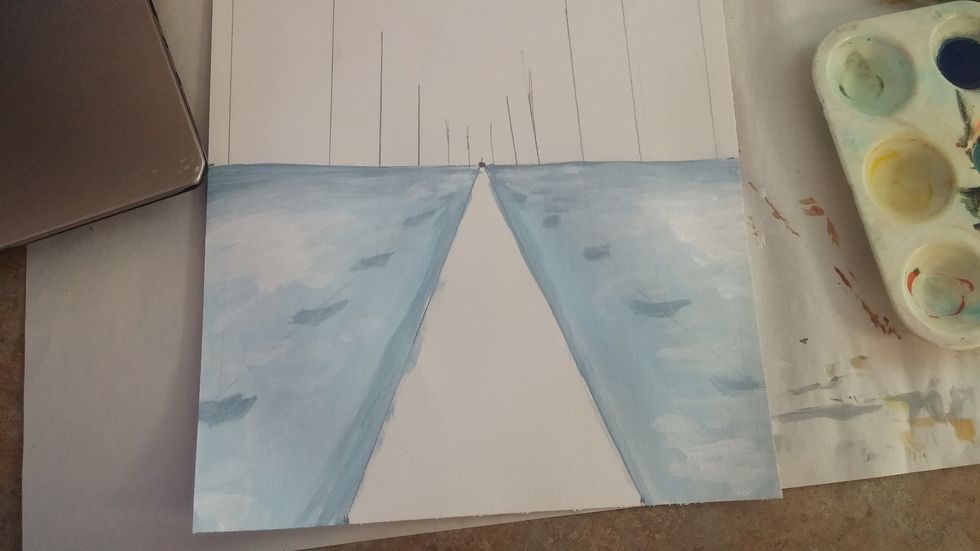
Now bring in a lighter color to highlight the ground. For winter this is almost a pure white. highlight the areas that get more sun.
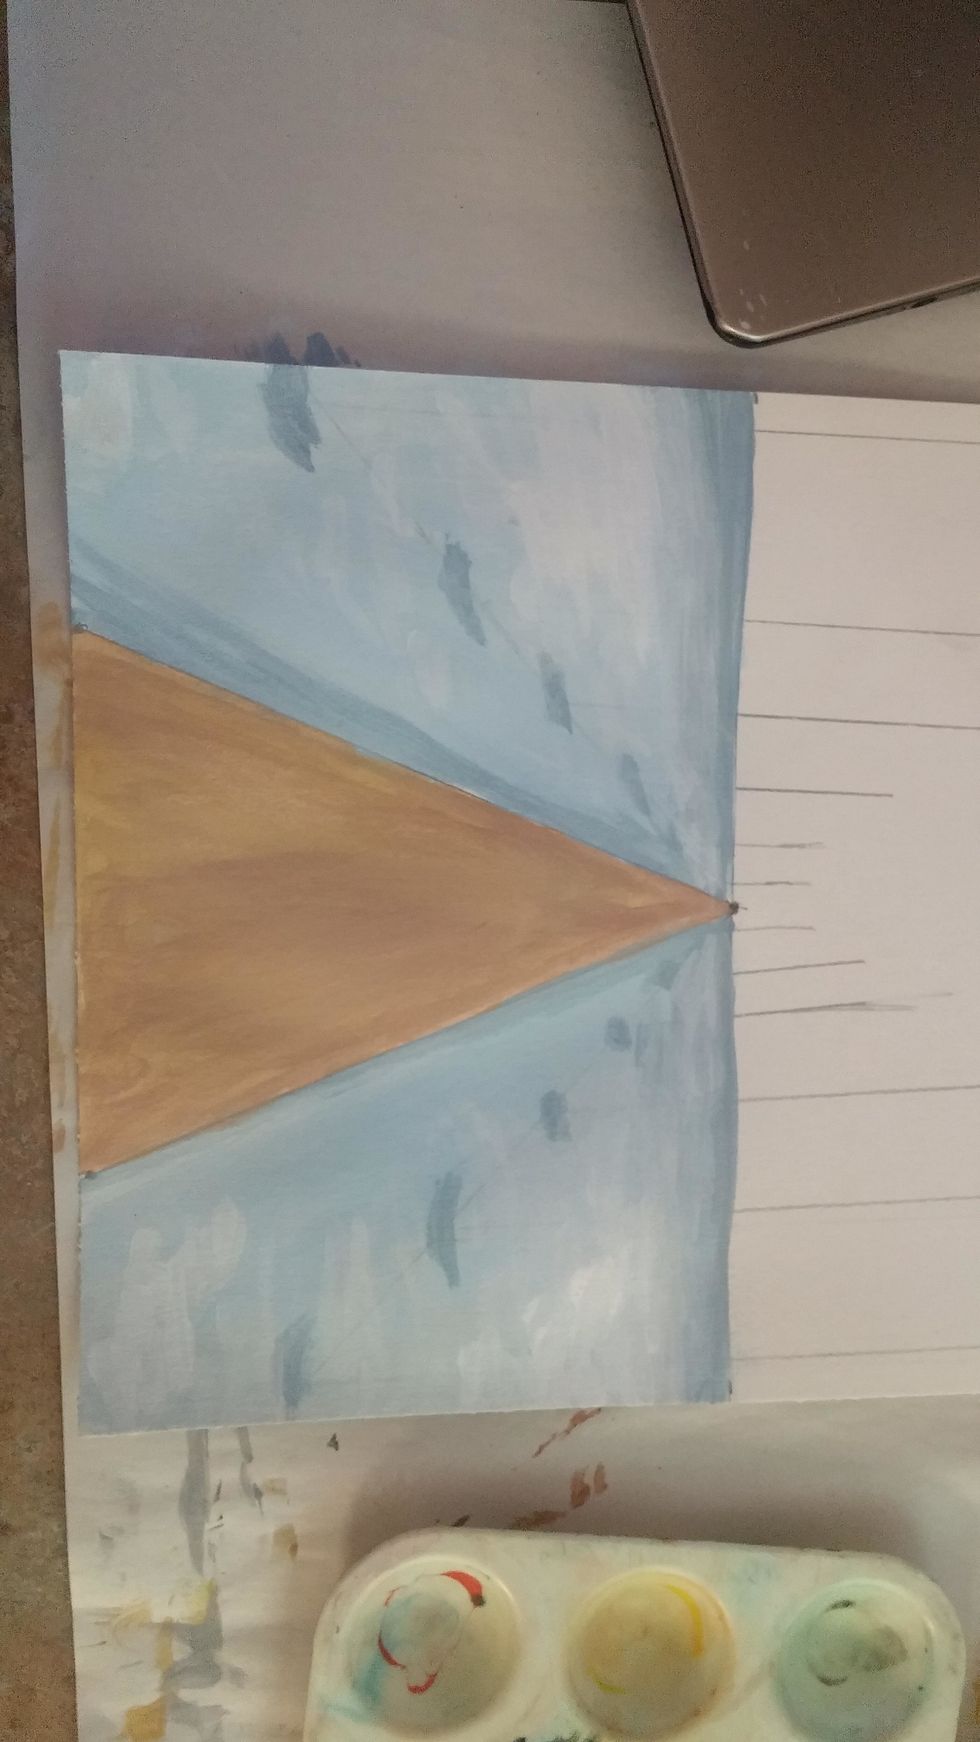
Mix a base color for the sidewalk. This one I made a tan color. Fill in entire sidewalk area with this color
Especially for winter mix another shade color. This one has more purple blue hue. Start making snow piles and the shade of the trees with this color
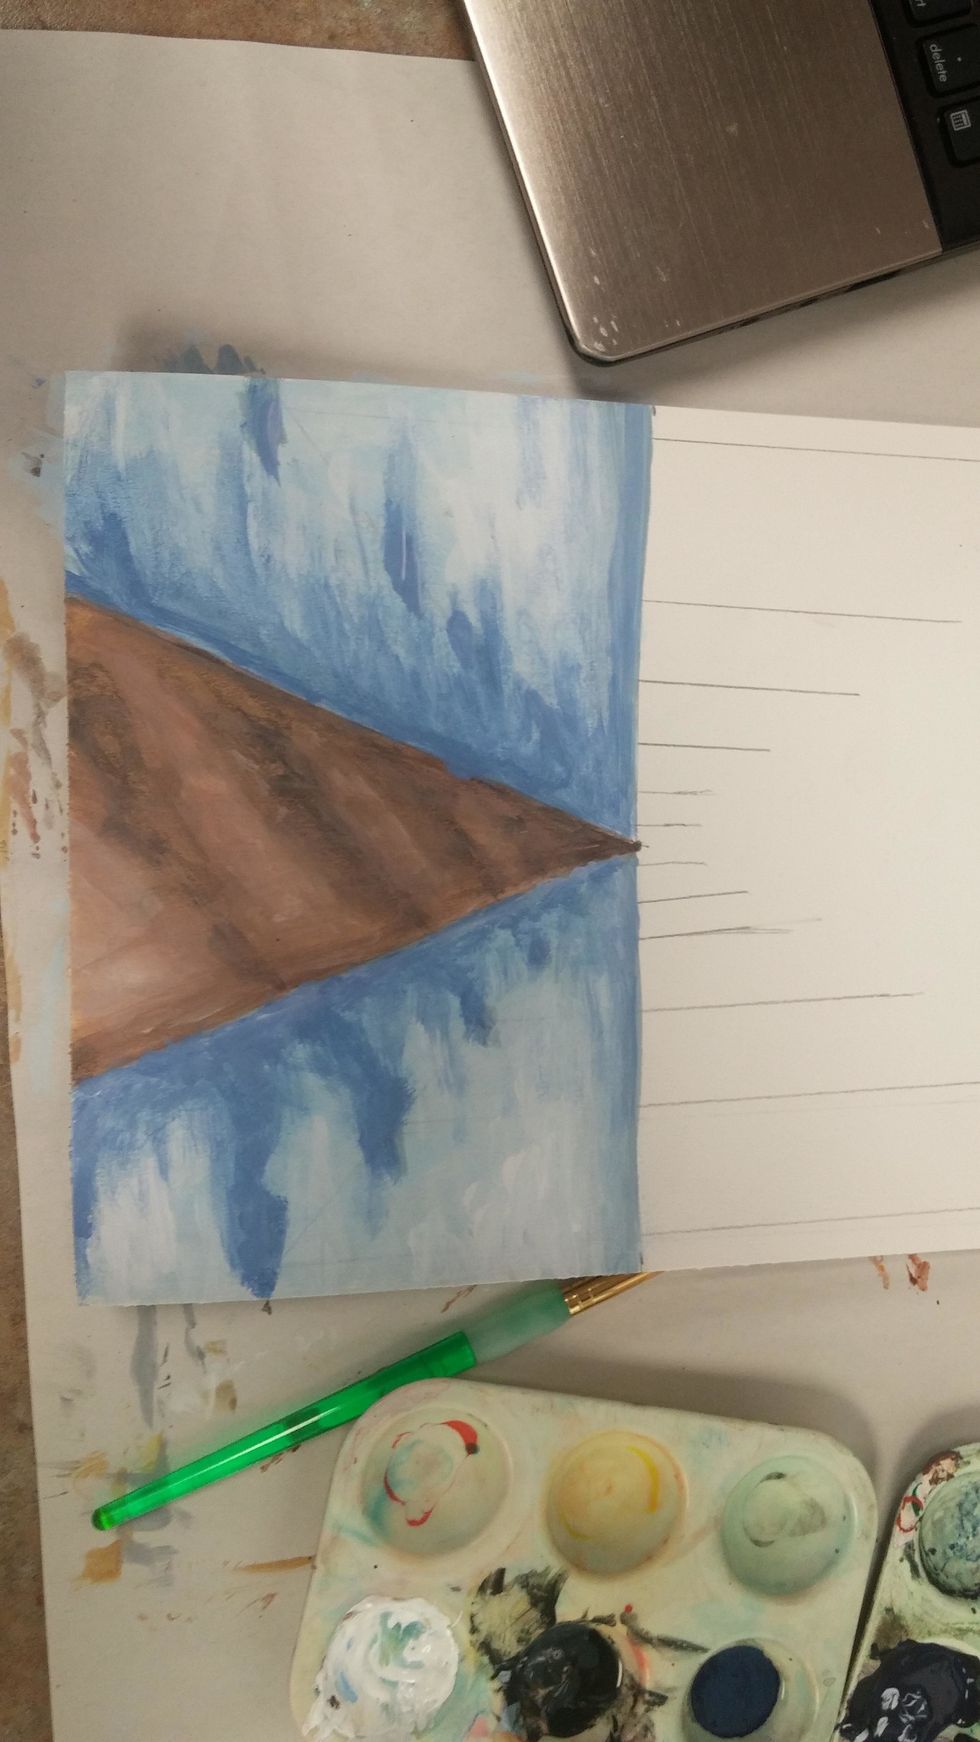
Mix in more of the snow colors, layer and blending each one into the next. Making it splotchy will make it look like piles of snow. also do this will other browns on the sidewalk for the tree shade.
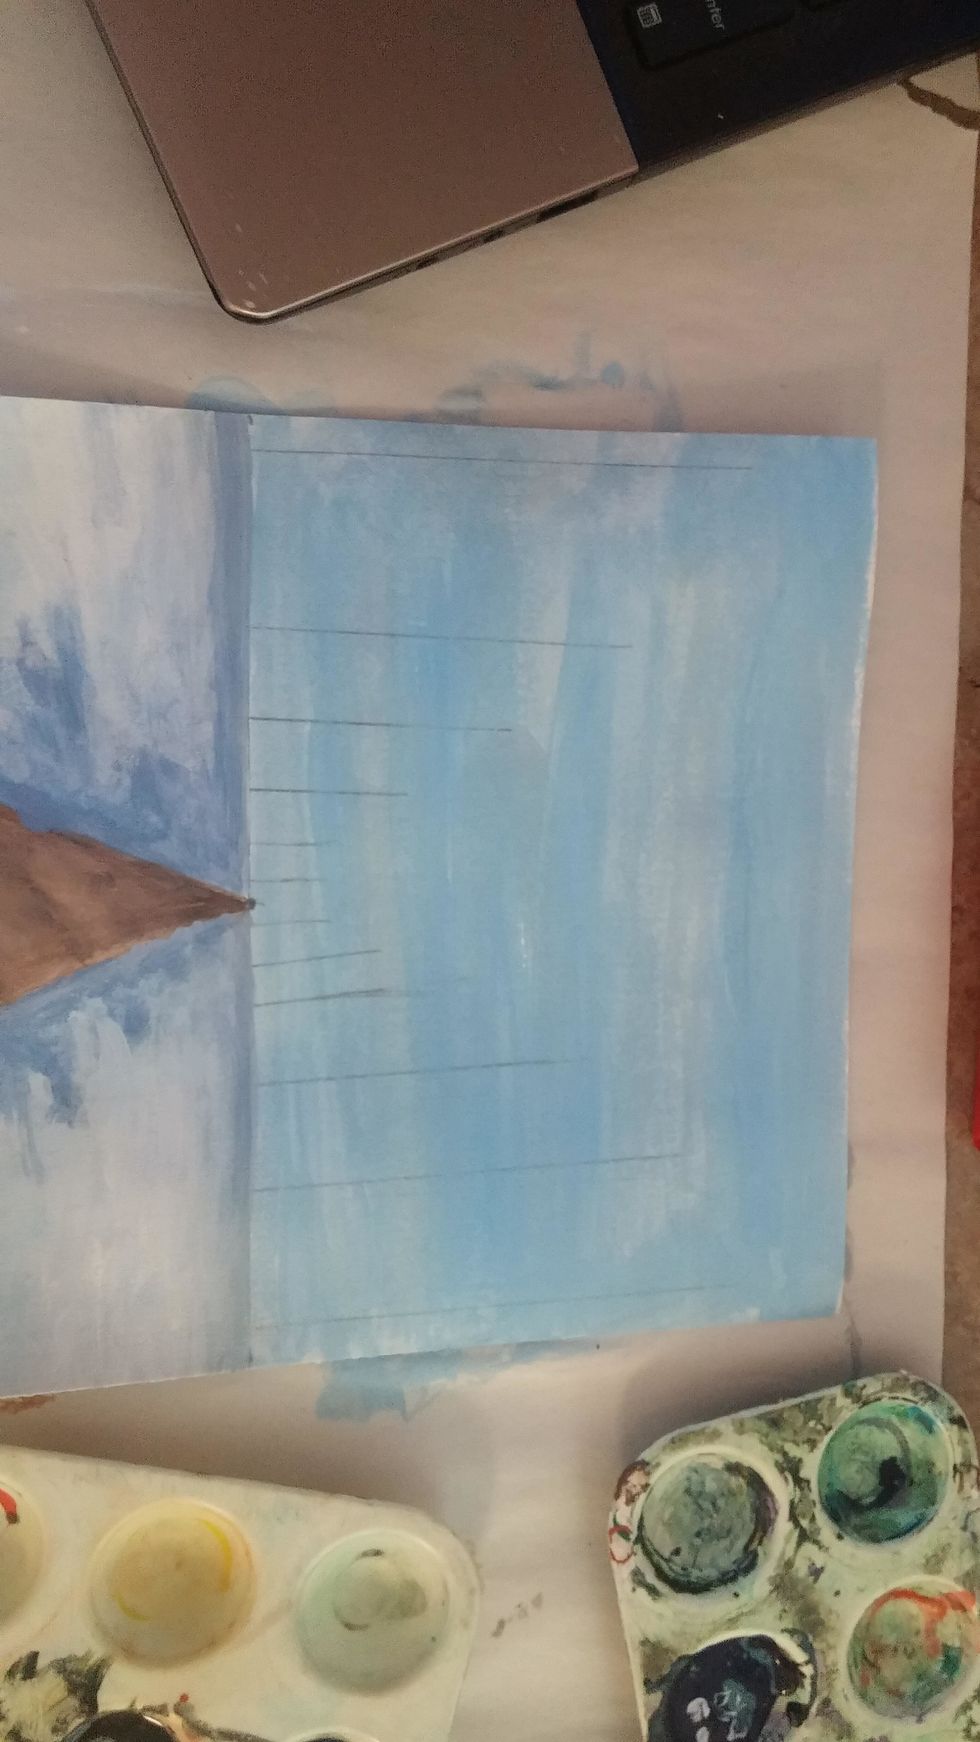
Mix a sky blue, depending on the time of the year. Cover entire sky area with this color.
Add clouds with white paint while the blue is still wet. Blend well and make the clouds wispy.

NOTE: If you are doing any other seaon than winter this is when you would add the base color and dabs/dots of other colors for leaves. For tips on this refer to the other snapguides!
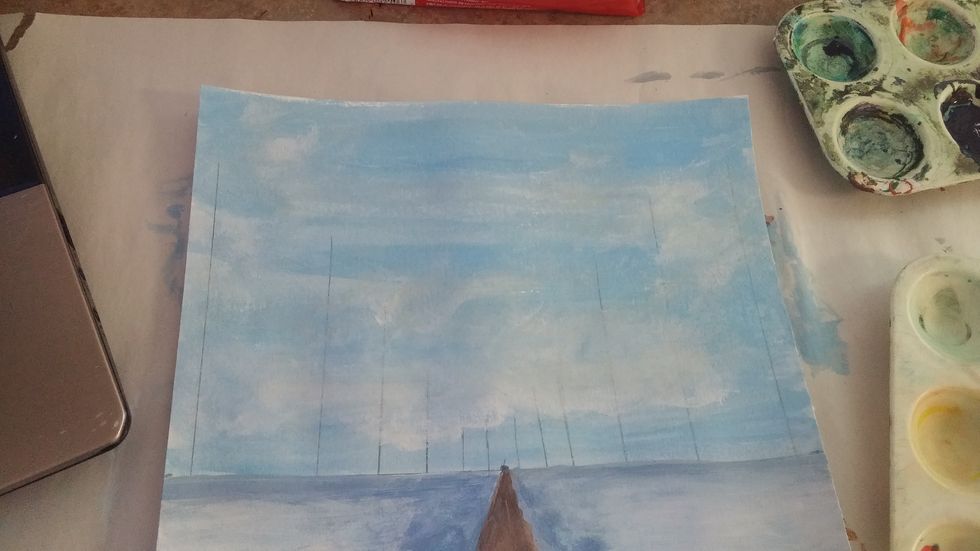
Mix a dark blue-grey for the background trees. Dab and dot these along the horizon line. These will not be very defined in the background.
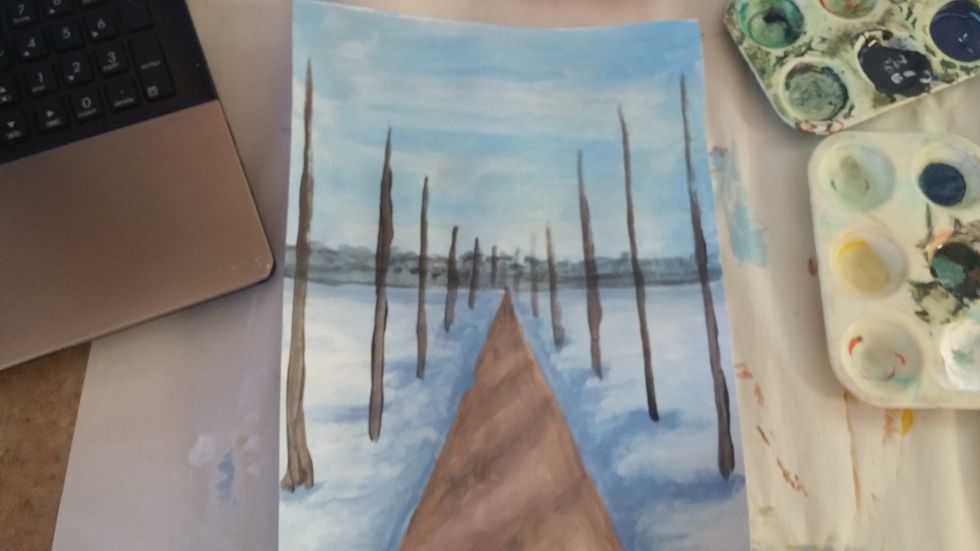
Use the colors you mixed for the trunks. make trunks at each of the places previously marked.
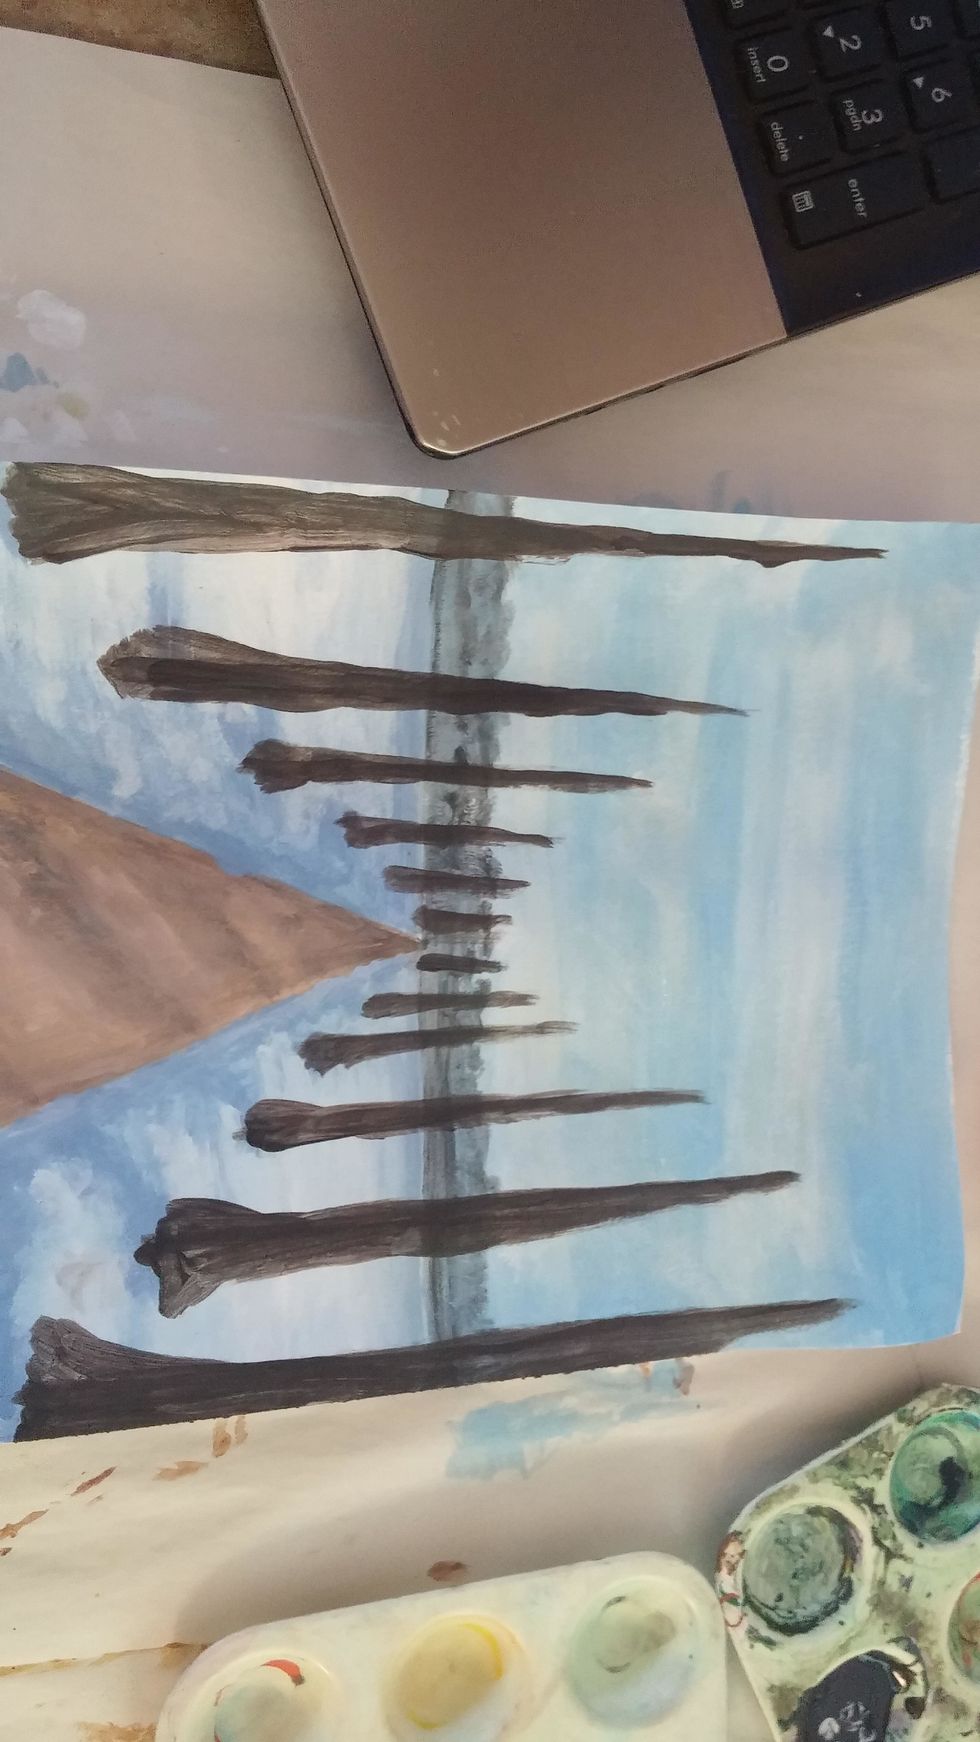
Thicken trunks and begin adding shadows with the shade and highlights in the direction of the light source with the tint,
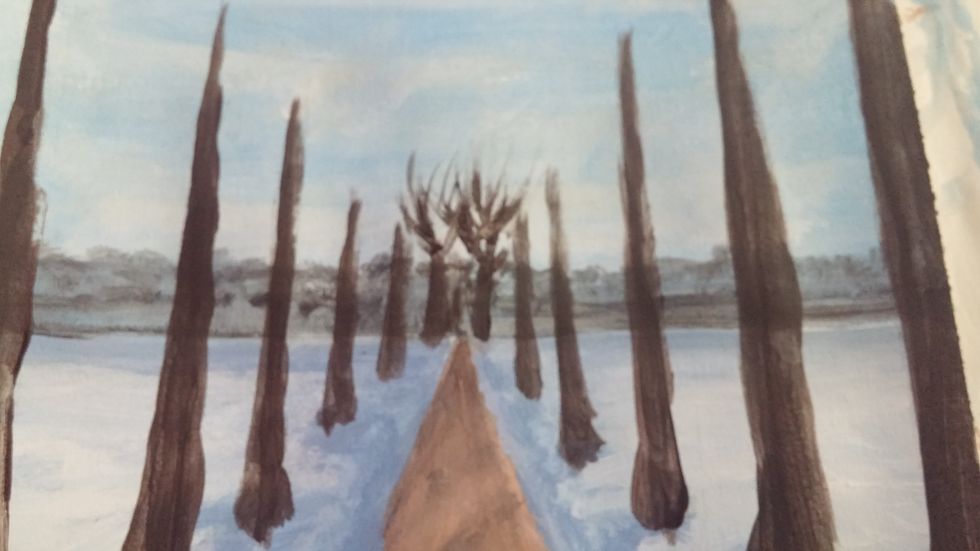
Begin adding branches. Be sure to start with the back trees so the overlapping is correct.
Add branches to all the trees, being mindful that the trees closest will have longer and thicker branches. Add shadows and highlights to these as well
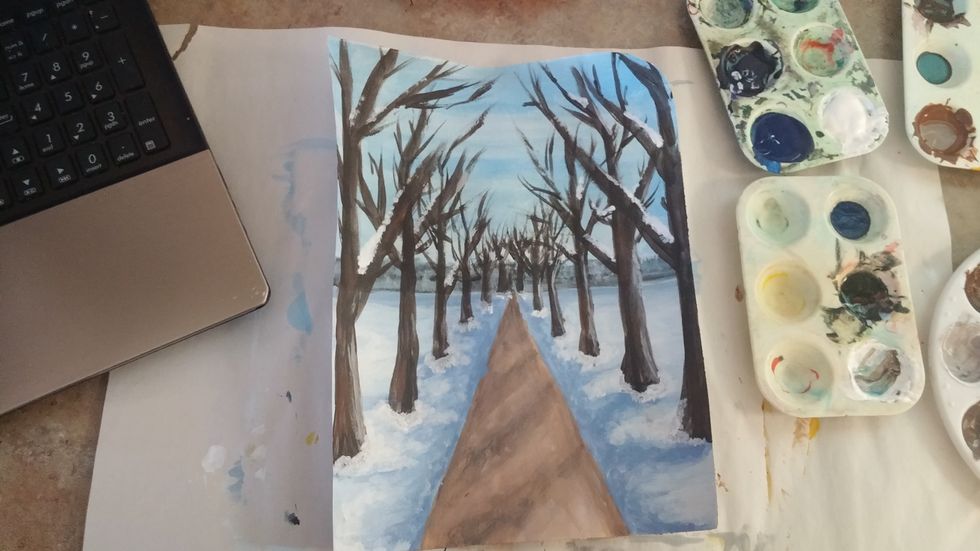
For winter add piles of snow on some of the branches. This is what your painting might look like. IF it doesn't that's ok! Each person has thier own style and mixing. Be proud of your work!