The Conversation (0)
Sign Up
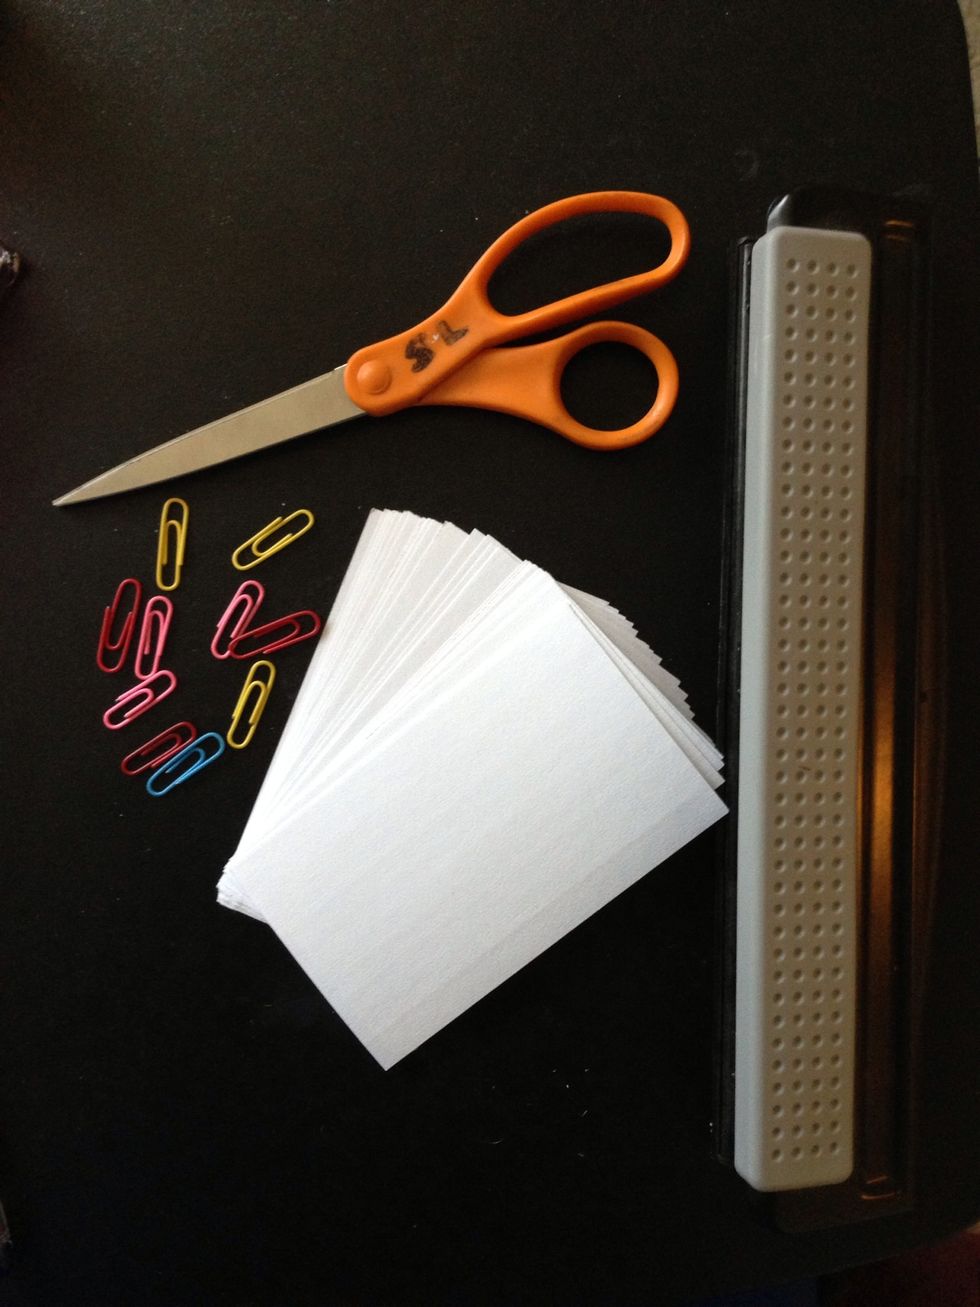
Supplies
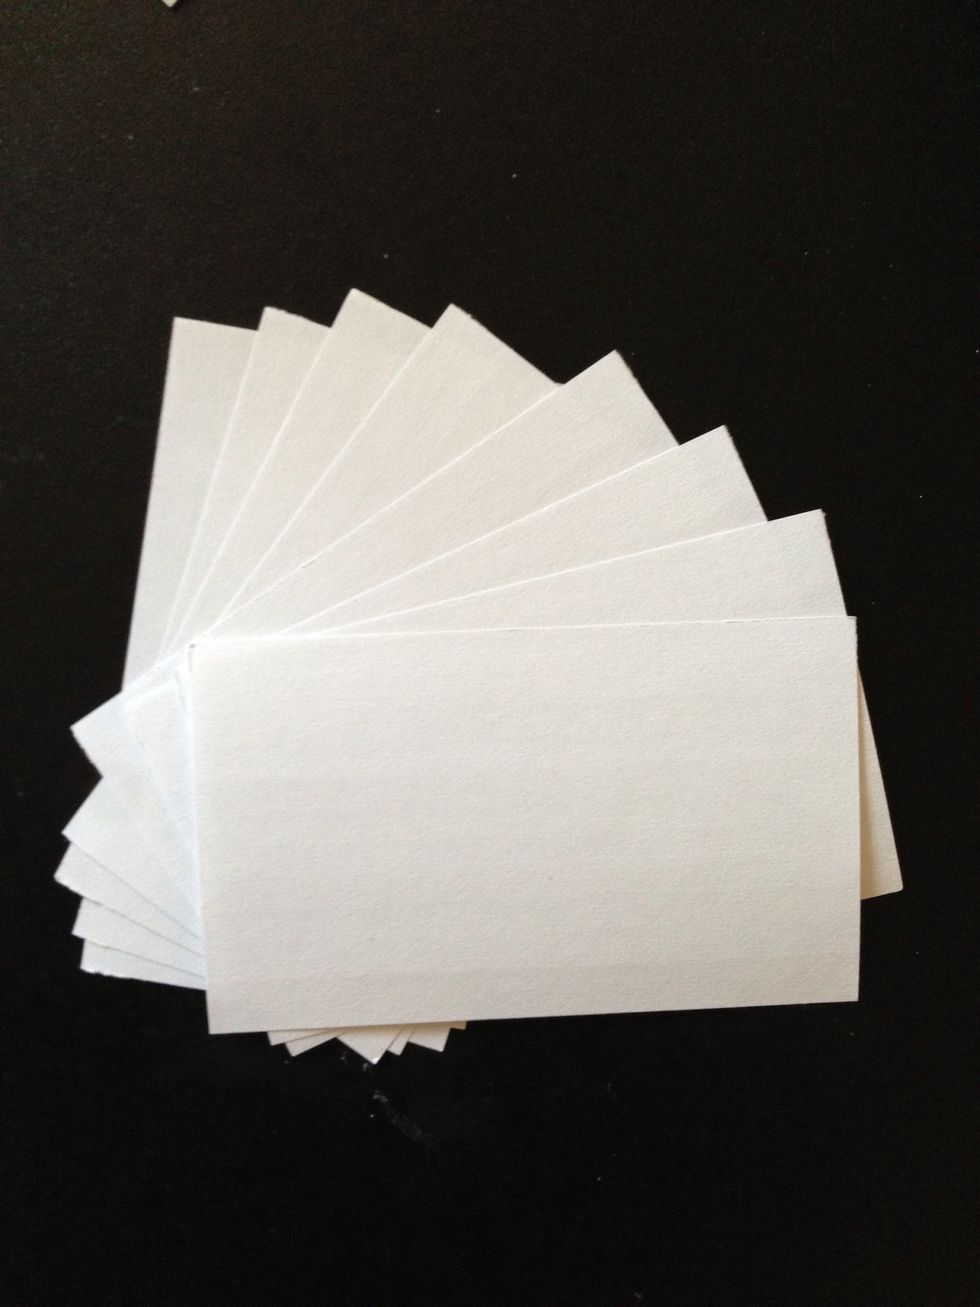
Separate about 7 or 8 note cards from the pack.
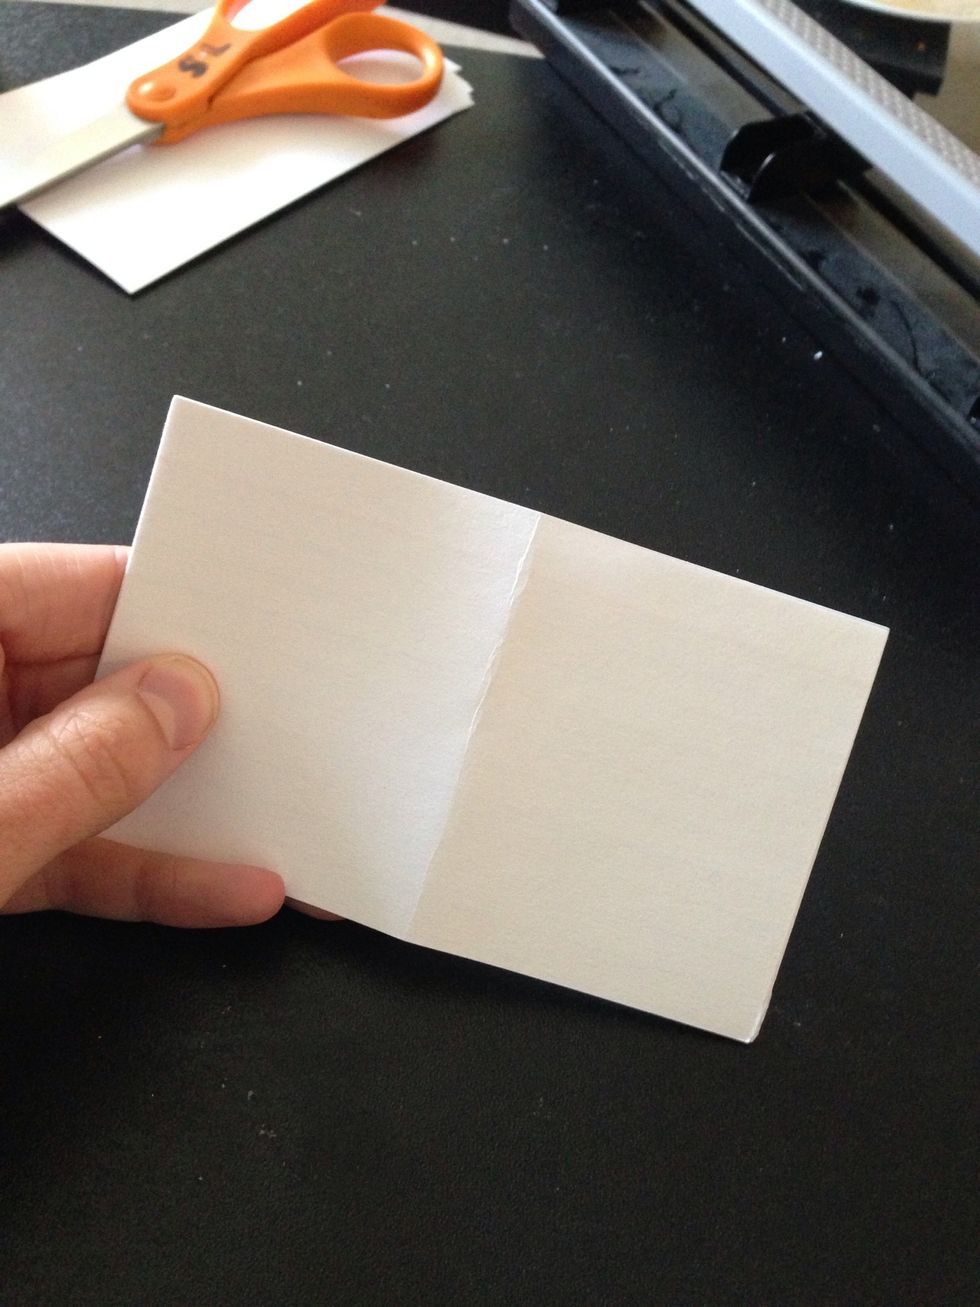
The fold gives you a guideline of where to cut with the scissors.

When cutting try to keep all the note cards in place by holding one side of the cards firmly.
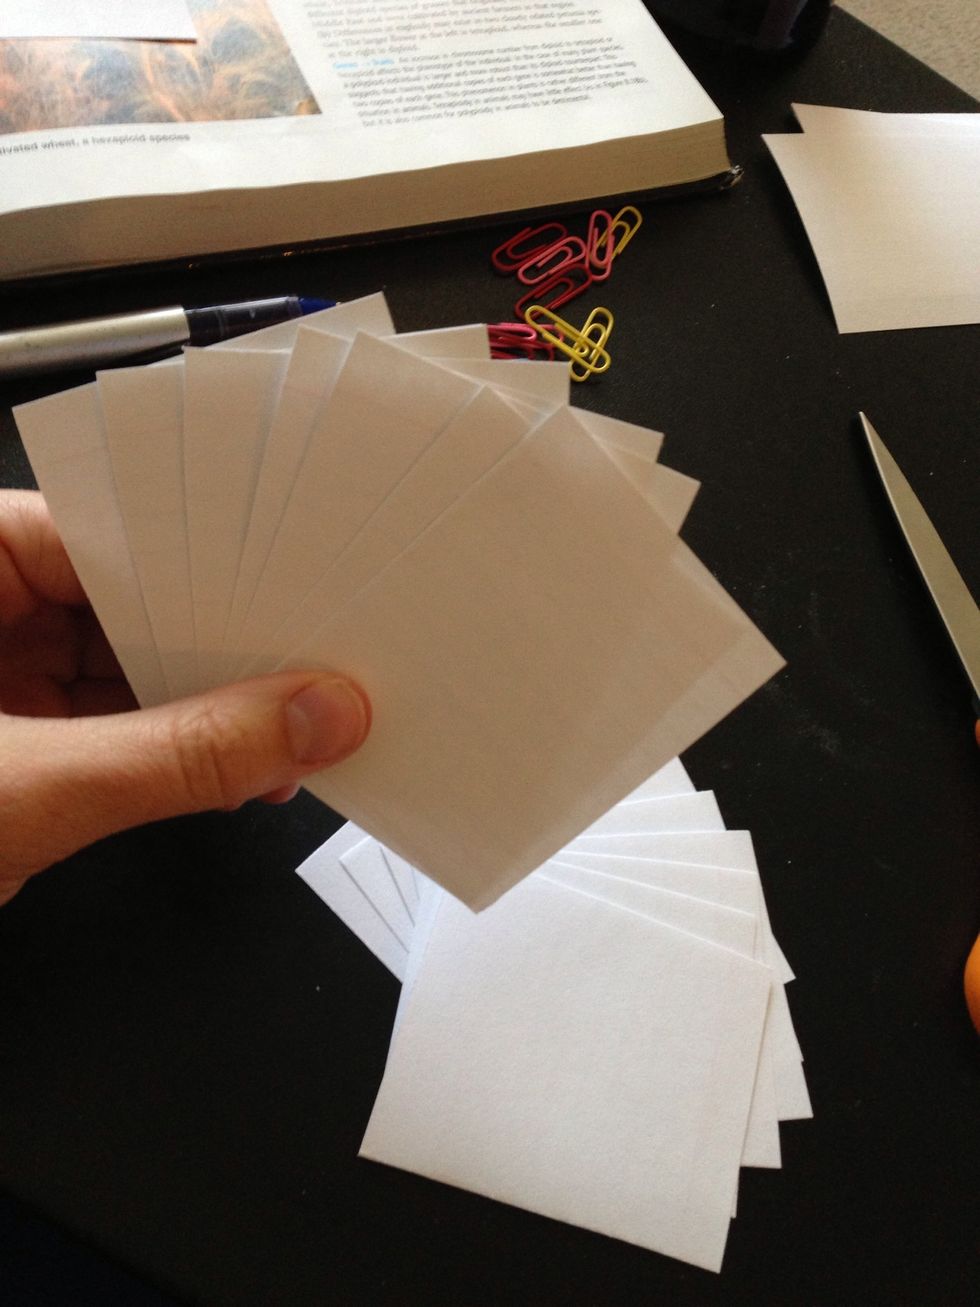
Voila! Now you have twice the amount of note cards than what you started with.
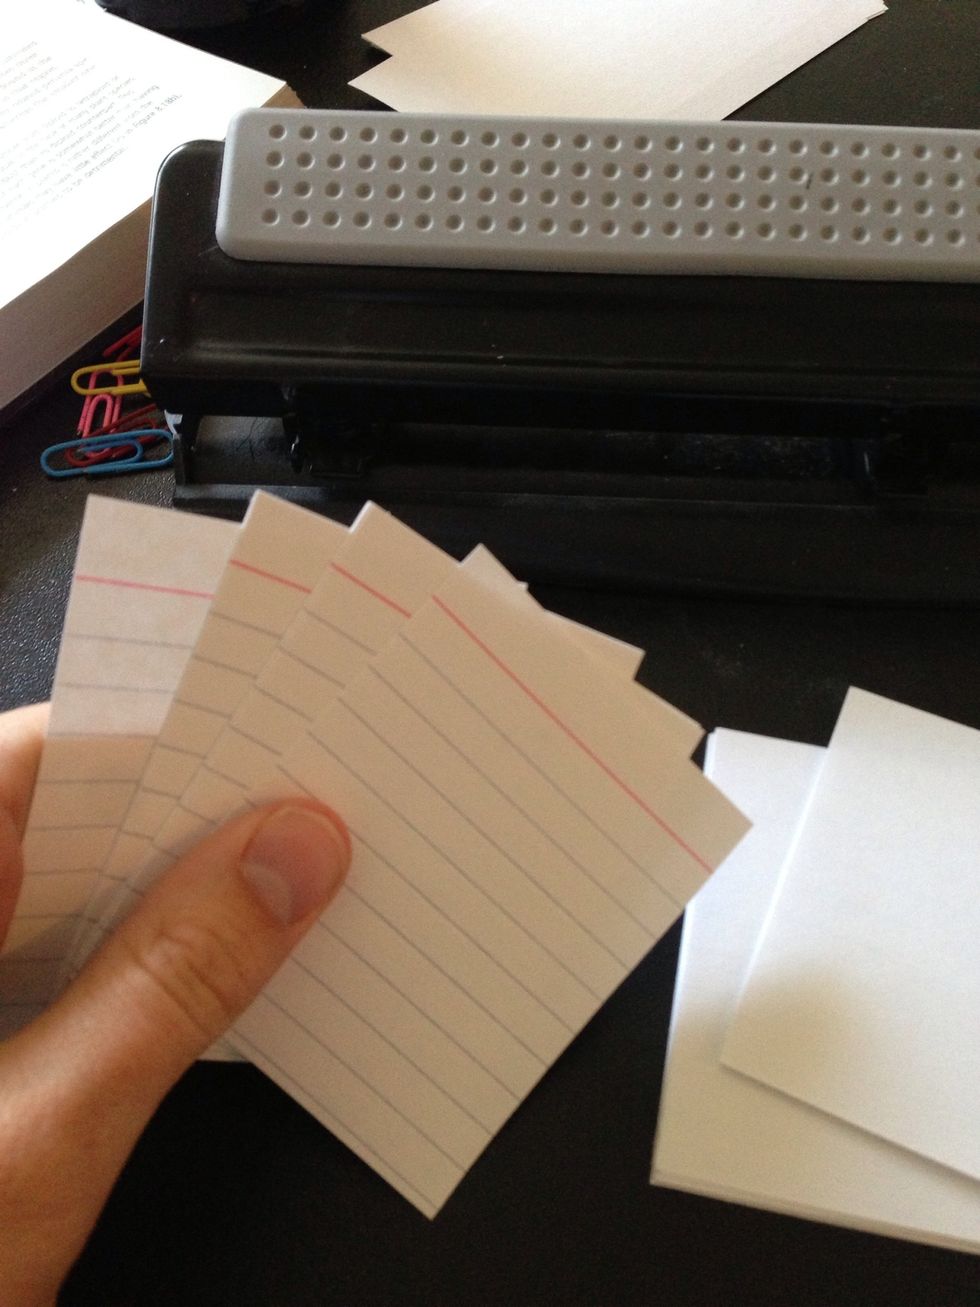
I like to have the red line at the top of my note cards but you can arrange them however you like.
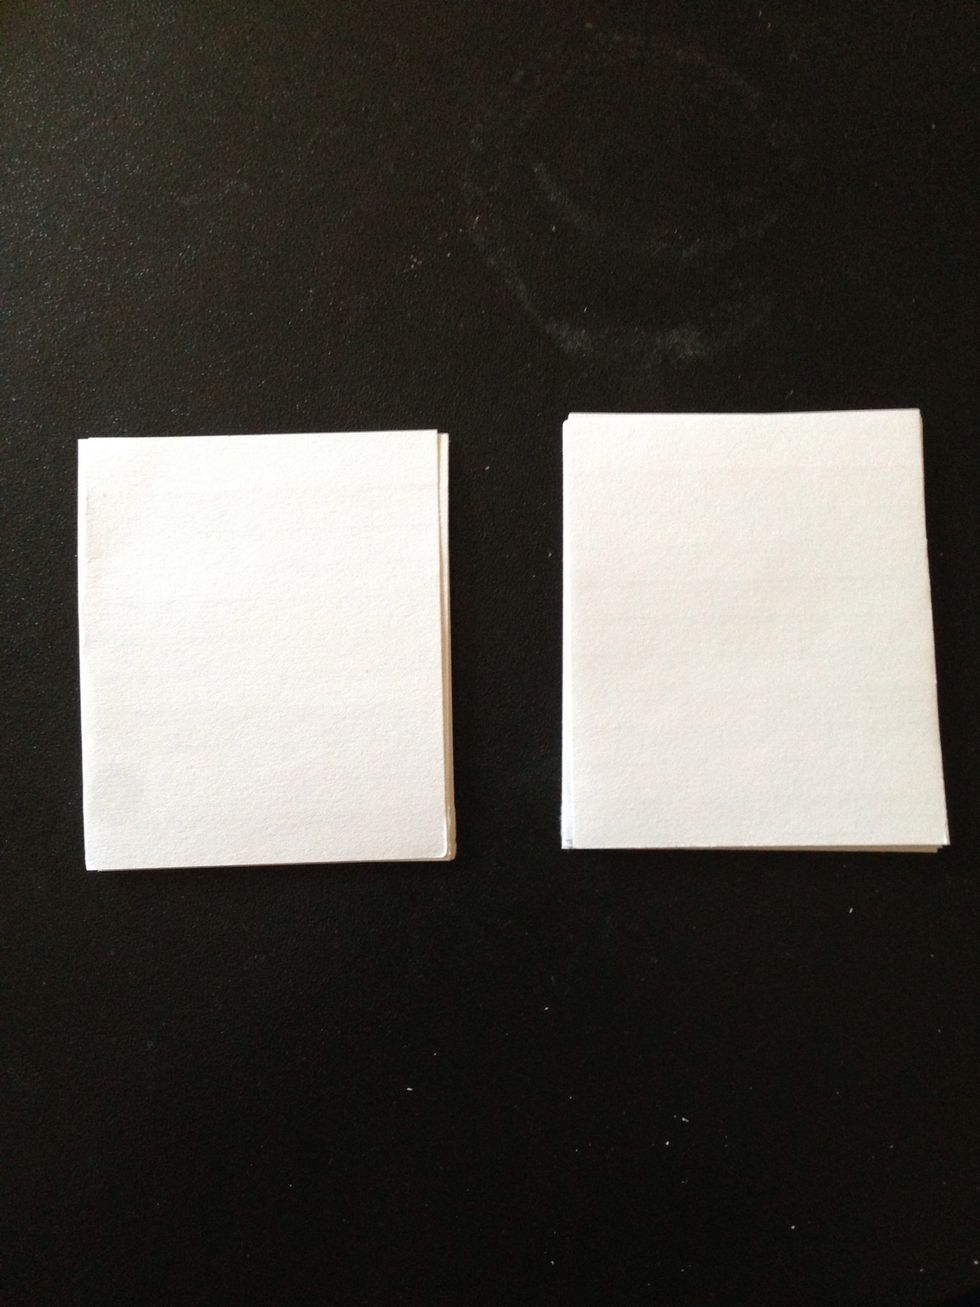
Separate the tiny note cards into stacks of 7 or 8 depending on what you started with.
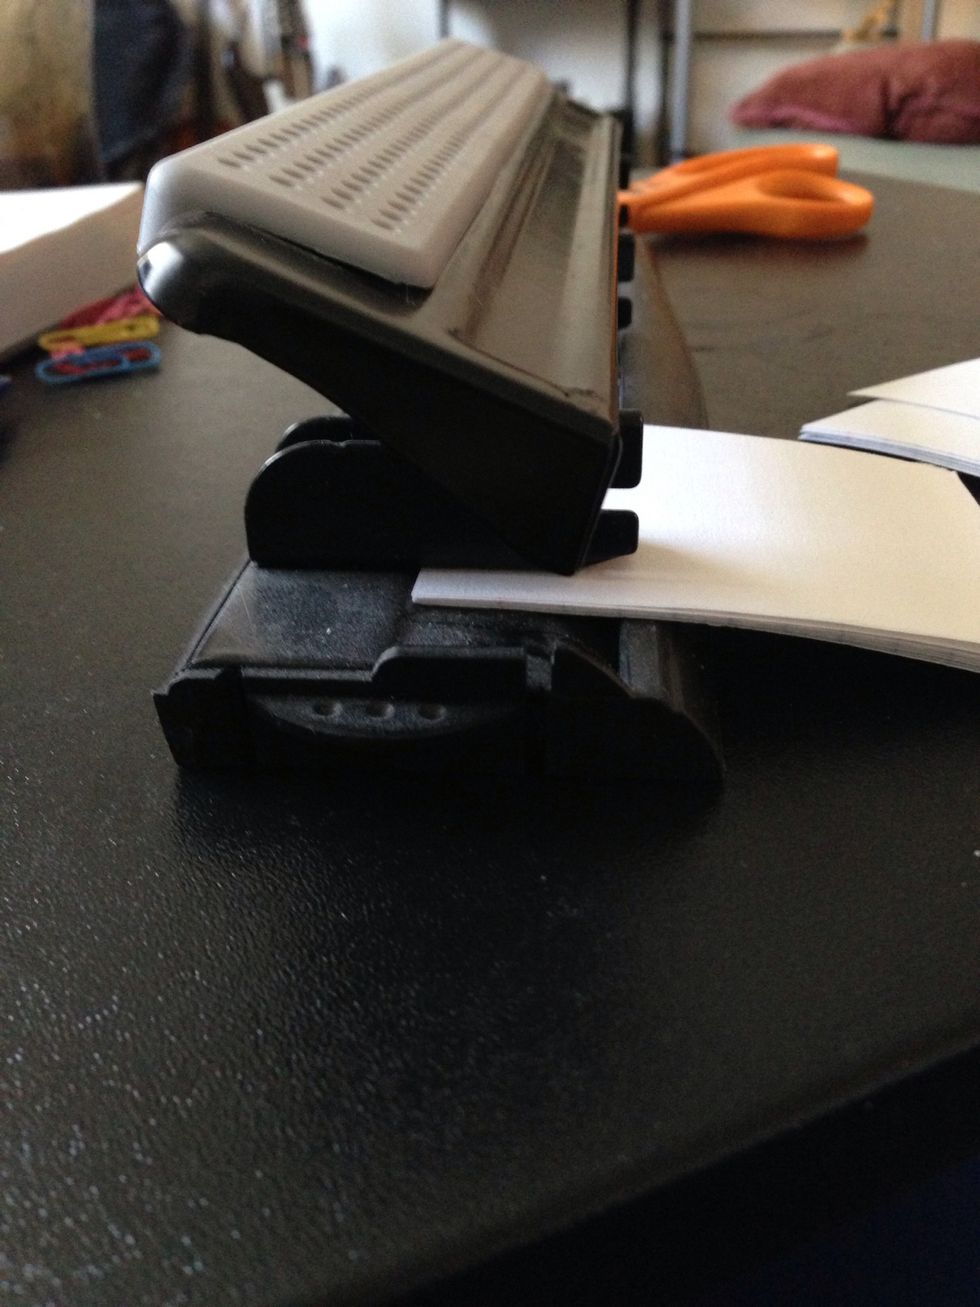
Make sure you push the cards all the way to the back of the hole punch. If you don't you may end up with the hole too close to the edge which is no bueno!
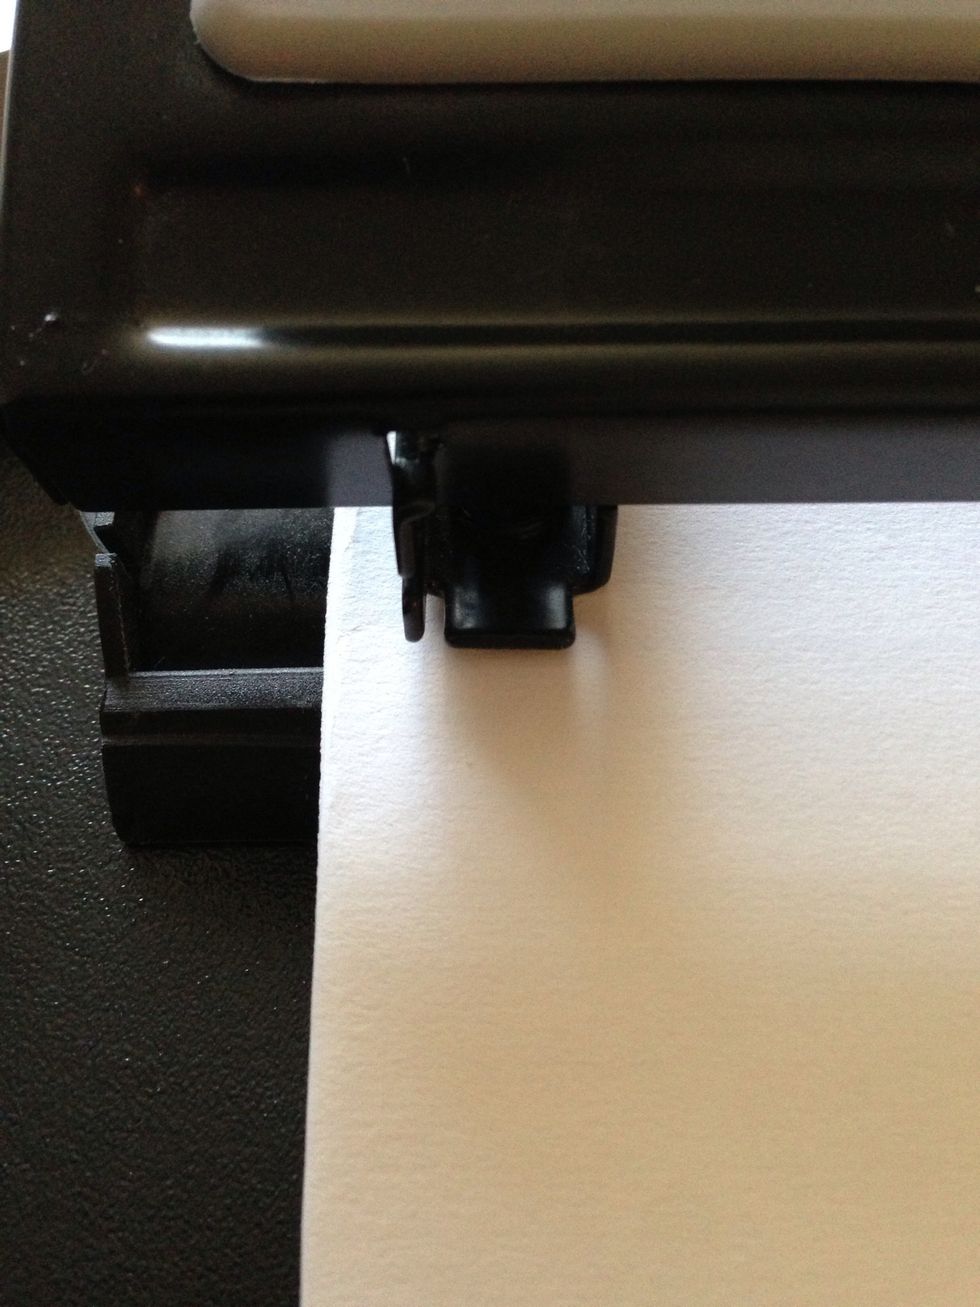
To be sure that the hole isn't to close to the side, have about a centimeter of the note card out to the side of the hole punch. No need to be precise. Just eyeball it 😘
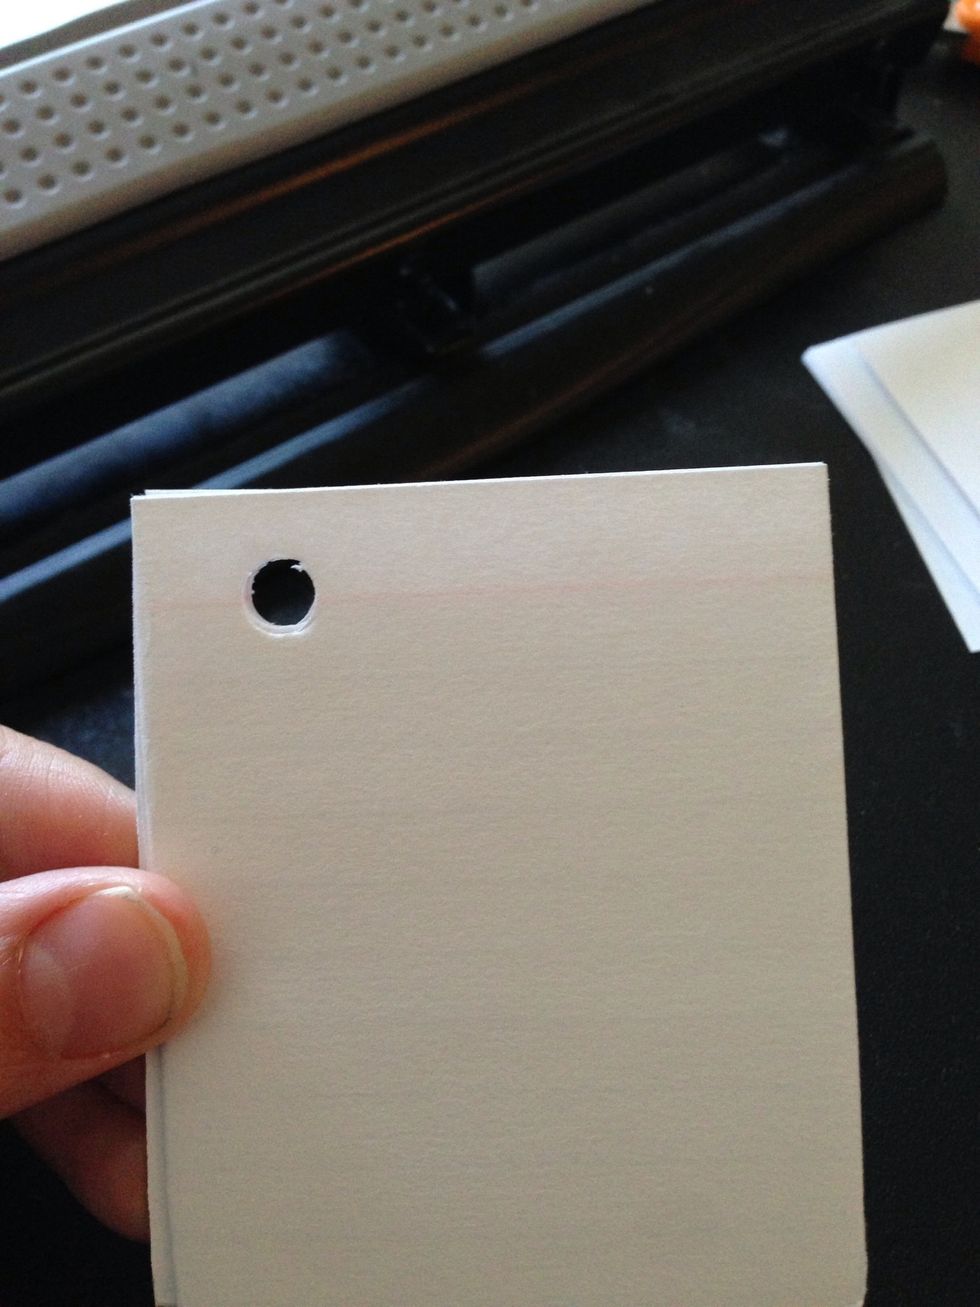
Success🎉

What it looks like on the other side.
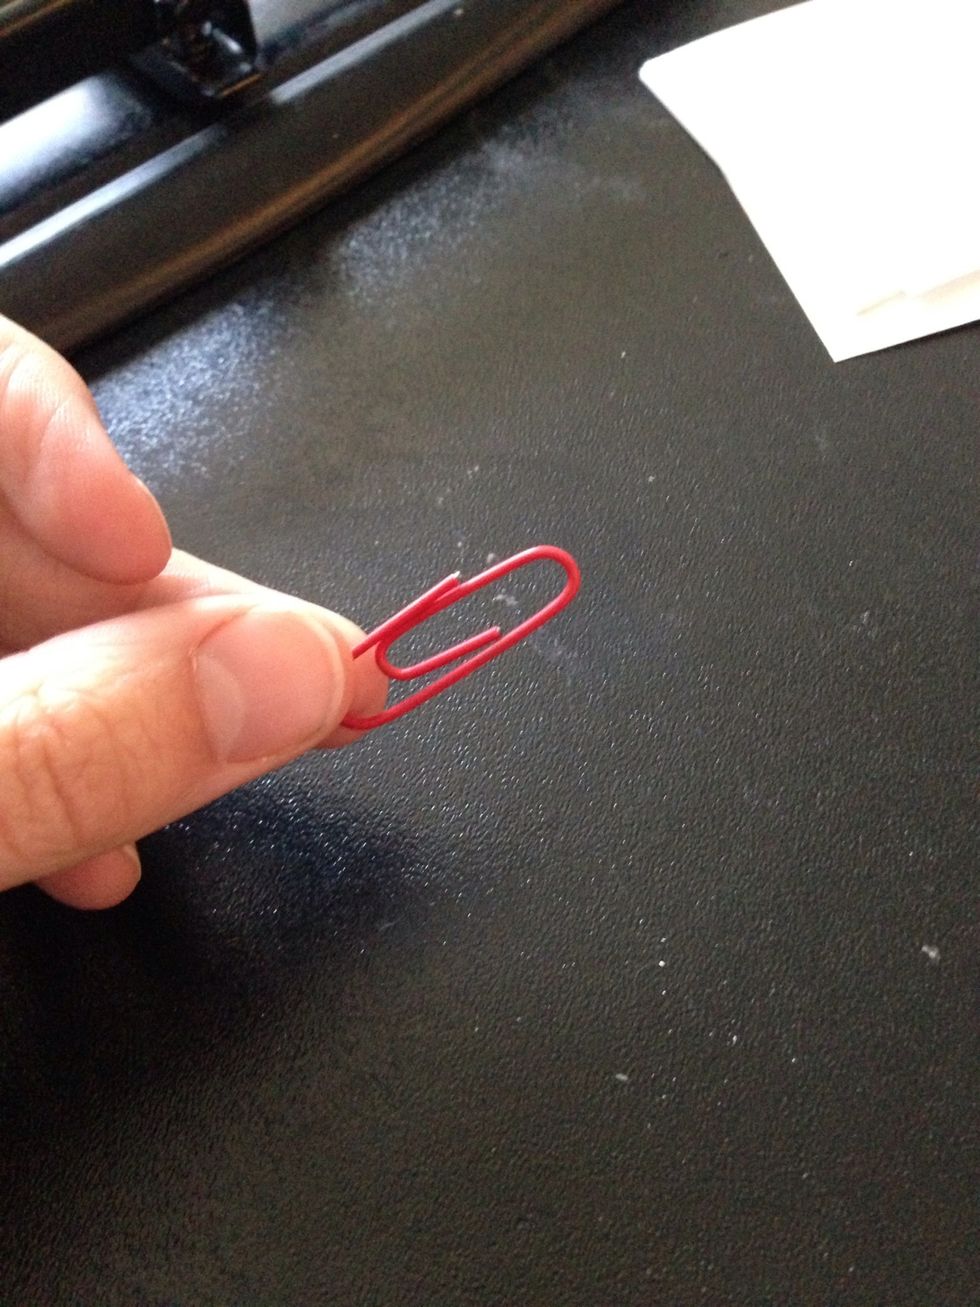
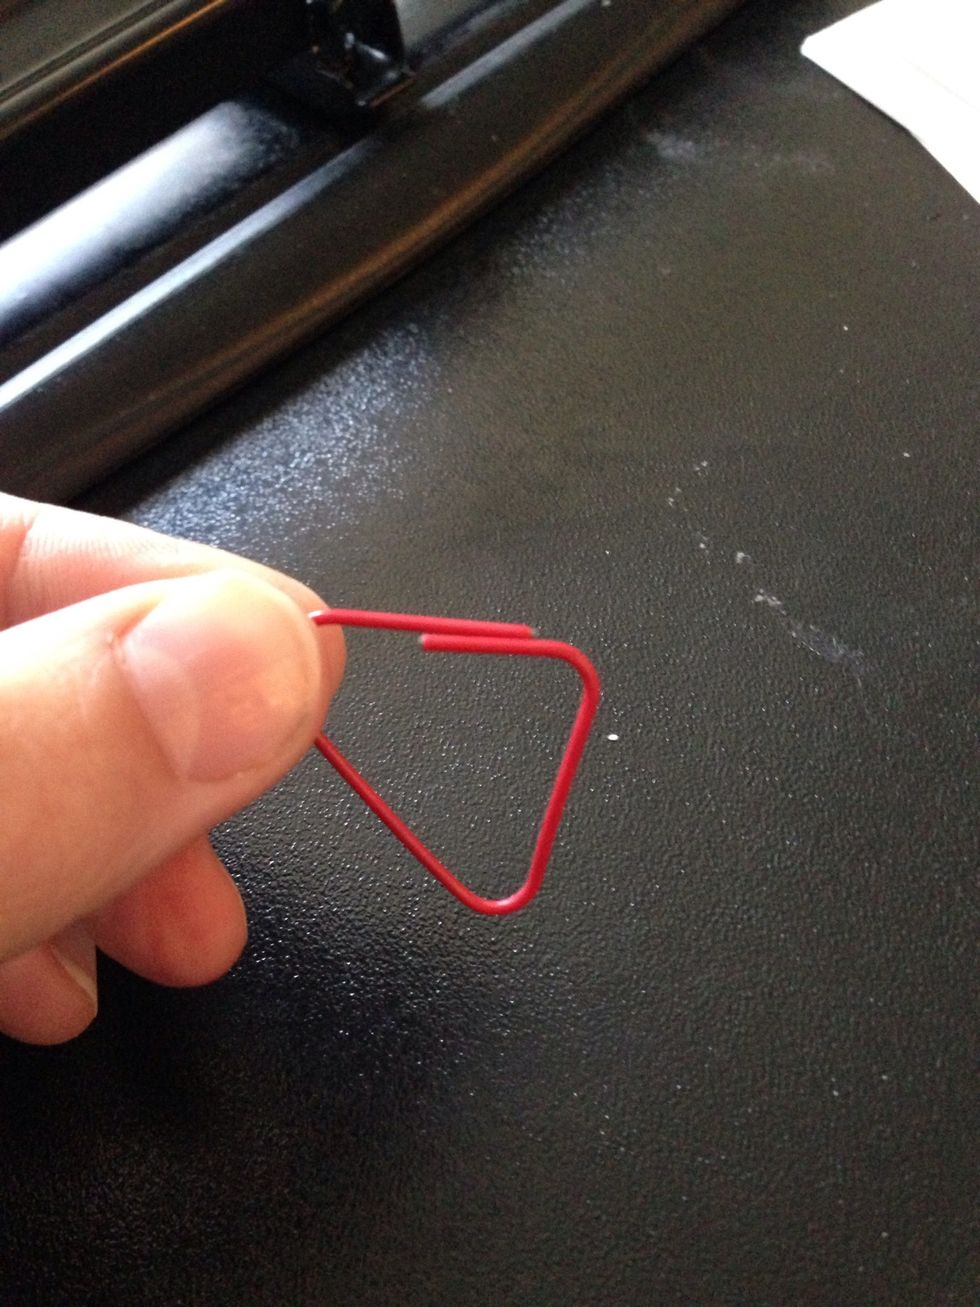
Now grab your paper clip.
Bend the outer most piece and bend it outwards away from the center but still on the same plane.
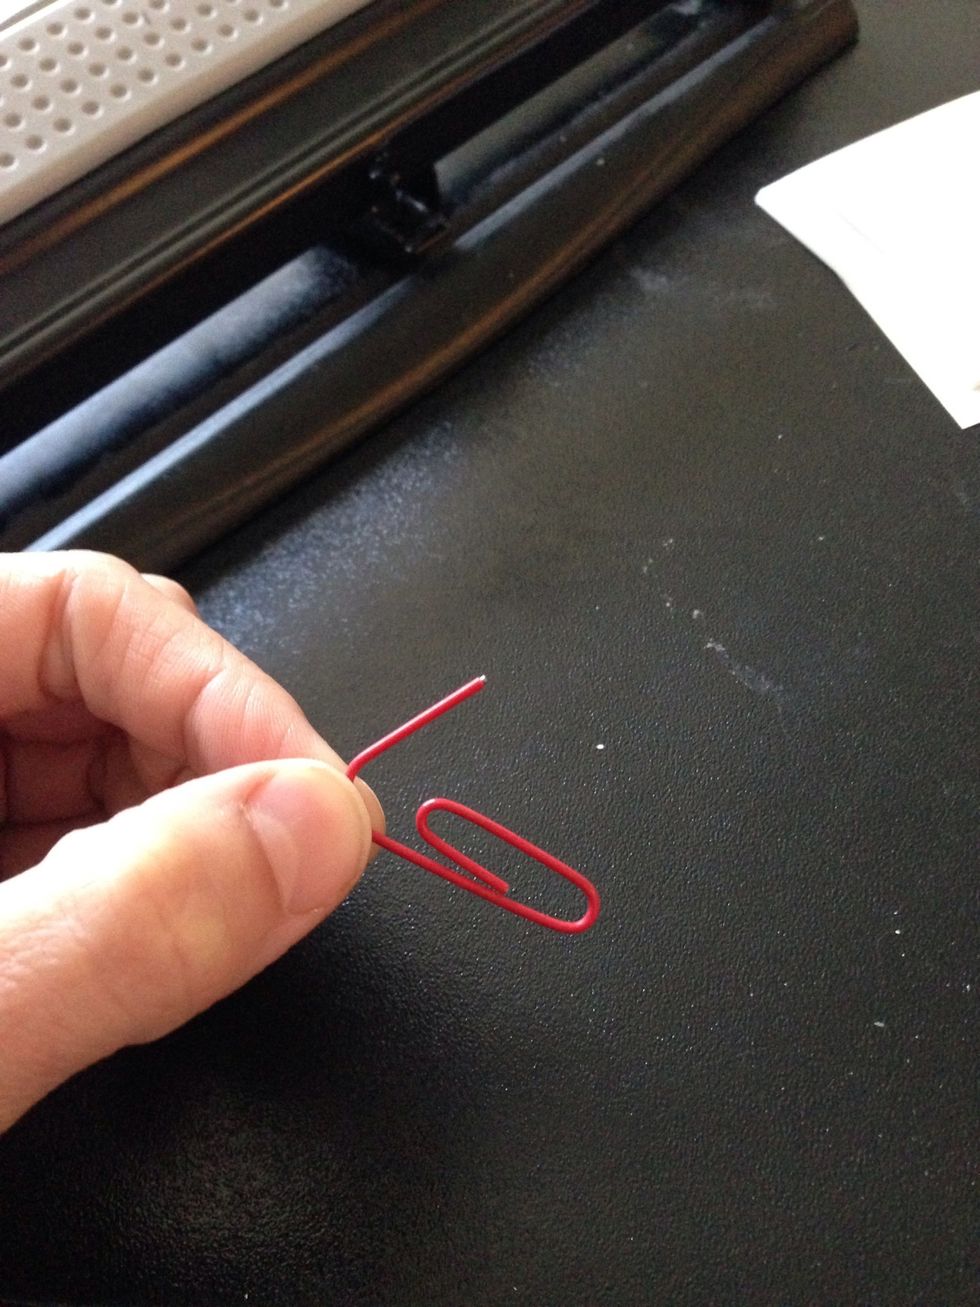
Take the innermost piece and do the same.
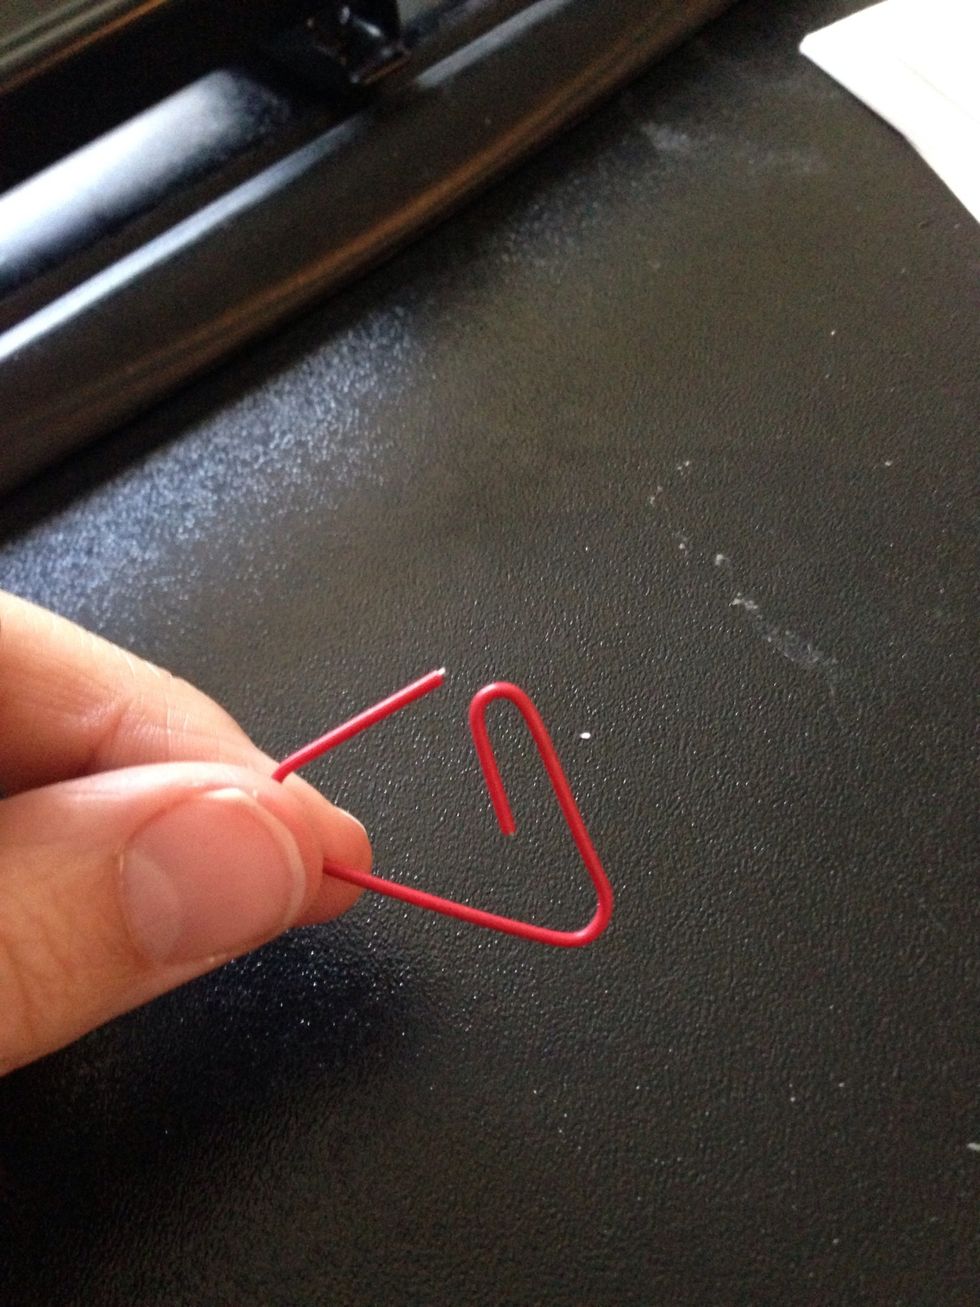
Finally bend the smallest innermost piece and bend in the same direction until it aligns with the first outermost piece.
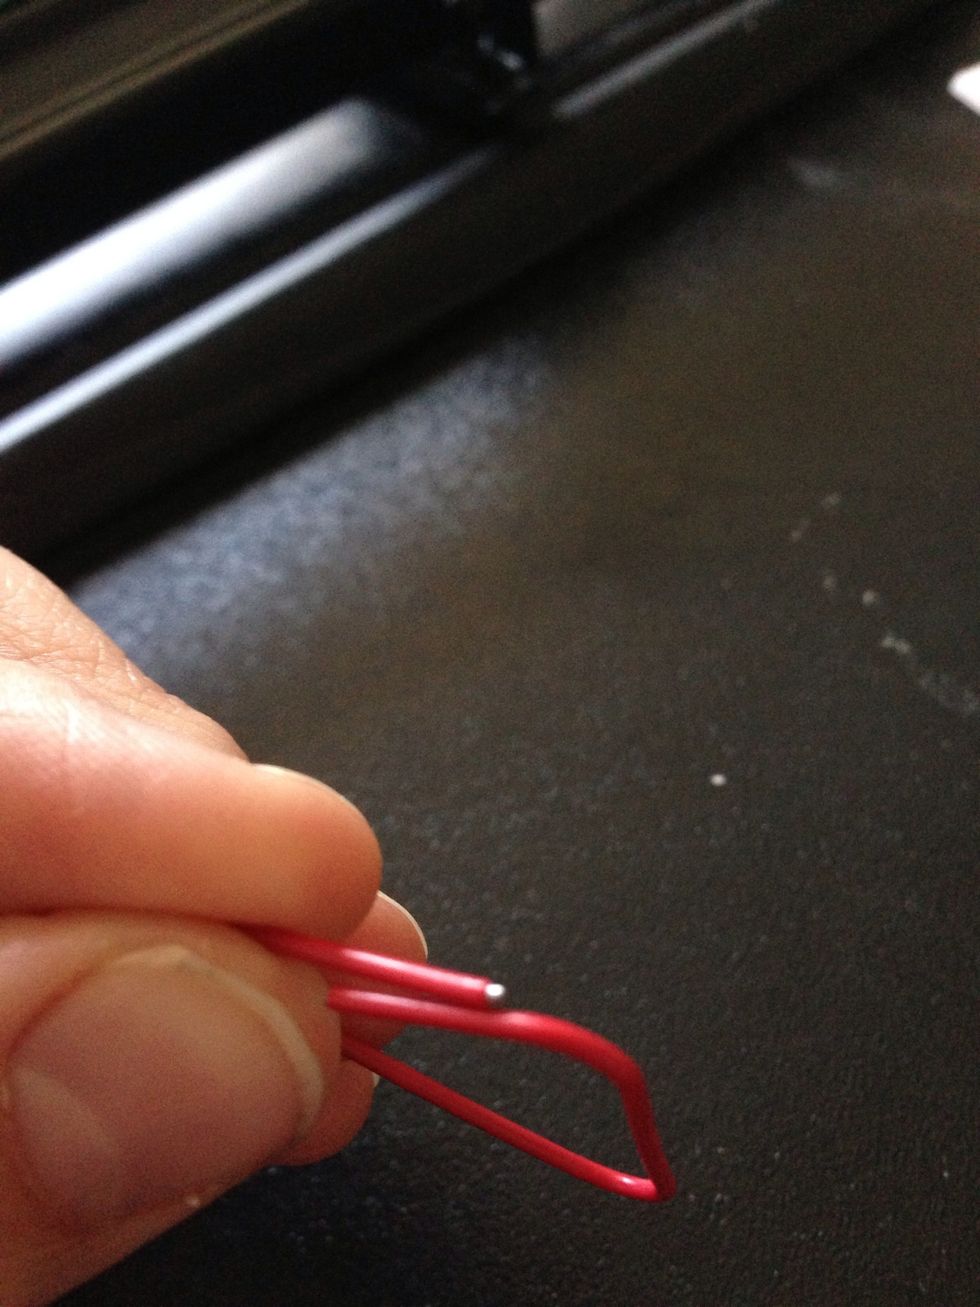
The two ends should be pressing against each other tightly. This ensures that the notecards won't slip off.
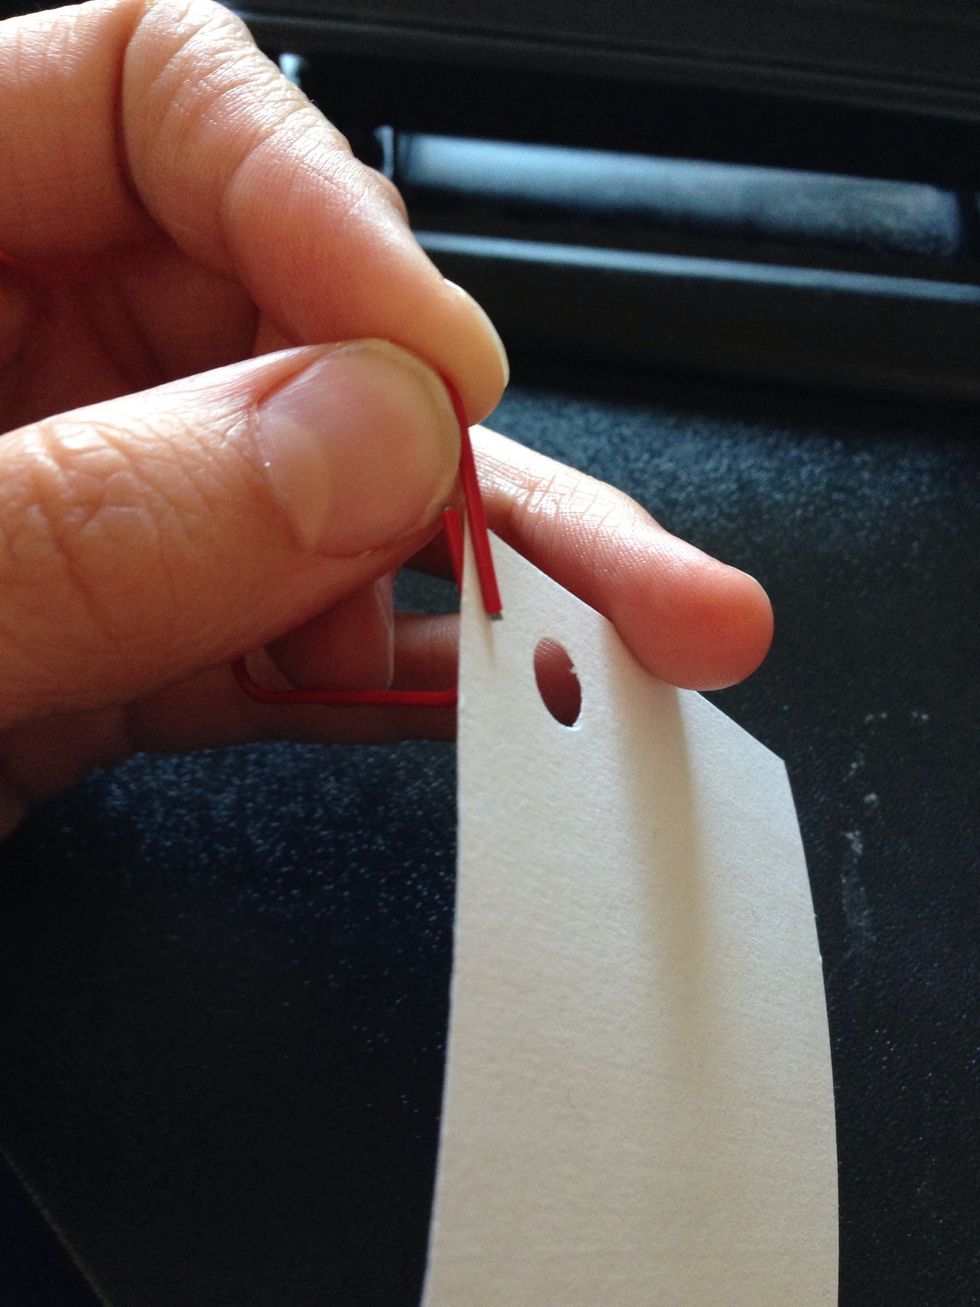
To put cards on the loop simply slip the note card through the two end pieces.

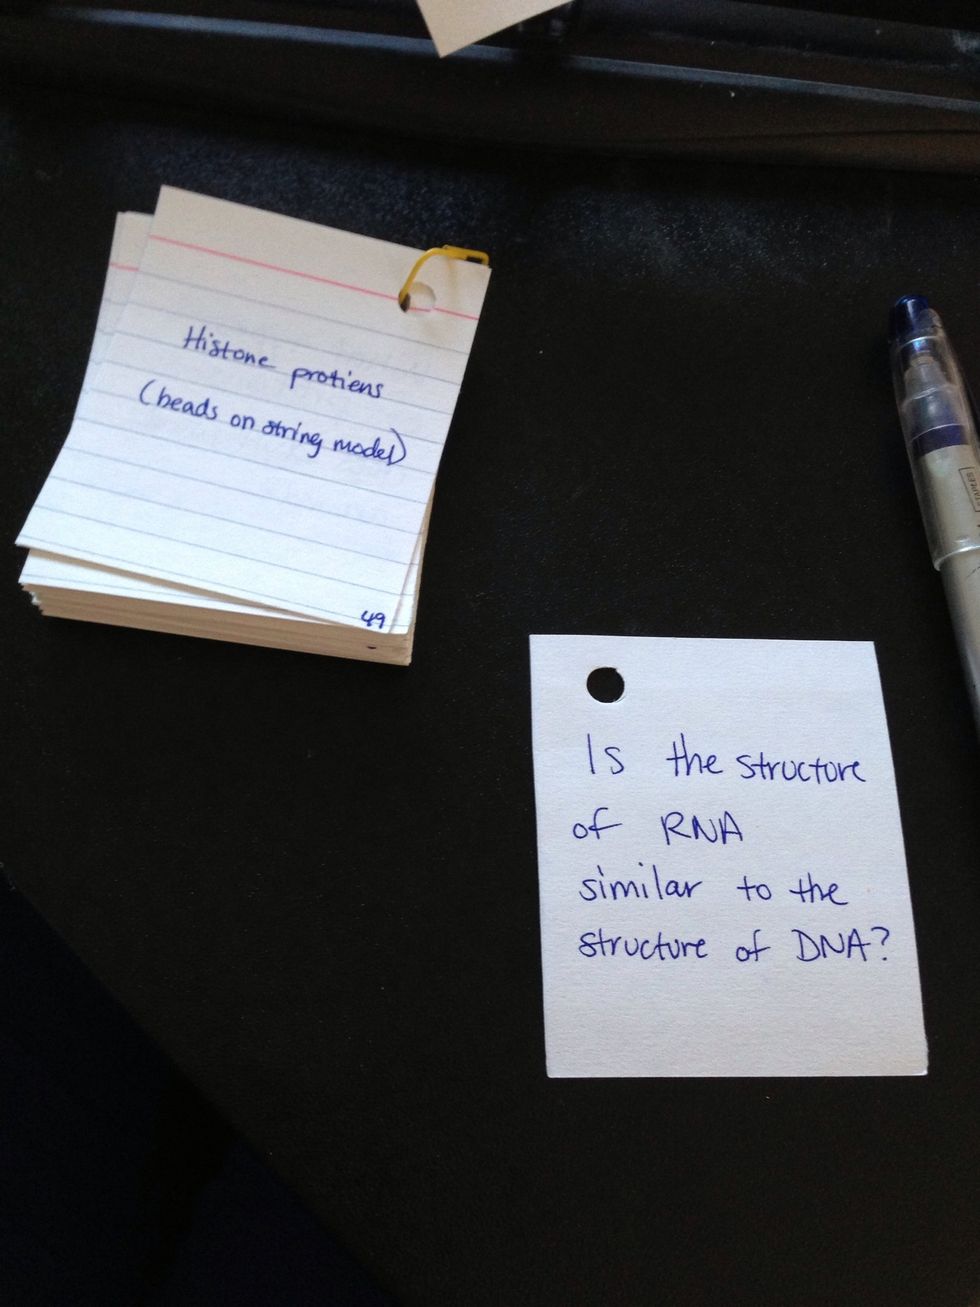
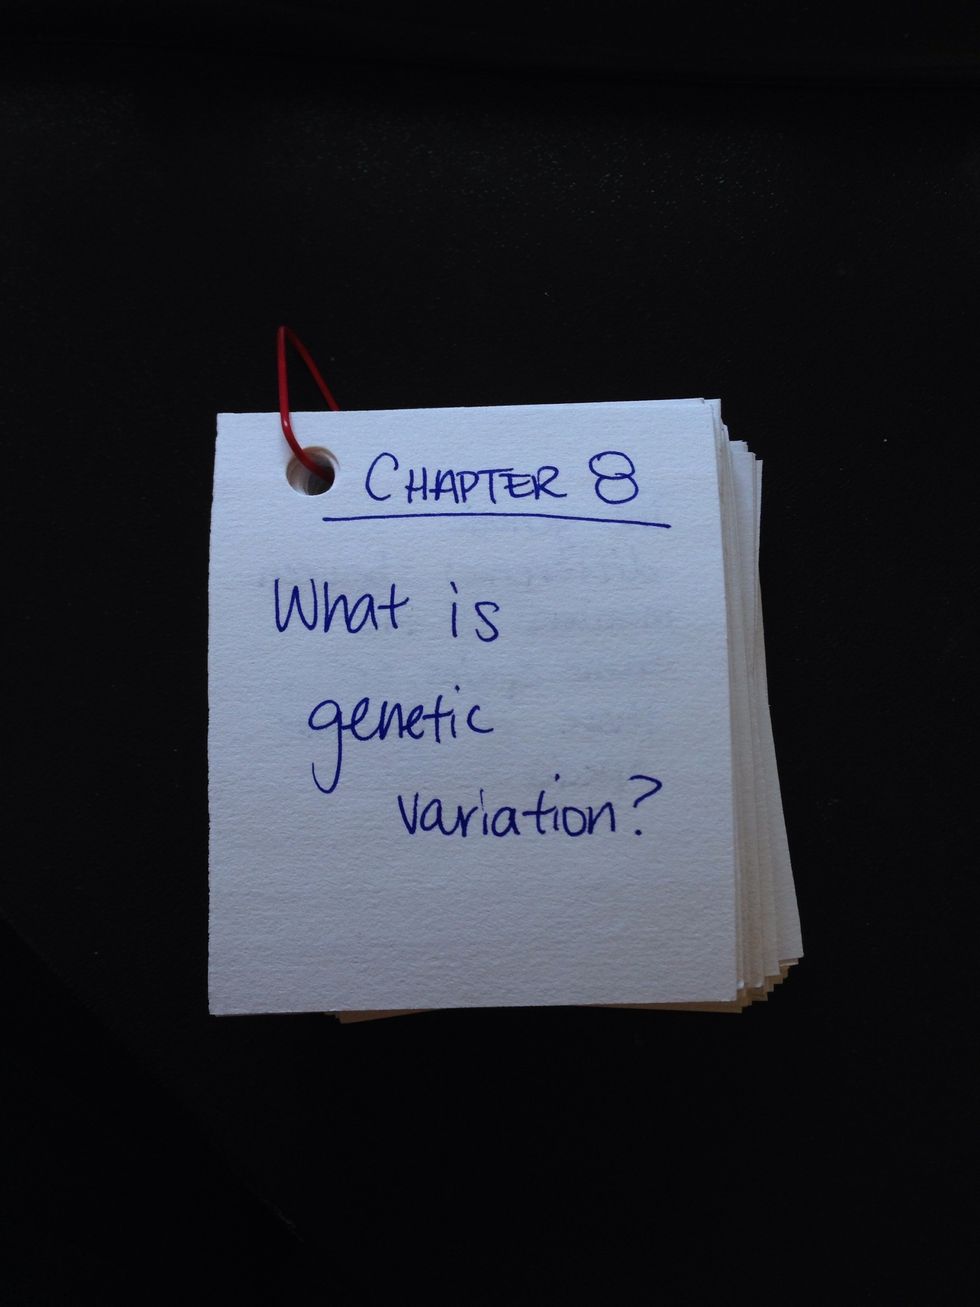
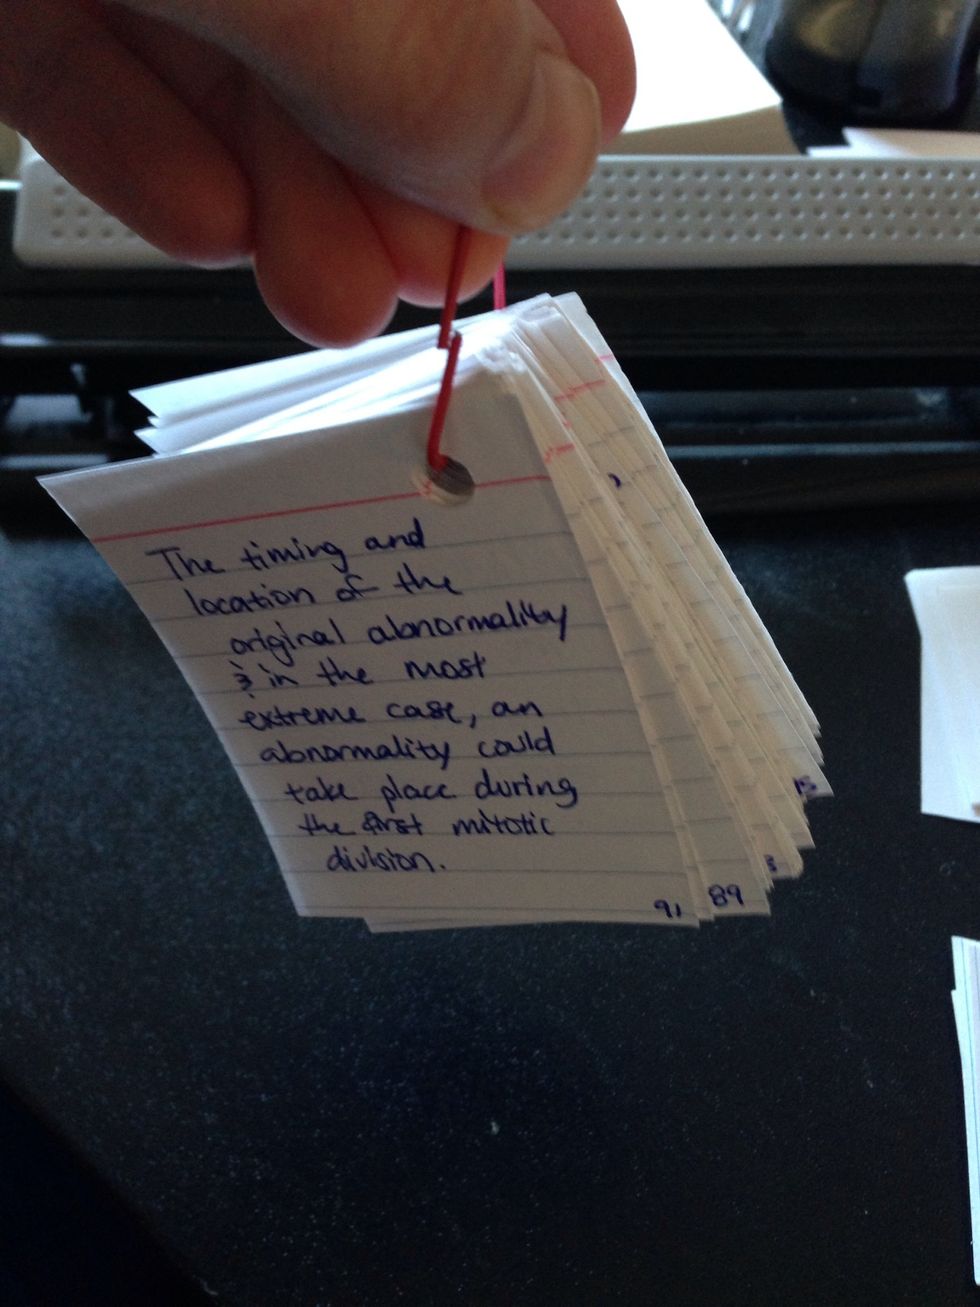
I like to write the question on the blank side...
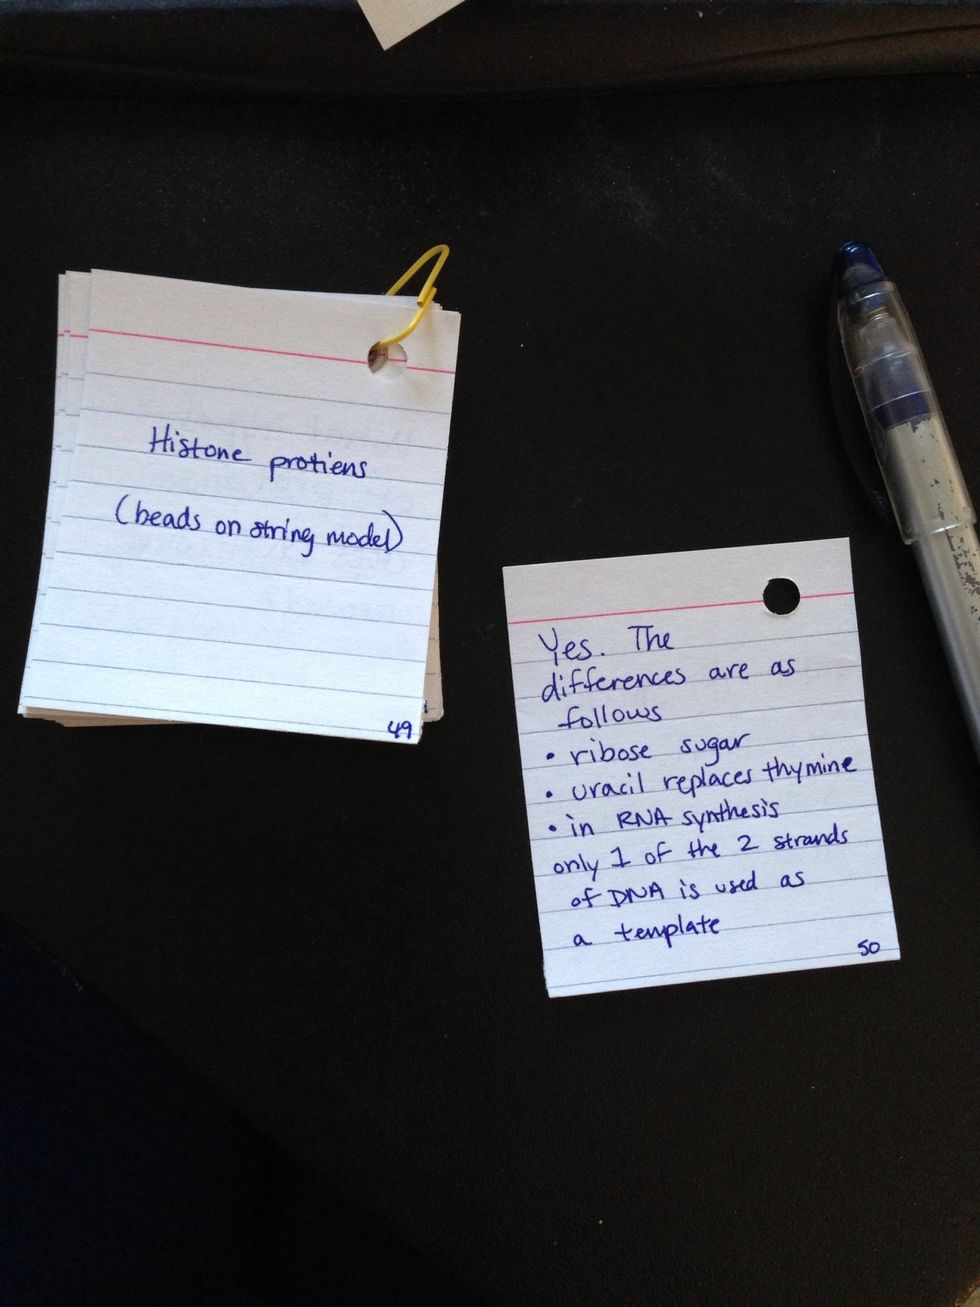
and the answer on the lined side. I also like to number my note cards as well but you don't have to.
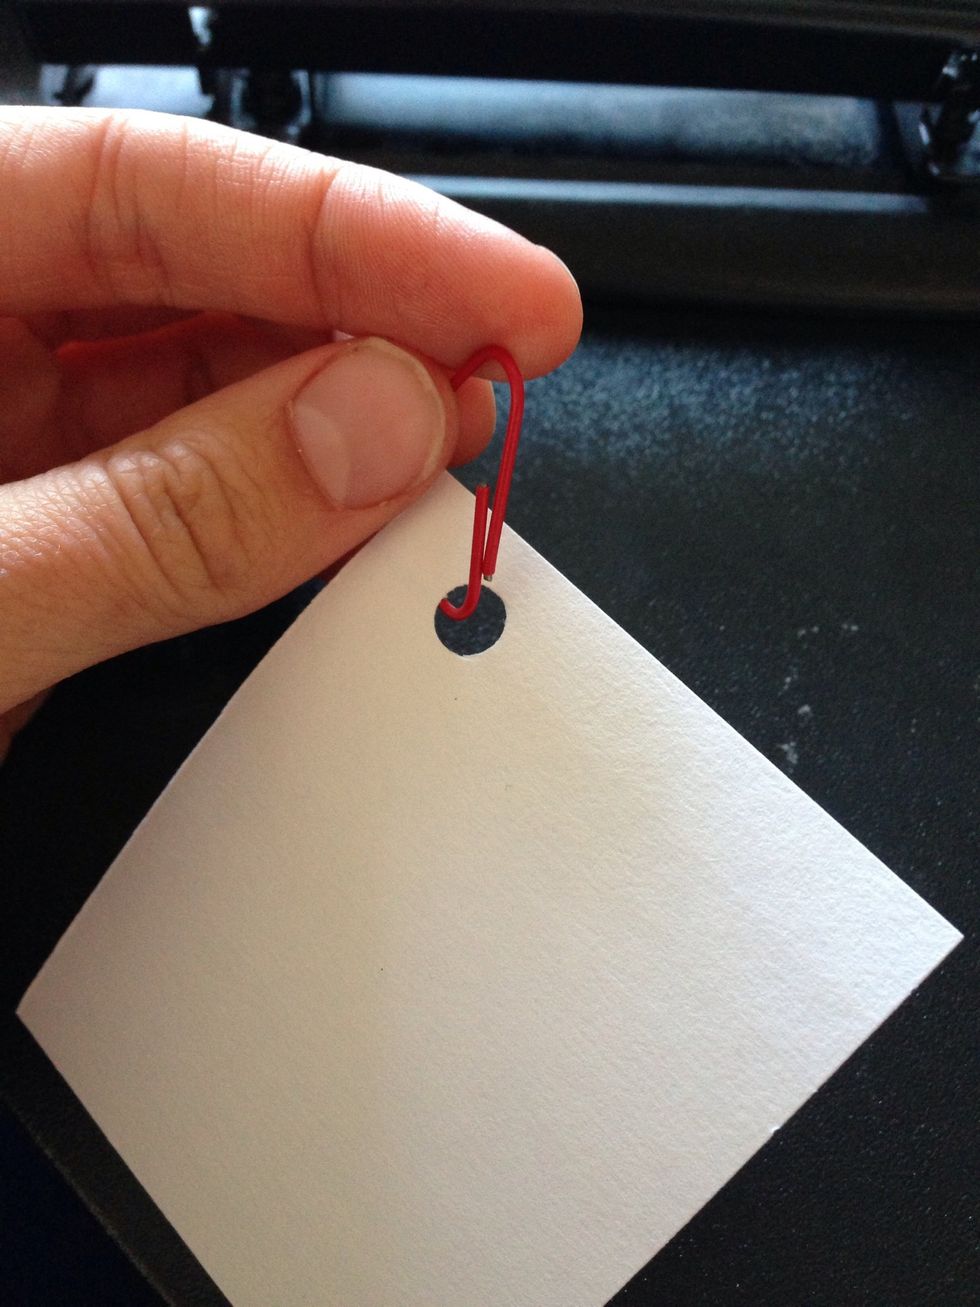
This is what the end product should look like.
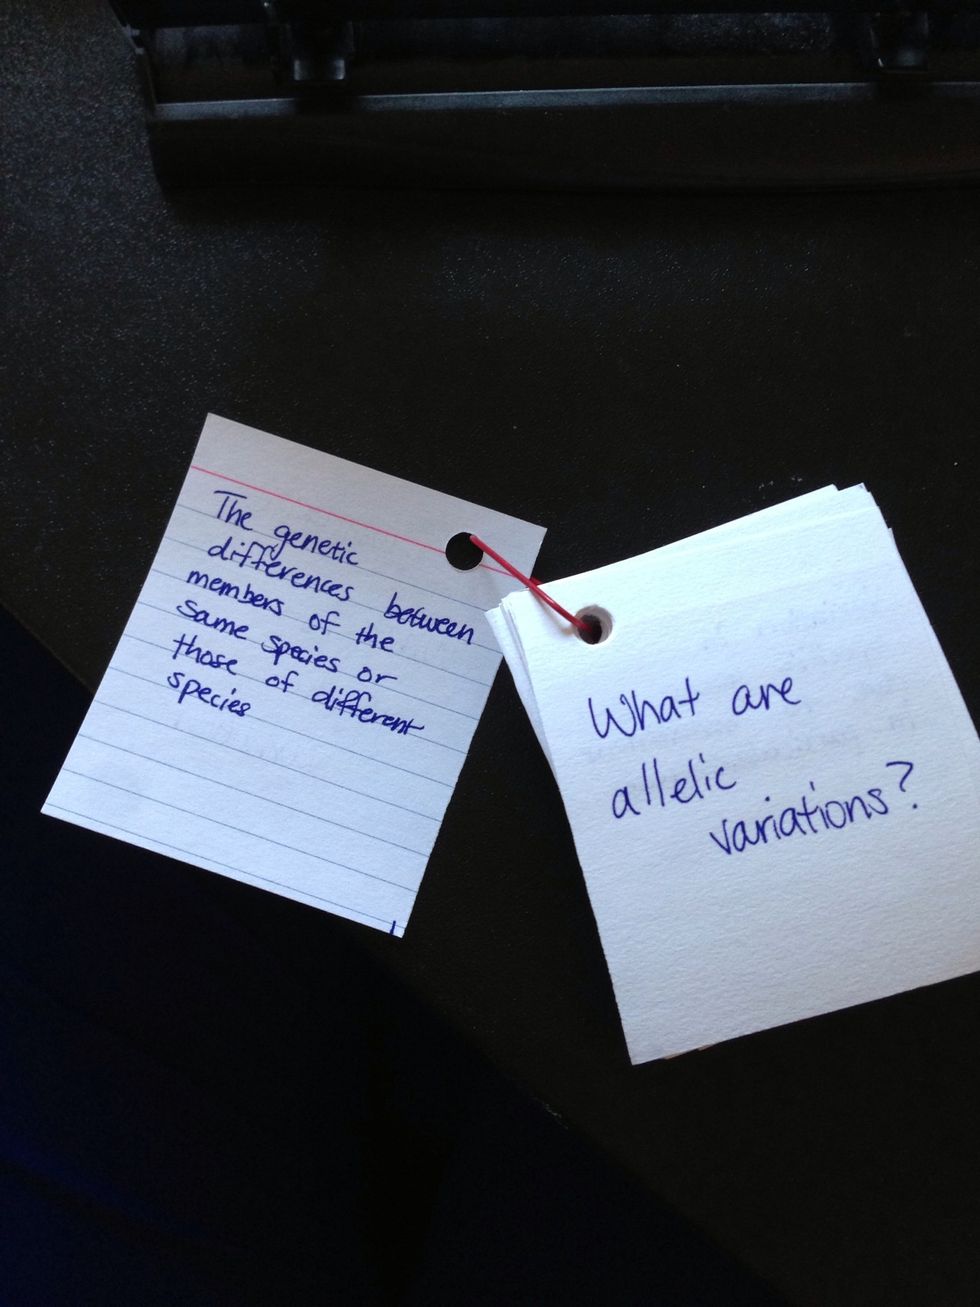
Now you can flip through your notes with ease.
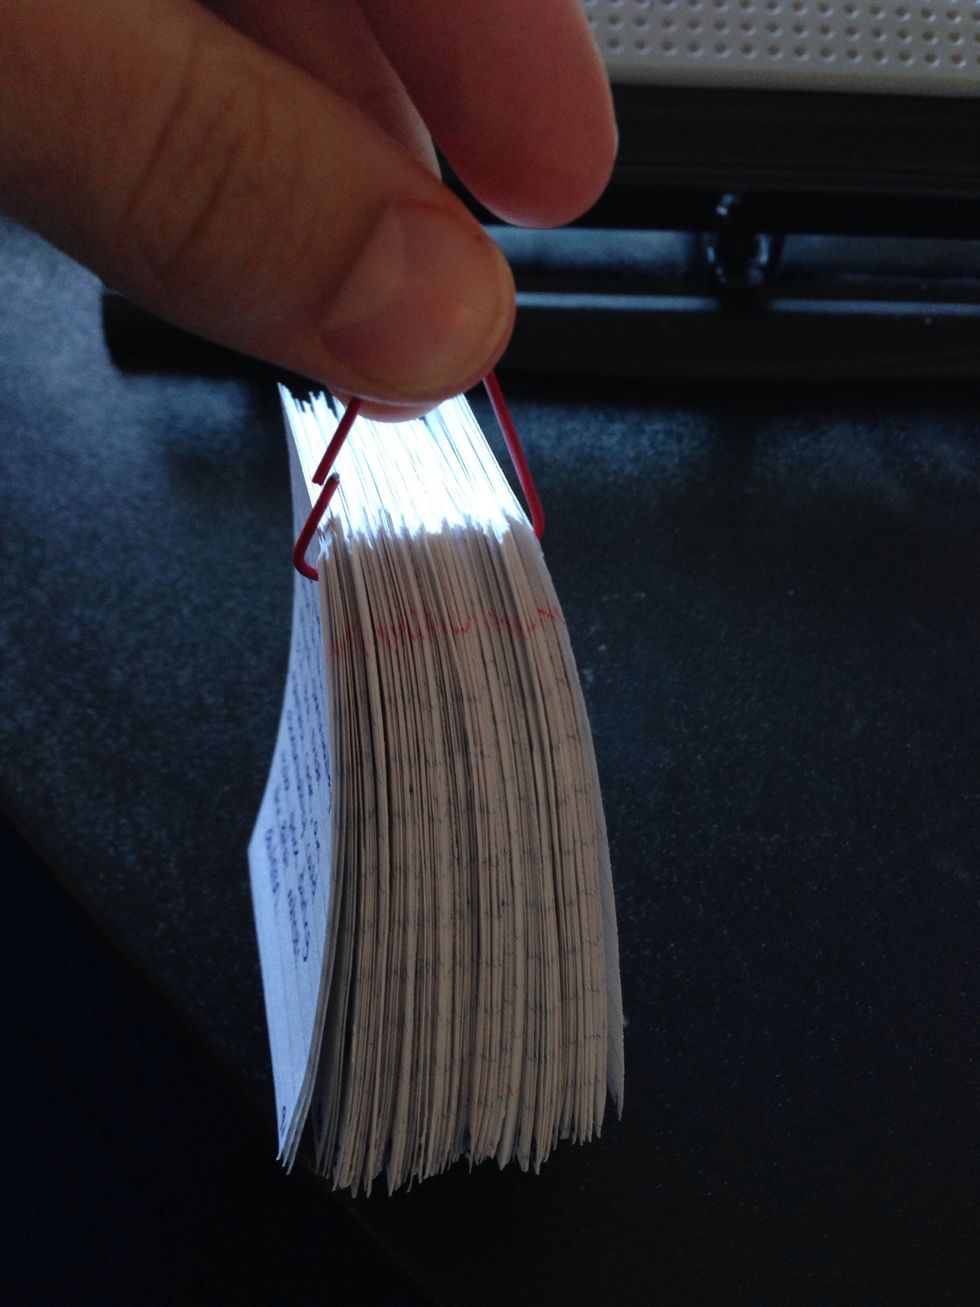
You can even hang them!
Yep this one chapter called for 91 tiny note cards, which would have been a pain to tote around if they were normal size...

Hope you liked my guide! Let me know how it works for you and stay tuned for more guides 😁