The Conversation (0)
Sign Up
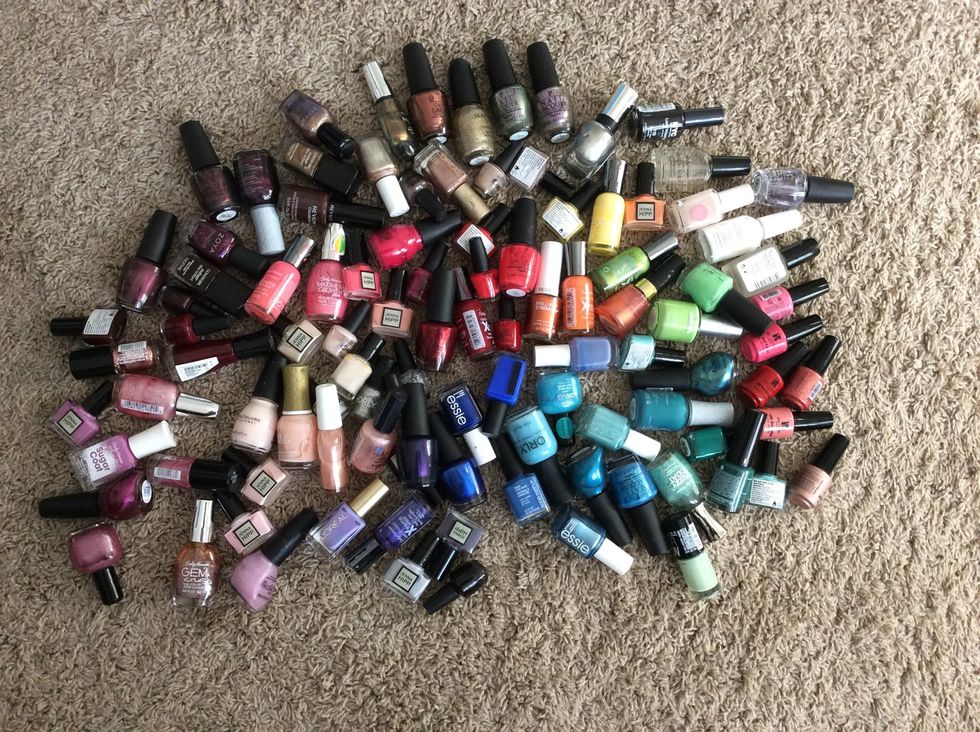
Take all of your nail polishes and put them in a pile on a flat surface.
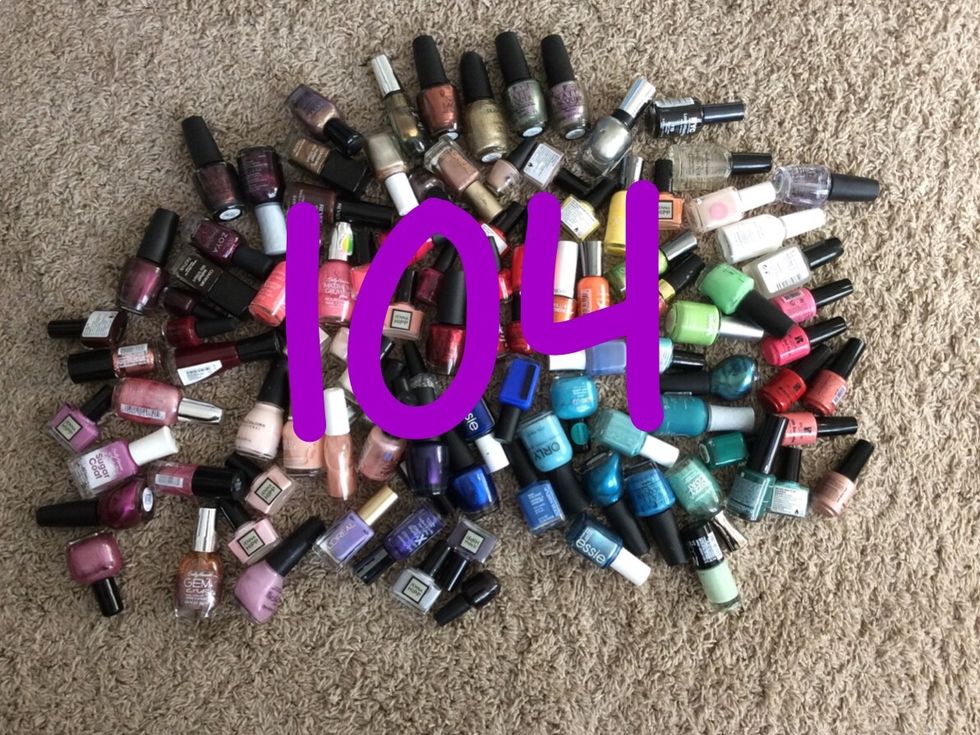
Count your nail polishes, base coats, top coats, and any nail art bottles.
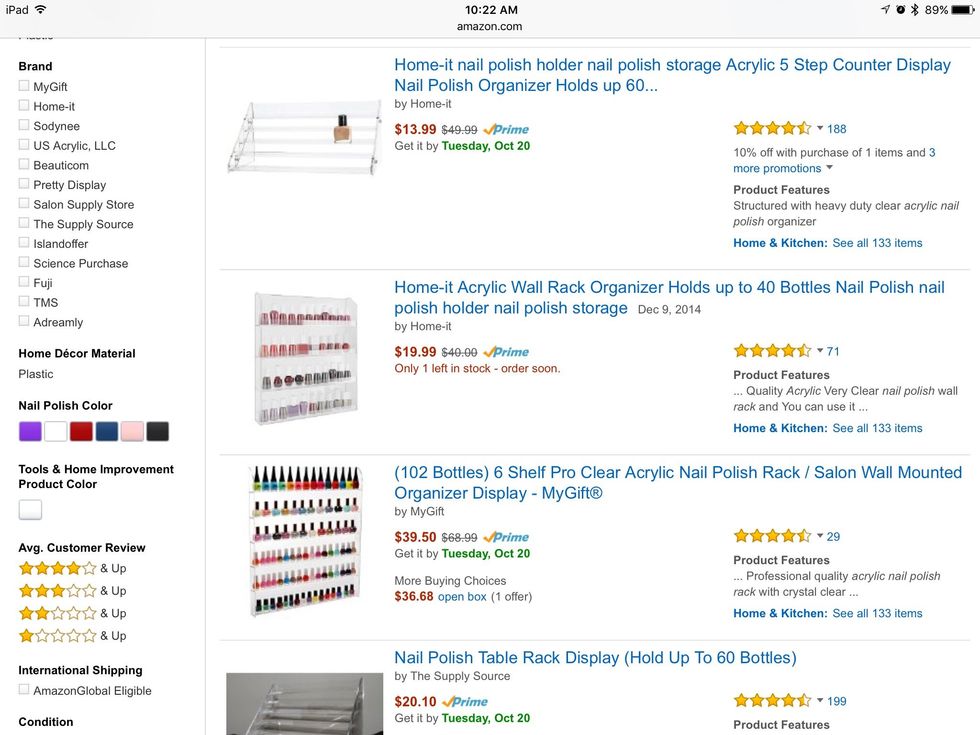
Find a storage container that will fit your collection; make sure to leave a little growing room.
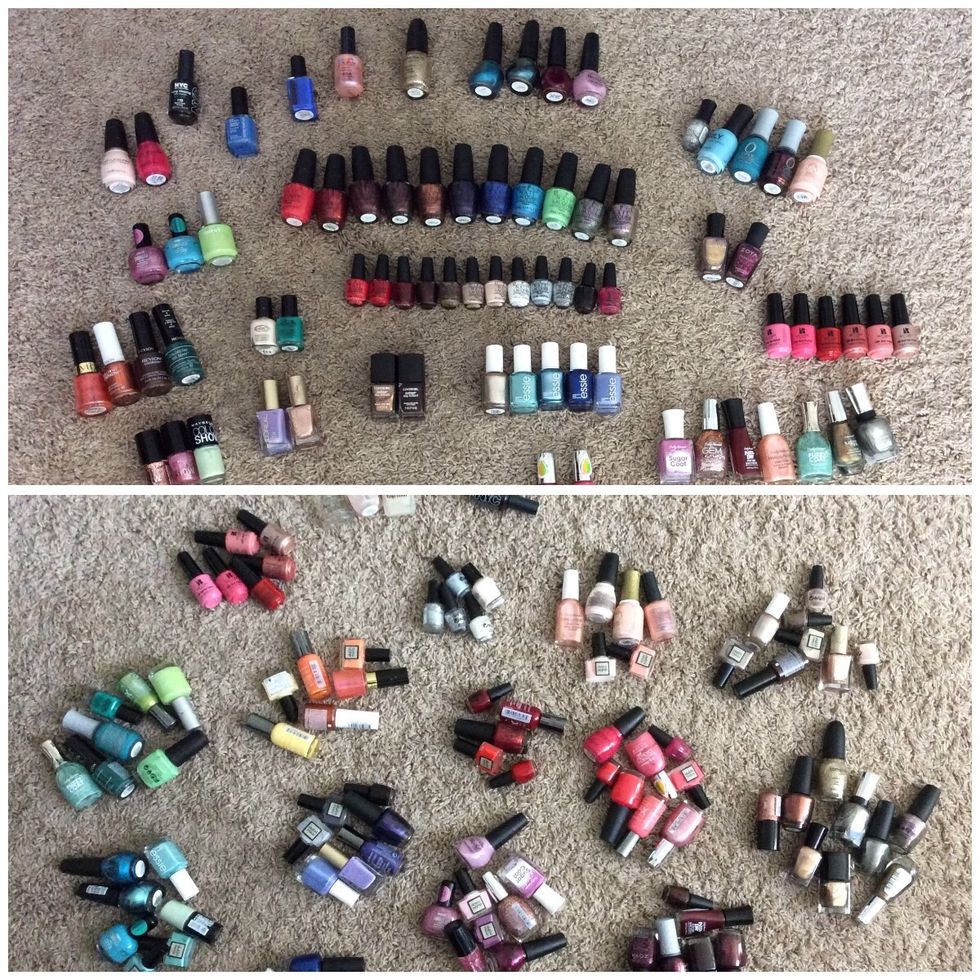
Once you have your container, pick your organizing method. You can organize them by brand or by color.
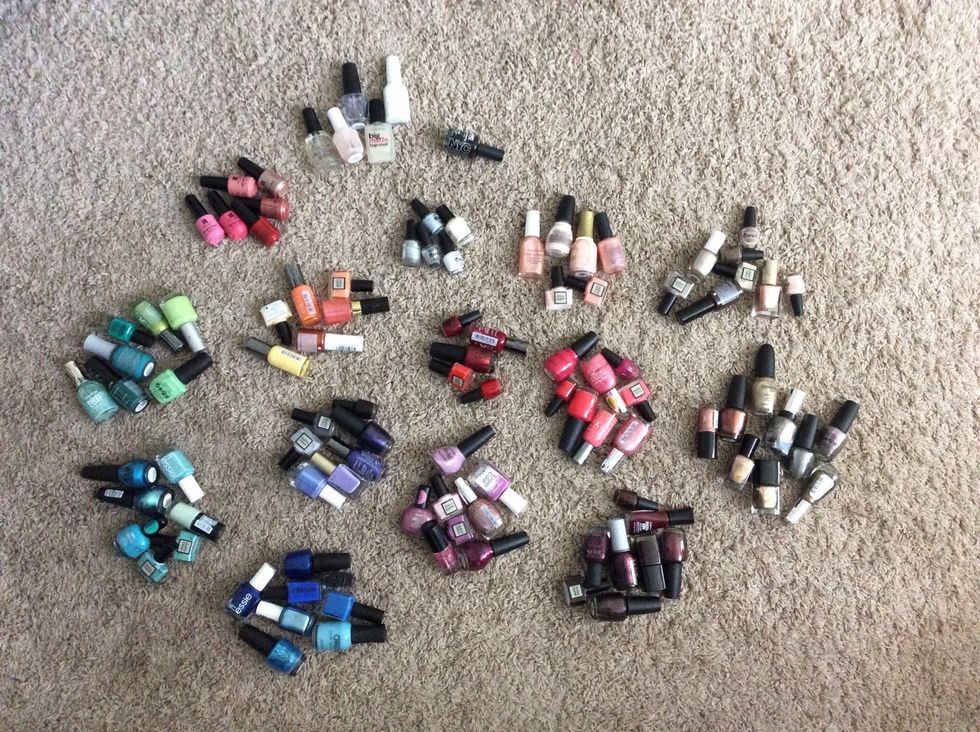
After you pick your method, separate your nail polish into piles.
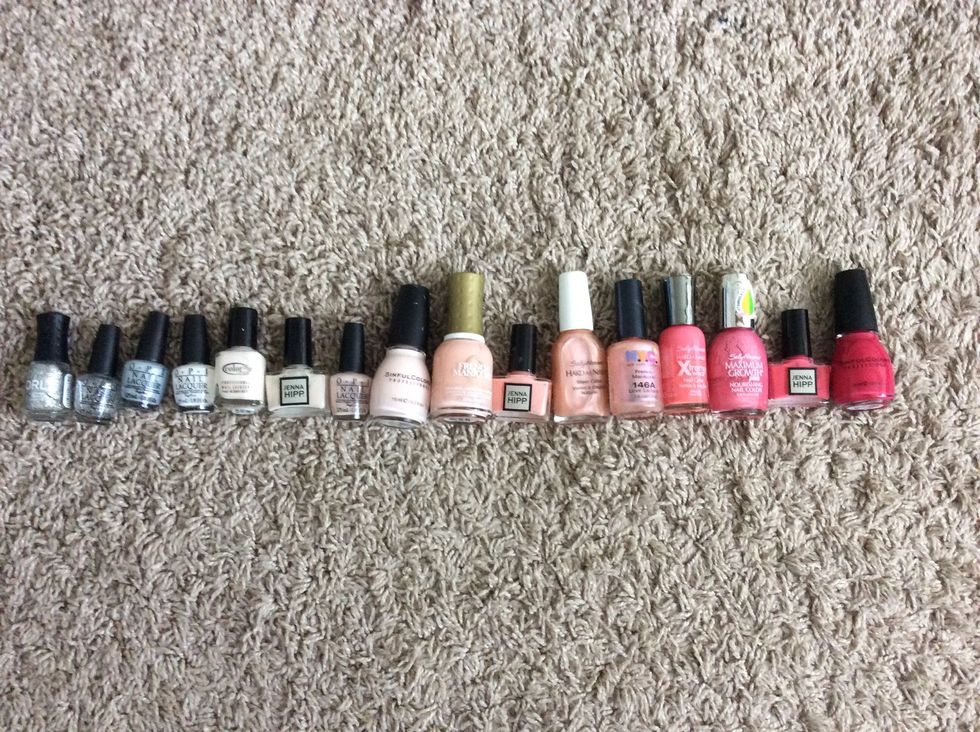
Take the first two piles of nail polish and arrange them in a gradient.
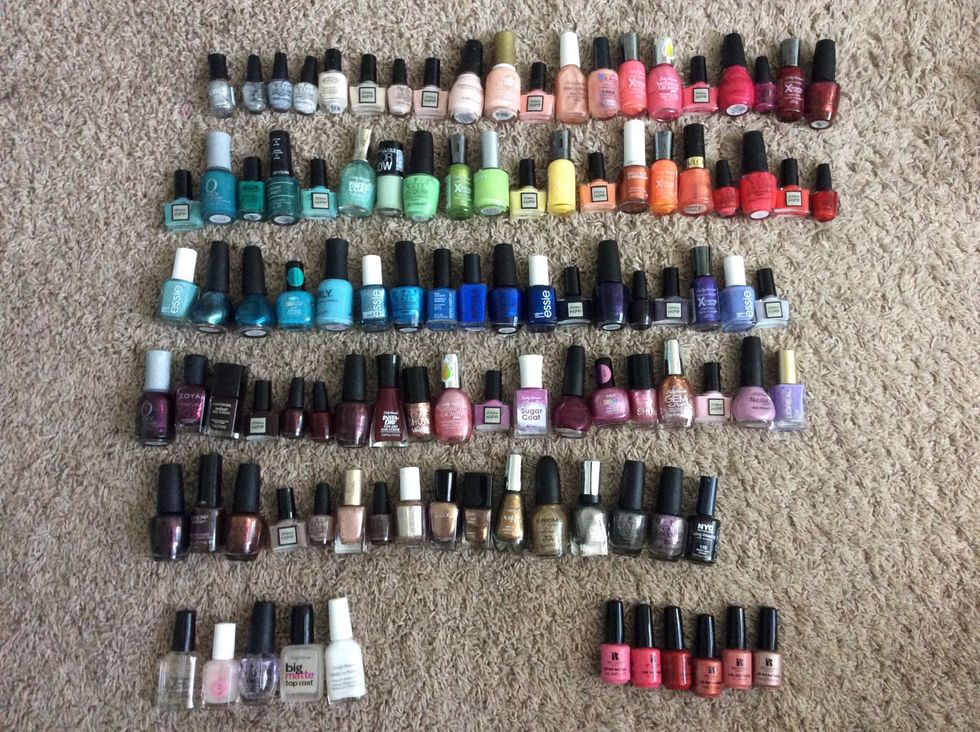
Continue on with the rest of the piles.

If you are using a hanging storage container, hang it by following the directions that came with the container.
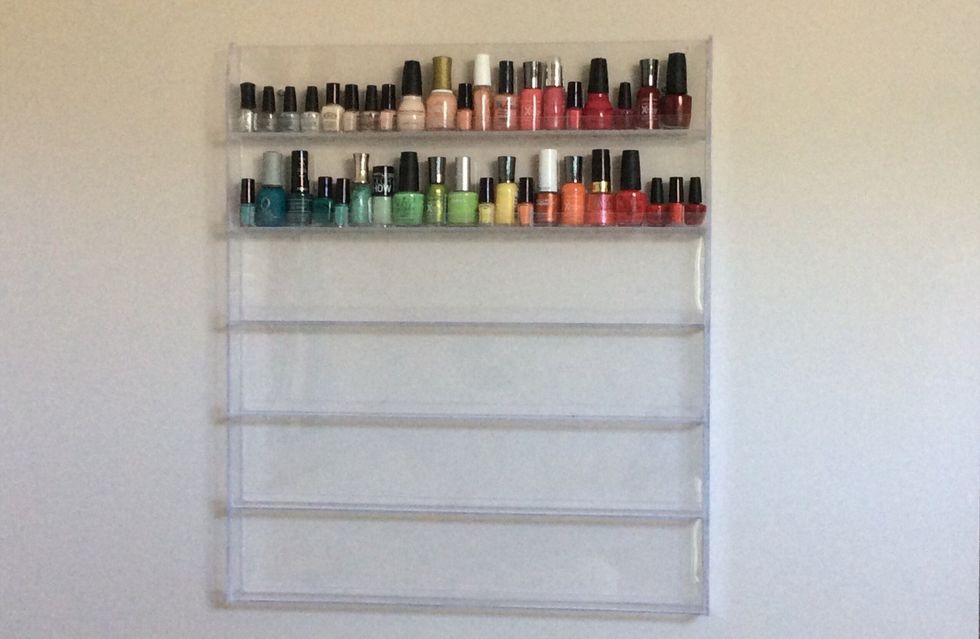
After you have hung your nail rack, begin putting your nail polish on the shelves.

Finish putting all of your polishes on the rack, then put your base coats, top coats, and nail art on the bottom shelf.

Enjoy your new and easy way to display your collection.