The Conversation (0)
Sign Up
This quick SnapGuide we will show you how to upload files and organise your files in SilverStripe.
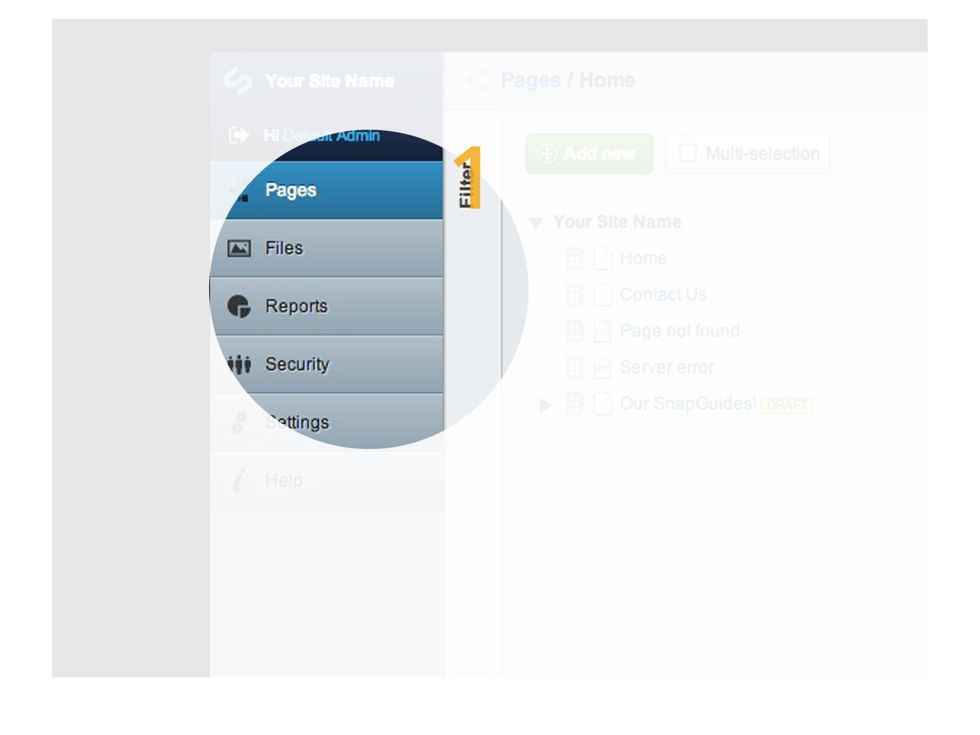
To access your files, go to the left hand side of the page. Here you will see a list of buttons to pick from. Click on the button called 'Files'.
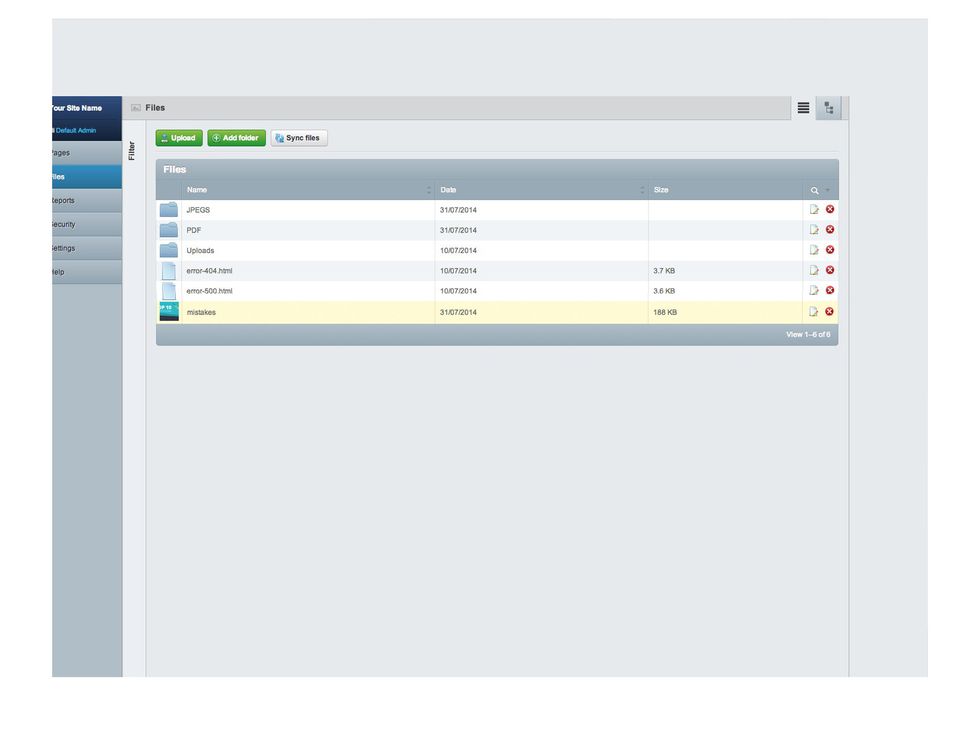
Here are our files. As you can see it is made up of files and folders. I would like to move all files and images from this main area into folders so that I can find things easier.
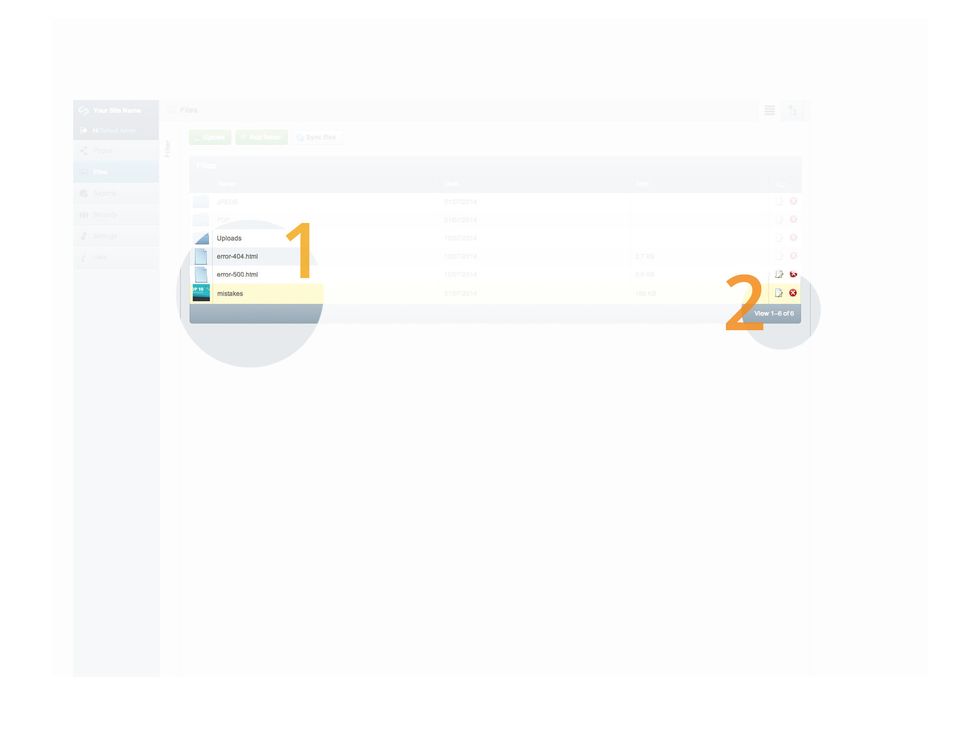
To start with I will need to remove this file at the bottom. To do this simply click on the little red 'X' in the bar of the folder or file you would like to remove.
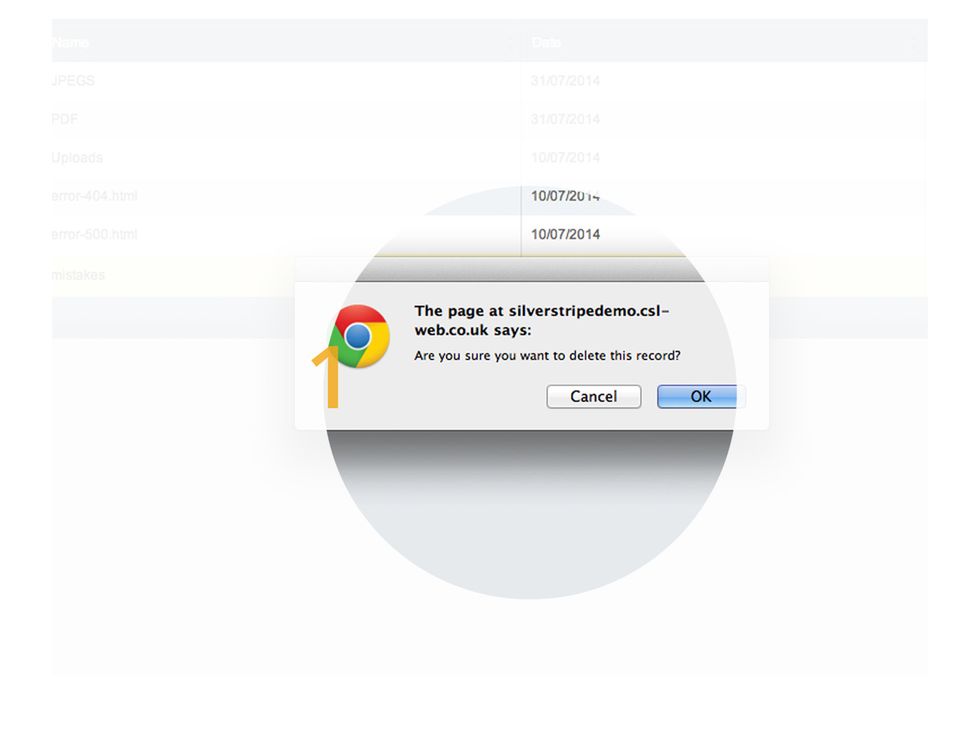
You will then get a little pop up box confirming you would like to delete this file. Click the 'OK' button to agree to removing the file or folder.

And then your done. As you can see the file has now been removed from your file list.

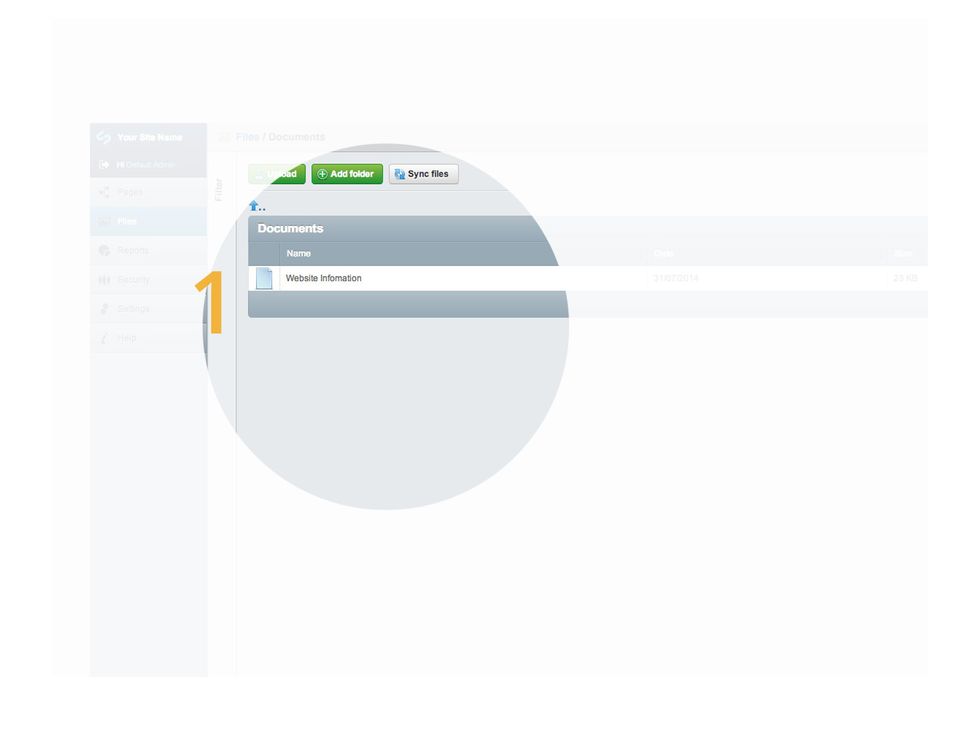
We need to add a folder for our 'Documents' on our website. To add a new folder, simply click on the 'Add Folder' at the top of the files page.
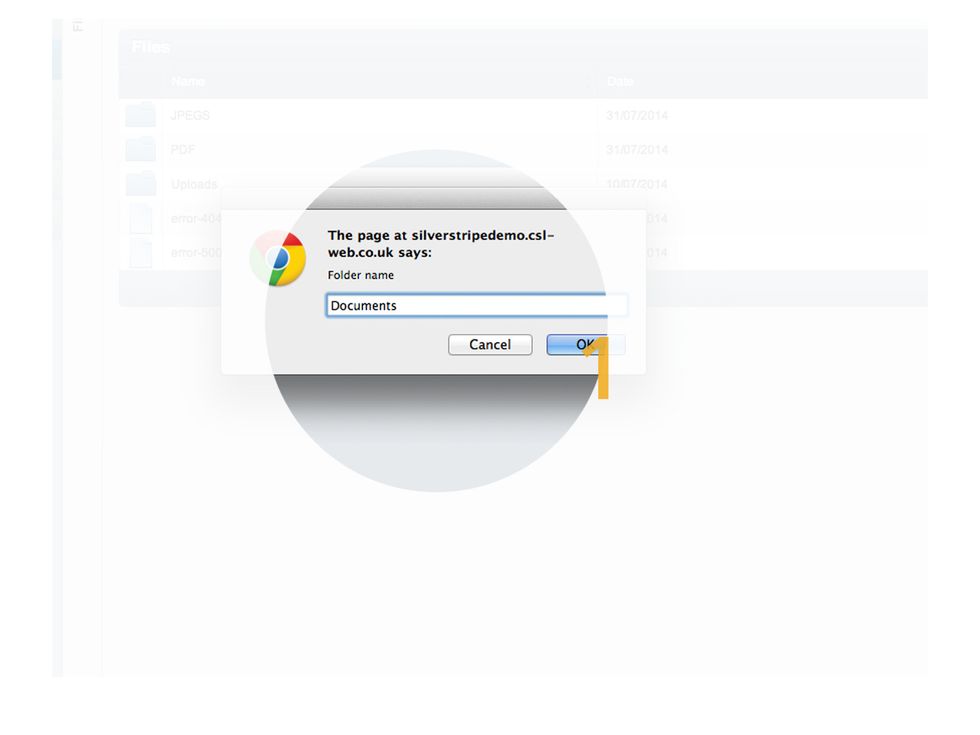
You will then get a little pop up which will give you the chance to give your folder a name. Depending on what internet browser you are using, the way it looks could vary. Once done, click 'OK'
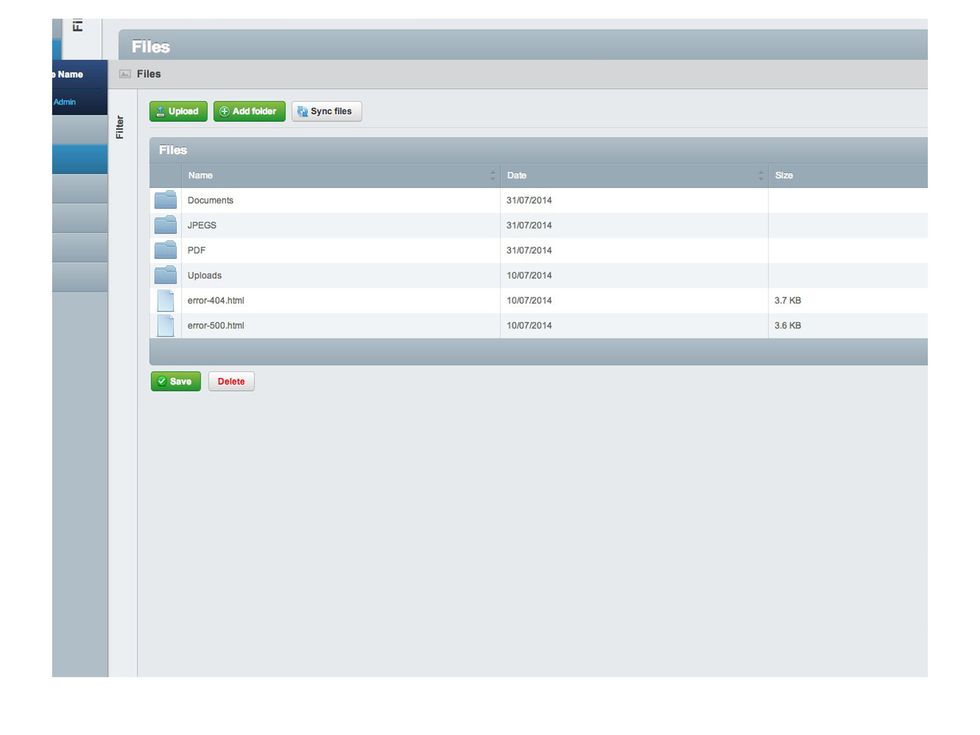
As you can see the 'Documents' folder has now been added. You can now upload your files into this folder and it keeps it very neat and tidy.
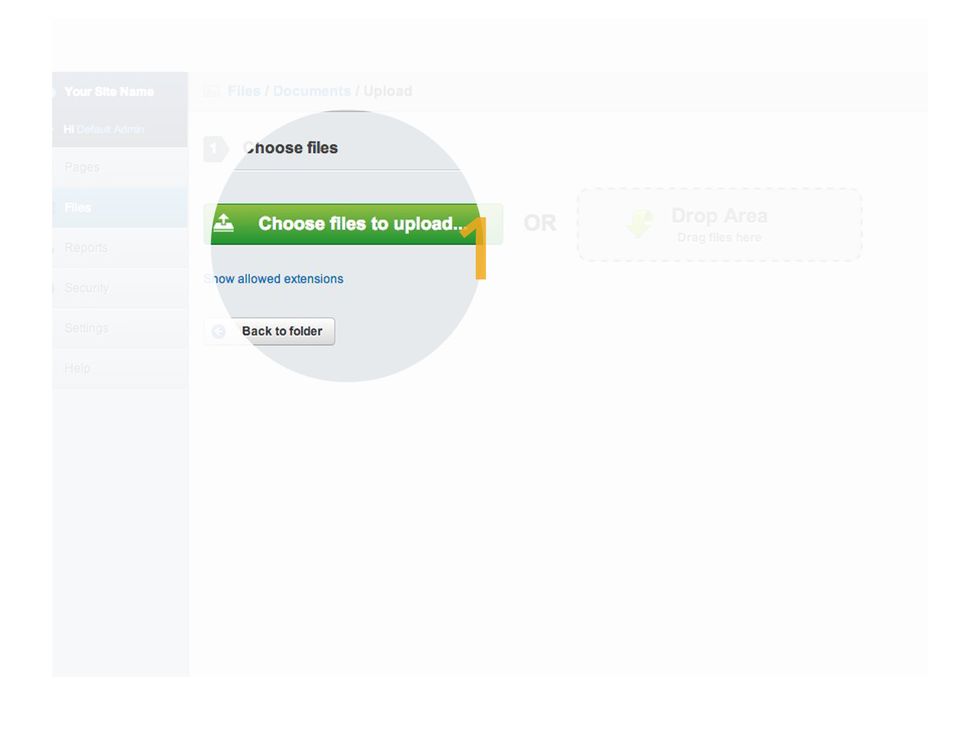
You will now be redirected to this page. Now you can upload folders in 2 ways. By dragging and dropping them, or traditional upload. Click 'Choose File To Upload' to start.
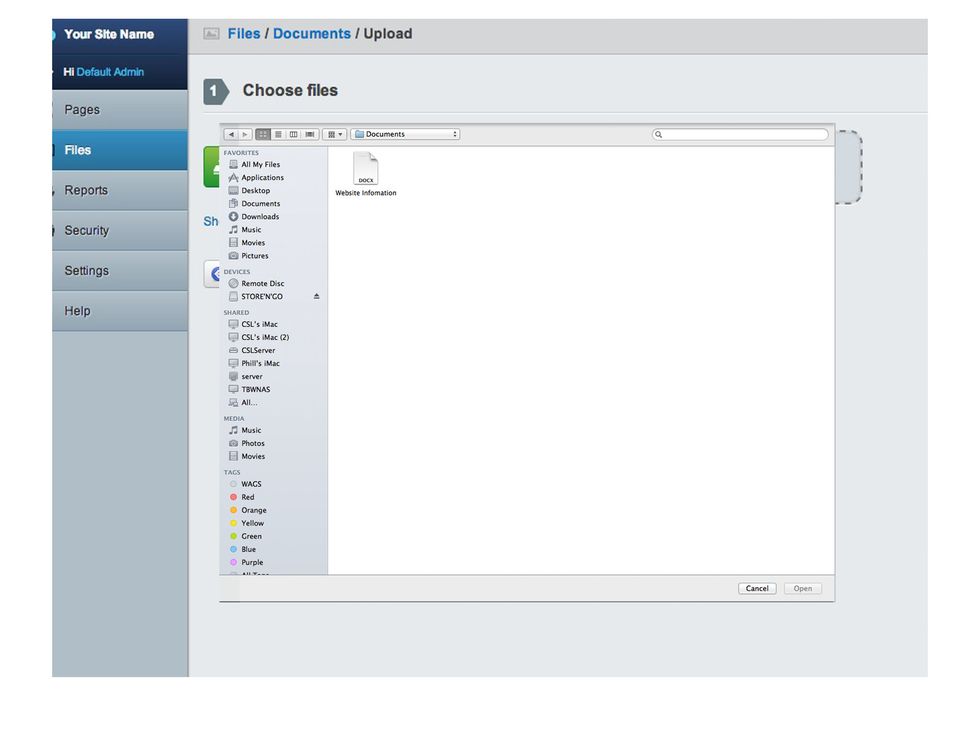
Now, simply select the file or image that you would like to upload. This word document is what we will be uploading today. Then click 'Open'.
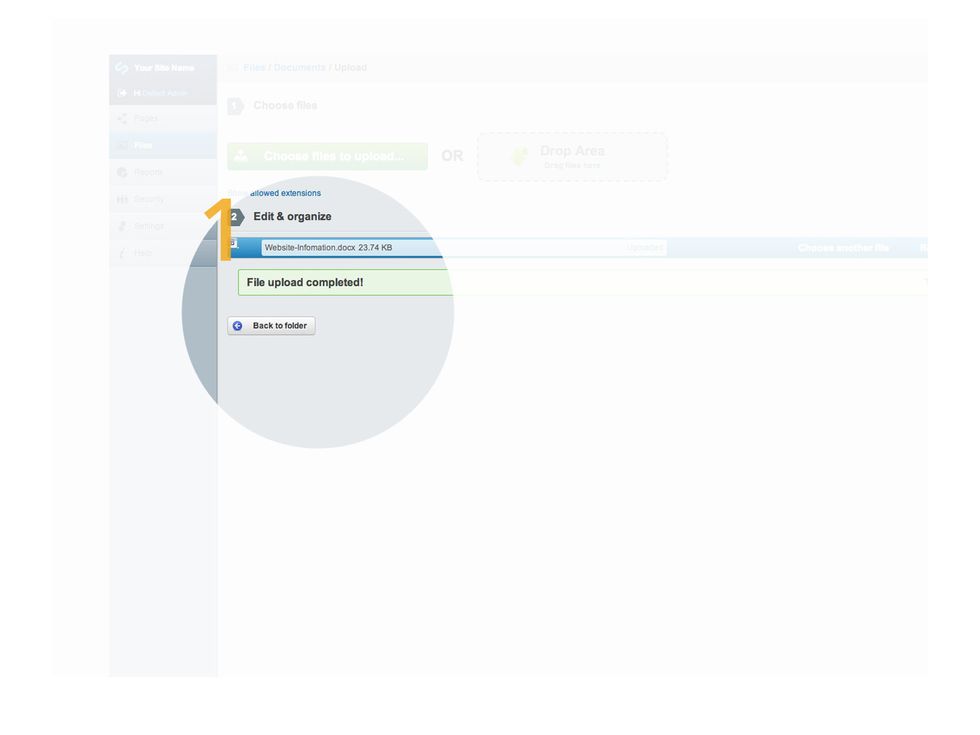
This page will show you how much of your file has uploaded. This will also show you if a file has not been uploaded and why. This is shown in a red box instead of a blue one.
As you can see the document is now uploaded!

This SnapGuide was brought to you by www.csl-web.com