The Conversation (0)
Sign Up
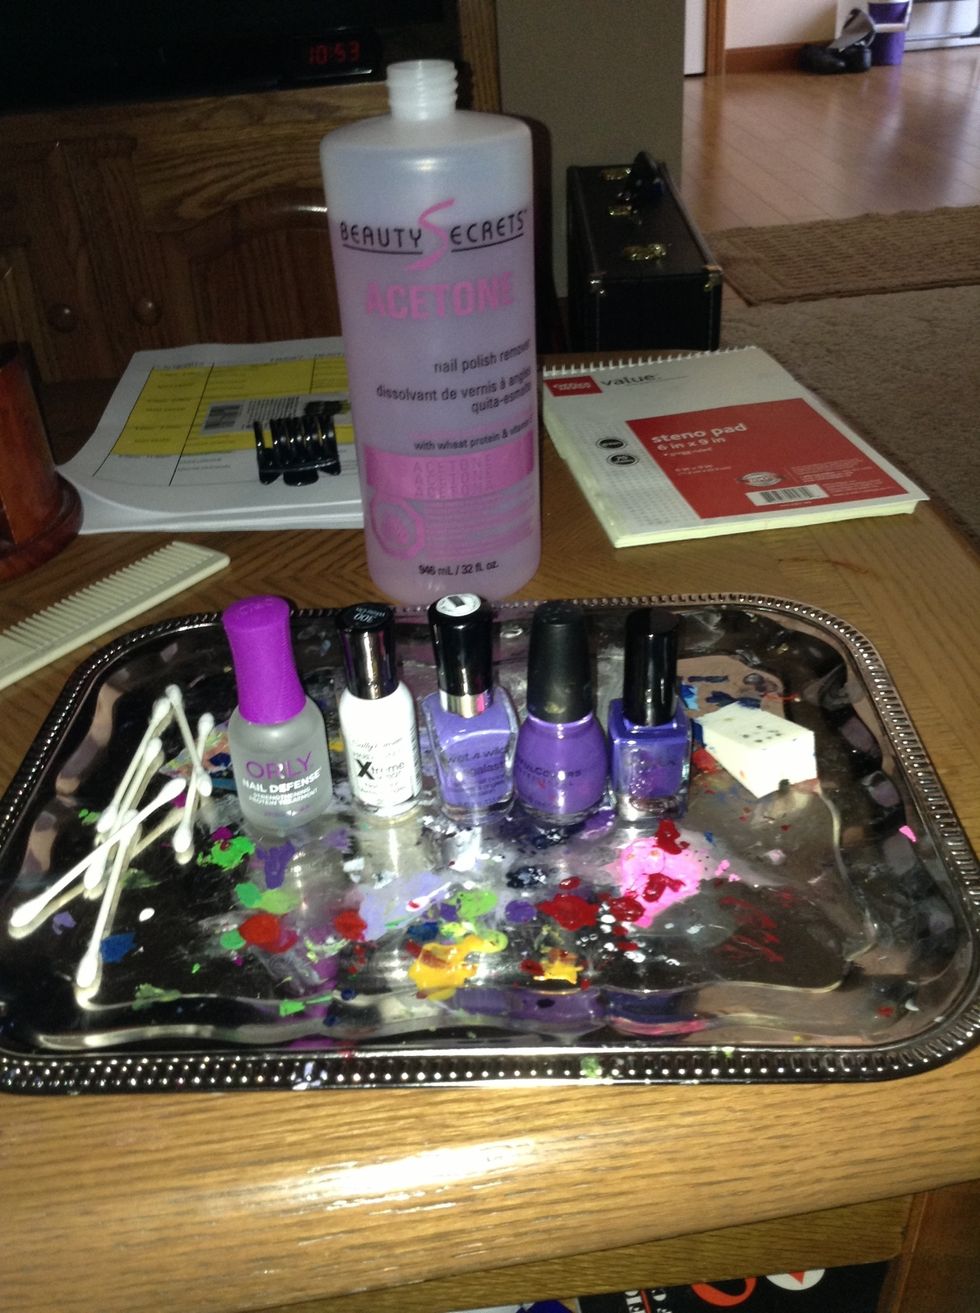
Here are your supplies. You can use any color polish you choose. I'm using purple because it's my favorite.
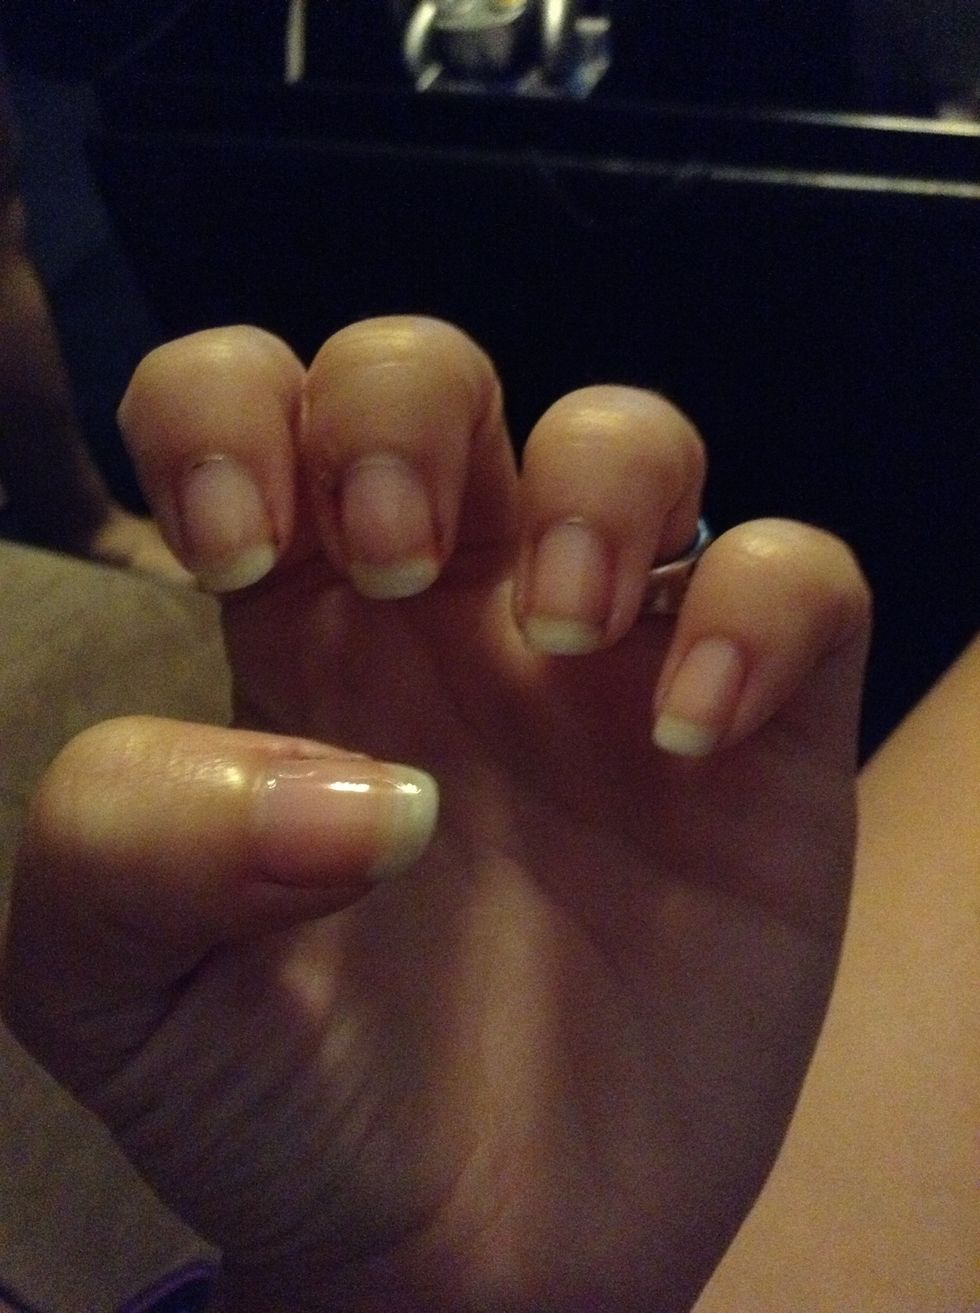
Apply a base coat to protect your natural nails

This step is optional, but recommend depending on what color you're using. Apply 1-2 coats of a white polish. You want it to be opaque. This helps ensure that the ombré is bright and noticeable.
Allow the white polish to dry completely before moving on to the next step. If you don't, the next step could smudge or remove the white polish.
Feel free to tape your nails before moving on. It can get quite messy.
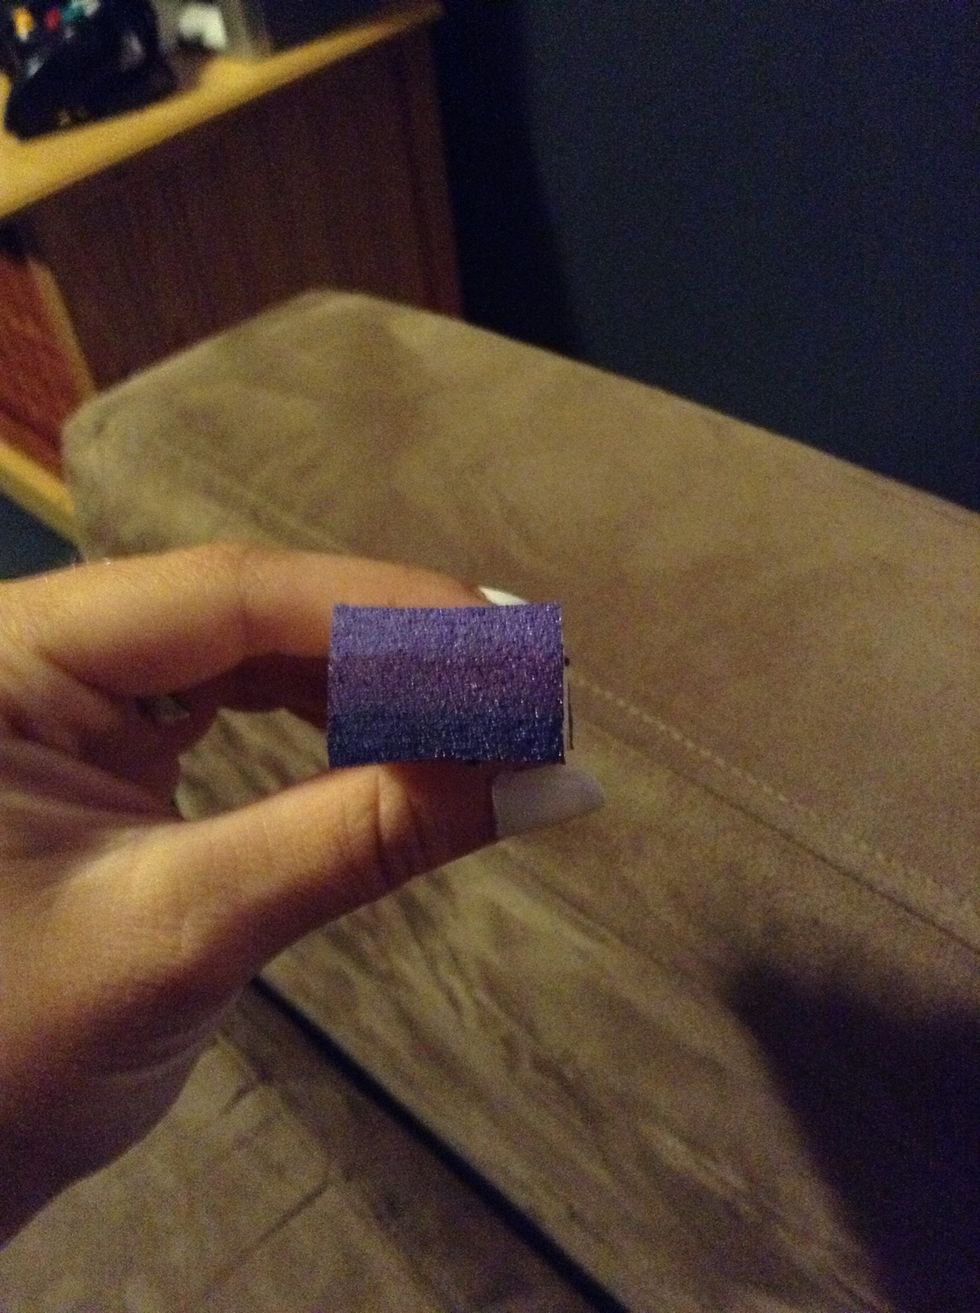
Take your polishes and paint horizontal stripes across your make-up sponge with the lightest color first then continuing with the next shade. Be sure to overlap the shades! This will help them blend.

Take your painted sponge and line it up on the edge of your nail with the lightest color near your cuticle. Then, roll the sponge across your nail to transfer the polishes.
Repeat step 6 on all of your nails, being sure to repaint the sponge between nails.
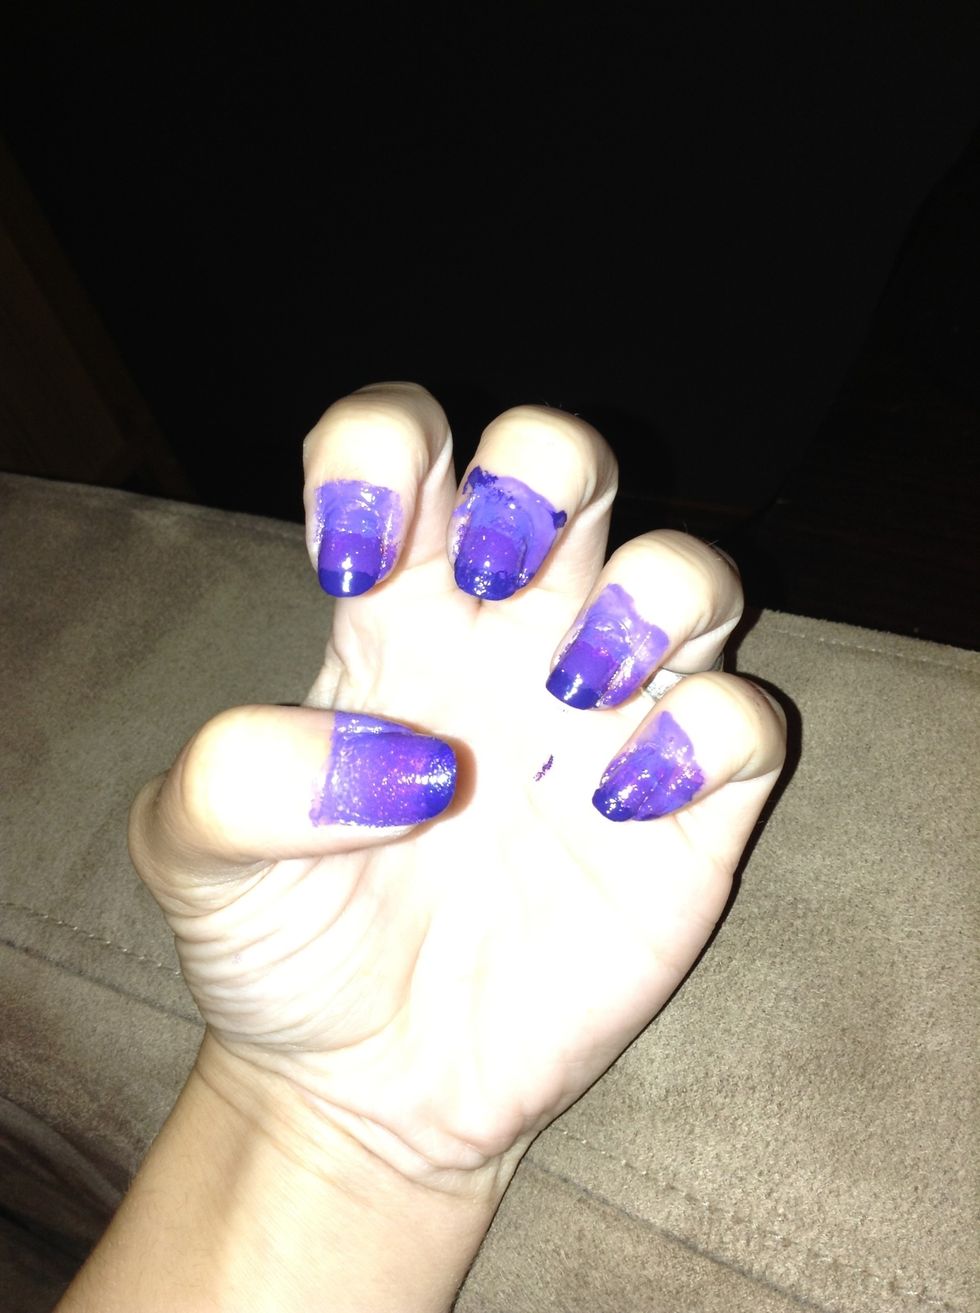
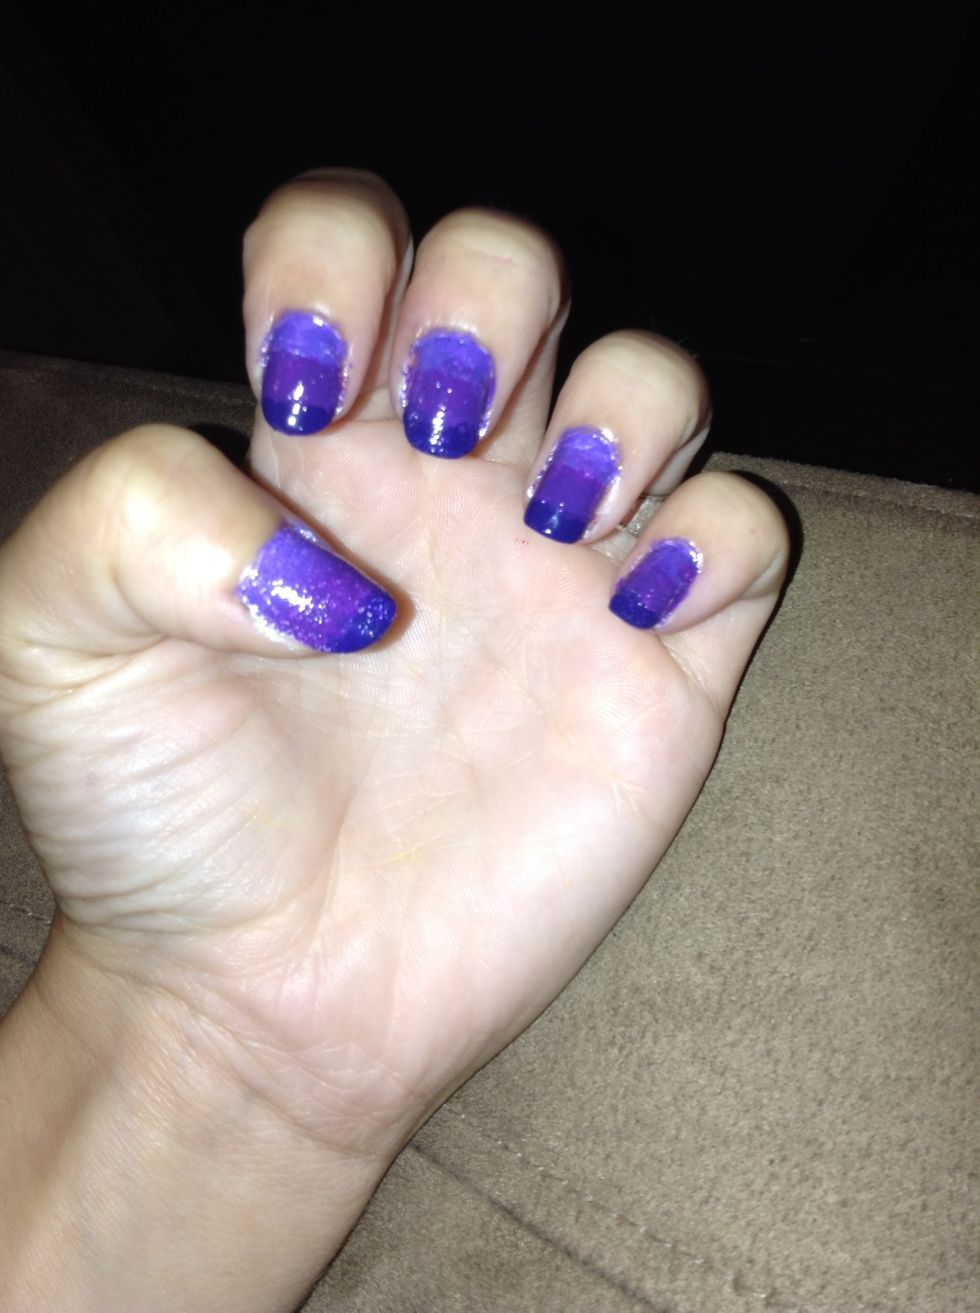
As you can see, it's quite messy. This is the step where you clean up around your nails with a q-tip dipped in polish remover.
All clean. Now it's time to apply your top cost. With this design, a top coat is essential to finish blending the colors and to smooth out the texture left by the make-up sponge.
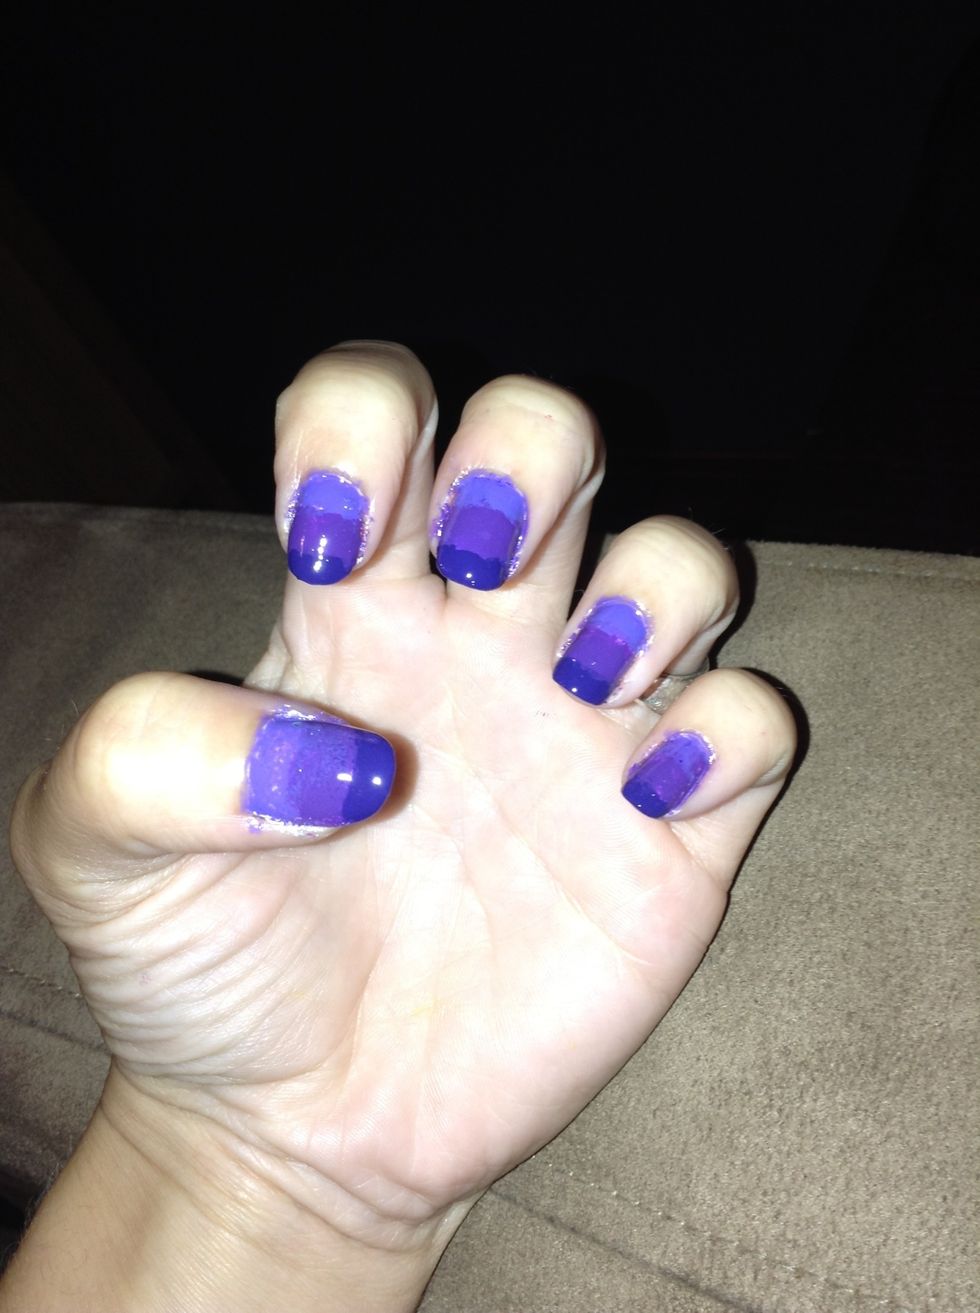
Top coat applied! This is the final result. I hope you try this adorable design. Thanks for watching and happy painting!