The Conversation (0)
Sign Up
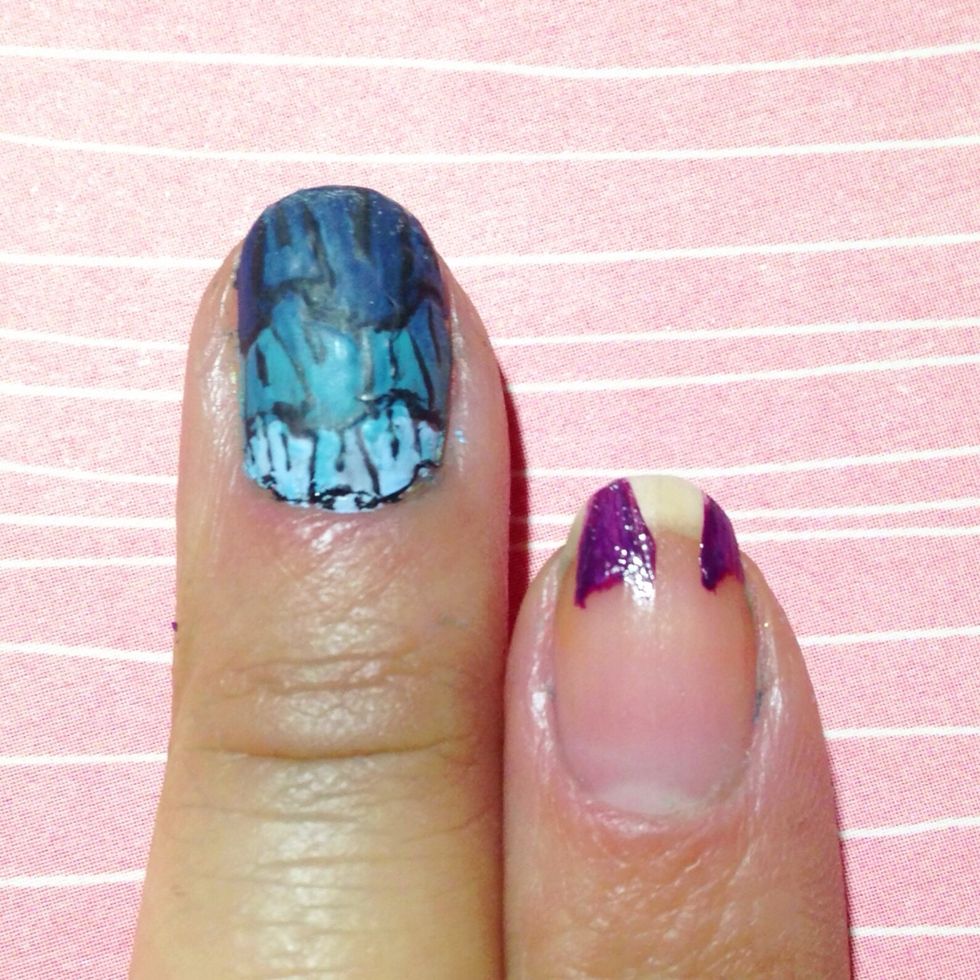
Using the darkest shade, create two spaced out triangles. Allow the base of the triangle to be curved. Extend the edges of the sides as this will replace the small fold of the fabric.

Outline the triangles and create a wide "U" to connect the triangles.
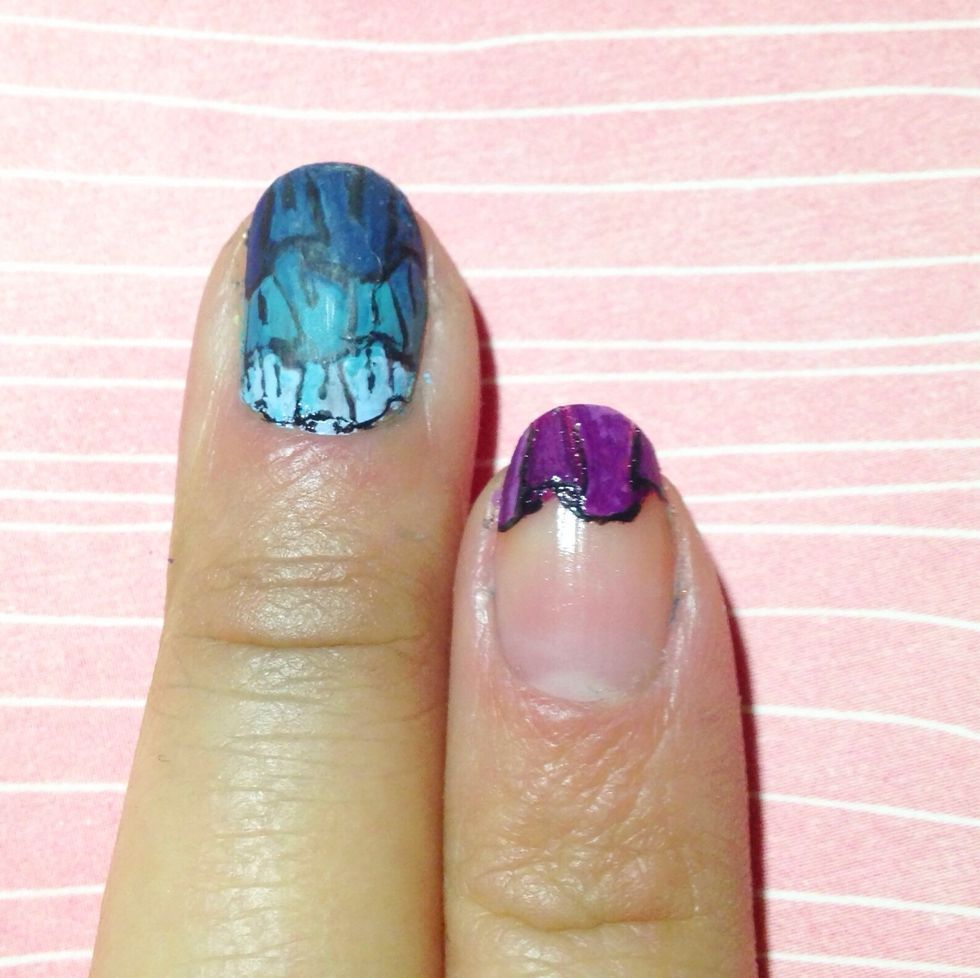
Fill in the empty area with the same dark shade. For the advance people, you made want to add some shading.
Create lines or a very slim "U" within the ruffles to replicate the slight indent of the ruffle fold.

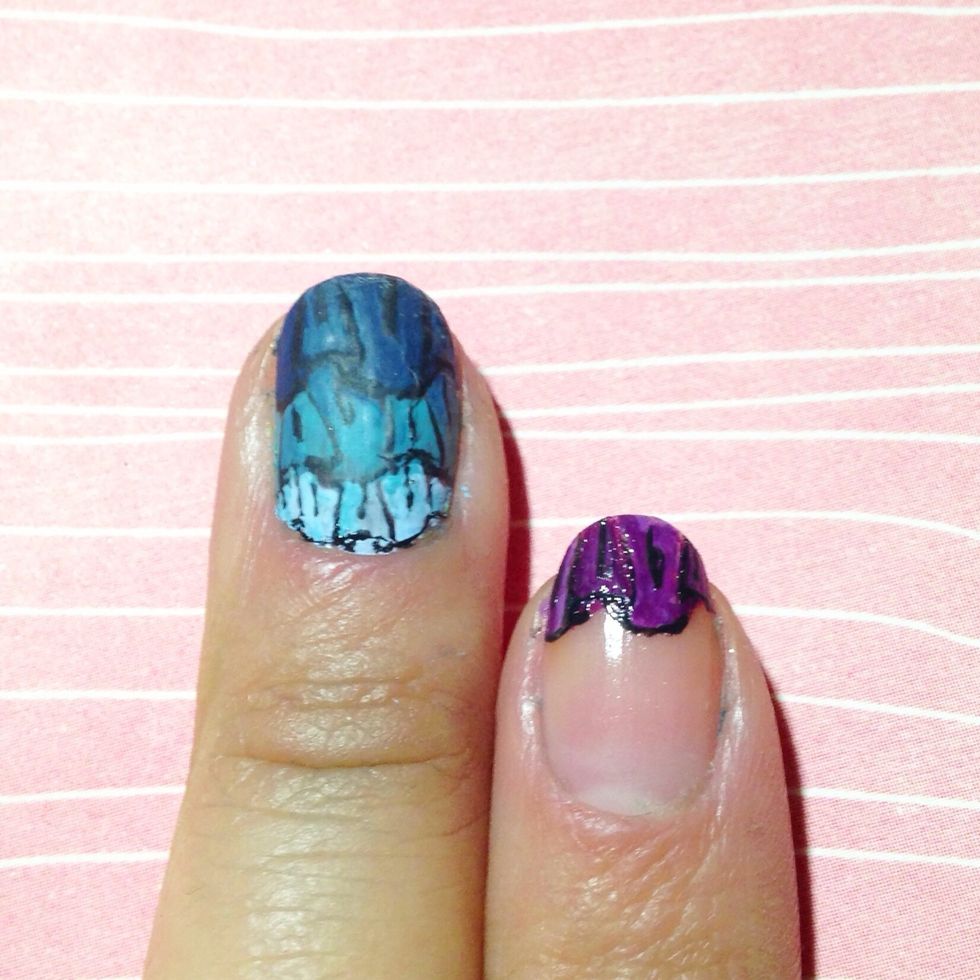
Repeat step 1 to 4 with a slightly lighter shade.

Finish your nail art by repeating step 1 to 4 with the lightest shade. As an optional step, add on a matte top coat to eliminate the shine.
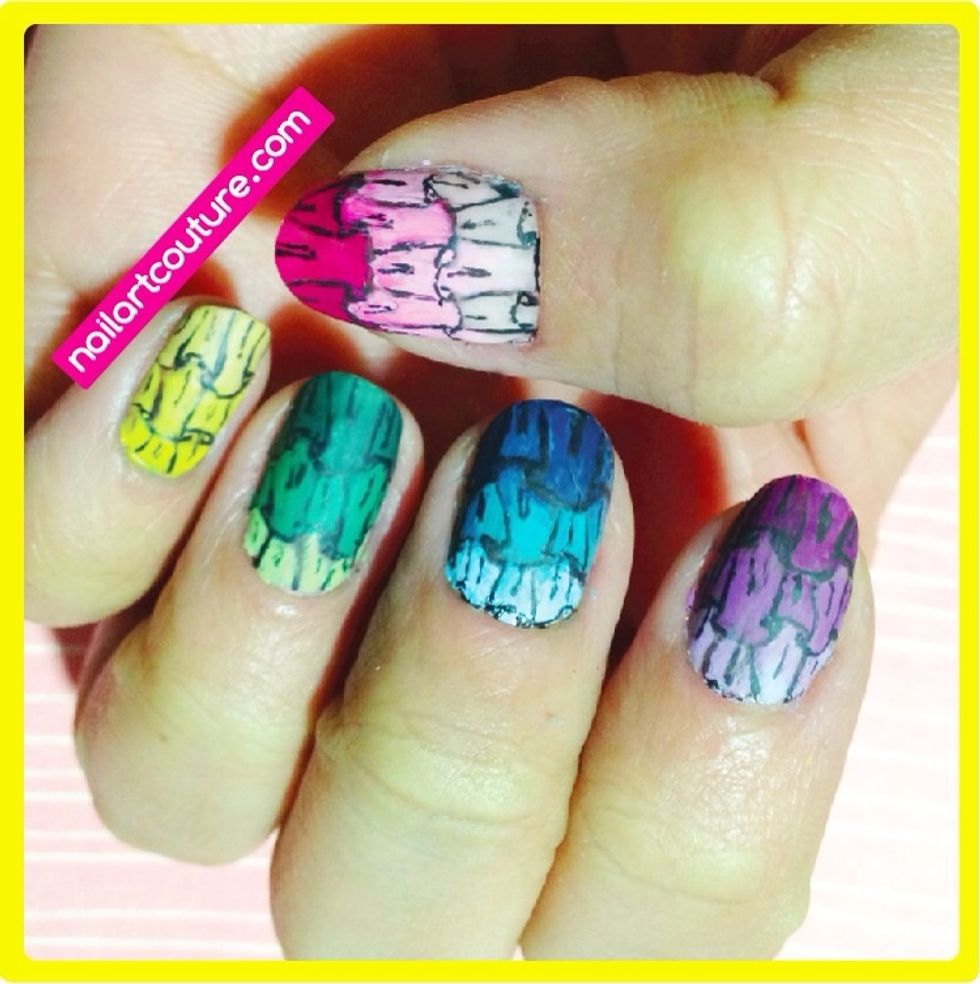
You can make you're manicure all in one color or multicolour like me!
For my nail art tutorials, check out my snapguide. Don't forget to drop by my blog: nailartcouture.com!