The Conversation (0)
Sign Up
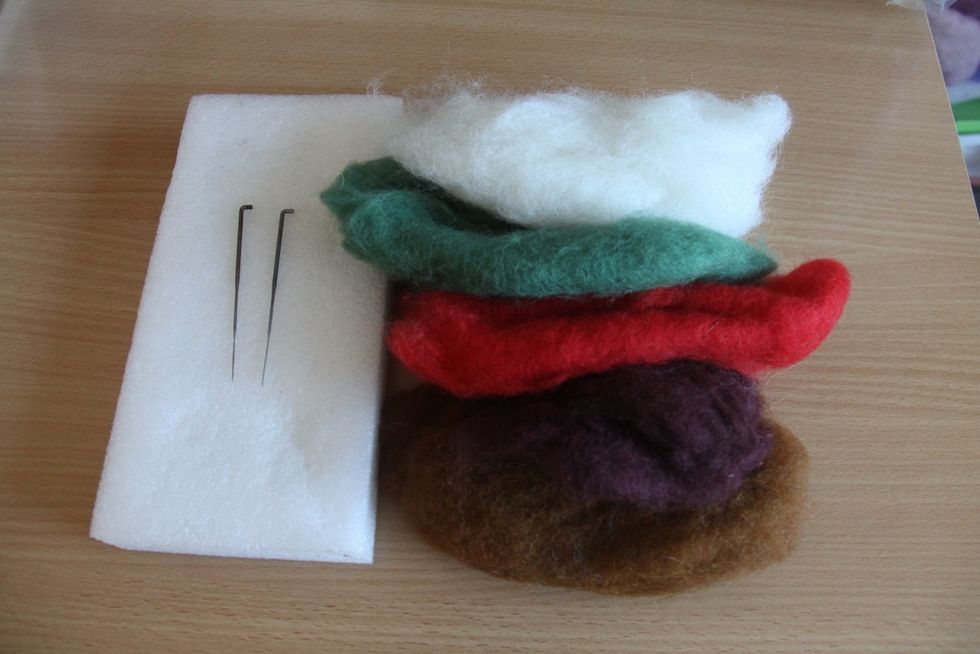
Gather your instruments and material. Be sure you have a basic understanding about needle felting before starting because this post is not including how to form a shape or attaching parts.
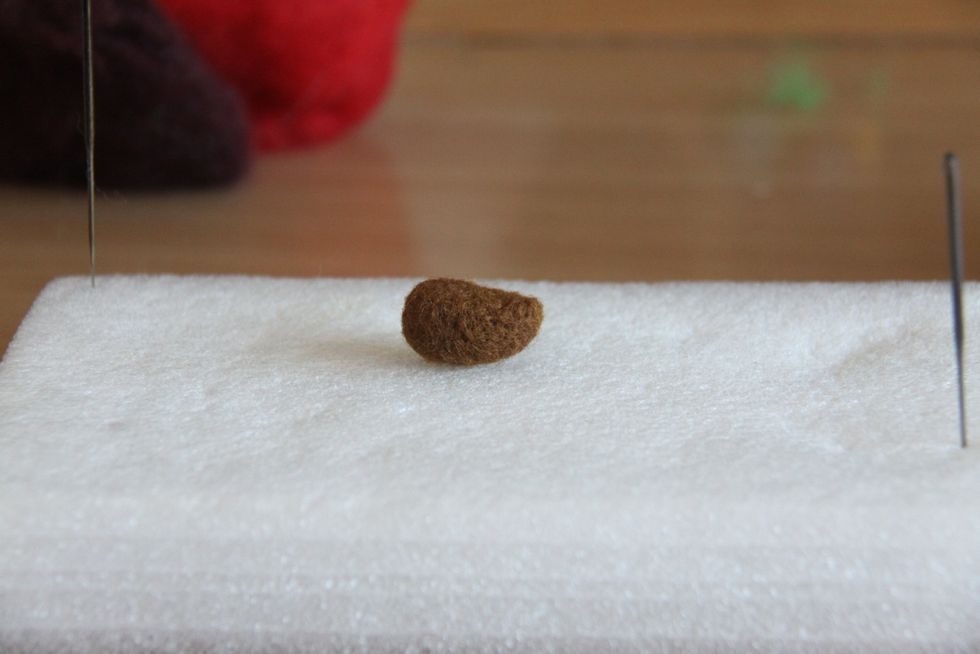
First, form an oval shape from light brown wool and punch one side in the top to achieve the shape in the picture for the head.
Use less light brown wool than in step 1, form a ball and punch one side to make it flat, leave a little bit of wool untouched on top so you can use it to attach this part to the head.
Attach the neck to the head.
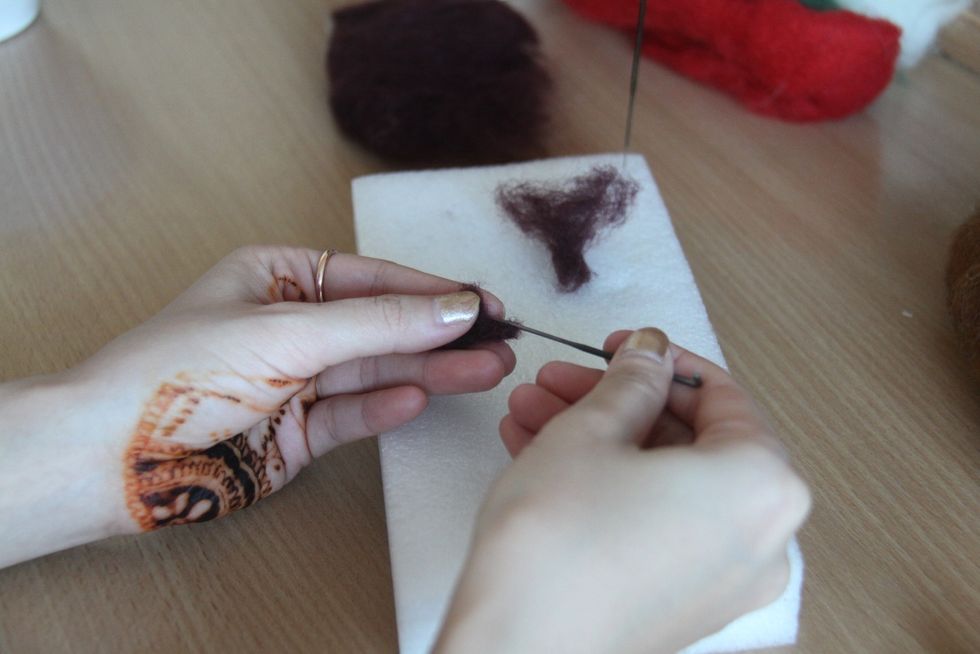
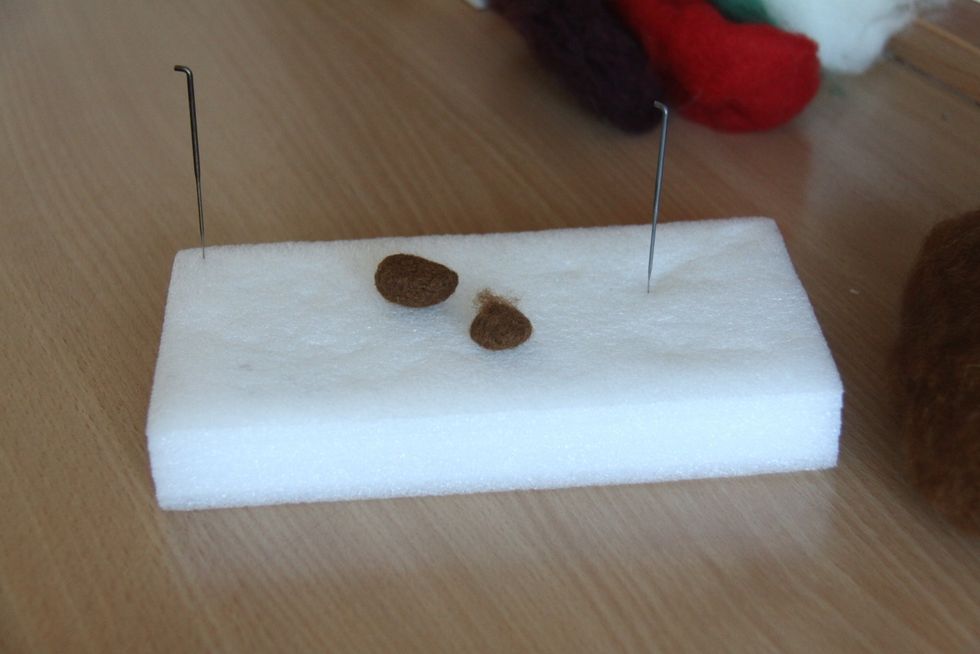
Use a equal parts of dark brown wool to form 2 horns. Leave the end untouched.
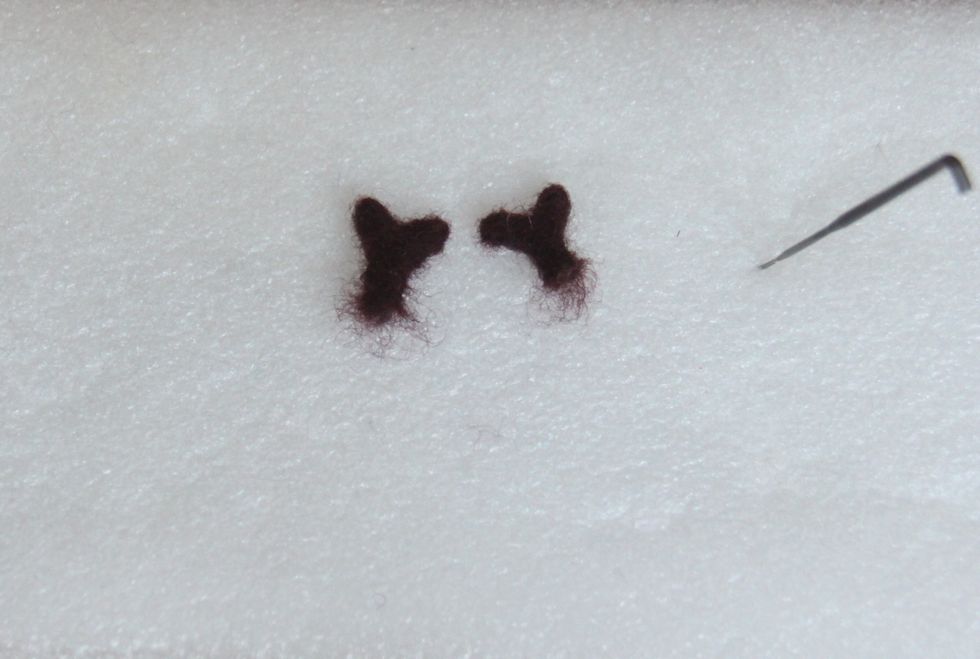
Then you have 2 same horns
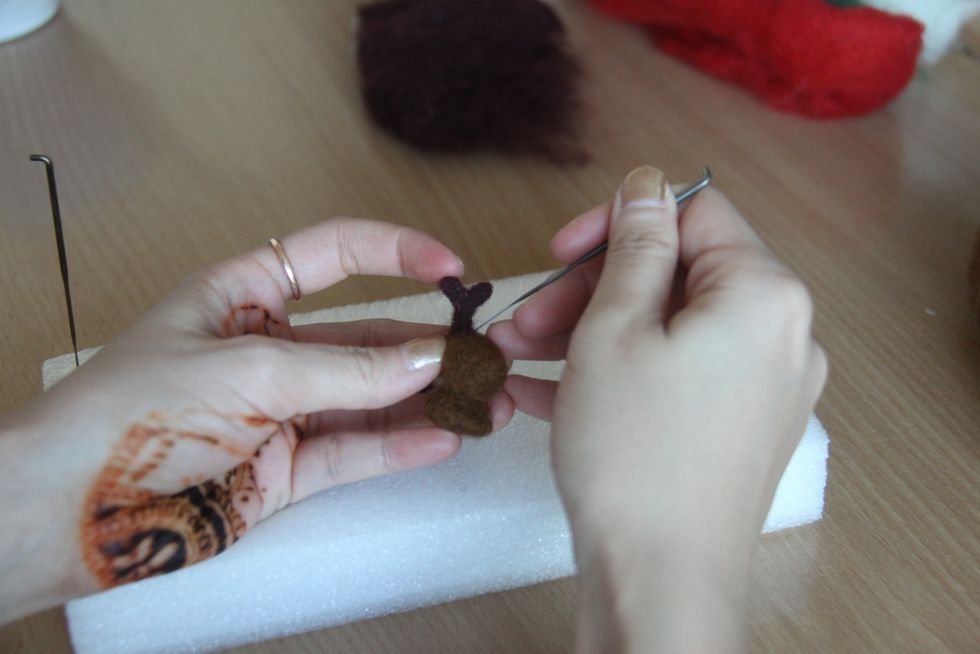
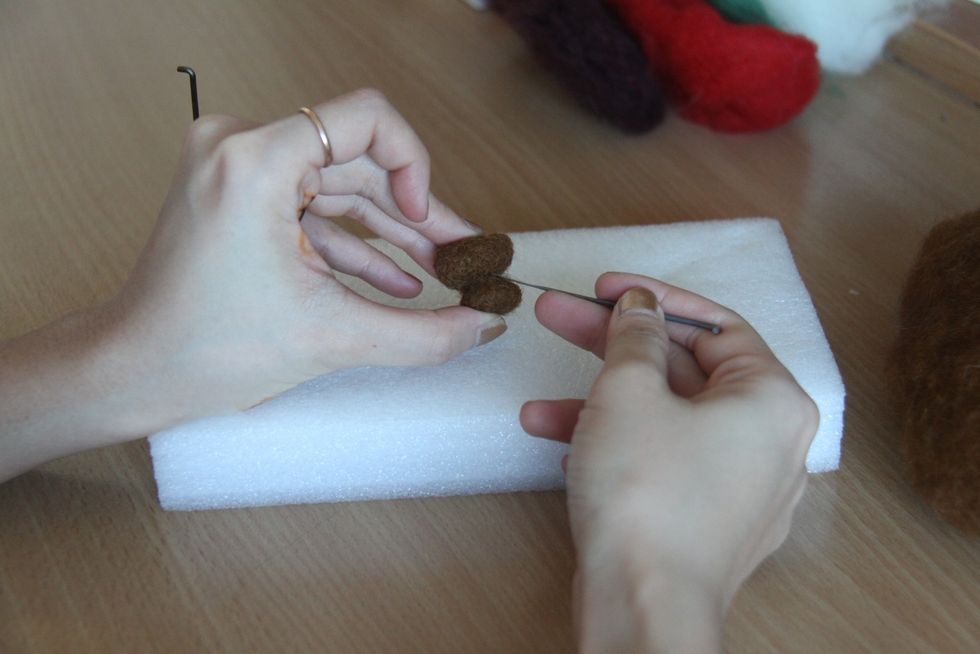
Attach the horns to the head.
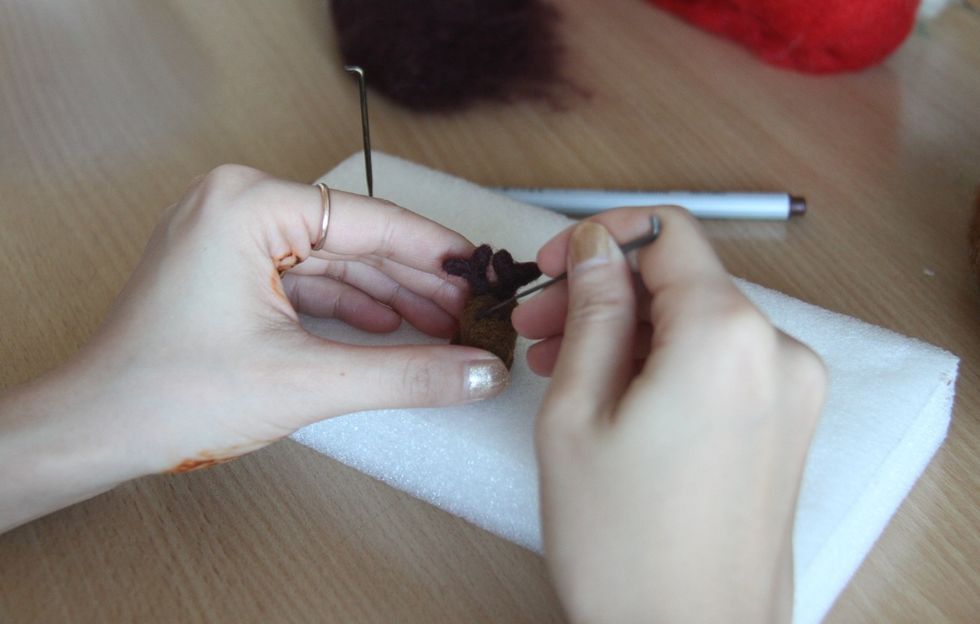
Use dark brown to make his eyes with ^^ lines
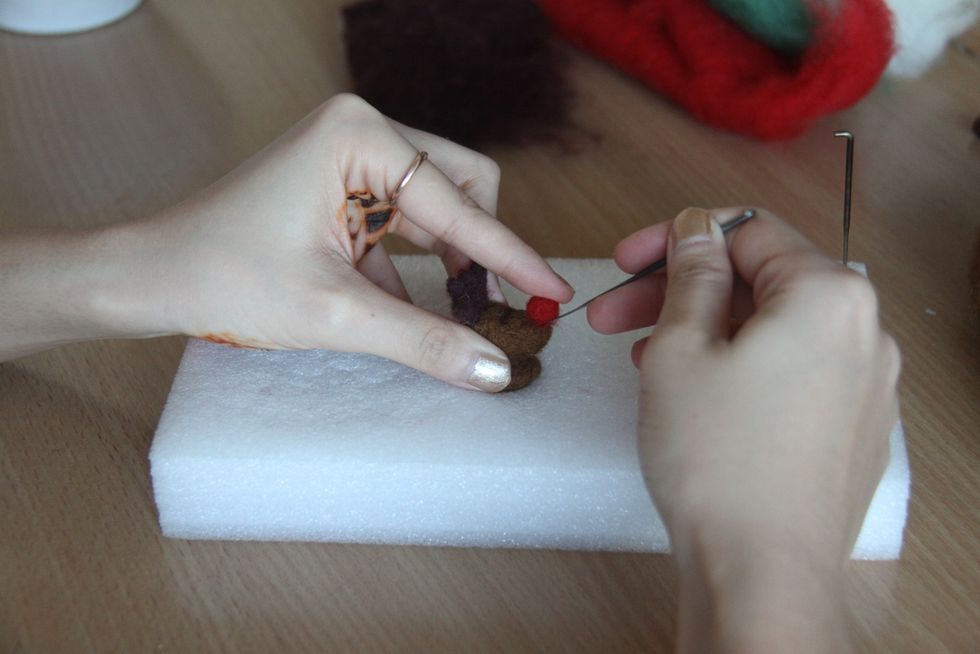
With red wool, form a giant red nose and attach it to the head, too.
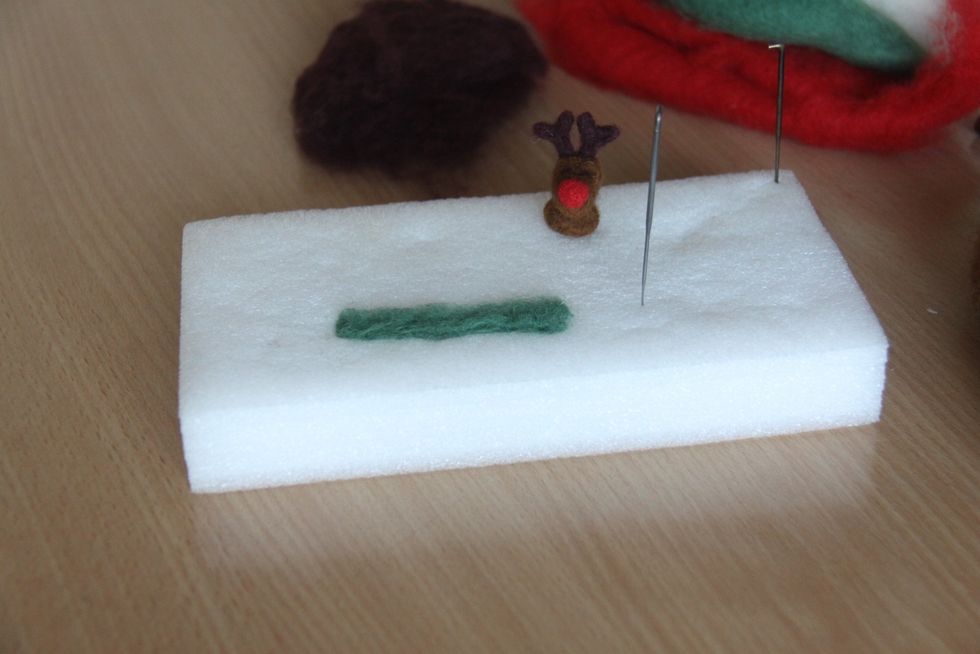
Use a little bit of green wool, spread on the pad to make the shape of a scarf. Punch shallowly onto the place that you lay your wool. Turn to the other side and punch until you make a smooth scarf.
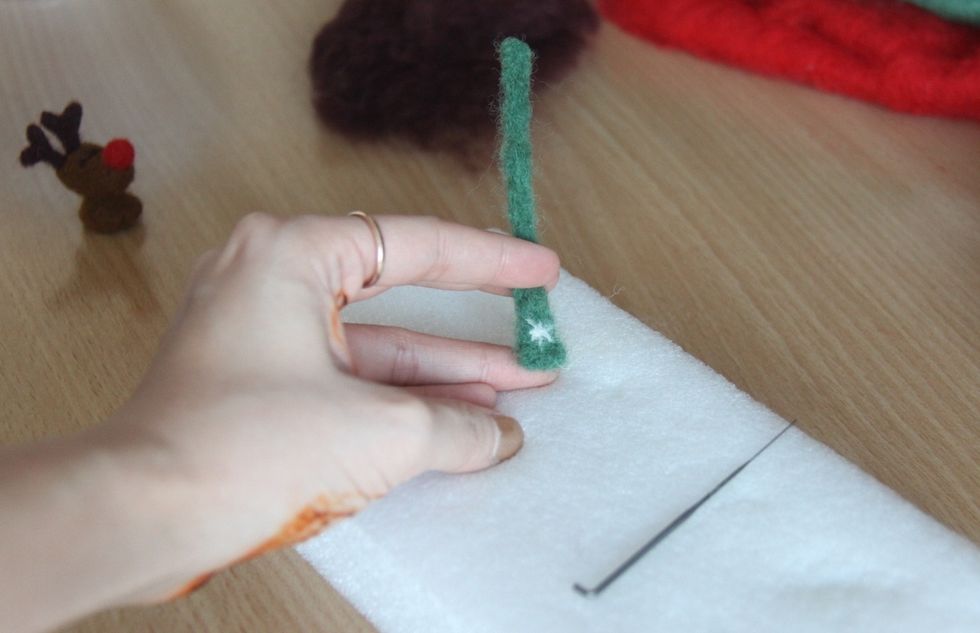
Use a little bit of white wool to decorate the scarf and then attach the scarf to the neck of Rudolf.
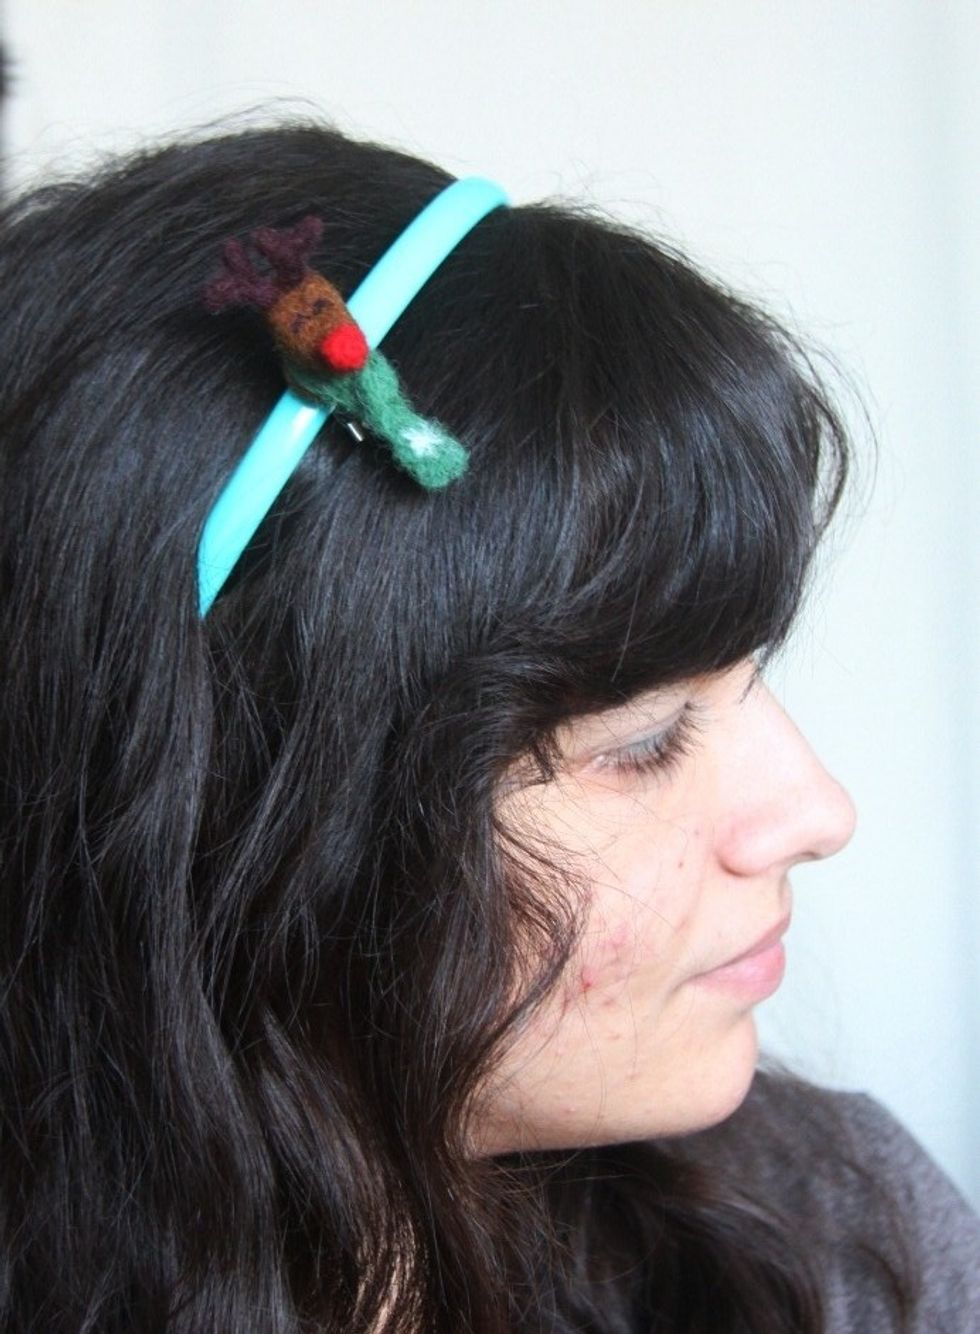
Use glue to stick Rudolf to the brooch pin and voila!