The Conversation (0)
Sign Up
The joy of gift giving...
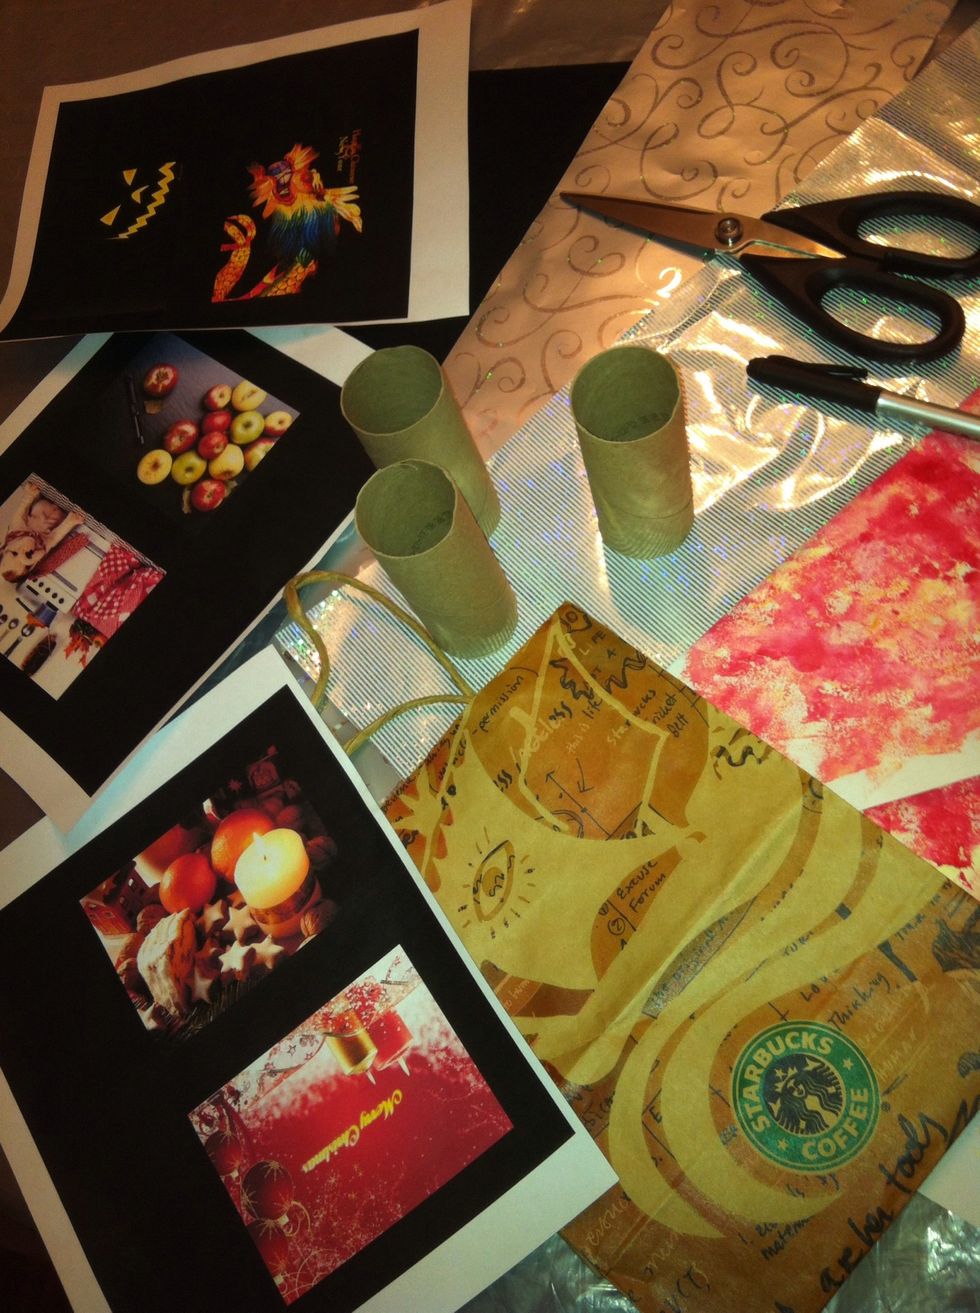
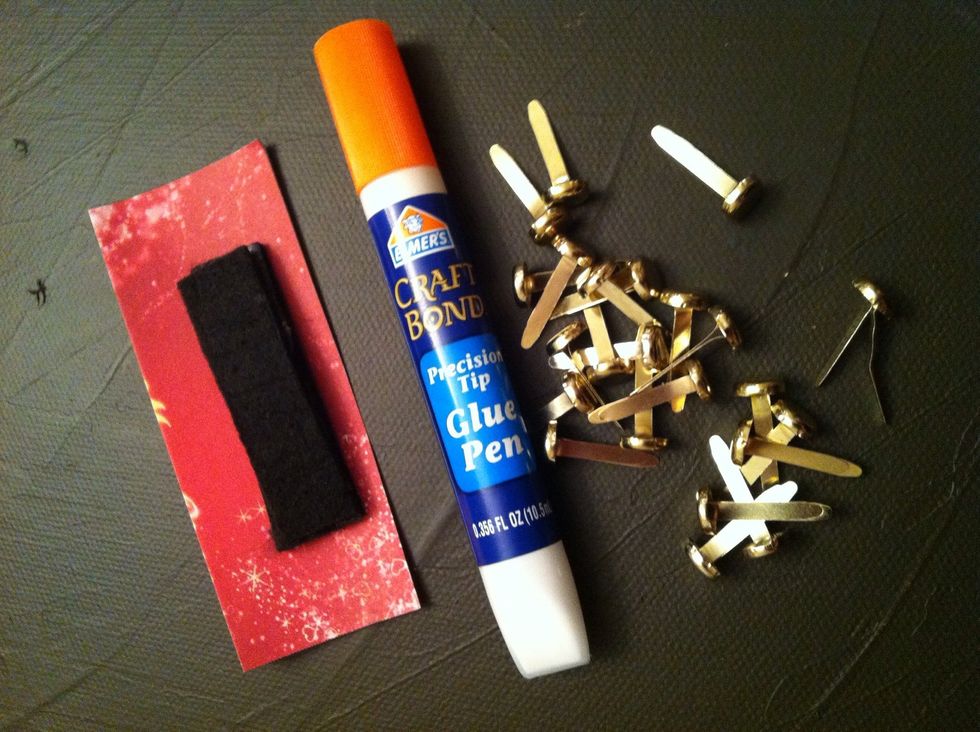
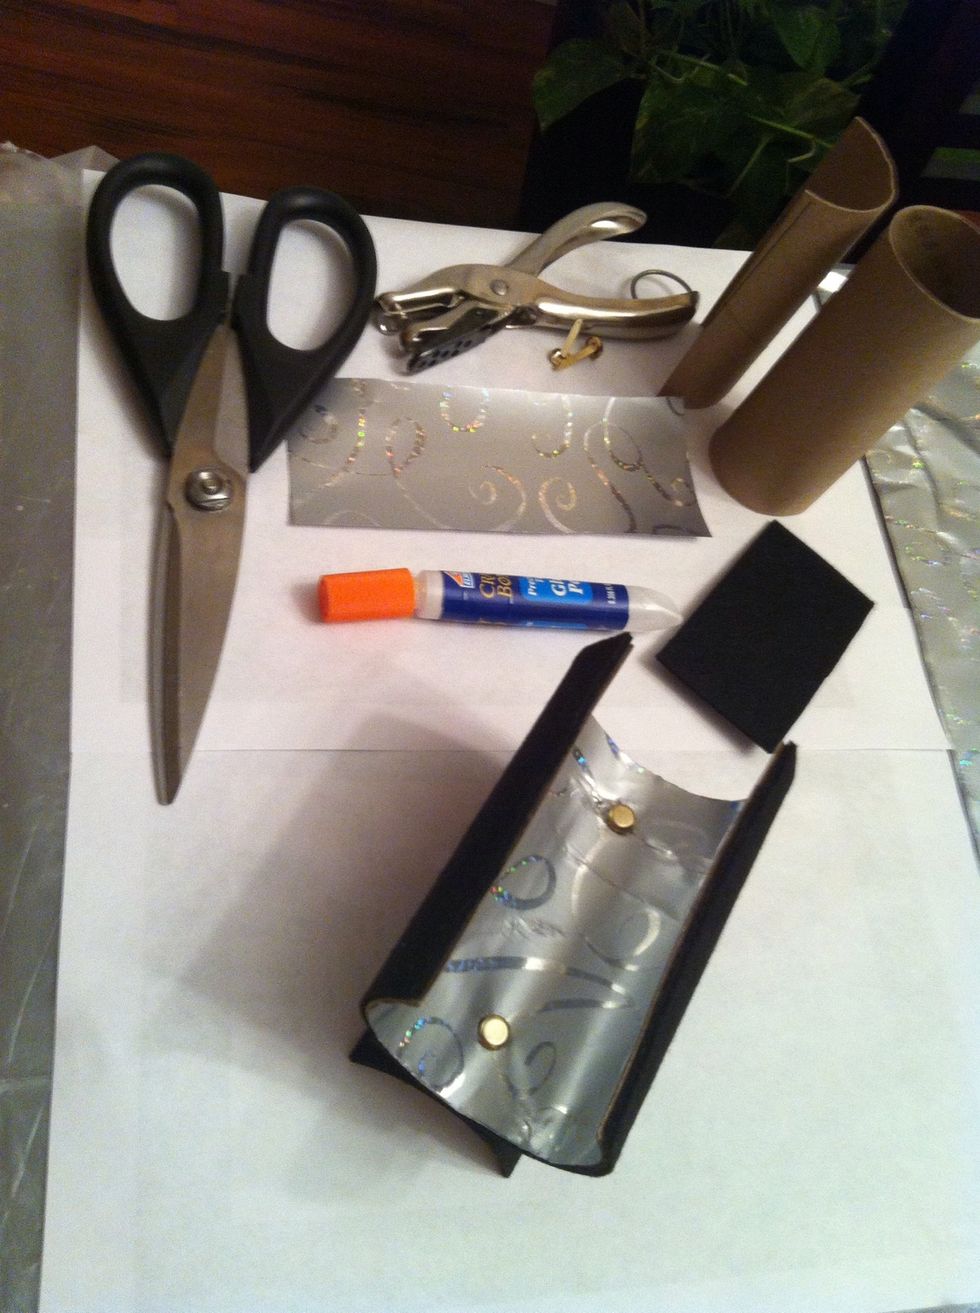
You will need 2 toilet paper rolls, scissors, a pen, glue and a variety of paper like contact paper, gift wrapping paper, old magazines, felt, cork or fabric.
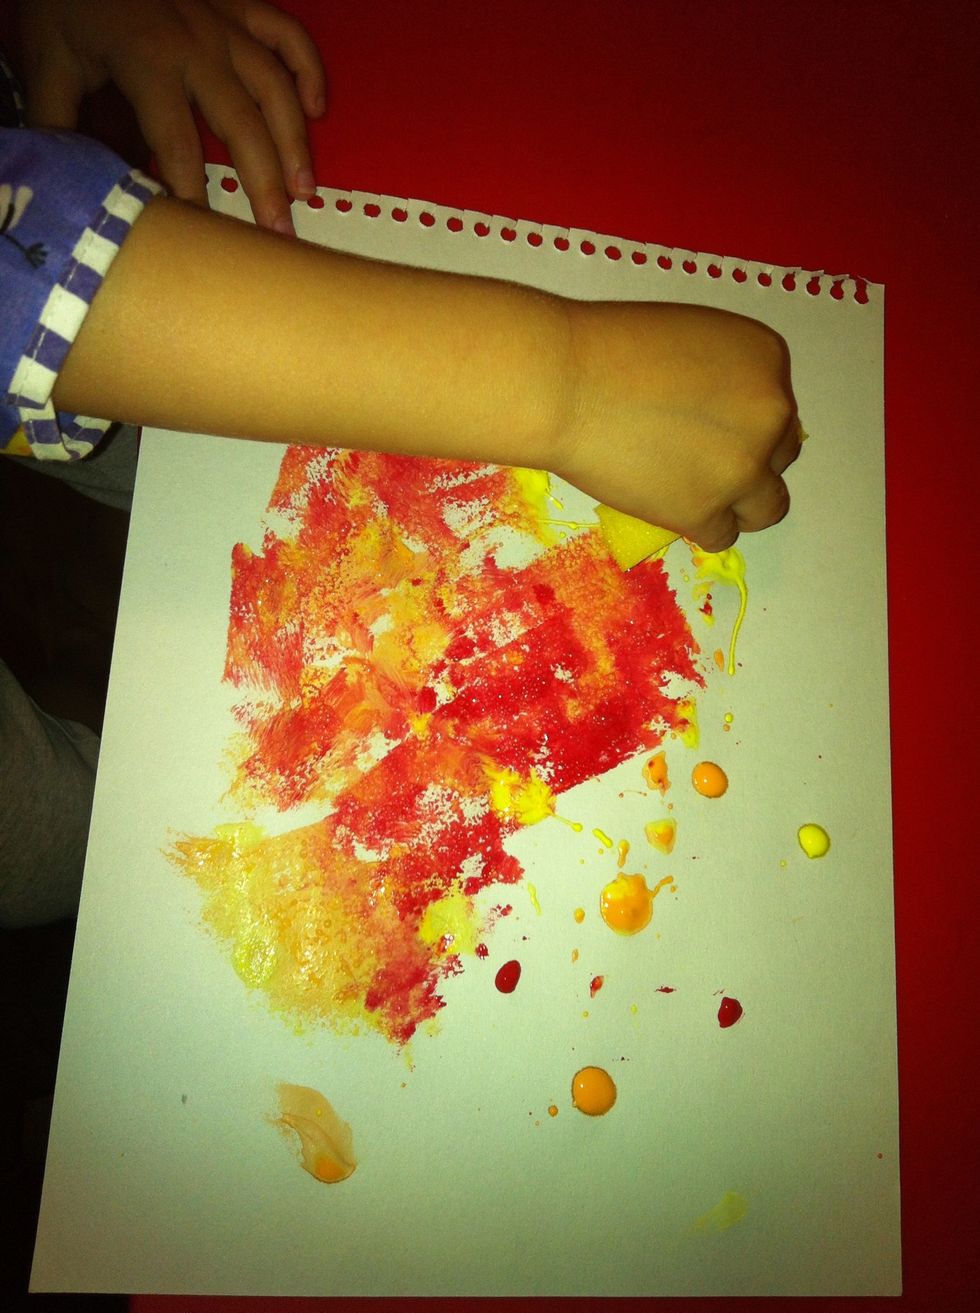
You should also consider a child's masterpiece, or the alternative approach of painting.
STEP 1: Cut
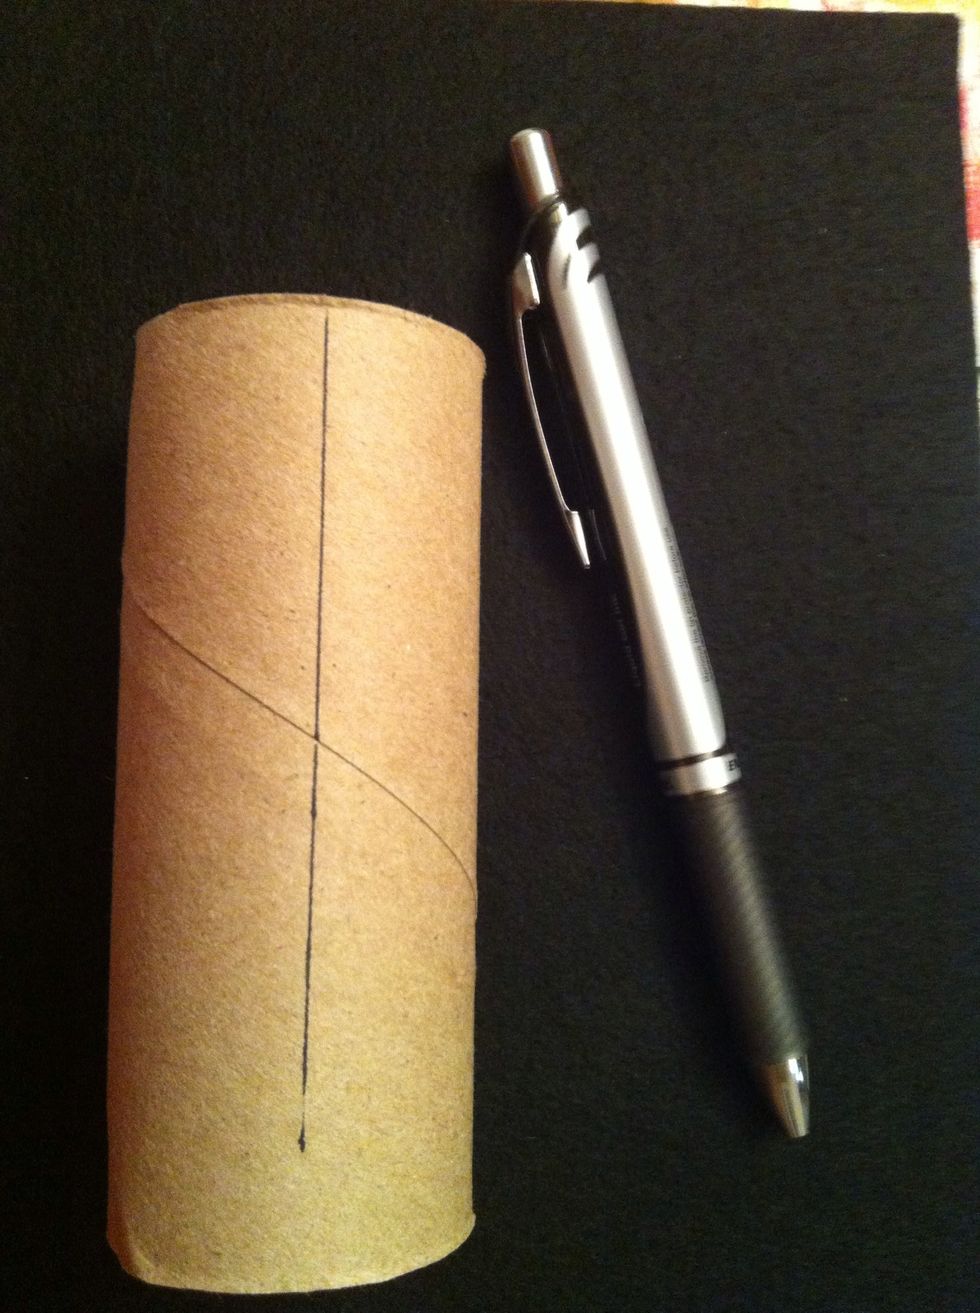
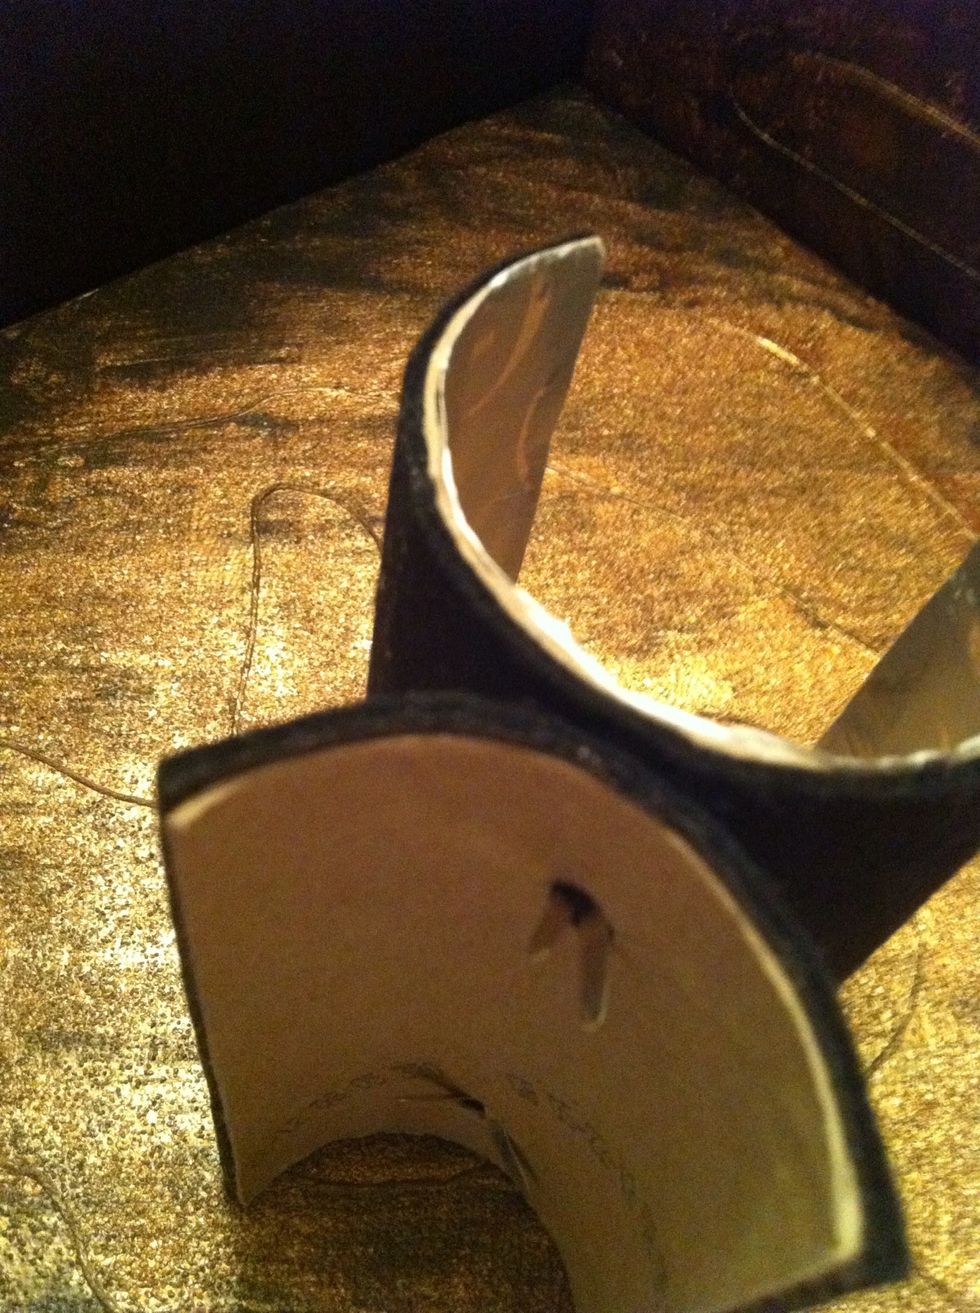
Start by cutting the 2 toilet paper rolls across the long part. Set one roll aside, it will be used as the actual napkin holder. You will use the second roll to make the base.
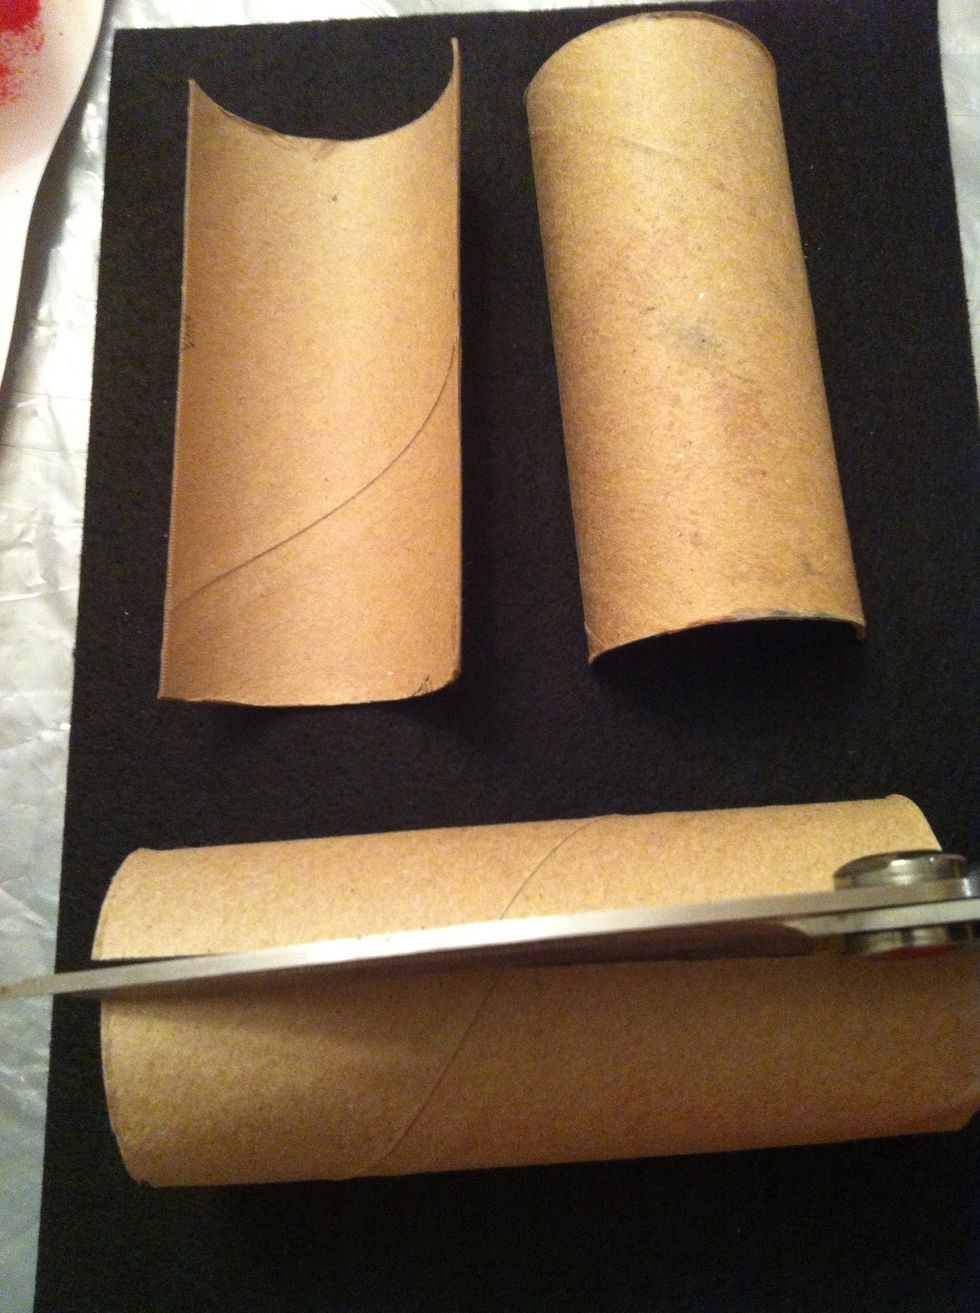
Flip the second roll over and repeat the same long cut on the opposite side. You will now have two halves. keep one half for the base.

Don't use flimsy rolls. The one my daughter was cutting lost its shape during assembly.
STEP 2: Decorate
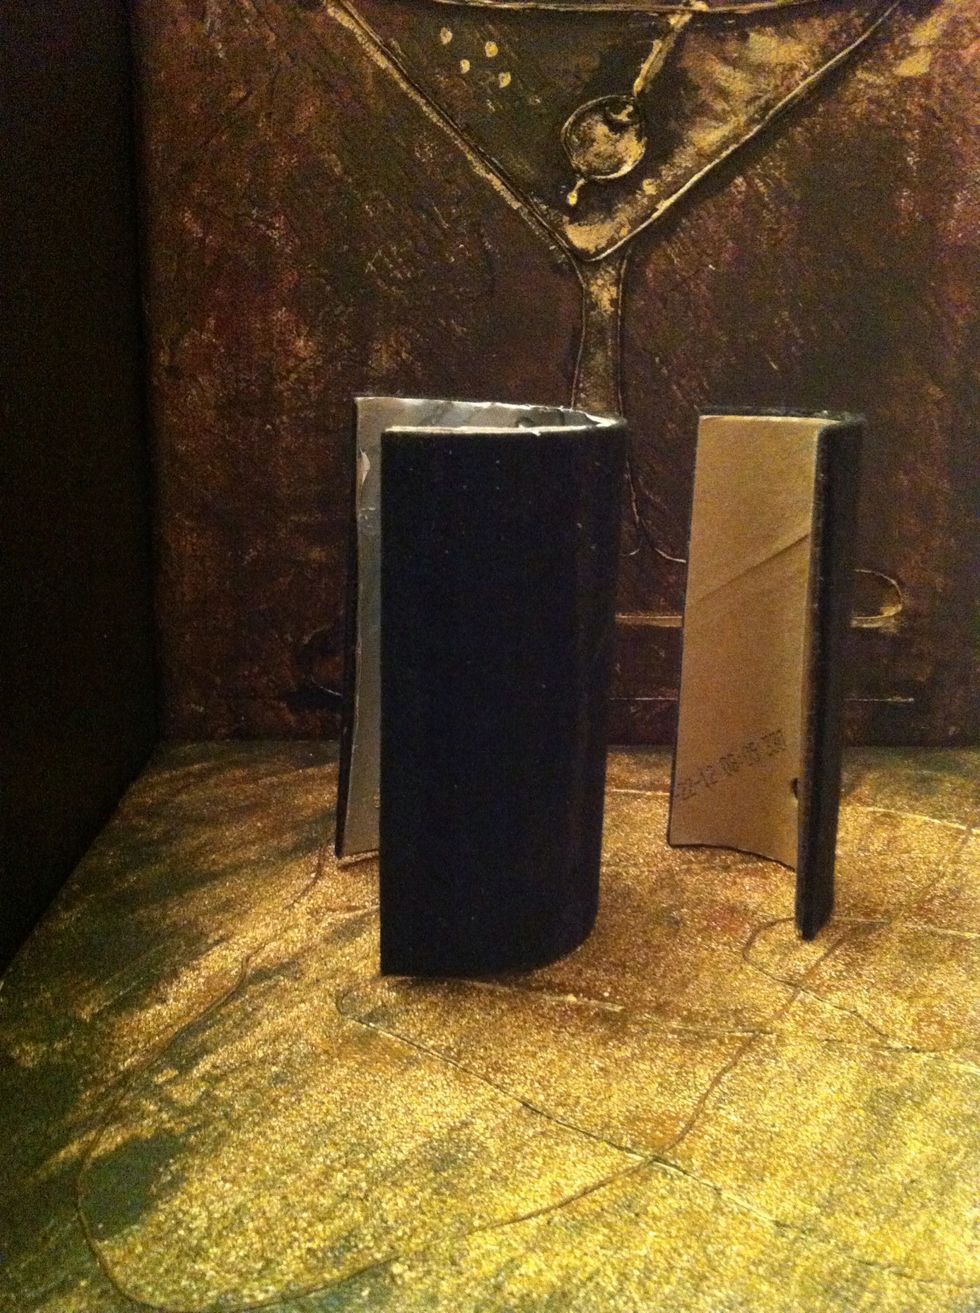
It's time to decorate... the possibilities are endless. It's easiest to work with self adhesive paper but glue works just as well. Use glue to attach your favorite photo, picture or material.
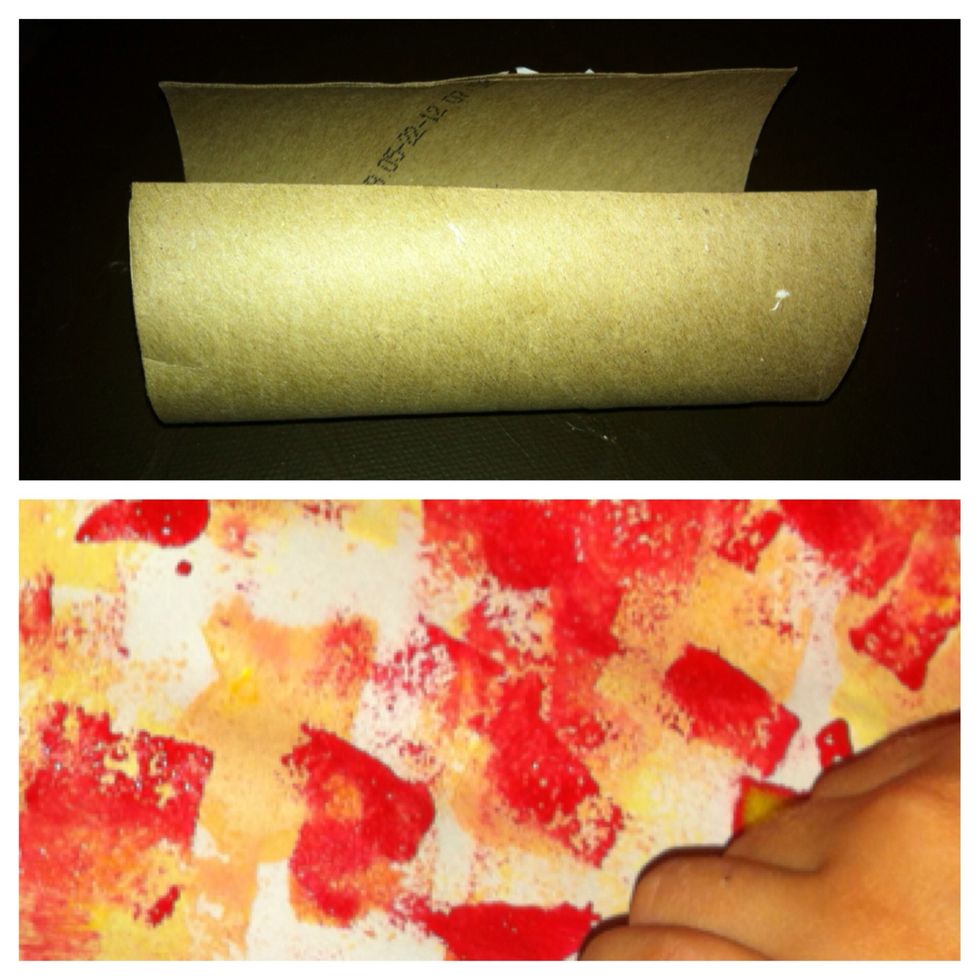
The technique that works best with kids is painting the rolls. Use a brush or sponging technique.
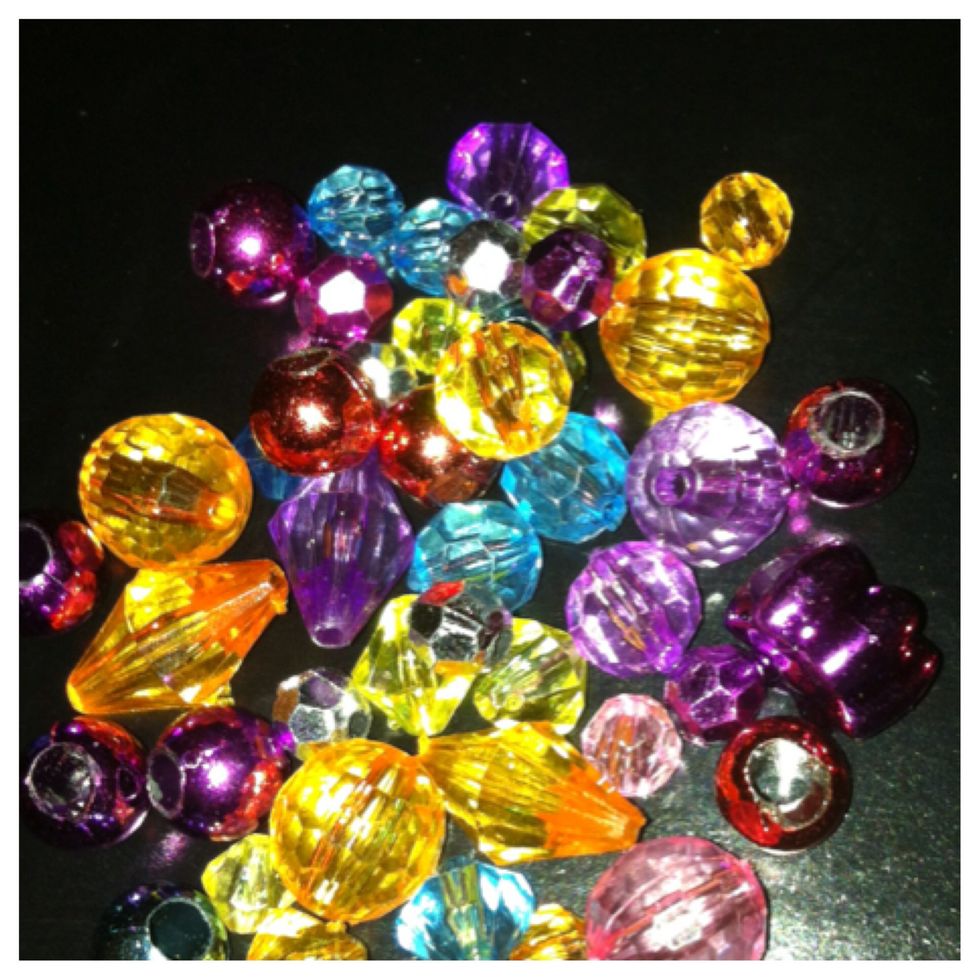
Tip: use a hot glue gun to attach 3D objects such as beads. Also remember to apply a protective coating when using glitter or leaves (but that's another topic all together)
Once you complete the decoration step its assembly time. There are two assembly techniques. the permanent technique using glue and a mix and match technique using velcro or round head fasteners.
STEP 3: Assembly - permanent
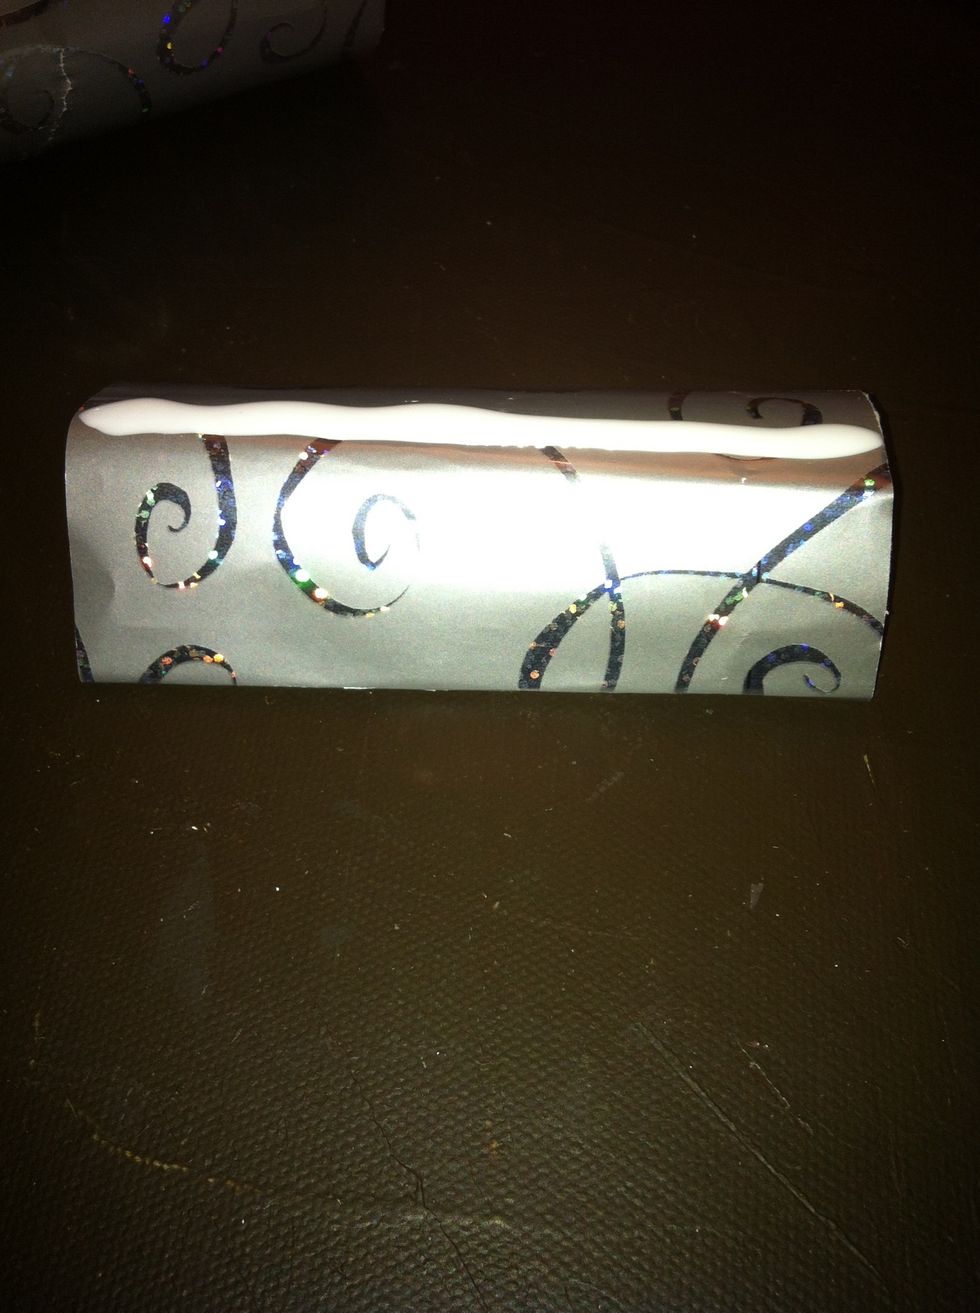
Apply glue in the center of the base. Align the napkin holder's center on the base and wait for it to dry. The type of glue depends on the decorating material used.
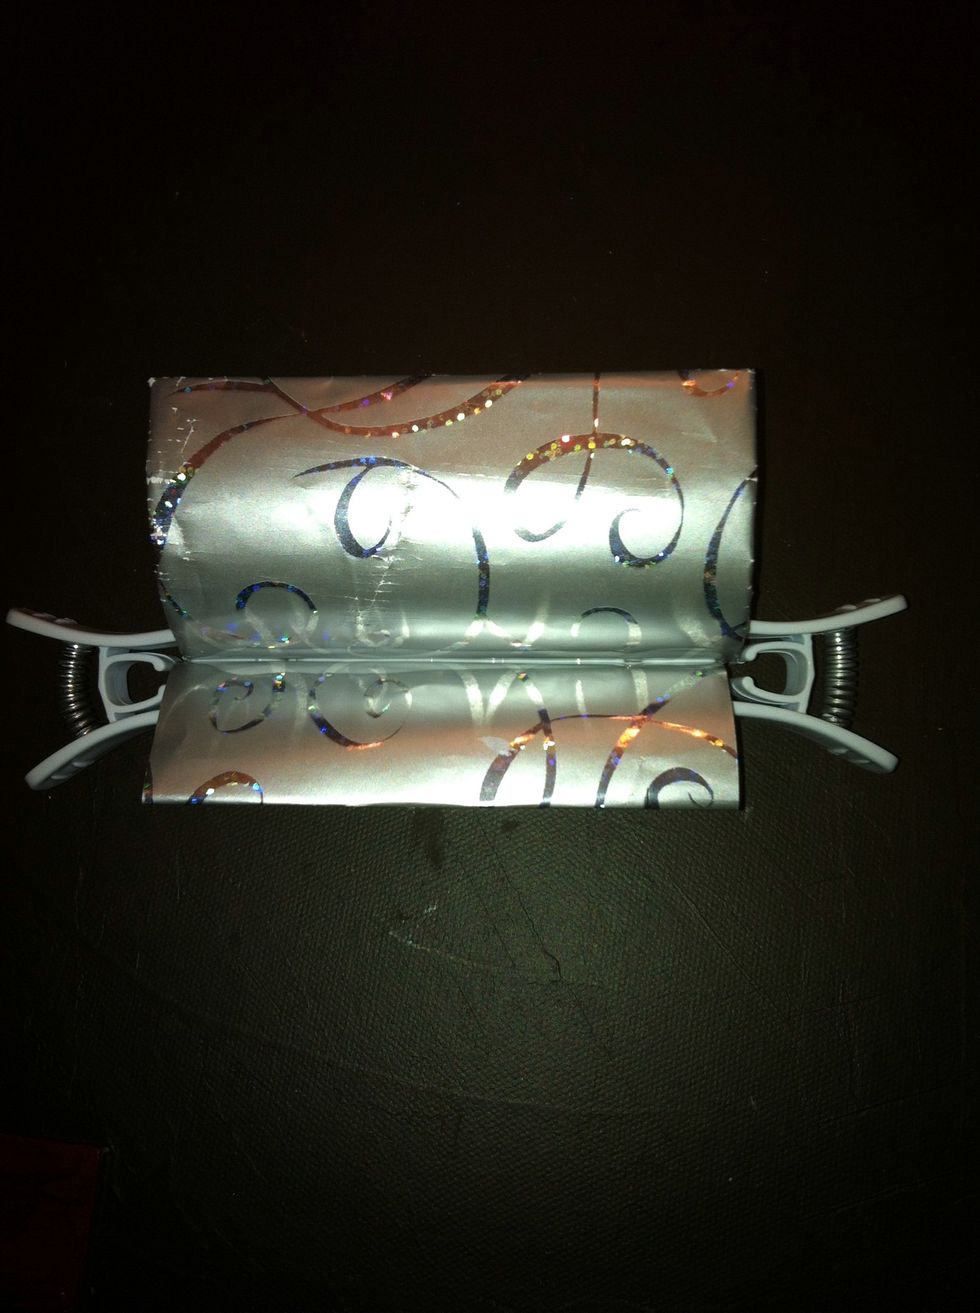
You can either hold the two pieces together while the glue is drying.... or secure it with two clothes pins instead. Your choice.
STEP 3: Assembly - mix and match
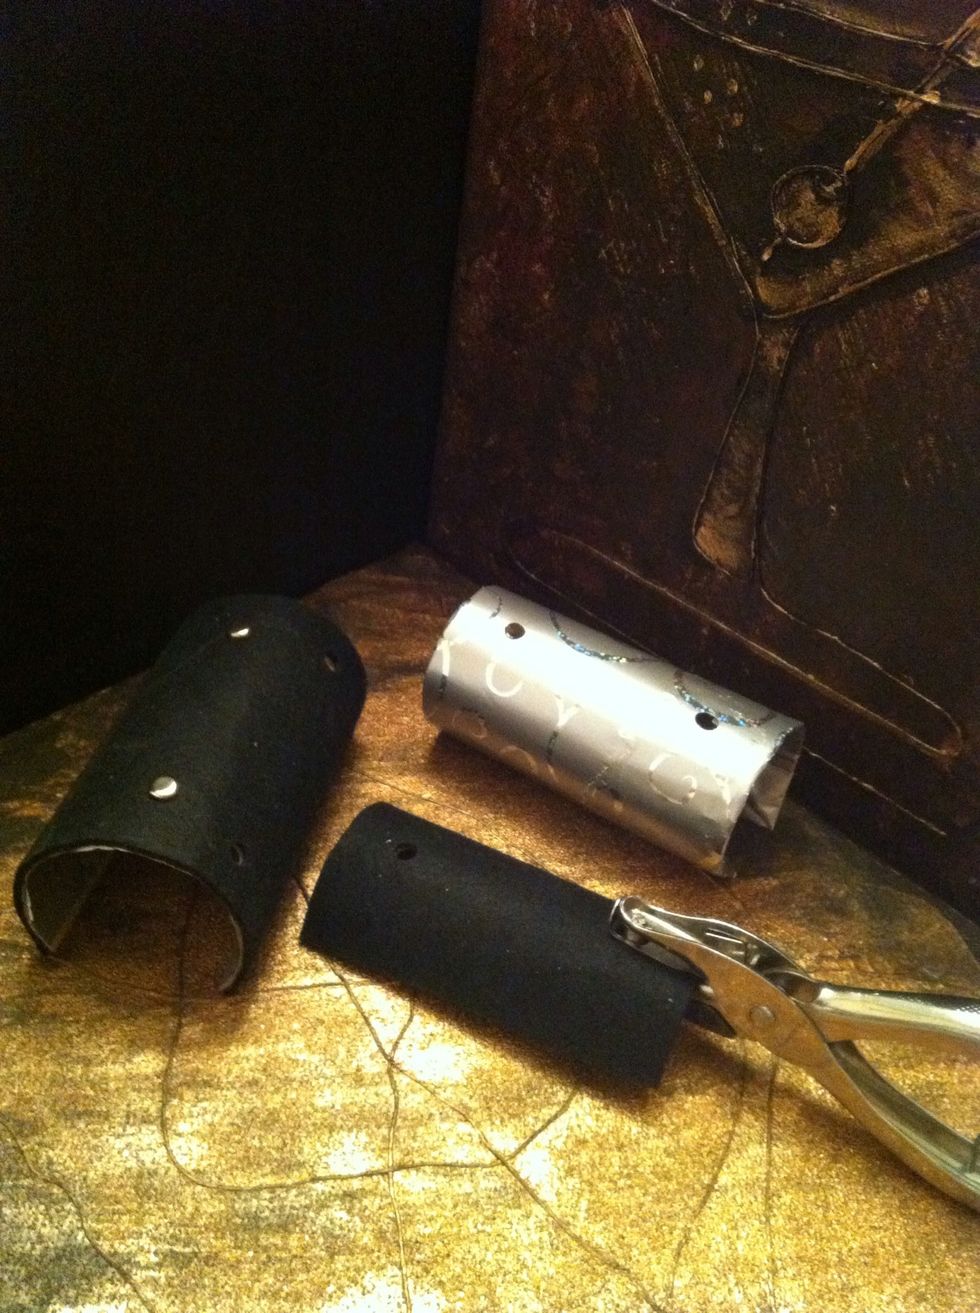
Punch 2 holes at the center bottom part of the roll. Repeat this step on the holder and base parts. Tip: Push the hole puncher as far in as possible for an even punch.

Hold the base and holder together, aligning the holes. Push the fastener through the napkin holder's inside...
and through the base.
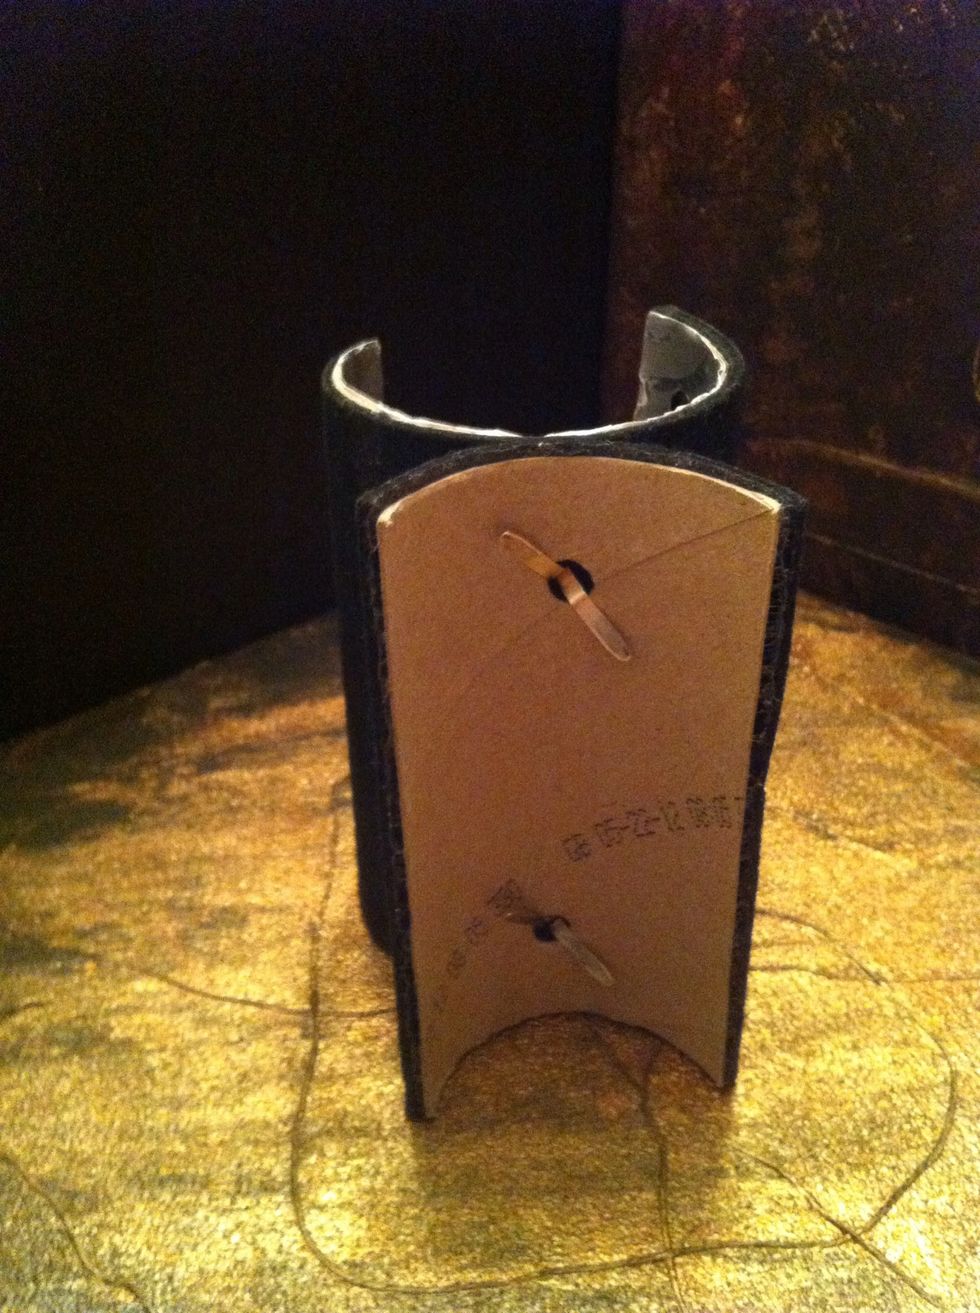
Spread those little wings to secure it in place. I like to leave the bottom undecorated to show that it was hand crafted. Feel free to add an inscription and an autograph.
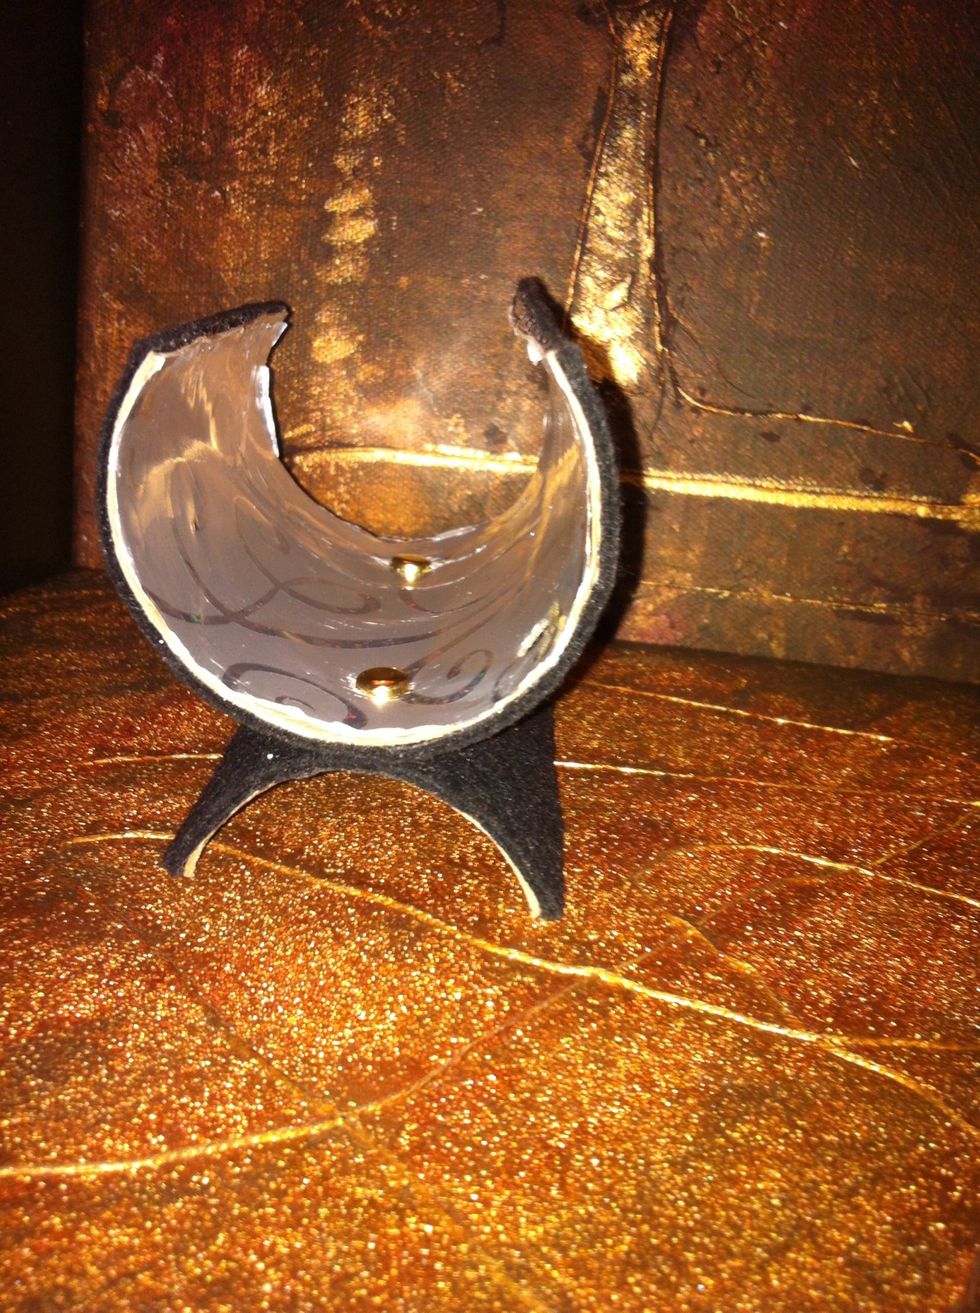
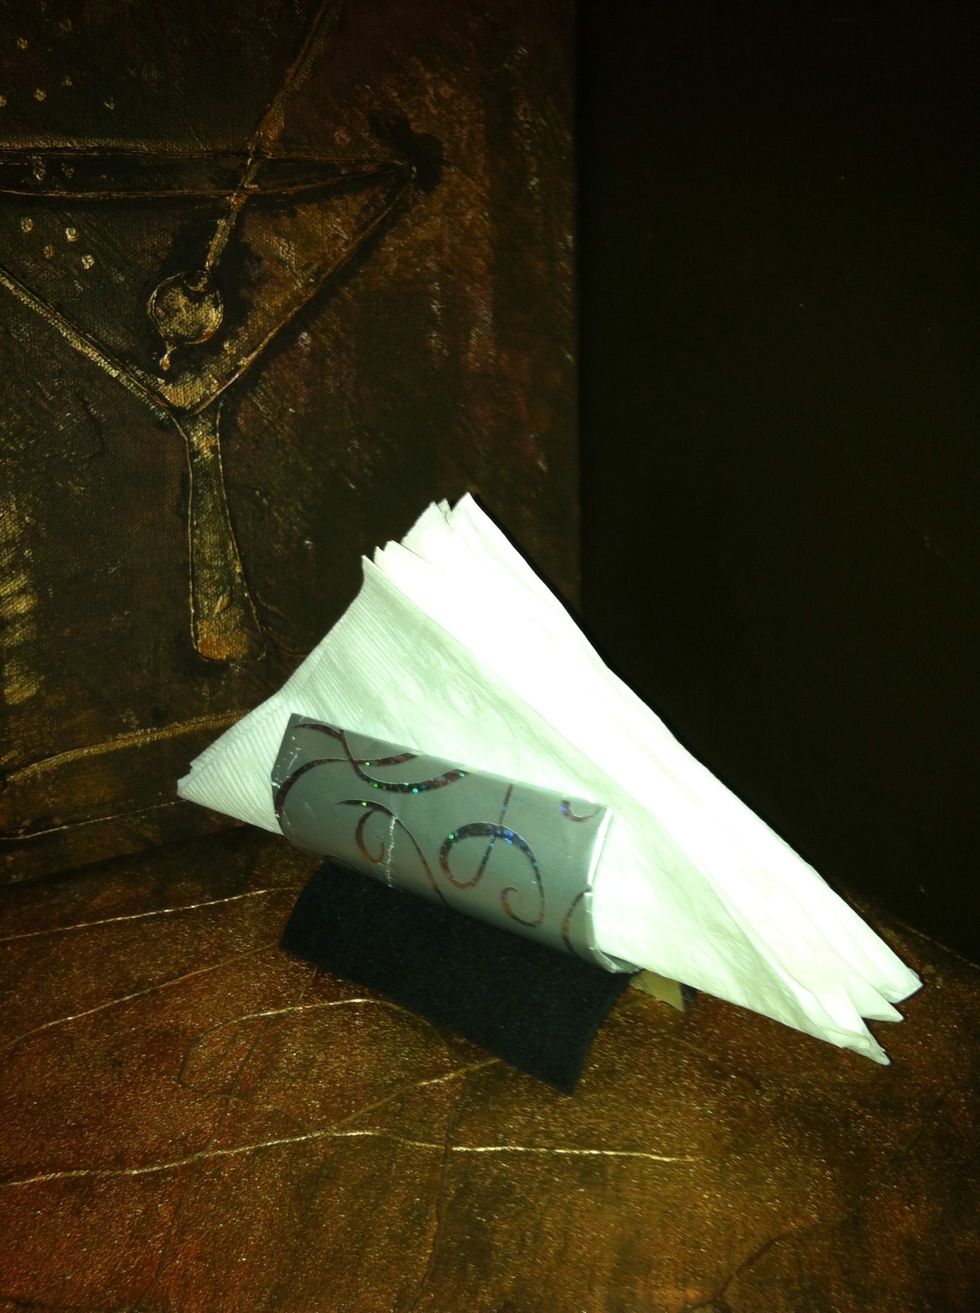
And voila it's now ready to be stuffed. Side note: I used black felt on the outside part and a silver gift wrap for the inside part. I call this piece the tuxedo.
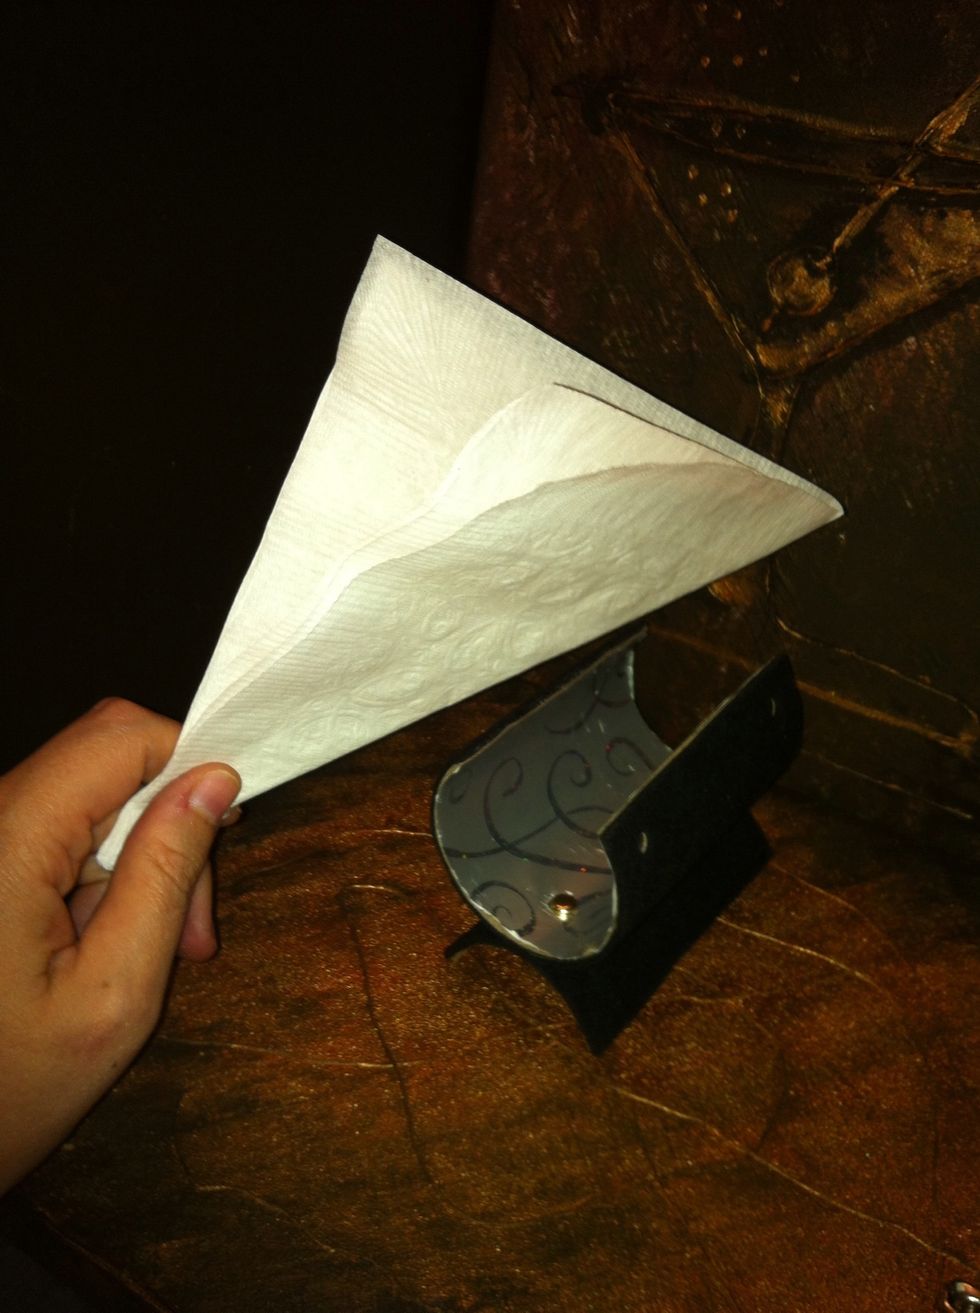
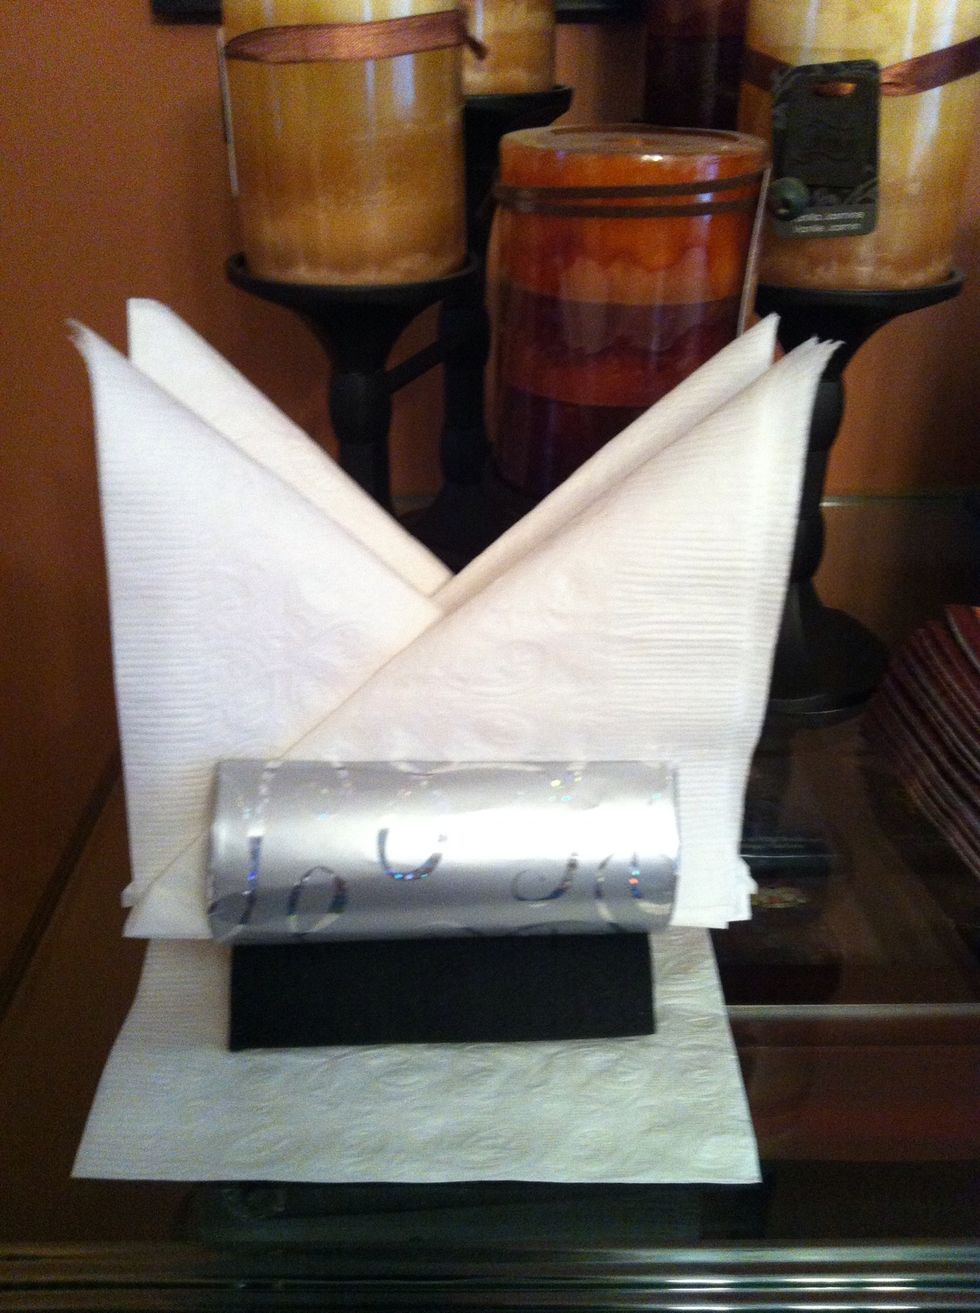
Add the napkins and you are done.
Top view...
For a mix and match effect make an extra decorated holder. Disassembling the unit is as easy as assembly. Take the holder and base apart, replace the holder with the new holder and reassemble.
Gift ideas...
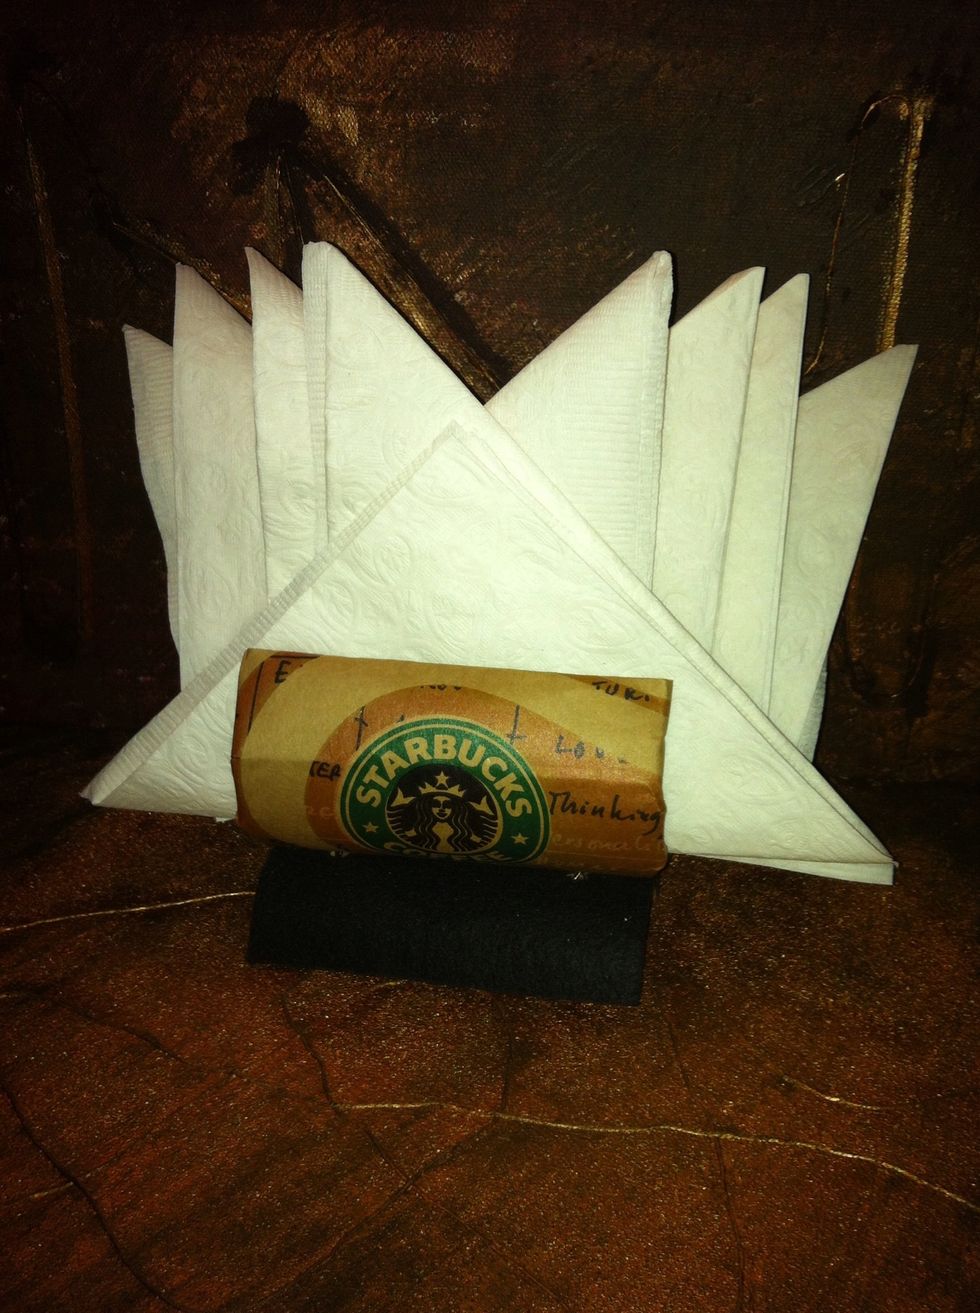
This one was made from a Starbucks shopping bag. Add a Starbucks gift card and give it to your favorite teacher.
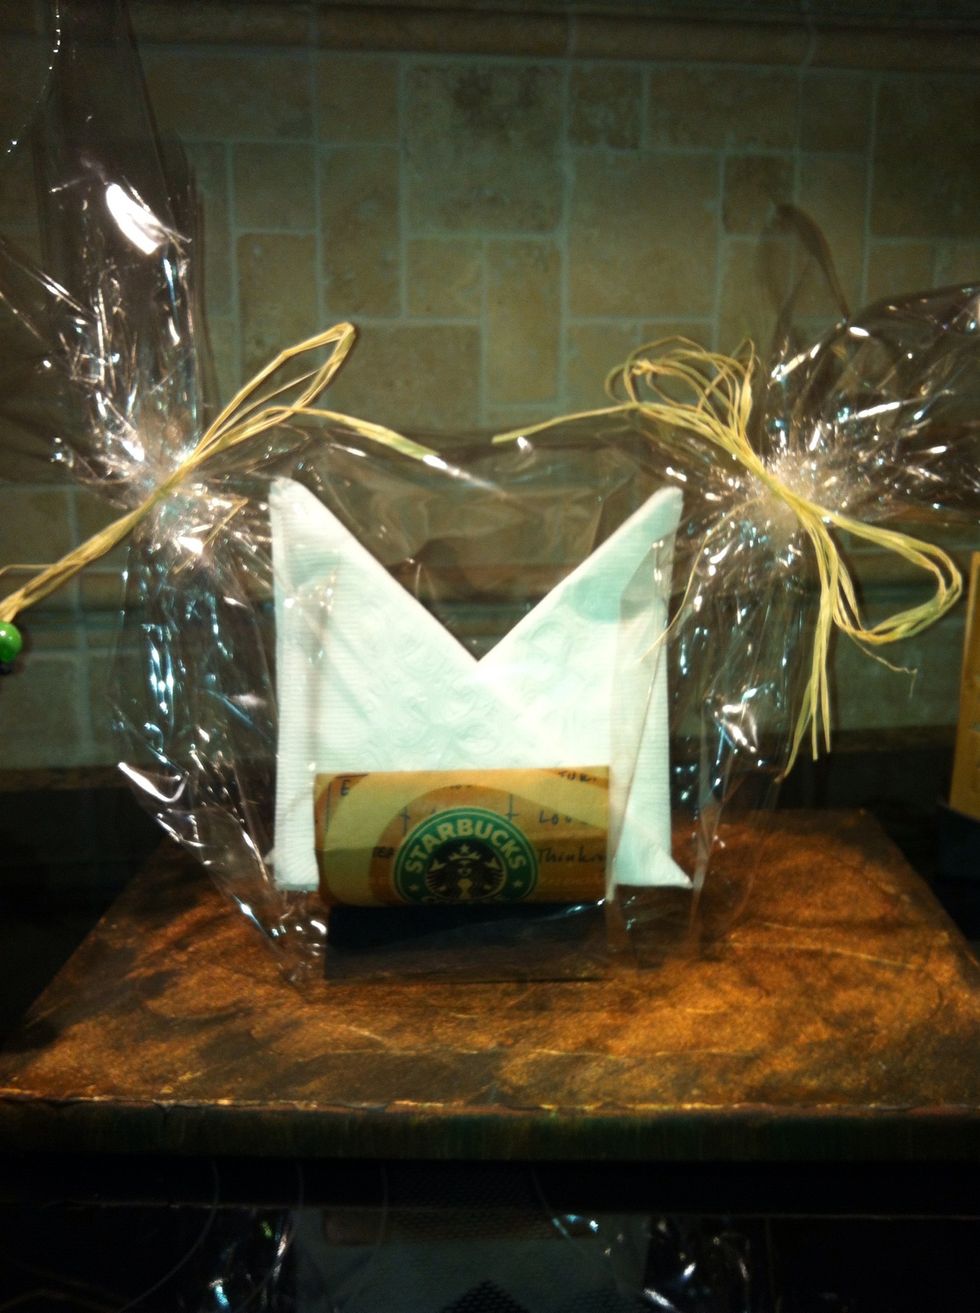
gift wrap the napkin holder and napkins in a clear wrap. Remember to fill up the napkins nice and tight to avoid spillage.
Extras...
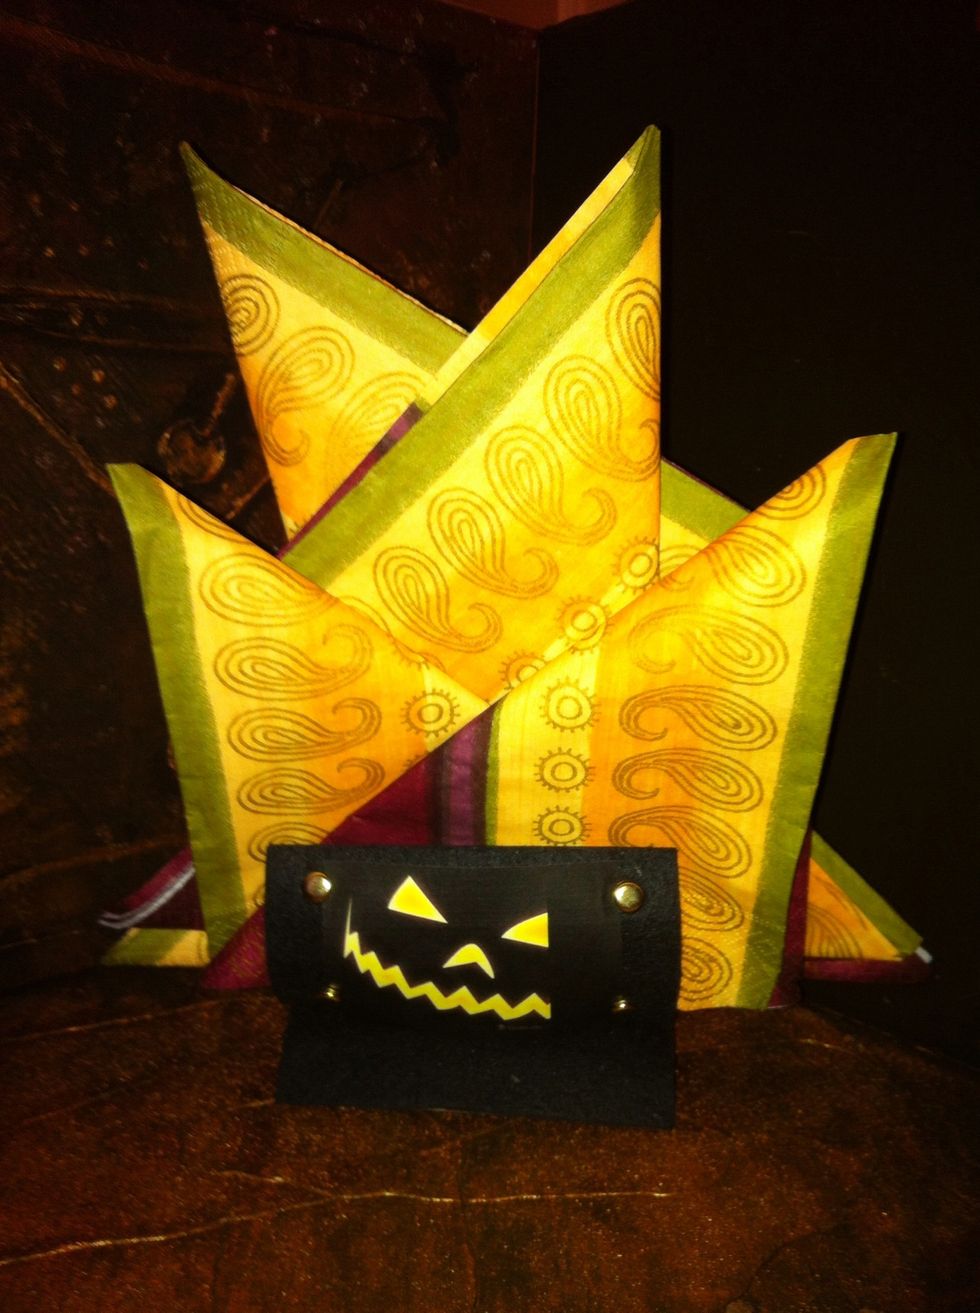
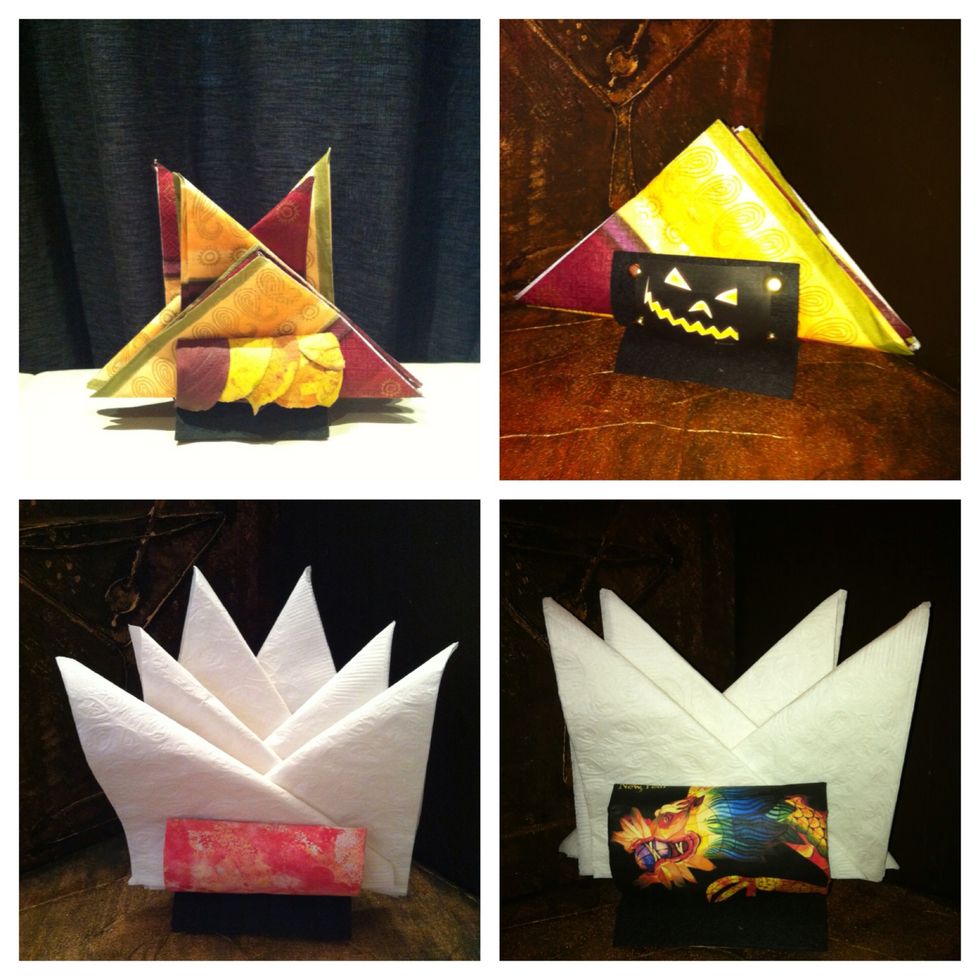
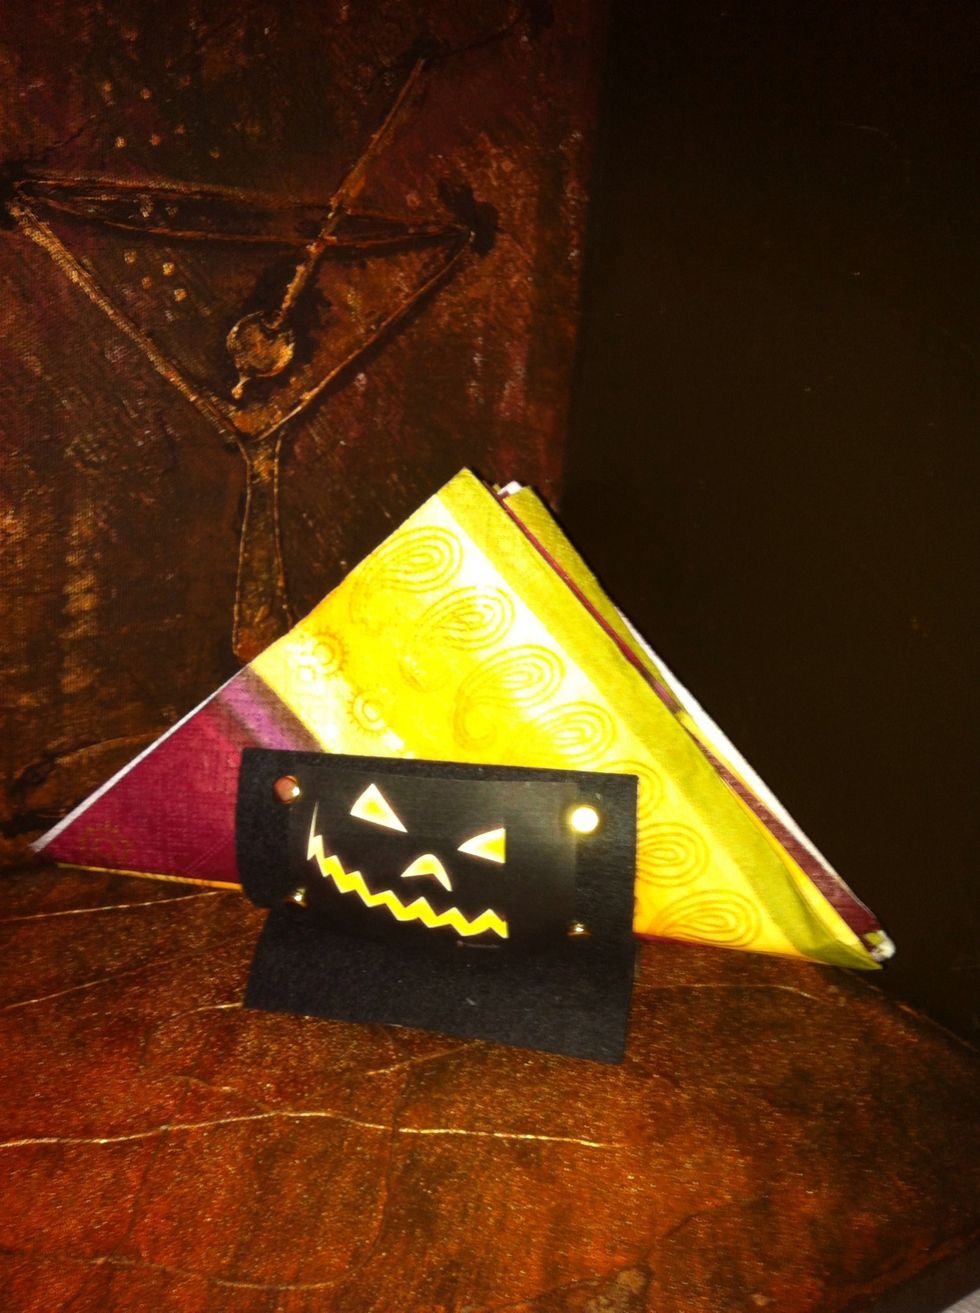
How about a season or holiday inspired design? Halloween, Thanks Giving, Christmas, ....
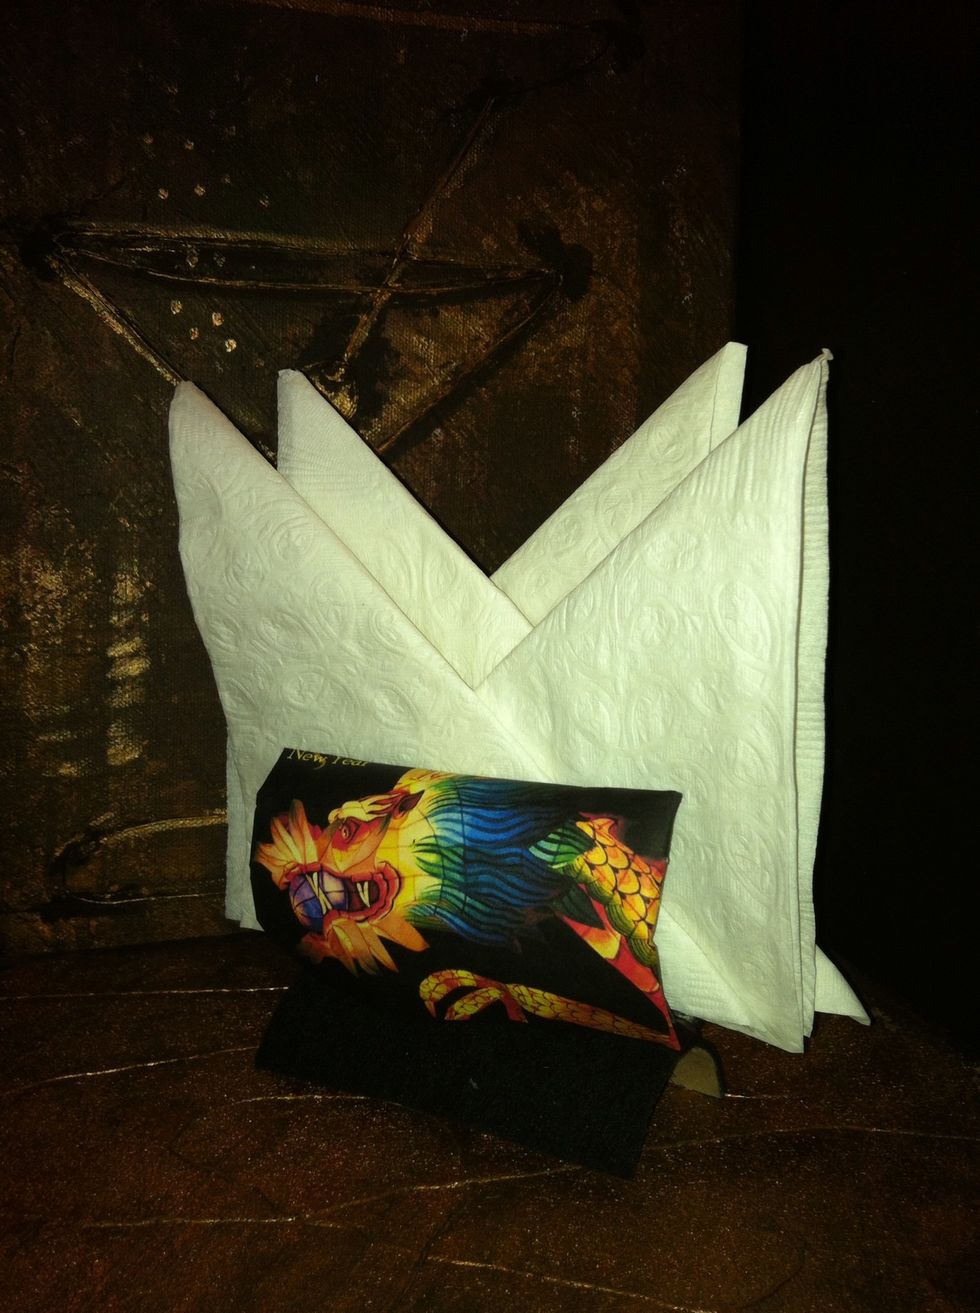
.... new years (this one features the year of the dragon), Easter, Hanukah...
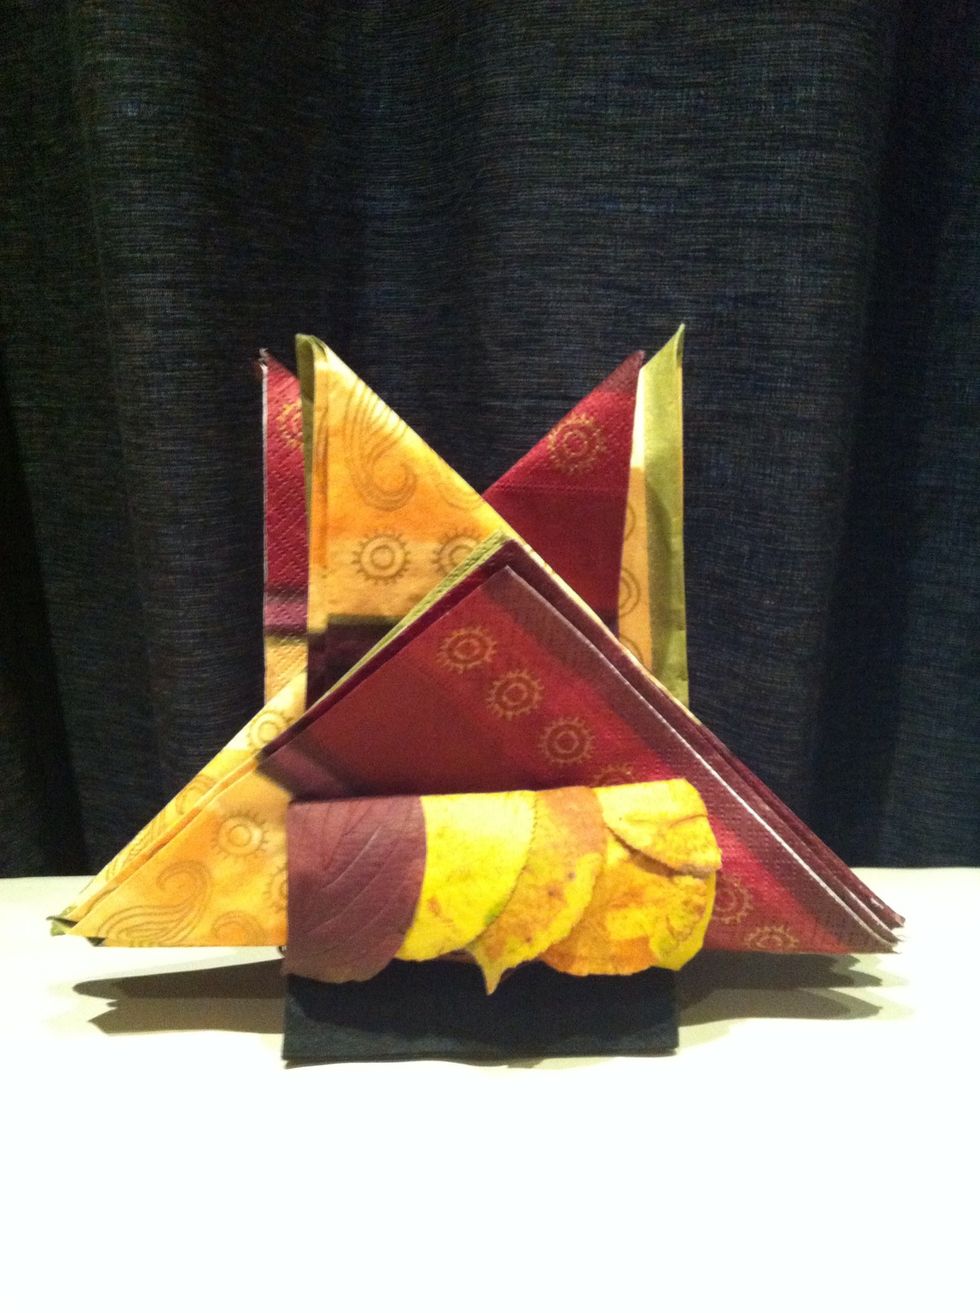
autumn.... or maybe a photo of the grand kids or the pets. The possibilities are endless.

My daughter made this design. She used a sponging technique to apply the paint. She prepared it for grandma.
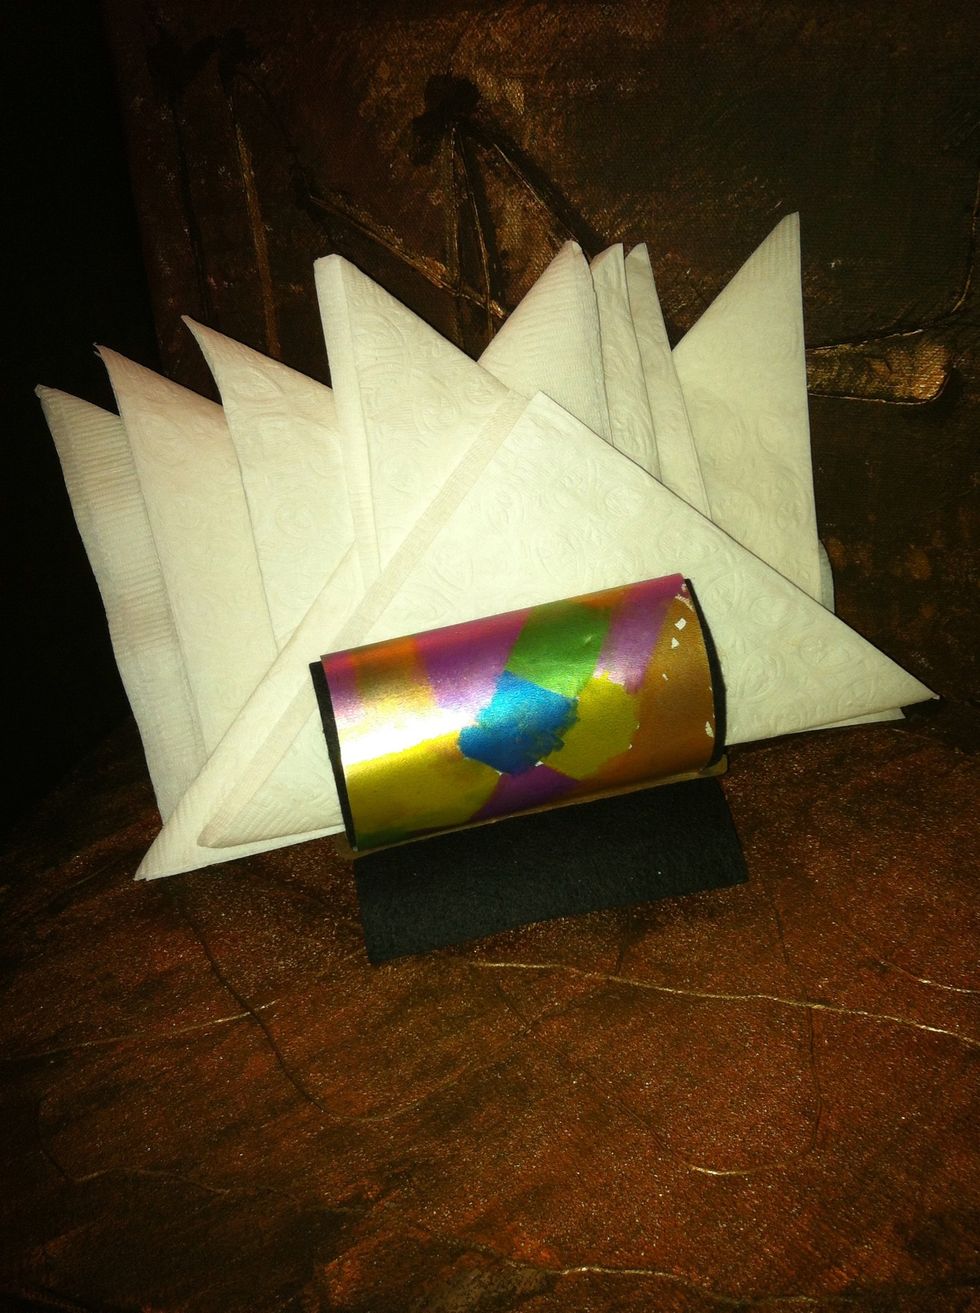
My son made this metallic design. He also arranged the napkins.
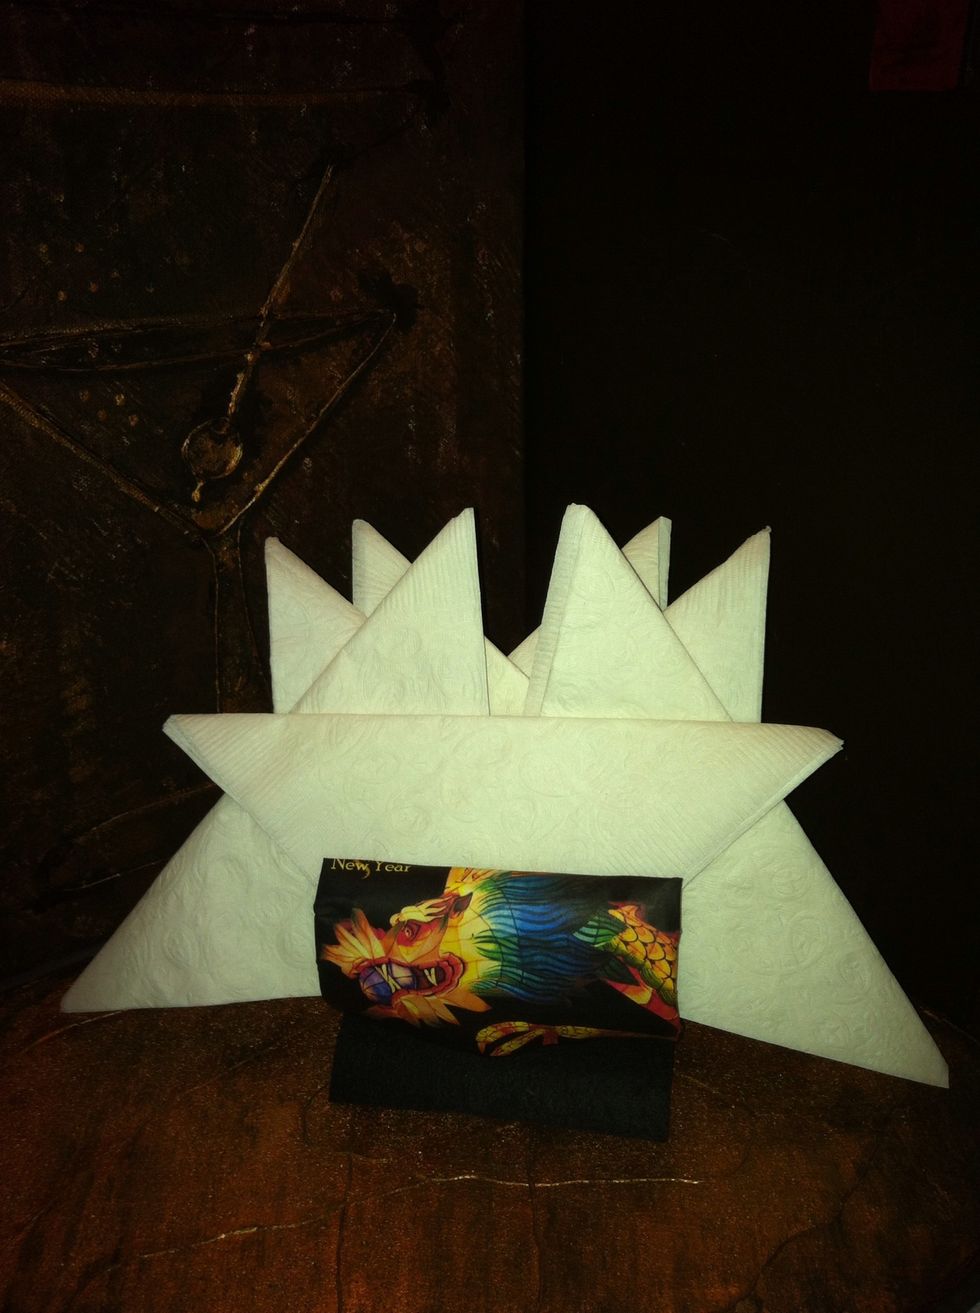
My creative son arranged the napkins in this one too. Here are a few more simple designs and arrangements my kids made...
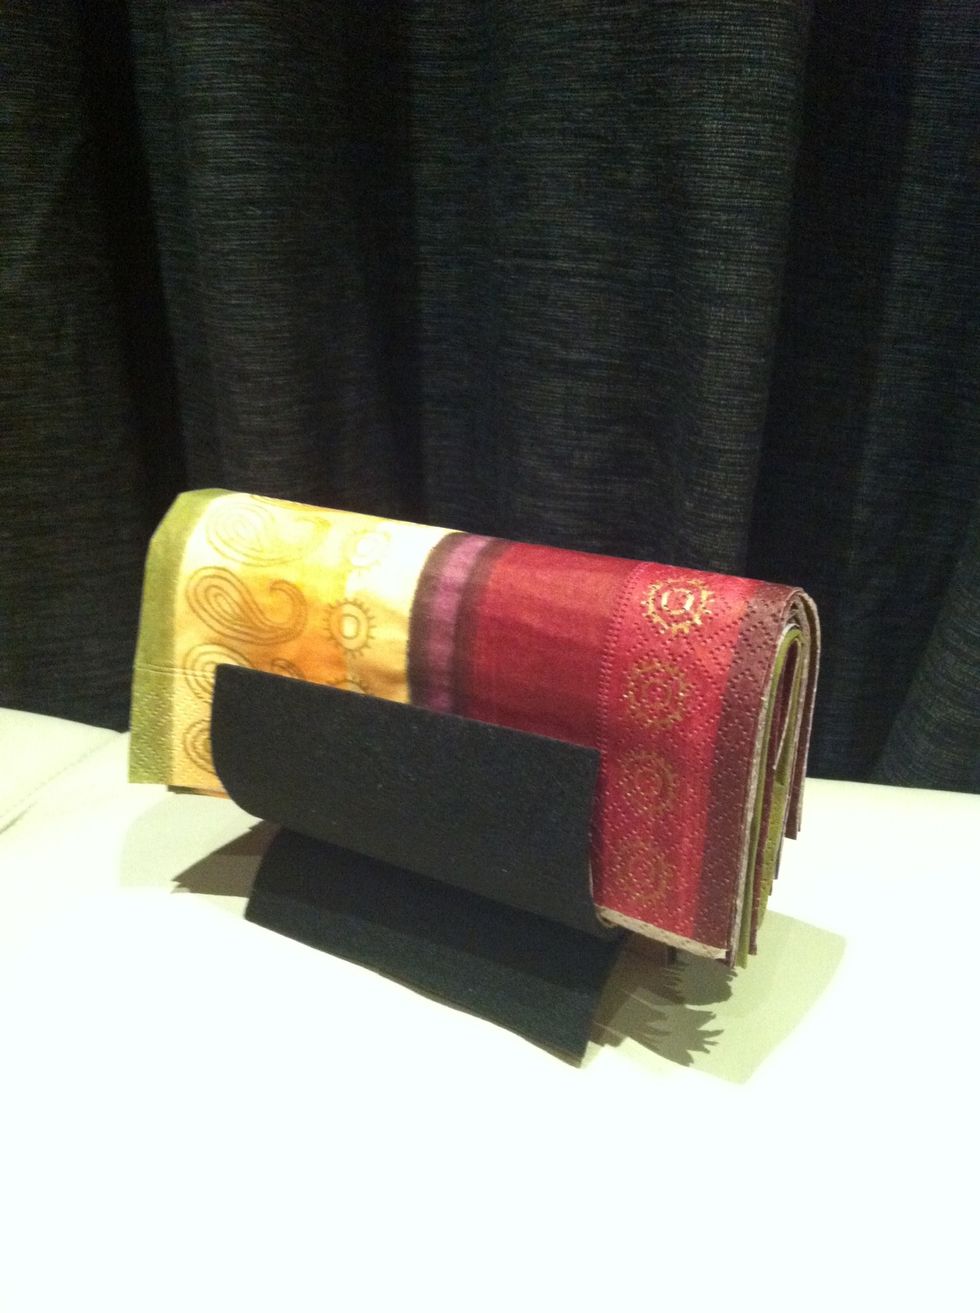
Design: black beauty. Arrangement: the rectangular fold, aka the lazy napkin shove.
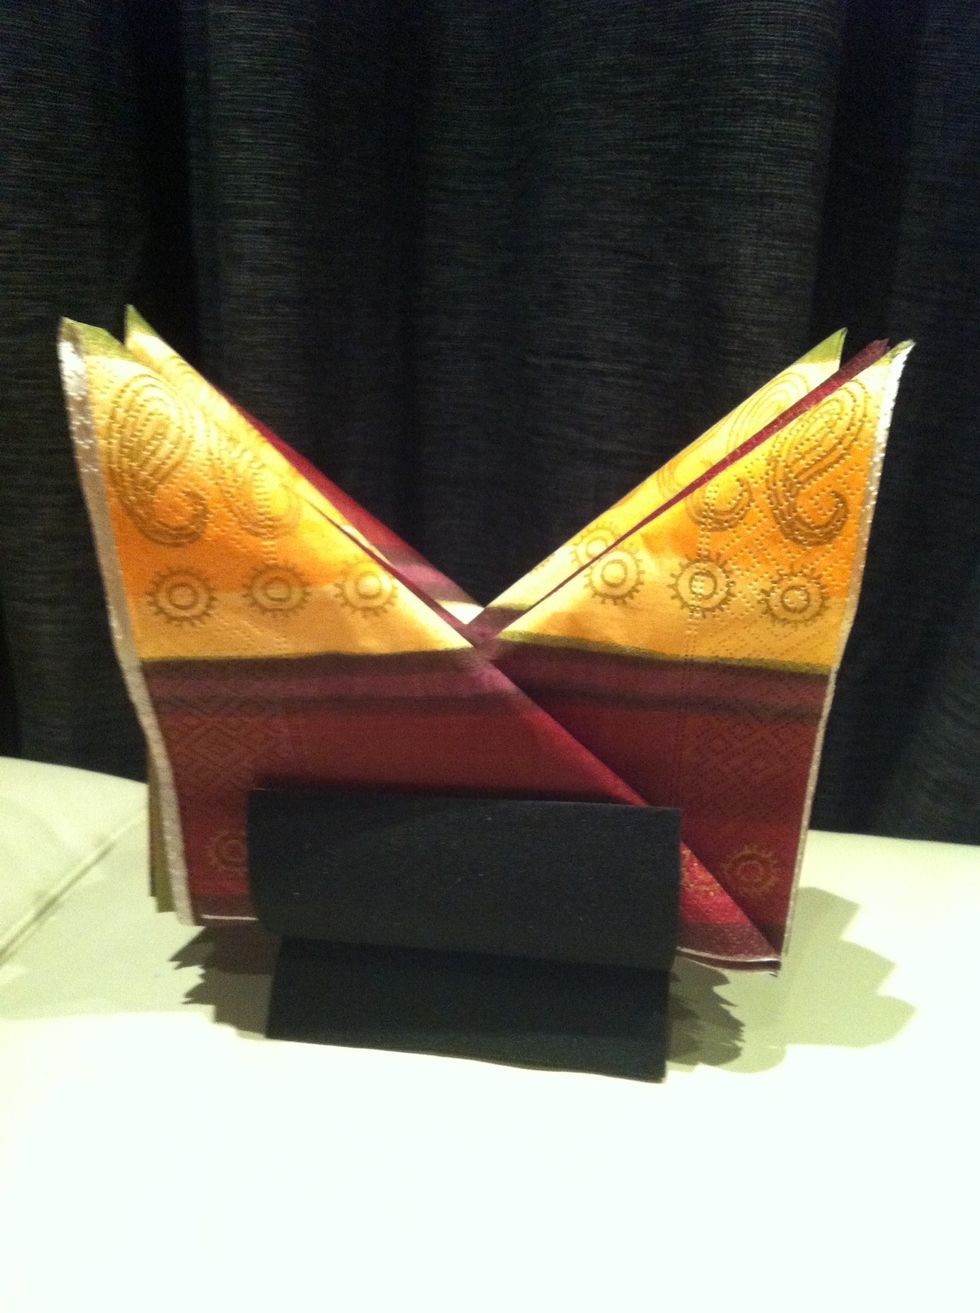
Design: black beauty. Arrangement: double sails.

Design: metallic. Arrangement: multi sails.
Design: metallic. Arrangement: the classic triangle.
Hope this 'how to make a napkin holder...' tutorial inspired you.. Share your decor ideas in the comments section.