The Conversation (0)
Sign Up
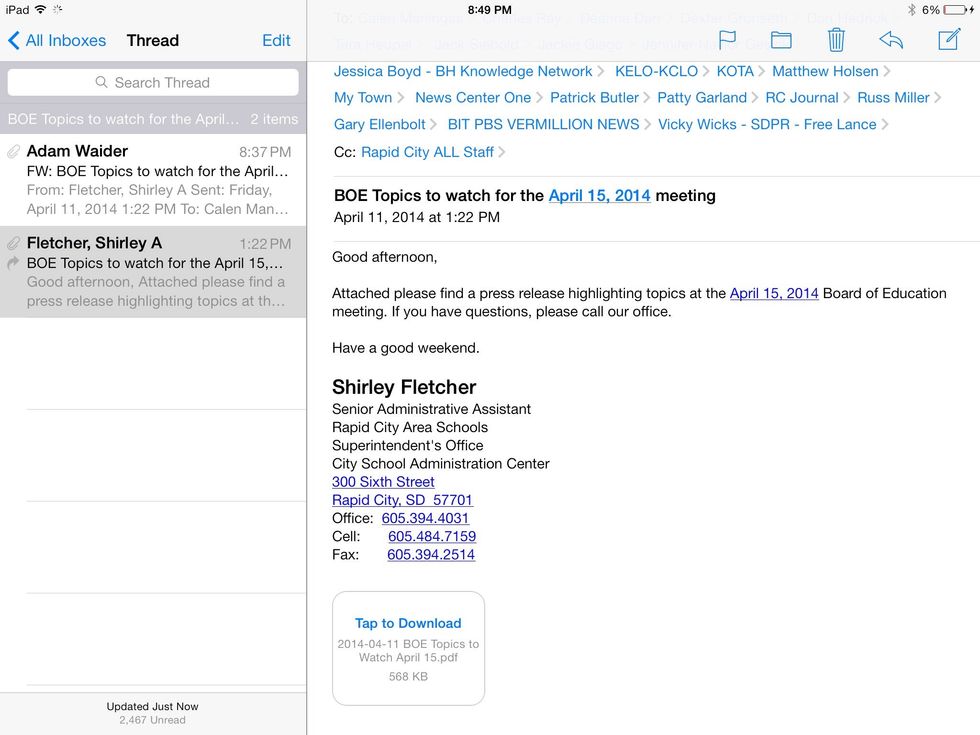
Method 1: (Requires Google Drive App be installed) 1:1 Open the email with the attachment in question from the native iPad email app. Then, scroll to the bottom of the email to find the attachment.

1:2 The attachment will open in the reading view. Once loaded, long press a blank area in the attachment to select the attachment.
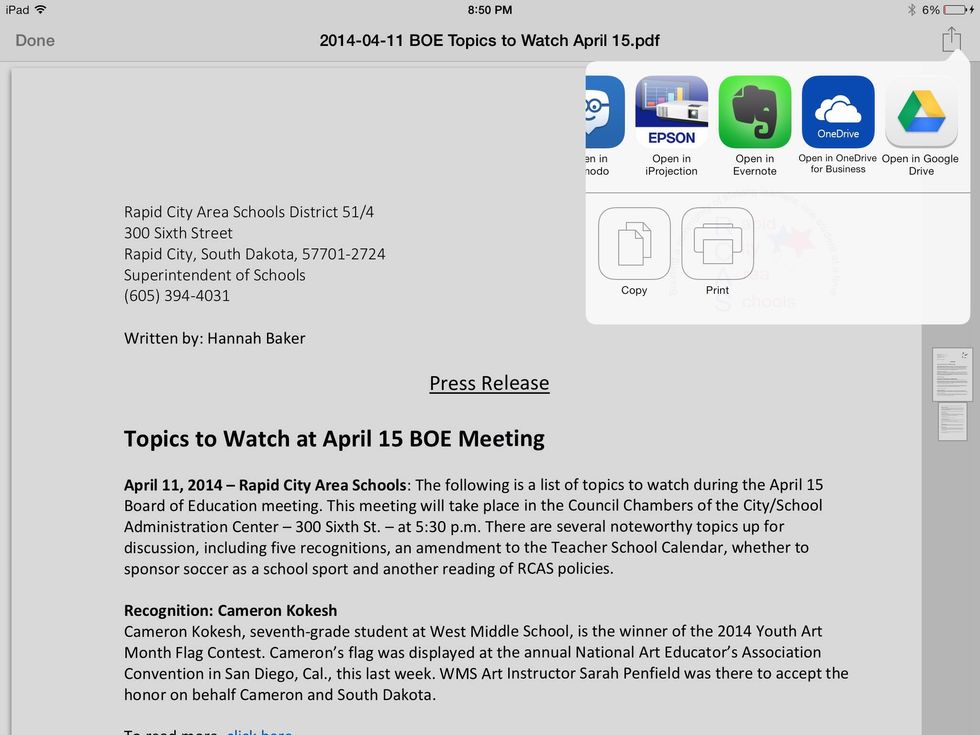
1:3 Tap the upload button and scroll over to tap "Open in Google Drive."
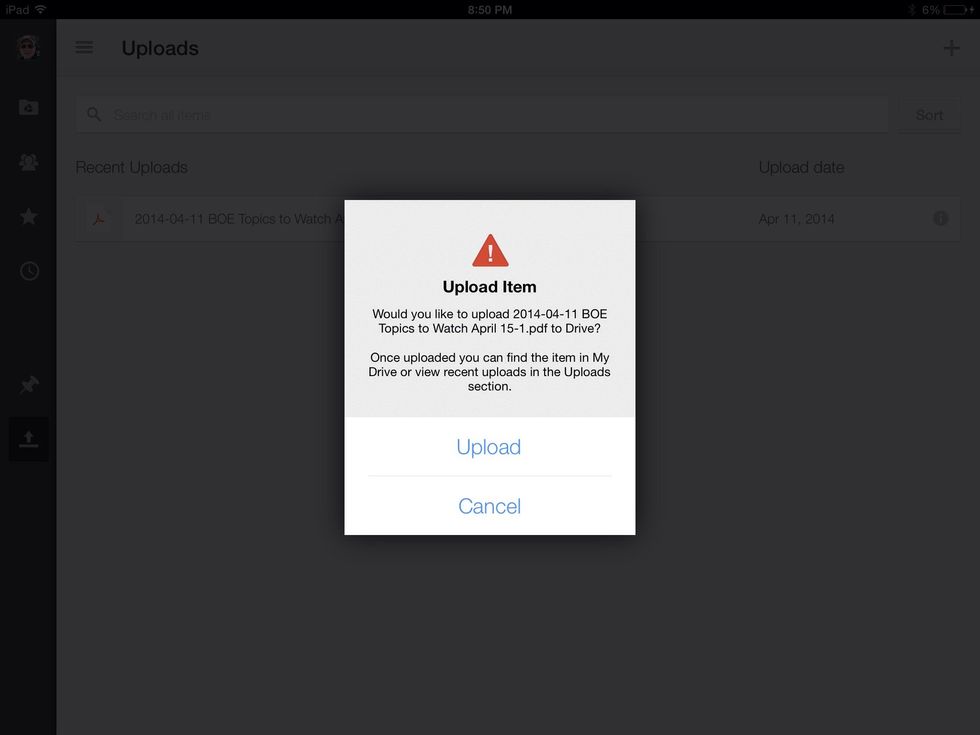
1:4 Tap Upload, and voilà... Your attachment is at home in the cloud.

Method 2: (Requires Chrome Browser and that Google Cloud Print be set up) 2:1 Open Chrome browser and navigate to the gmail home page. Sign in if asked.
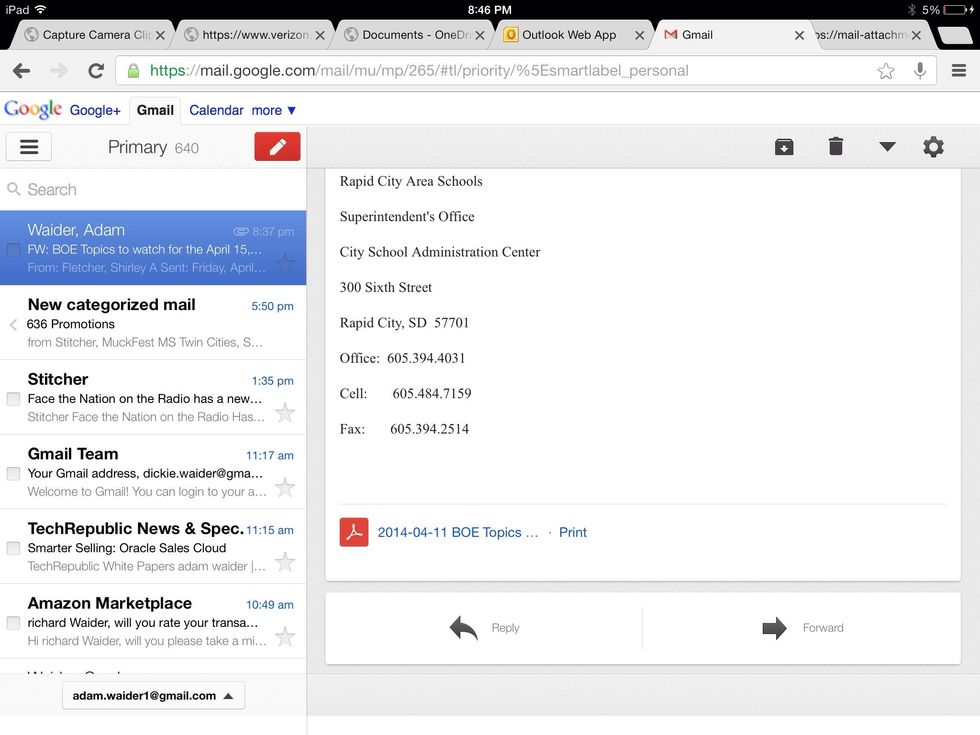
2:2 Scroll the the bottom of the email to find the attachment to be upoaded, and tap print.
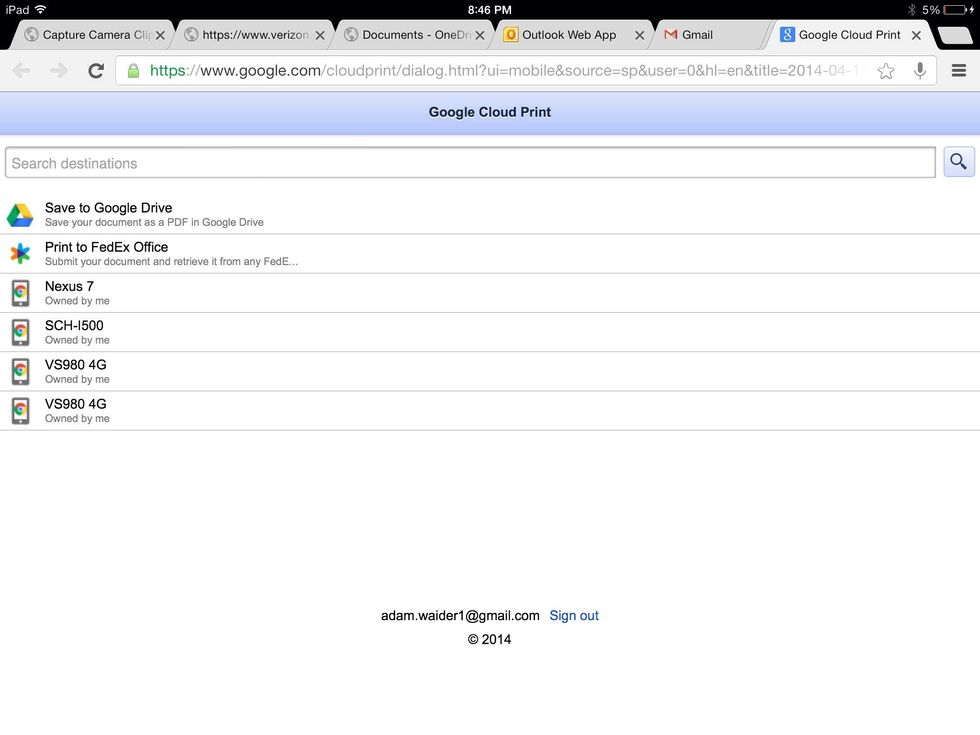
2:3 When Google Cloud Print opens, choose "Save to Google Drive."
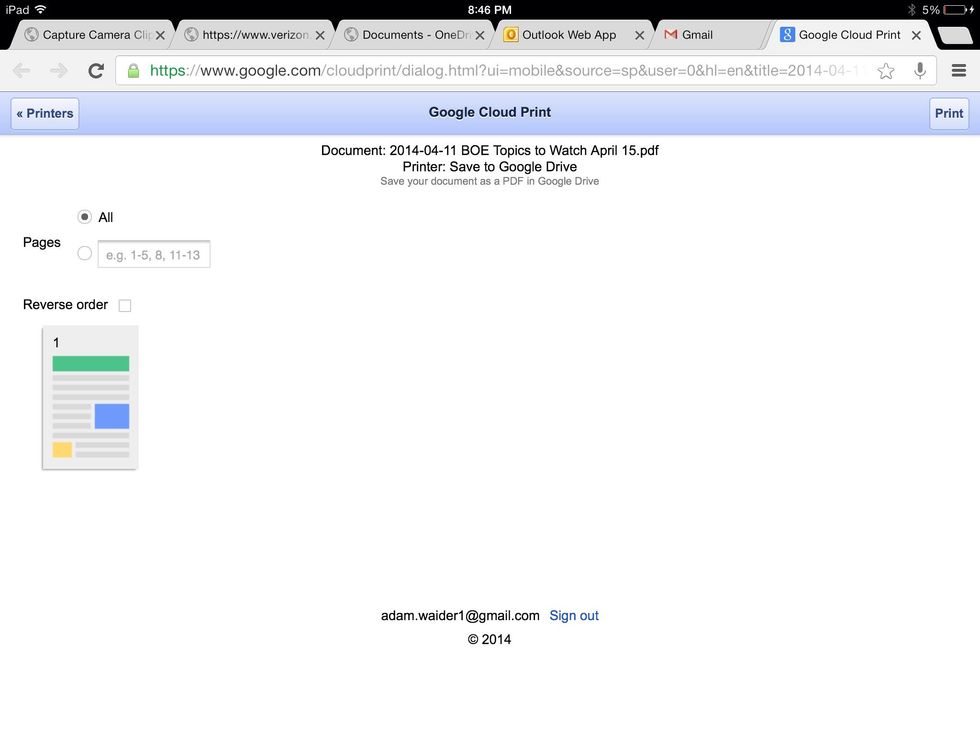
2:4 Select standard print rendering options as though actual printing were to occur, and then tap print.
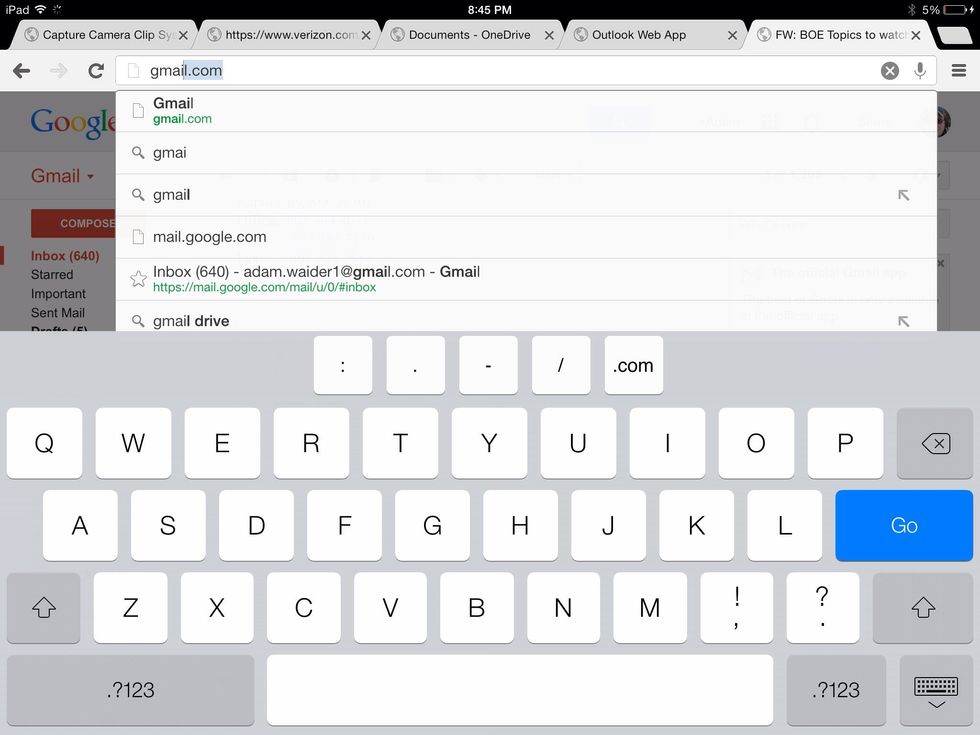
Method 3 (Requires only Chrome Browser App) 3:1 Open Chrome Browser and navigate to the gmail site. Sign in if asked.
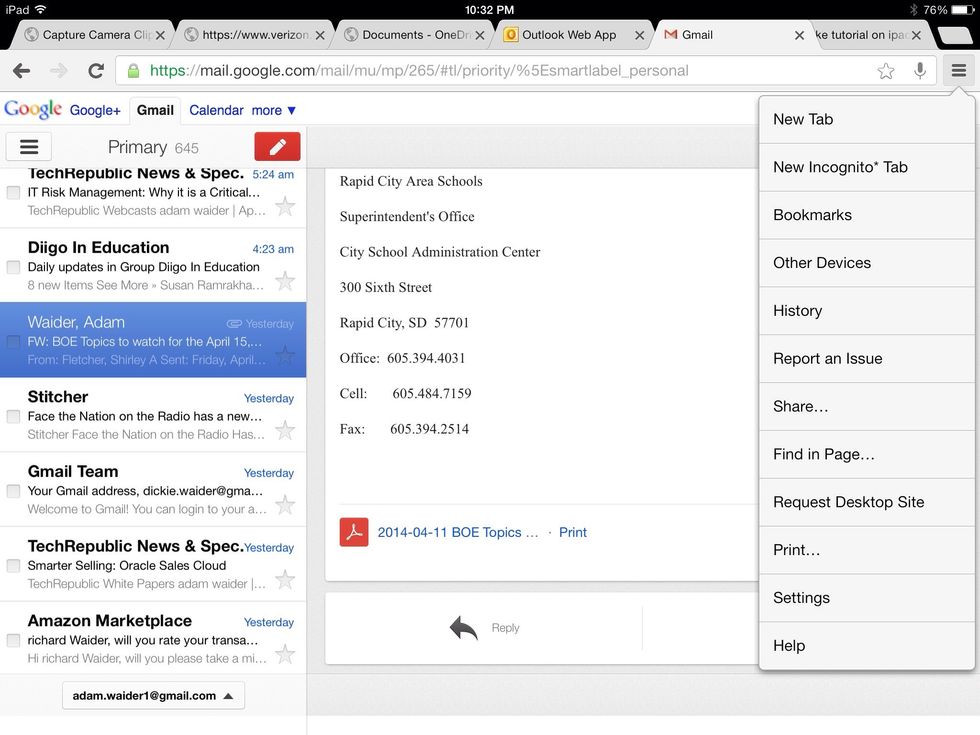
3:2 Before selecting any email, tap the setting button in the upper right hand corner of the window. Then, tap "Request Desktop Site."
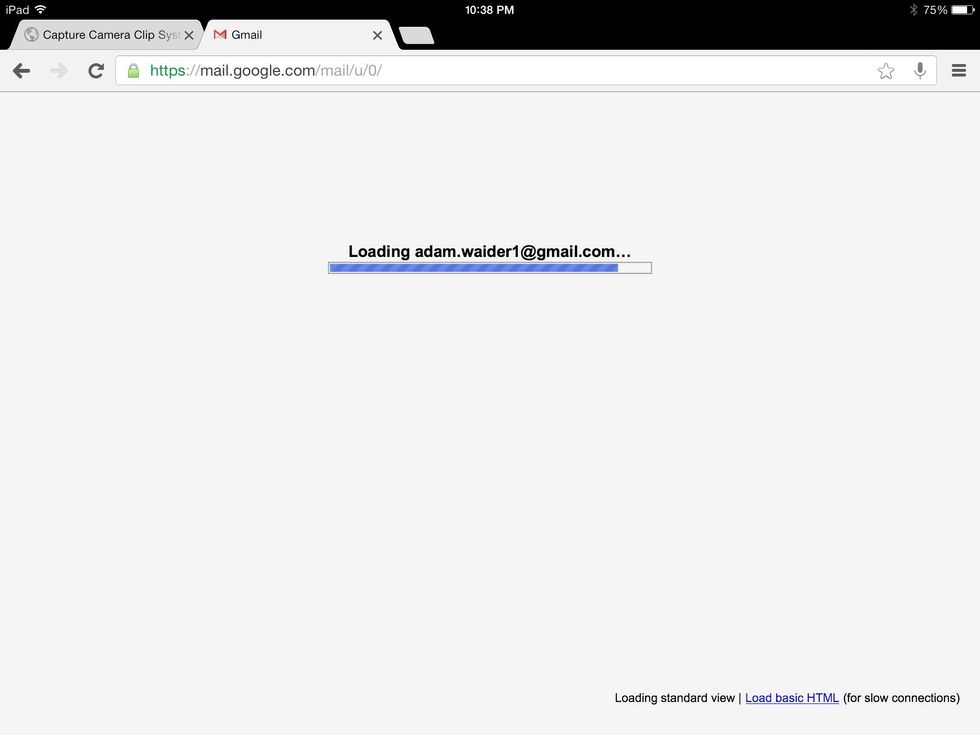
3:3 Wait for the site to load.
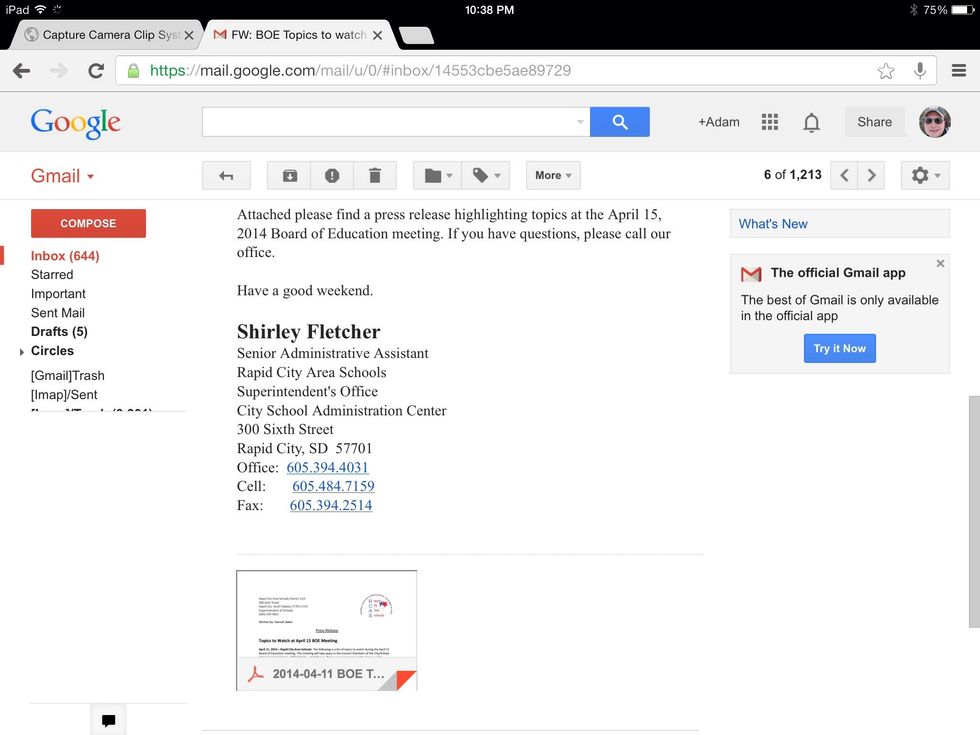
3:4 Locate the email containing the desired attachment, and scroll to the bottom to locate the attachment.
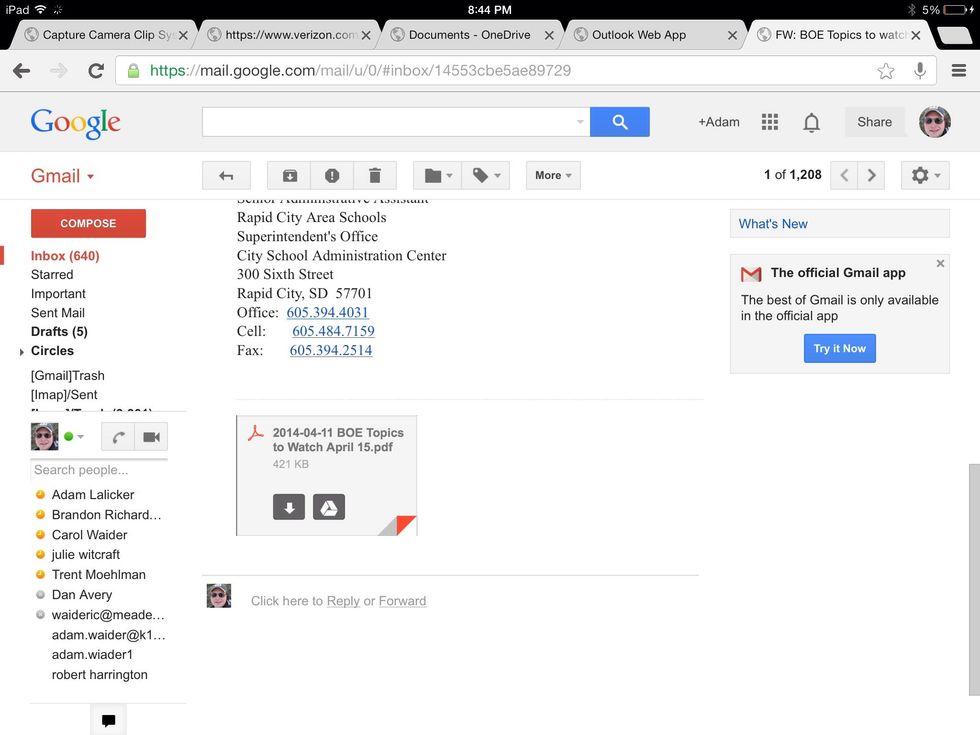
3:5 Tap the attachment once to reveal the Download and Save to Google Drive buttons. Choose the Google Drive triangle.