The Conversation (0)
Sign Up

Here's your supplies... How hard can this be? Not very, but you will need patience, some organization and some helpful hints. I'll help with the last two - the patience is on you!
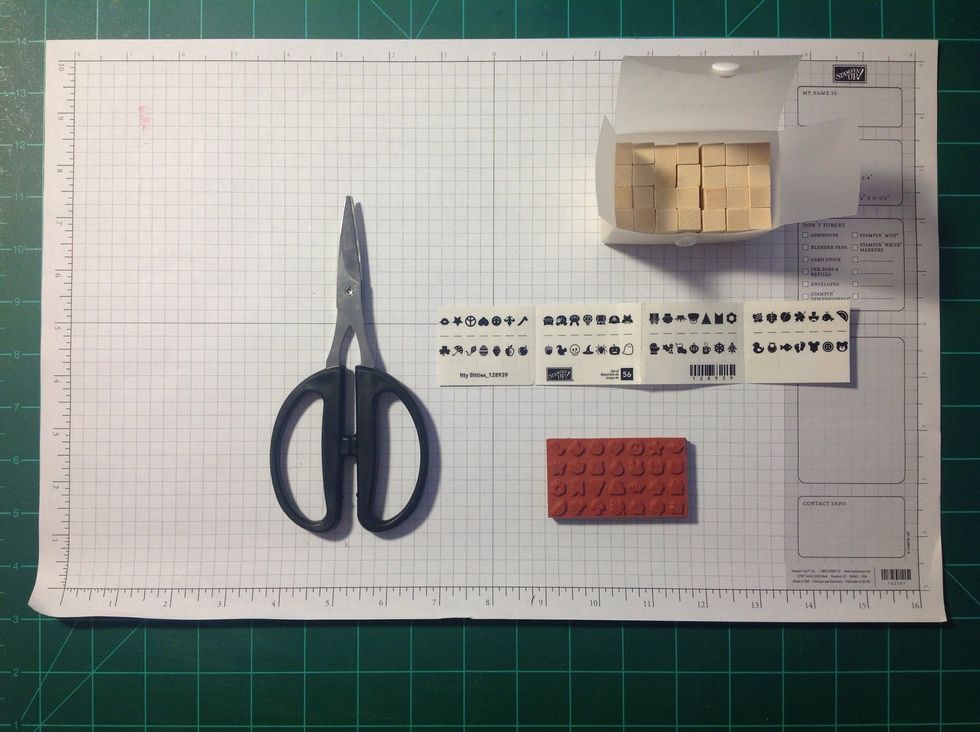
Here's the stamp set unpacked. Stampin' Up!'s Craft & Rubber Scissors are designed to cut through the rubber and sticky foam cleanly, and give good sight lines so you don't cut the image.
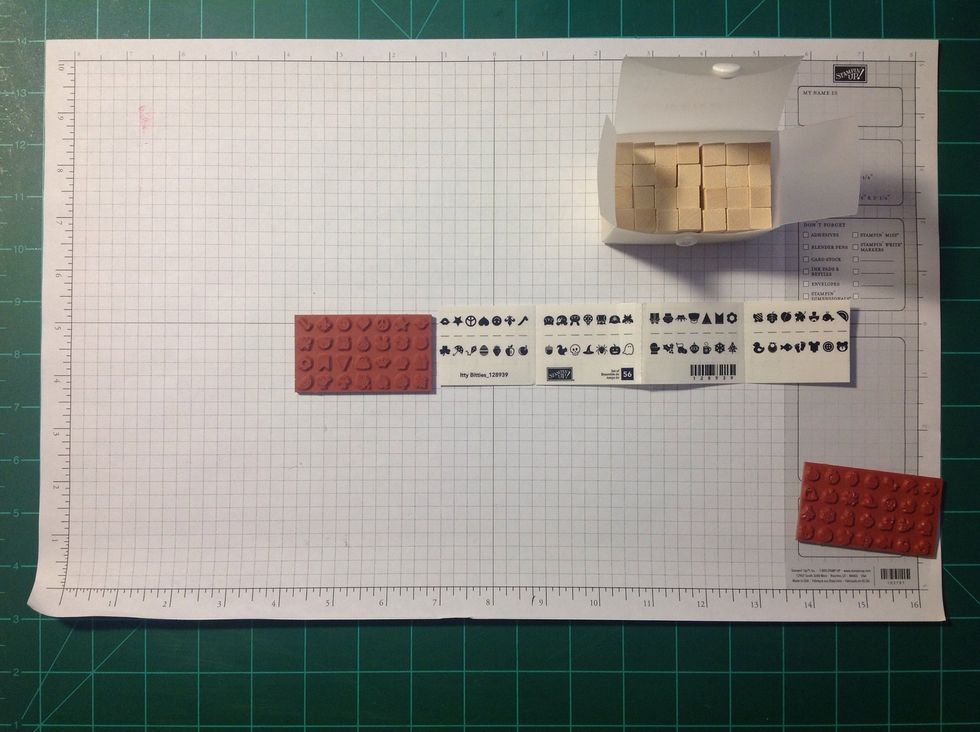
Notice that the rubber images are in the same order as the stickers for the wood blocks. This will help us stay organized! (Who wants to play mix'n match with 56 mini rubber pieces? Not me!)

So, we'll cut each row out so we have long strips...
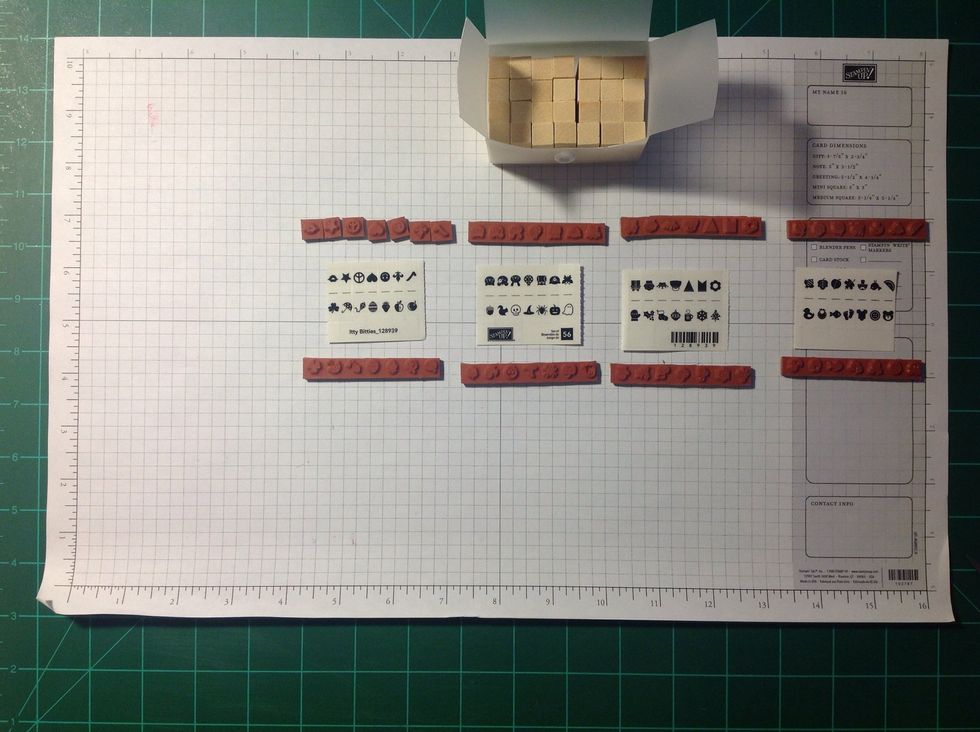
...and match each strip up with the corresponding stickers. This is a "double mount" set. That means there will be a stamp mounted on the top AND bottom of each wood piece. Do NOT cut them in half!

Now we'll do the close cuts. Take your first strip and cut the rubber as close as you can without cutting the image. The SU Craft & Rubber Scissors rock for this!

Still cutting as close as you can, cut the individual pieces. Cutting this close will help keep you from getting those annoying ink shadows from the stamp edge if you happen to roll a little.
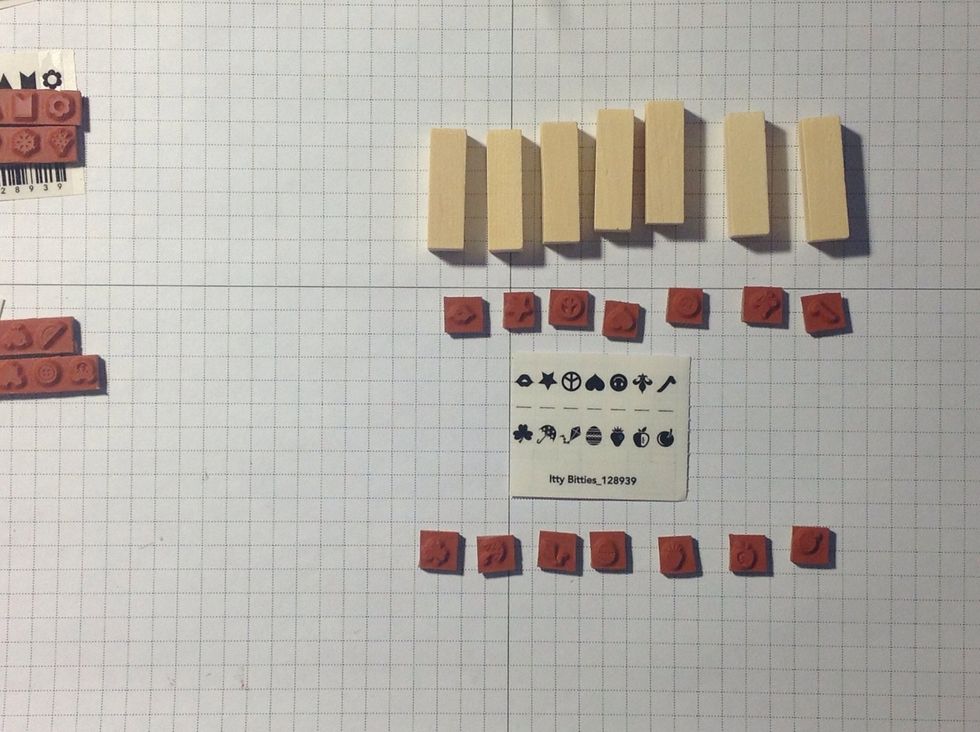
Next take out enough wood pieces to complete the first set. Line them up with the cut stamp images and stickers.

Apply one sticker to each wood piece, making sure they're still lined up with their corresponding rubber pieces.
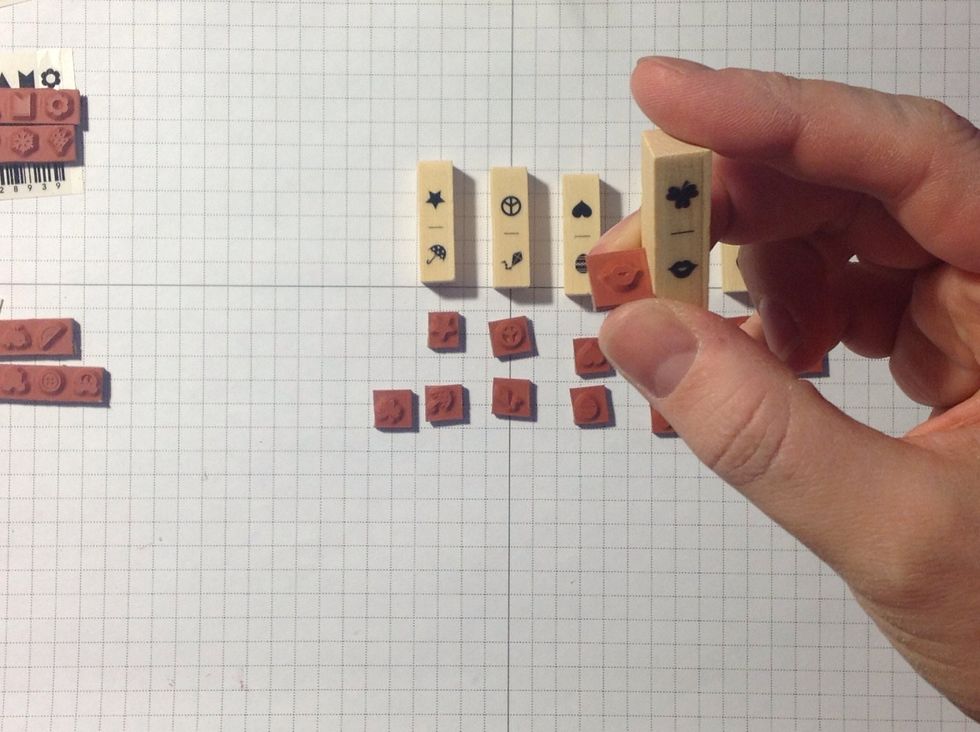
Now it's thinking cap time! As you stamp, you want to see the sticker on the wood facing you, so the rubber needs to be affixed correctly. I think of it kinda upside-down.
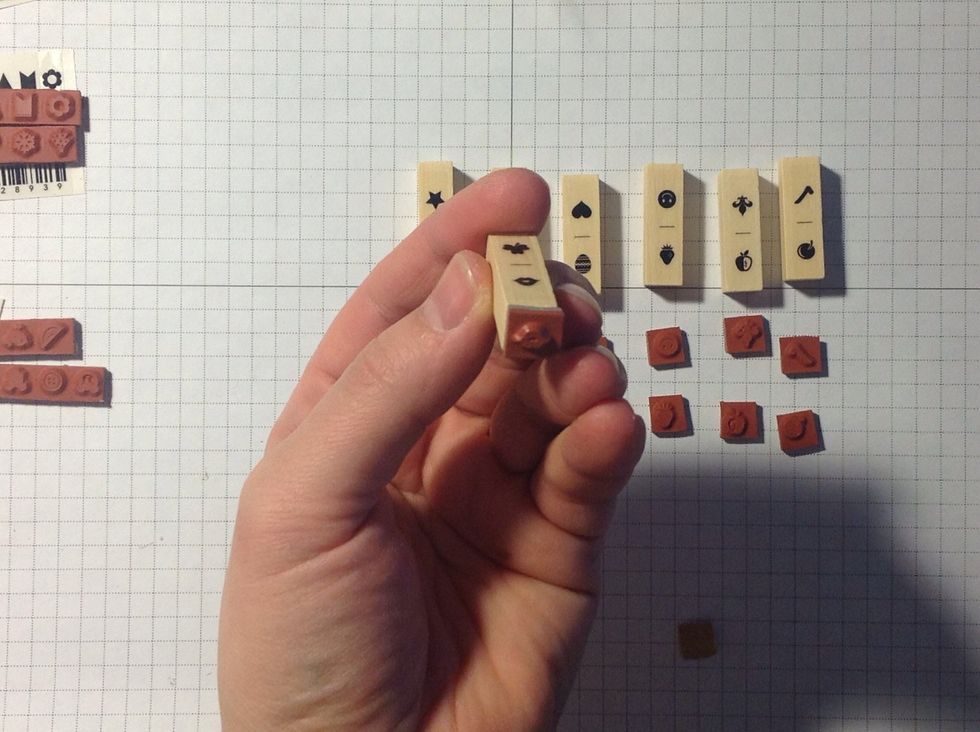
See how it looks upside-down? But when it faces the paper with the sticker towards you, it will be right-side up. Also notice that I didn't really cut close enough on this one...

Here's another example showing how the stamp looks upside-down. I cut this one better :)
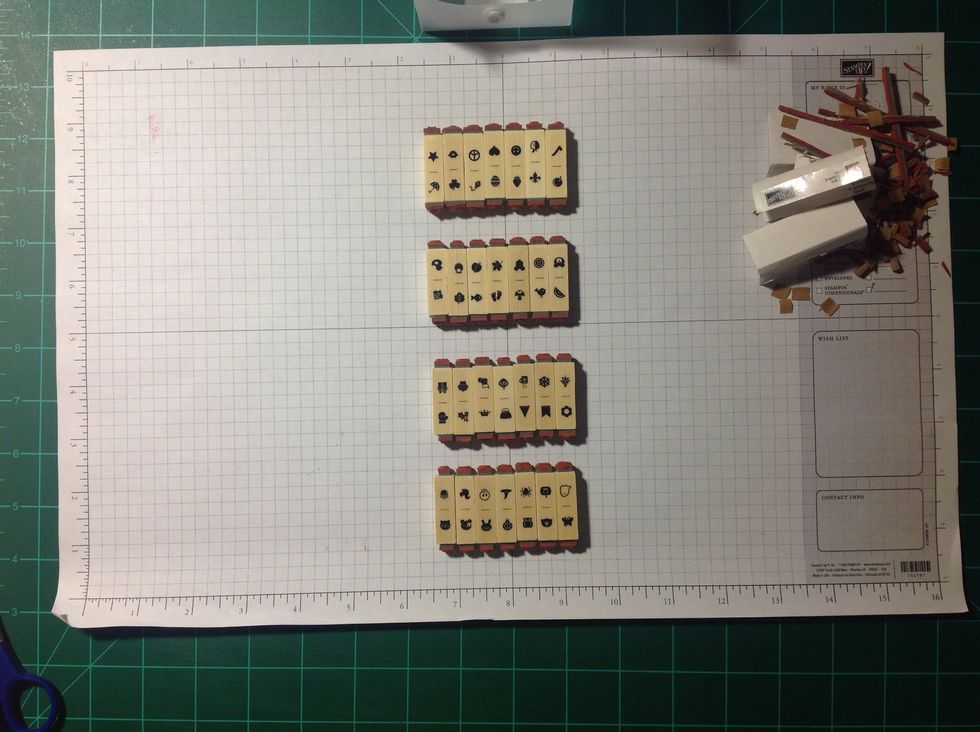
Once you've finished a set, move onto the next ones. It took me about an hour to mount all of these lovelies. Thank goodness all the other SU sets are laser cut! What a timesaver!!
For some examples of how I used this set, and other great Stampin' Up! products (and to place an order), visit my blog: PixelMavensRetreat.com