The Conversation (0)
Sign Up
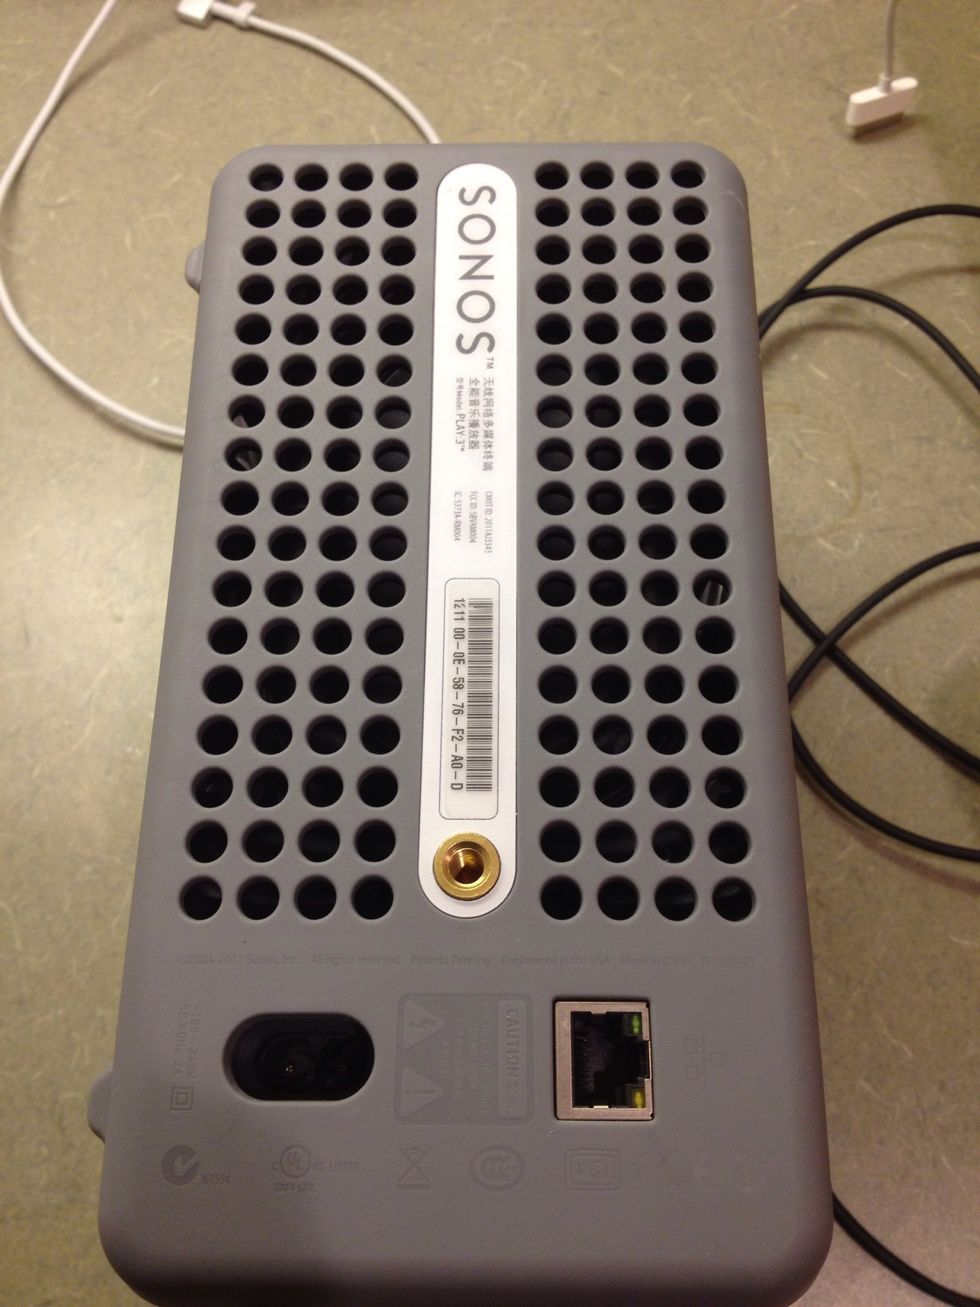
There is a standard 1/4 20 speaker mounting thread on the back of the Sonos Play:3

These are the parts we need. The thumbscrew will connect the Sonos to the bracket. The bolts will attach the bracket under the cabinet.
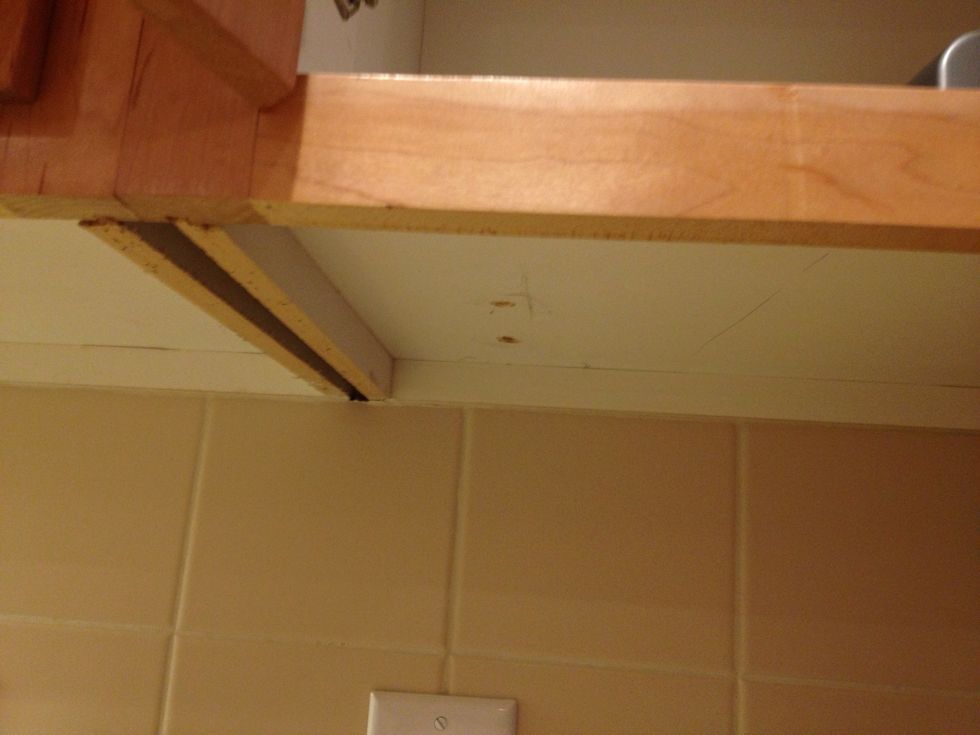
Figure out where you want to mount the Sonos. Remember that the mounting thread is offset. Mark the position of the bracket and drill the mounting holes all the way through the cabinet.
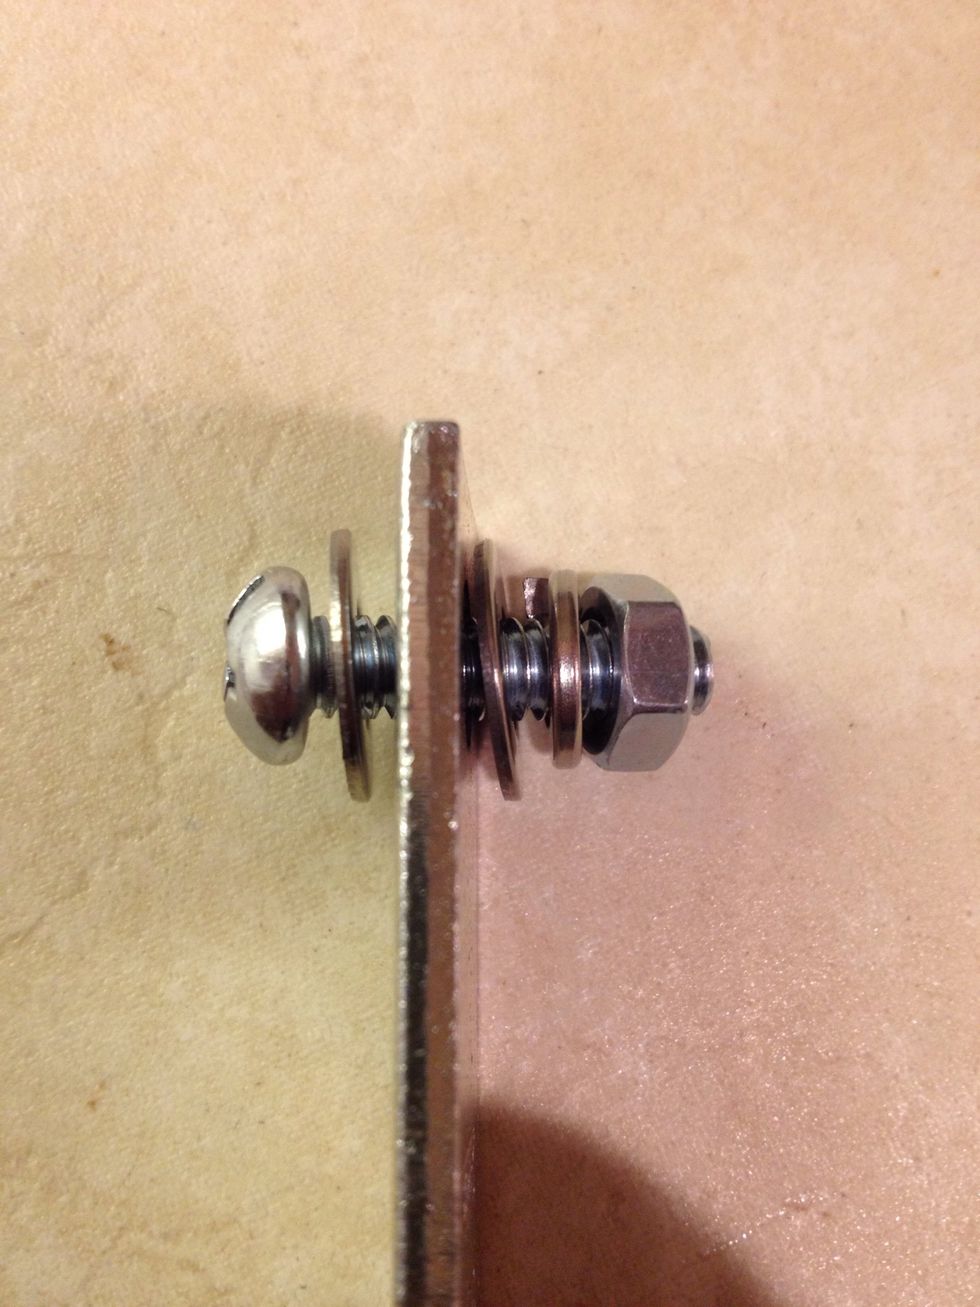
This is how you will arrange the washers and nut with respect to the bracket. Inside the cabinet there will just be the bolt head and the first flat washer.
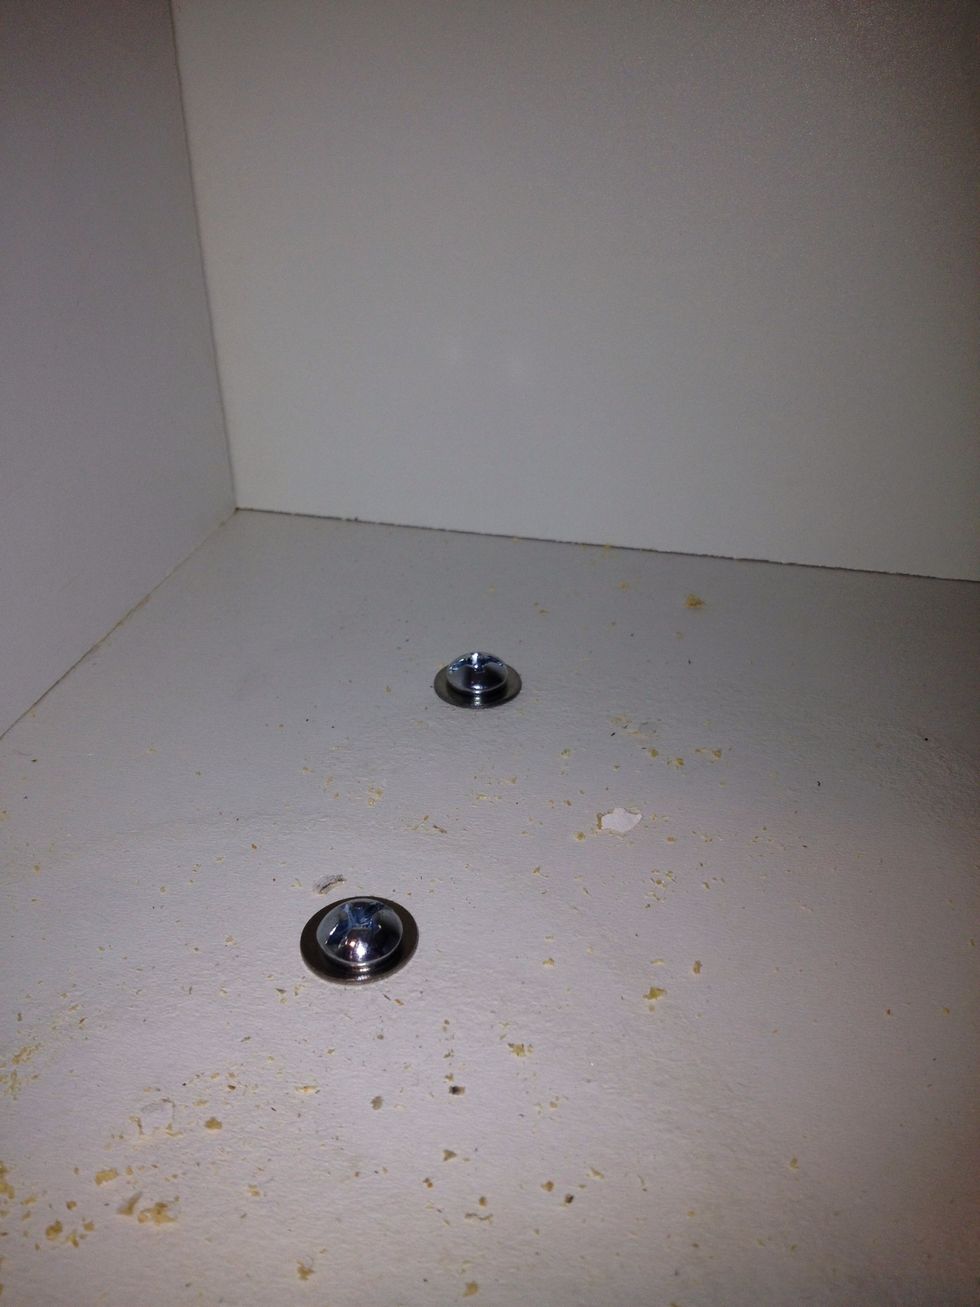
You can put both bolts through the cabinet floor although it may be easier to just do one first.
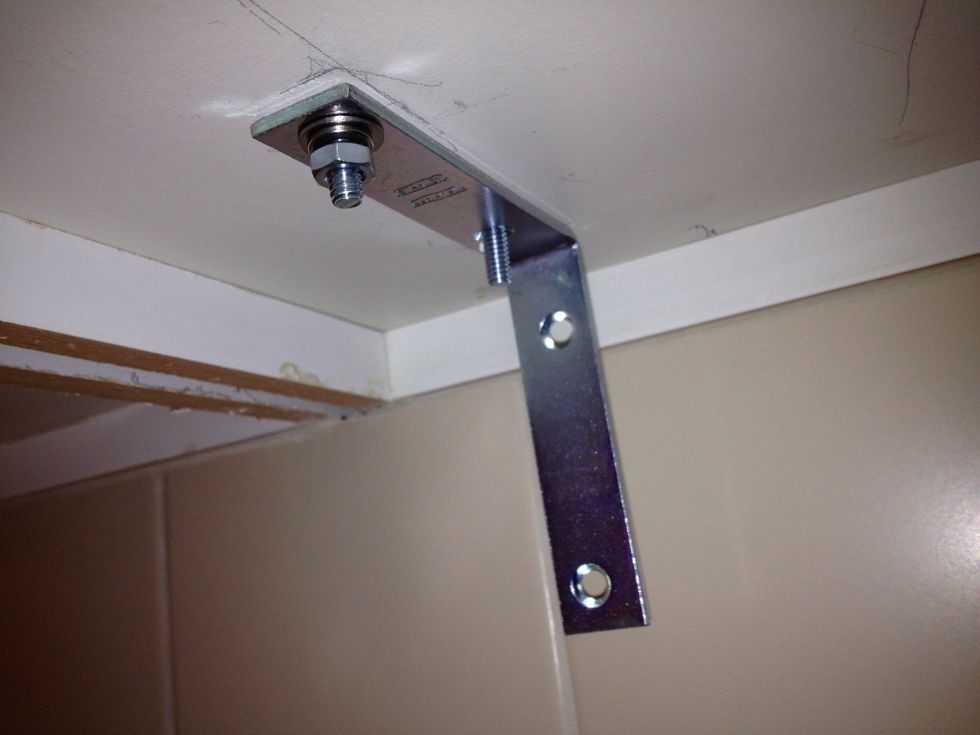
Place the flat washer, split washer and nut on the bolt and hand tighten.
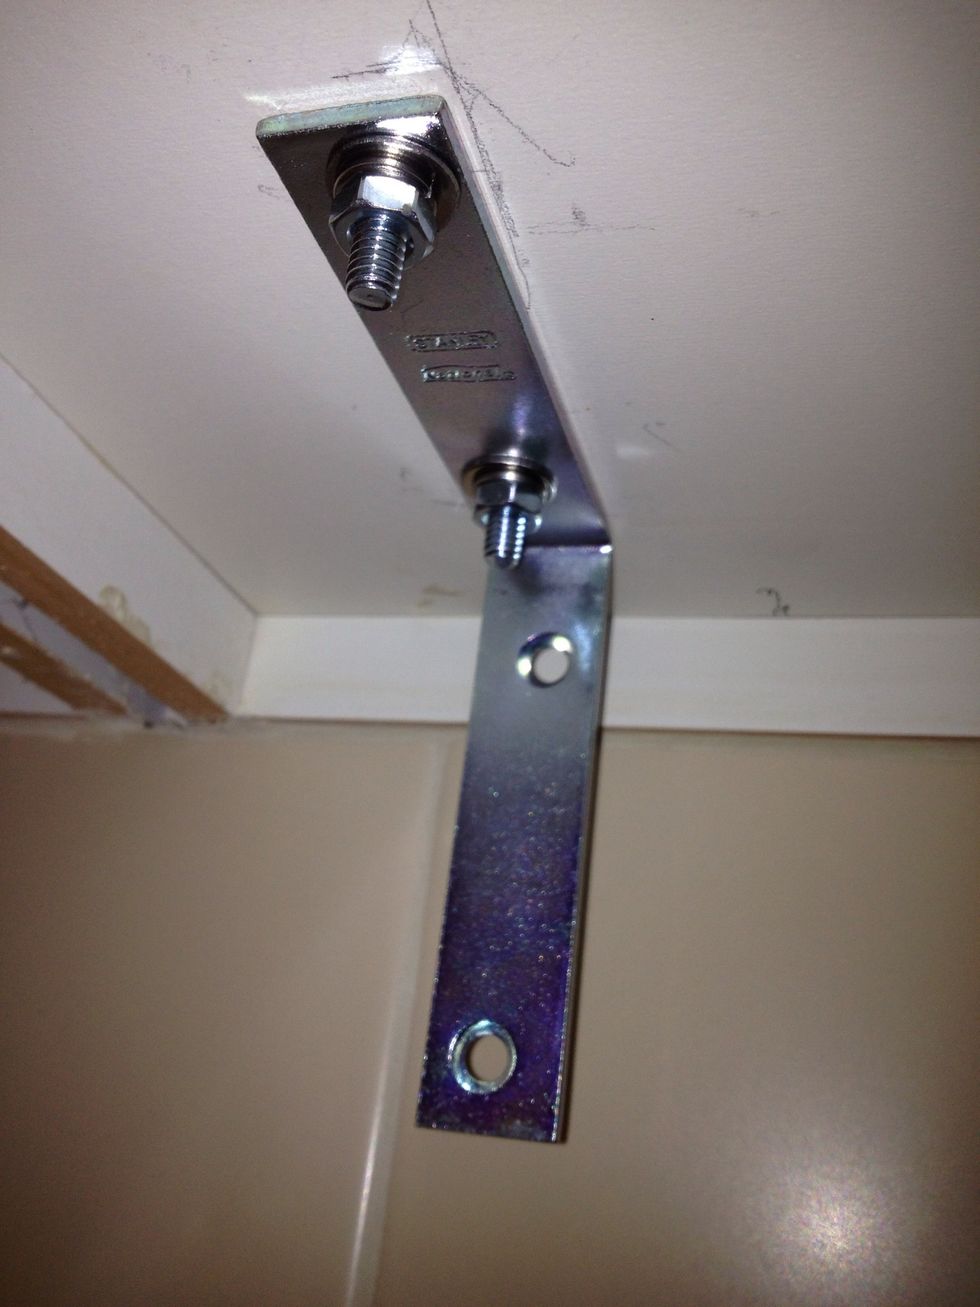
Repeat for the other bolt and tighten the nuts while holding the bolt head with a screwdriver (depending on the type of bolt).

Arrange the flat and split washers on the thumbscrew as shown. Insert it into the lowest hole of the angle bracket. Carefully line up the Sonos speaker threads with the thumbscrew and tighten.
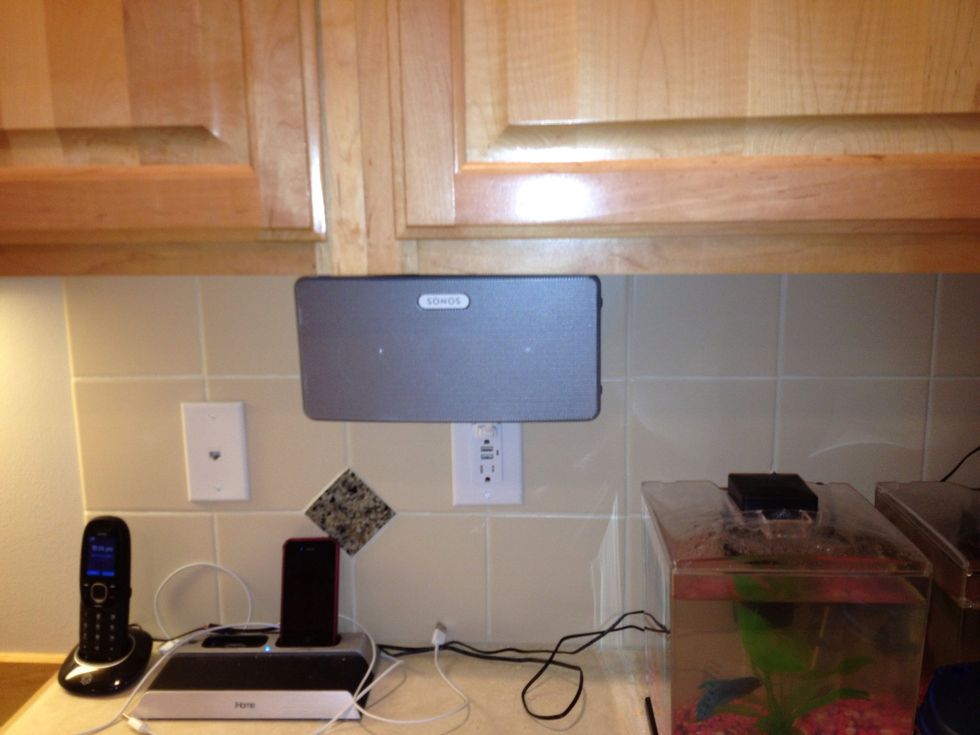
Tighten the thumbscrew with a tool so that the Sonos does not move around. Bundle up the power cord (or obtain a shorter one) and connect. Note orientation of Sonos so that controls are accessible.
Credit to this forum post: http://forums.sonos.com/showthread.php?t=30332