The Conversation (0)
Sign Up
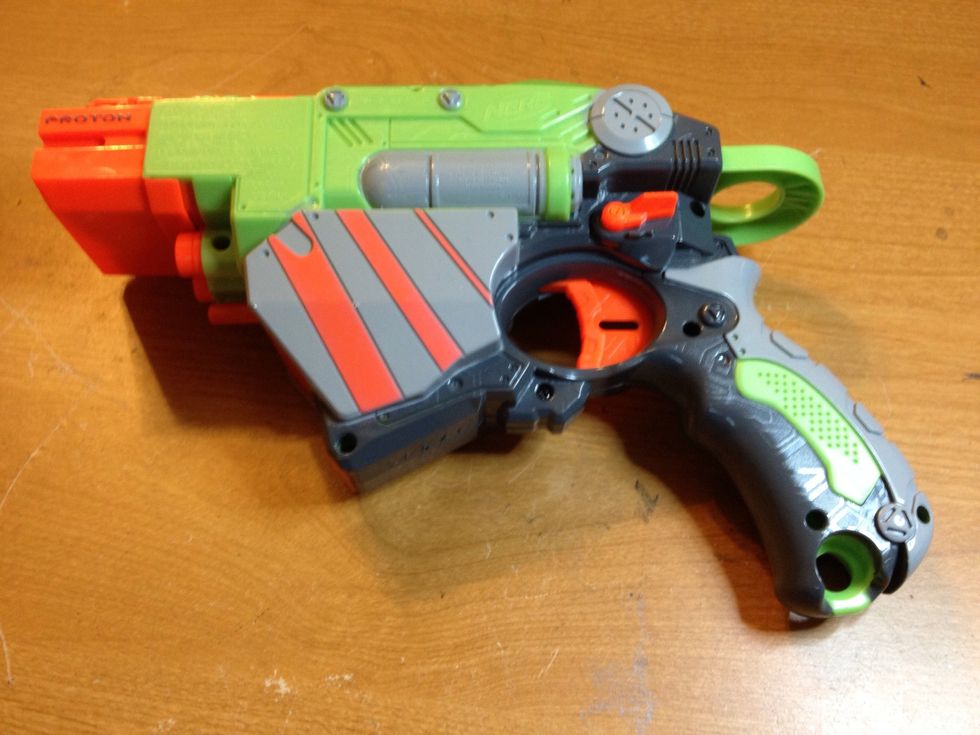
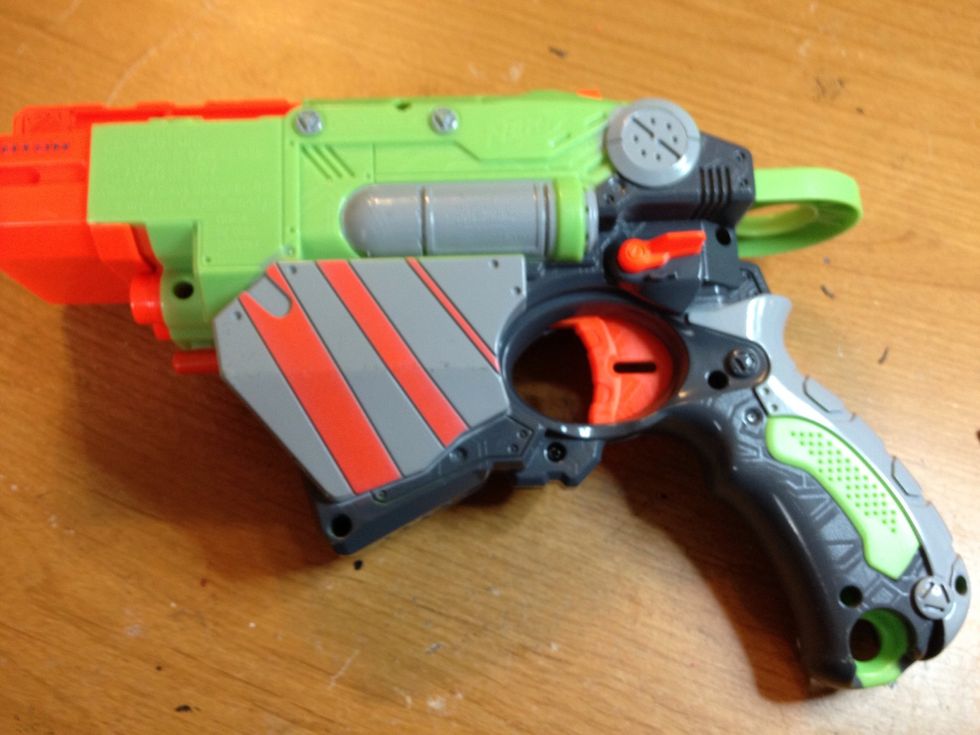
My local Target had these puppies for $4.99 each. I picked up the last two and wasted little time opening them up to make them into the pain-inflicting devices they should be.
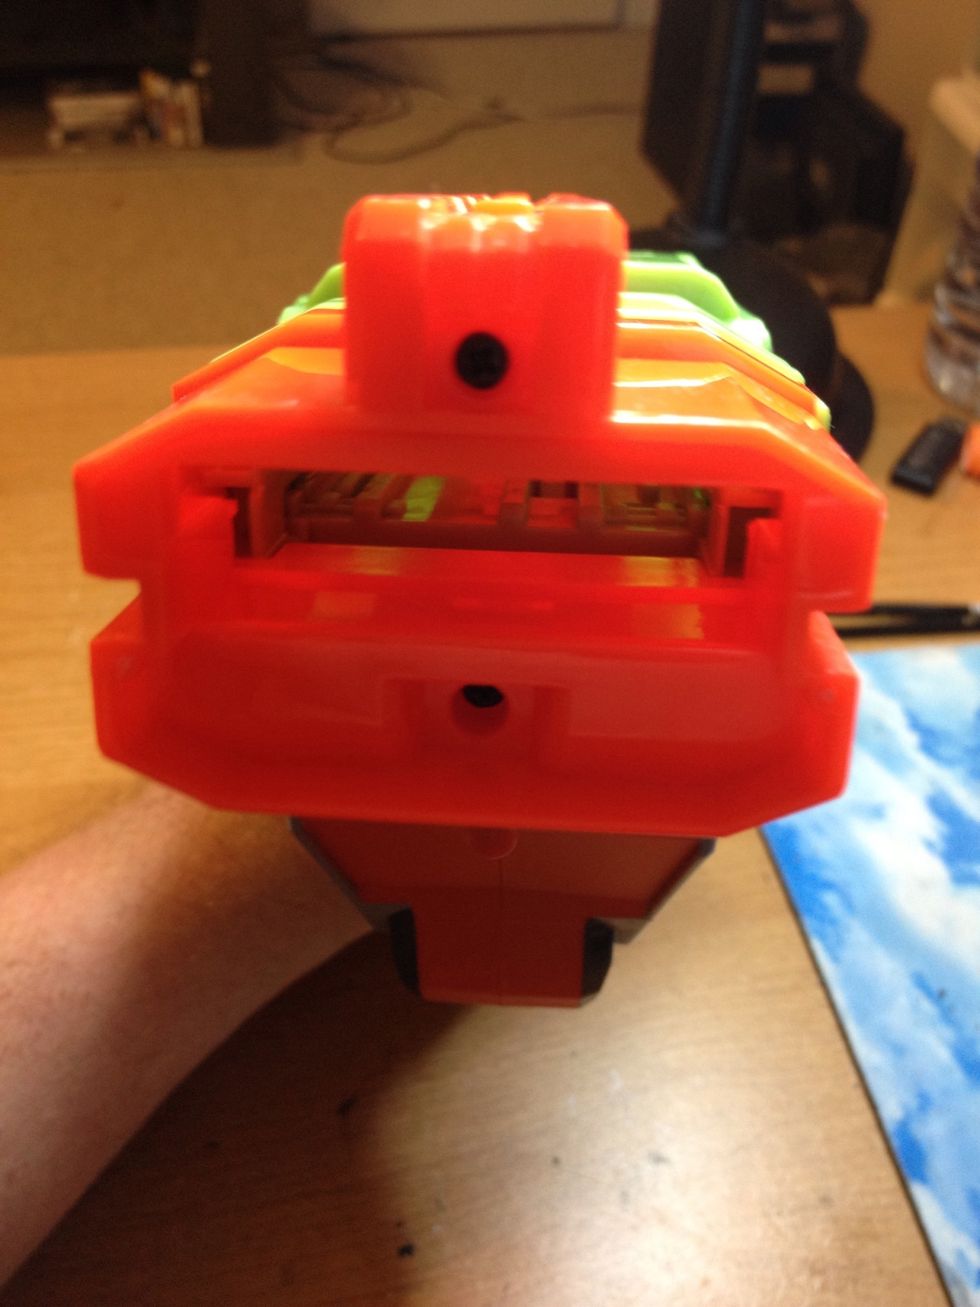
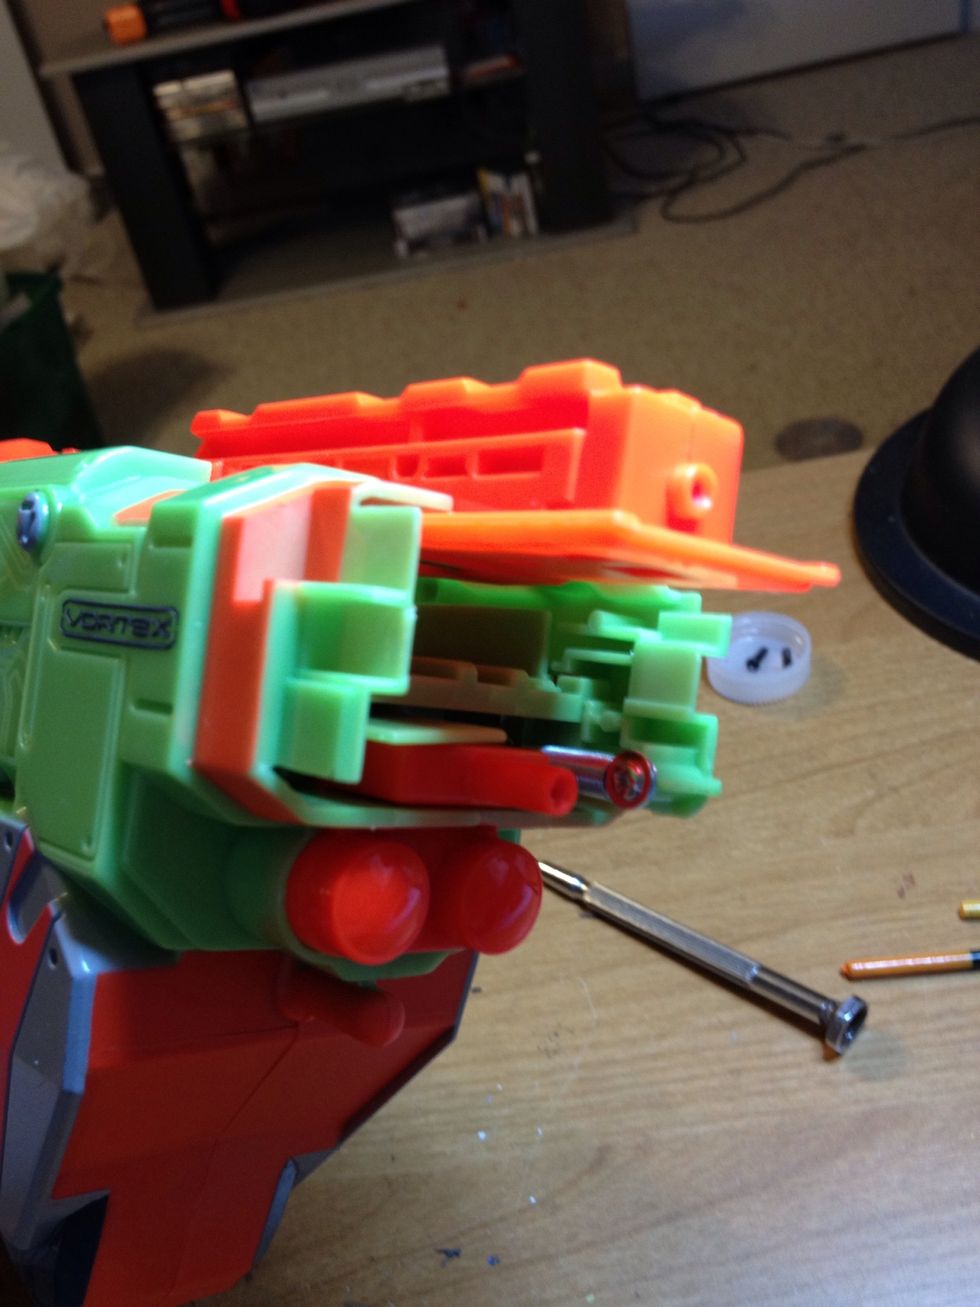
Start removing screws and setting them aside. The Vortex line typically have a front piece that must be removed first. Take out these two screws and remove the orange barrel.
Here is the front without the barrel. Now proceed to remove all other external screws.
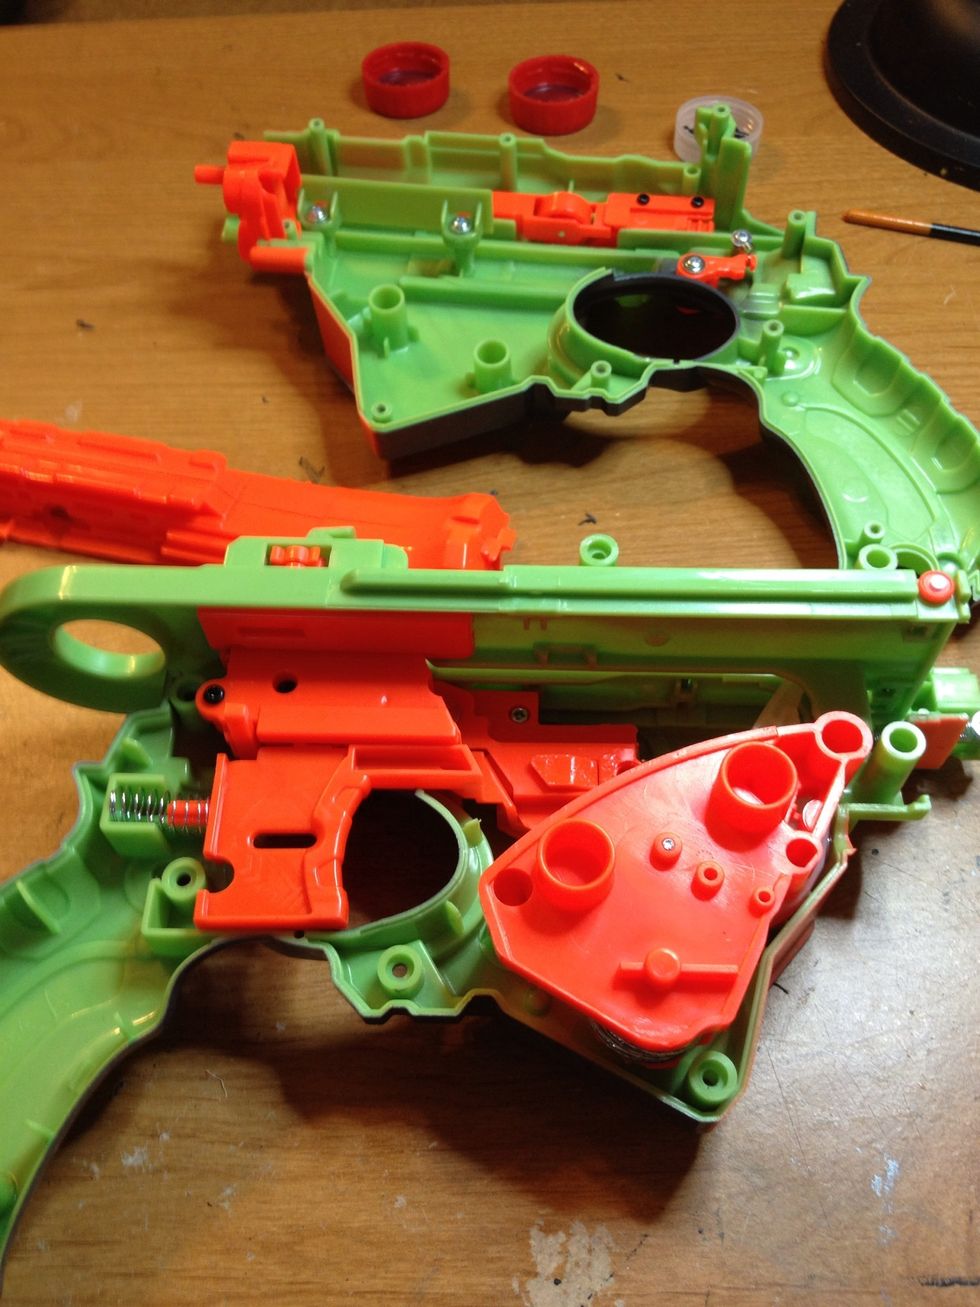
Filet the gun and you will notice hardware in both sides, and an orange piece on the top.

This is the torsion spring launcher, where the power mod will come in. Unscrew this from the main body. Remove the small spring and rubber stopper and set them aside.
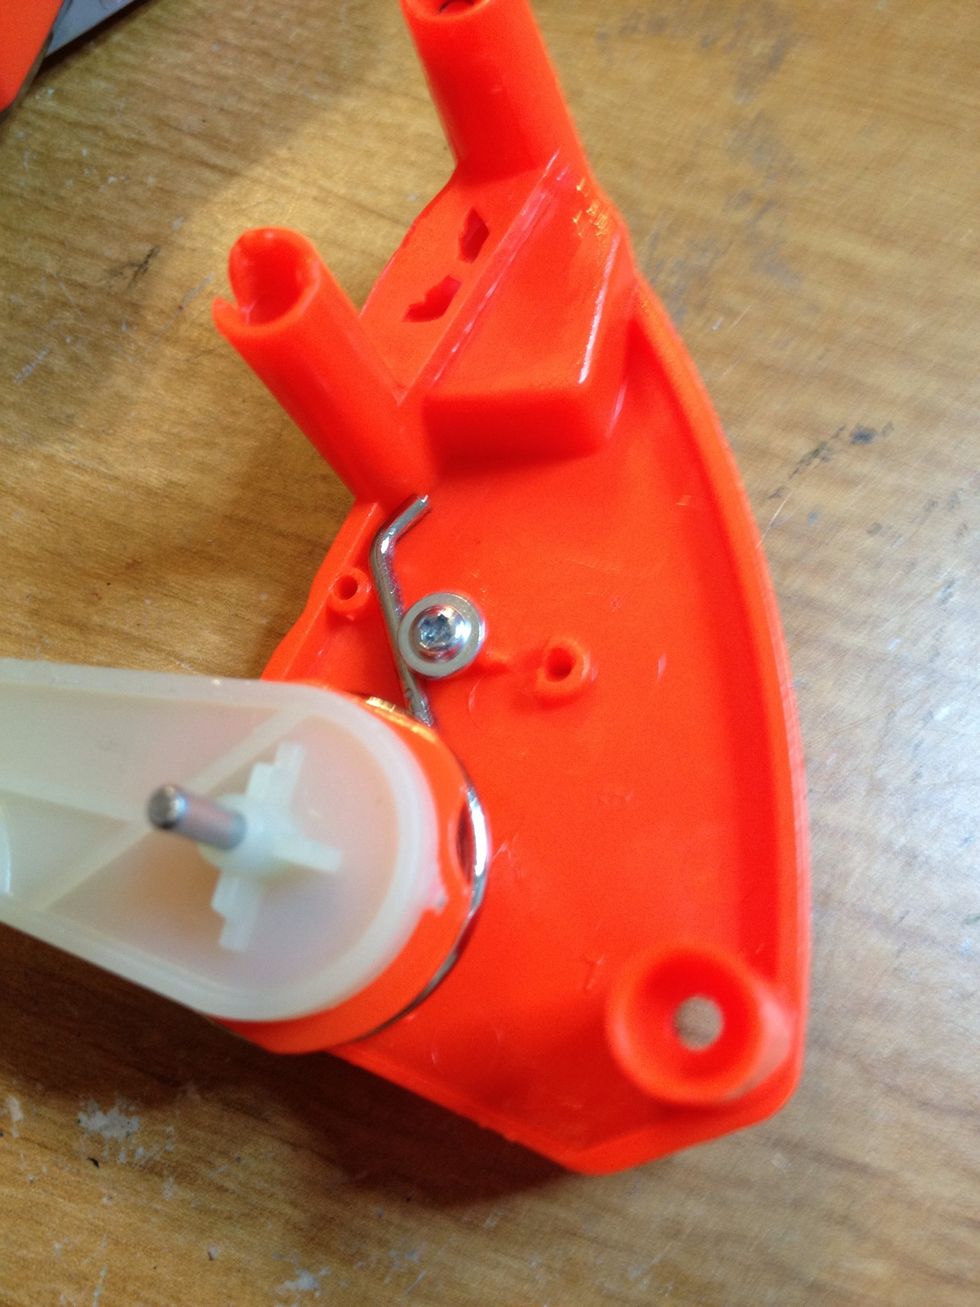
This mod is so easy because the space to do it is provided. Unscrew the flat silver screw and place it in the middle hole. The pull the torsion spring back into place.
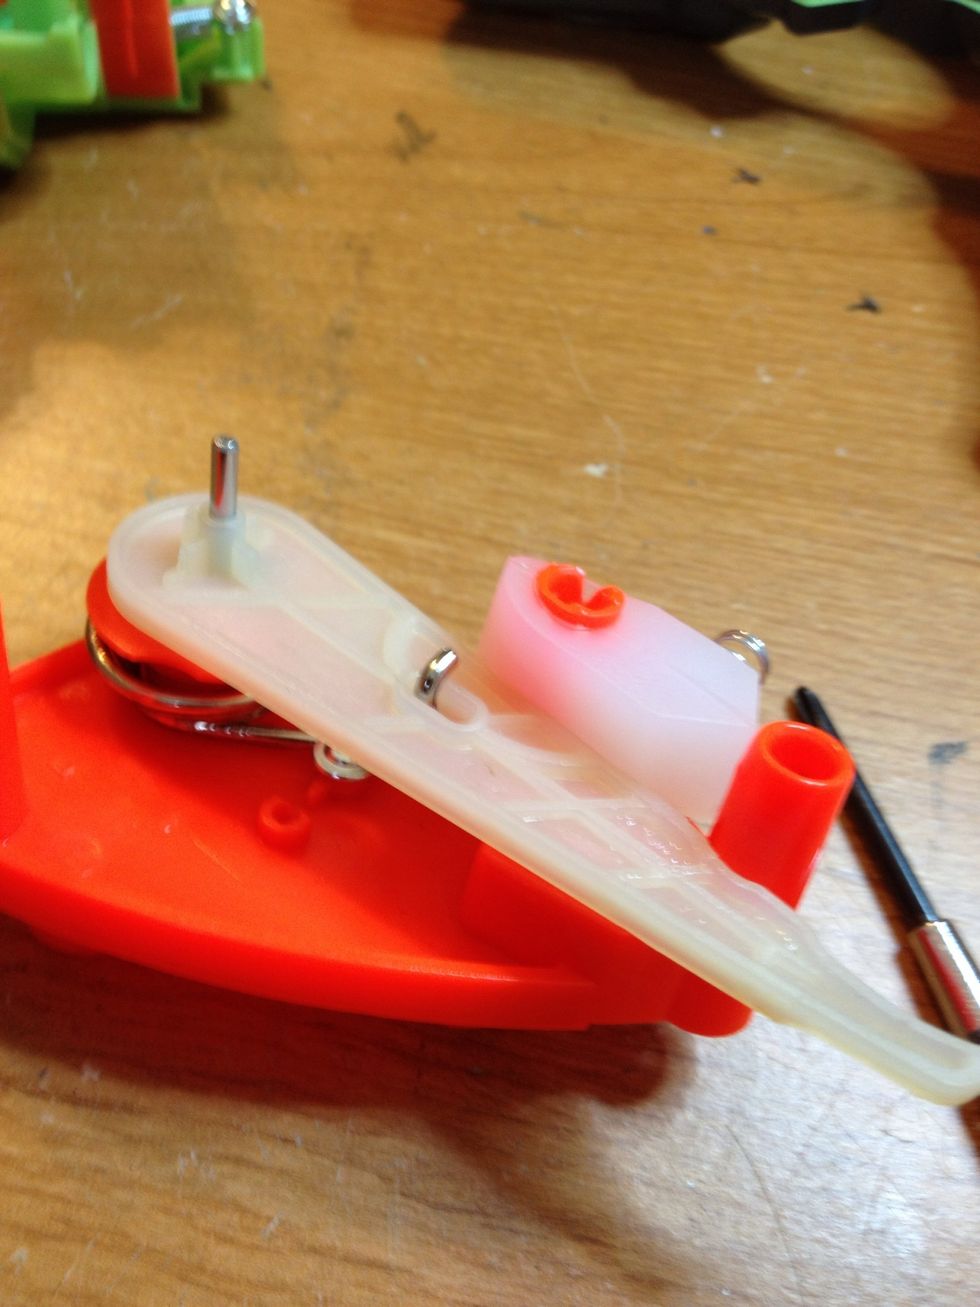
Once the spring and White plastic piece are back in place, return the rubber stopper and the spring back where they were. Set this piece aside.

There are no other power mods to do, but I like to remove the safety features so I can dry fire the gun. If you don't, simply reassemble and you're done. Otherwise remove the screws for the trigger.
The trigger is held together by a single flat screw. Carefully remove it.
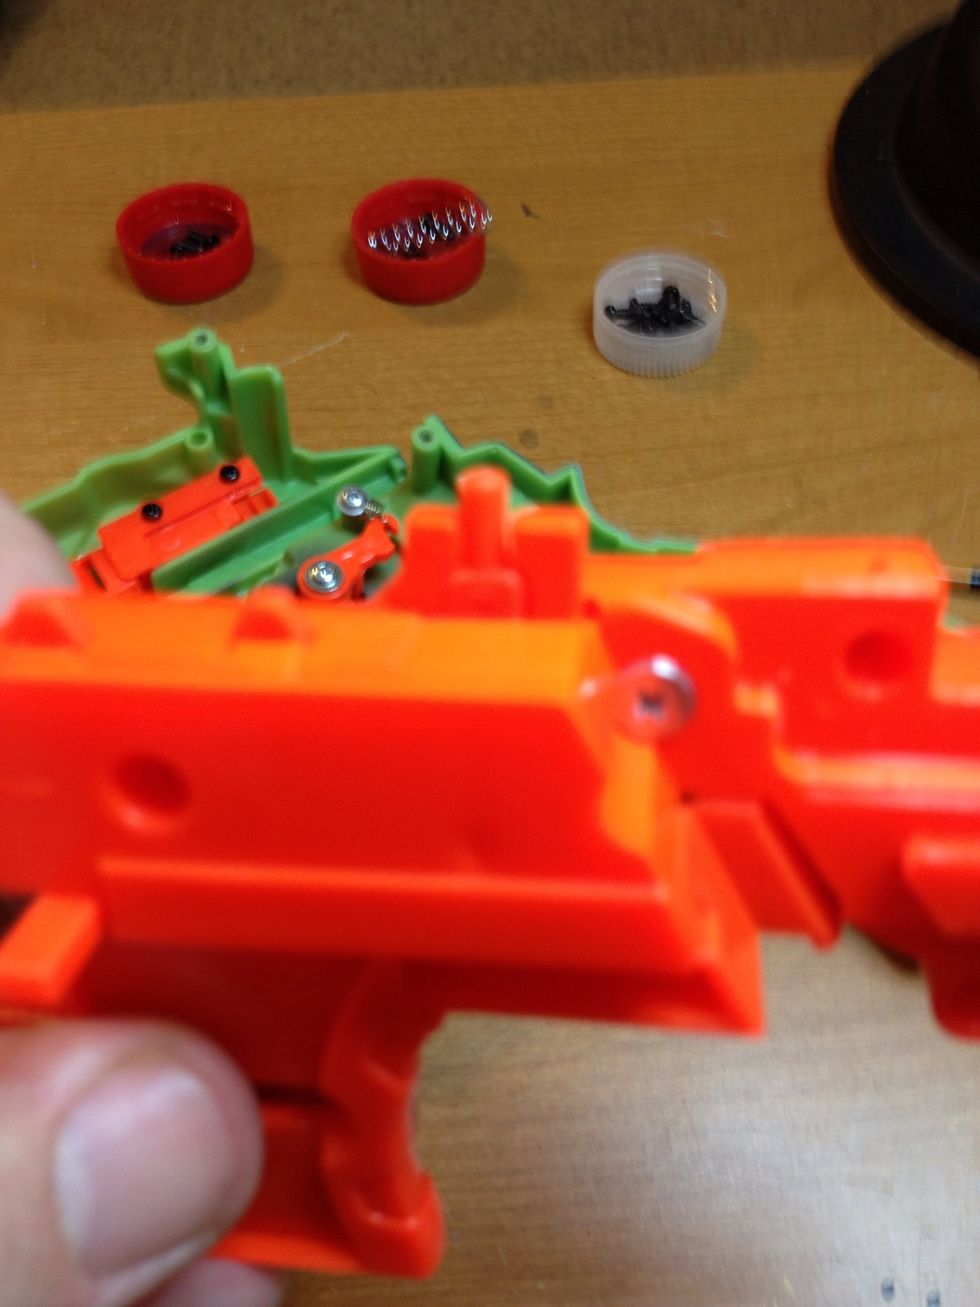
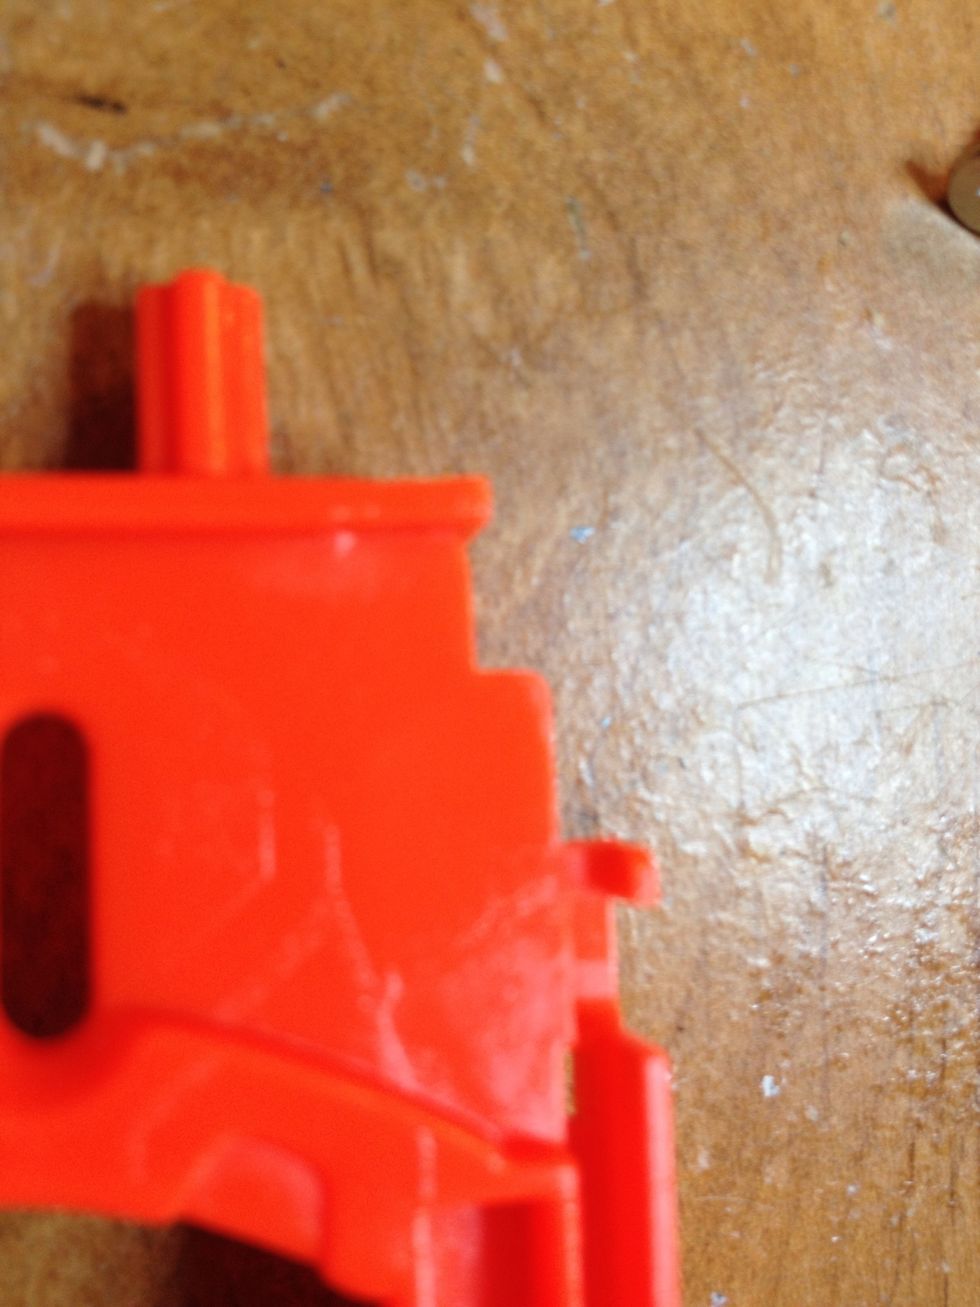
Inside you will notice 3 spring-loaded pieces on the left. The one to the far right is useless, and can be removed. The other two are trigger locks, but also hold the tray in place. Mod time.

This is the center one. I used scissors and cut a few millimeters off the bottom so it did not impede the trigger.

After the cut. Don't lose the spring like I did. Thankfully I have replacements.
The next piece was trickier. Instead of cutting the piece, I cut a small part off the trigger to prevent the safety lock from catching.
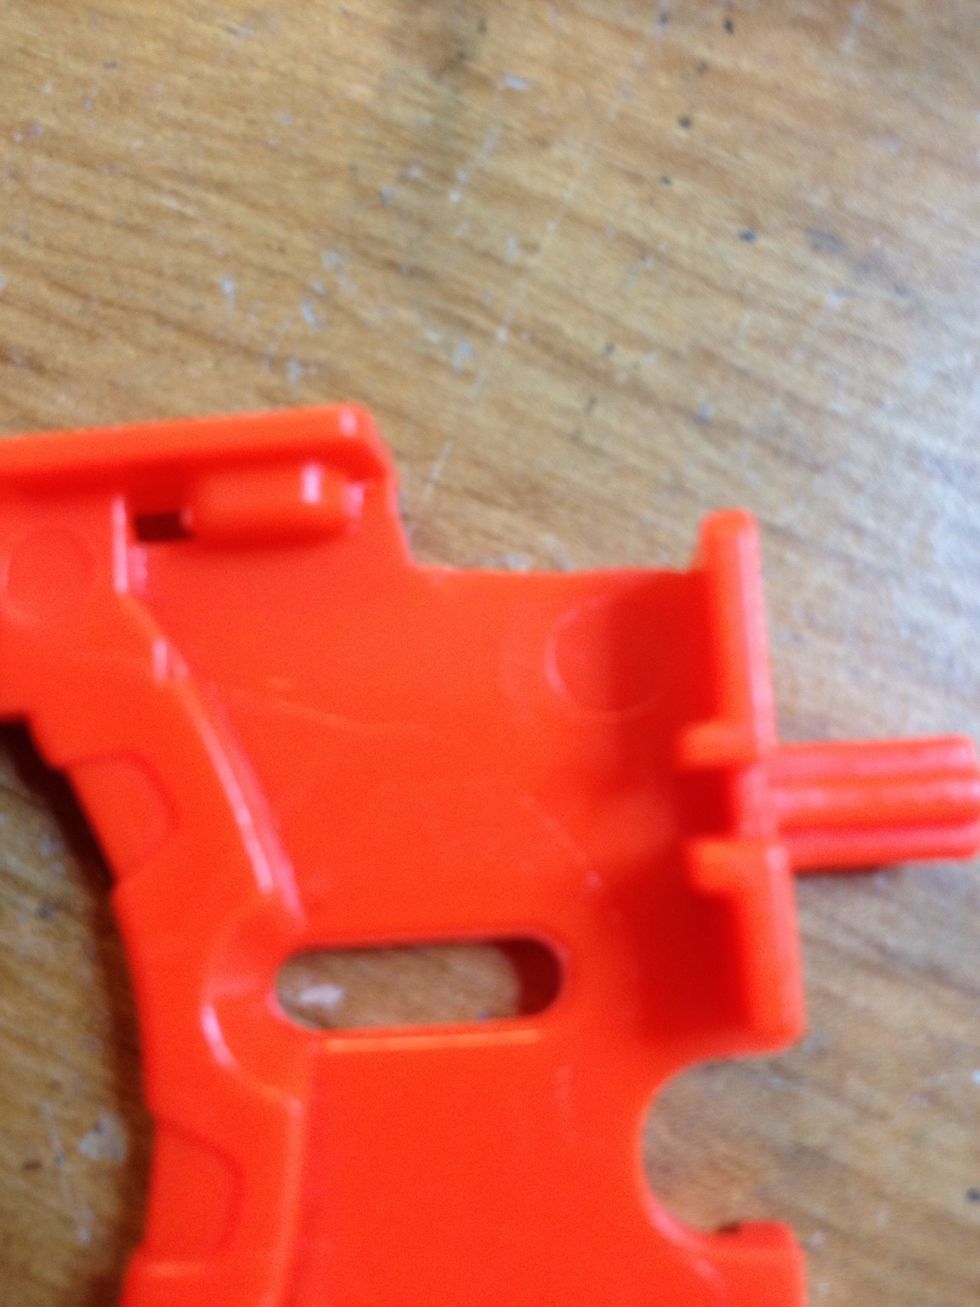
Using s hobby knife, I cut a few millimeters off to the upper right portion of the trigger.

Now put the trigger back together and secure it with the flat silver screw.
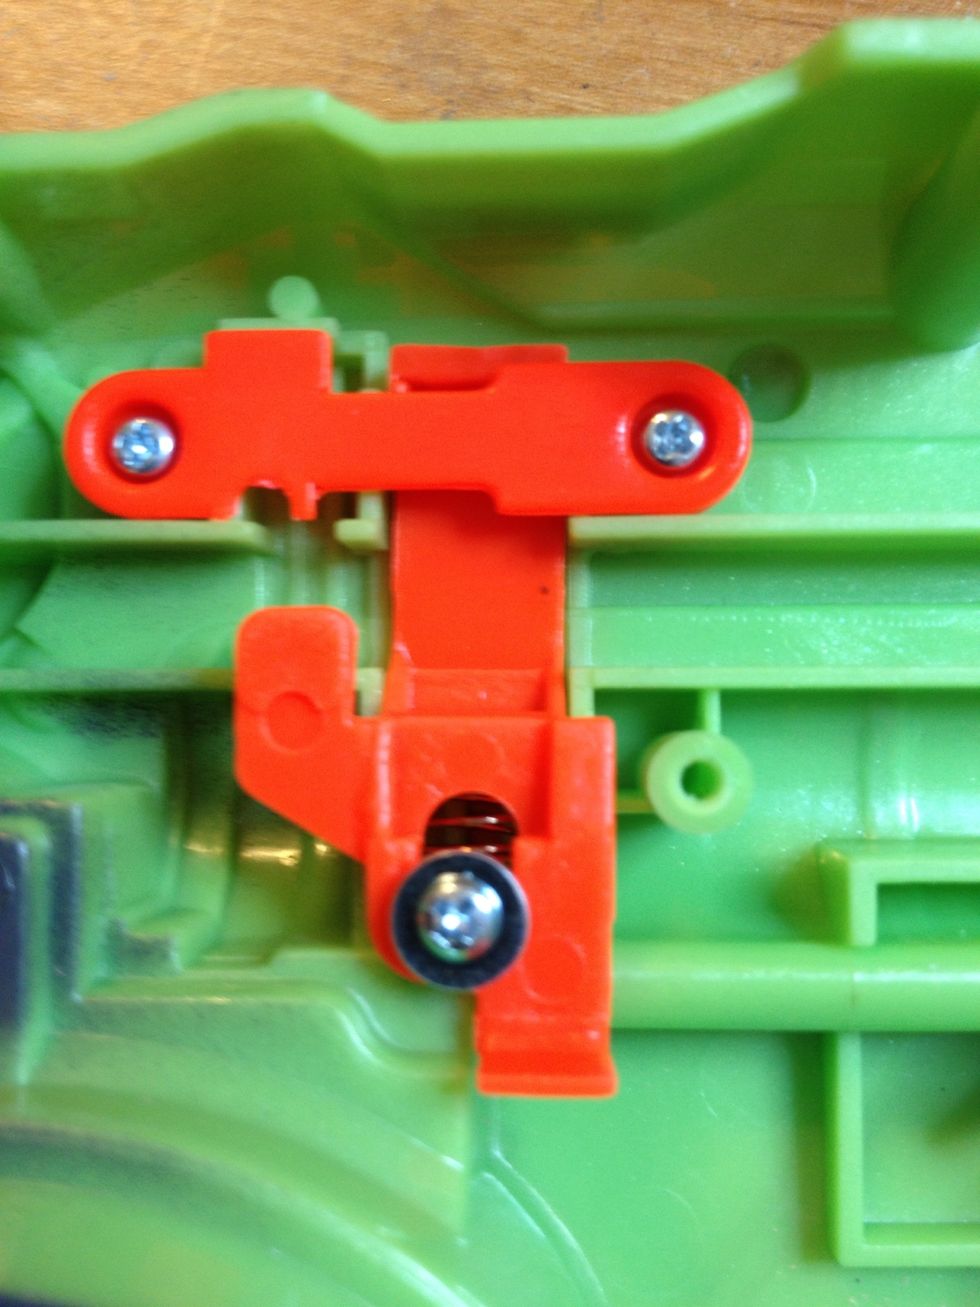
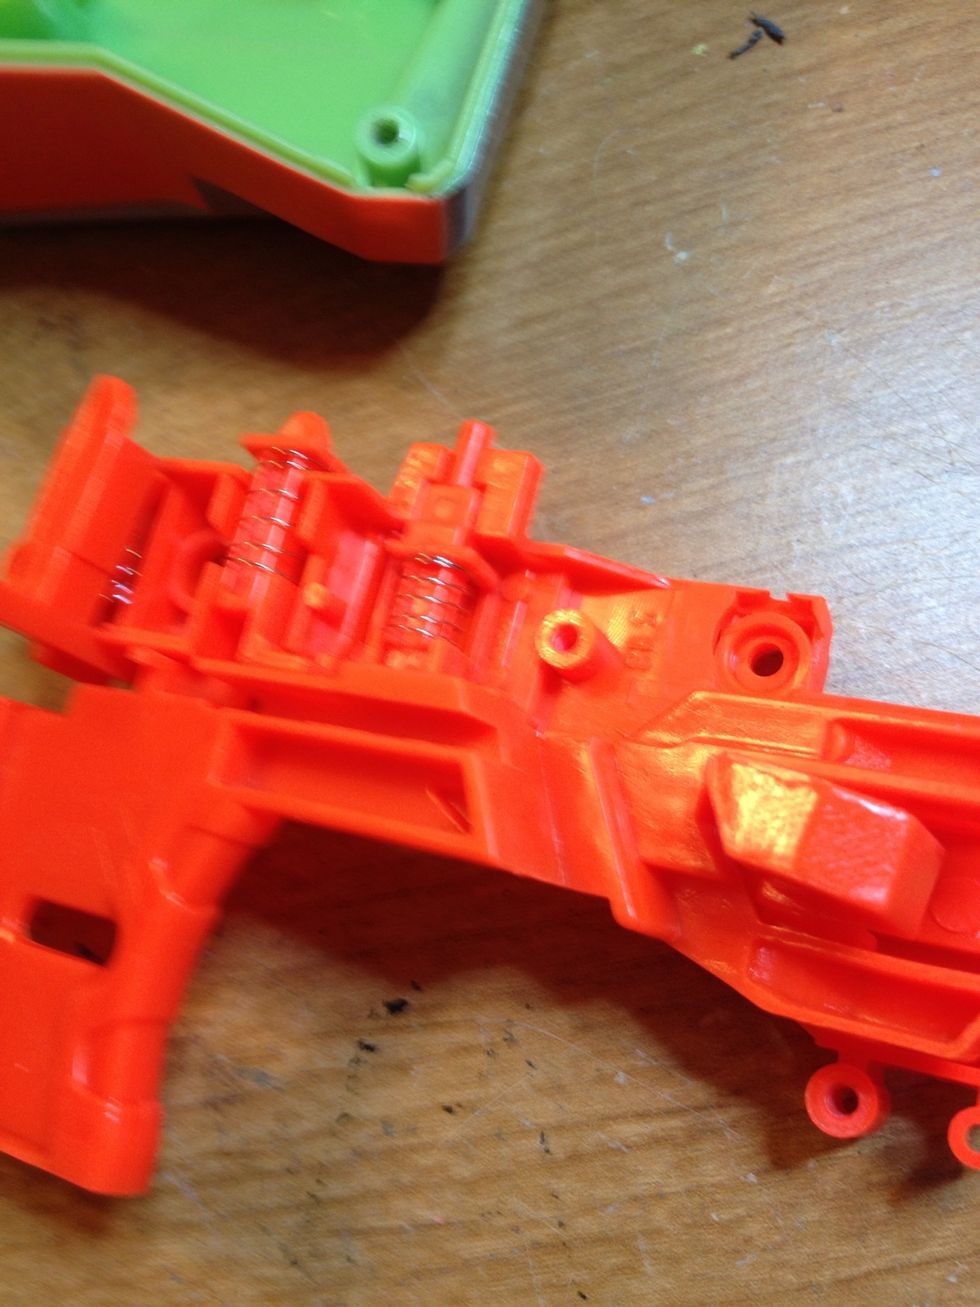
Remove the vertical piece shown by unscrewing the flat screw holding it in.
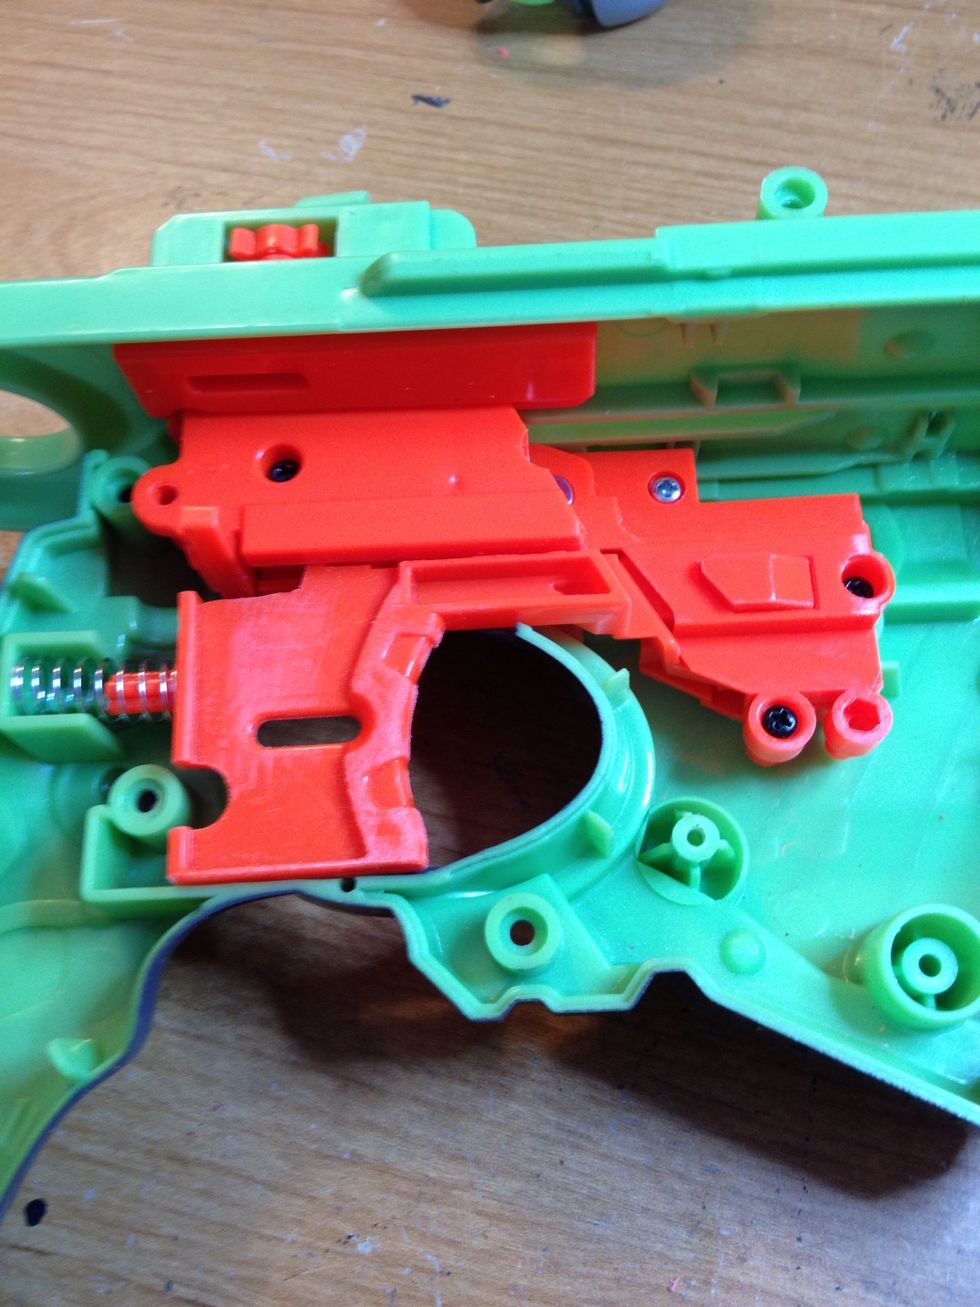
Start putting it back together. Put in the loading tray followed by the trigger mechanism.

Next, put the launch spring mechanism in and secure it. Replace the orange rail on the top.
Reassemble the two halves and secure. Finally, attach the barrel and secure it. Test fire to ensure it works.
You should now get an extra 10-25 feet from an already extraordinary blaster. You should also be able to pull the trigger anytime you want, and dry fire it. Have fun!