
The Conversation (0)
Sign Up

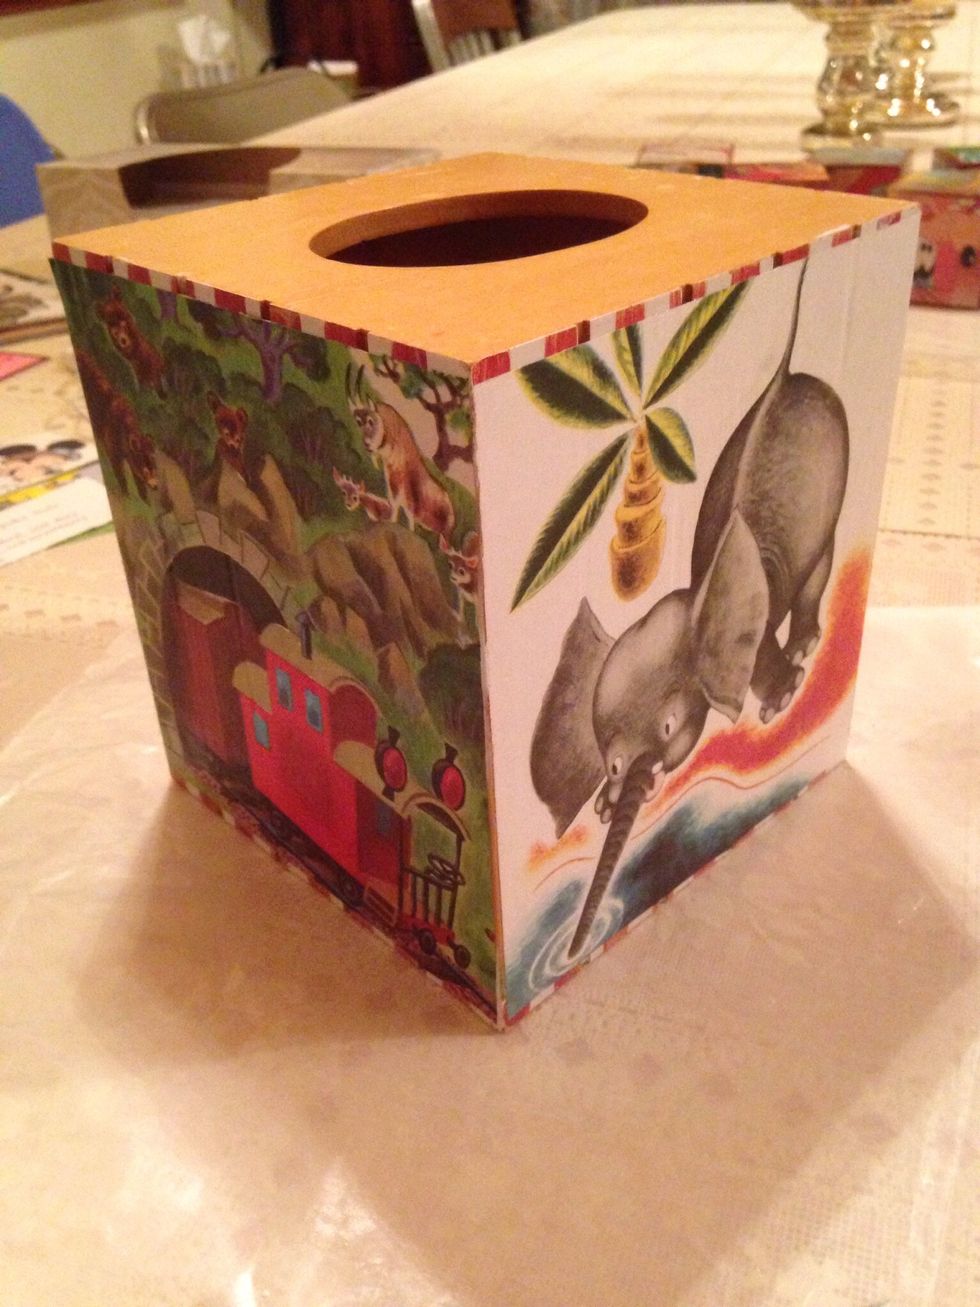
Gather supplies. For the pictures, I used pages from Little Golden books found at a thrift store.
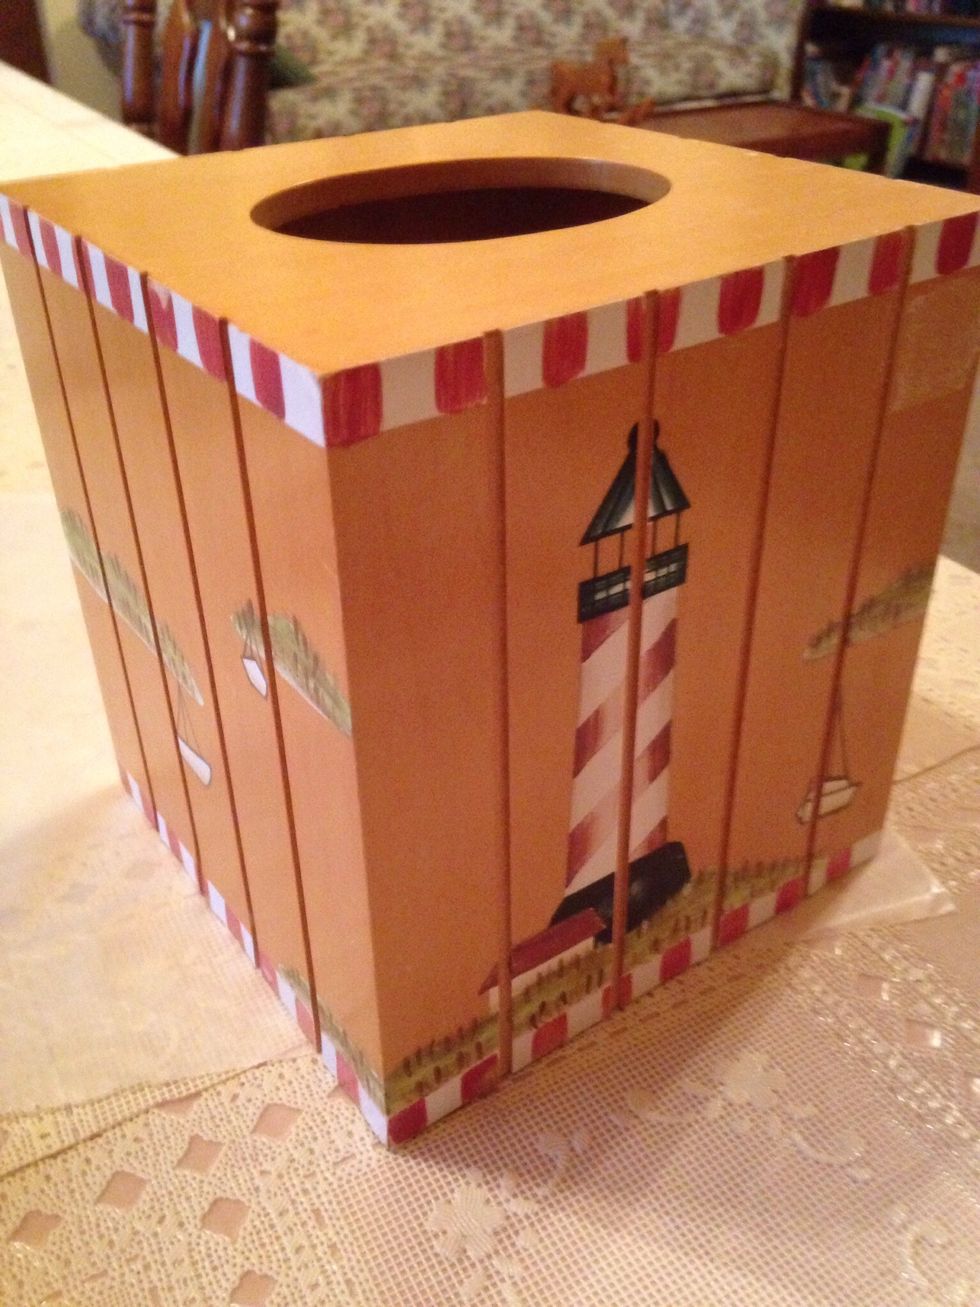
The tissue box cover I found at the thrift store for .99.

Cut four pictures the size of the sides of the tissue box cover.
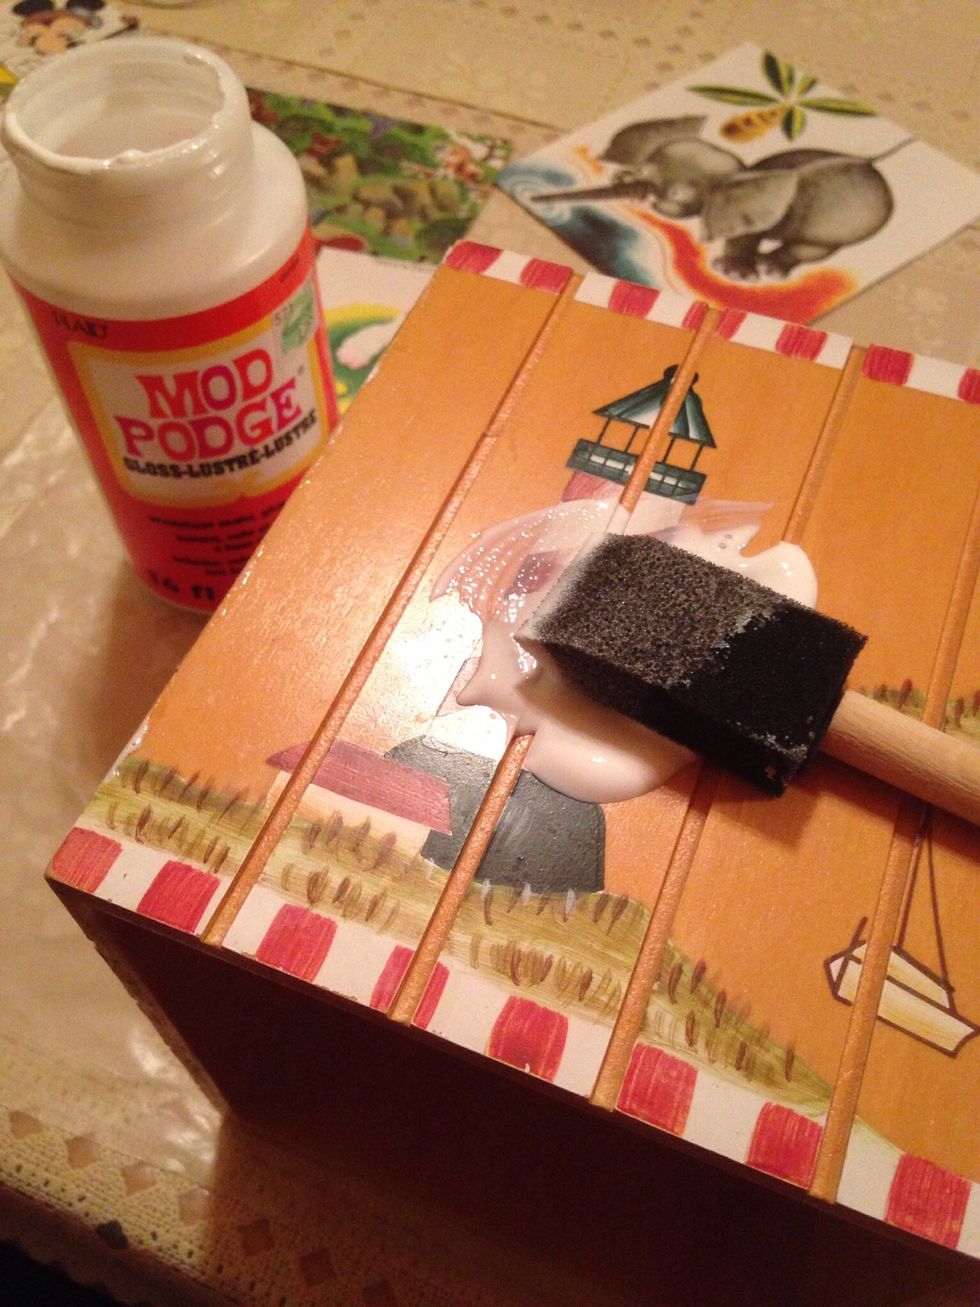
Working on wax paper, brush on an even layer of mod Podge.

Carefully place picture over the mod Podge and rub over top of picture to get out any bubbles. If you have a brayer, that works well for this step.

Apply pictures to four sides and let dry. Apply 2-3 more coats, drying completely between coats.
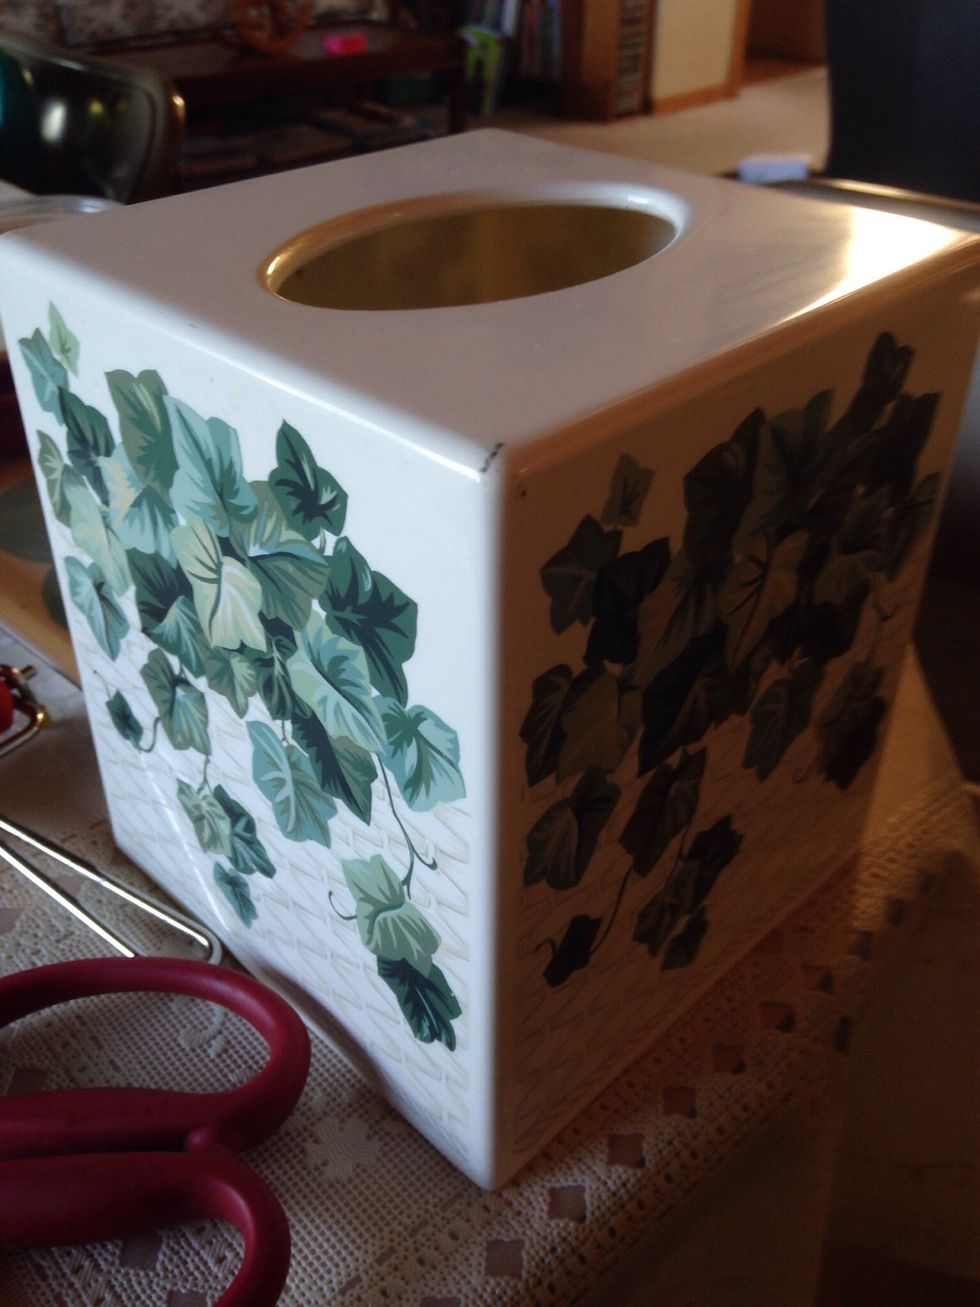
This cover was long over do to be spruced up!
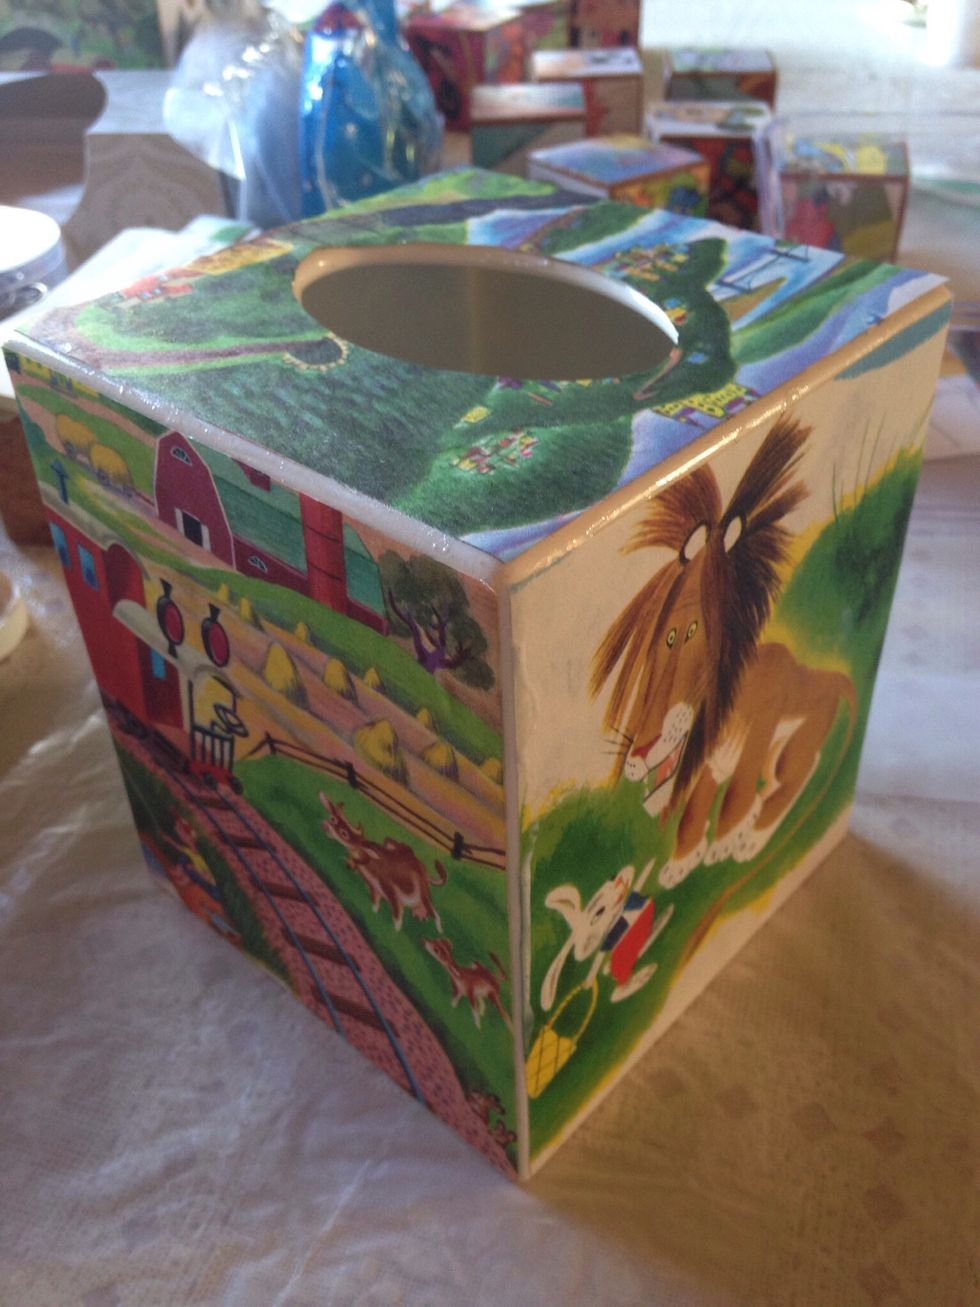
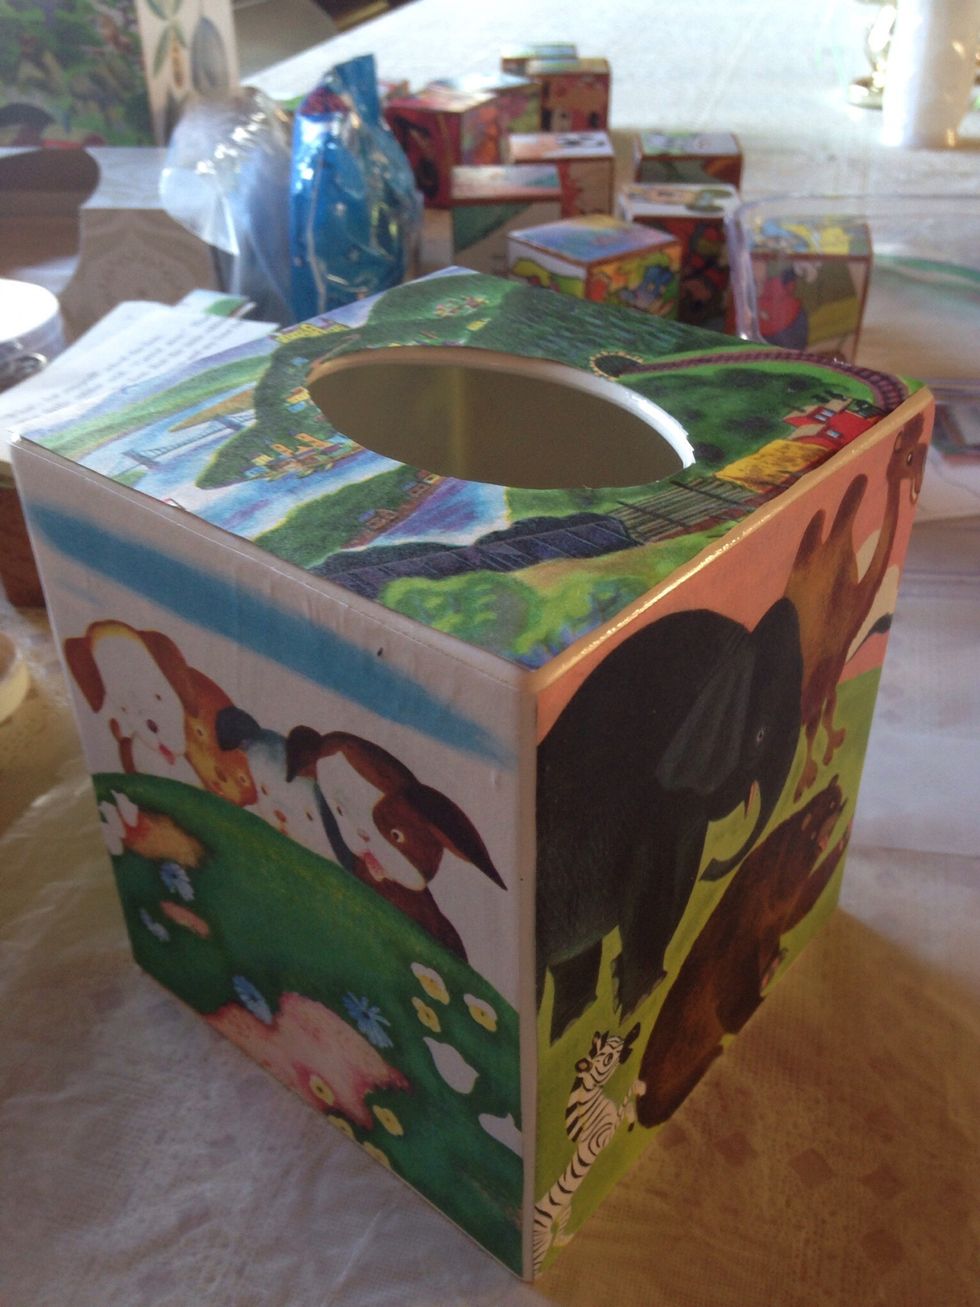
For the top, you will need a square cut to size with the hole cut out. Mod Podge as directed.
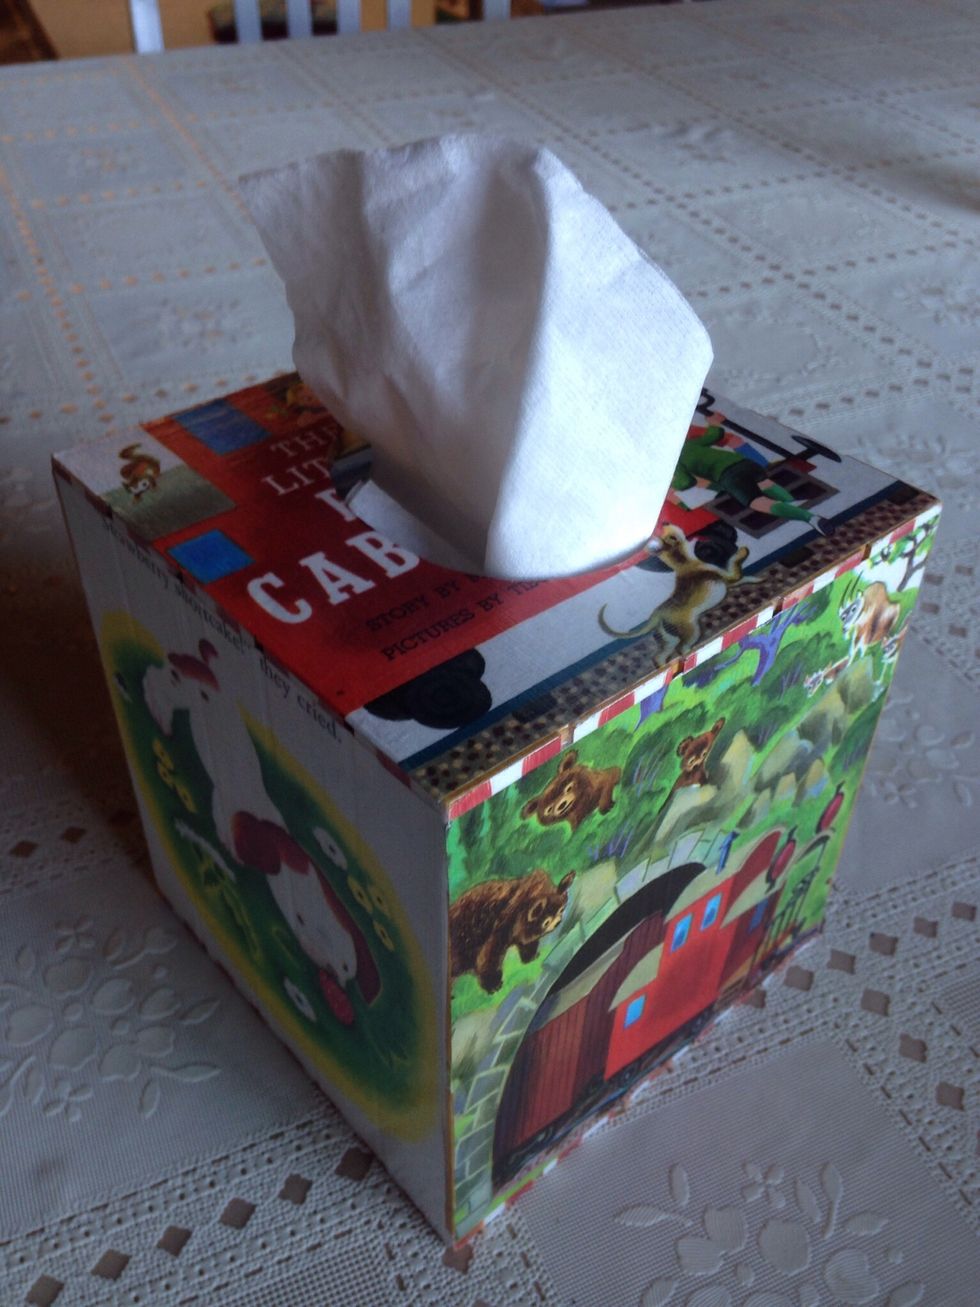
Love the make over!