The Conversation (0)
Sign Up
I am going to start by finding an image that I can show I understand what I was shown in todays lesson.
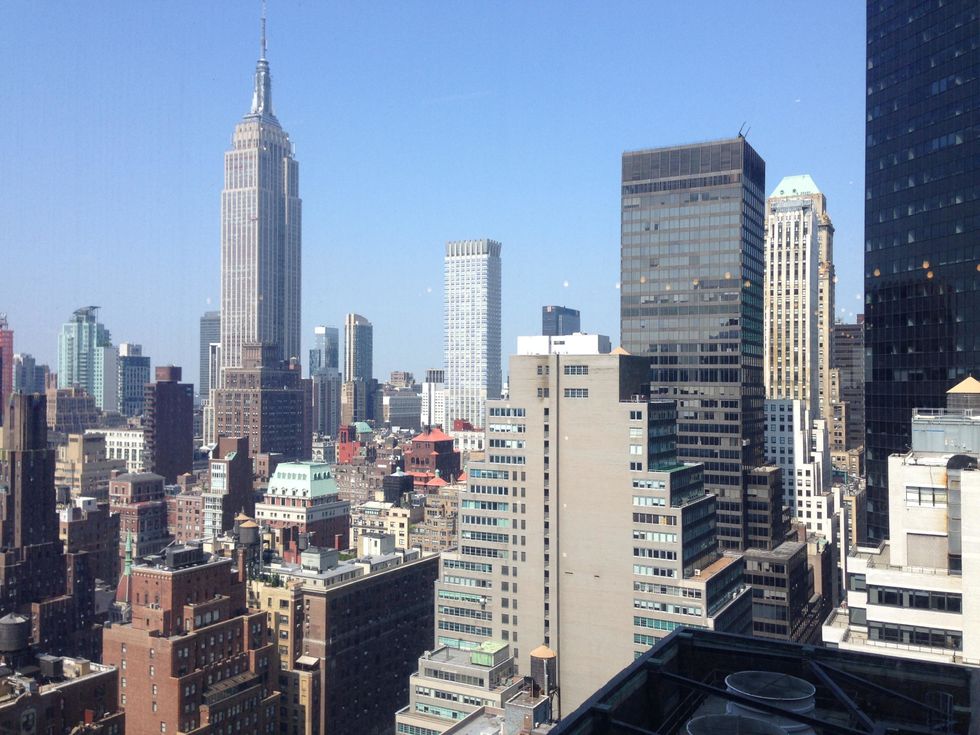
I choose this image because it has a lot of geometric shapes. I can use what I have learned in the lesson to create a guide that tells my audience about four of the tools we looked at in class.
I downloaded the image then started working on it in Photoshop. I took screenshots of the steps I used to create selections.
Any screenshots you take will be in a png format. To use Snapguide photos need to be in a png format. You need to use Preview to convert from PNG to JPG.
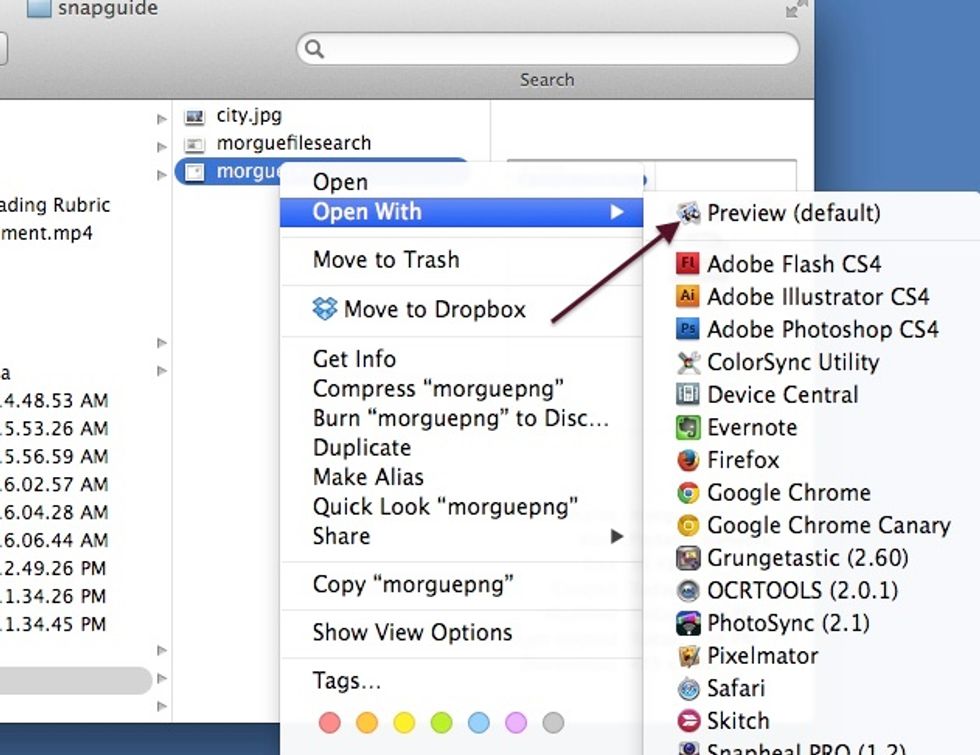
To do this open the image with preview.

Then select export and from the format drop down menu select jpeg
Now you need to find an image and create a series of steps using text and screenshots that describe how to do one of the selection topics we have covered.