The Conversation (0)
Sign Up
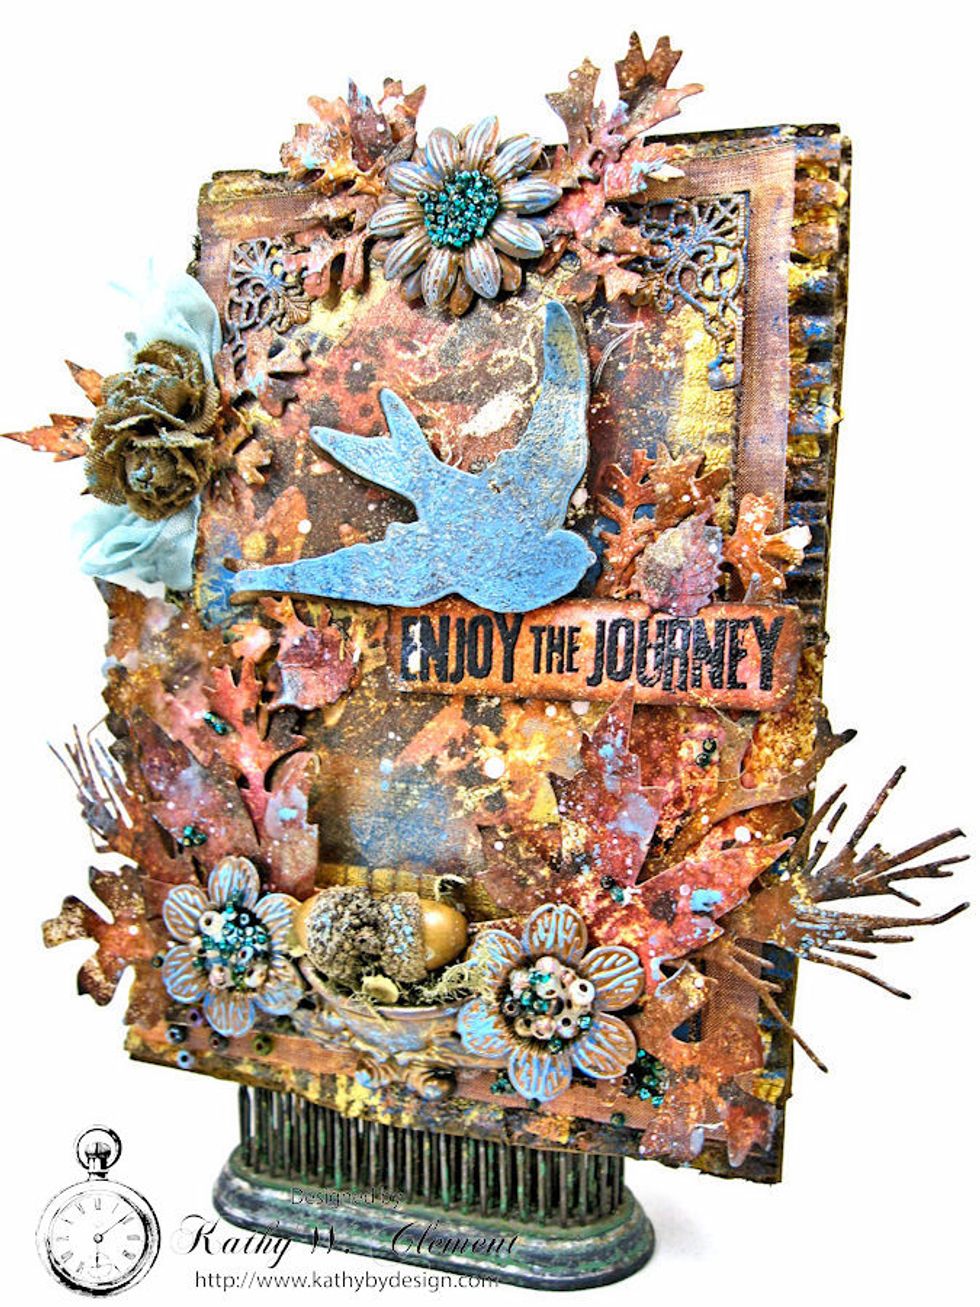
It doesn't have to cost a fortune to get your home decor ready for fall. You probably have everything you need on hand to make this rustic 5" x 7" "Last Leaf" mixed media canvas. I'll show you how!
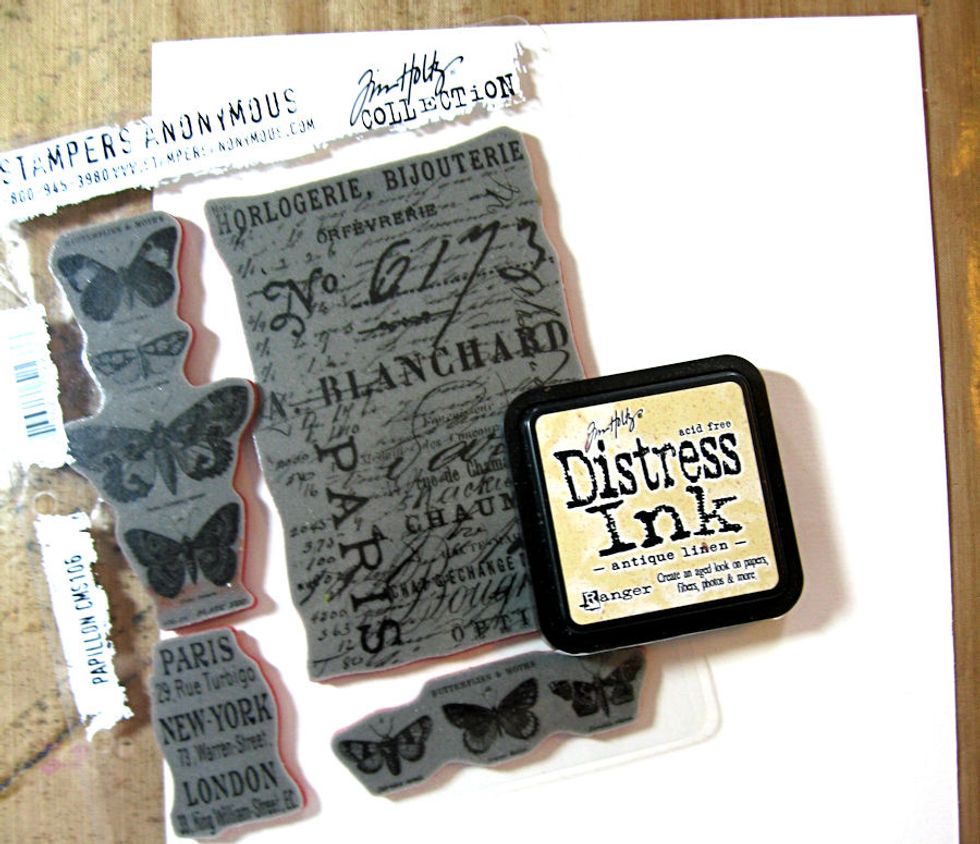
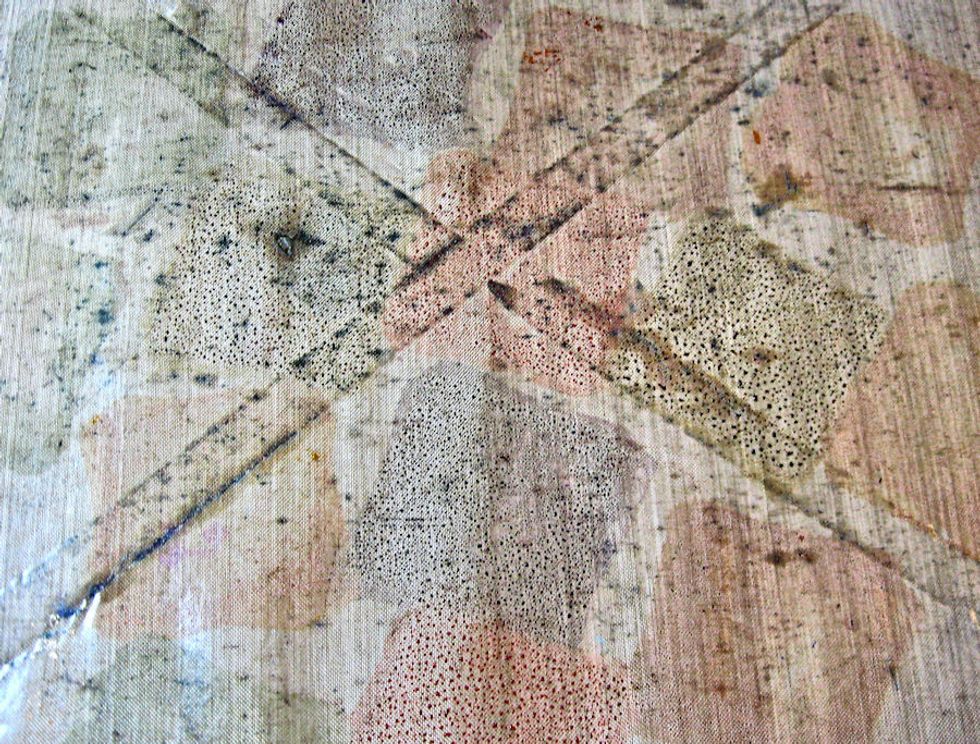
Create master board from 8.5" 11" watercolor paper and inks. Stamp the French Script from Papillon onto the smooth side of paper using Antique Linen Distress Ink. Click on photos for larger picture.
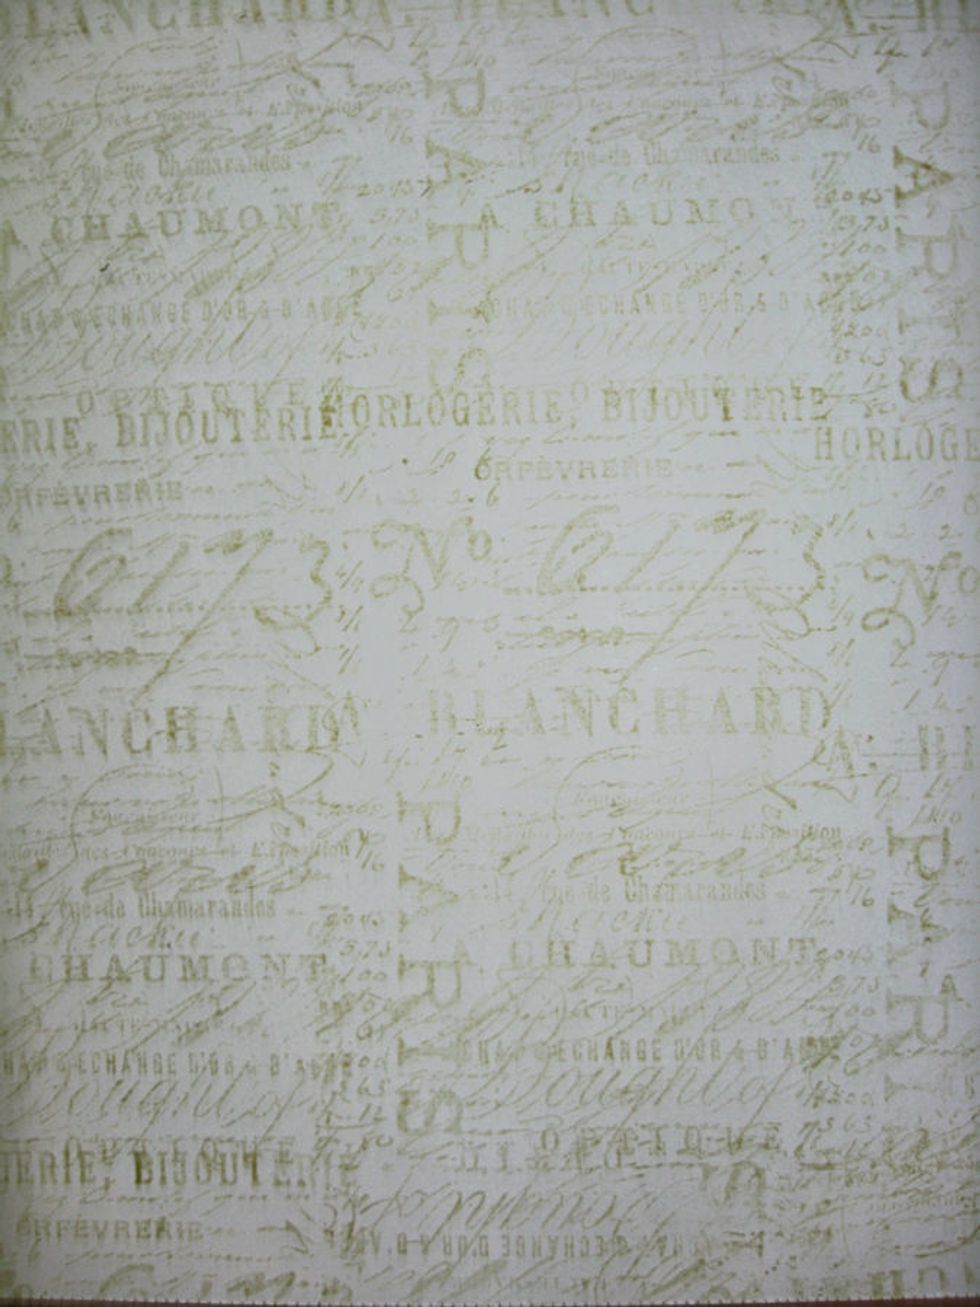
Cover entire surface with the stamp. Then add clear embossing powder, lightly tapping off the excess.
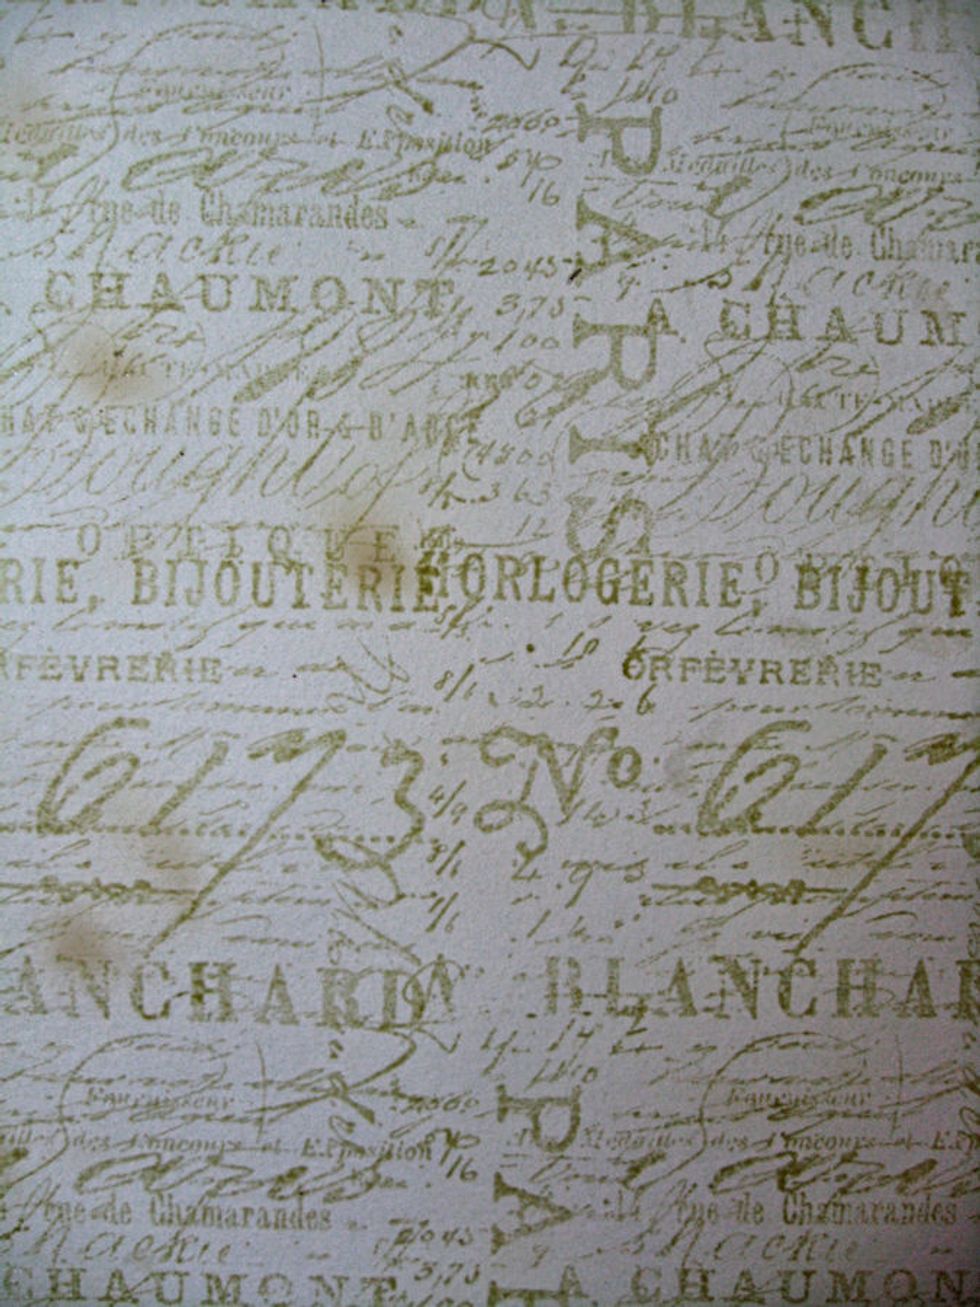
Heat emboss. Let the embossing gun stay in one place just long enough to lightly scorch the paper in a few spots. Move the heat gun as soon as a scorch mark appears so you don't catch paper on fire!

Gather Distress Inks. I also used a little Hickory Smoke along with these colors.
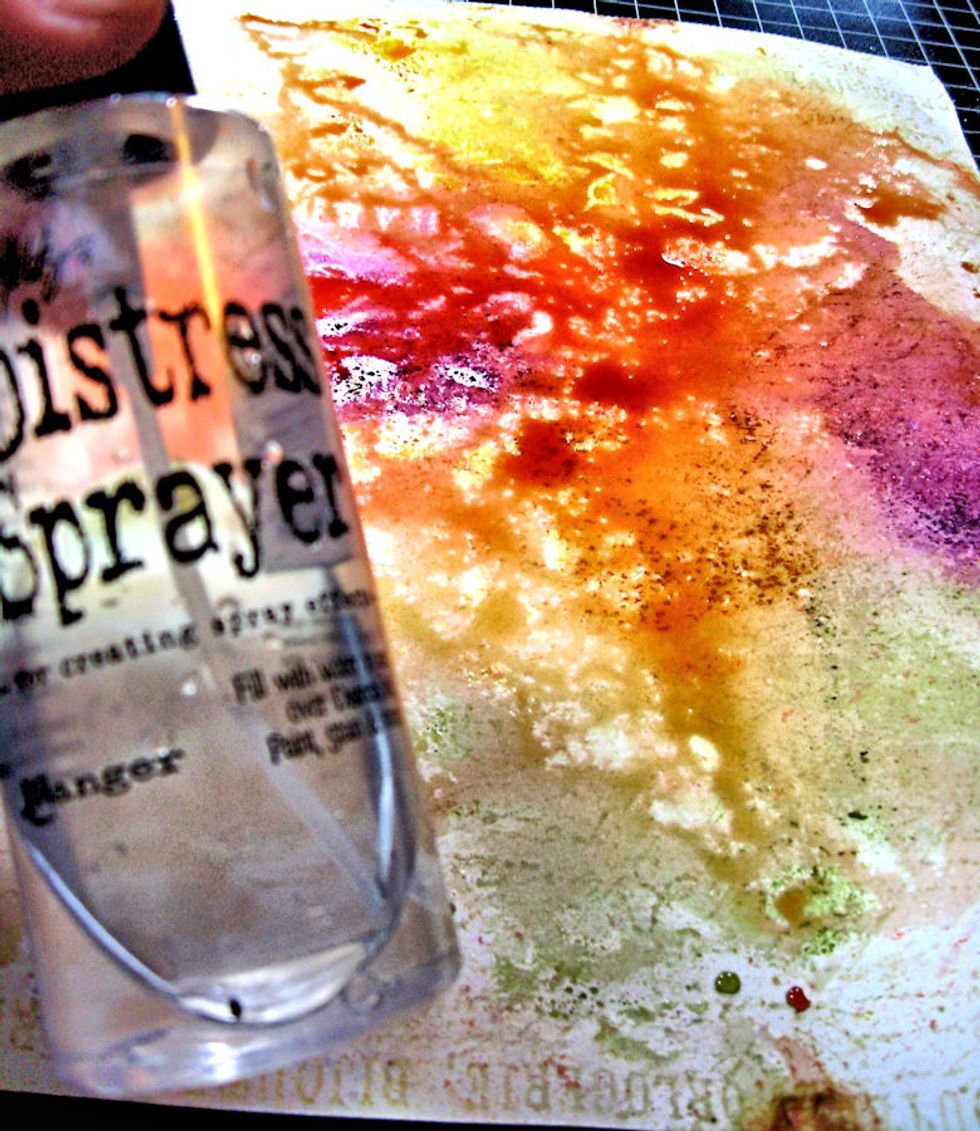
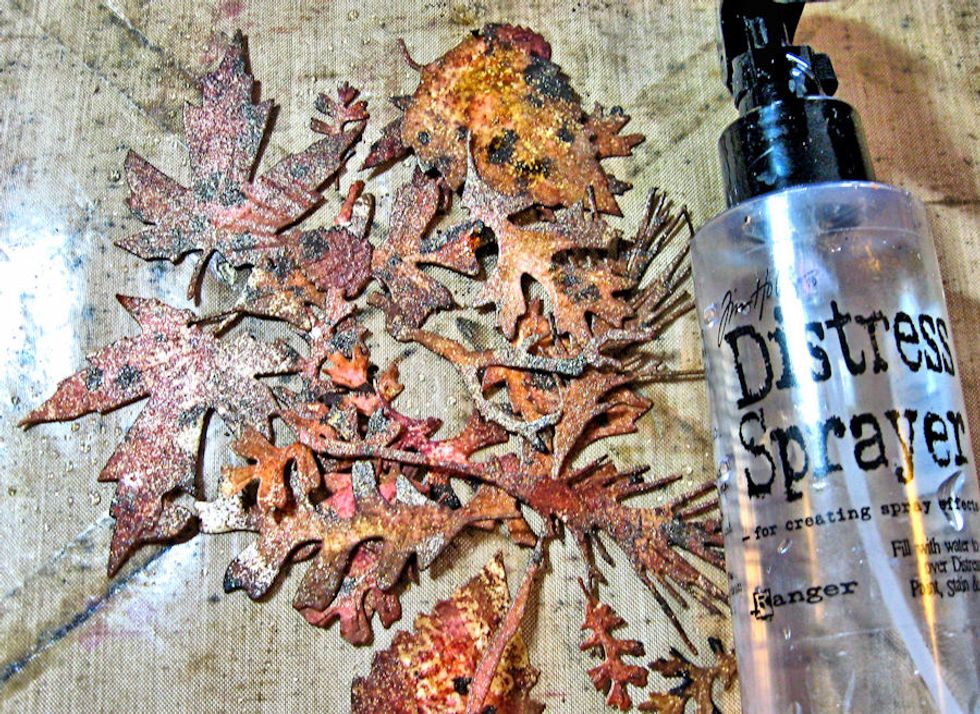
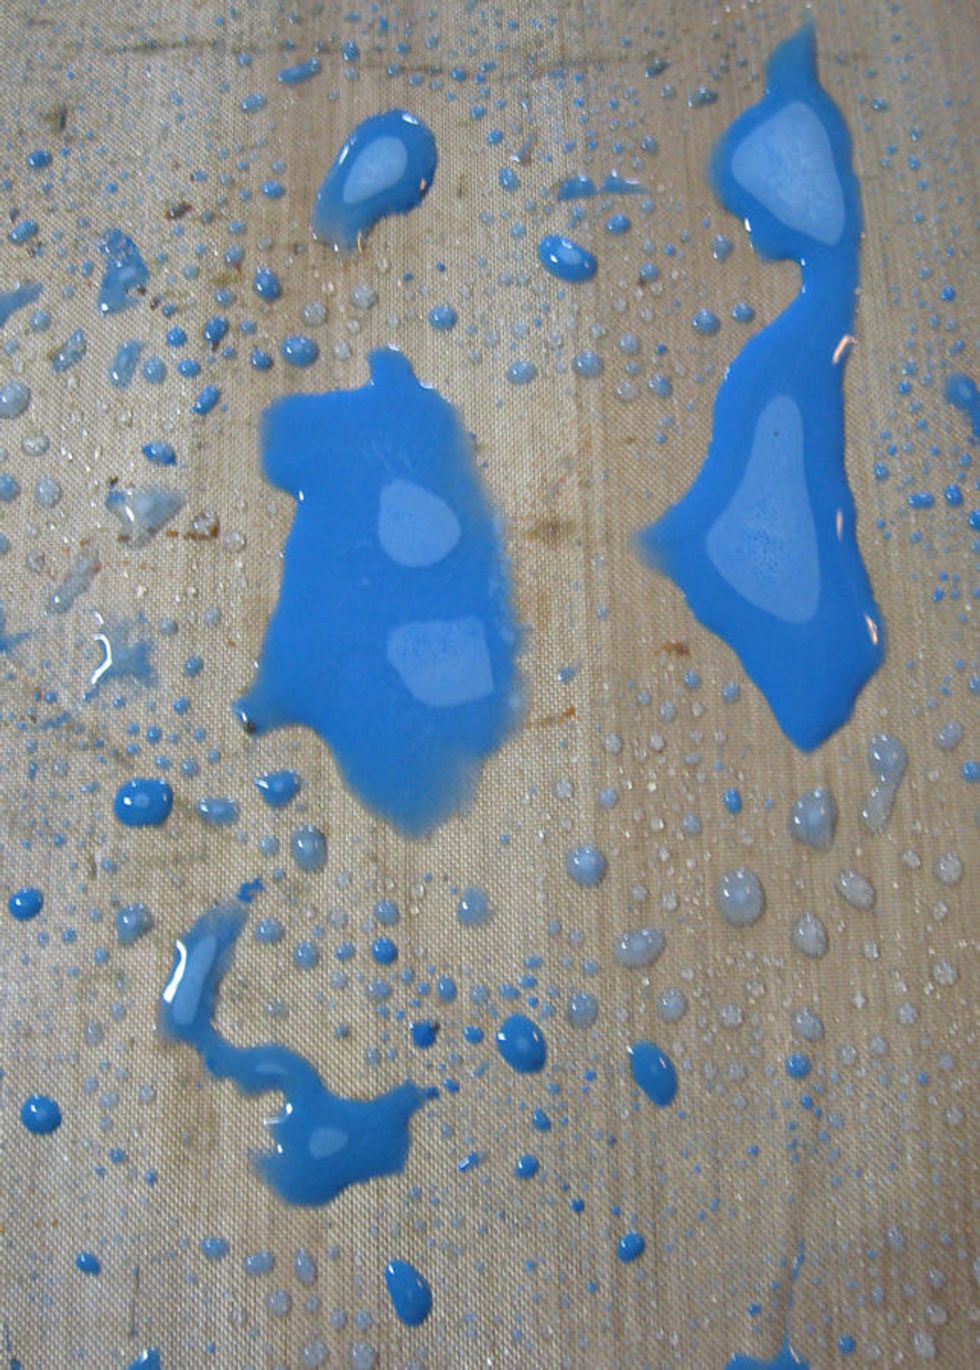
Get out your non-stick craft sheet and "smoosh" the ink pads directly onto the surface, leaving a little space between colors.
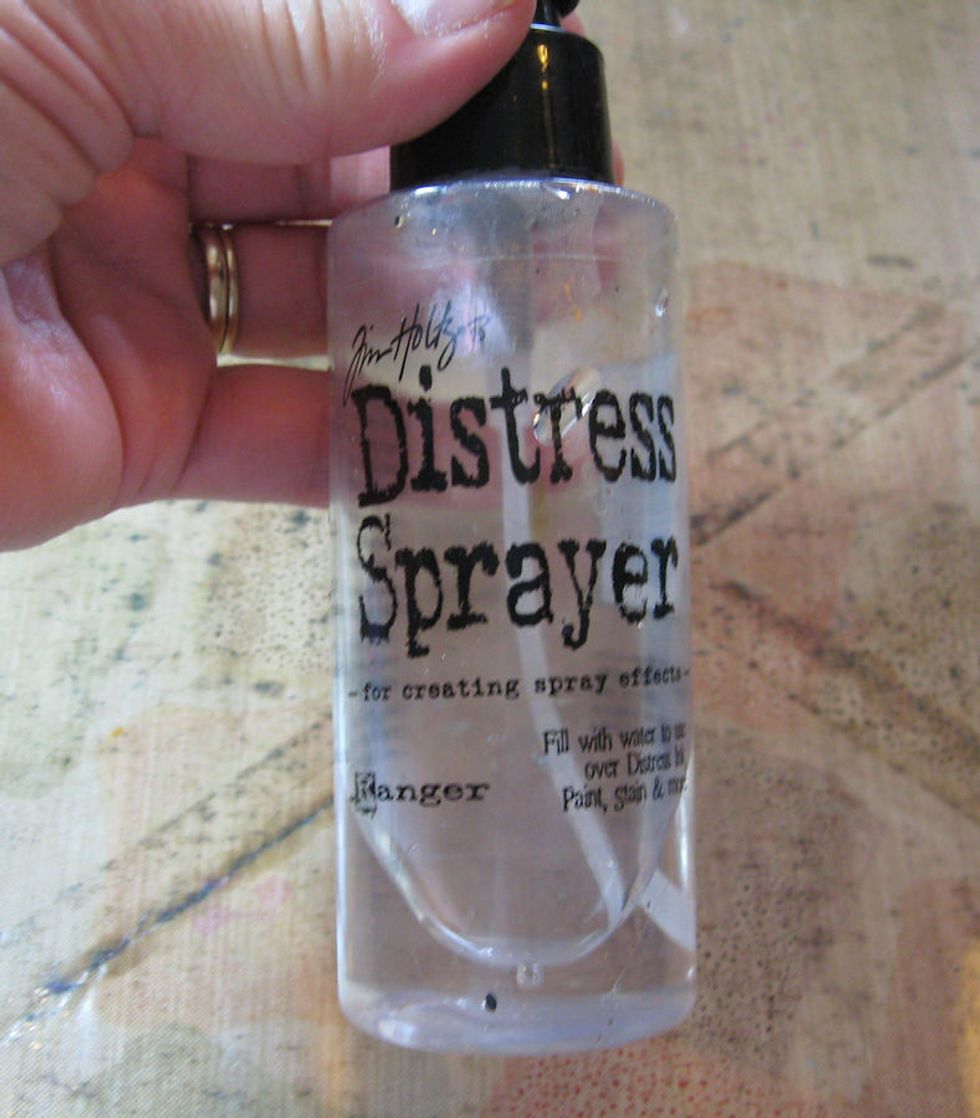
Fill Distress Sprayer, or other fine misting bottle with water.

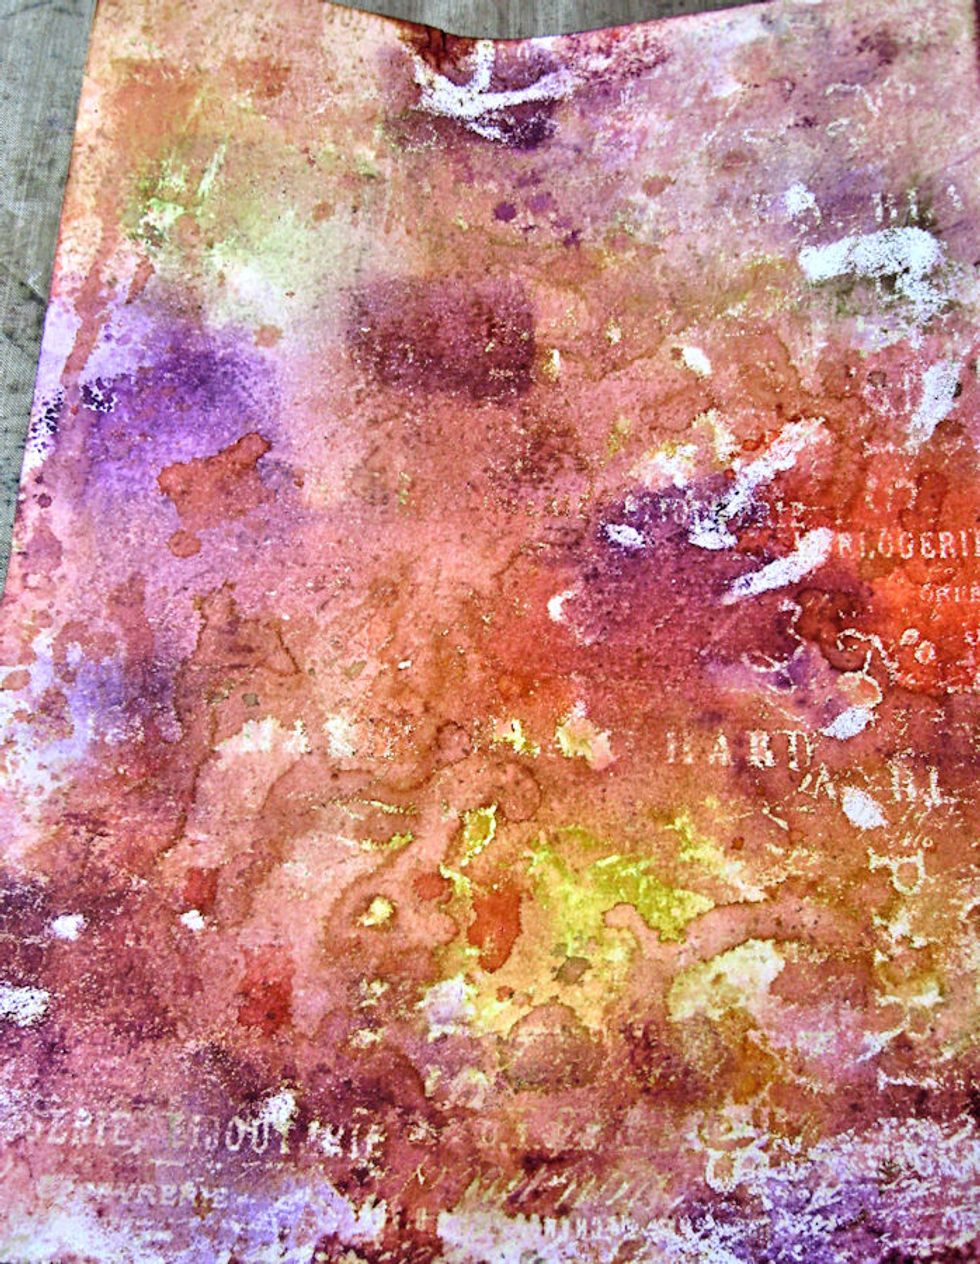
Spritz the smooshed ink with water until beads form, as seen here.
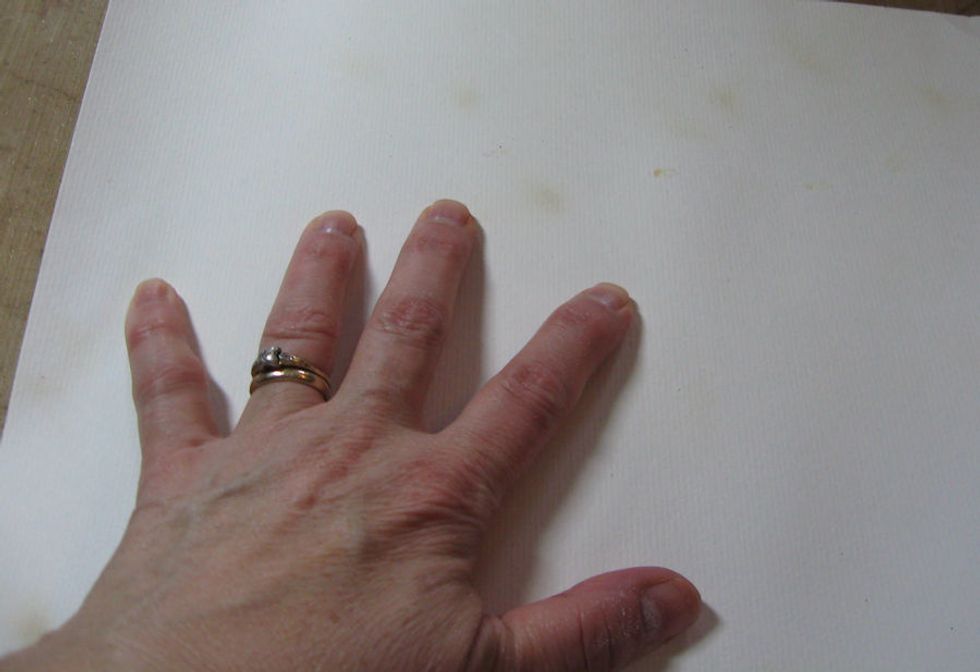
Press the INKED and EMBOSSED side of the watercolor paper into the puddles of ink. Do not move the paper around. Just press in place, and lightly burnish the back of the paper with your hand.
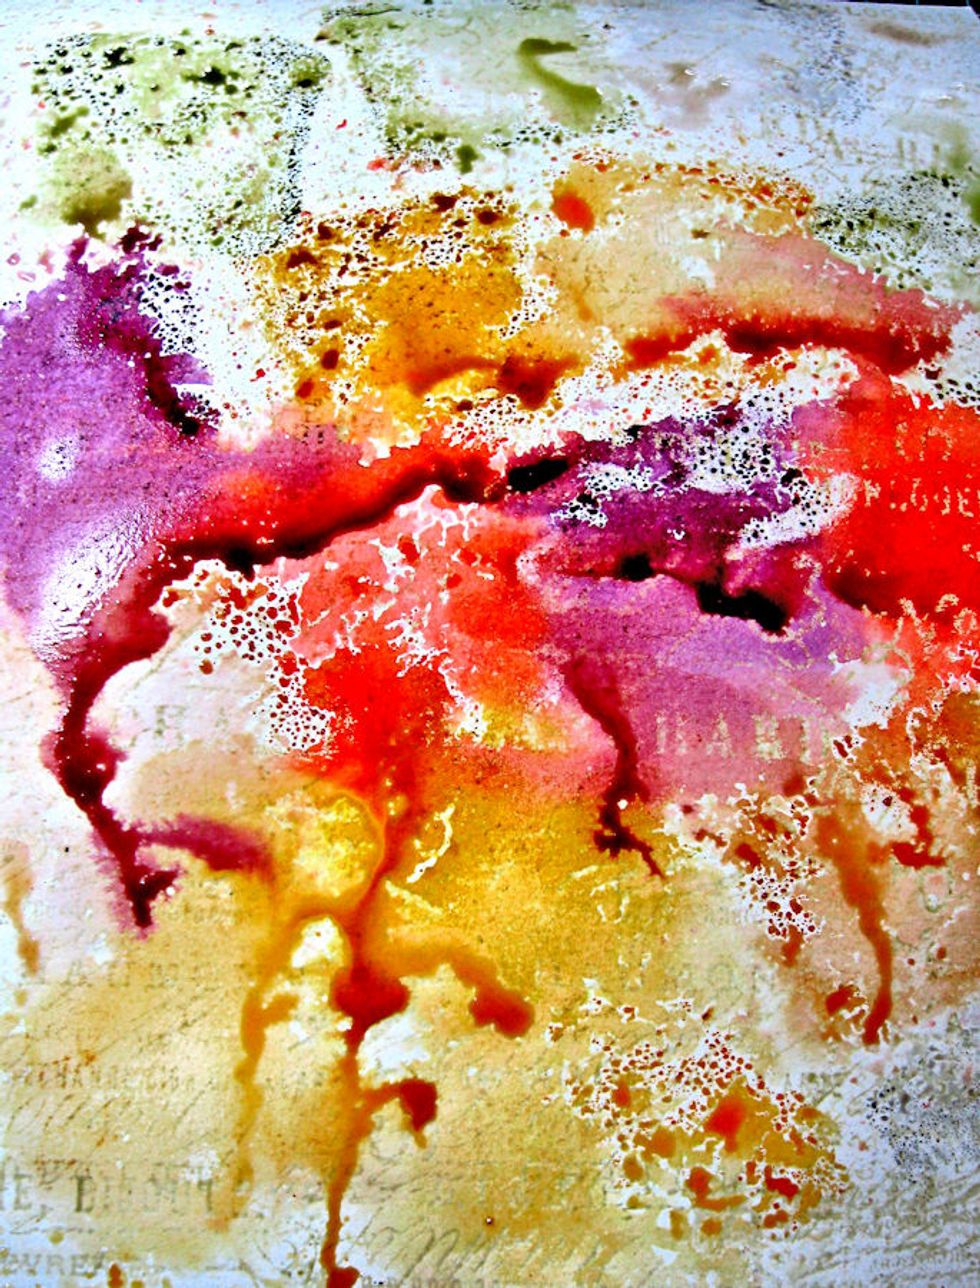
Pick the paper up from the craft sheet. tip to let the ink run and react. Oooh...pretty!
Spritz lightly with a little more water to help the ink move around.
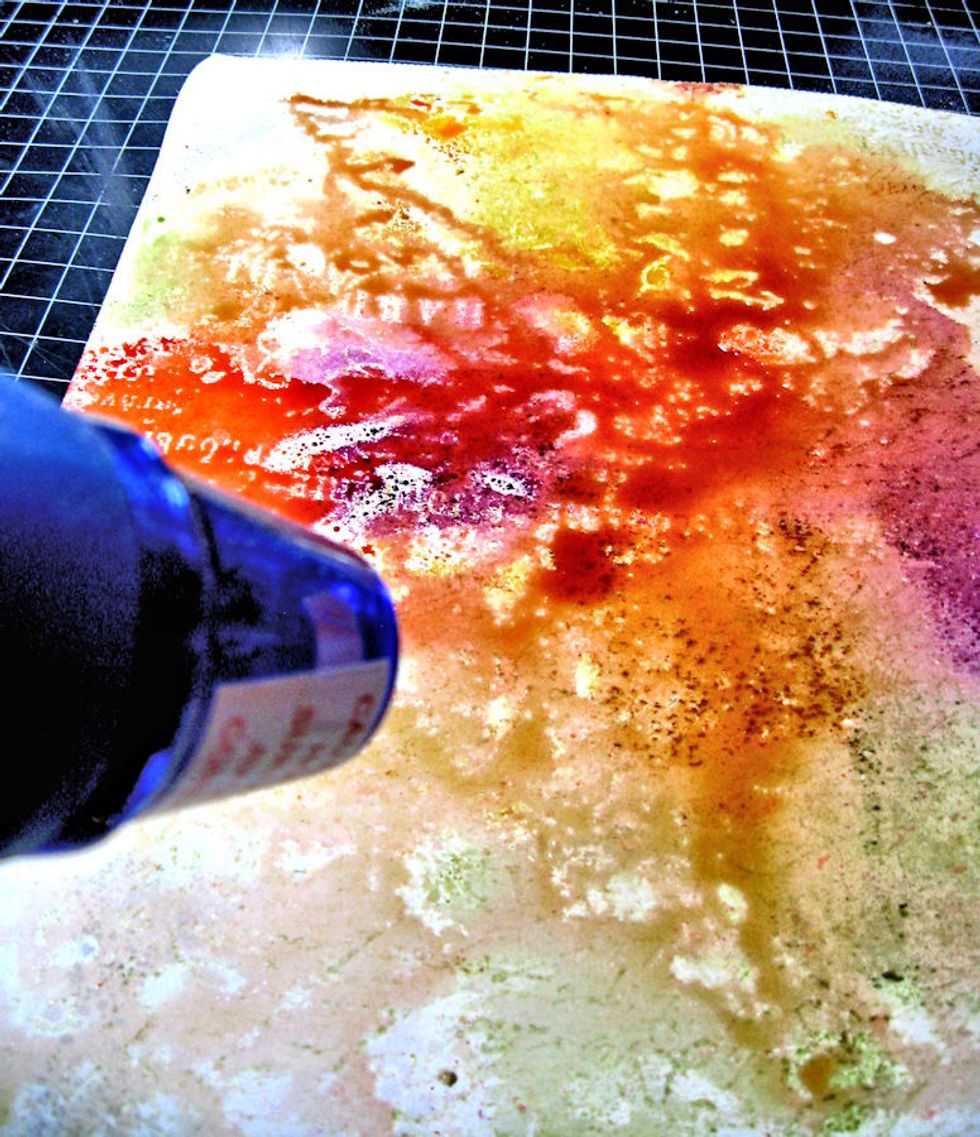
Dry with a heat tool, using a paper towel to lightly blot up any big puddles of ink.
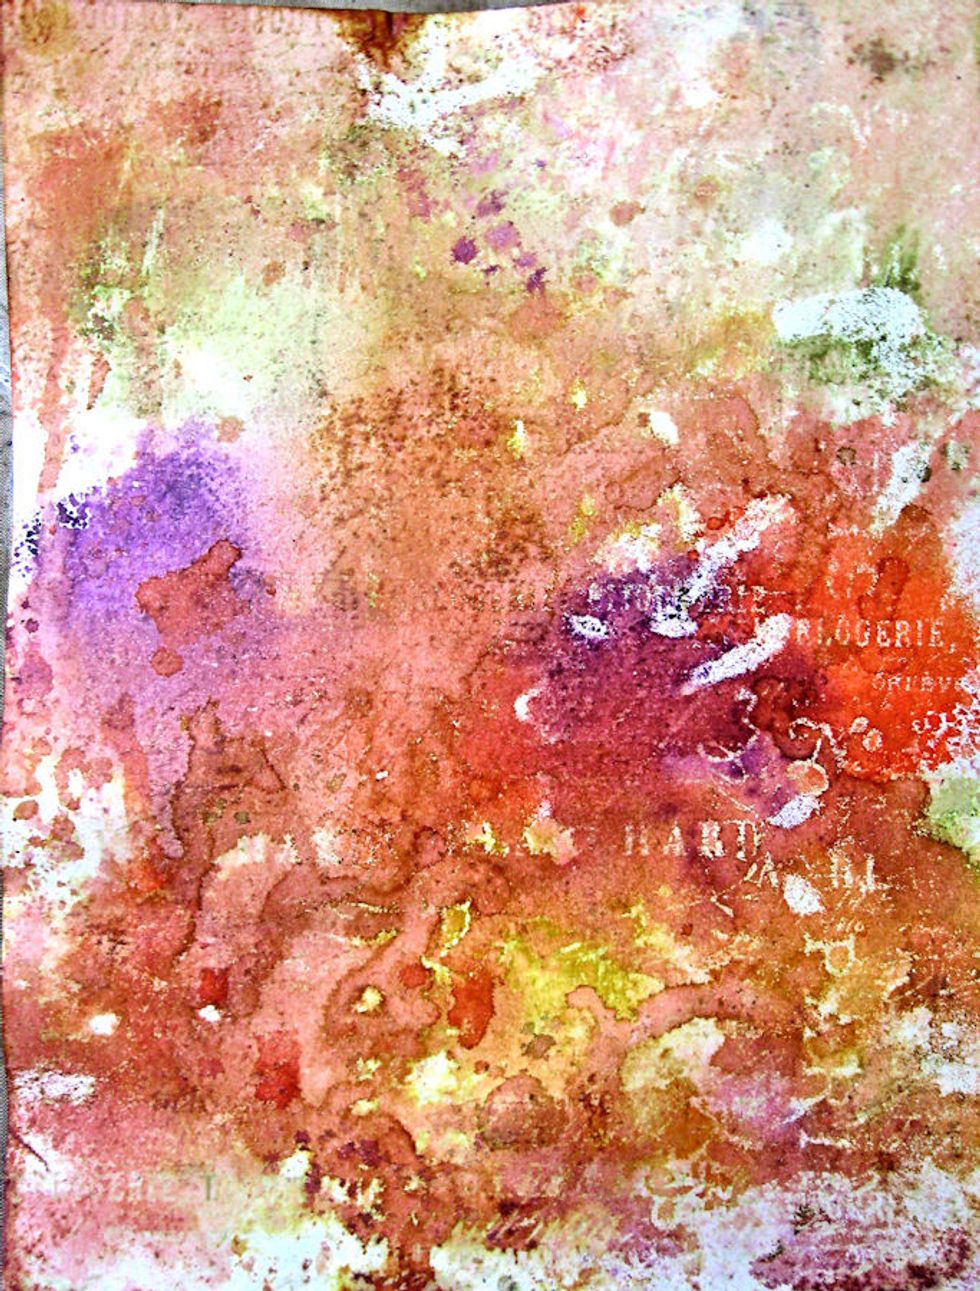
Repeat this process of laying the inked side of the paper into the puddles of ink and drying each layer until you've used up all the ink on the craft sheet.
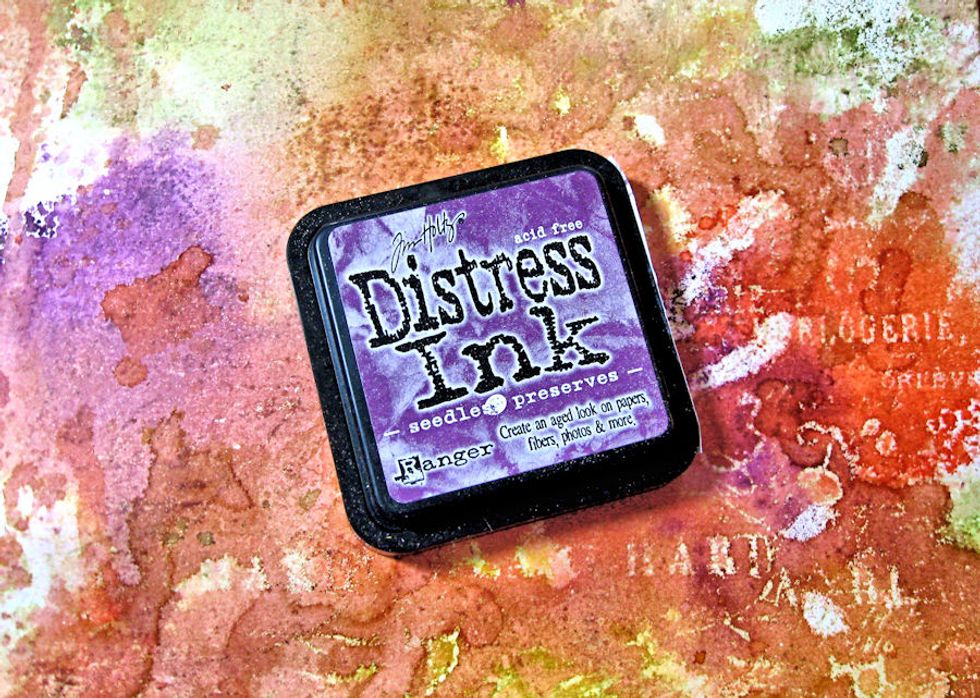
I wanted more purple tones, so I used an ink blending tool to add more seedless preserves to my paper.
This is how it looks after adding more ink. See how the stamped/embossed layer resists the ink? Now, spritz or flick water droplets onto the inked surface to blend in the purple ink you just added.
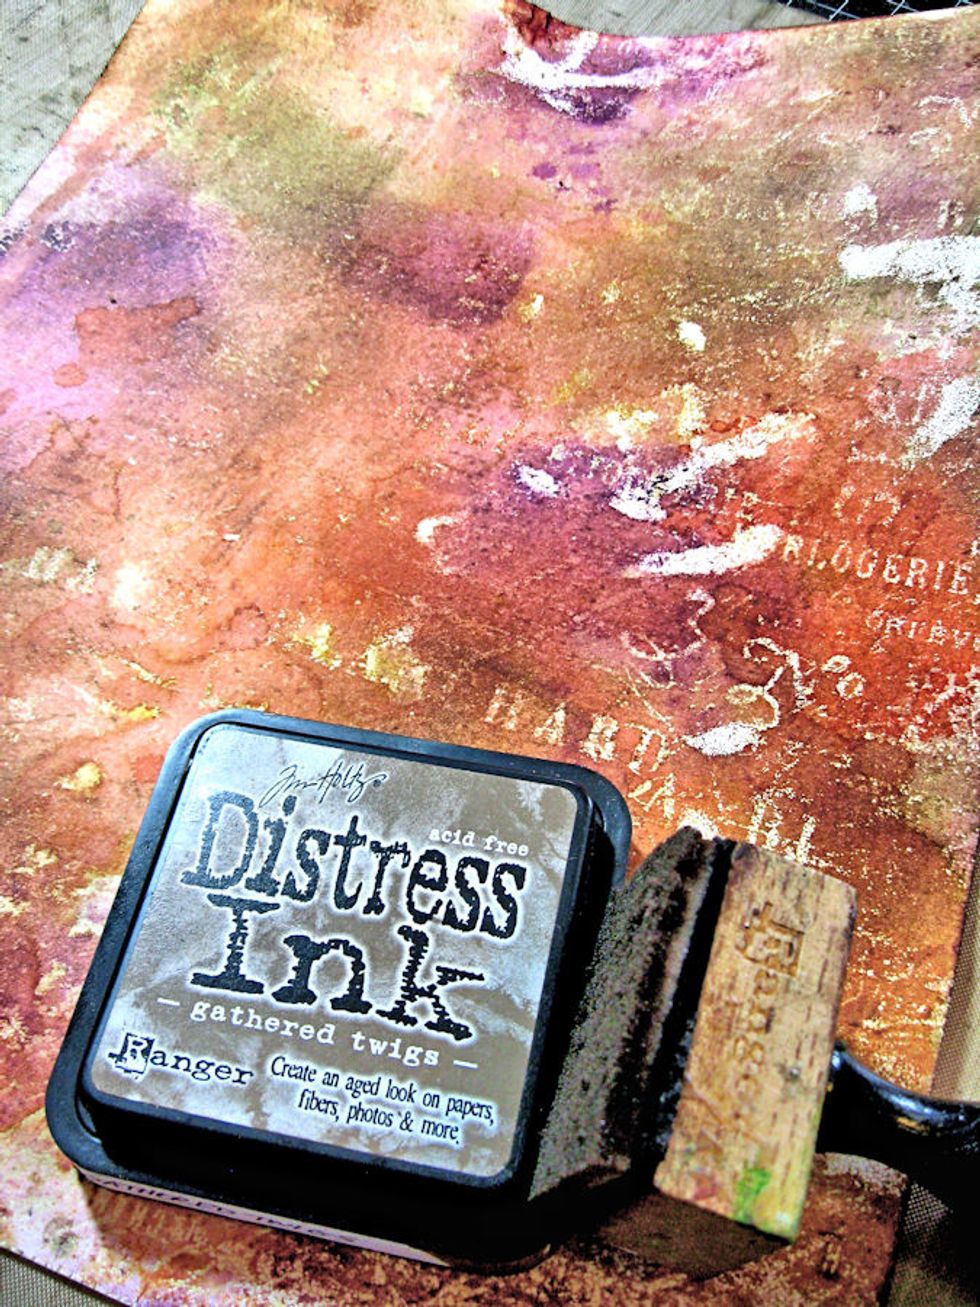
Use a blending tool to add a little bit of brown to the composition. Spritz and flick with water droplets to blend.
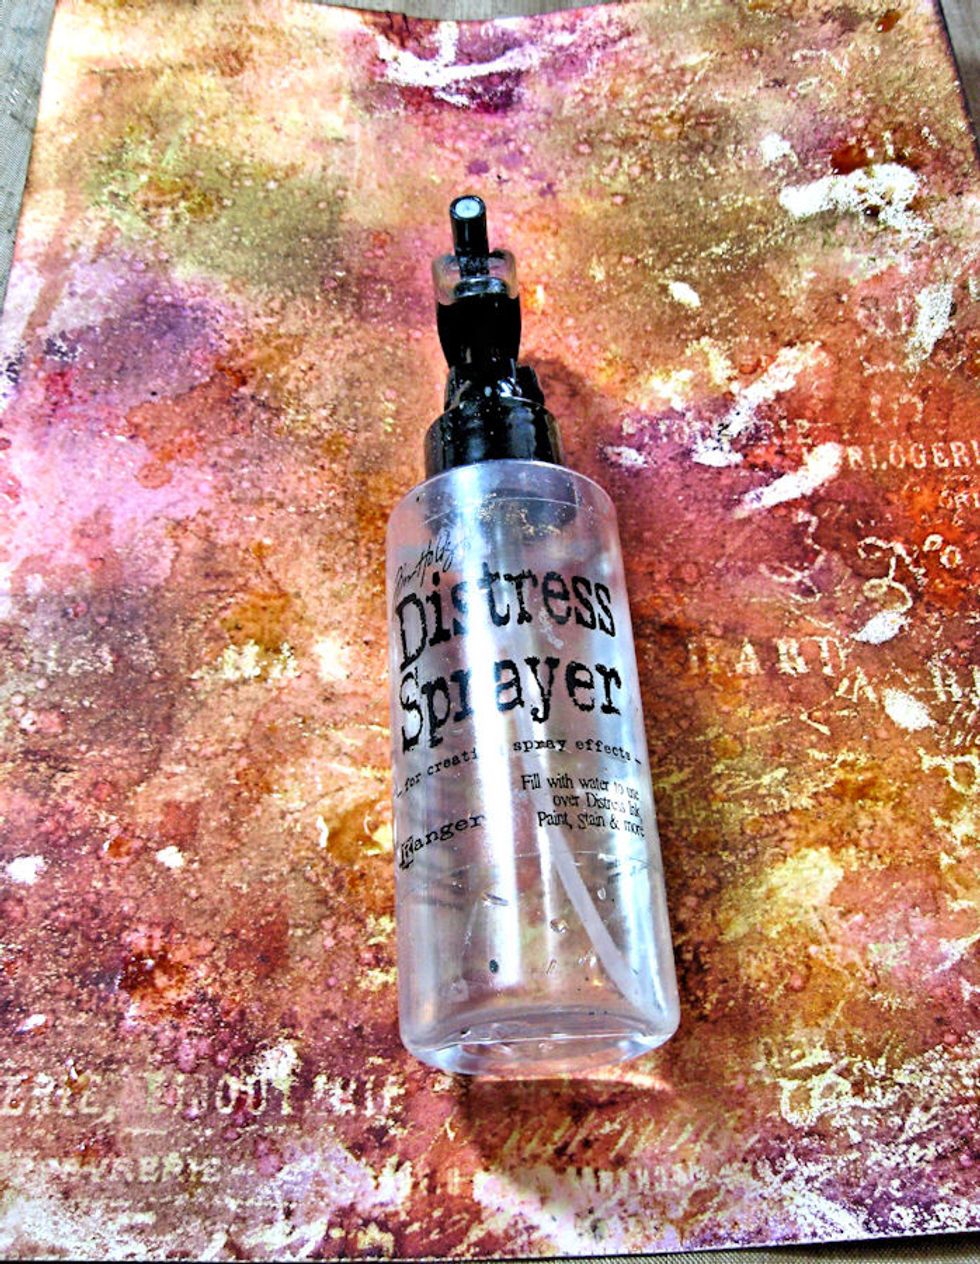
Finally, use Distress sprayer to help colors blend. Mist lightly, let the colors react and blend. Then dry with a heat tool.
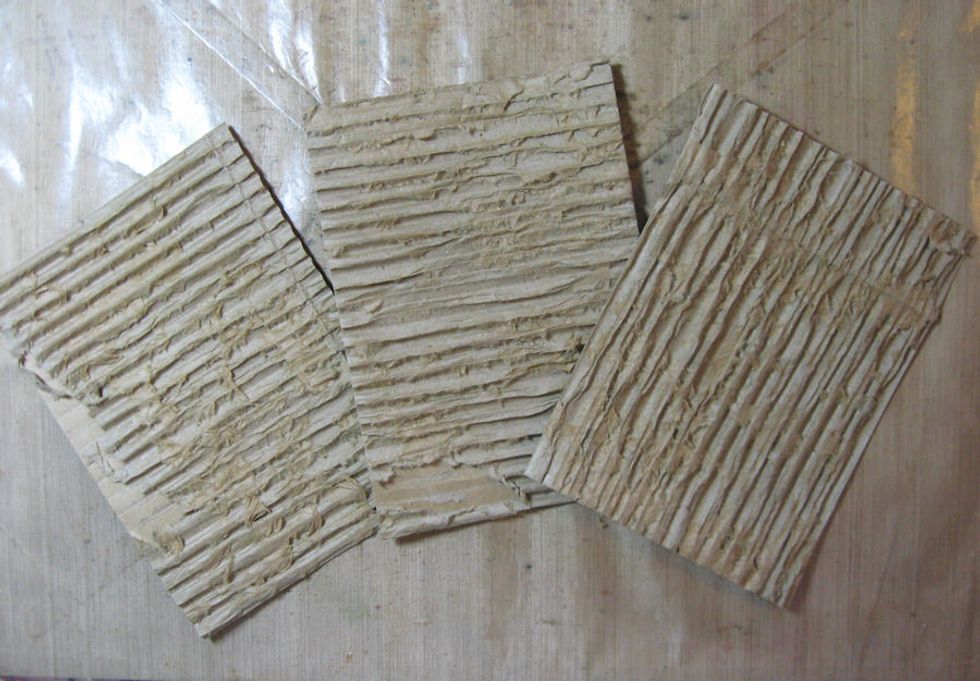
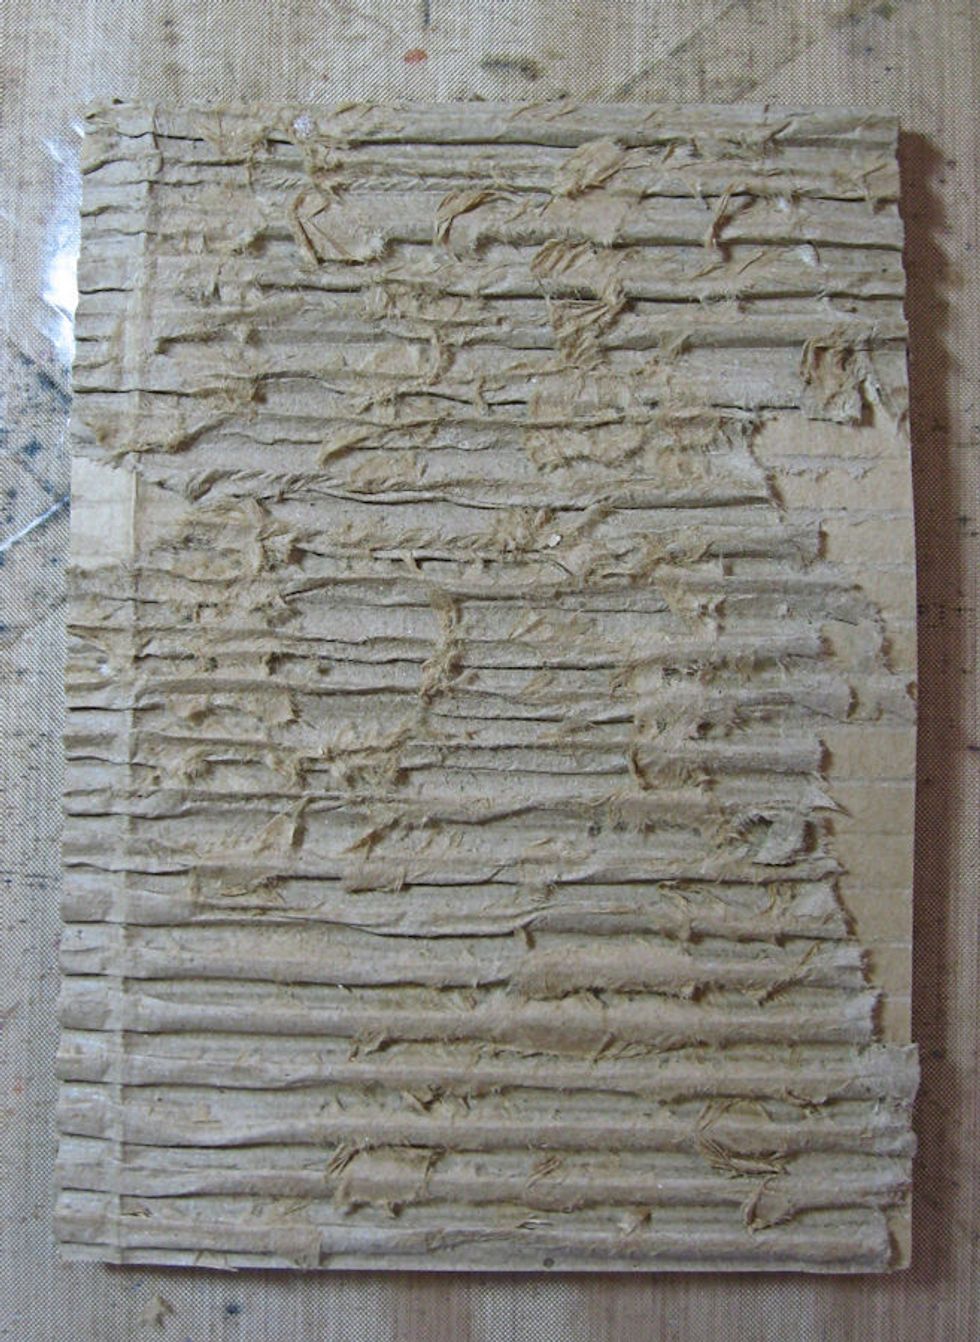
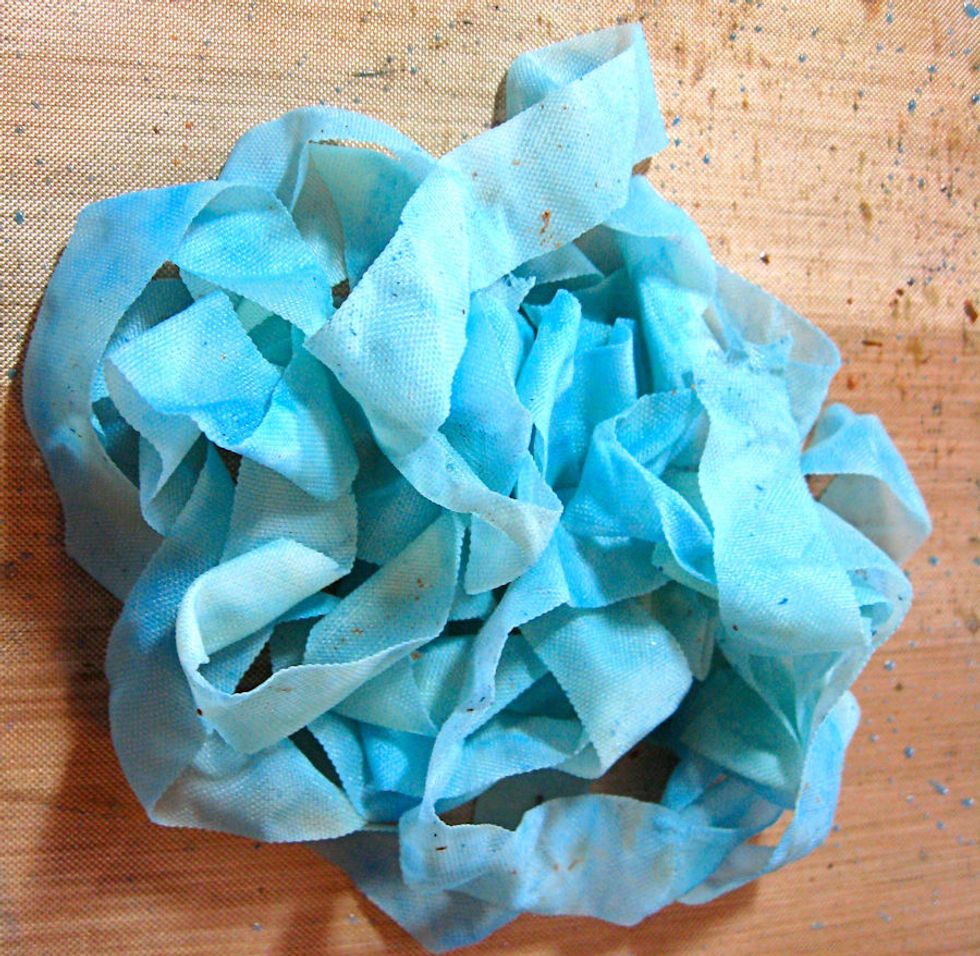
These 5x7 panels were saved from a shipping box. Strip the top layer of paper to reveal the corrugate. We will glue these together to create a dimensional canvas.
Select which panel you wish to use on top. Use a hot glue gun to join all three panels together.

This is what it looks like after being glued together.
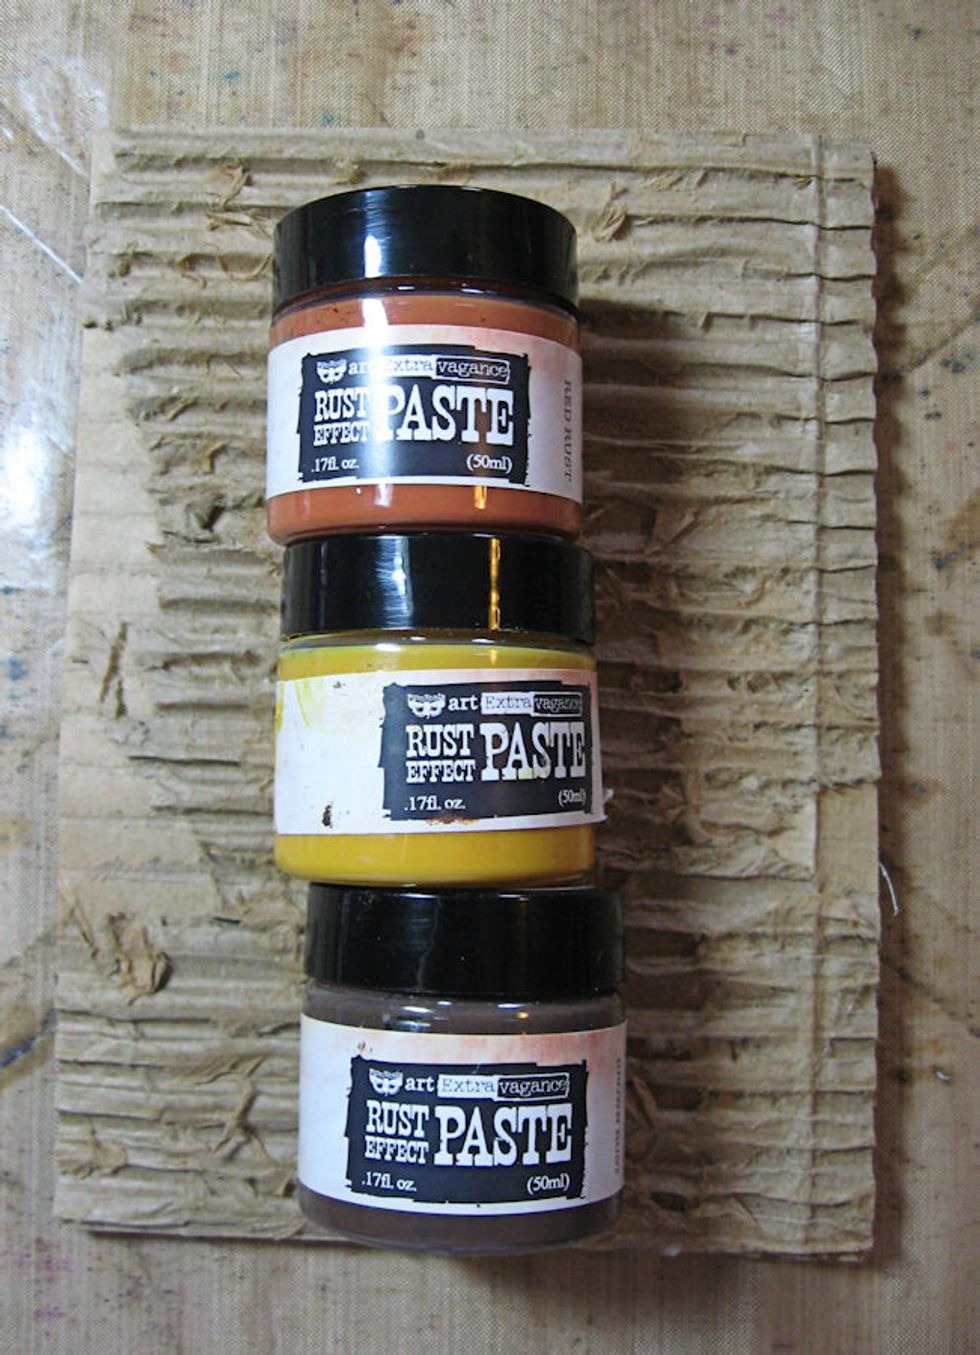
I used Prima Rust paste to give my corrugate panels an aged, rusty look. But you could paint or use gelatoes or Distress Crayons just as easily. I just like the texture and grunge of rust paste.

Use a brush to pounce the darkest paste around the edges of your panel. The center will be covered, so no need to waste materials.
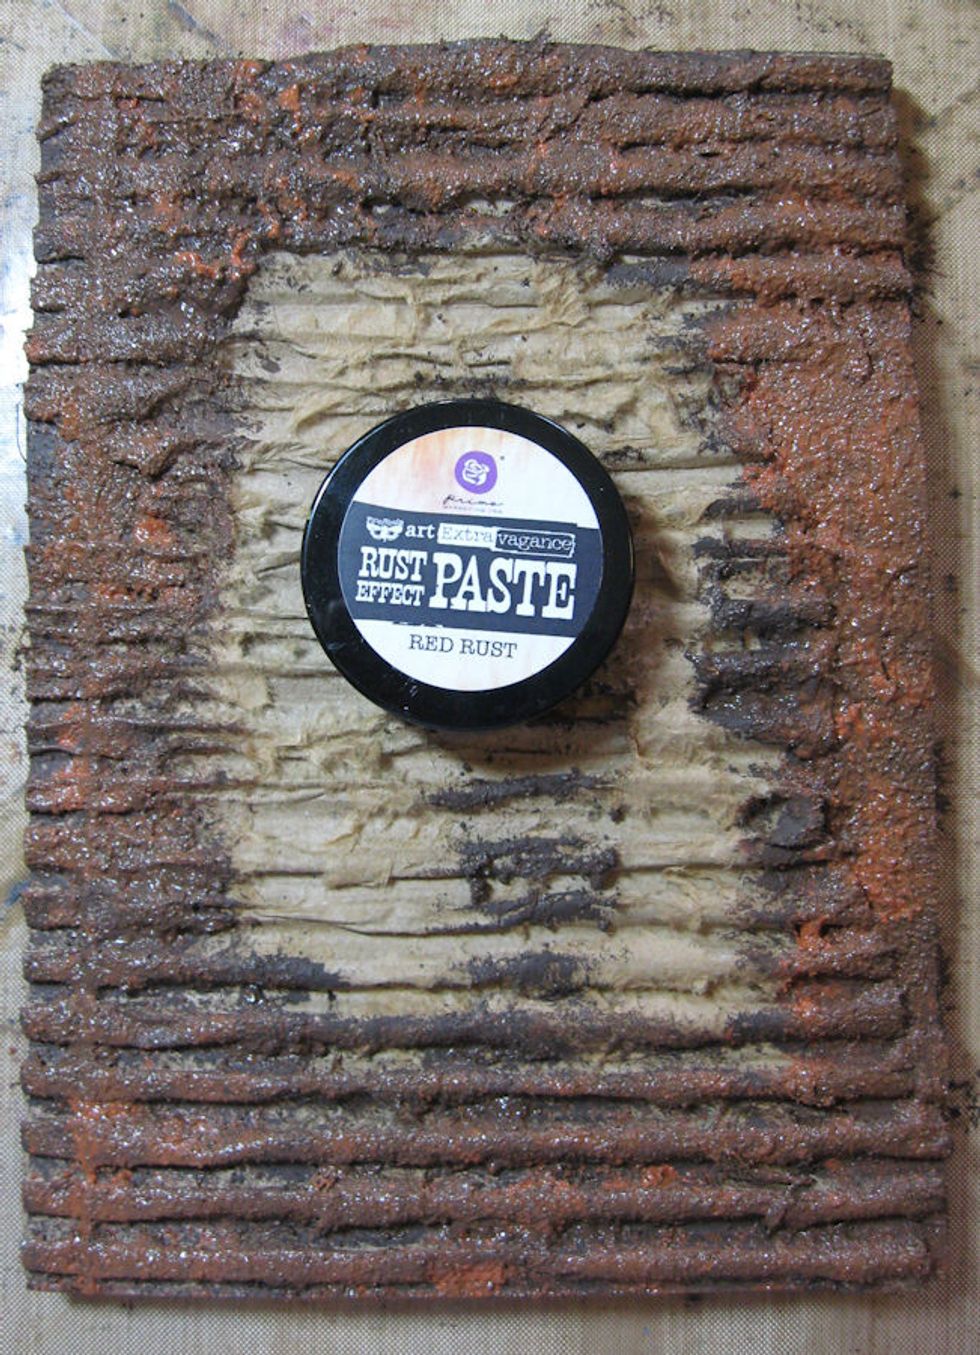
Let the first layer dry, then add the middle range of rust paste randomly over the first layer.
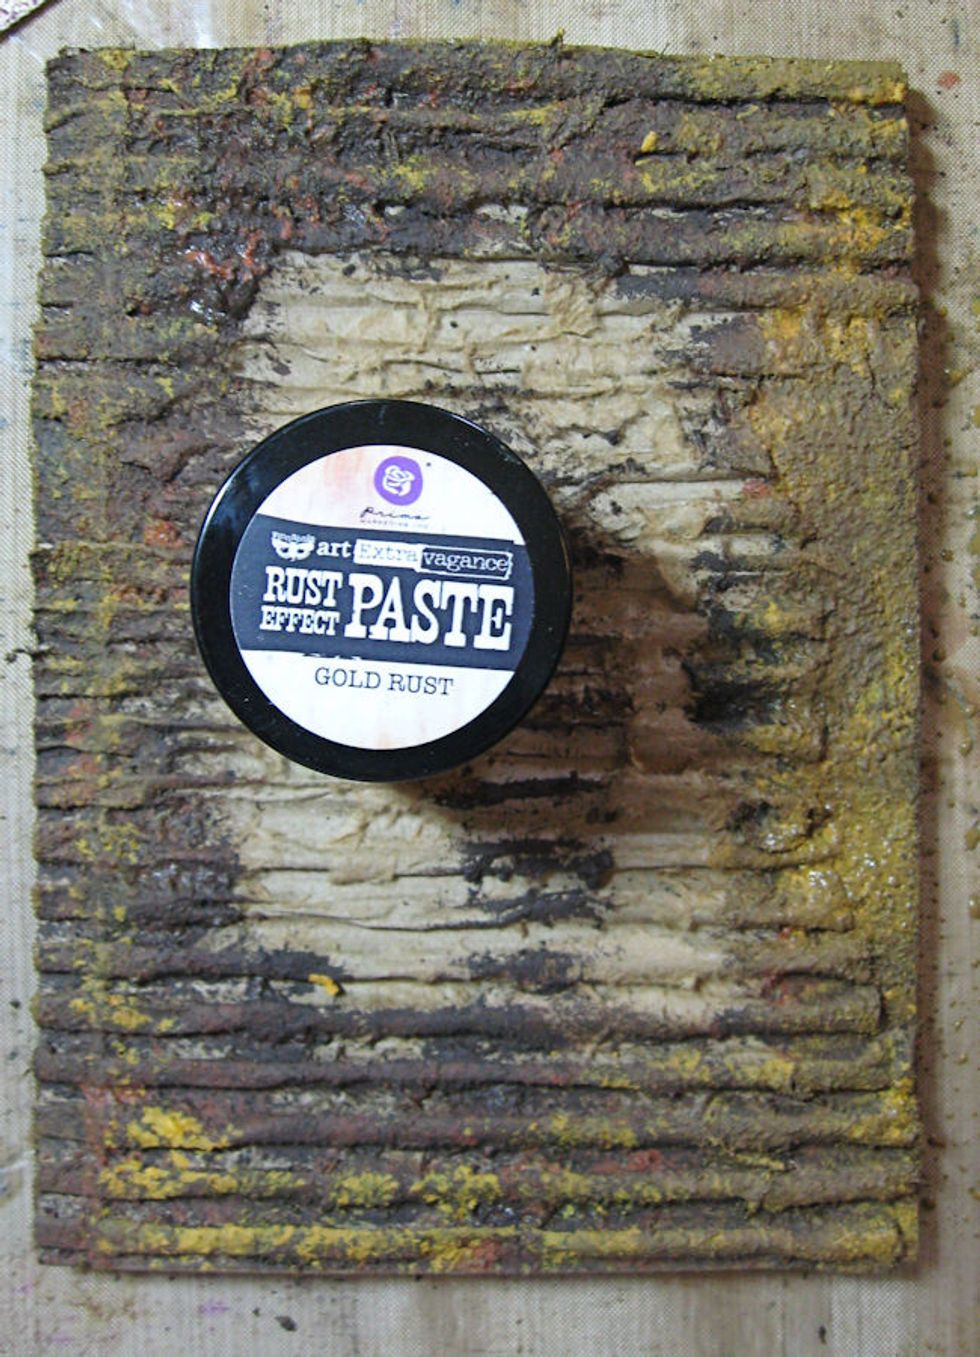
Once that has dried, add the gold layer. I used a lot of gold as I wanted a tarnished metal look. You can use as much or as little as you choose.
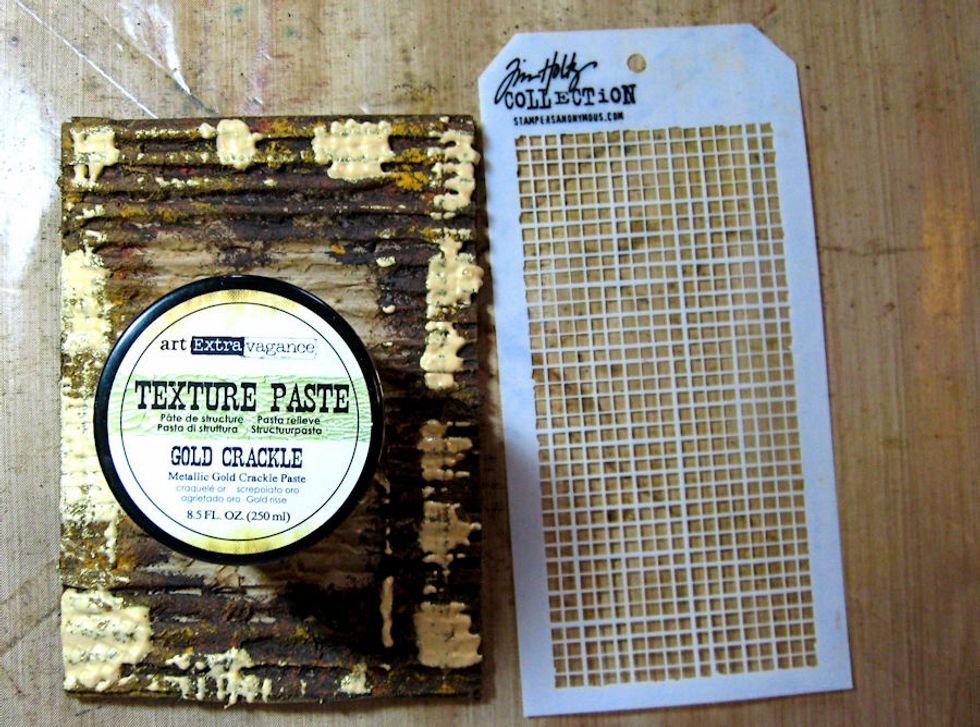
Use a palette knife and Tim Holtz Linen Stencil to randomly apply Prima Gold Crackle Texture Paste around the edges of the panel. Set aside to dry. You get better crackle if you let dry naturally.
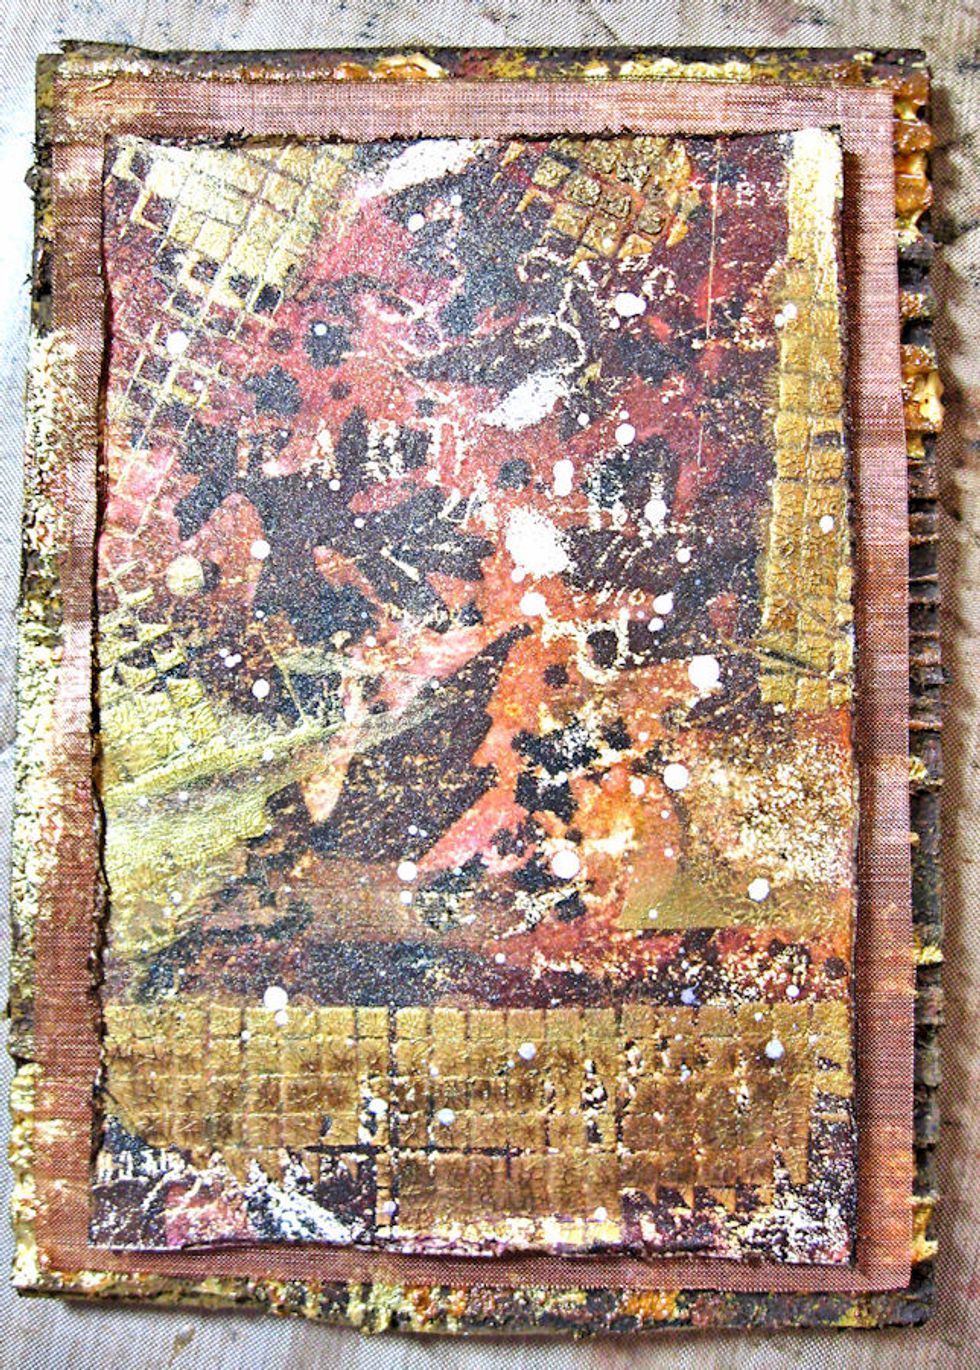
Cut a 4" x 6" panel from the master board. Apply gold crackle paste through stencil. Allow to dry naturally.

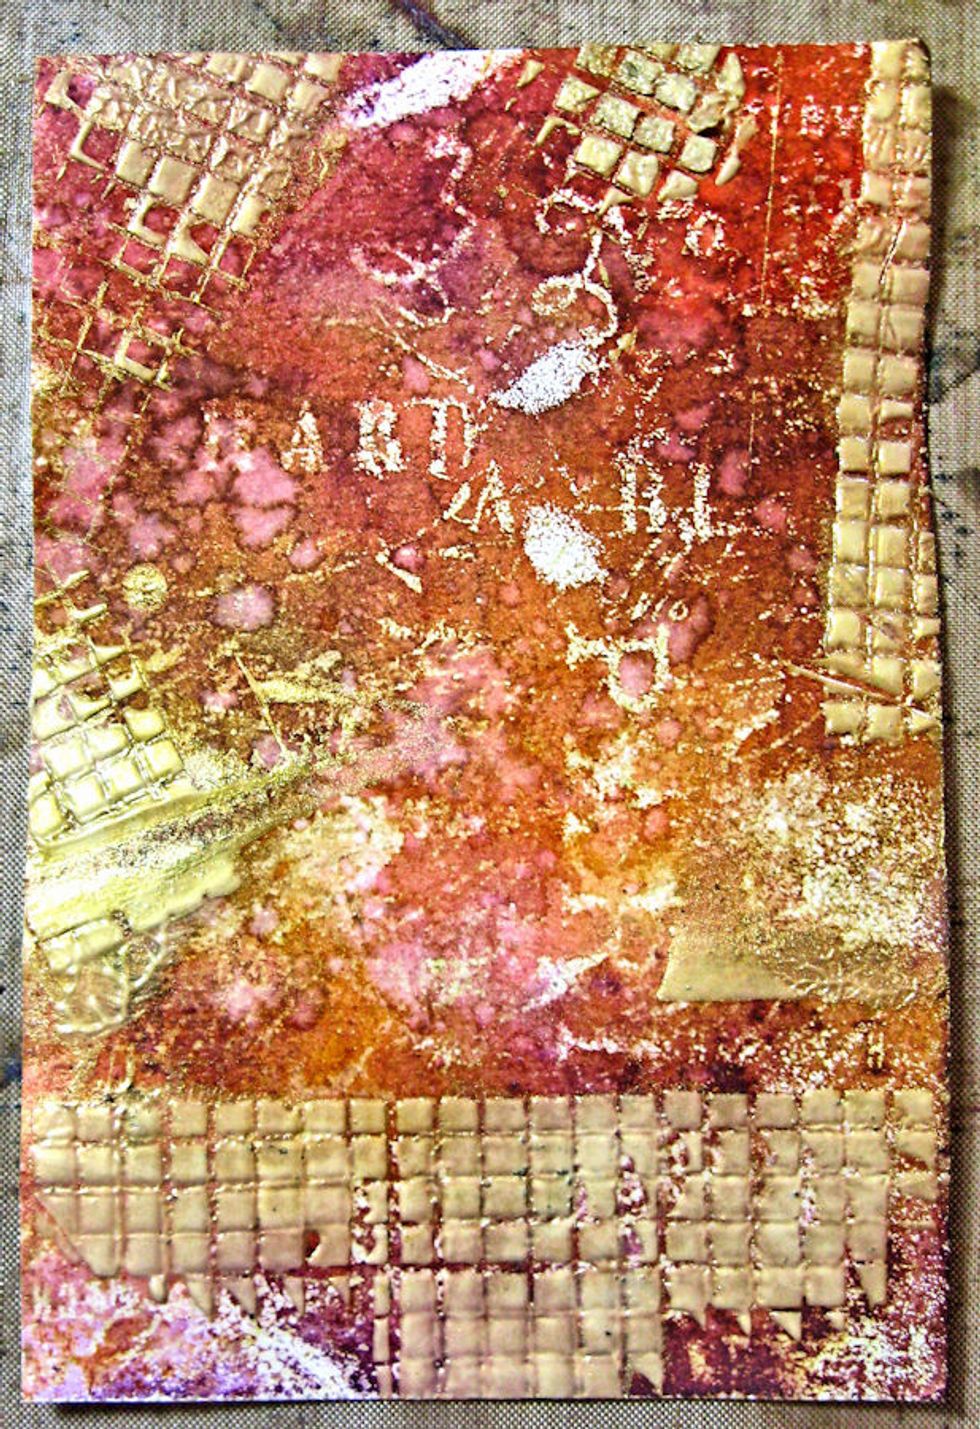
Apply Gathered Twigs DI through the Tim Holtz Fall stencil. I used a blending tool to do this.
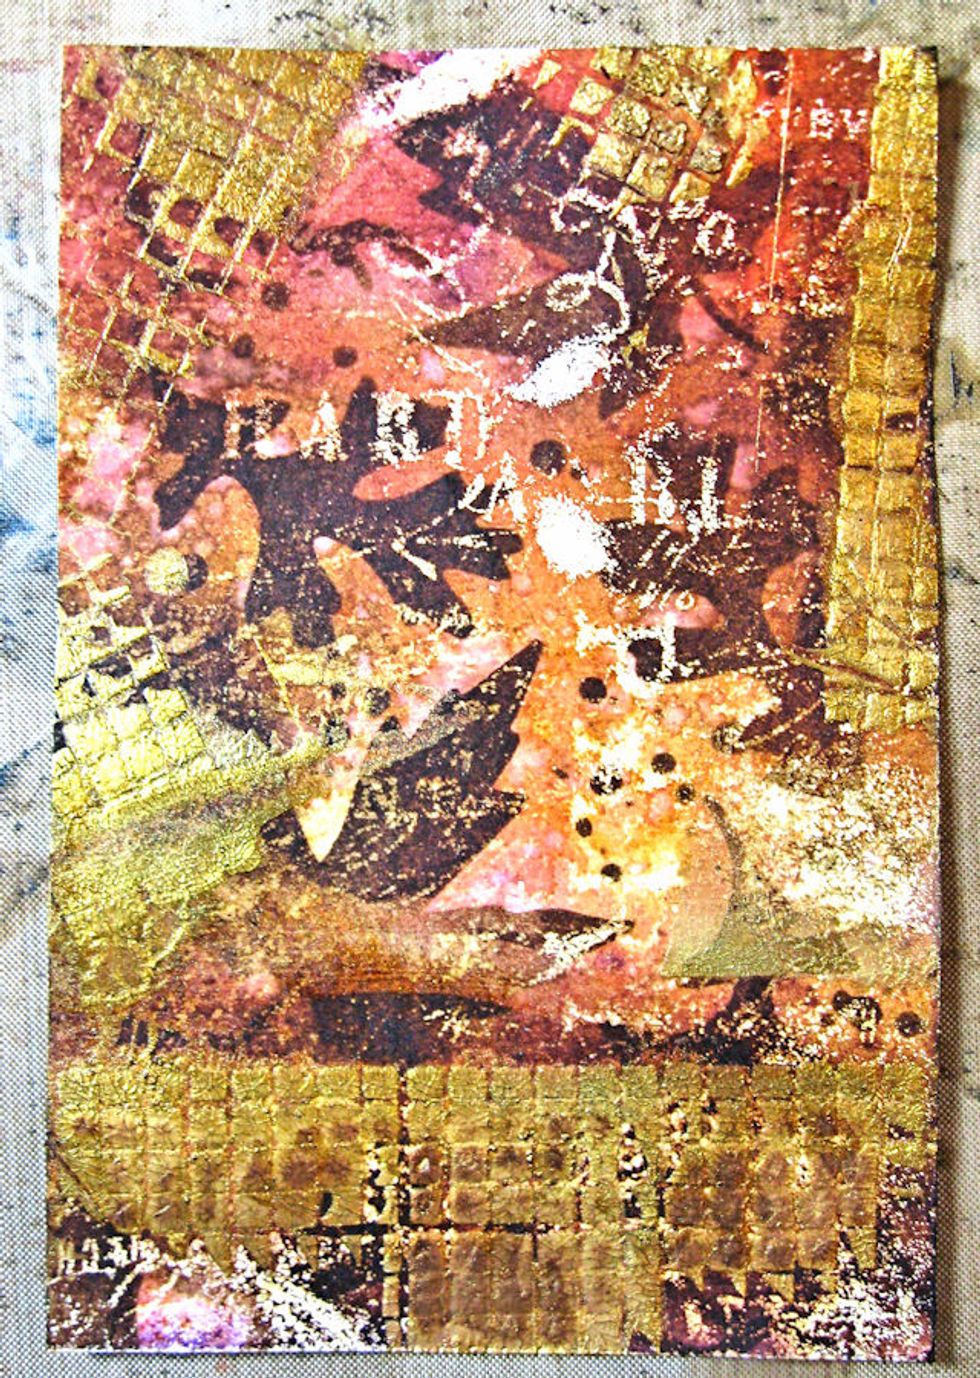
Here's what it looks like now.

Use Gathered Twigs on a blending tool to grind color into the cracks of the gold stenciled areas.
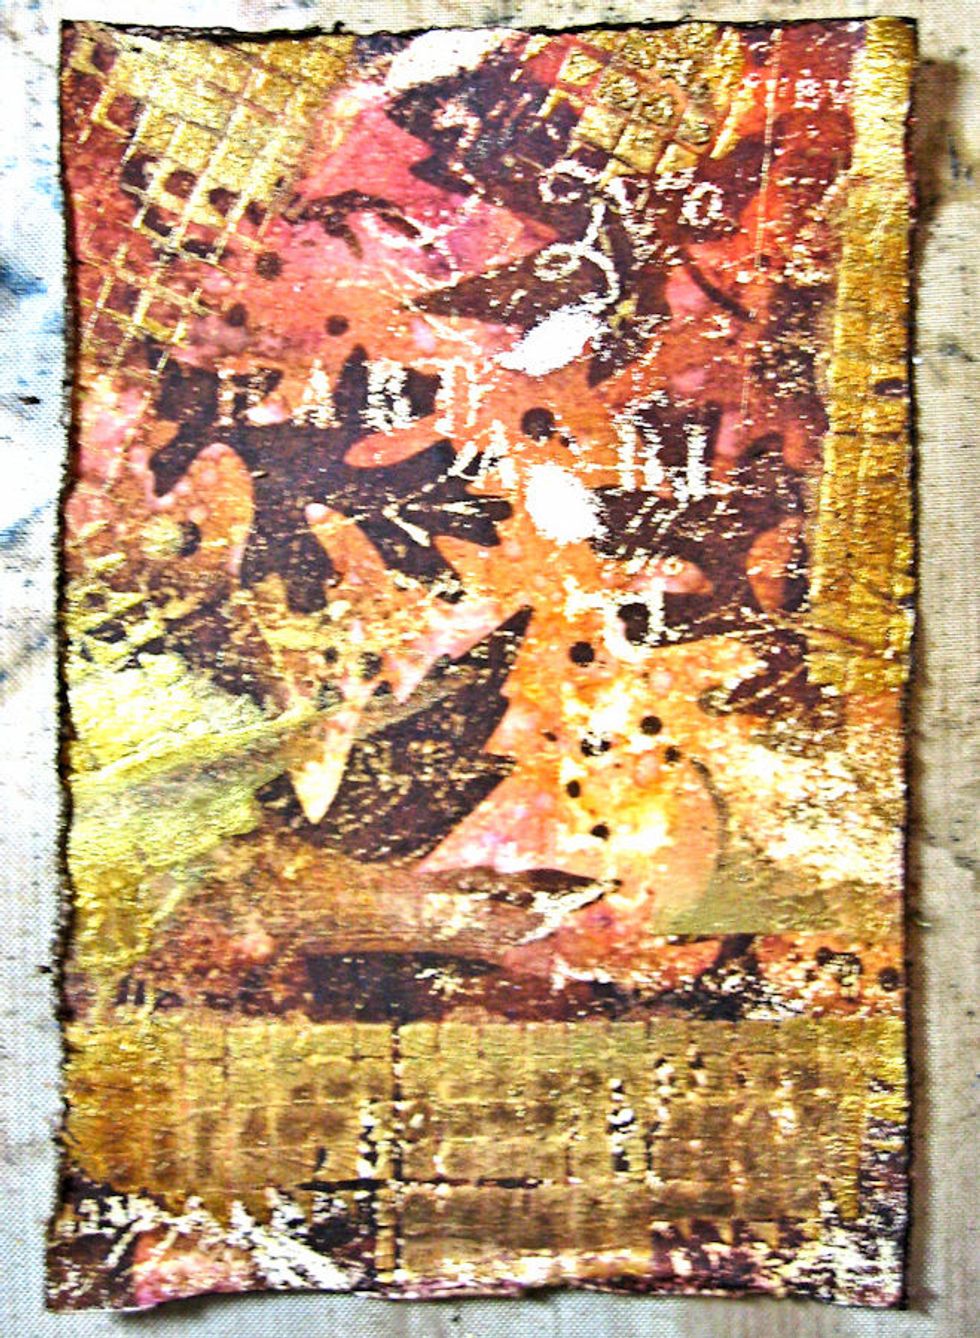
Distress the edges of the panel and ink with Gathered Twigs.
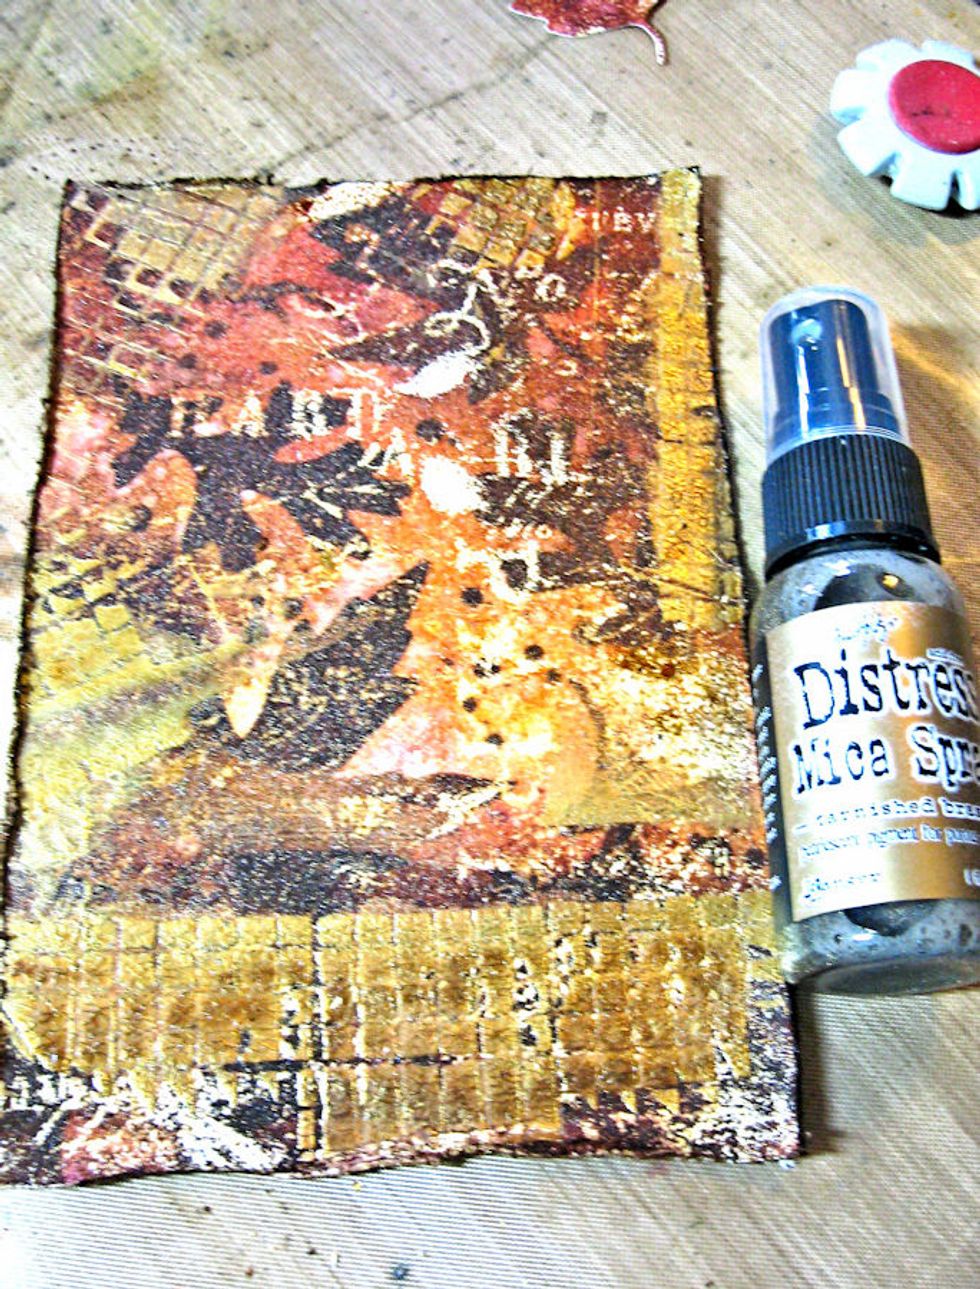
Add a very light misting of Tarnished Brass Mica Spray. Be careful not to over spray the image or you will cover up the inking/stamping. We just want a light shimmer.
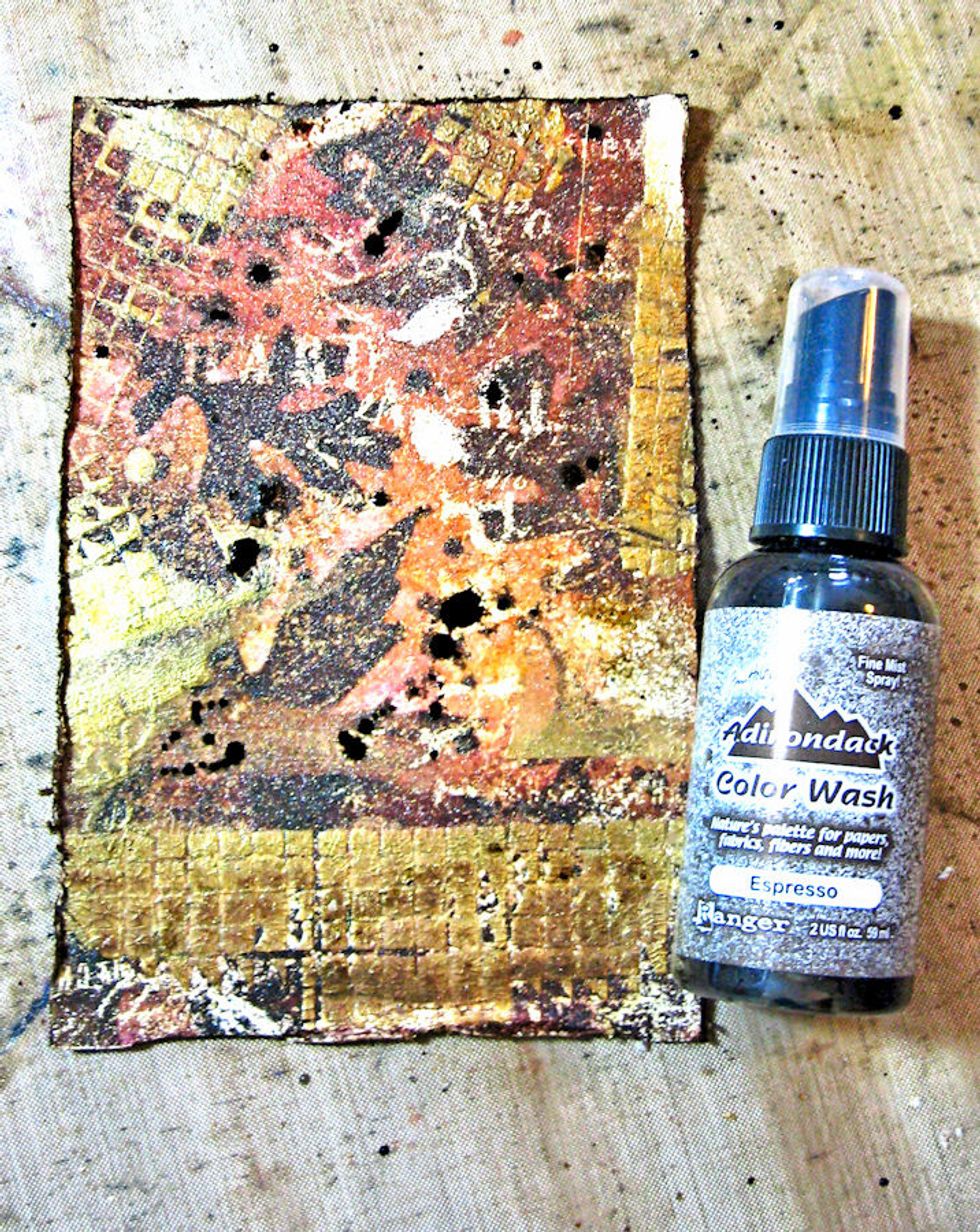
Remove the plunger from Espresso Color Wash Spray and spatter ink onto the panel.
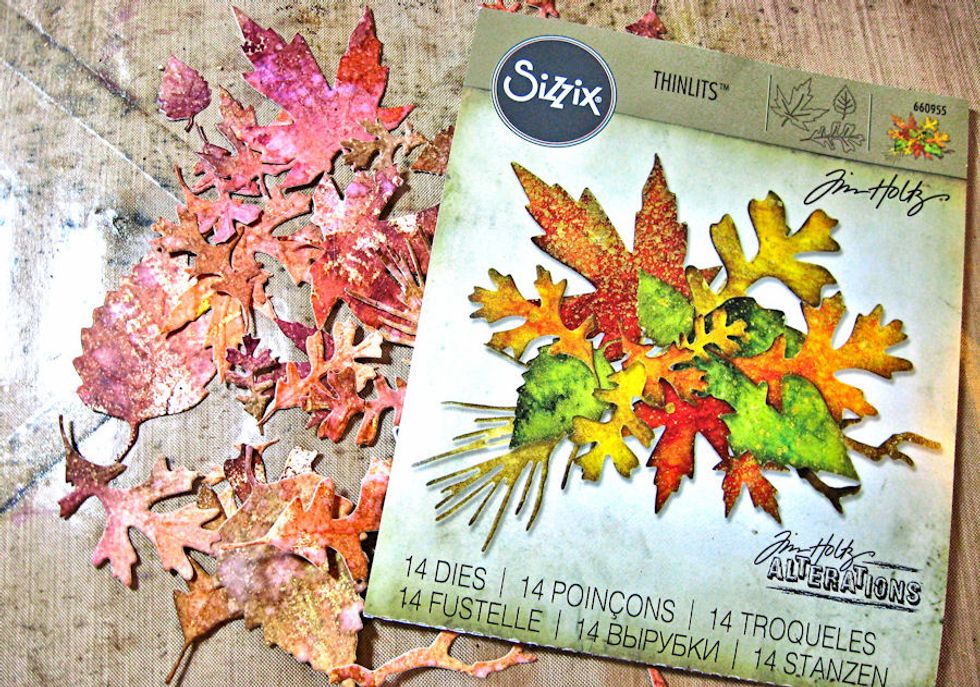
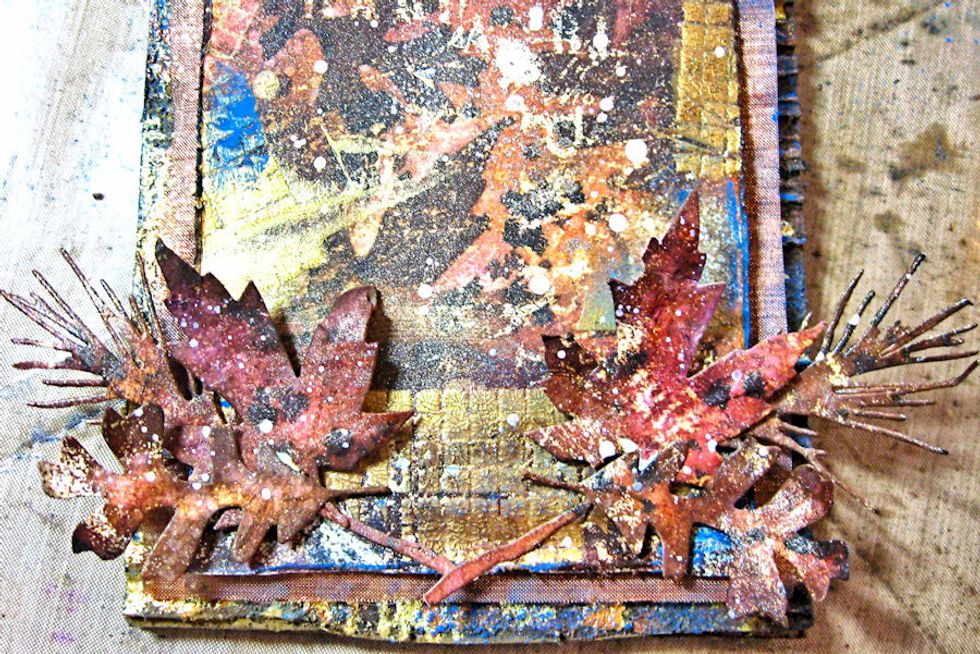
Die cut leaves from the master board you created. I did two sets of leaves.
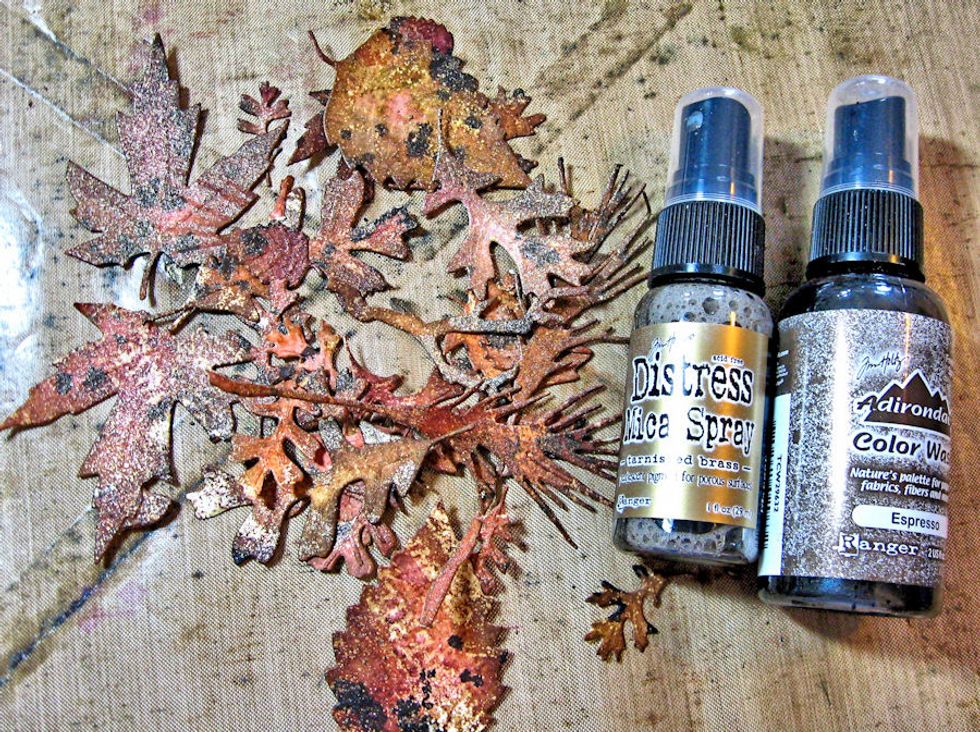
Use blending tool to ink the edges of the die cut leaves with Gathered Twigs.Spritz lightly with Tarnished Brass Mica Spray. Spatter with Espresso Color Wash Spray.
Spritz the leaves with a little water to create droplets.
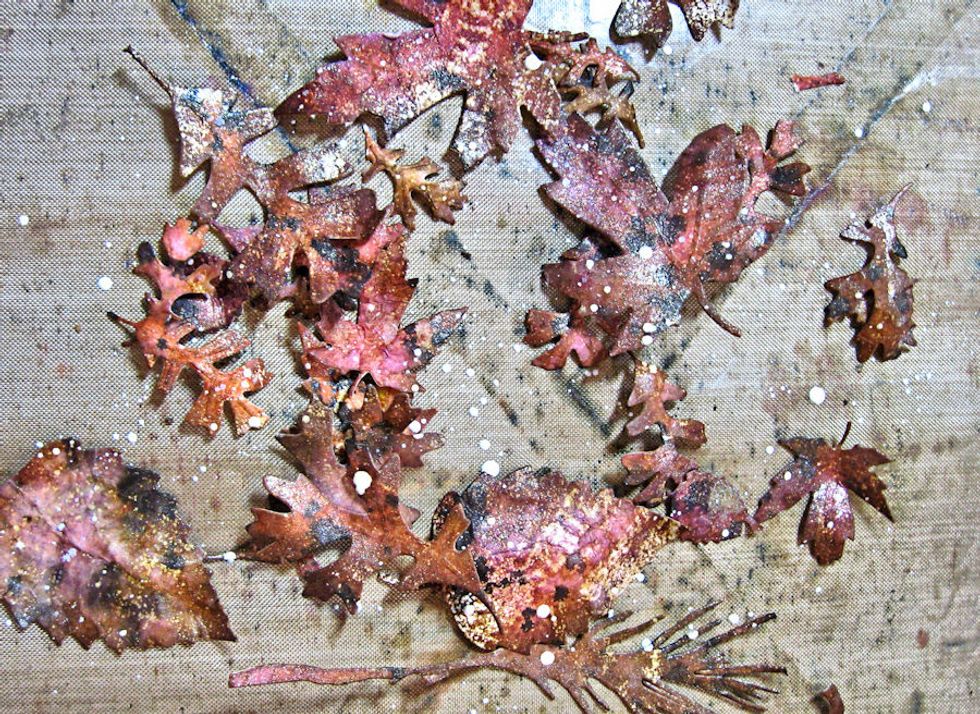
Shape moist leaves with a stylus and foam pad. The water will make the fibers easier to manipulate and the leaves will hold their shape when dry. Spatter with diluted white paint. Gently heat dry.
Hot glue copper mesh to back side of 4" x6" panel. Glue onto corrugate base. ( I had this in my stash for years. I think I purchased it online at Paper Wishes. You could use rusty screen instead. )

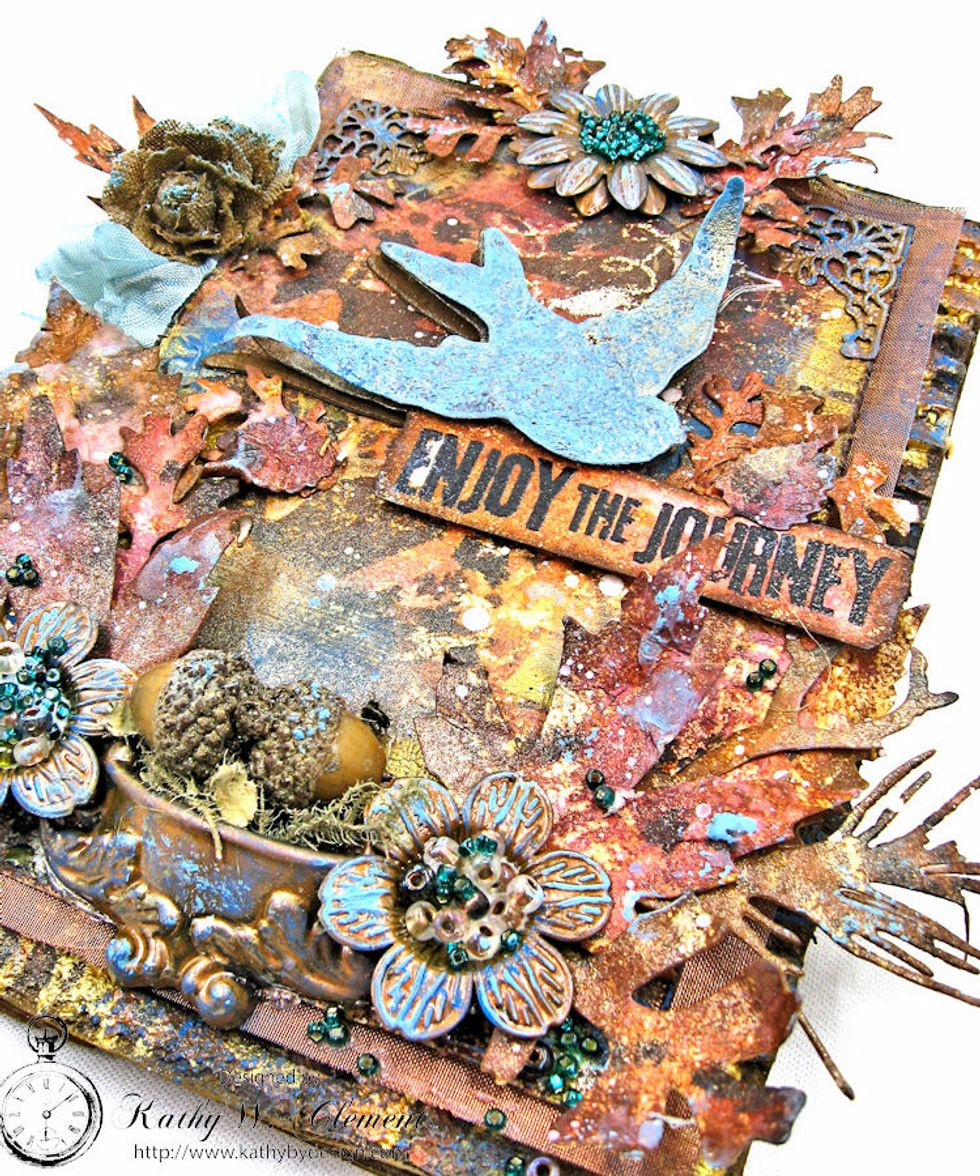
Stamp the bird from this set onto master board using Black Archival Ink. Heat emboss with Clear Embossing Powder. Die cut with companion die.
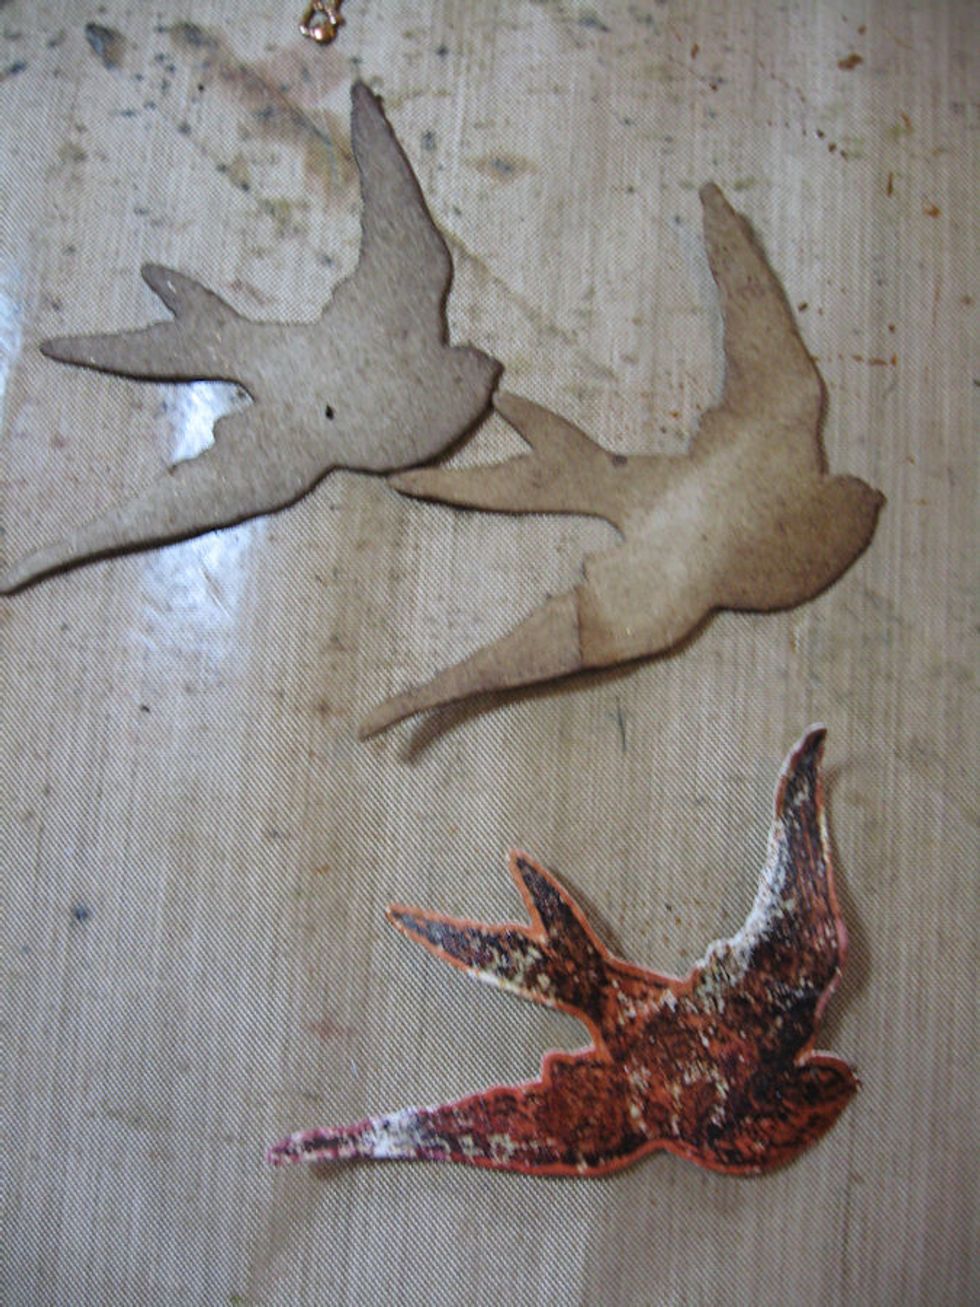
Die cut two more birds from waste chipboard. Ink with Gathered Twigs. Use a pencil to shape the wingtips and tail. Paint the stamped bird with Broken China paint. Glue the three birds together.

Paint the metal embellishments with Antique Bronze Distress Paint. Dry. Tap the raised edges with a finger that you dip into Broken China paint. Tap off the excess paint before applying to metal.
Now we will color our ribbon. Place a small dot of Broken China on craft sheet. Dilute with water. Cut a long piece (about a yard or so) of rayon seam binding and sop up the paint.
Scrunch the ribbon to move the paint all through the fibers. Heat dry with gun, scrunching and moving as you dry it.

Remove the plunger from Mica Spray bottle and spatter the ribbon. Dry again.
Begin to build your composition by layering die cut leaves at the base of the corrugate panel. Attach with hot glue.
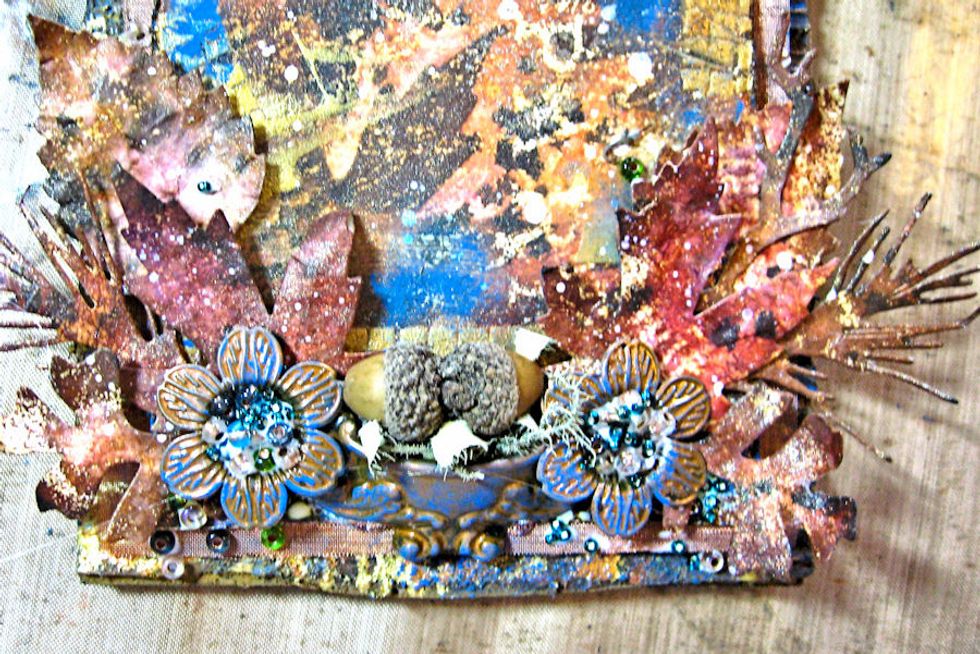
Add flowers and ornate door pull. I filled the door pull with Spanish Moss and acorns I found while walking in the woods. you could also use flowers. Fill the flower centers with glue. Add beads.
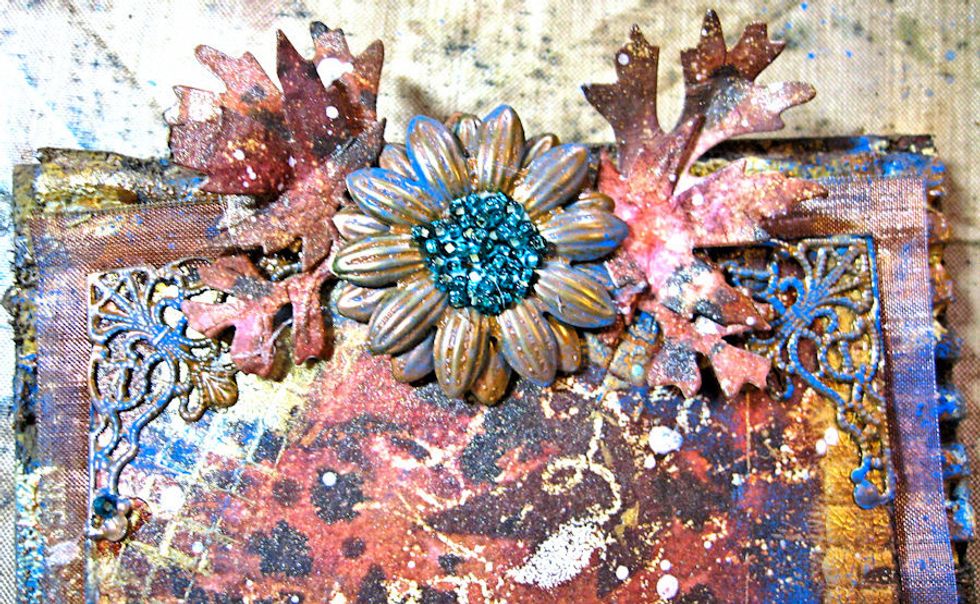
Glue filigree metal corners on both sides at the top of the 4" x 6" panel. Add leaves. Layer 2 flowers together staggering petals and glue in place between leaves. Add glue and beads to center.
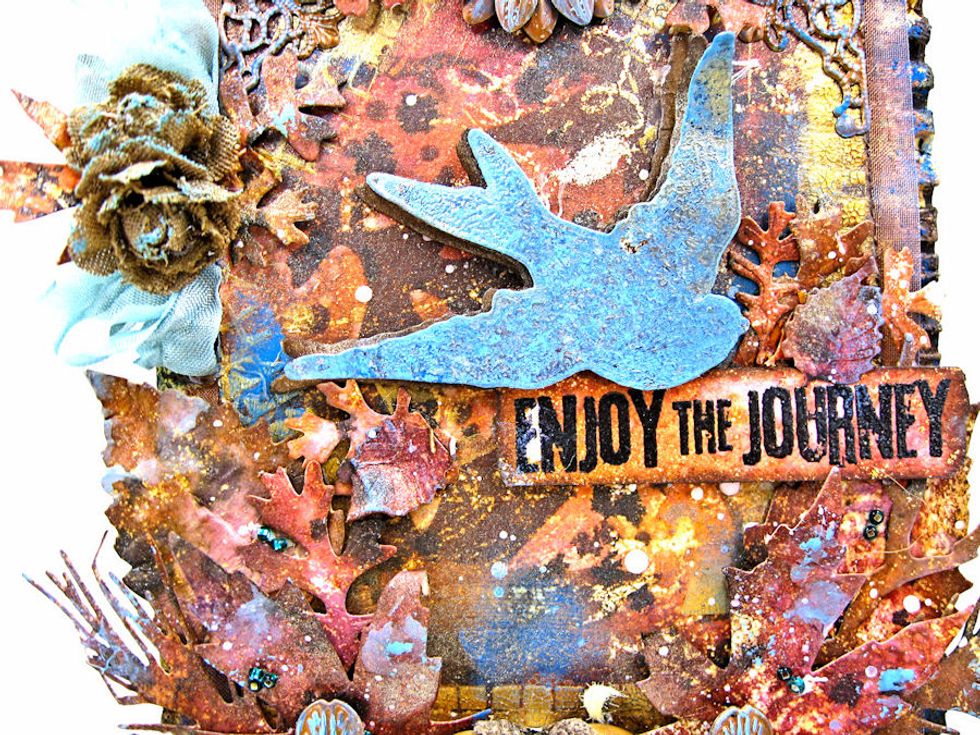
Use Jet Black Archival Ink to stamp sentiment on scrap of master board. Heat emboss w/clear powder. Ink edges with gathered twigs. Use foam dimensionals to attach to center of panel, as seen here.
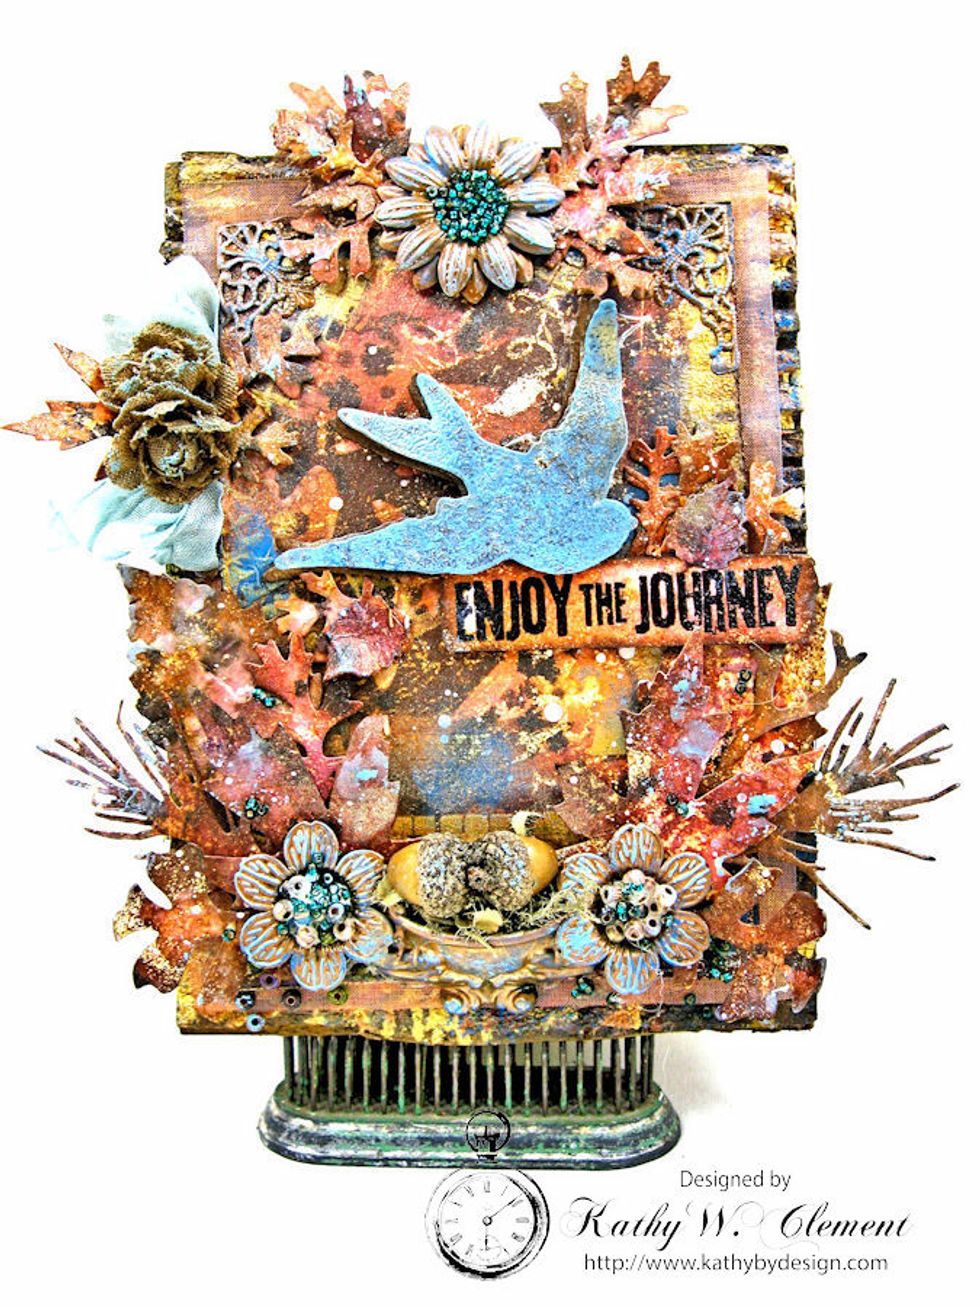
Add ribbon and Petaloo Brown Canvas roses to side of the panel. Tap roses with Broken China paint.
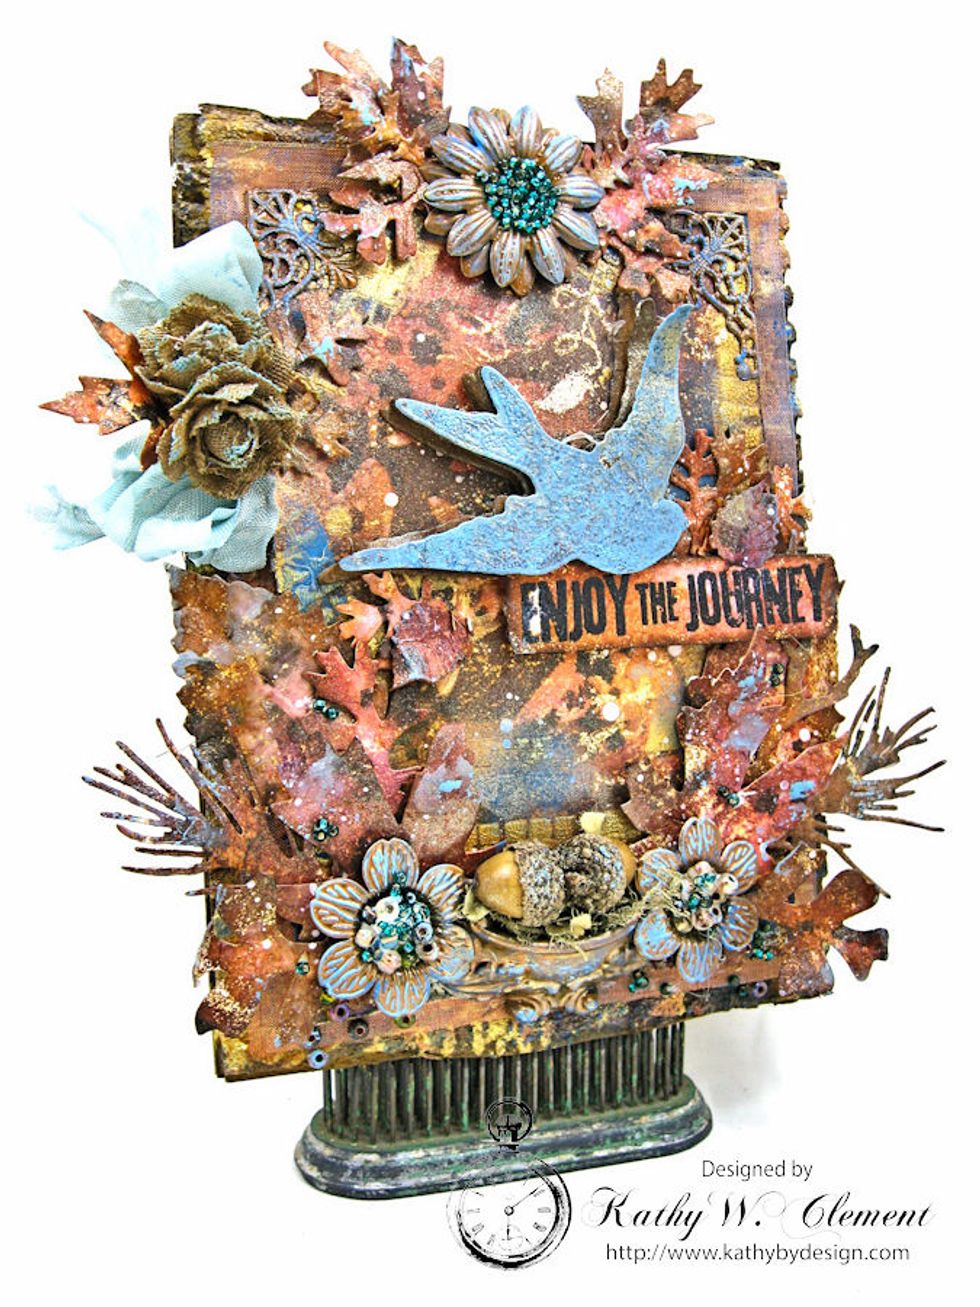
I randomly dry brushed Broken China onto my canvas to add contrast. Your Last Leaf mixed media canvas is now complete!
Thank you for joining me for this tutorial. I'd love to hear from you in the comment section below. Please visit kathybydesign.com for more inspiration & free tutorials. Now go get your craft on!