The Conversation (0)
Sign Up
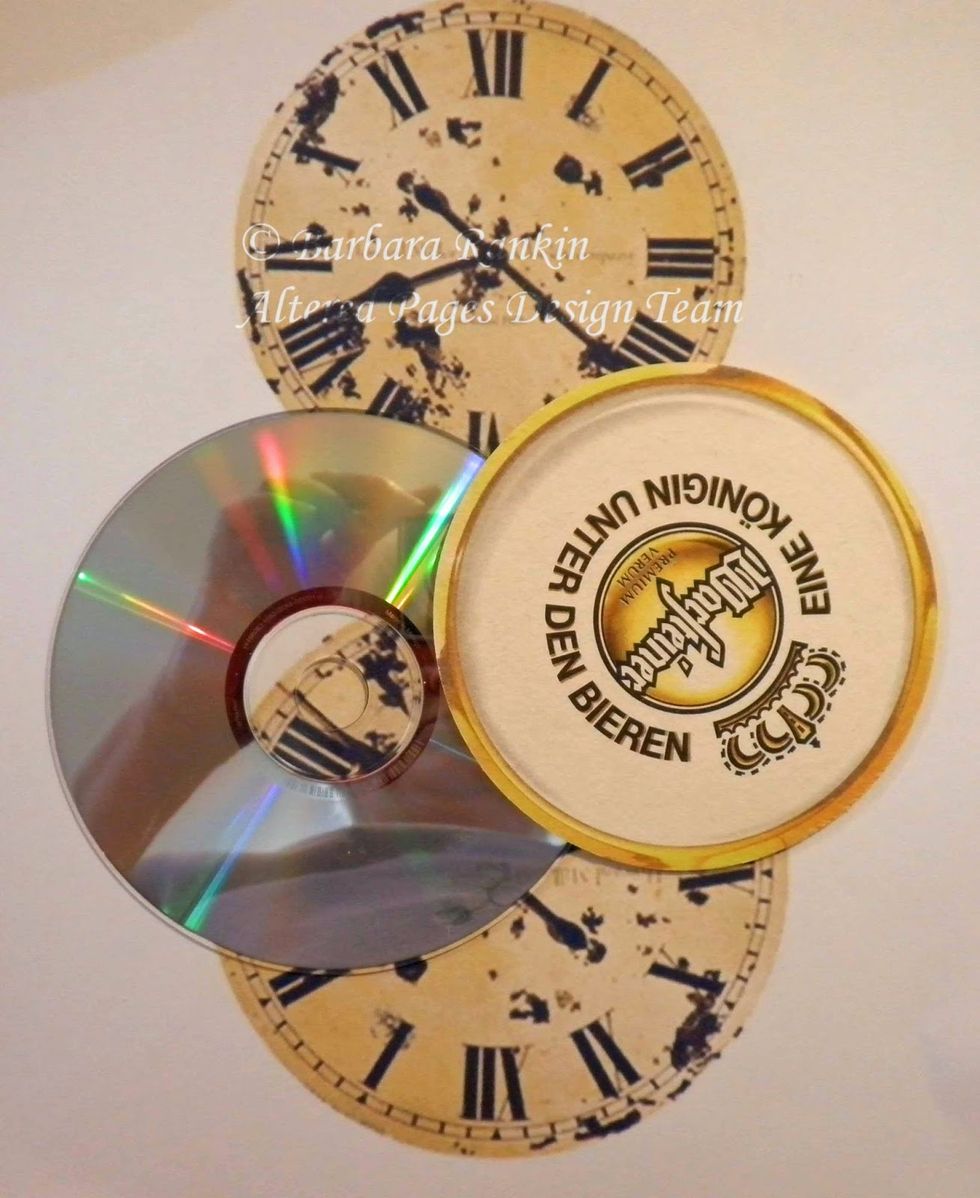
To make my clock, I first resized the clock face collage image to fit over the beer mat (coaster), cut out and adhered to the mat. Ink edge with Memento Luxe Peanut Brittle.

Spray bronze texture spray over shiny side of CD. Get a thick layer around the edges and let dry.
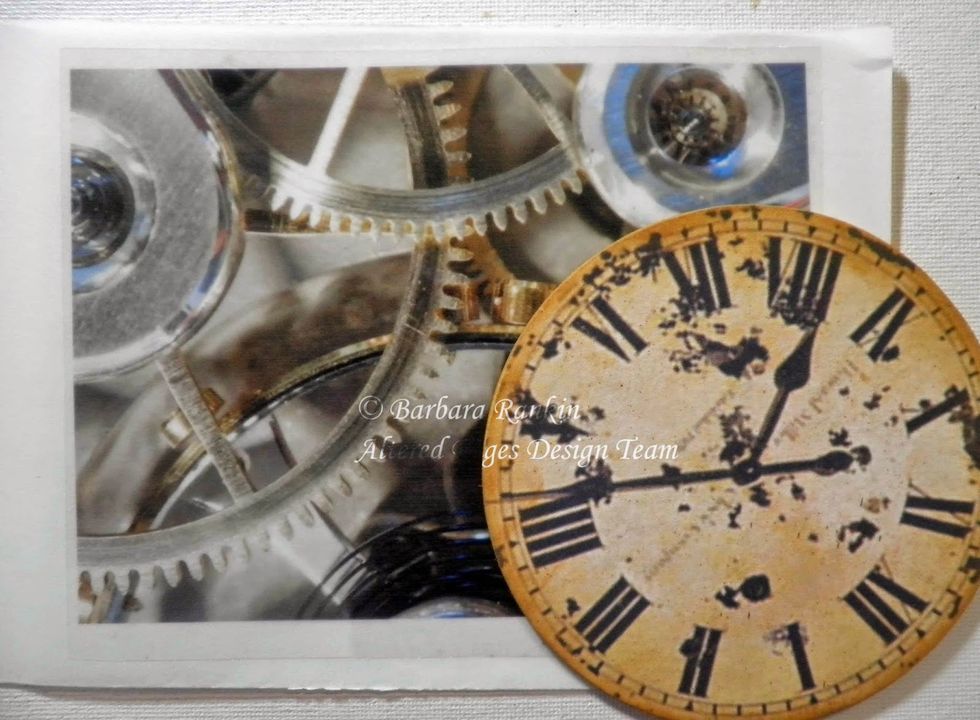
I resized the clock gears background to 4.5" x 6" so it would be large enough to cover the clock face and printed it out onto an acetate sheet.
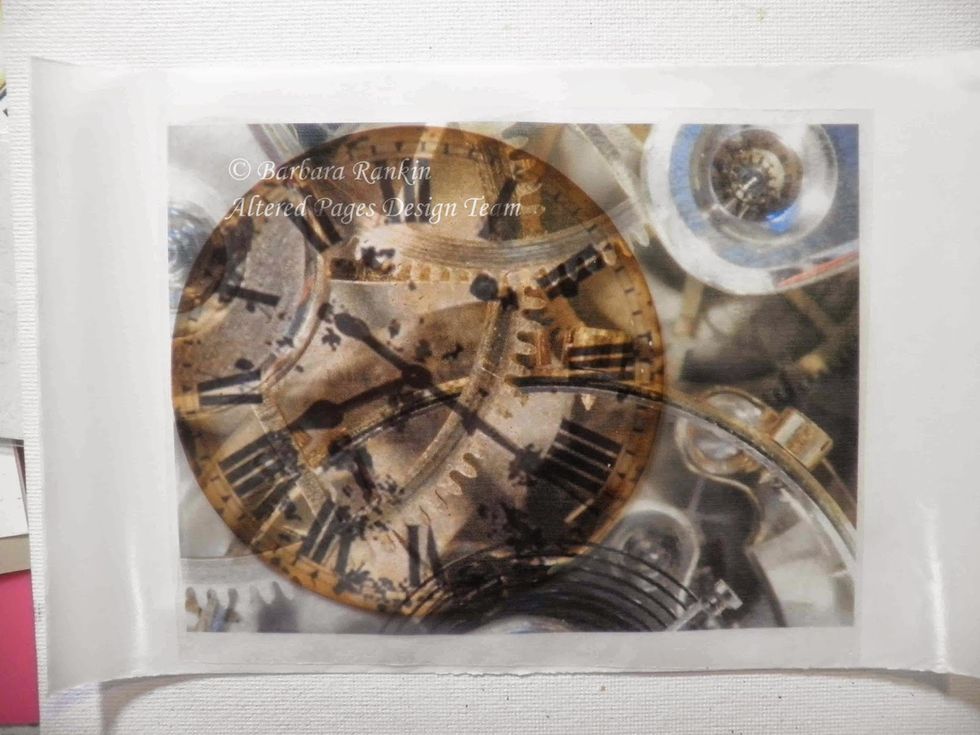
I ran the acetate through my Xyron to get full coverage of my adhesive, then adhered it to the clock face.
Center clock face coaster image over CD and adhere with tacky glue. Trim excess acetate and Voila! You have now integrated the gears background with the clock face, to make them look as one.
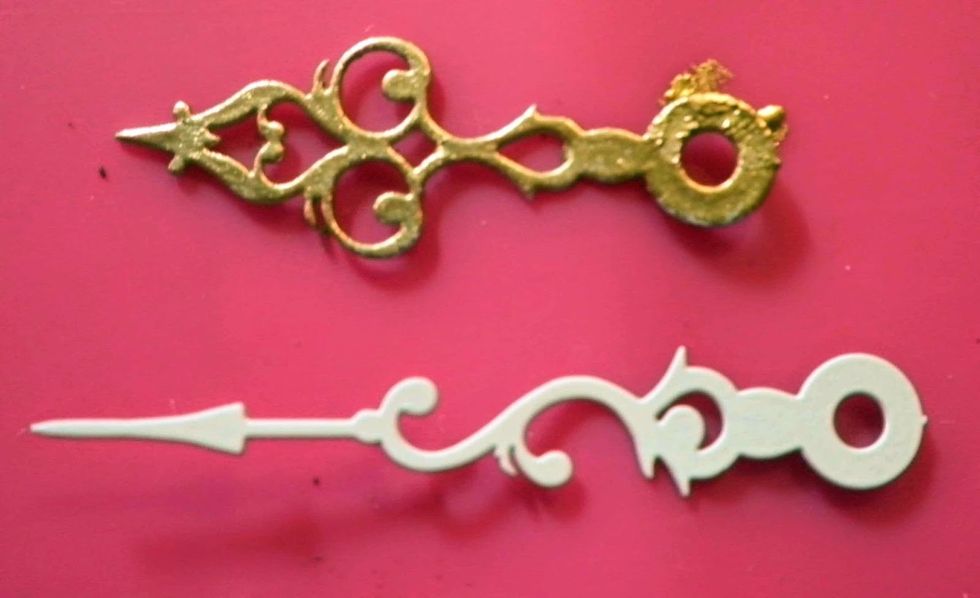
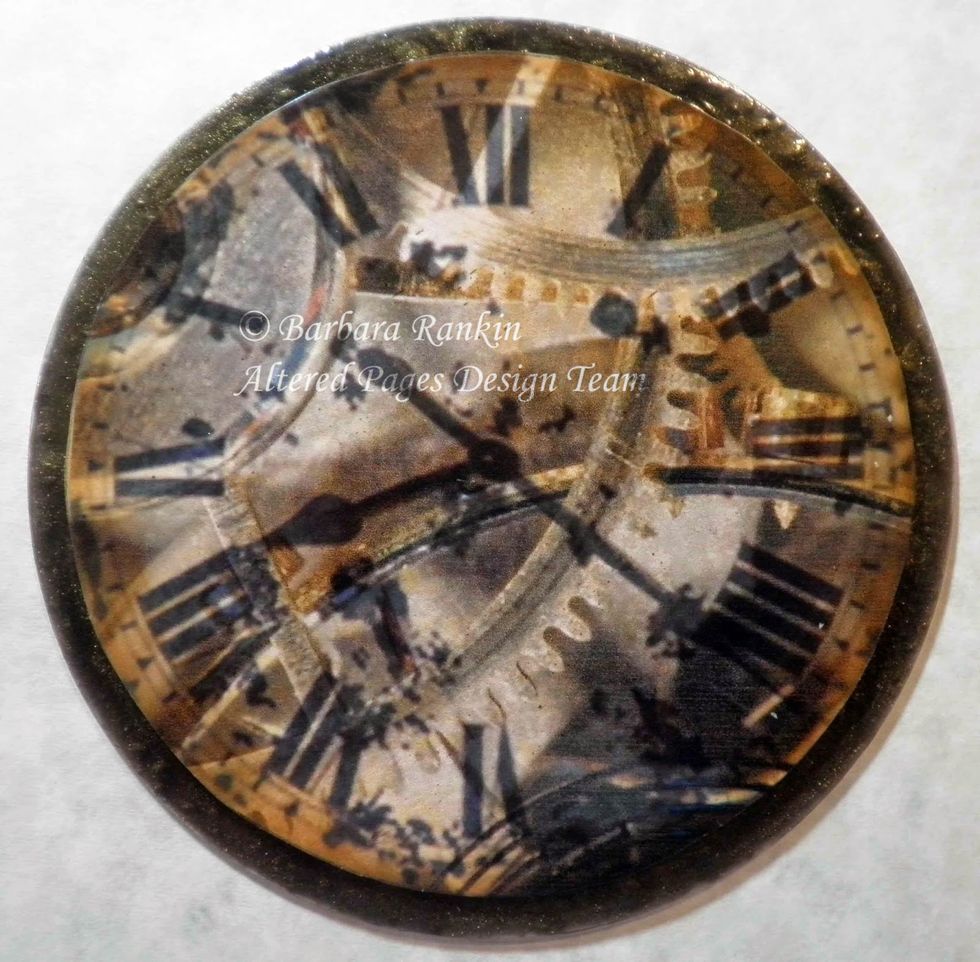
Color white metal clock hands with Krylon gold leaf pen. Punch hole in center of clock face, add clock hands with decorative brad and gold bead to center.
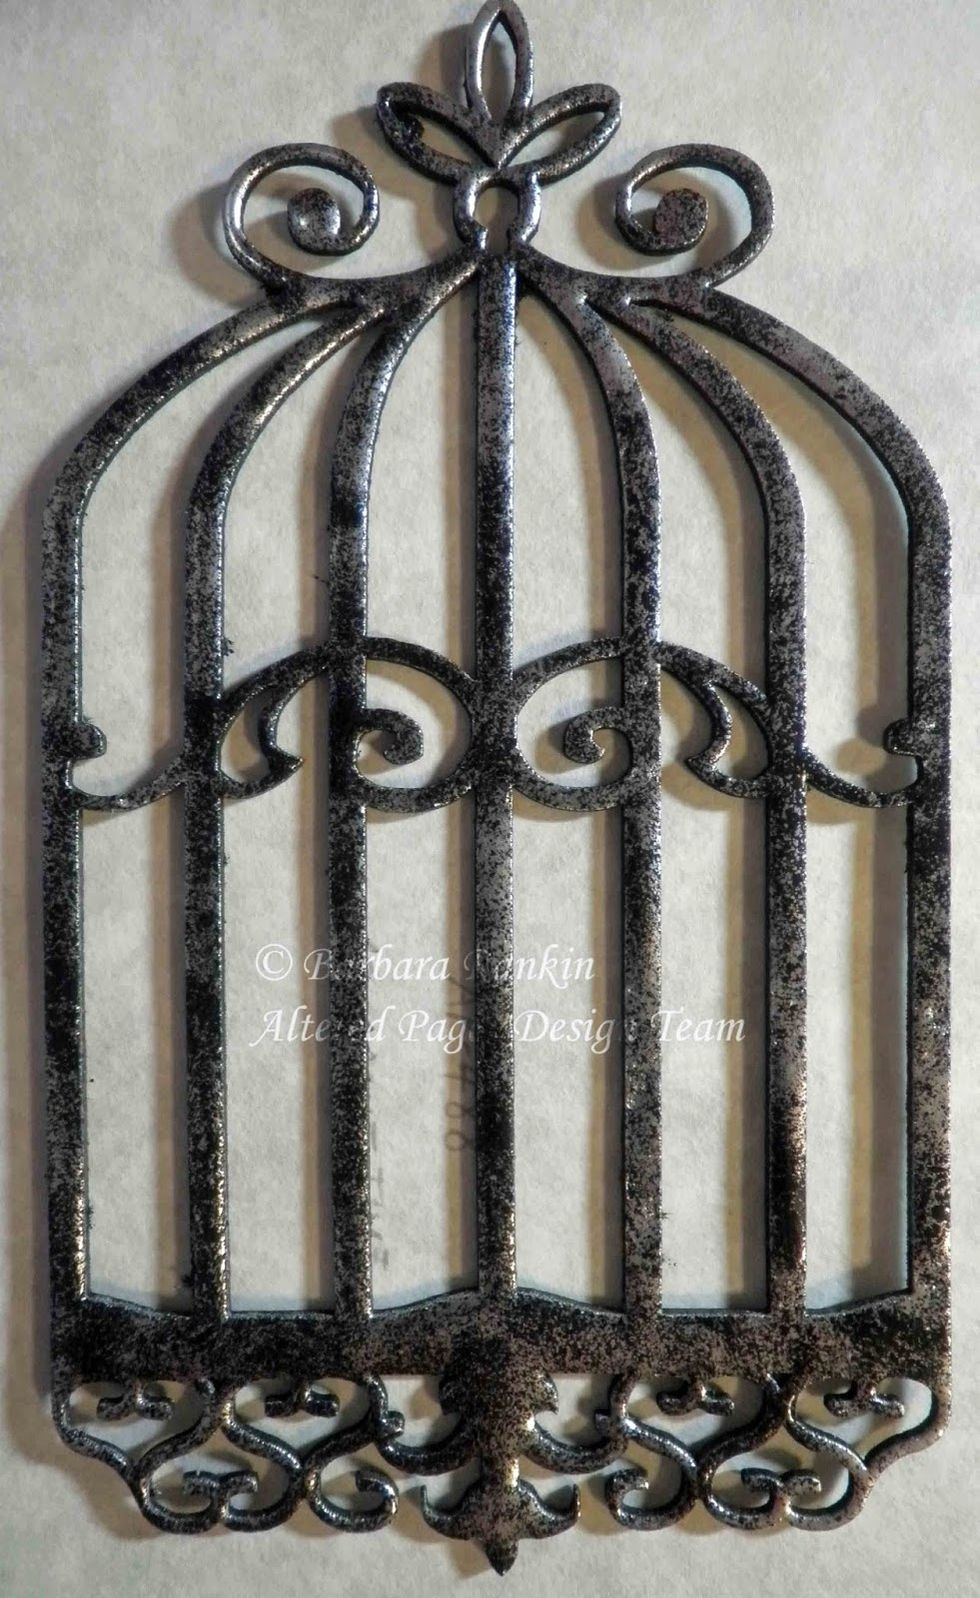
Ink Leaky Shed chipboard birdcage with black pigment ink, heat emboss with silver embossing powder. Reheat and sprinkle black embossing powder to antique it.

Glue bird cage down over collage image from AP-134 Vintage Paper, trim excess.
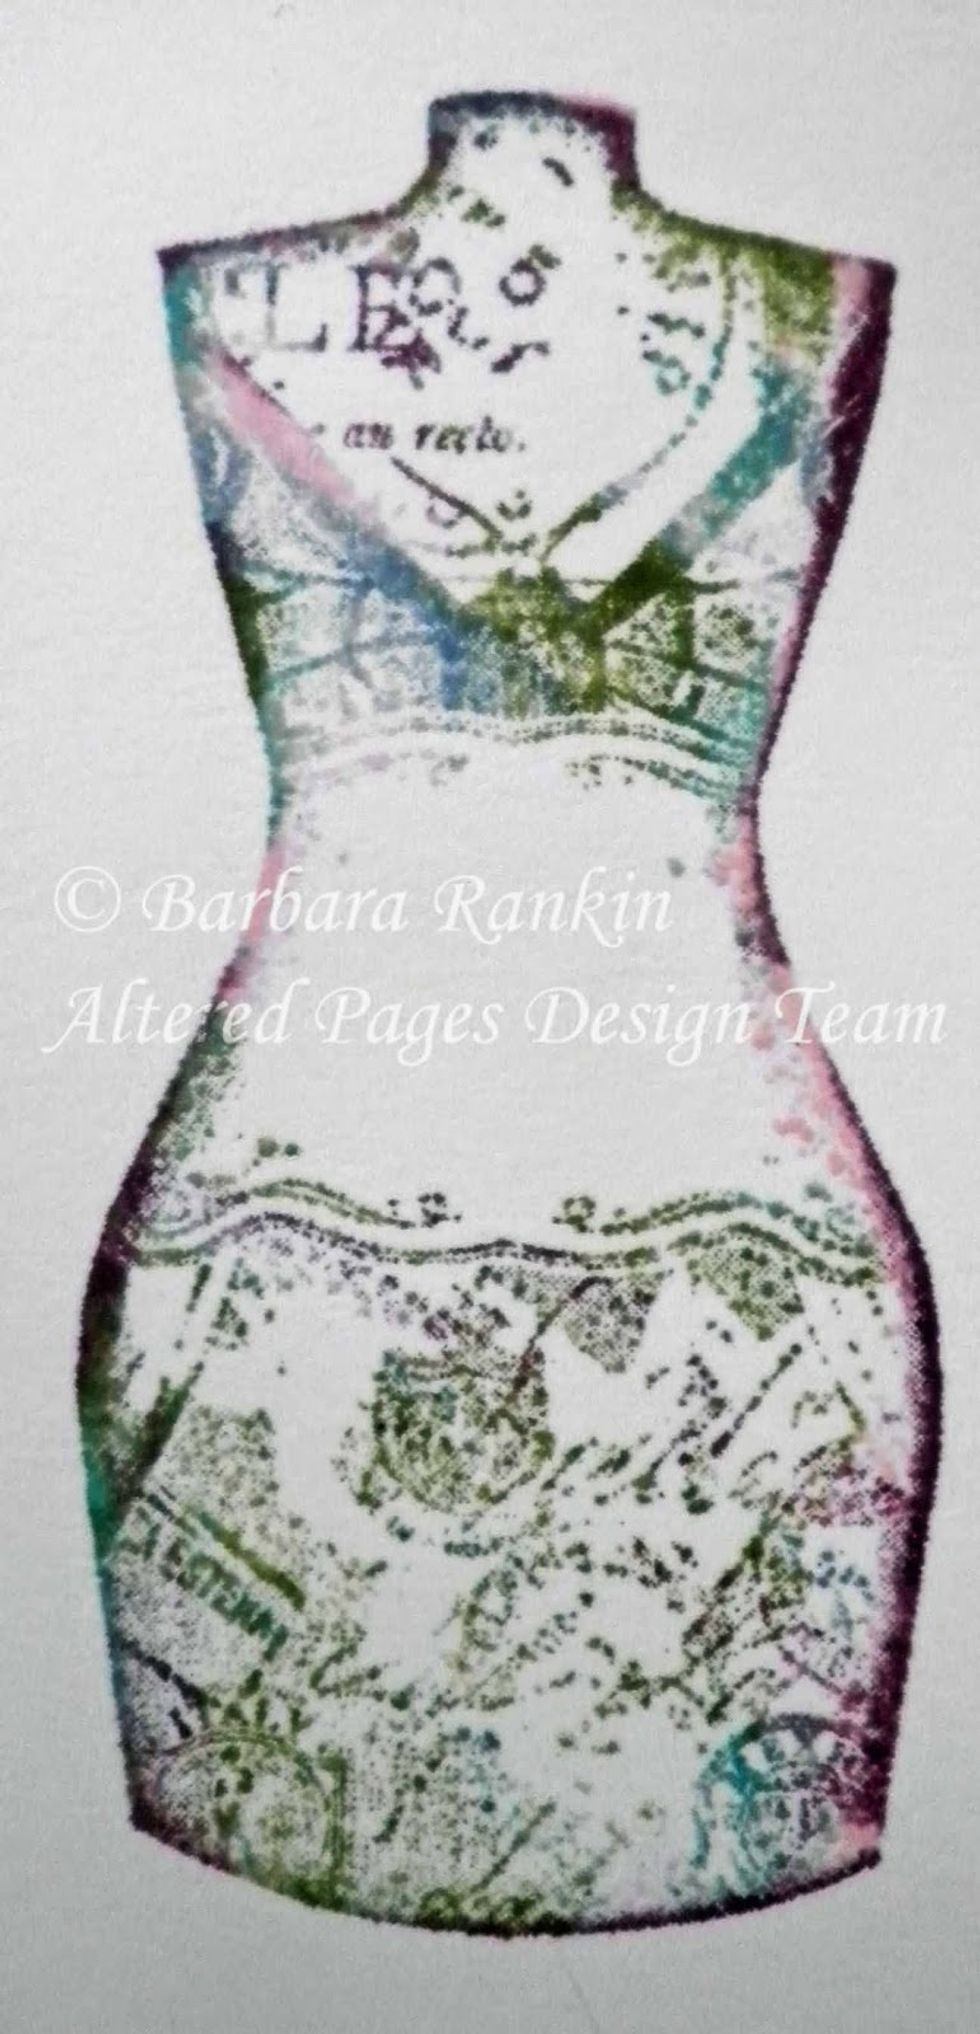
Stamp one of the mannequin tags from the Sin City Stamps set onto smooth white card stock with multiple colors of distress ink.
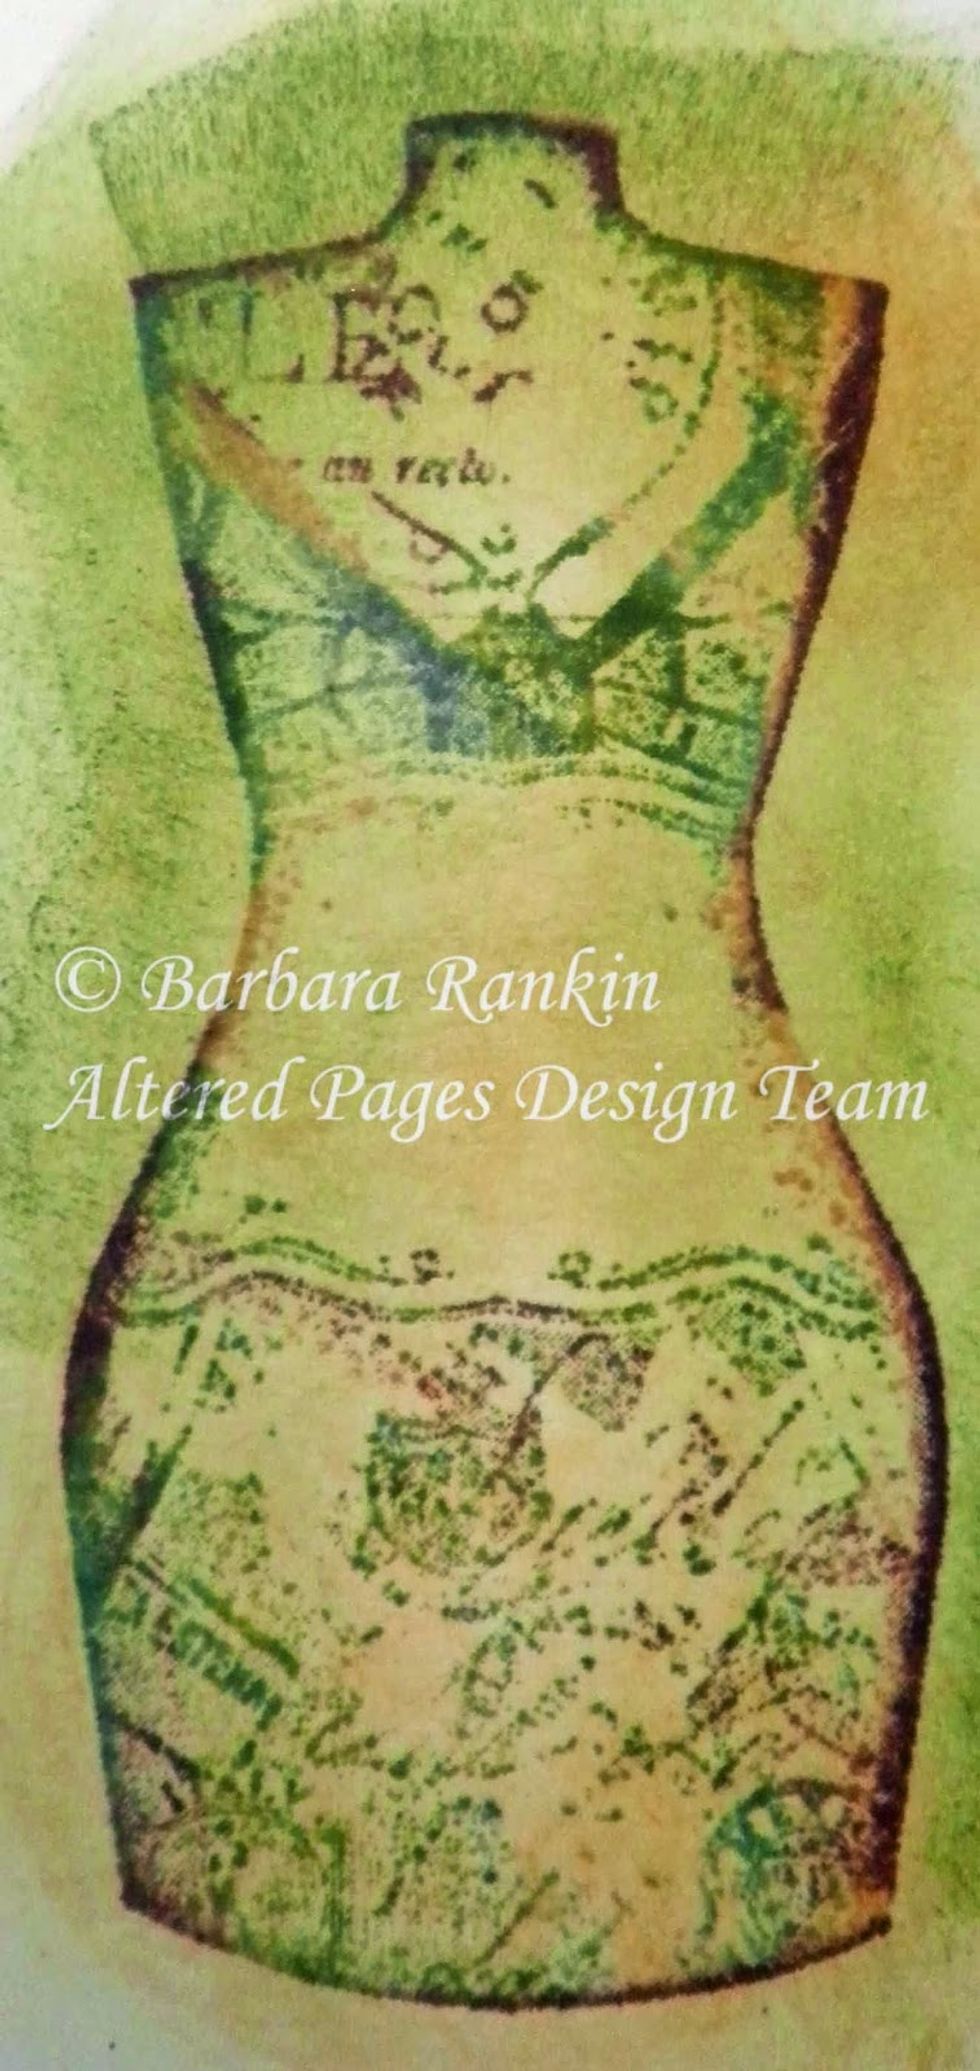
Use blending tool to add Wild Honey and Peeled Paint over image, cut image out and glue beneath Birdcage, set aside.
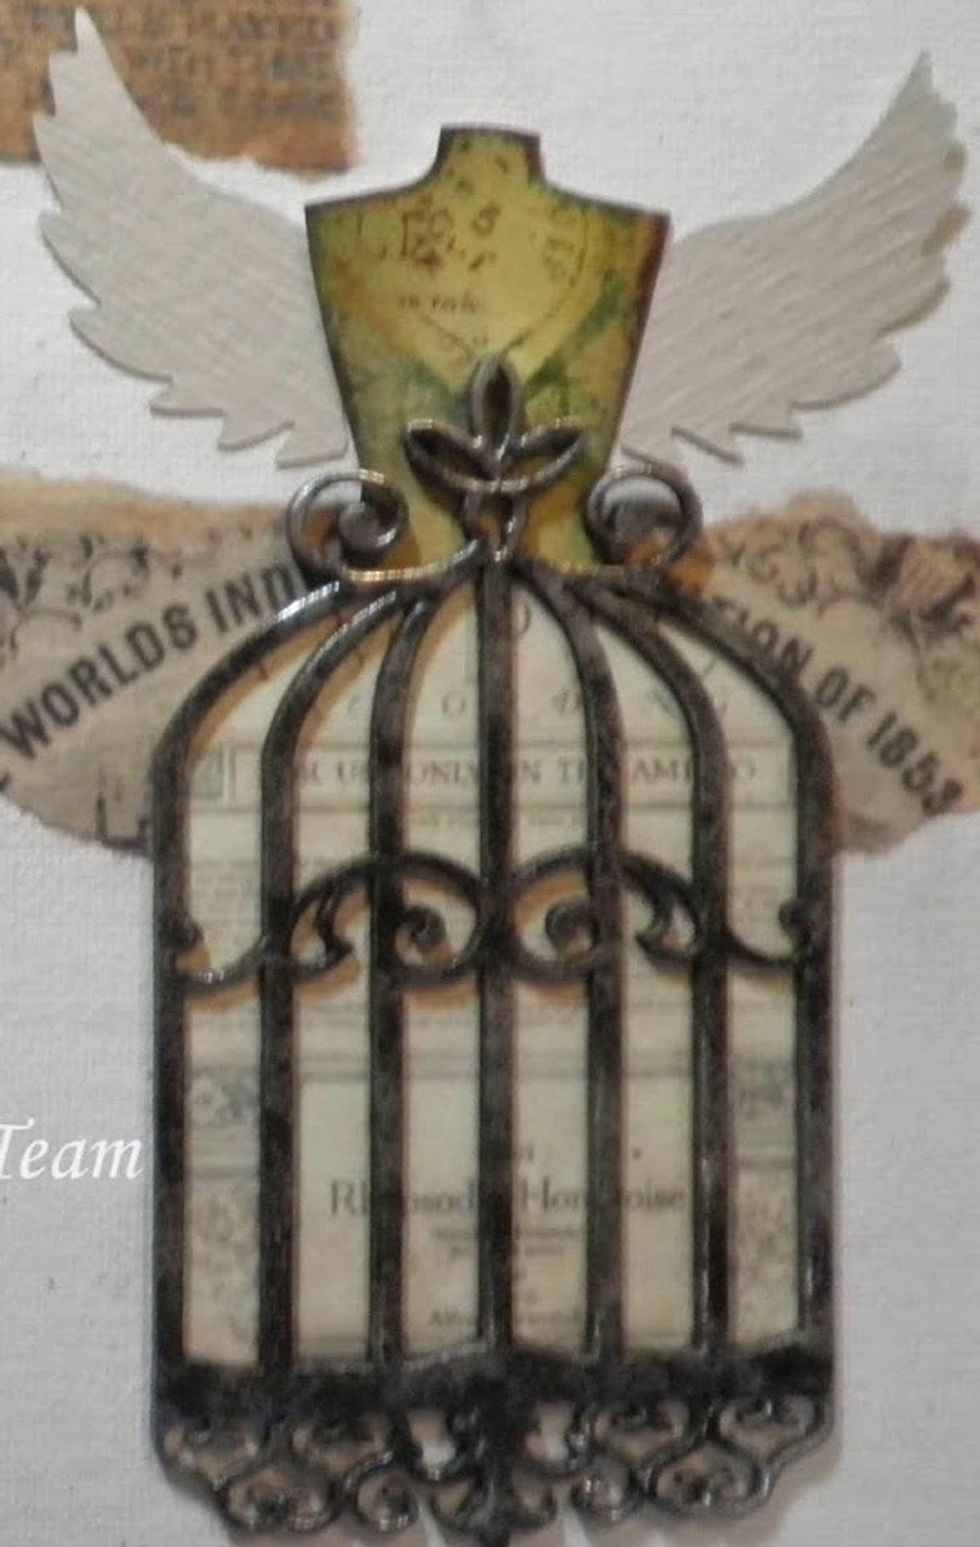
Cut wings from scrap card stock using Tim Holtz Heart Wings die. Add gold Gilder's Paste to die cut wings, and a very light coat of silver Gilder's Paste over that. These will be adhered later.

Tear strips from the Vintage Paper collage sheet and adhere to canvas.
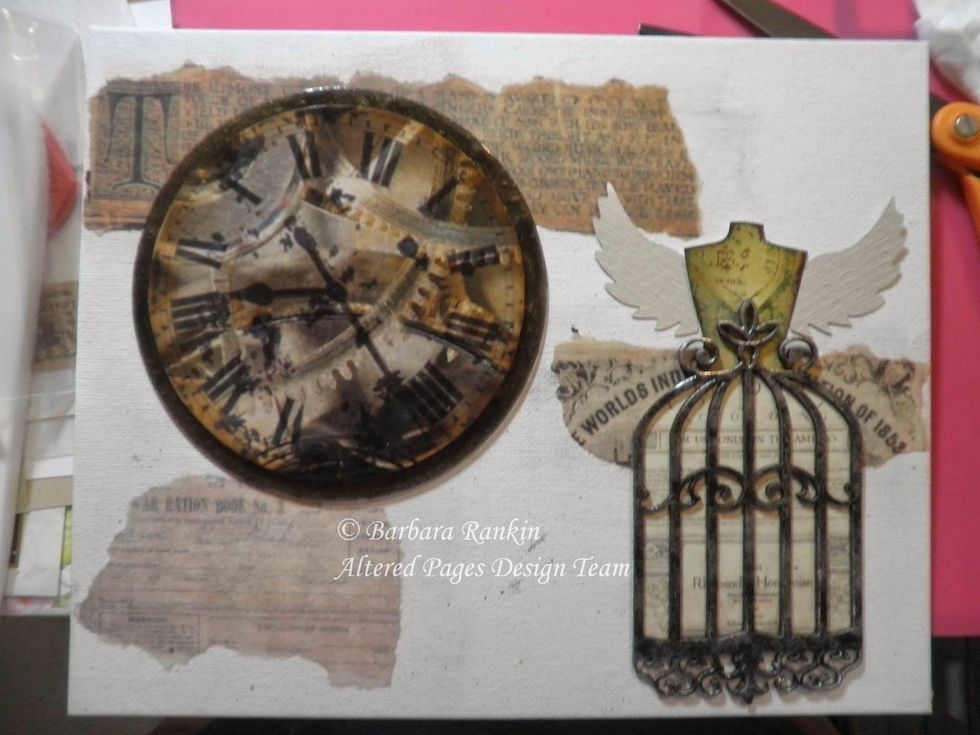
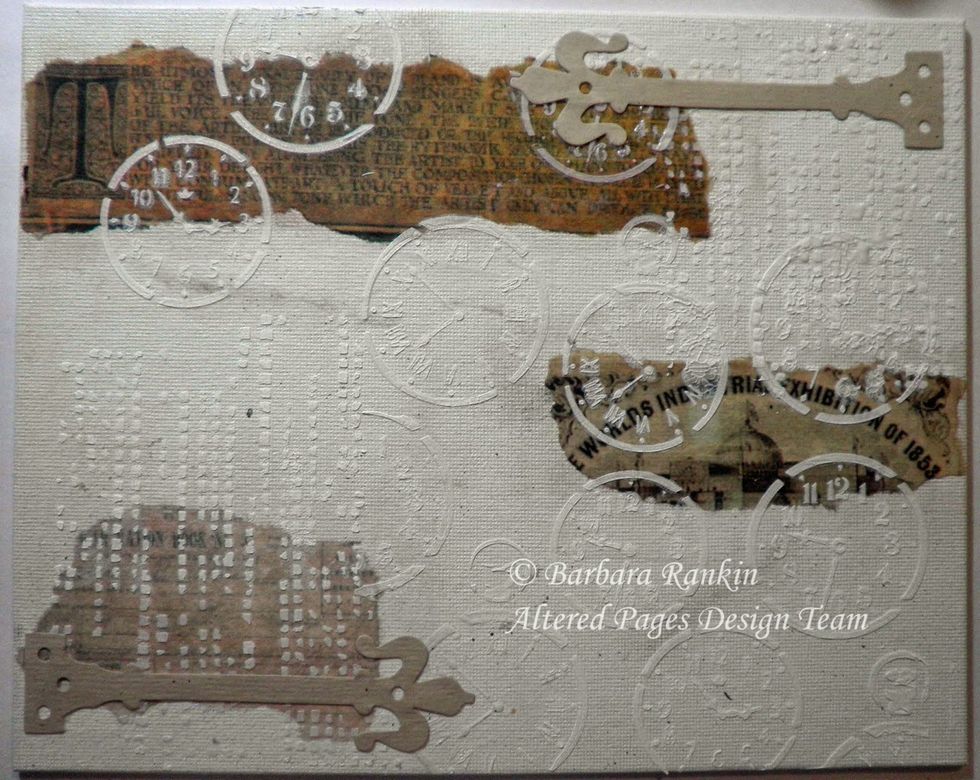
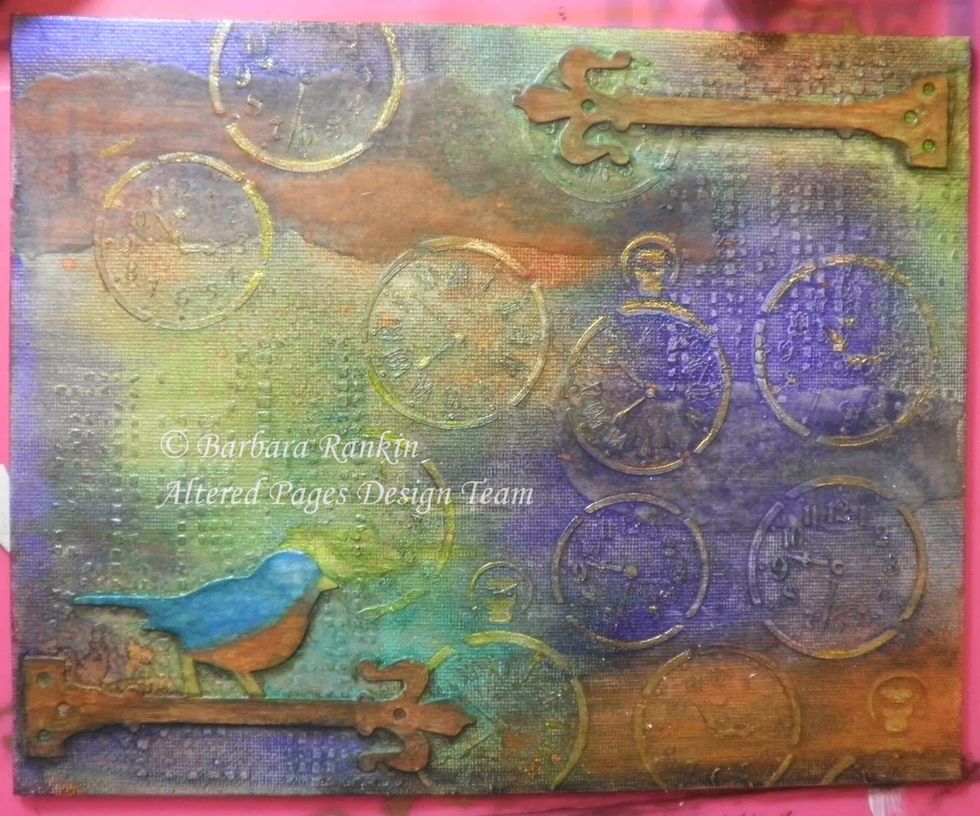
Audition your main focal pieces (clock and winged mannequin birdcage) onto your canvas. Nothing is glued down yet.
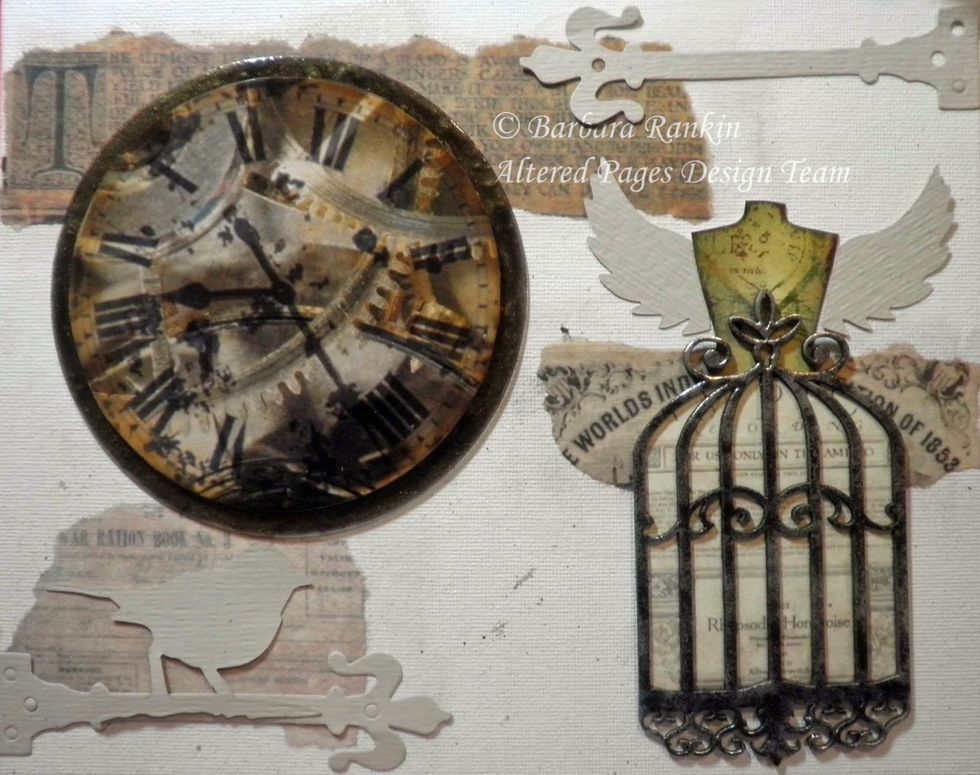
At this point, I decided to place these die cuts of hinge hardware and bird, as shown. I took a photo to remind me where I wanted to place these before moving on to work on my canvas background.
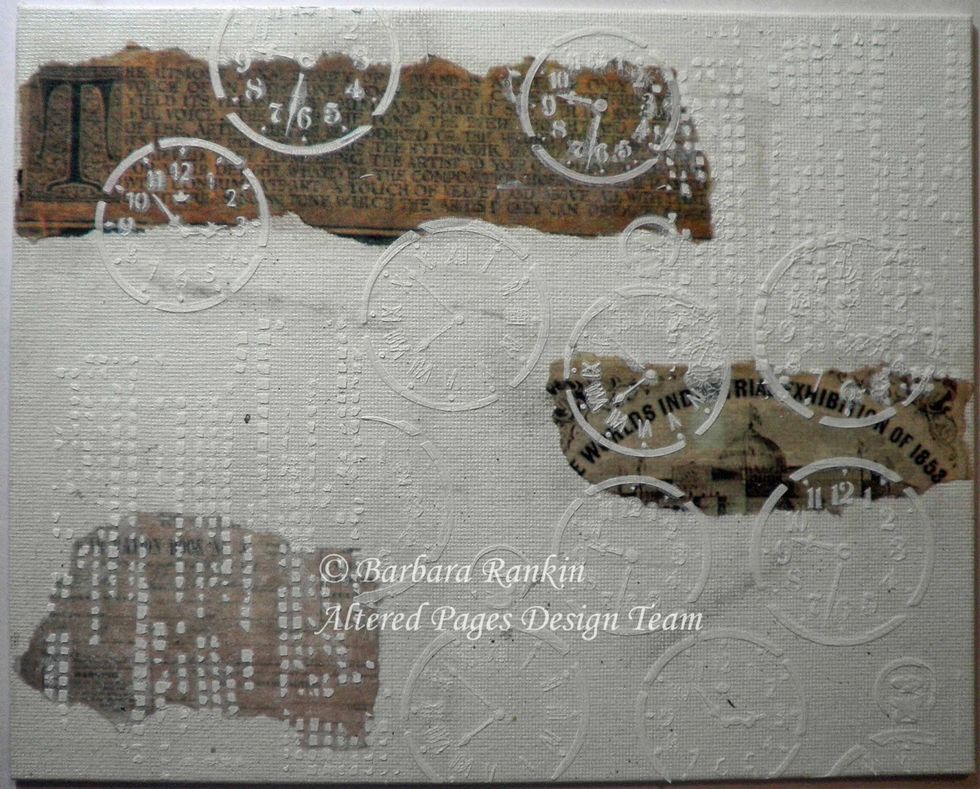
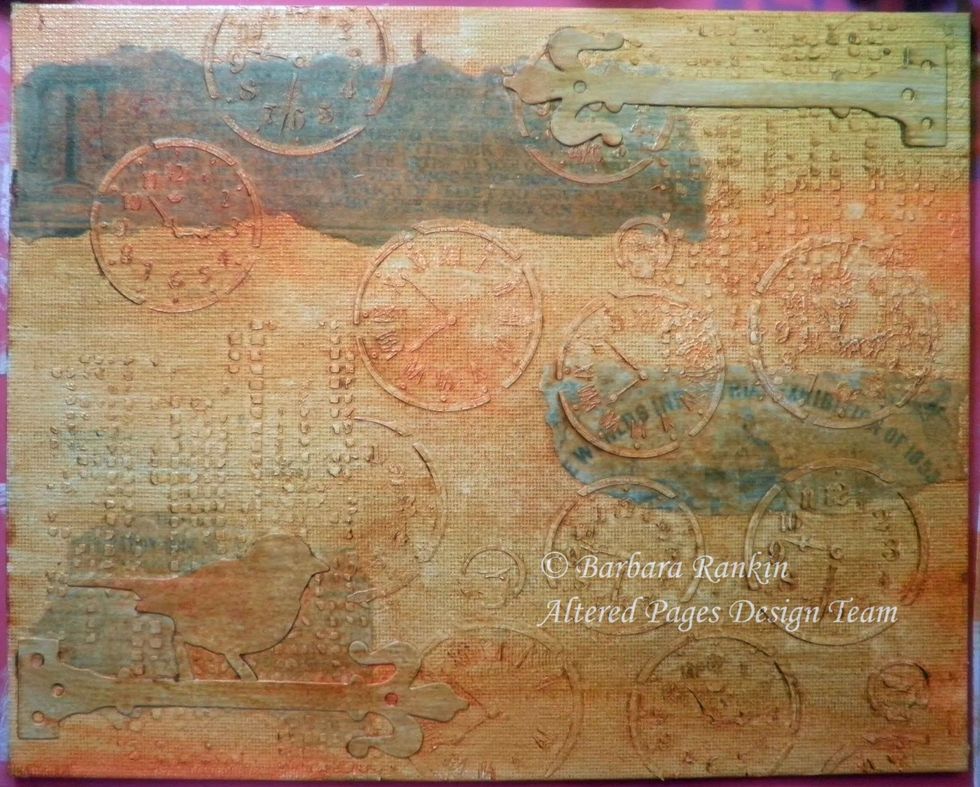
Remove all elements and apply crackle paste through Tile Texture Stencil. Let dry. Apply crackle paste through Time Travel Stencil. Let dry.
Planning the placement of your focal pieces is important, because once you glue pieces down, you are pretty much committed to that placement. Use matte medium to adhere die cut hinges and bird.
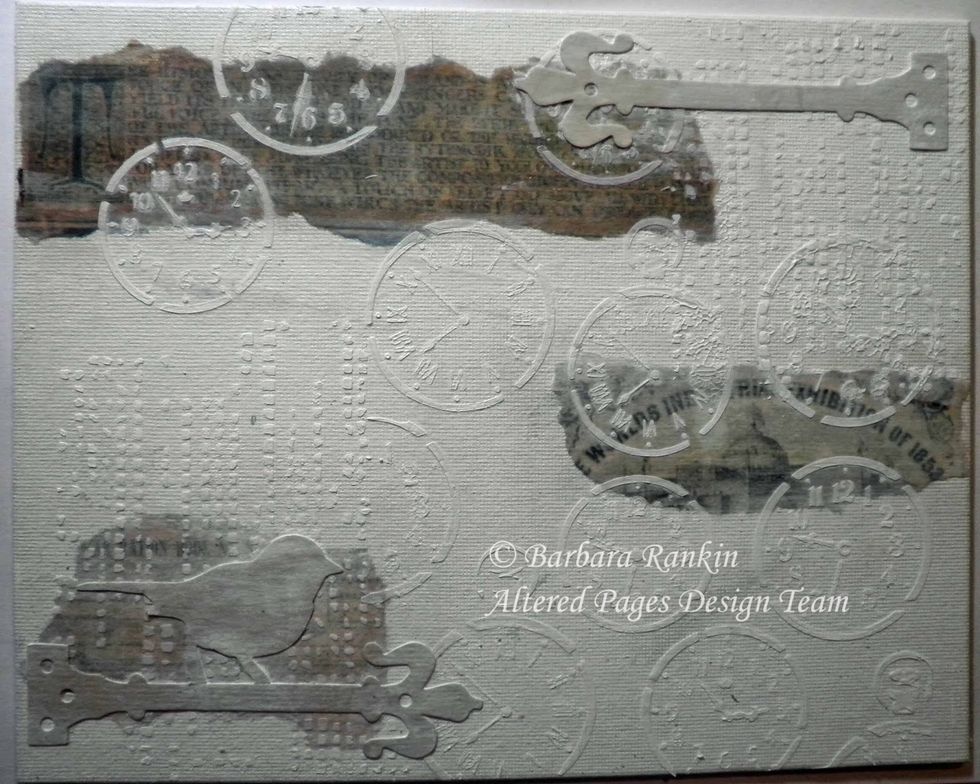
Add a wash of gesso to the entire canvas, use a paper towel or wet wipe to remove some of the paint from the text papers and let dry, or use a heat tool to speed it up.
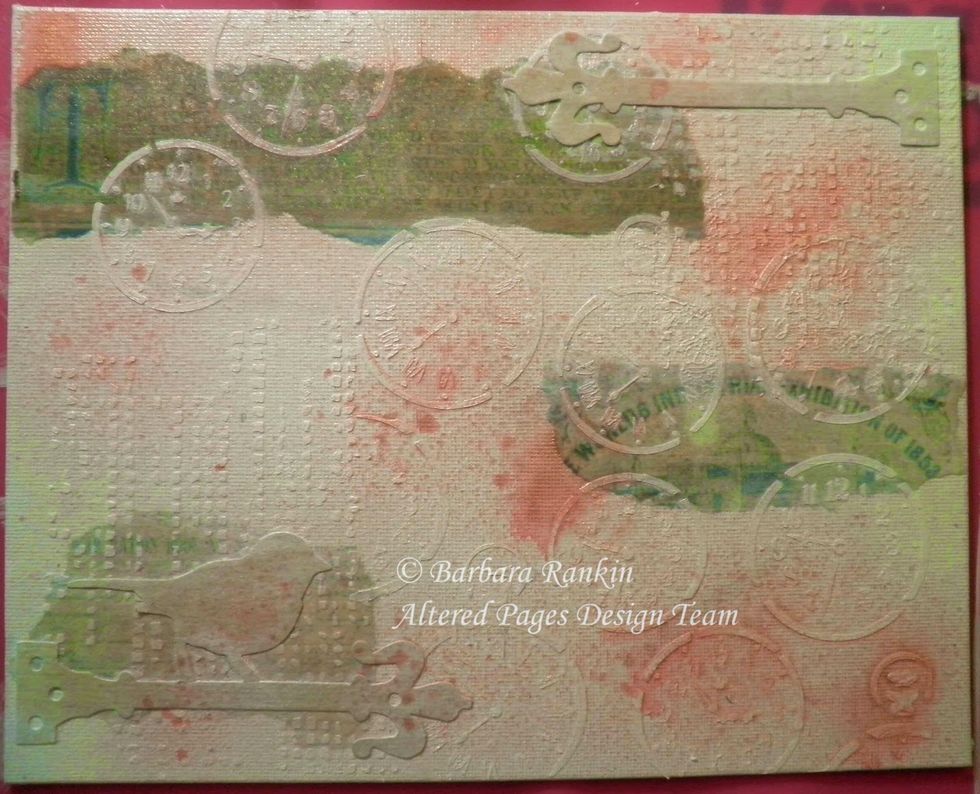
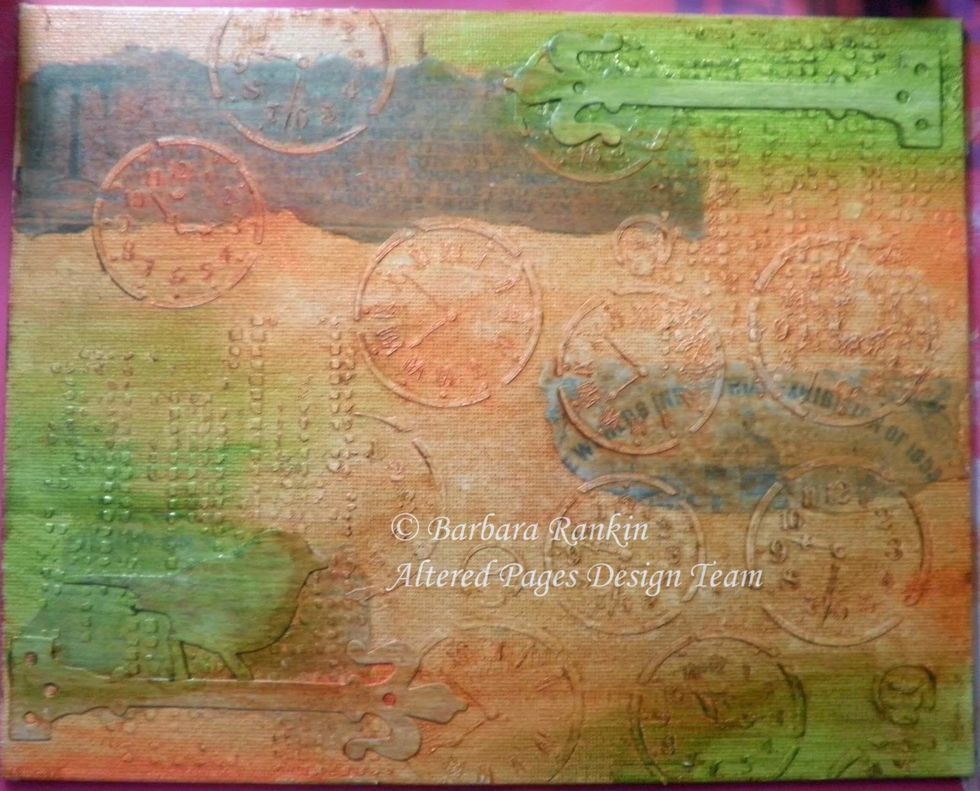
Spray background with Cherub Pink, let dry. The next series of pictures show the metamorphic changes to this canvas as it progresses. Mixed media allows you to just keep adding until you like it.
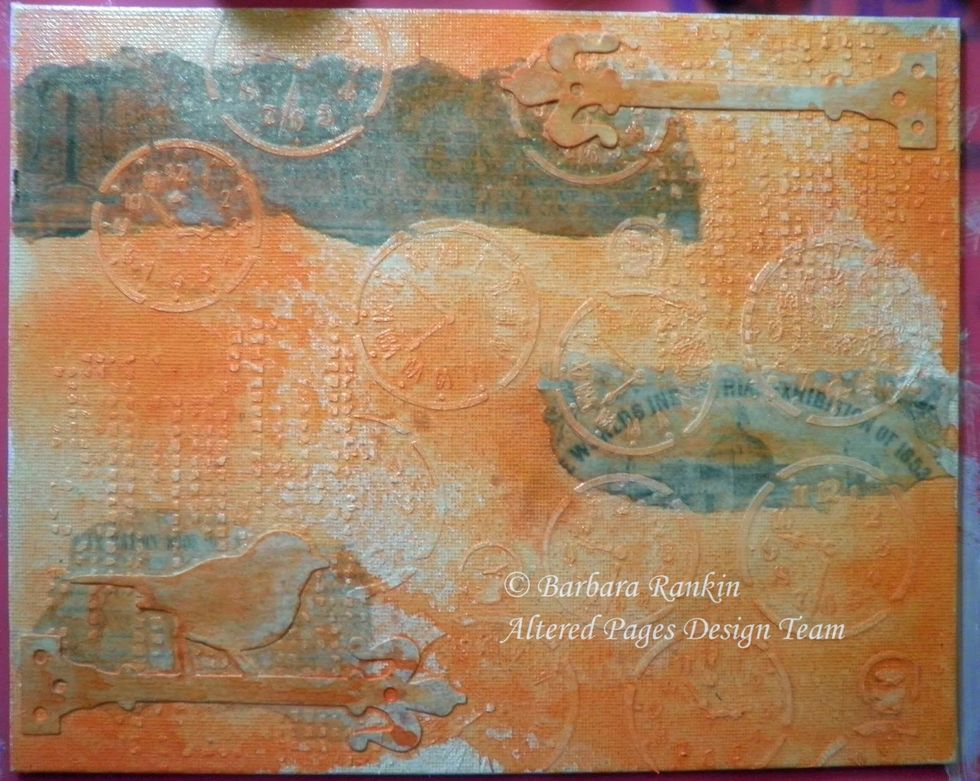
Spray background with Dylusions Squeezed Orange and water, let dry.
Paint a wash of Art Anthology Kona over all, spritz with more water, let dry. You can see how this toned down that bright orange color.
Add a few random sections of Pretty Peridot Silks acrylic glaze.

Spray background with Dylusions Calypso Teal and lots of water. This is a strong color, so use sparingly. Let dry.
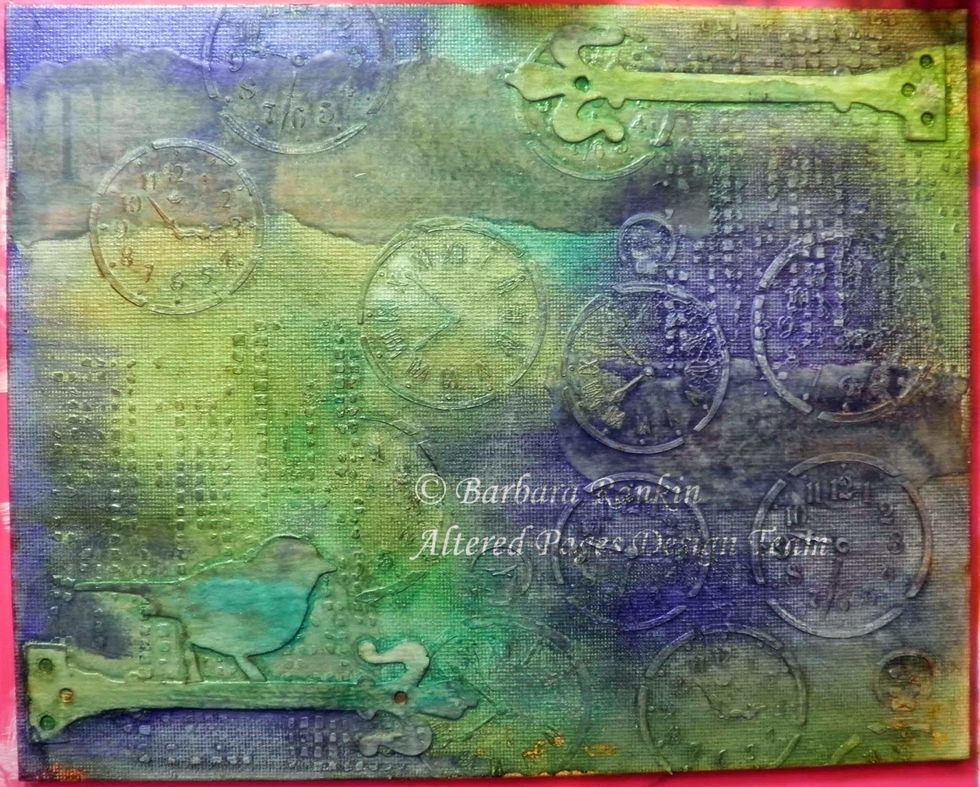
Add Snapdragon Silks acrylic glaze randomly over background.
Spray more Dylusions Squeezed Orange in spots, let dry.

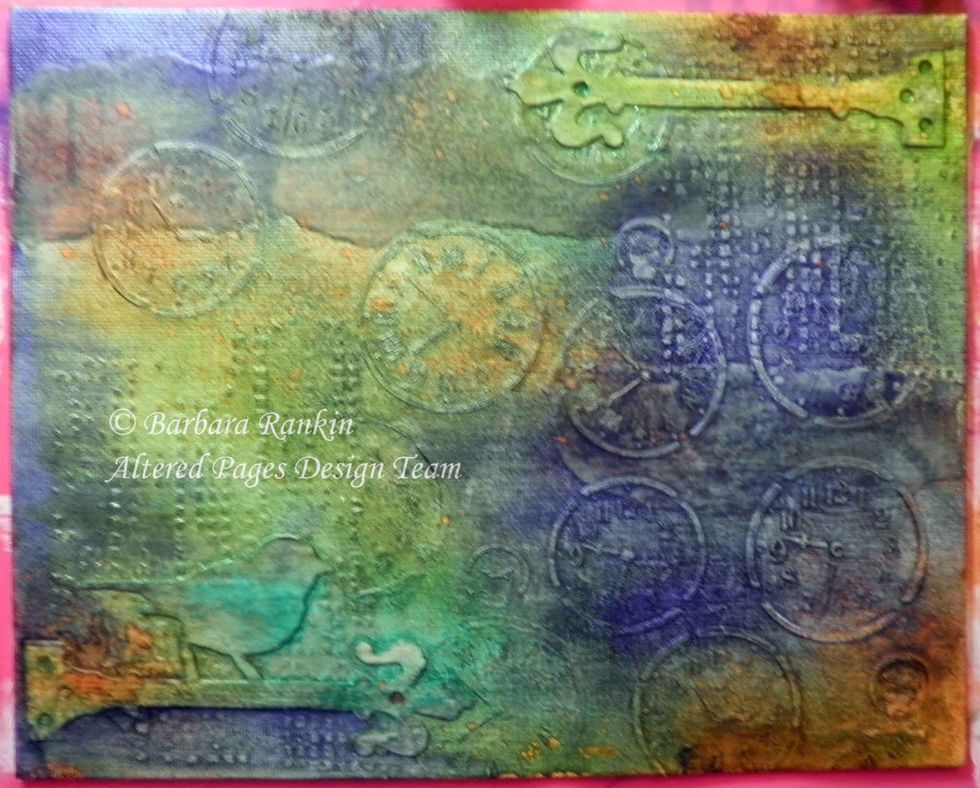
Apply Faber-Castell Gelatos in metallic blue, orange, and ochre, to the bird. Apply orange and rust to the hinges. Add shadows to the hinges and bird with black Gelato and a damp brush.
Re-align Time Travel Stencil over stenciled images and use a sponge dauber to apply Delicata Golden Glitz through stencil. This will highlight the images.
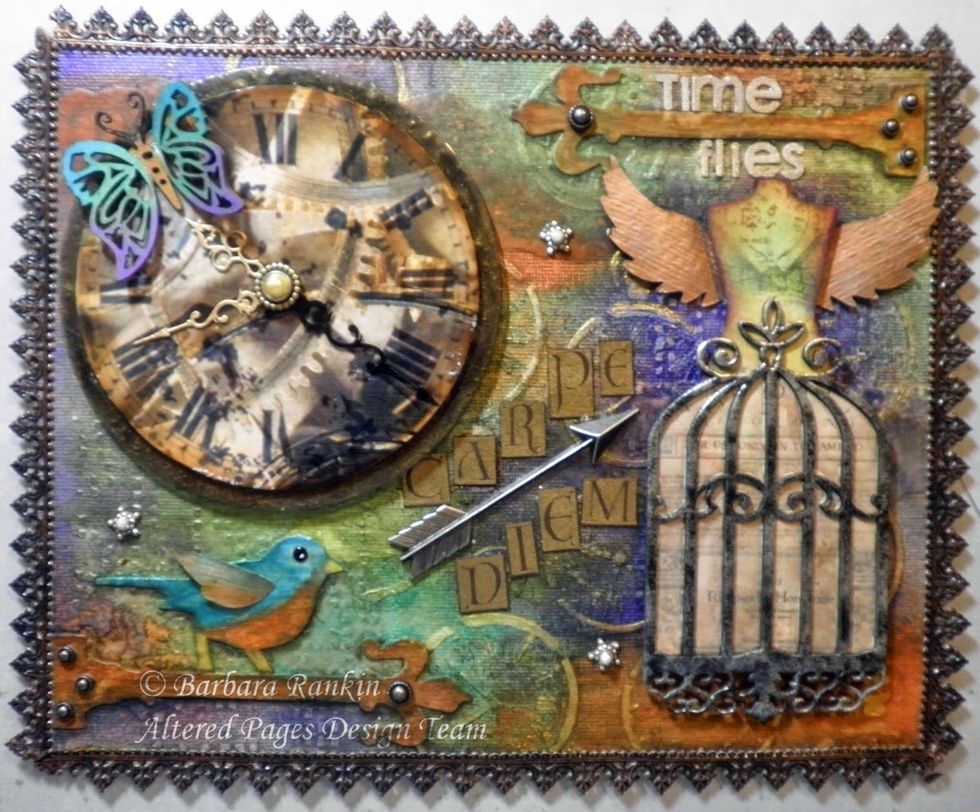
Now that I'm happy with my background, it is time to start adding focal pieces. Refer to the photo of the finished canvas for placement. The following pictures are some closeups of select areas.
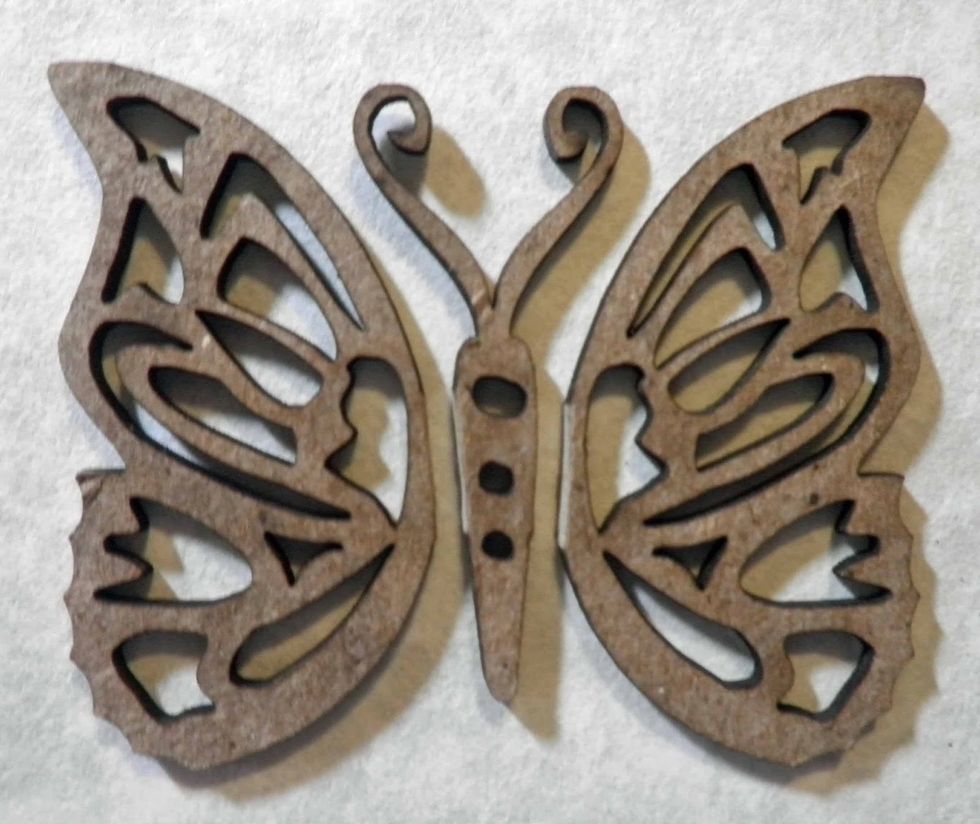
One more thing was missing, so I cut the wings off of one of the Leaky Shed butterflies.
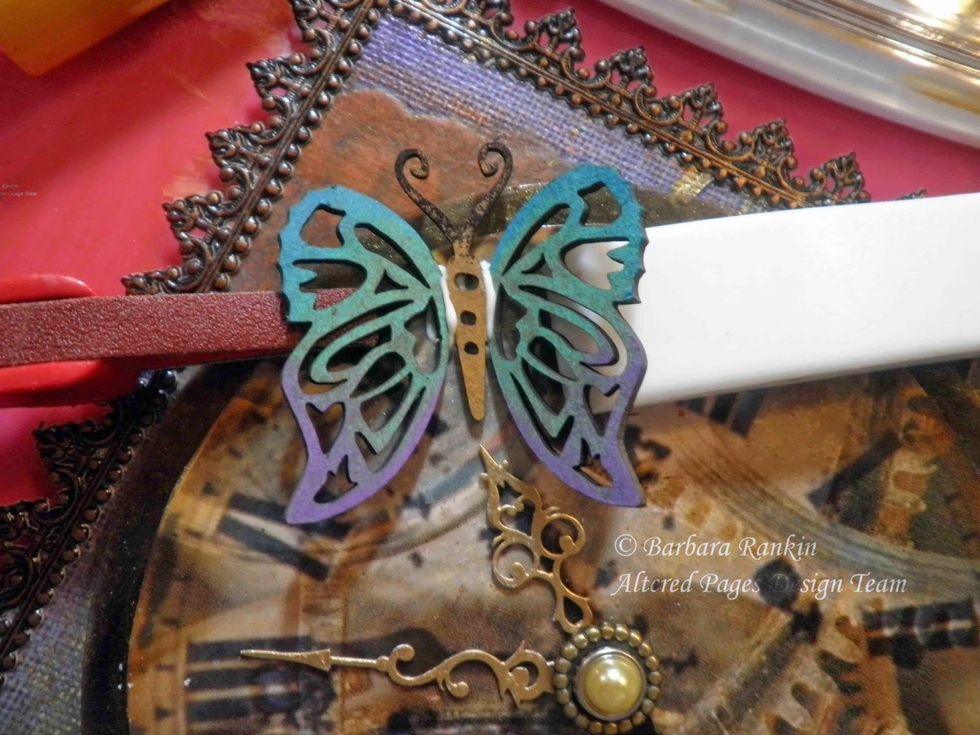
Use Peanut Brittle (body), black StazOn (antennae), and Radiant Neon Electric Blue, Green, and Purple for the wings. Adhere body and wings over clock face, propping wings up to dry.
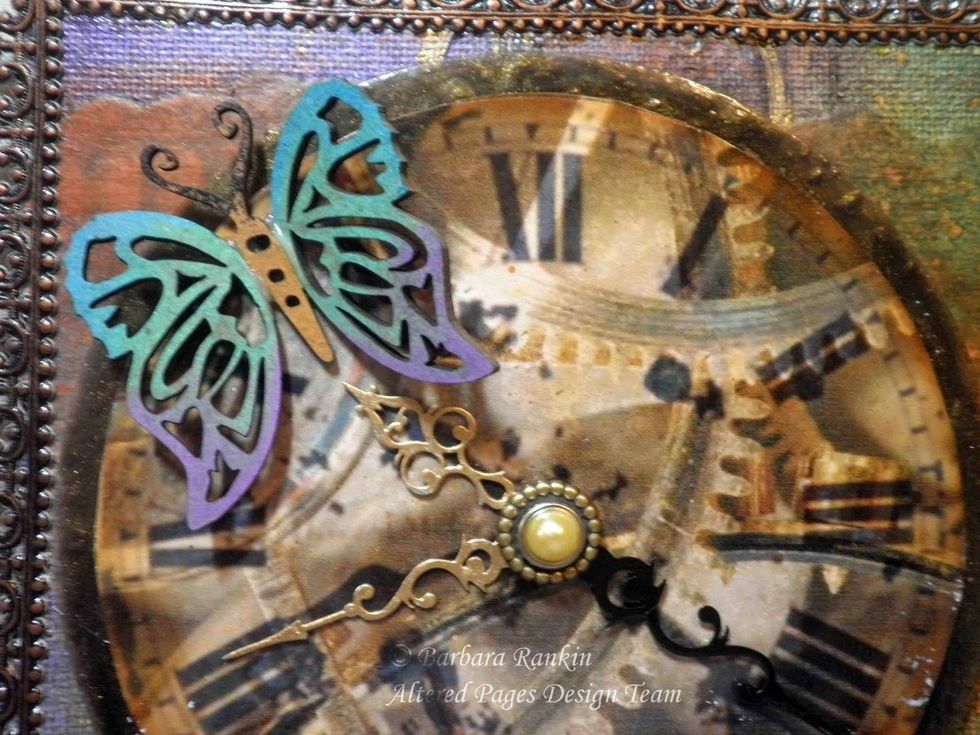
The clock was adhered with pop dots to raise it off of the canvas.

Metal studs were added to the hinges. The wings were glued down beneath the mannequin birdcage, which I also adhered with pop dots.
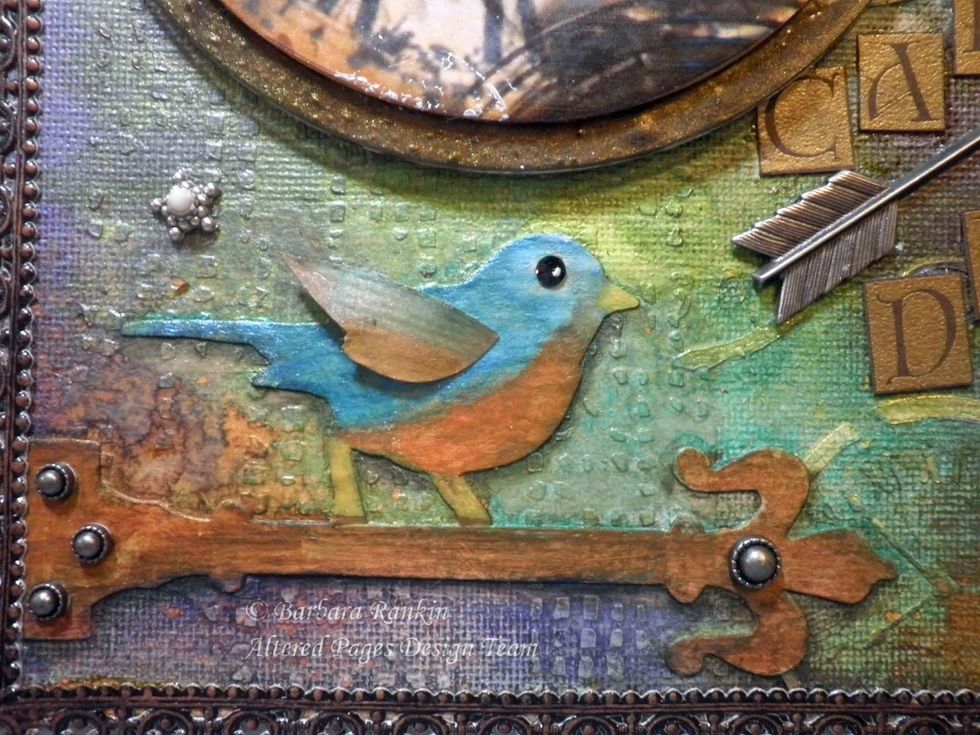
A tiny black gem was adhered to the bird for an eye, and a tiny spot of white for that glimmer of life.
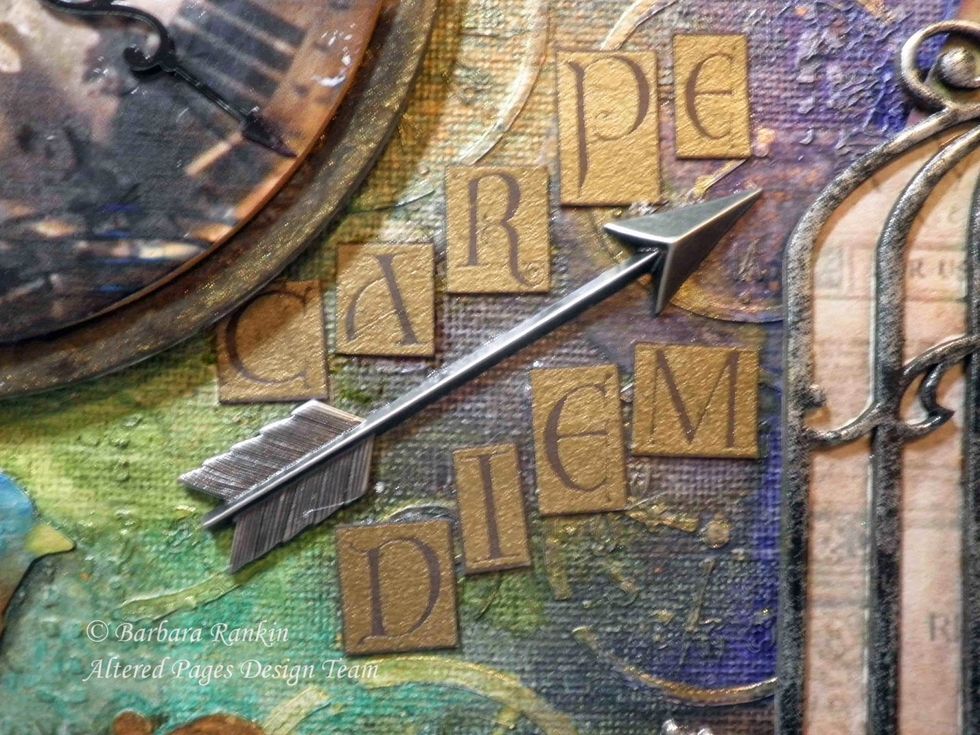
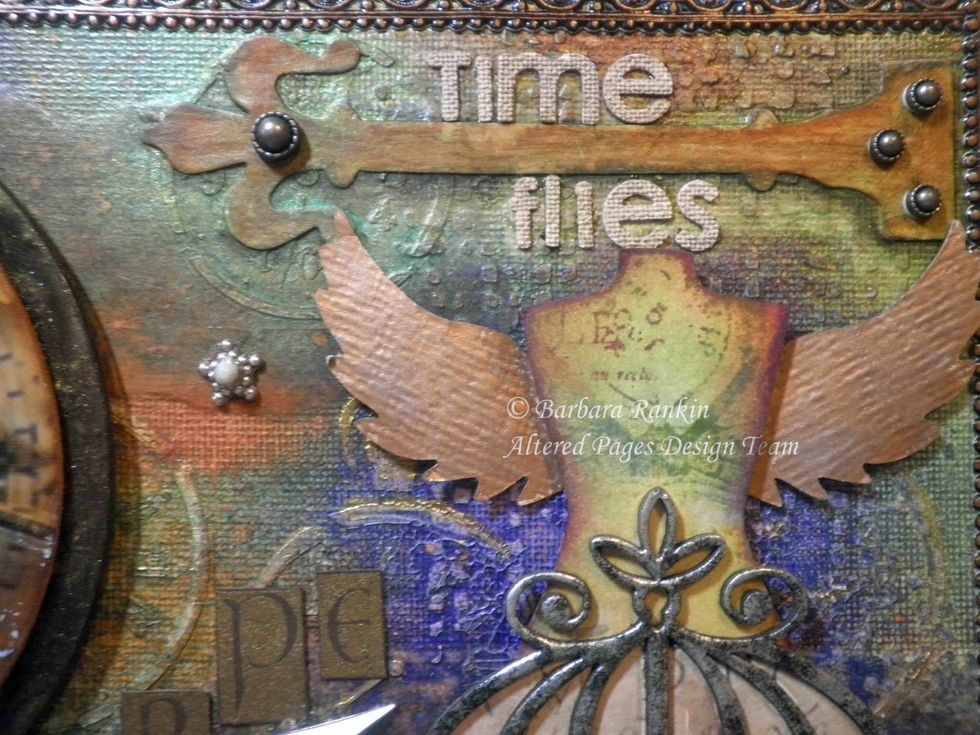
I stamped "Carpe Diem" onto a scrap of brown card stock with Versamark ink and gold embossing powder. Cut out the letters and added them to the center of the canvas with this cool metal arrow.
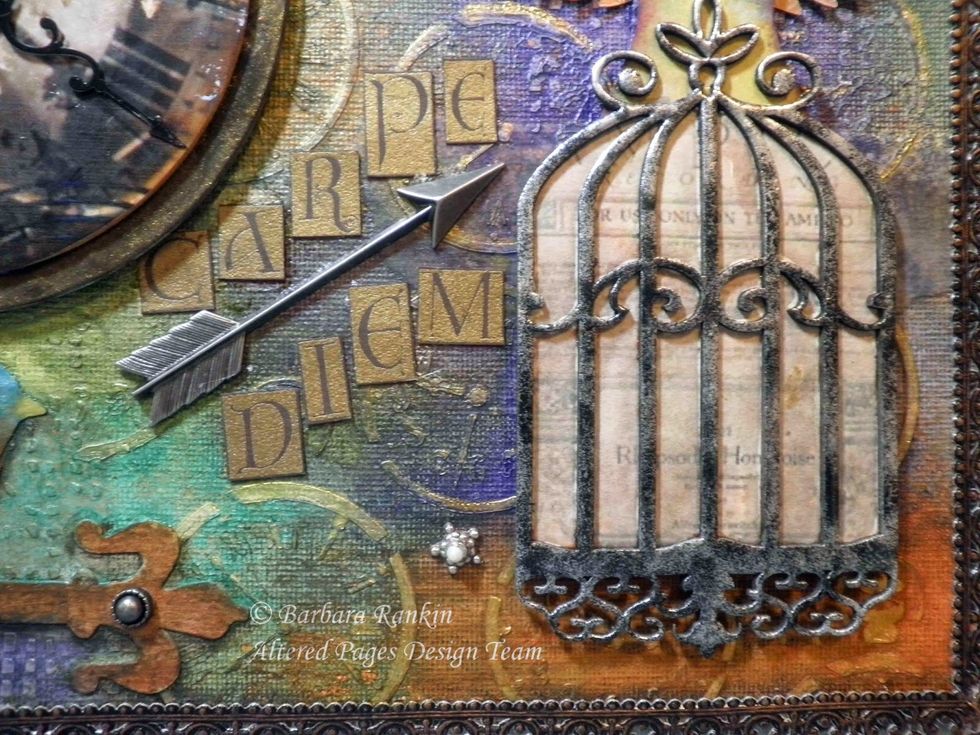
I used a wash of Pumice Stone distress stain over the paper beneath the bird cage and over the Time Flies letters to deepen the color and to get a better match with the whole canvas.
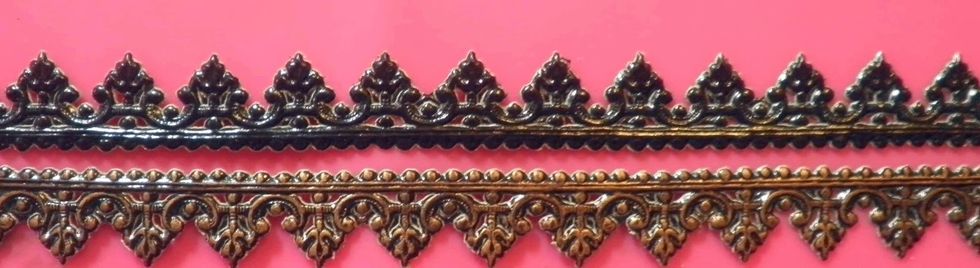
I like to finish my edges, so I applied antique gold Gilder's Paste to four strips of black German Scrap and adhered the strips around along the canvas' edge.

Please be sure to give me a thumbs up if you like my tutorial. Just click on the like button, and as always, comments are very much appreciated. Thanks for stopping by!
For most of the supplies used in this guide, please visit these shoppes: www.sincitystamps.com and www.alteredpages.com