The Conversation (0)
Sign Up

Fussy Cut the Mermaid Image from the Title Page of the Graphic 45 Voyage Beneath the Sea 8x8 paper, as shown
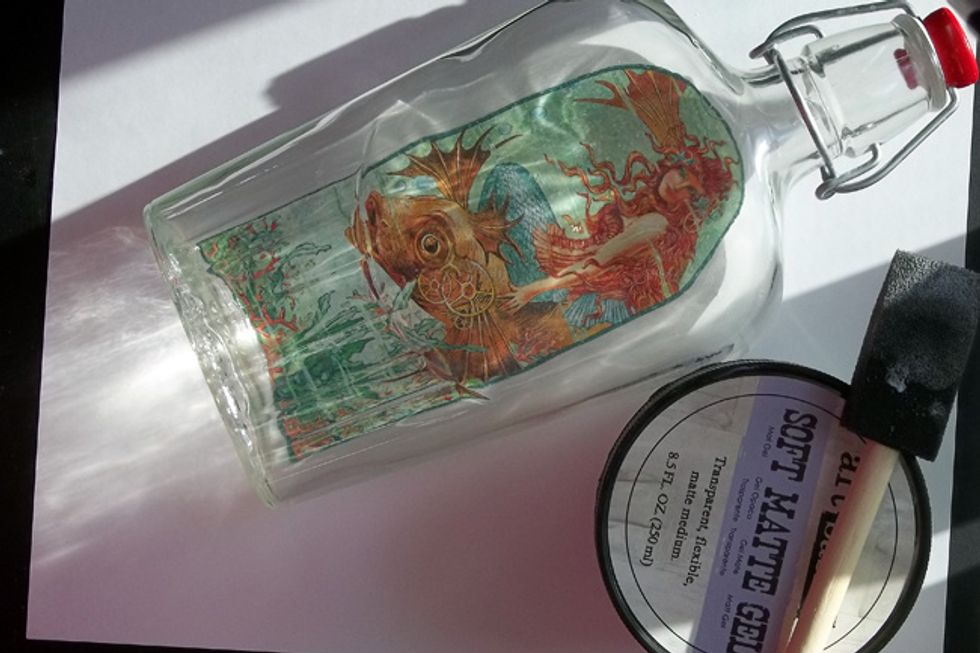
Find a bottle that will fit the image - I'm using an old Maple Syrup bottle with a latch lid. Use Soft Matte Gel Medium & adhere image to the back of the bottle with the mermaid facing forward.
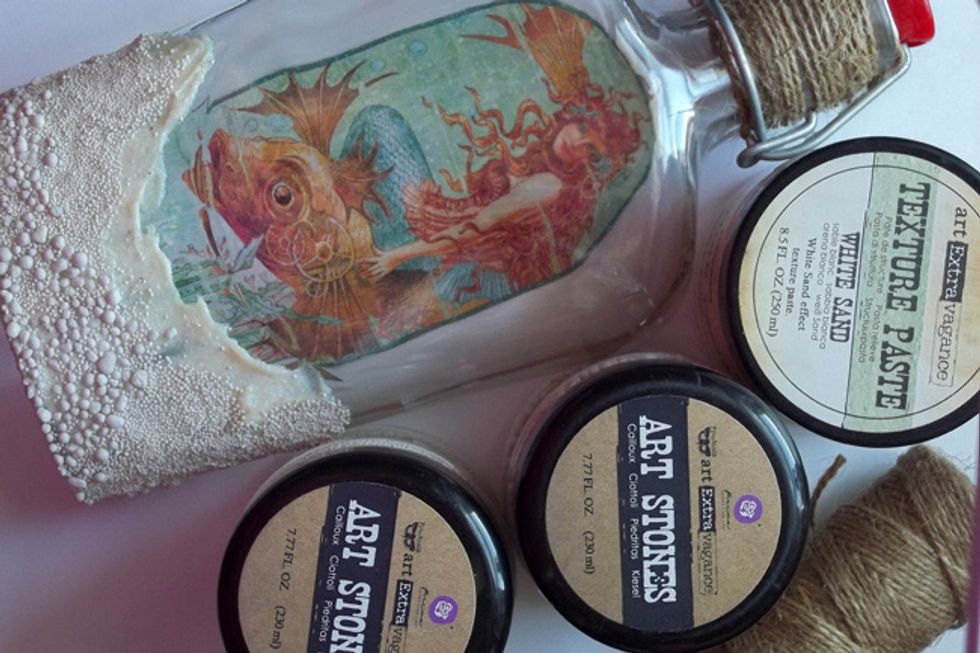
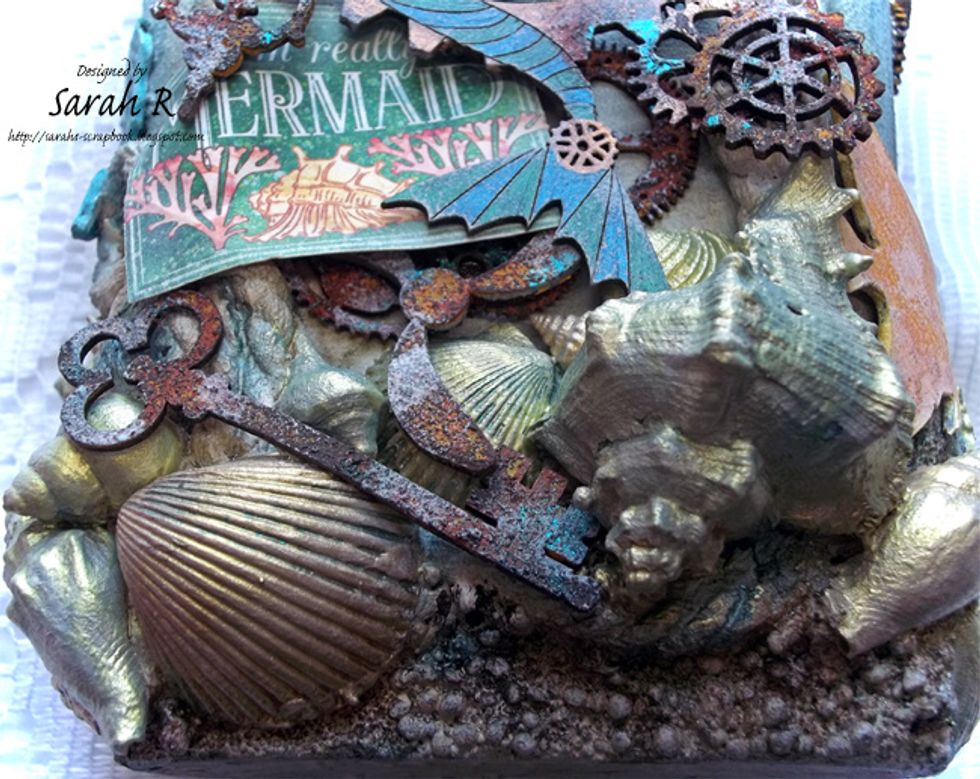
Add White Sand Texture Paste all around the bottom of the bottle. While the paste is still wet, add Art Stones (regular and mini) for extra texture, lightly pressing them into the wet paste.
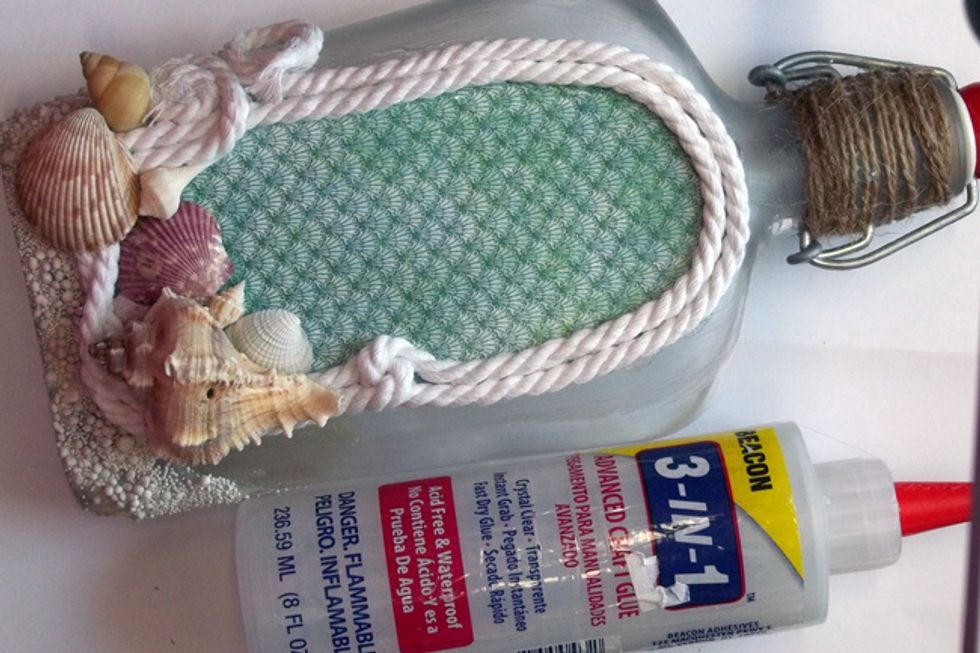
Using strong glue, add rope trim around the edge of the fussy-cut image and glue shells along the bottom of the bottle.
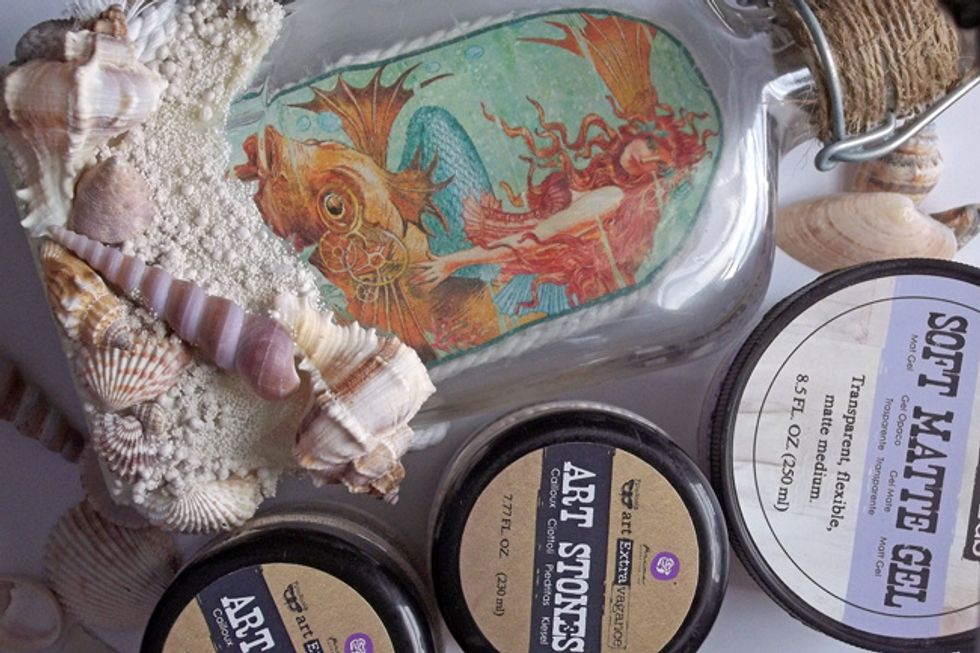
Also glue shells to the bottom of the front of the bottle. Use Soft Matte Gel to add more Art Stones to fill in the textured area, as desired.
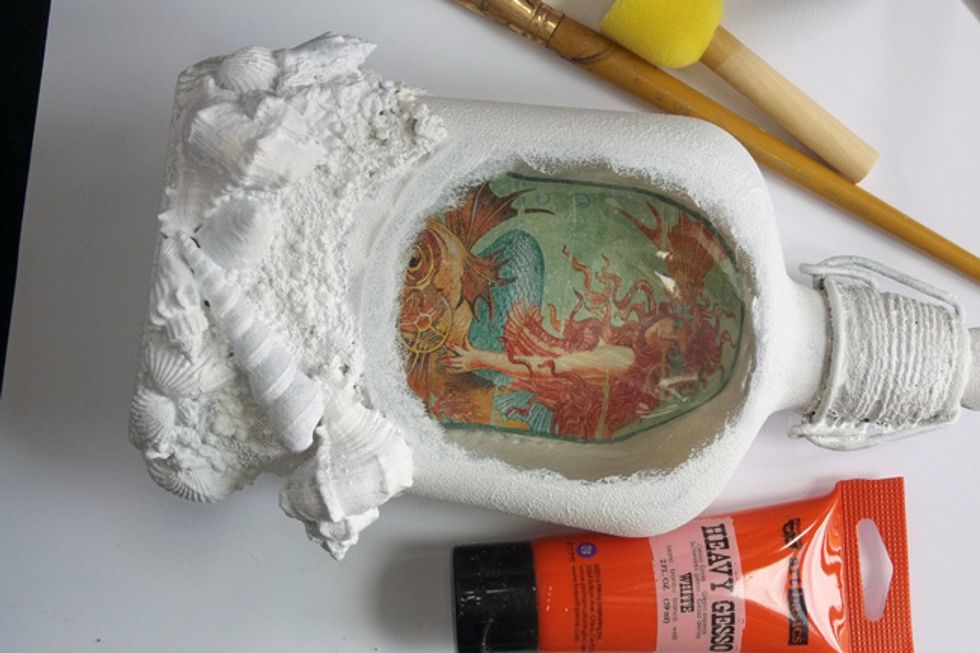
Paint the bottle & all embellishments with 2 coats of Heavy White Gesso, leaving a window on the front to see the image inside. Use a sponge dabber for the gesso on the glass for added texture.
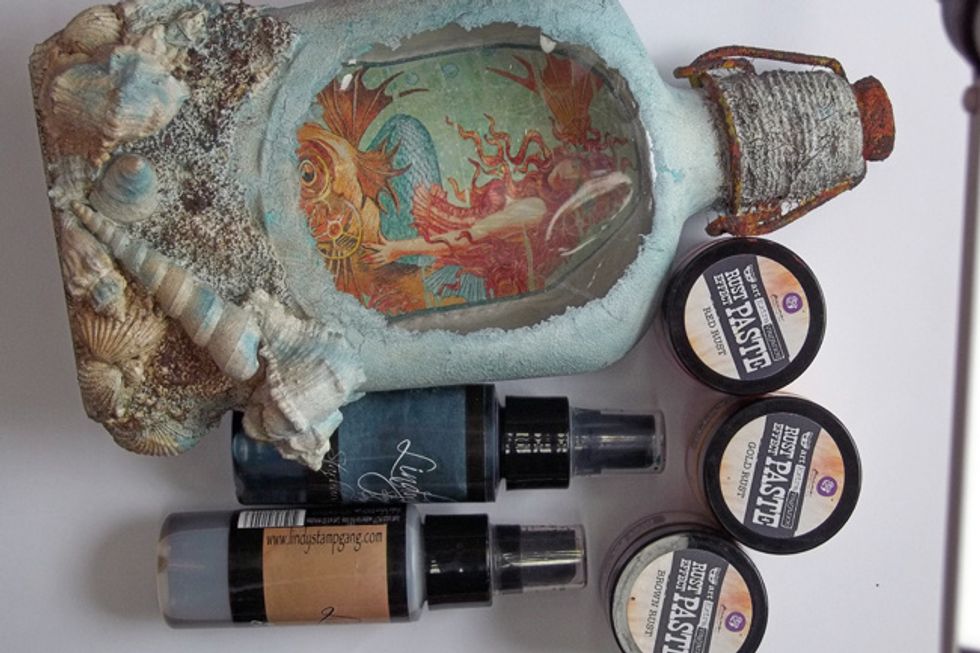
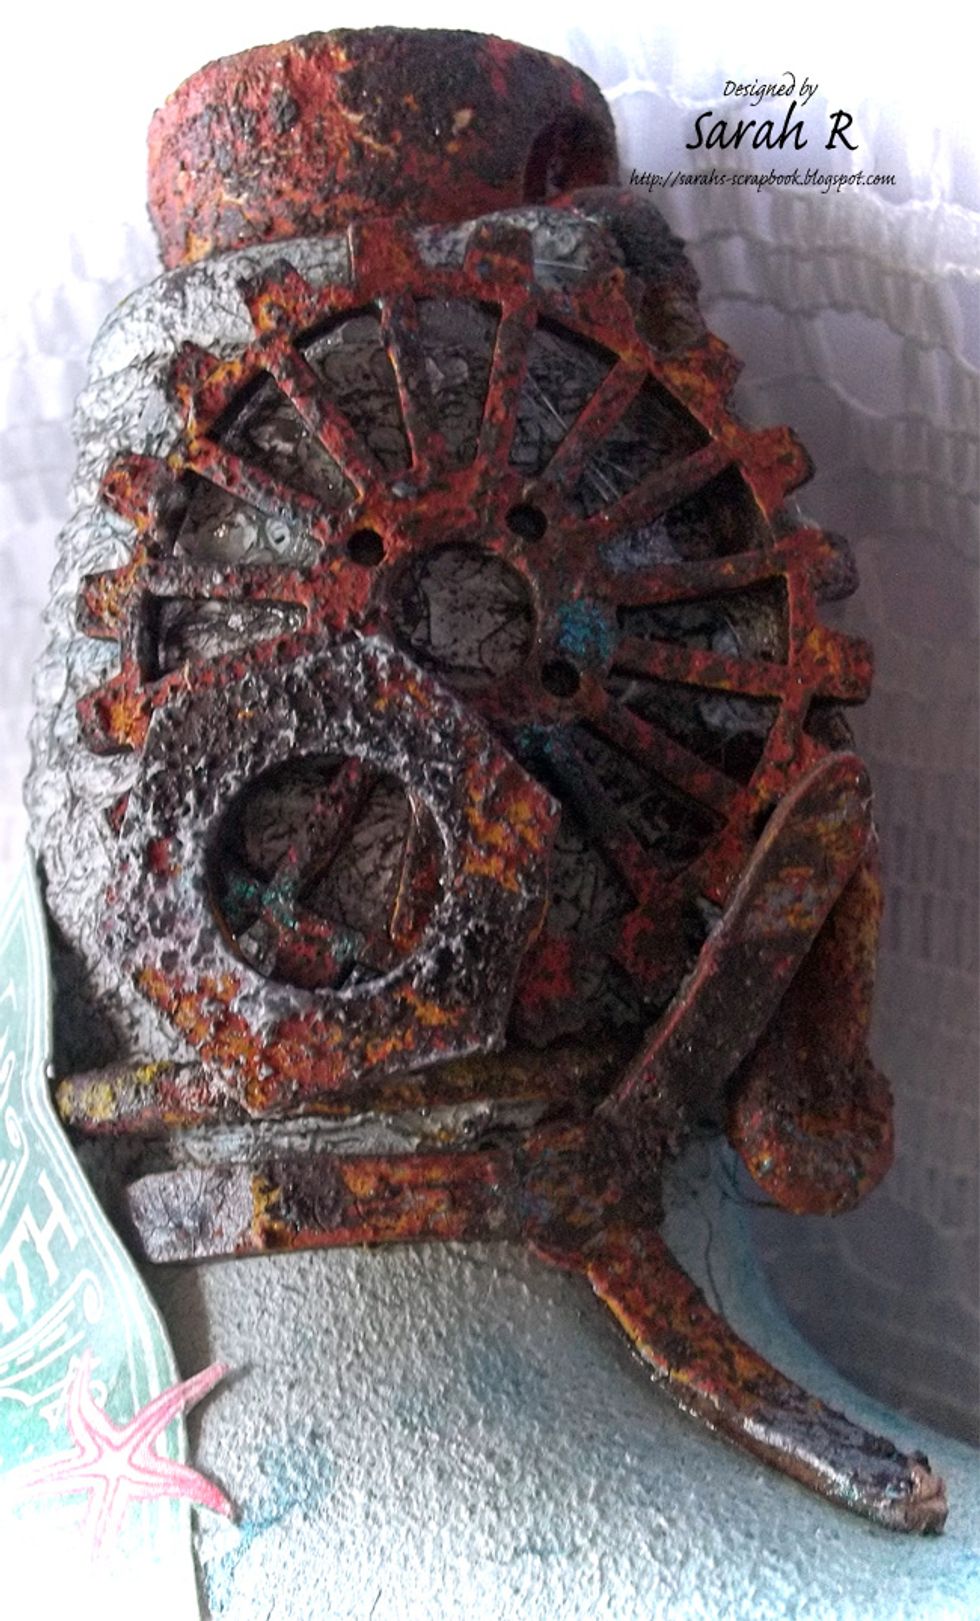
Use the Steampunk Sepia & Tainted Love Teal Starbursts and Spray the entire bottle - also splatter with the teal. Use the Rust Effect Paste on the cap and the metal latch elements of the lid.
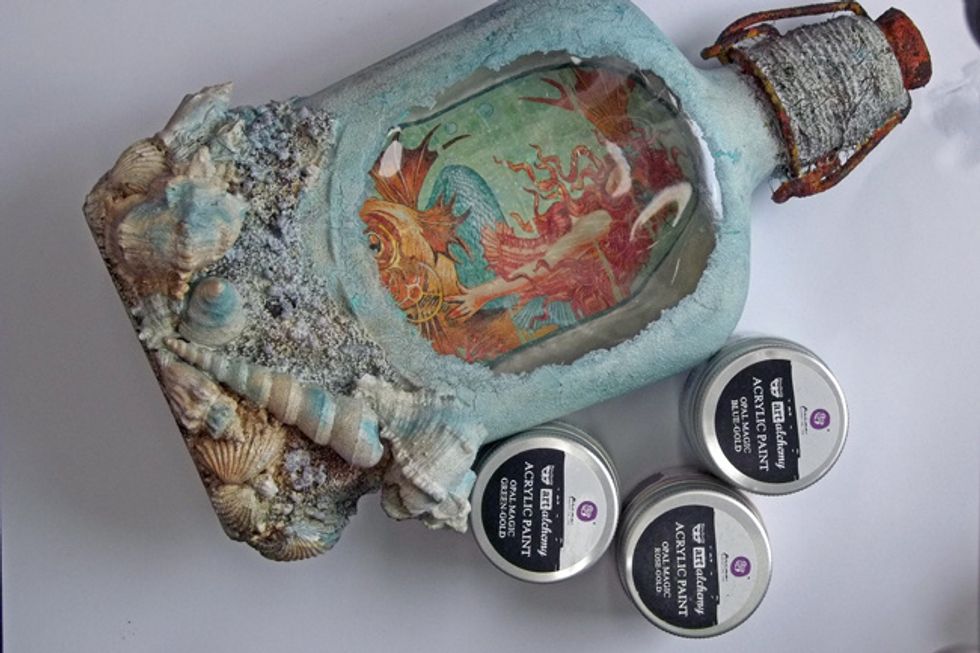
Paint the shells with Opal Magic Acrylic Paints. I've also sponged a little brown rust paste on the sand/stones and then sponged with more white gesso.
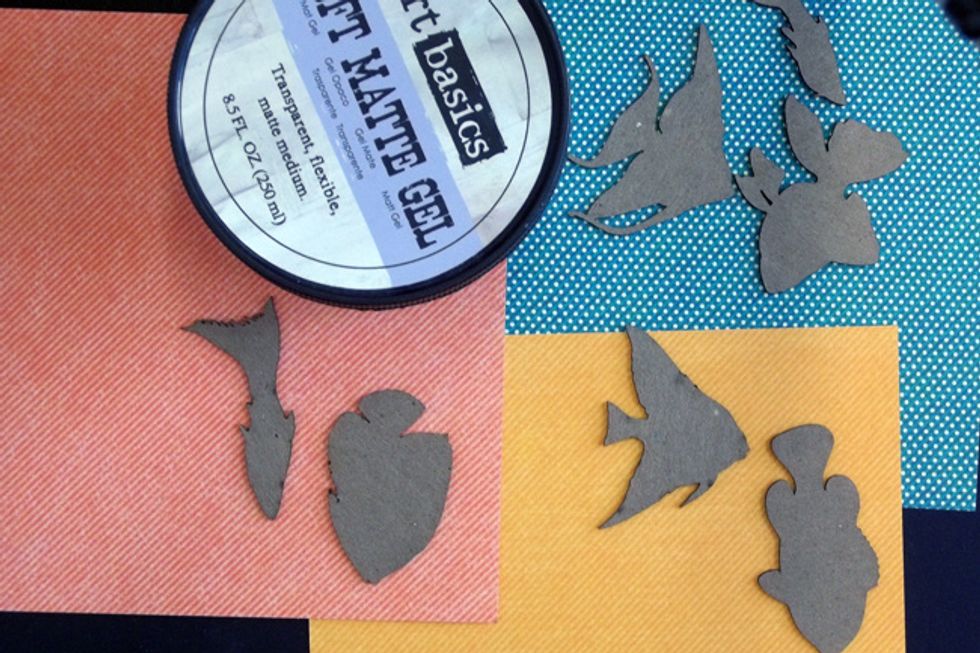
Now we'll alter the Creative Embellishments chipboard to decorate the bottle! Use Soft Matte Gel to glue the Tropical Fish to 6x6 paper - remember to glue on the reverse of the side you want showing!
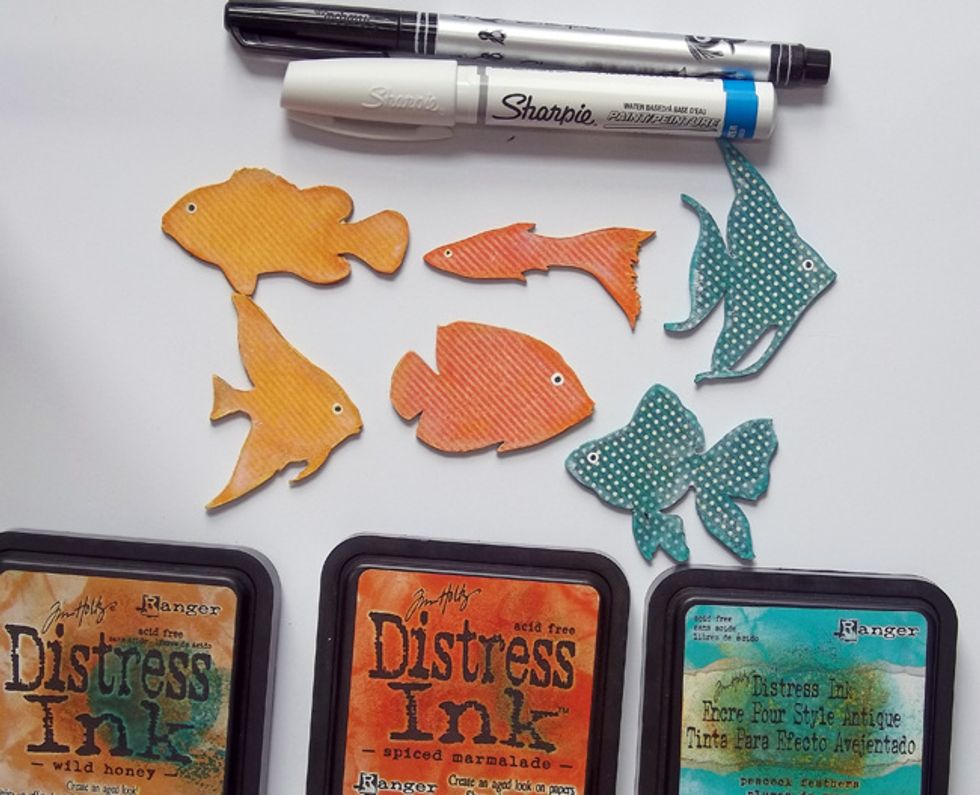
Once dry, fussy-cut out the Tropical Fish. Ink the edges with coordinating Distress Ink and some white gesso. Add a fish eye using a white Sharpie paint pen and a black Sharpie fine tip pen.
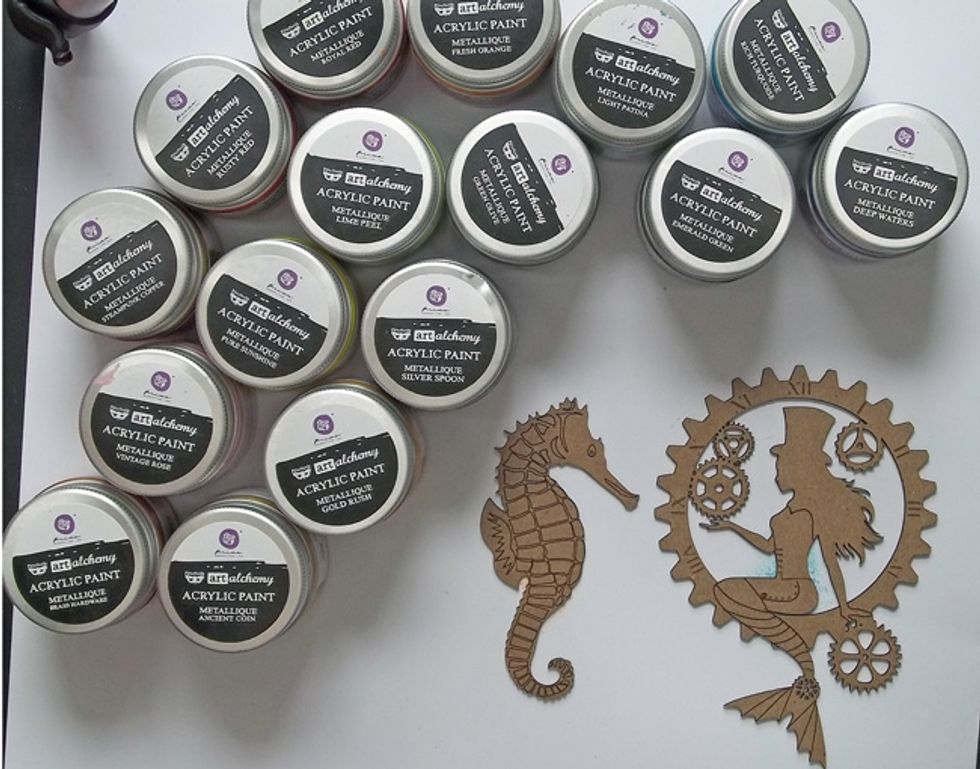
Paint the small Seahorse and Steampunk Mermaid using Metallique Acrylic Paints. I've used colours that coordinate with the colours in the Graphic 45 papers.
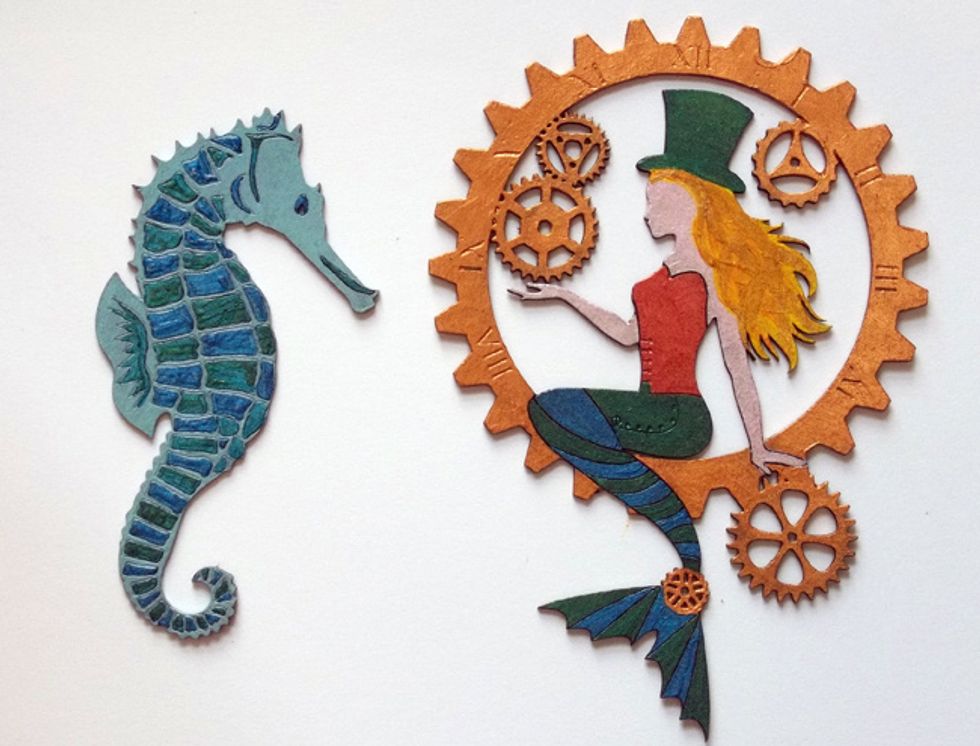
The finished painted Creative Embellishments chipboard! Aren't all the details in the chipboard pieces gorgeous?!?!
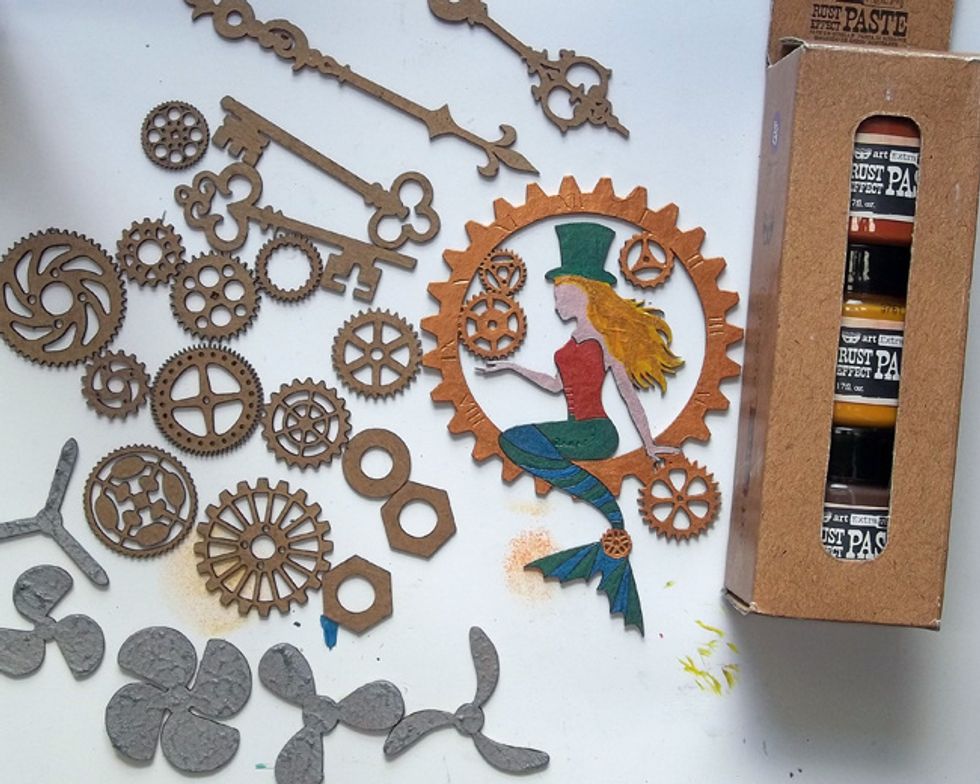
Use Rust Effects Paste on chipboard gears, keys, clock hands & washers/nuts - I layered yellow, red then brown paste. Add Antique Silver Crackle Paste then Rust Effects to the chipboard Propellers.
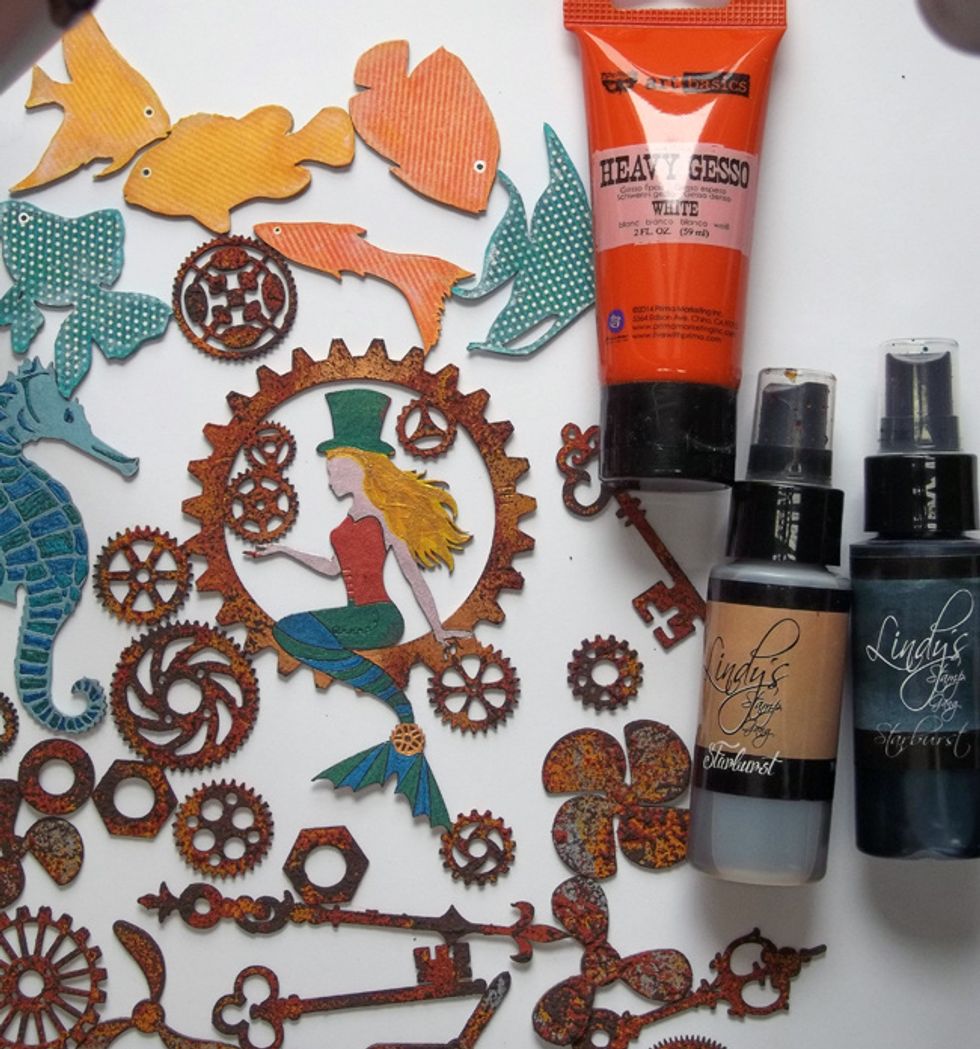
In order for chipboard elements to blend with bottle decor, lightly sponge all chipboard with heavy white gesso & spray with Steampunk Sepia Mist. Splatter rusted areas with Tainted Love Teal Mist.
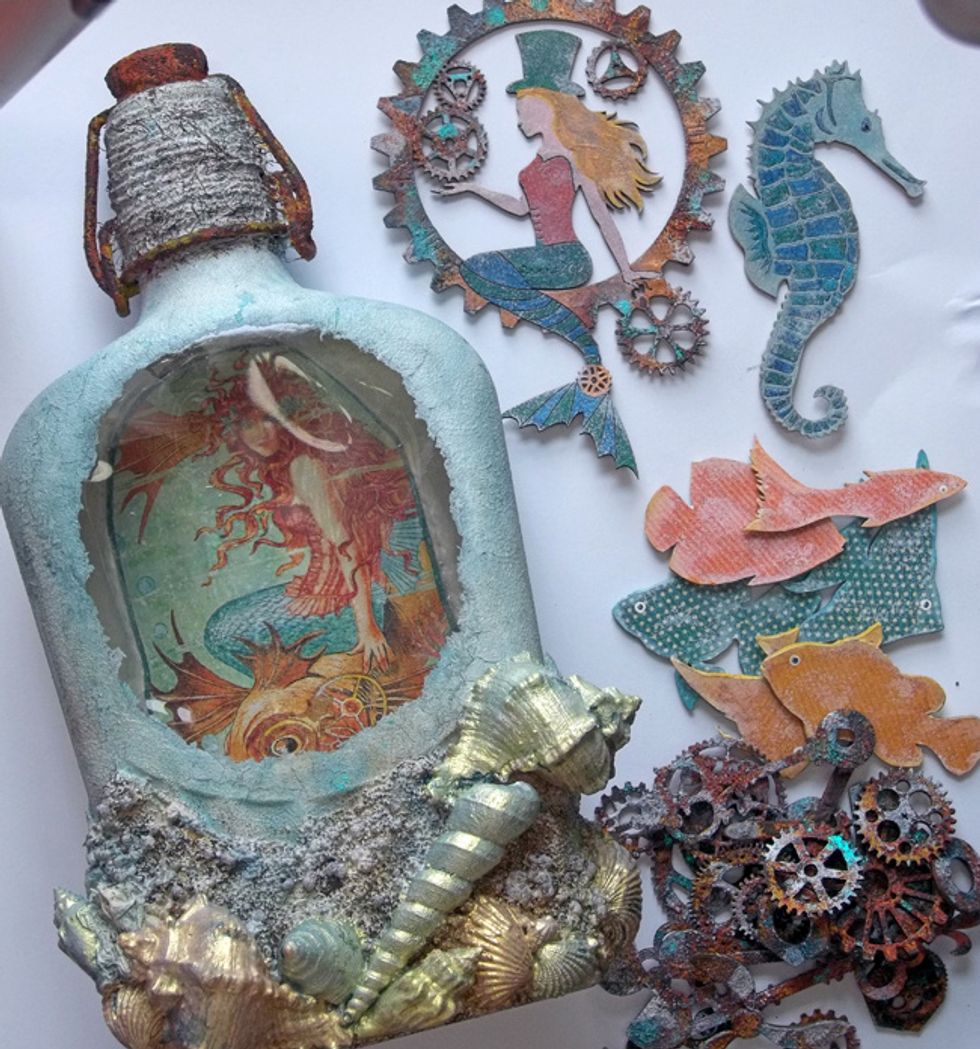
Gather your chipboard elements and strong glue and start adding them to the altered bottle.
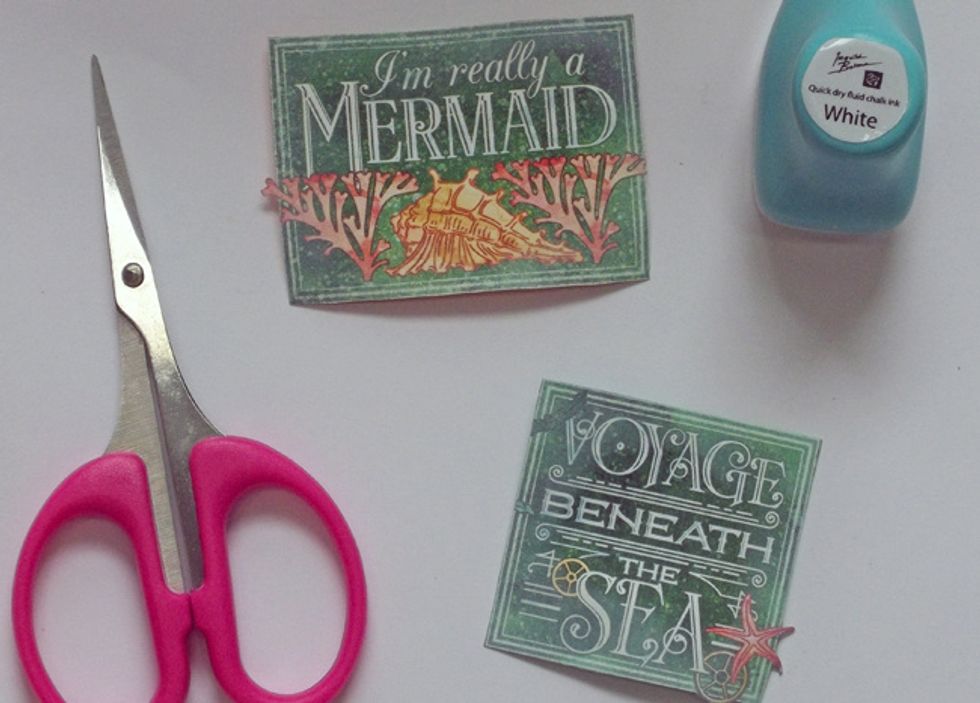
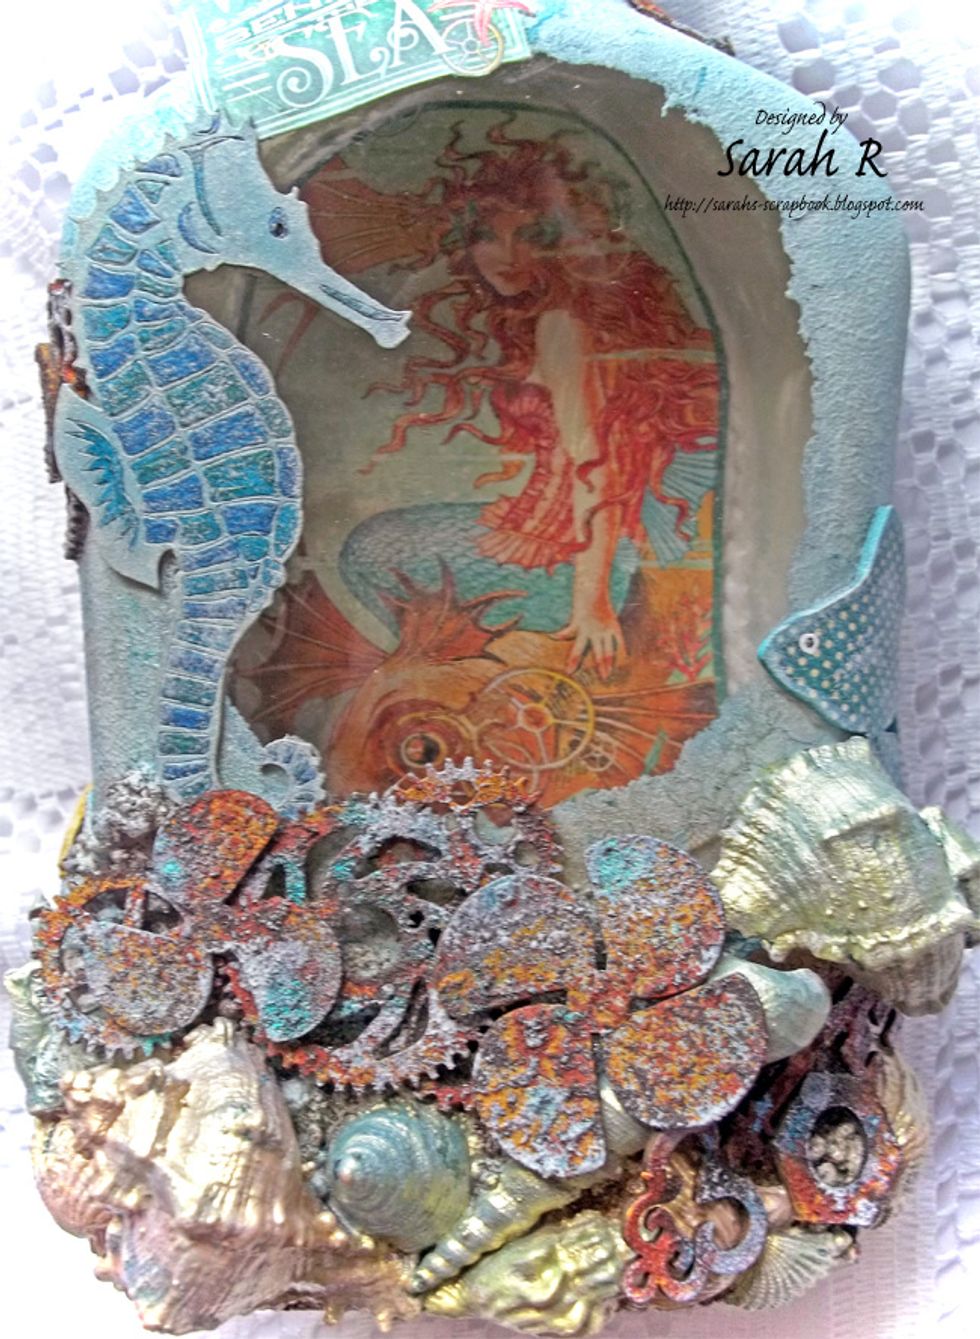
I've also added a couple of cut-outs from the Graphic 45 8x8 paper, which I inked with White Fluid Chalk Ink.
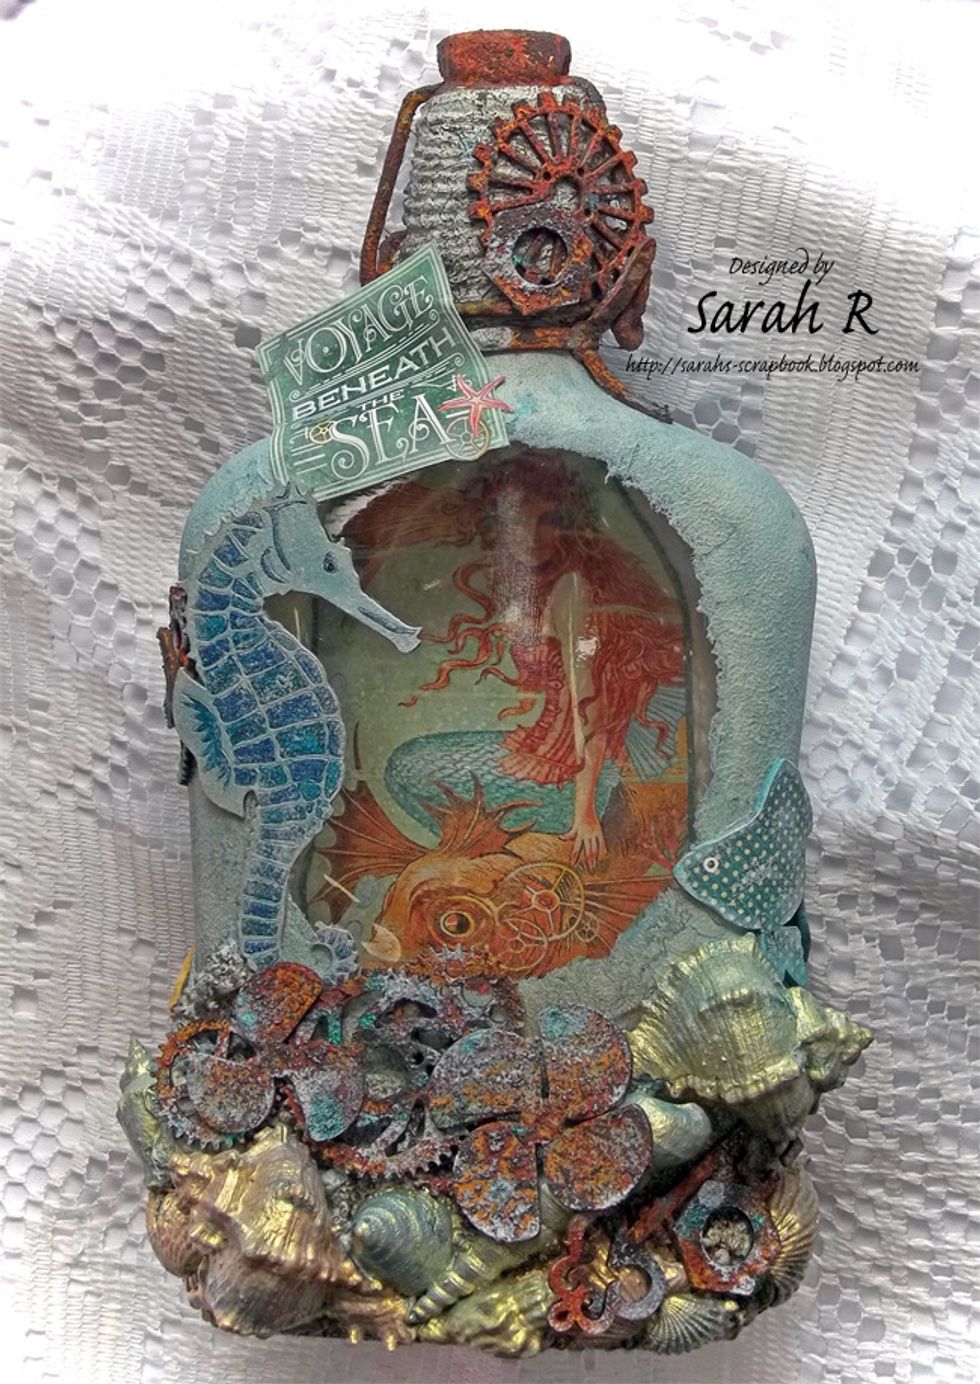
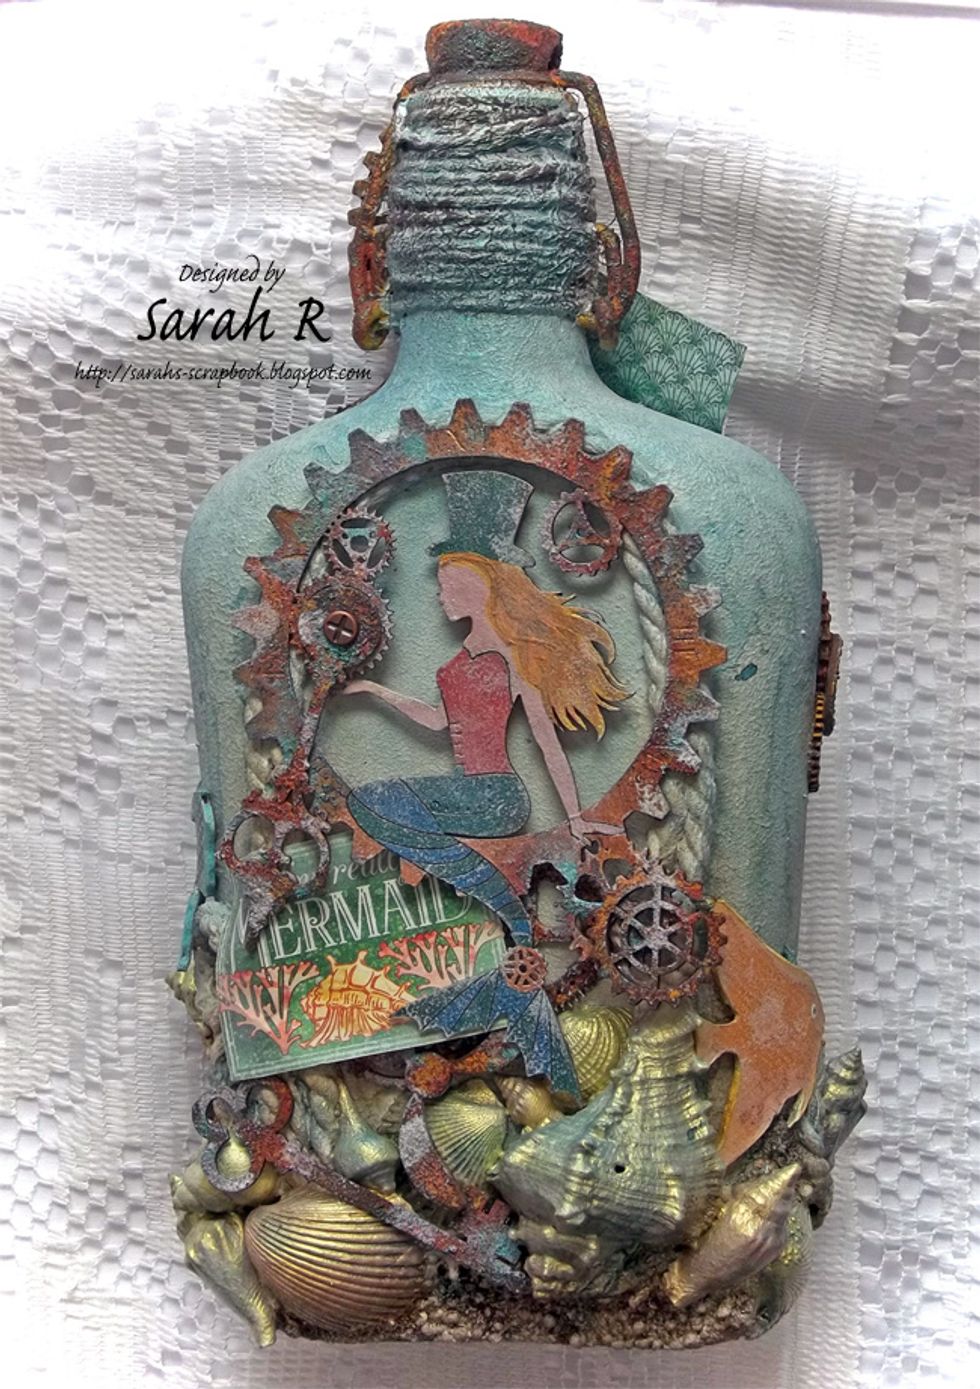
The front of the bottle - includes Creative Embellishments Seahorse & clusters of gears, washers/nuts, key & propellers at the top and bottom. A Tropical Fish chipboard curves around the right side.
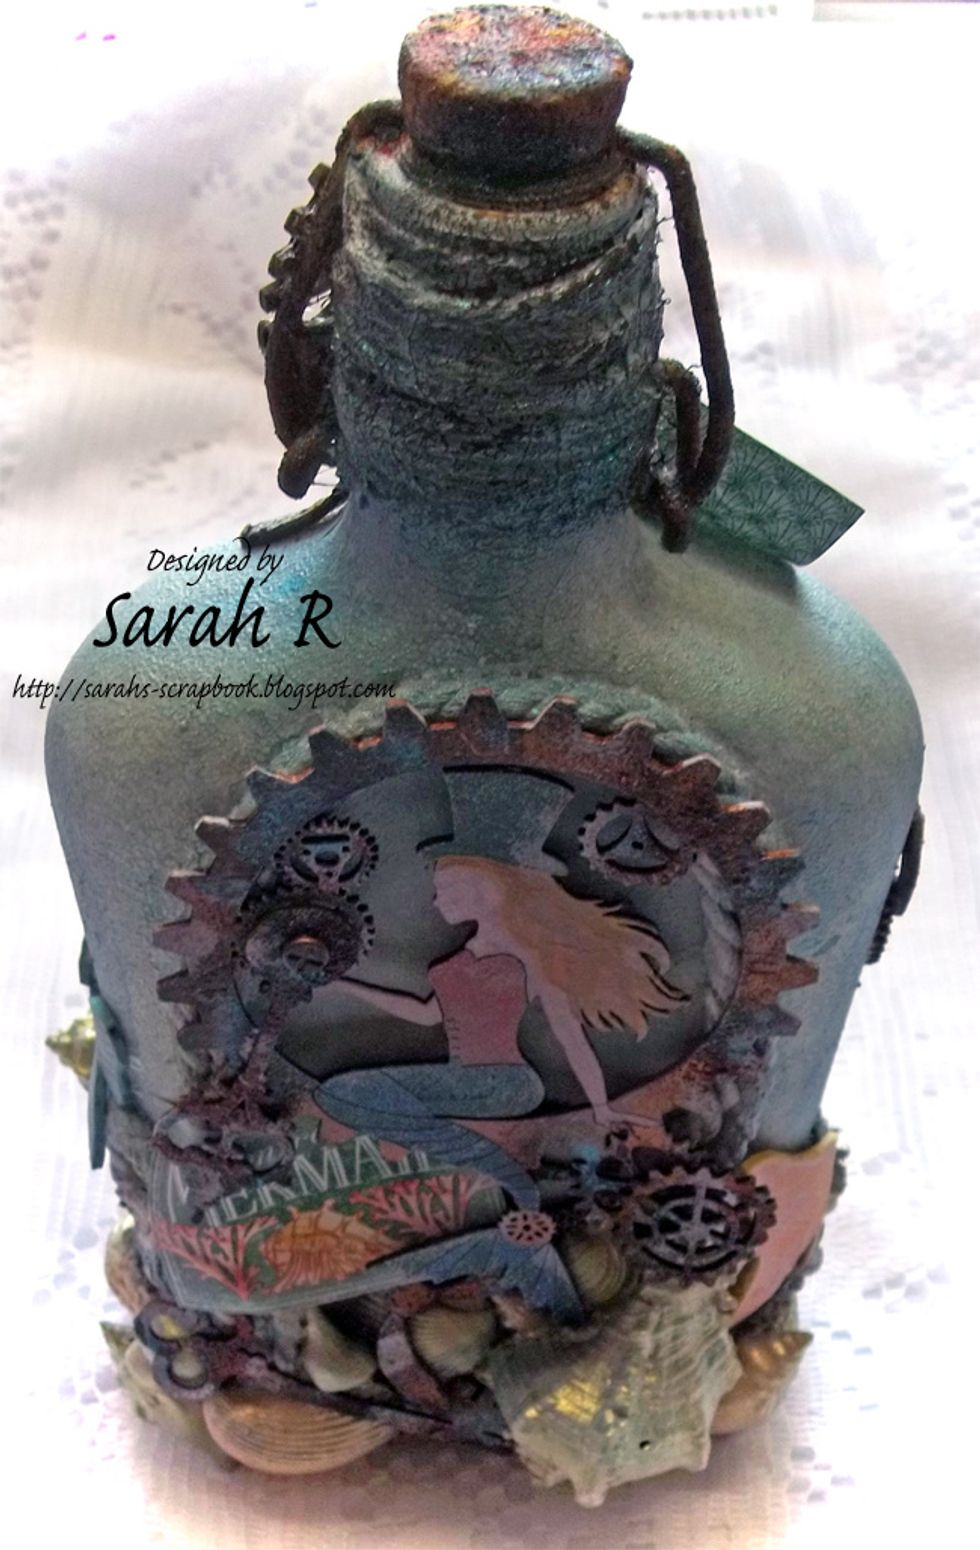
The back of the bottle - featuring the Creative Embellishments Steampunk Mermaid, as well as chipboard gears, key, clock hand & propellers. Another Tropical Fish is 'swimming' towards the front!
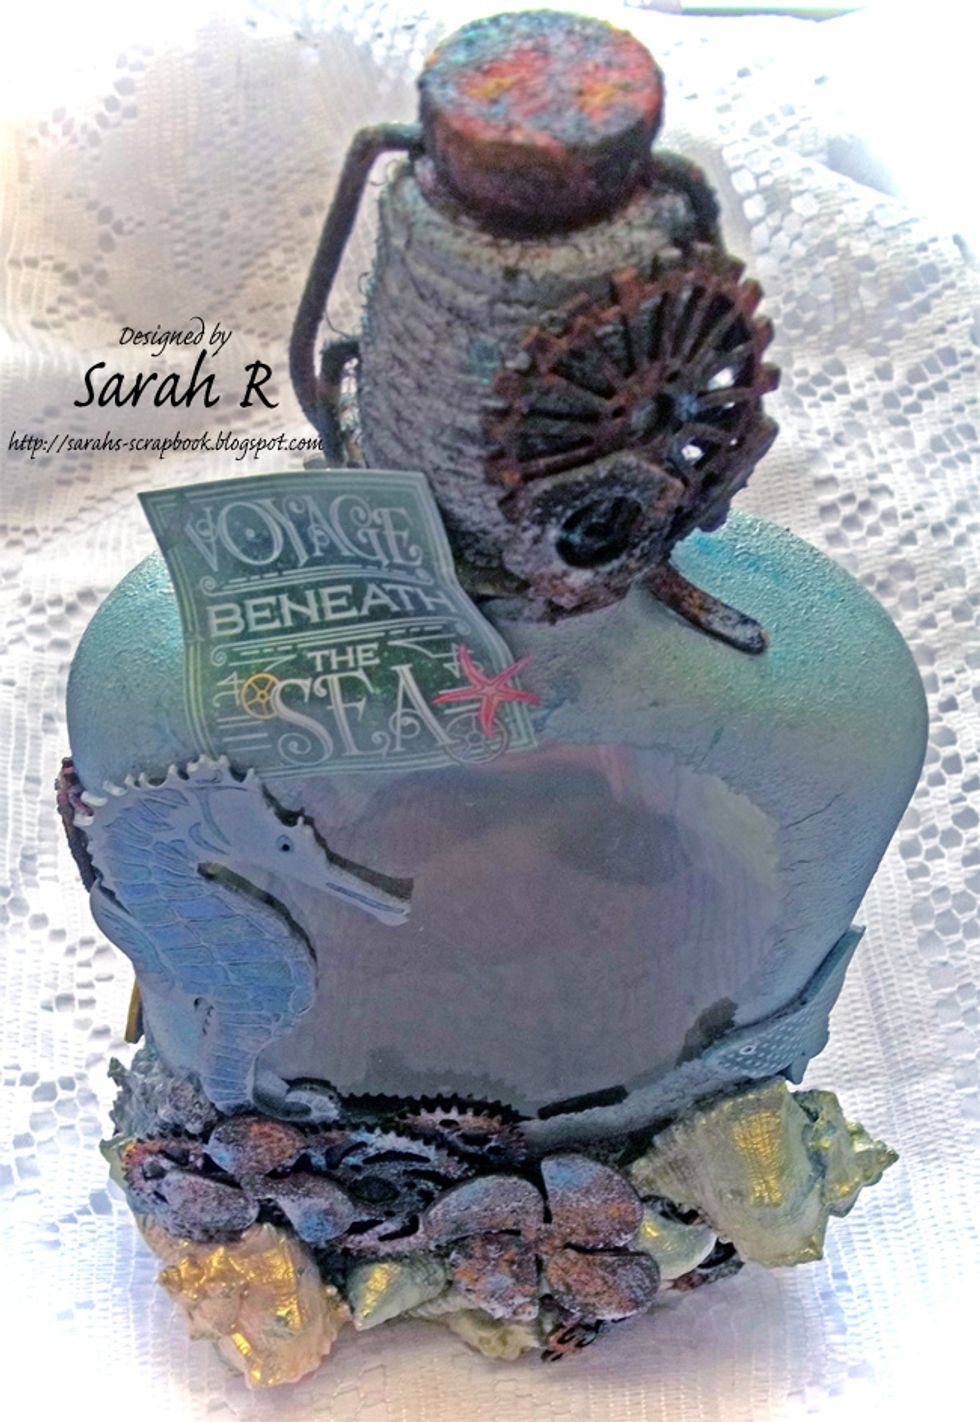
View of the top/front of the Mixed Media Altered Bottle.
View of the top/back of the Mixed Media Altered Bottle.
Close-up of the front of the bottle.
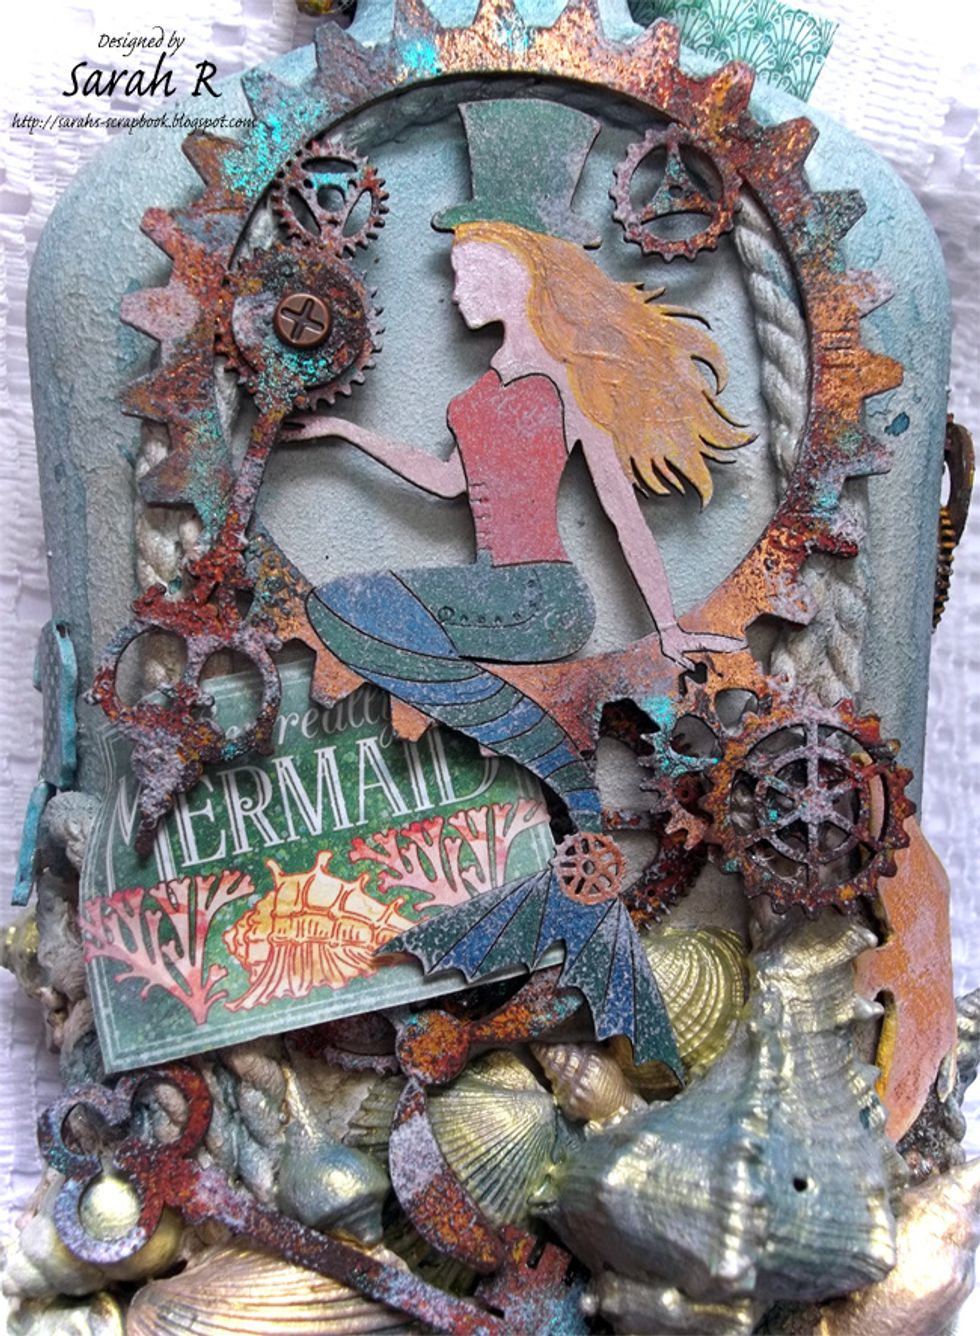
Close-up of the back of the bottle.

Close-up of the front/bottom of the bottle.
Close-up of the front/top of the bottle.
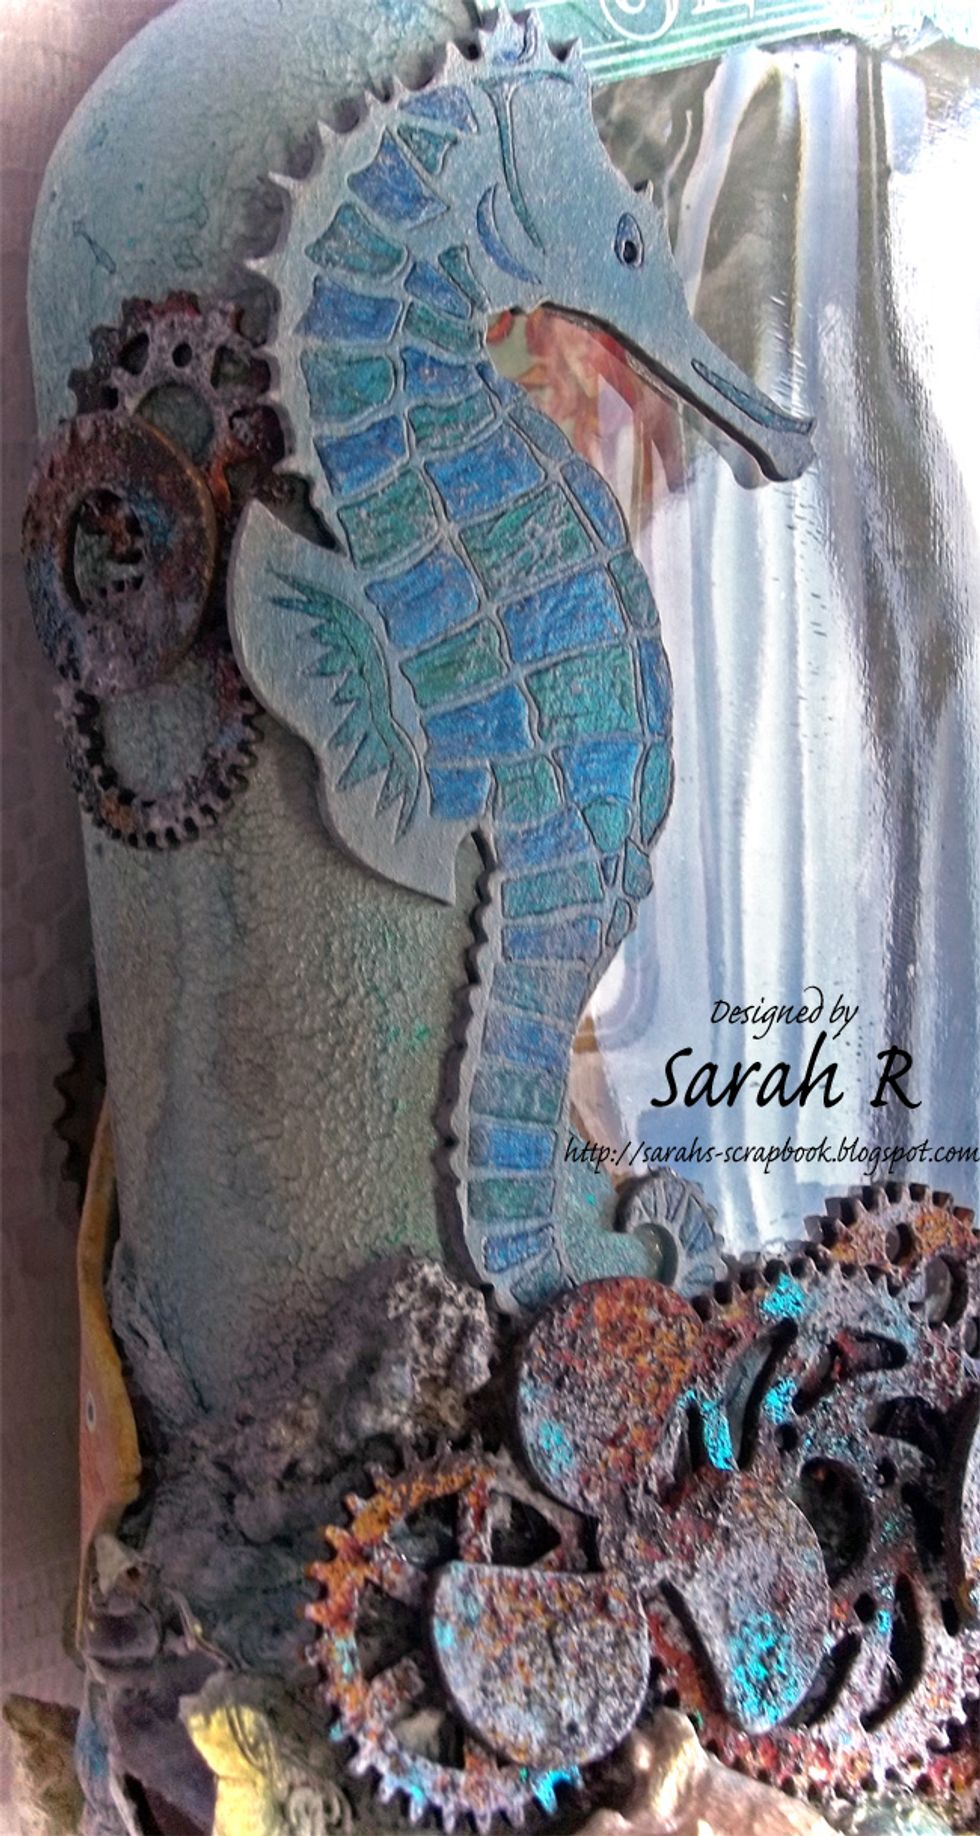
Close-up of the Side of the bottle.
Close-up of the bottom/back of the bottle.
Thanks so much for viewing my tutorial! Find me at - Blog: http://sarahs-scrapbook.blogspot.ca/ Youtube: https://www.youtube.com/user/seroutledge Facebook: https://www.facebook.com/SarahRScraps/