The Conversation (0)
Sign Up
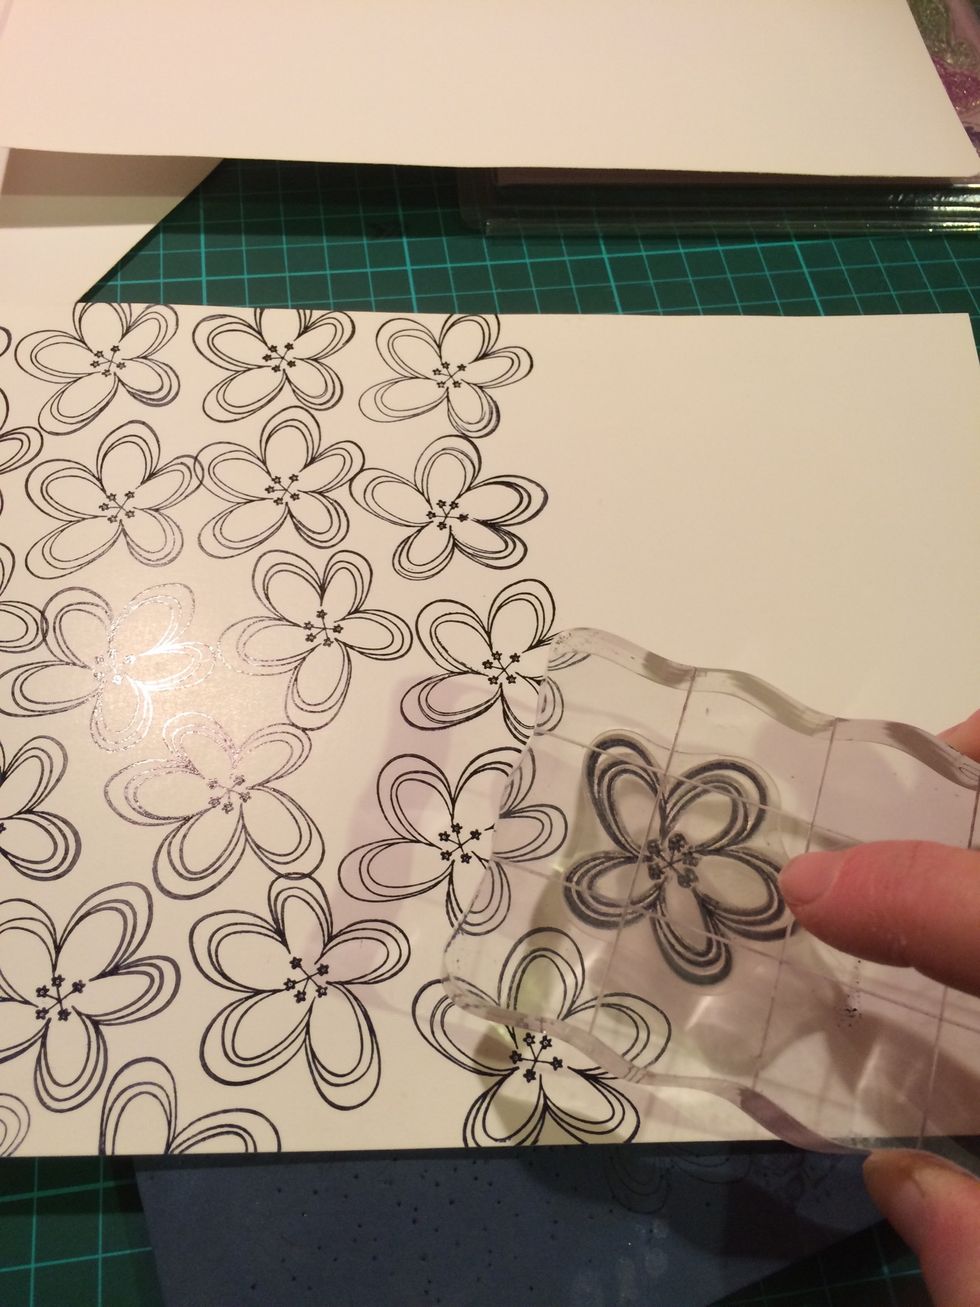
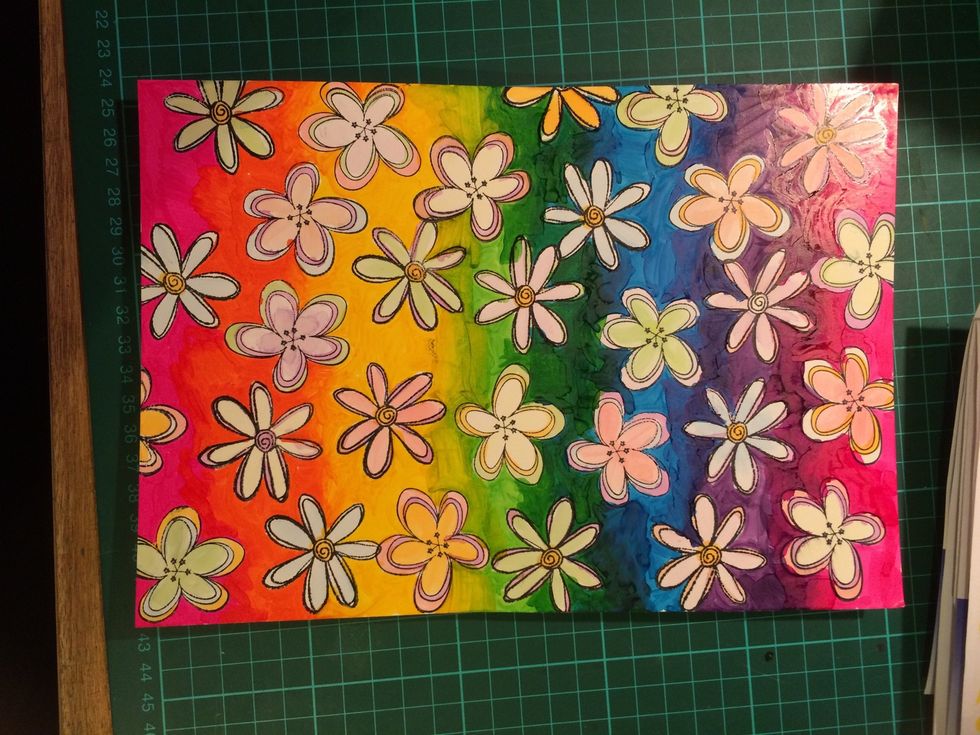
Stamp a piece of cardstock with a stamp that will be good to colour in. Remember to go off the edges with the stamp.
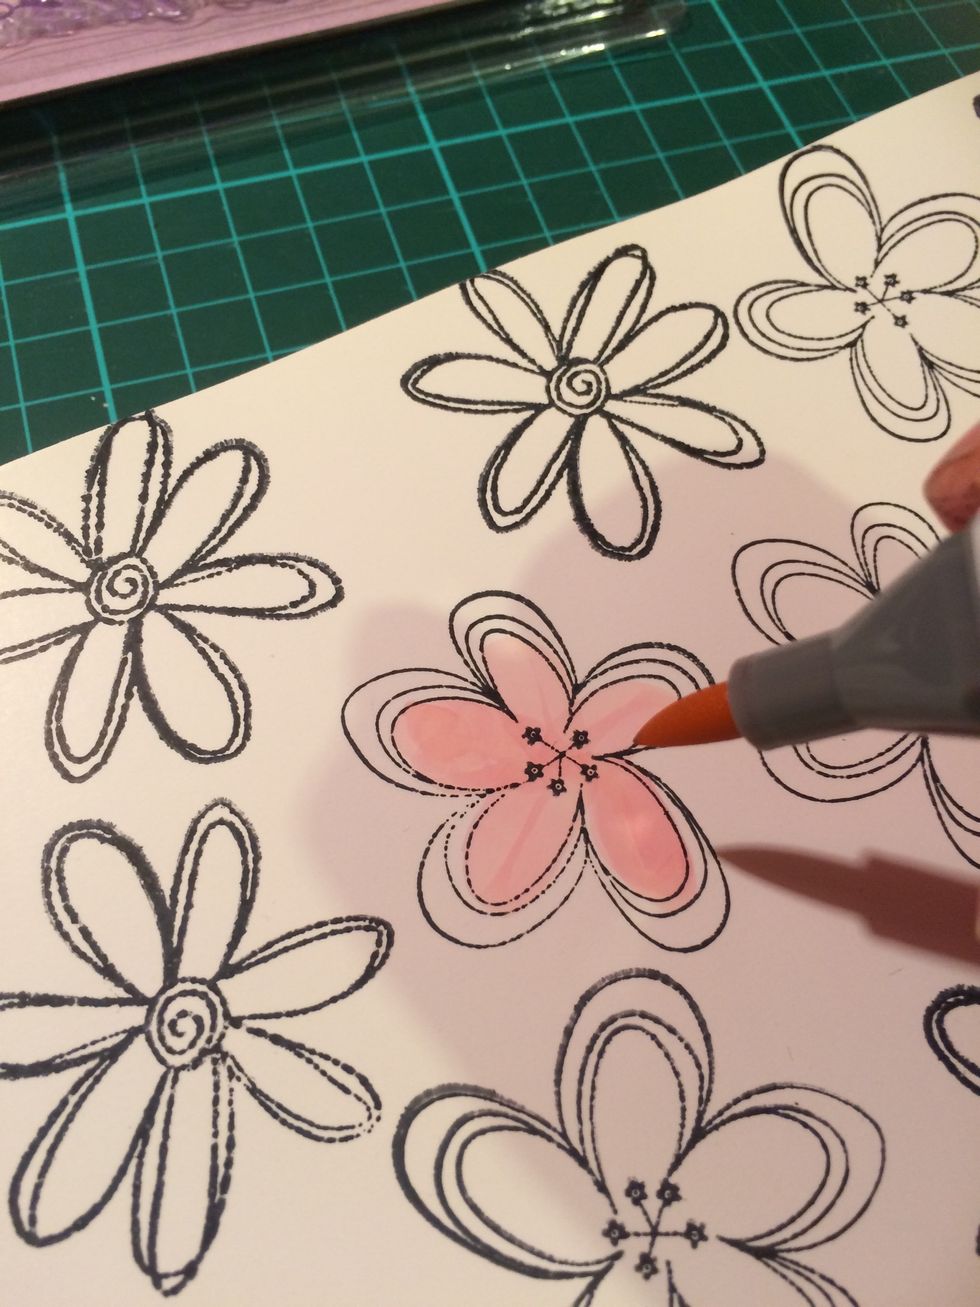
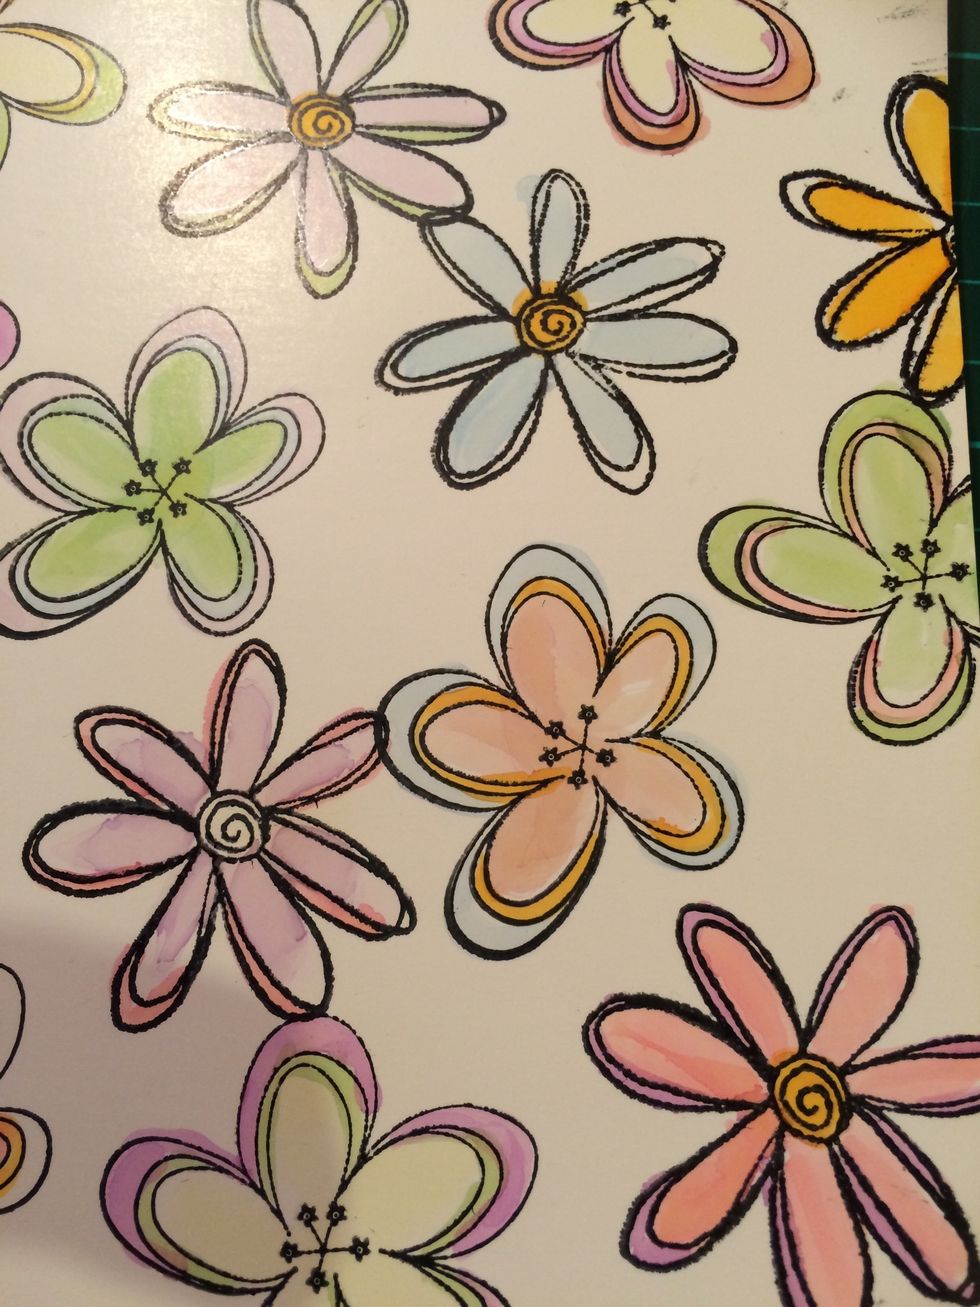
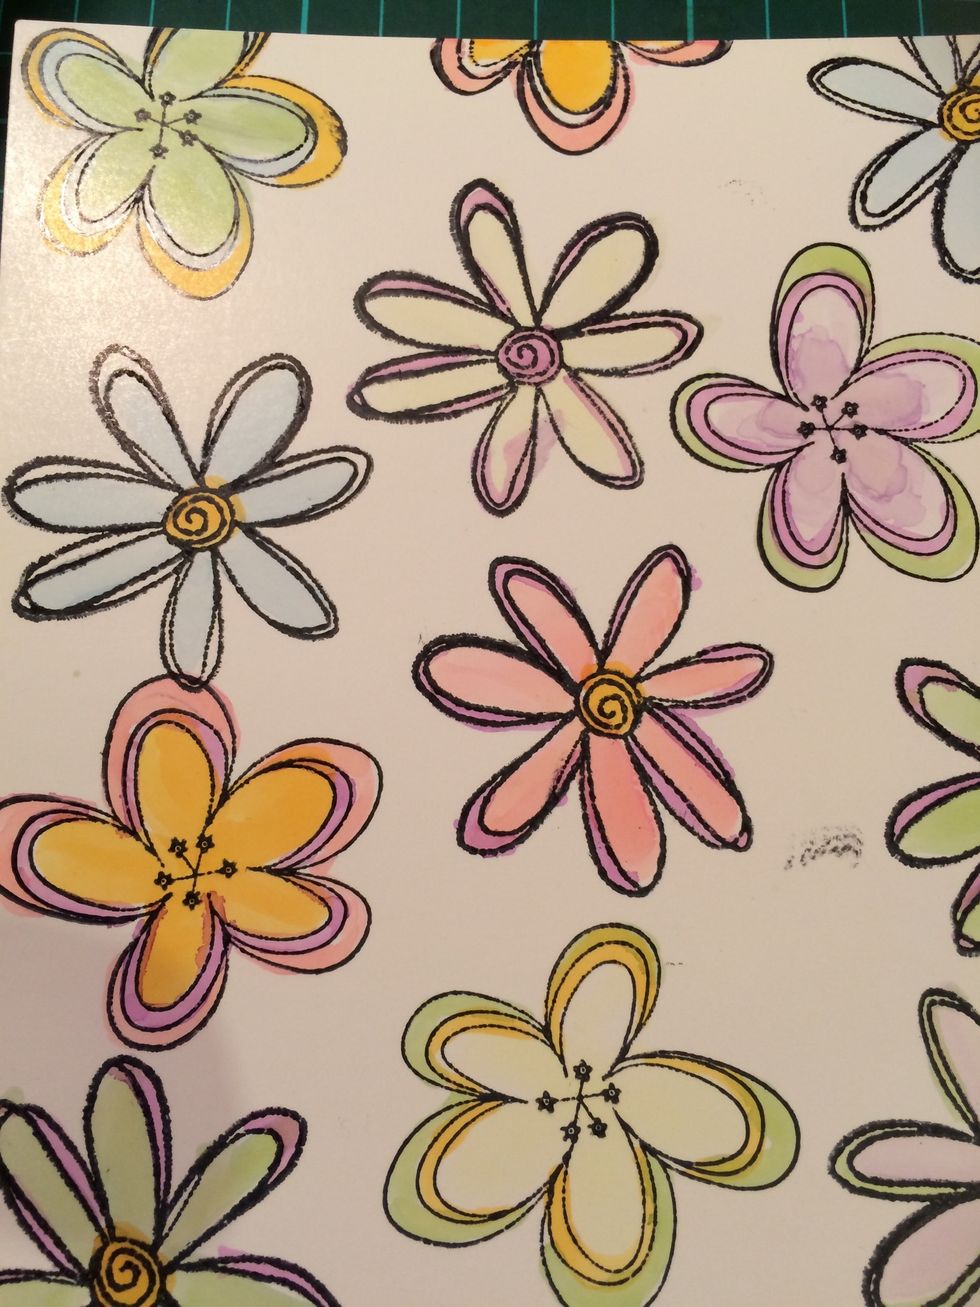
Sit back, relax and Start colouring.
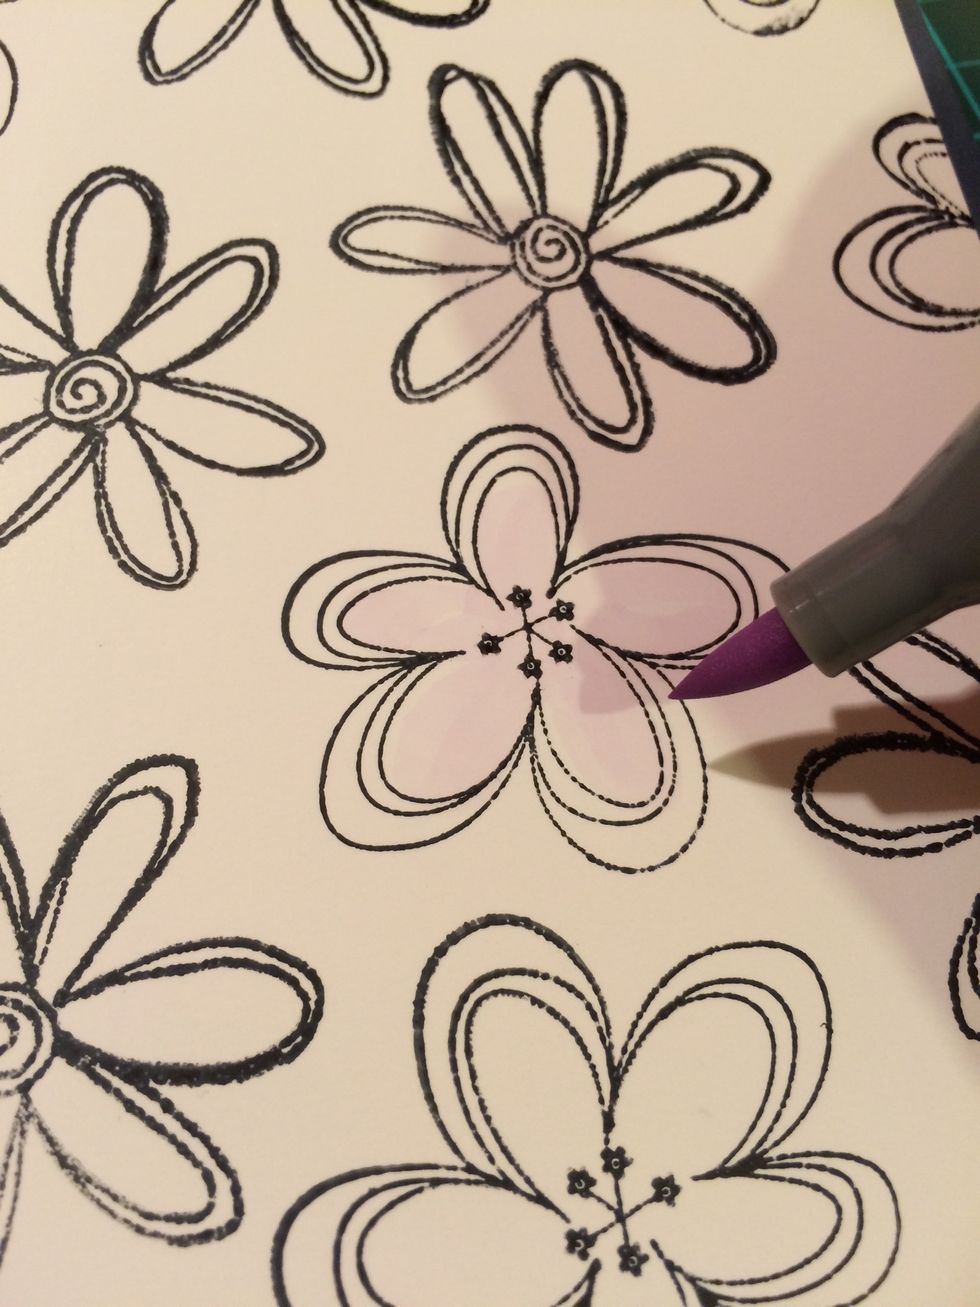
I added as many pastel colours as I had.
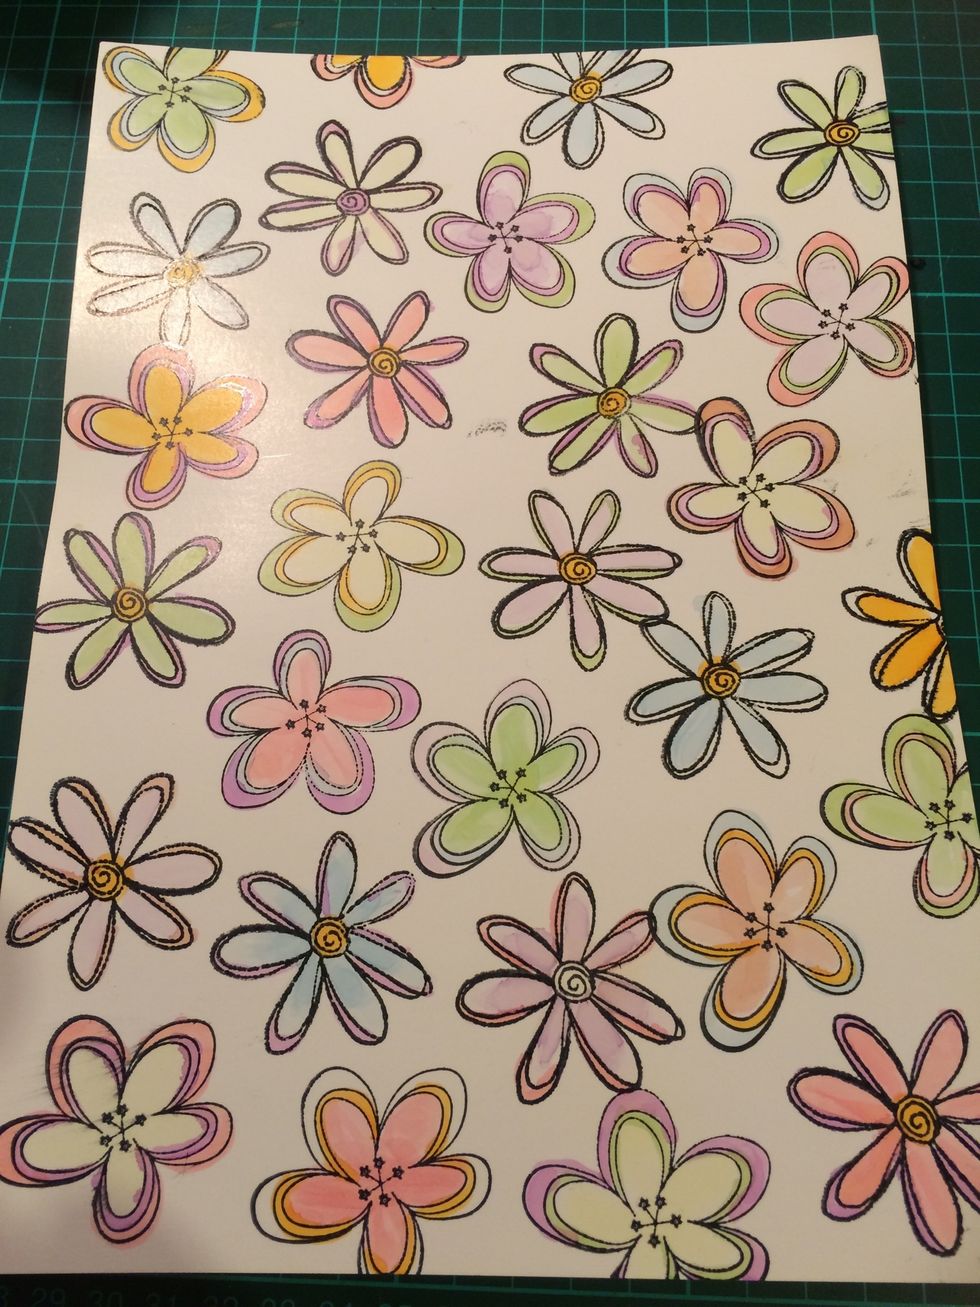
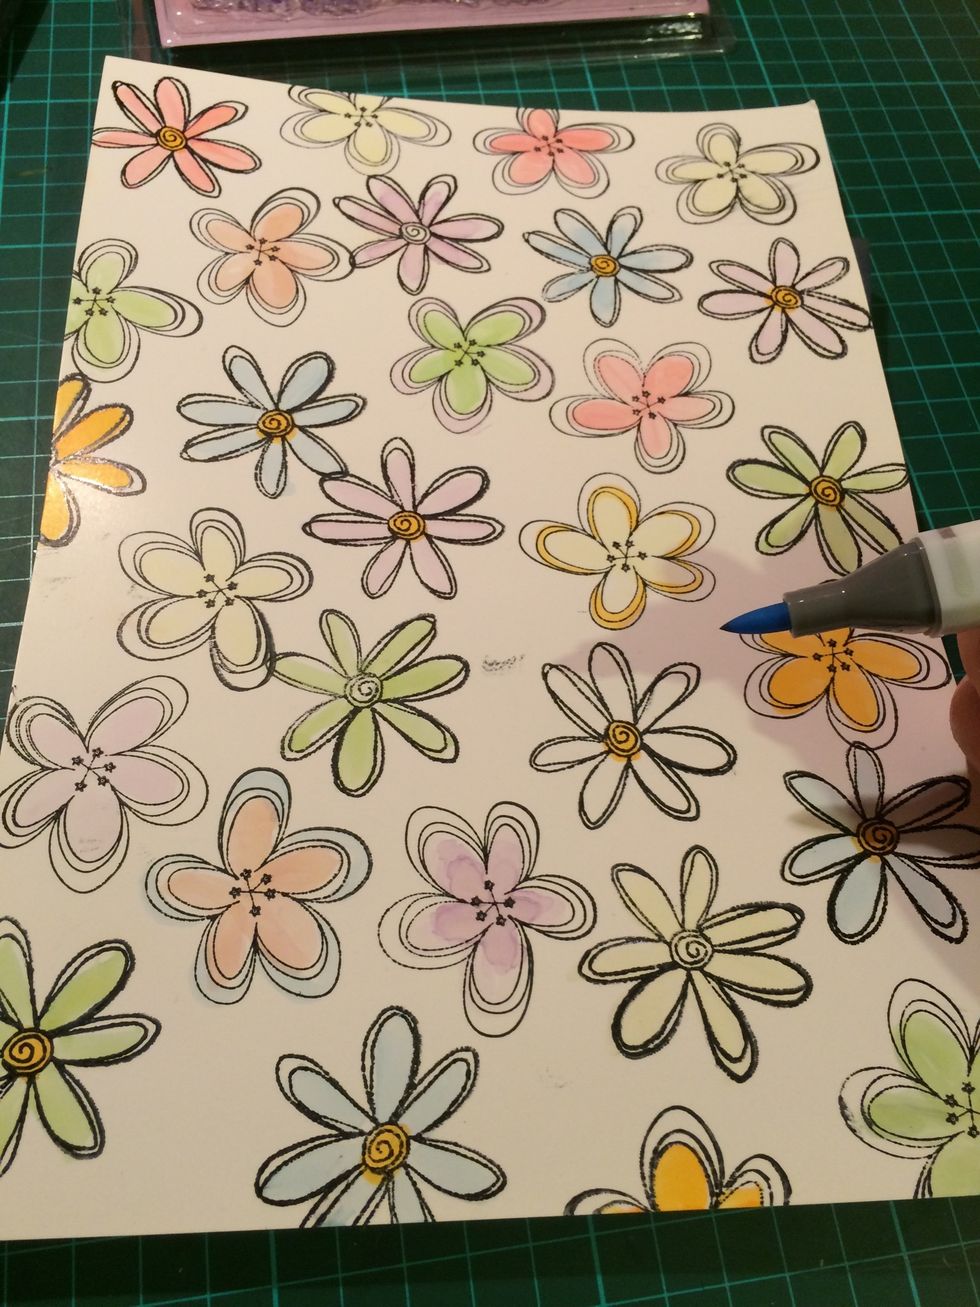
This was pretty but I wanted a more striking look as I was going to use this on white cards.
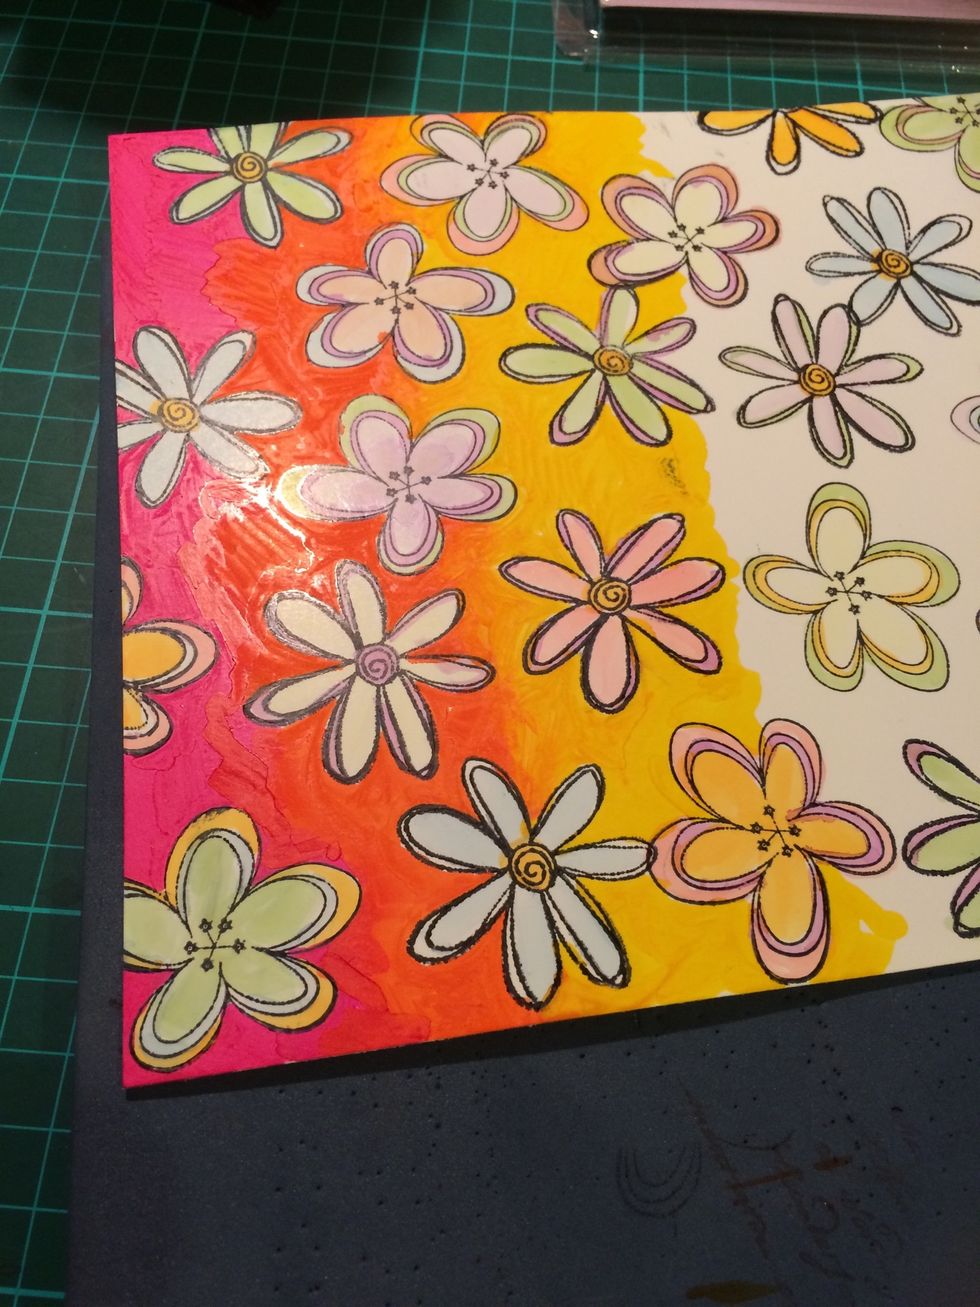
So I decided to colour the background with brights.
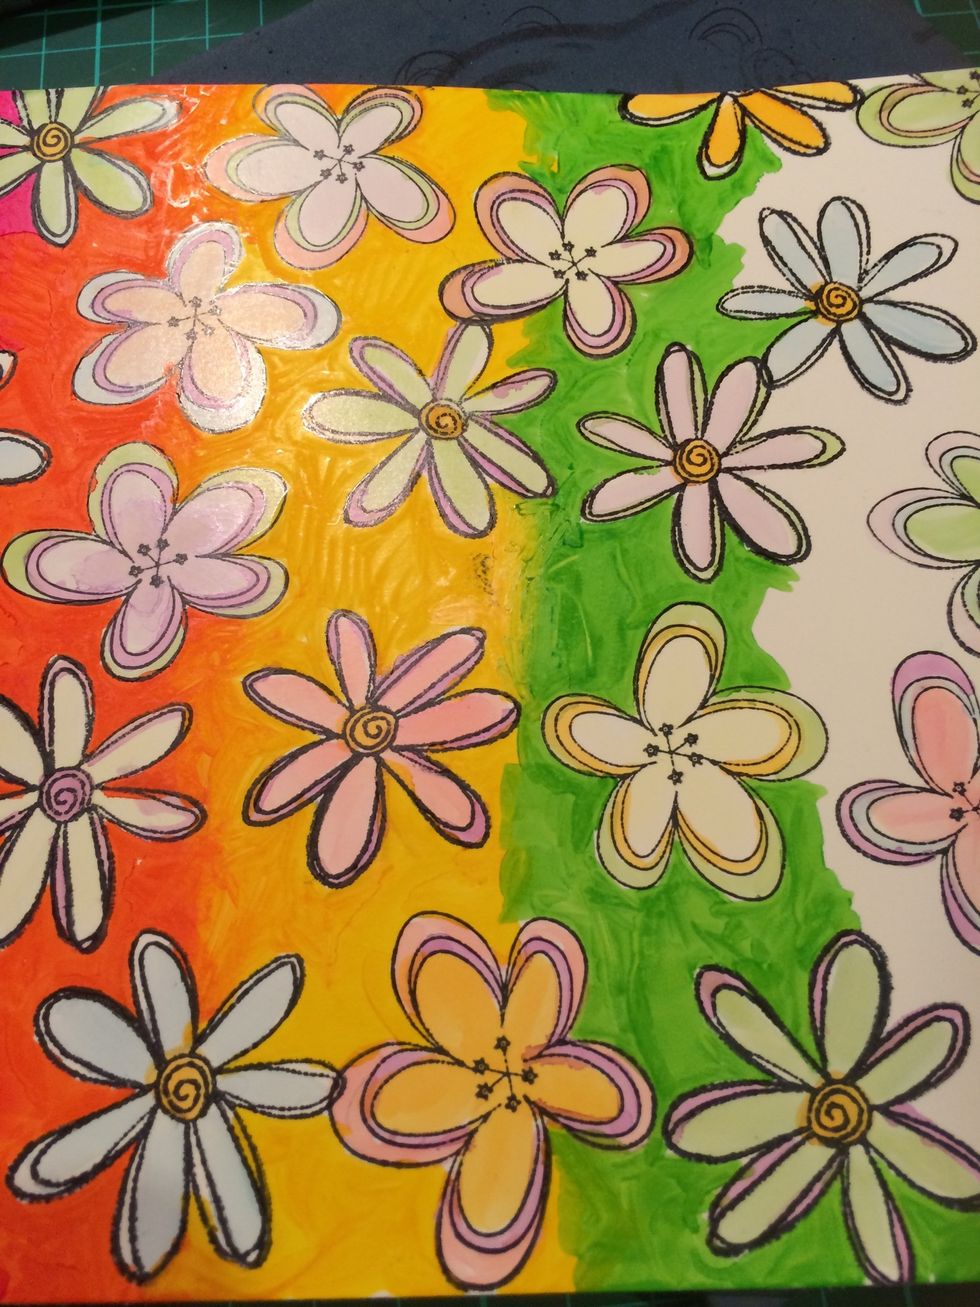
It is so much fun watching these markers melt and blend with each other.
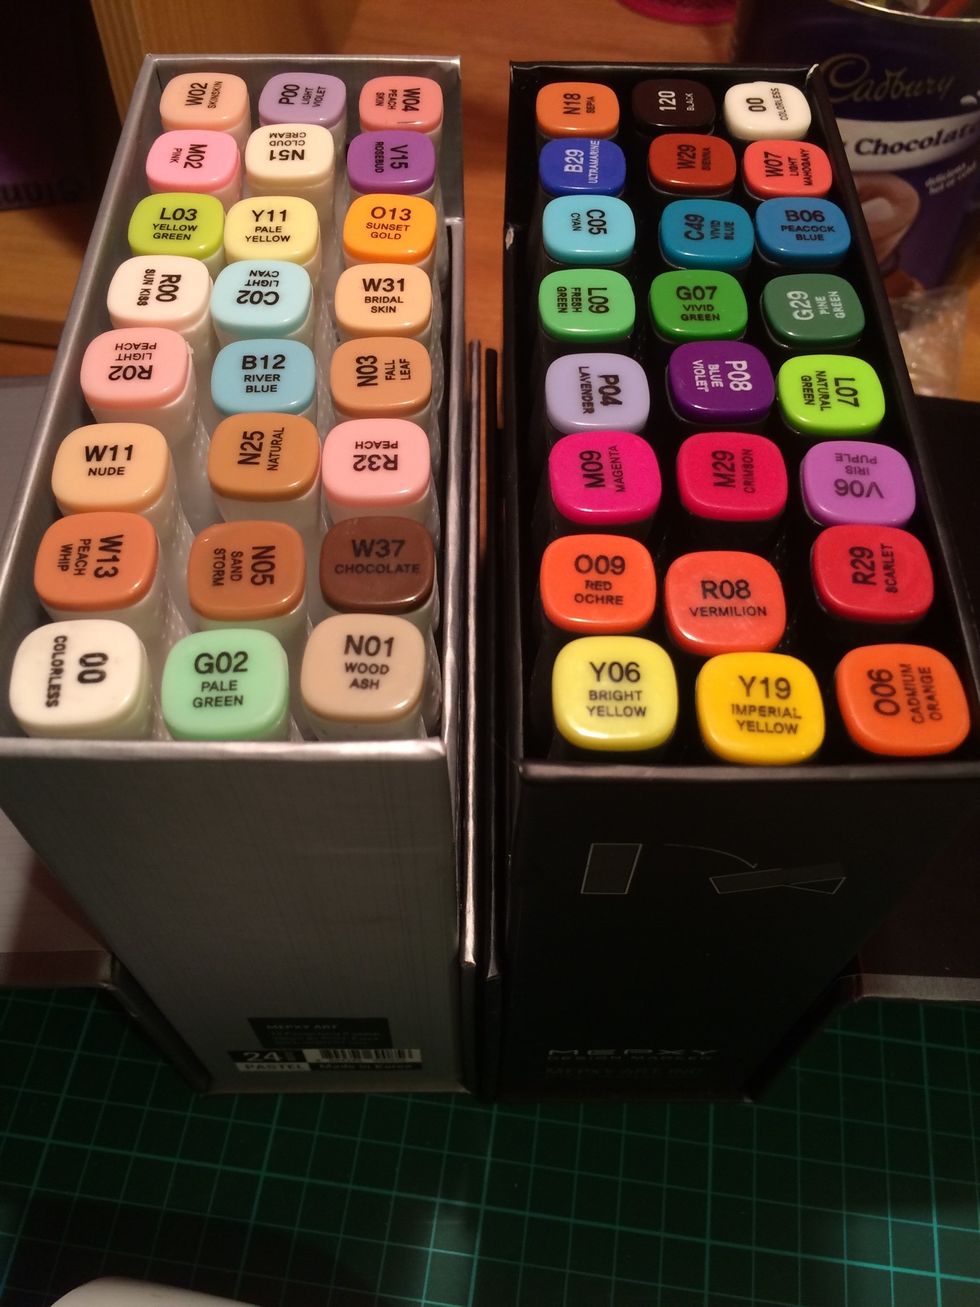
My Beautiful Mepxy Markers
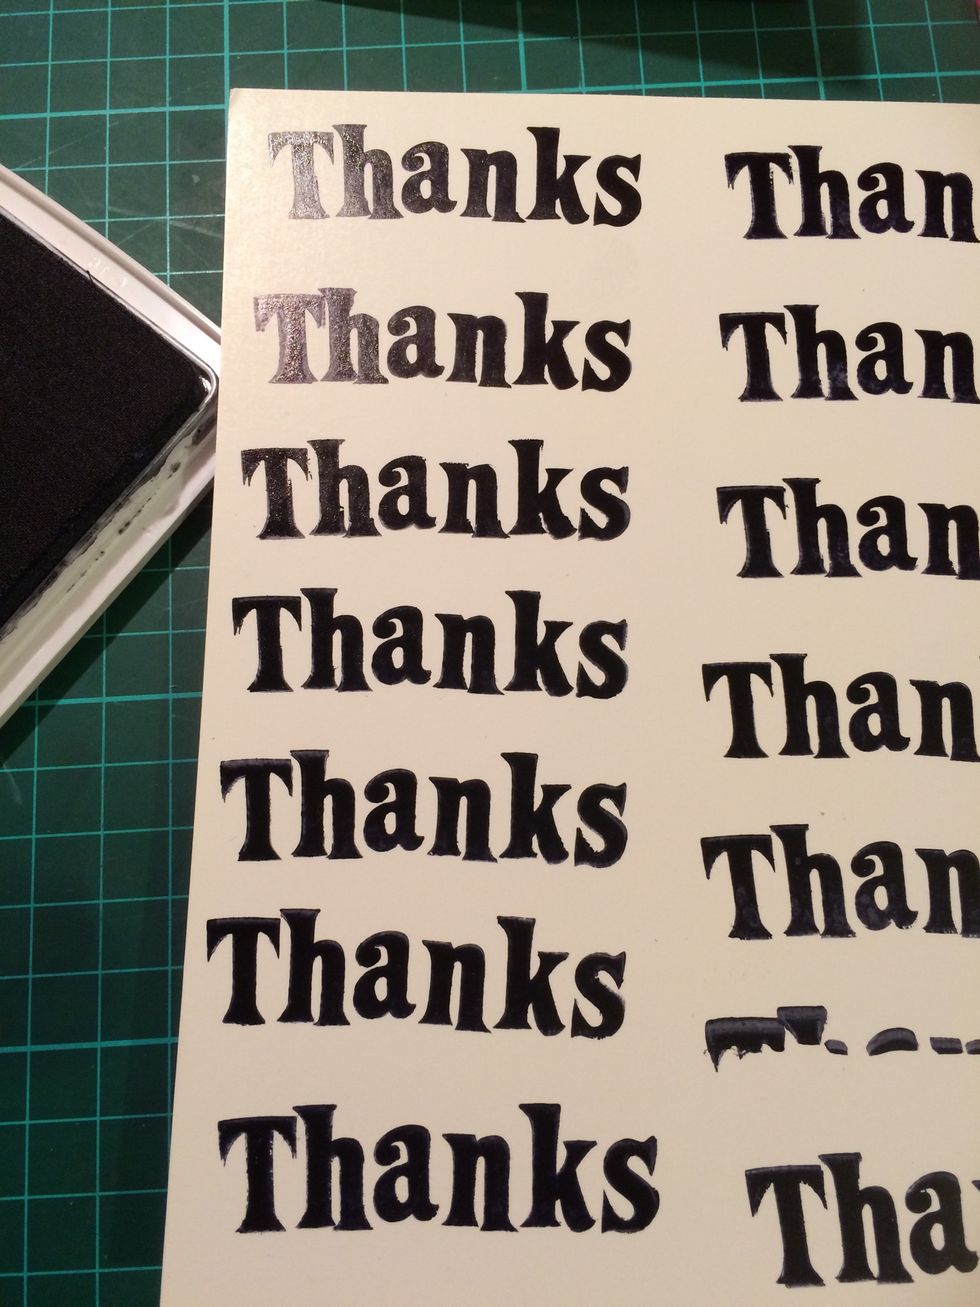
I then found a Thankyou stamp, stamped a heap then cut them up.
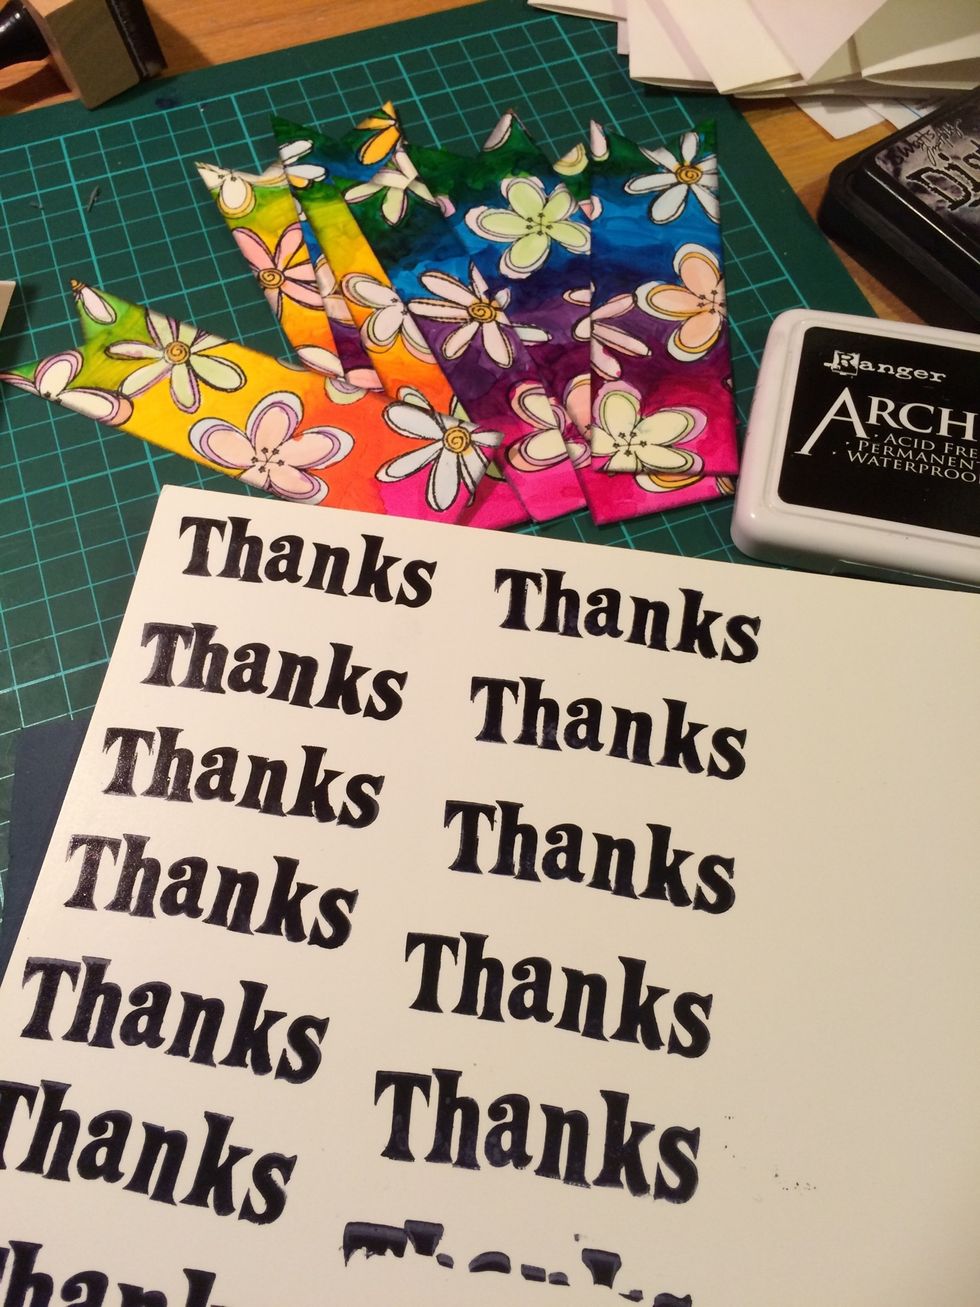
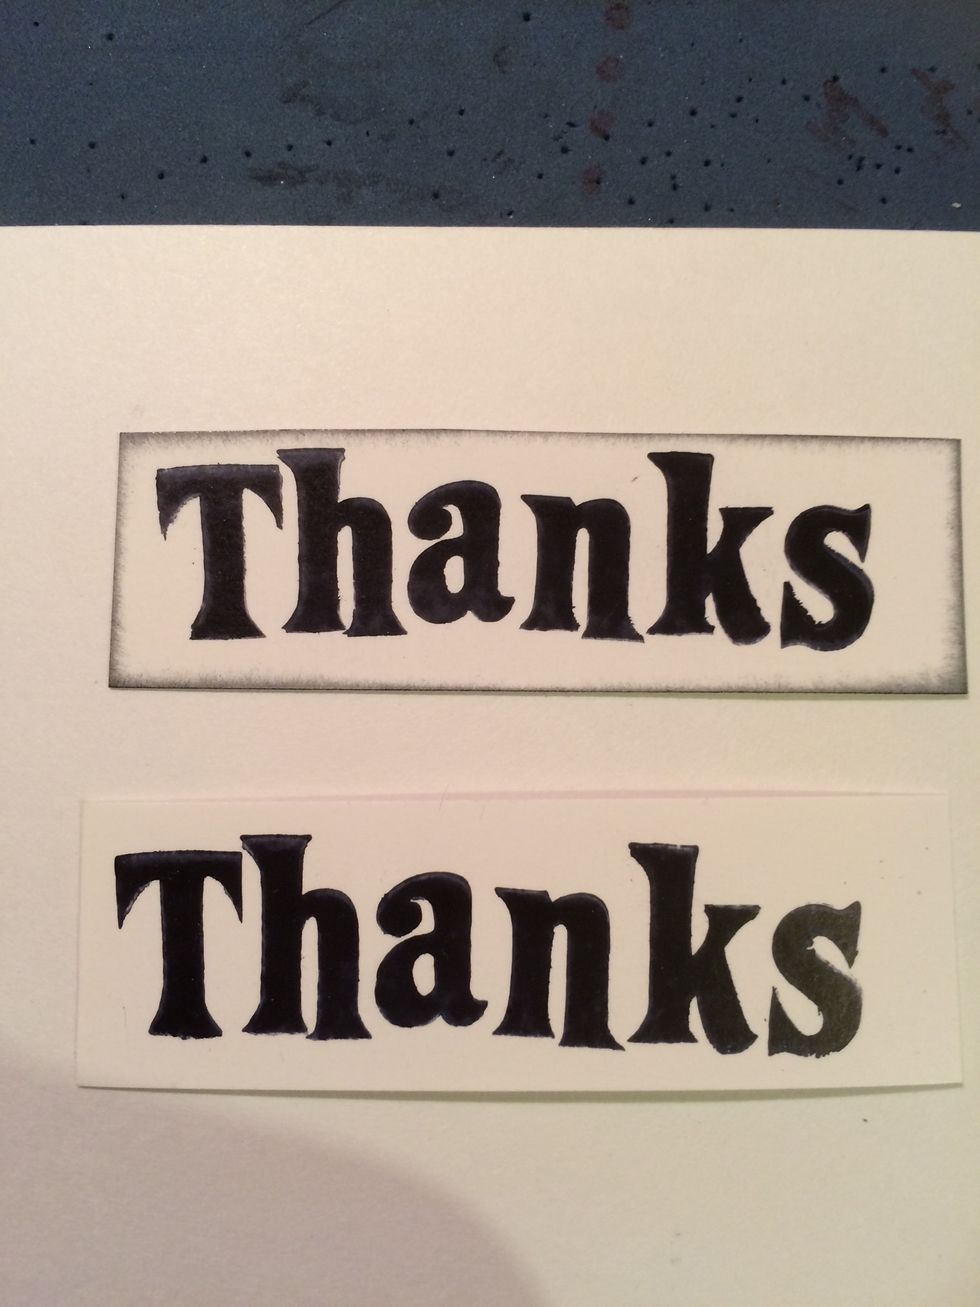
Ink the edges so it will standout on your white card. The top one is inked the bottom one isn't.
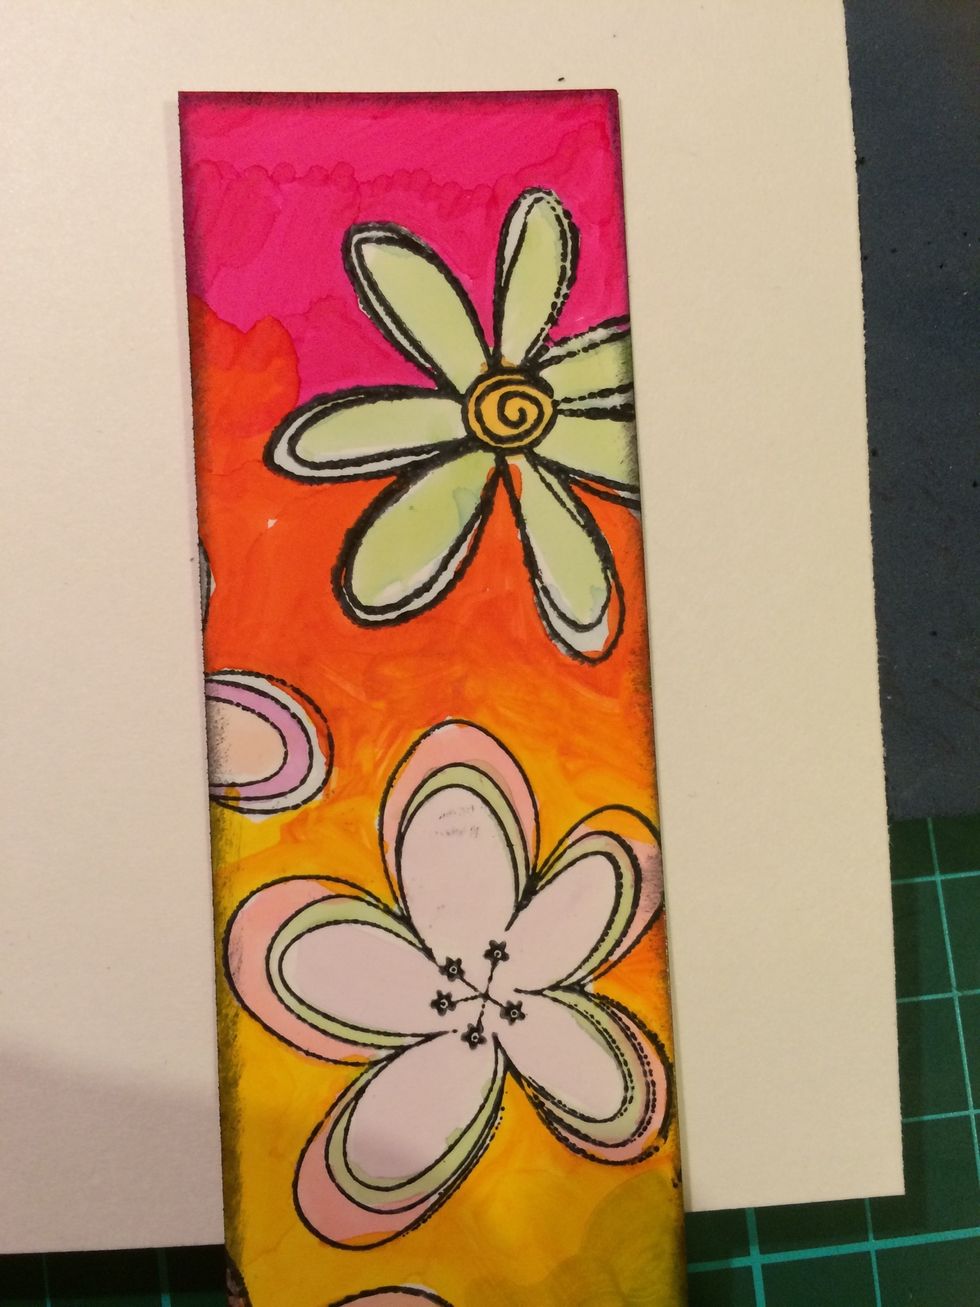
Cut up and ink the edges of your colours card also
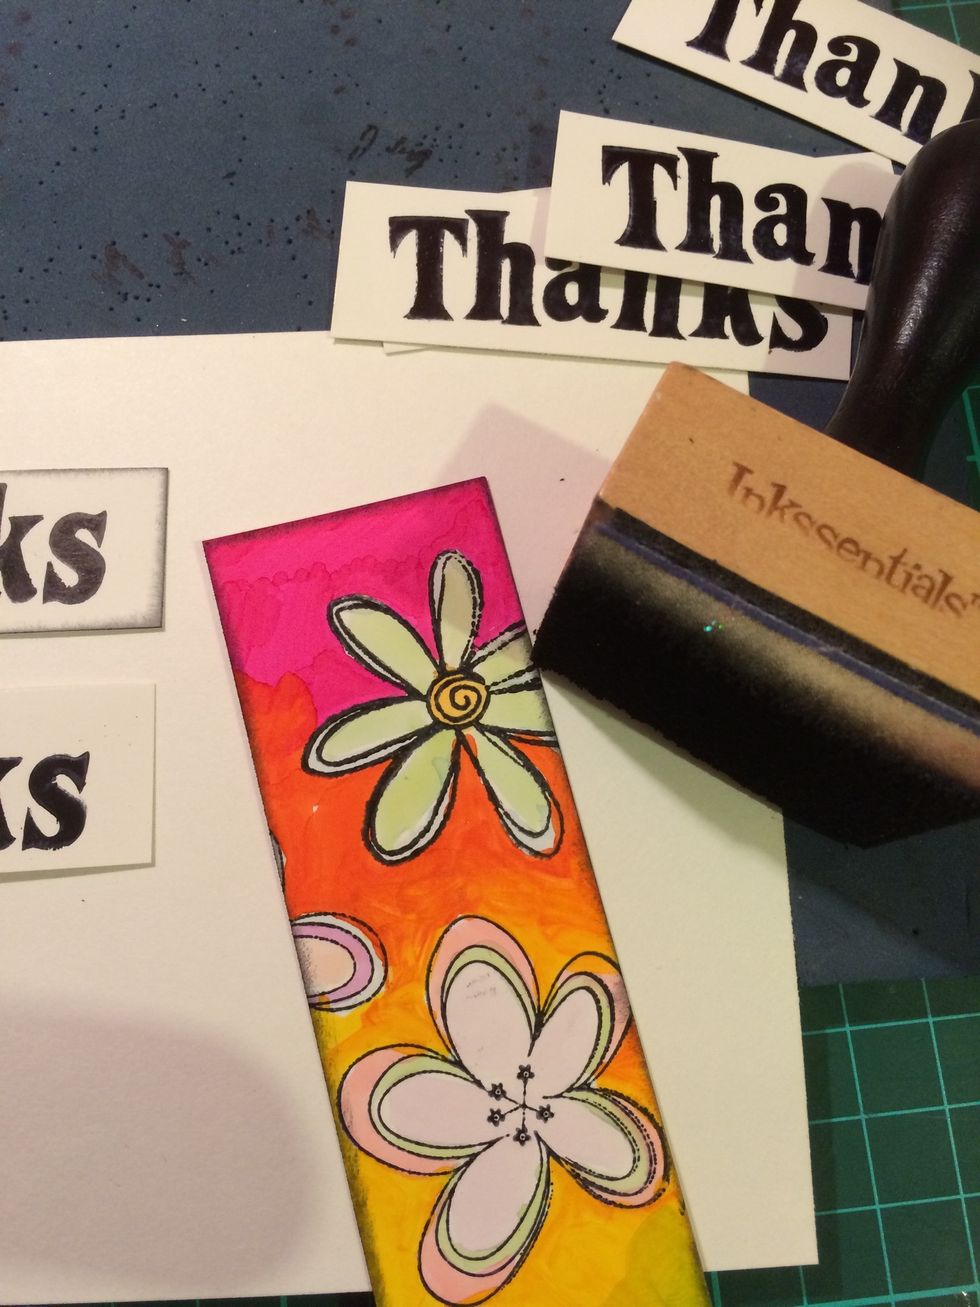
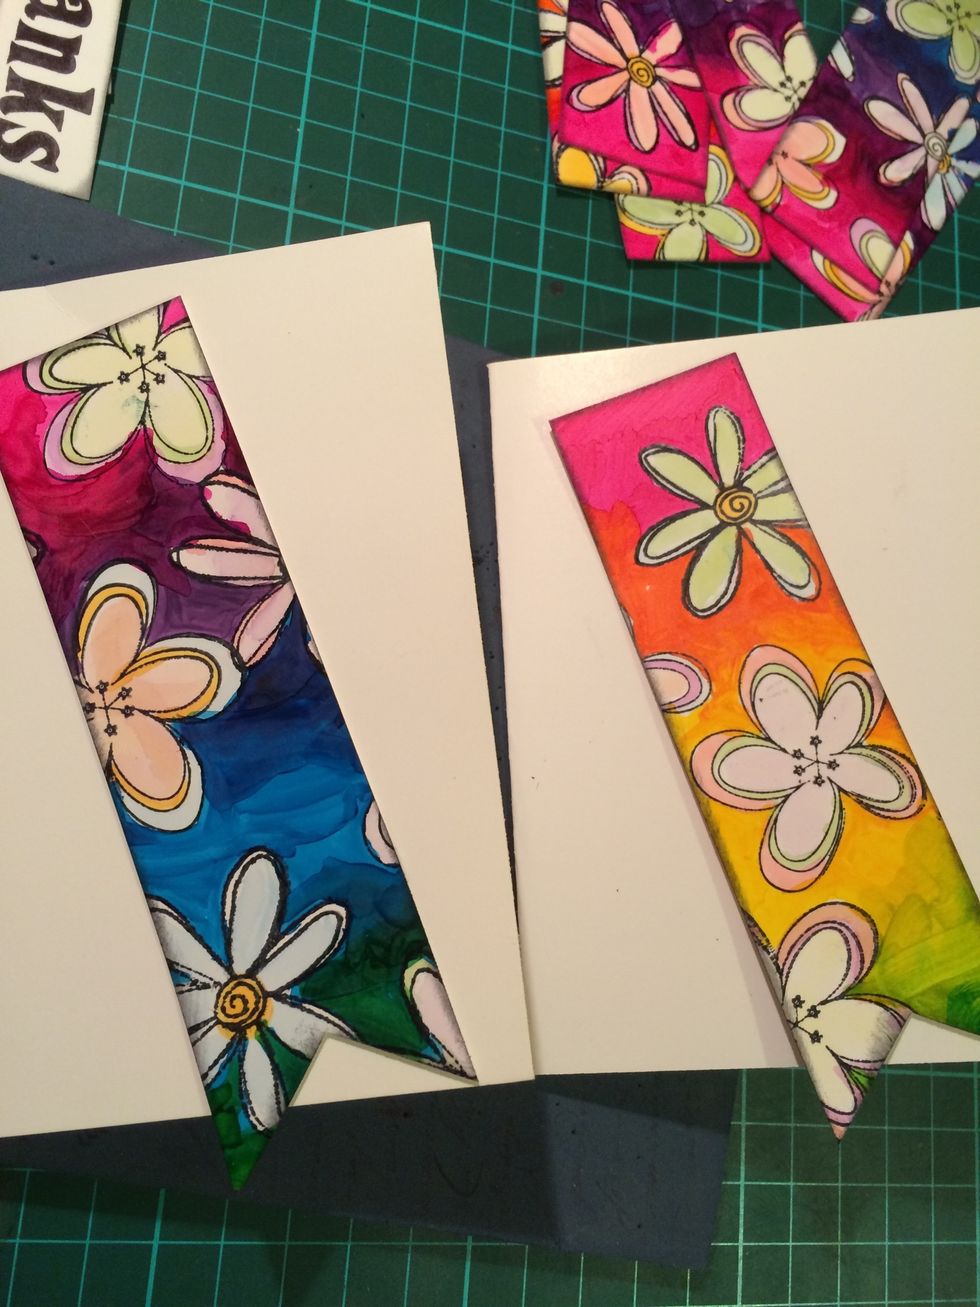
Cut little ribbon like ends
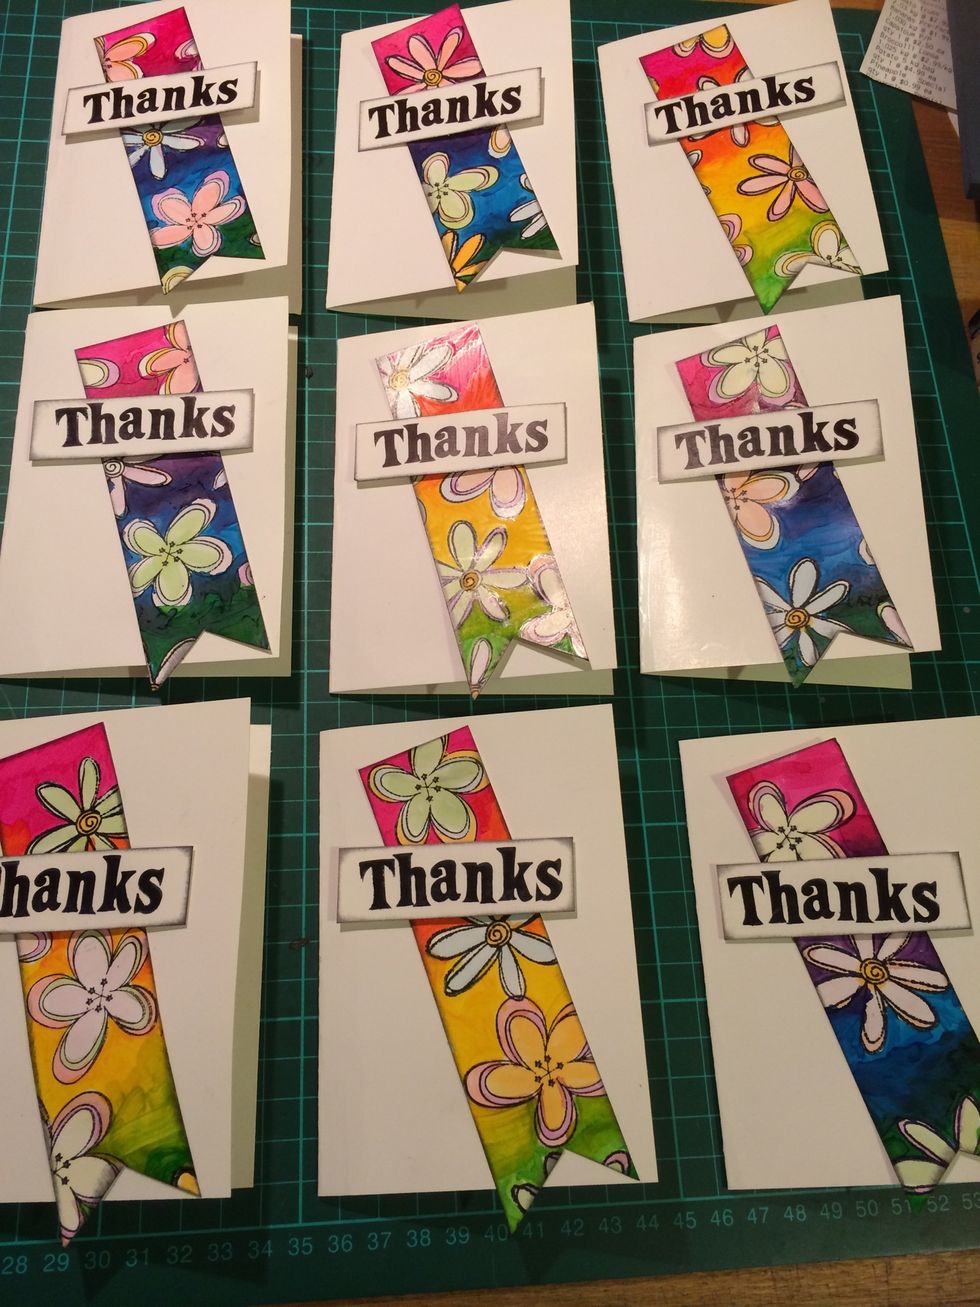
Glue on your coloured strip then use mounting tape to adhere the word thanks. So it sits up and looks a little 3D.
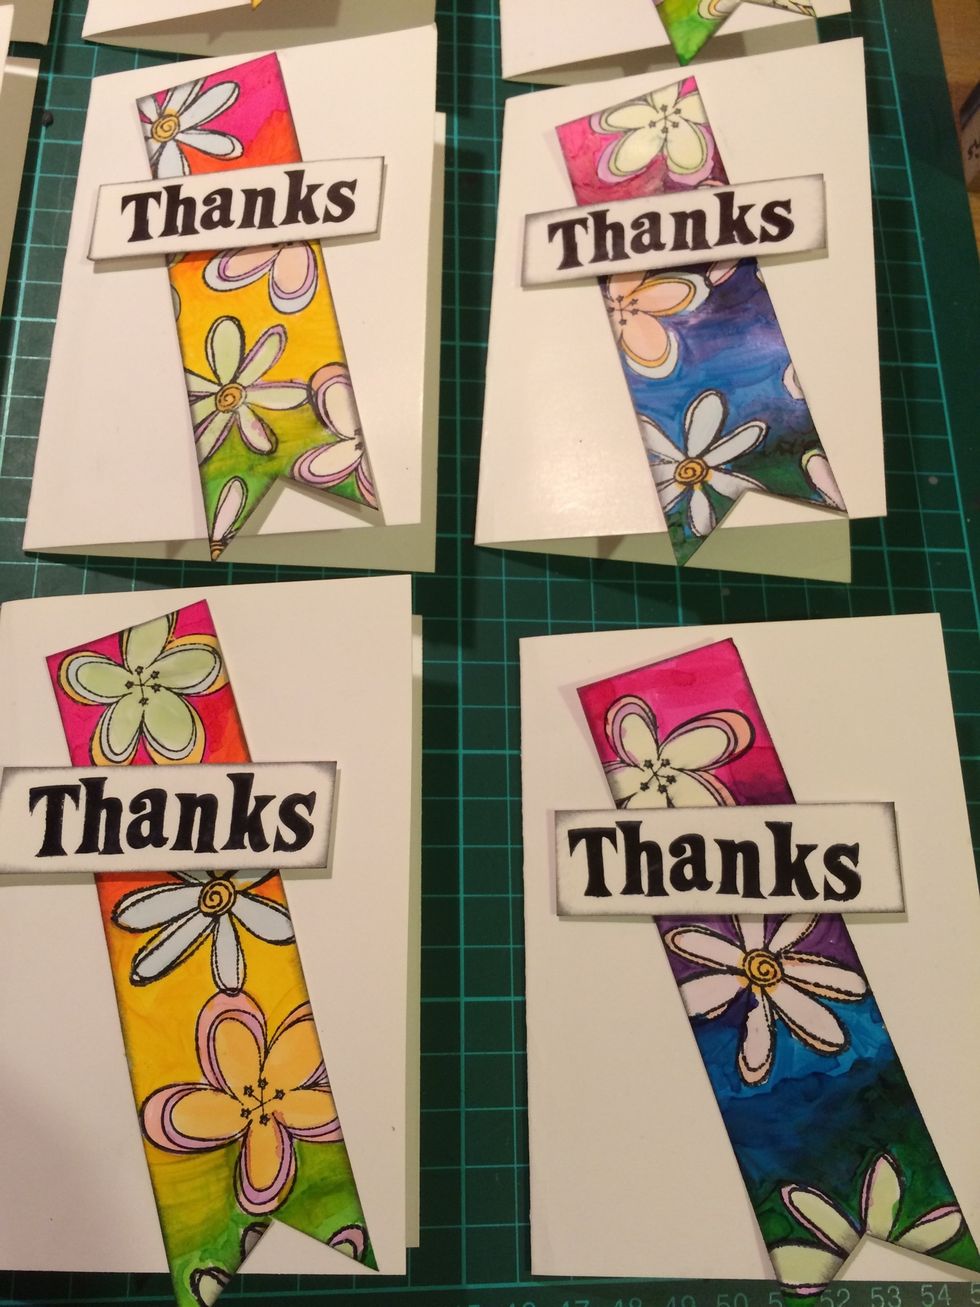
And there, you have several very vibrant gift cards thanks to Mepxy Markers.