How to melt crayons into shapes
This has been quite popular and due to limitations, I've modified the procedure to that found on the web. I've advice against some ideas you may have that I've tried and disliked.
167
STEPS
TOOLS
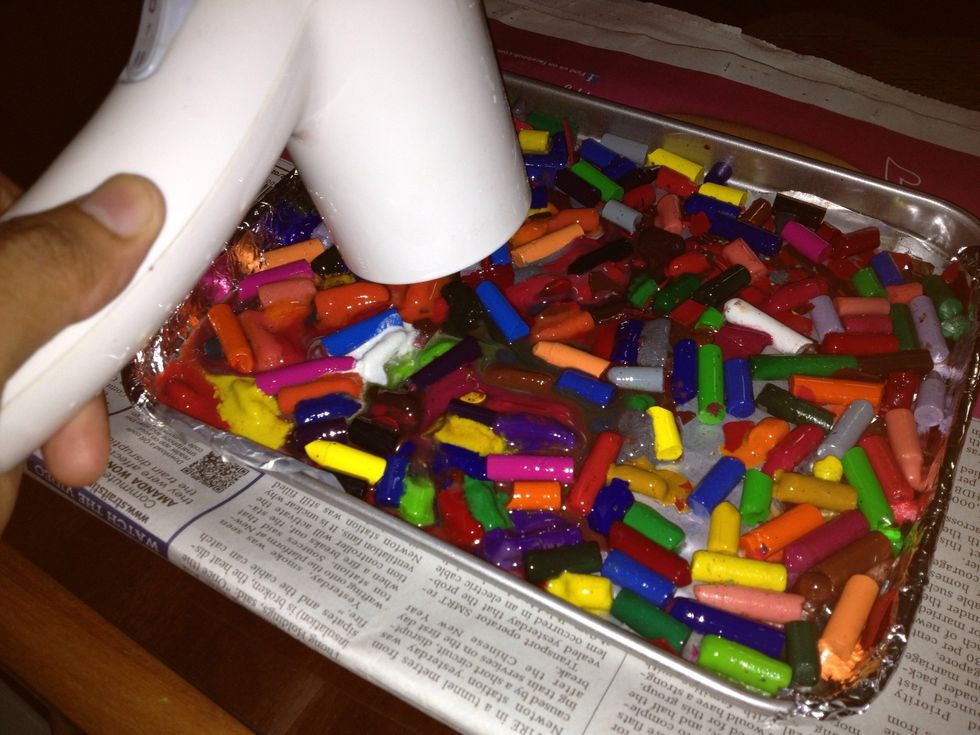
Peel off any labels on your crayons and ✂ them into pieces on a chopping board using a knife. Line your tray with aluminium foil.
If you want your melted crayon wax to be in a thick layer, get the metal cutters and fill them with the broken crayons instead. Wrap the bases with aluminium foil.

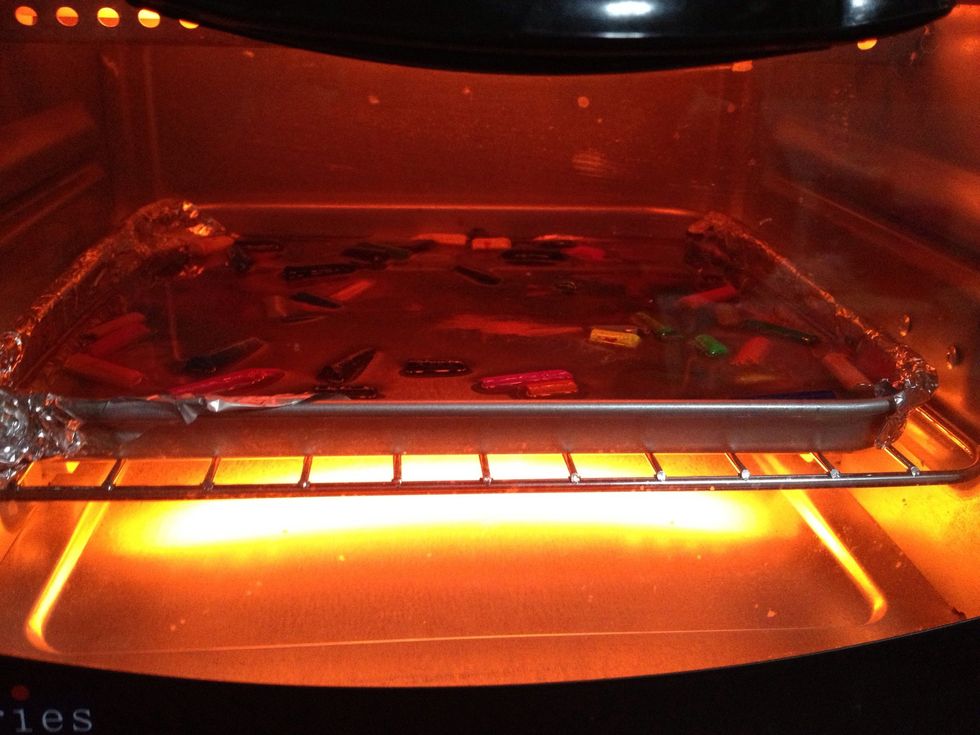
Melt the broken crayons either by hair dryer or by oven. If it takes to long to melt, switch to an oven you won't use for food (of course).

Ensure all crayons are of the same brand or they'll melt at different rates. This causes the ones that melt faster to turn into fumes which may be detrimental to health. 235 degrees Celsius for 15 min
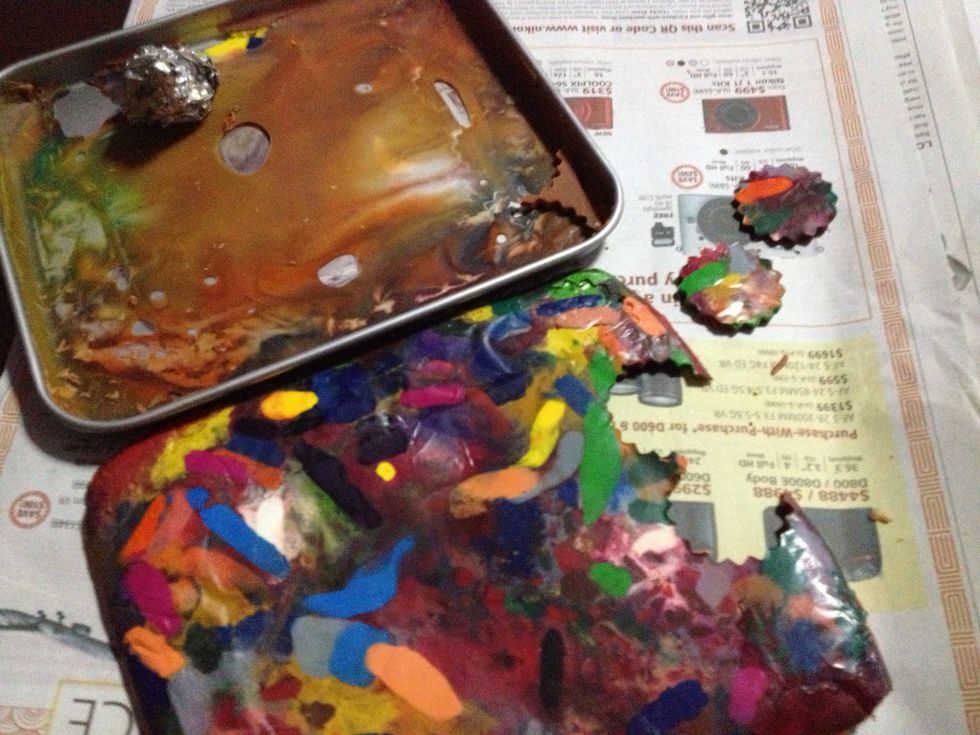
Don't be disheartened if the top layer is brown. You've yet to see the underside once it cools and the foil can be removed 😉

I'll emphasise to line your baking tray with aluminium foil PROPERLY or else the wax will seep underneath and be wasted. It's also hard to scrap off. Now you can use your cutter to cut out shapes.
As for those metal cutters filled with wax directly, gently push the cooled wax out of the cutter. You'll get the thick version of the shape.
There are 2 ways because you can't melt a thick layer of crayon wax on the tray and cut the shapes out once the wax has dried as the cooled wax will break 😫.

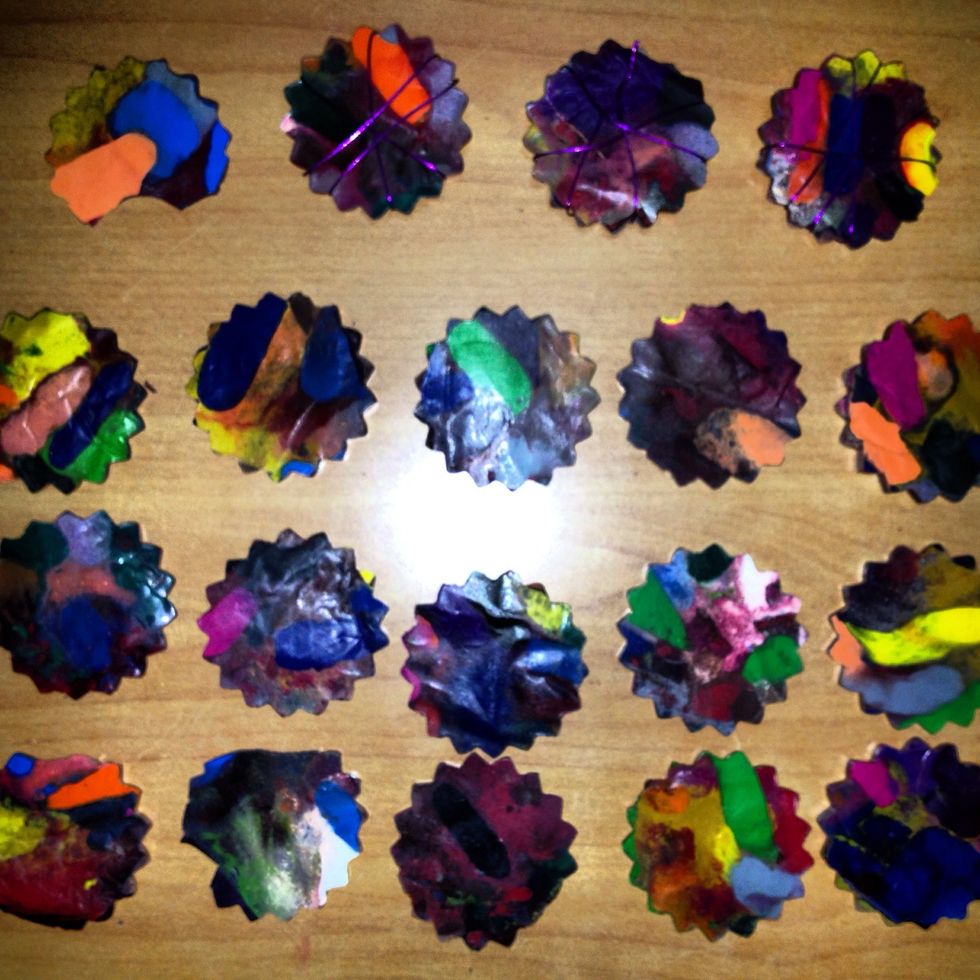
And there you have it! For the ones which have cracked, I've used metal wires to hold them together. You may use cling wrap to cover them as they may smell bad 😣 depending on the brand of crayons.
You can attach these to card stock and gift them. They may be used as crayons once again as colourful ones 😘
- Same brand of non-toxic crayons
- Metal cutters, Tray, aluminium foil
- Oven (With Temperature settings)
- (Opt.) Card Stock
- (Opt.) Markers
- (Opt.) Cling wrap
Singapore
The Conversation (0)
Sign Up