The Conversation (0)
Sign Up
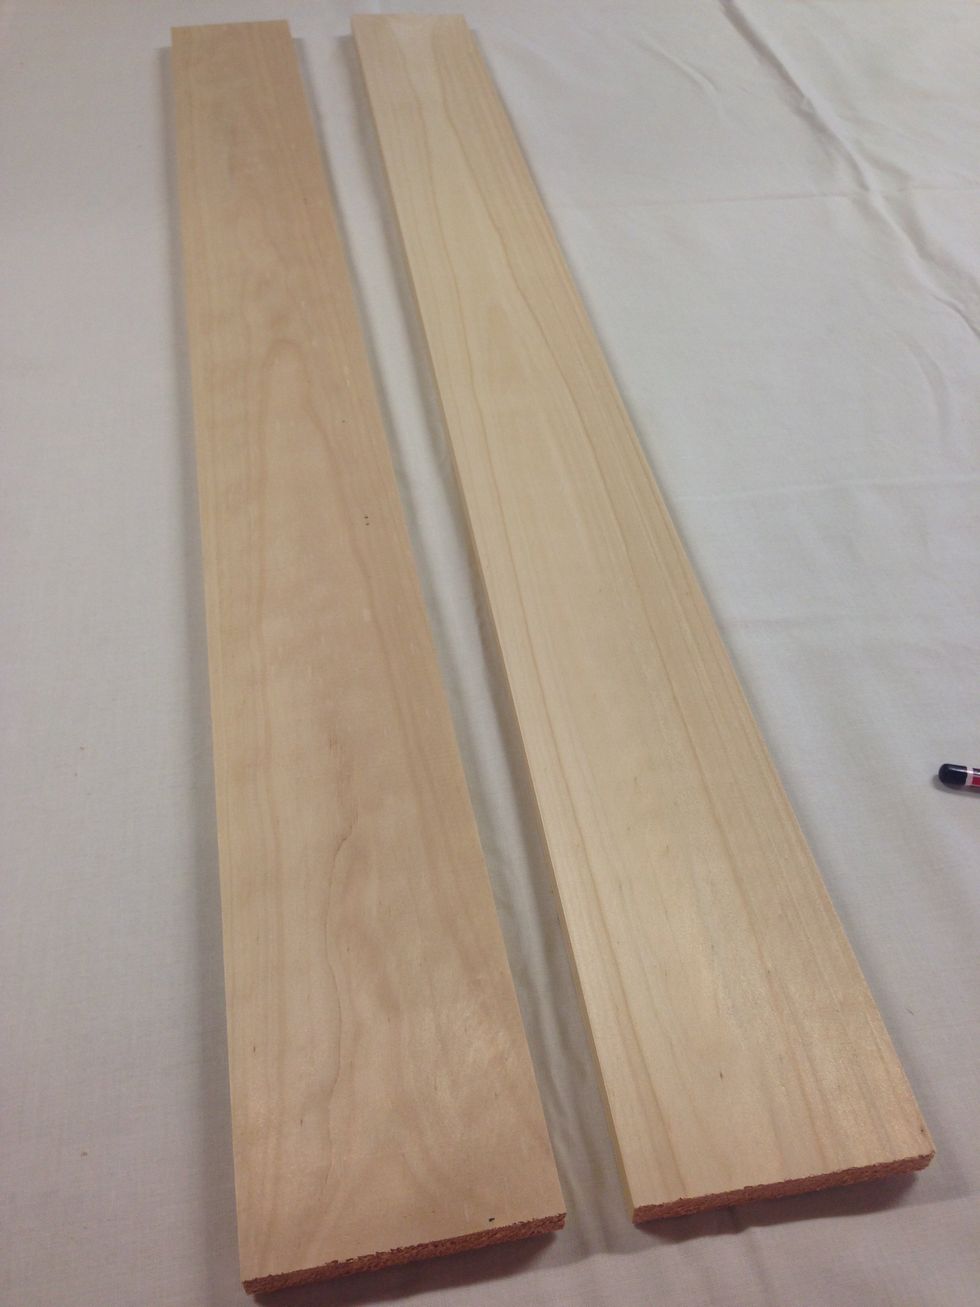
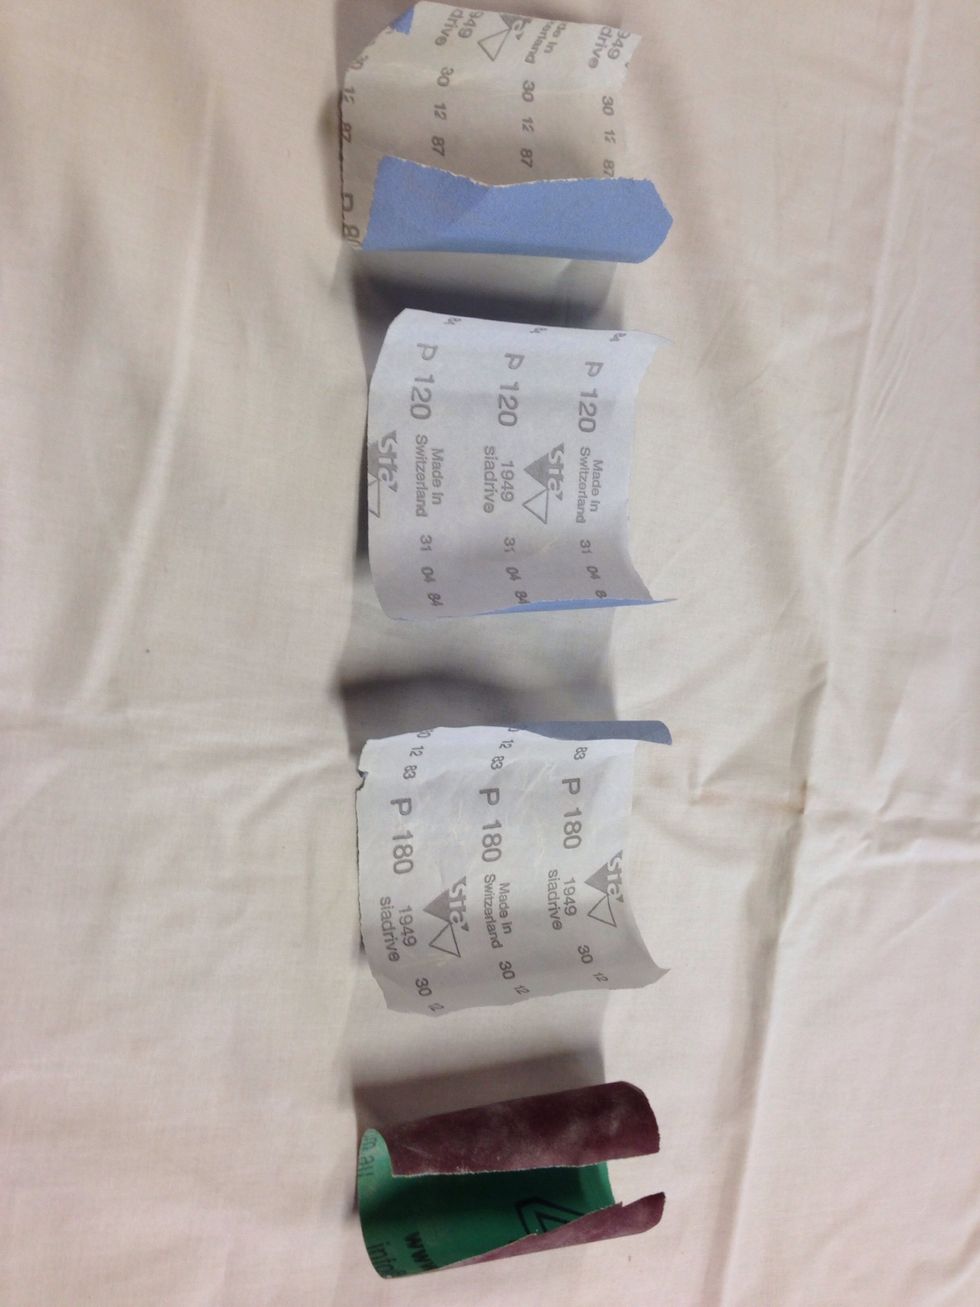
Collect your 90mm wide timber from your classroom teacher.
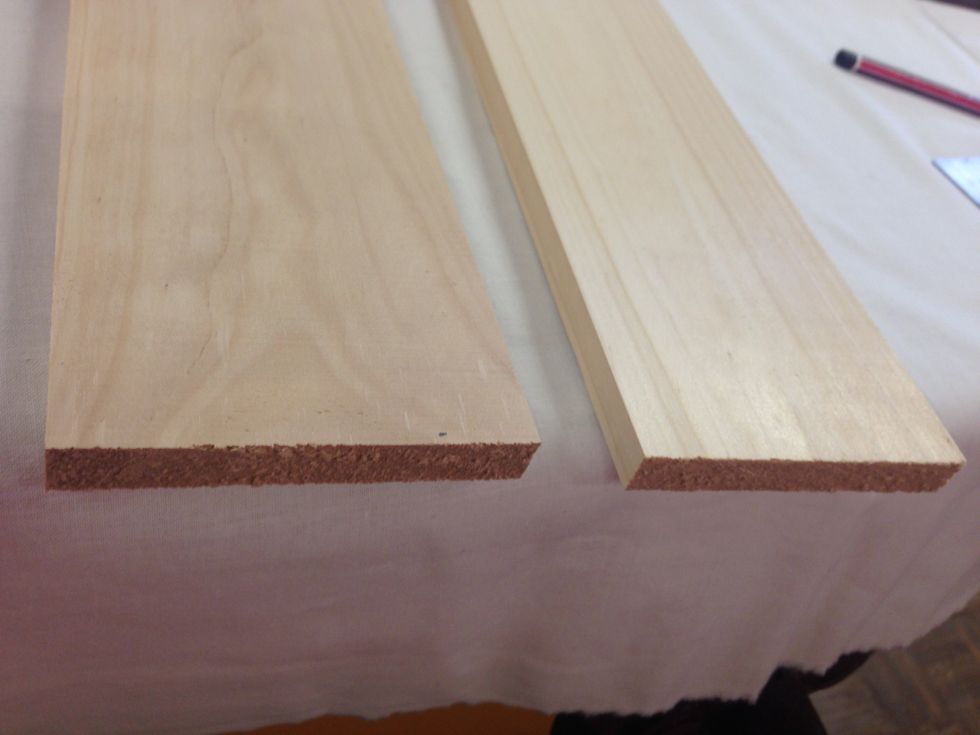
Before you start to mark out your project, inspect the ends to ensure they have been machined. A machined edge will give you a square starting point to mark out your job.
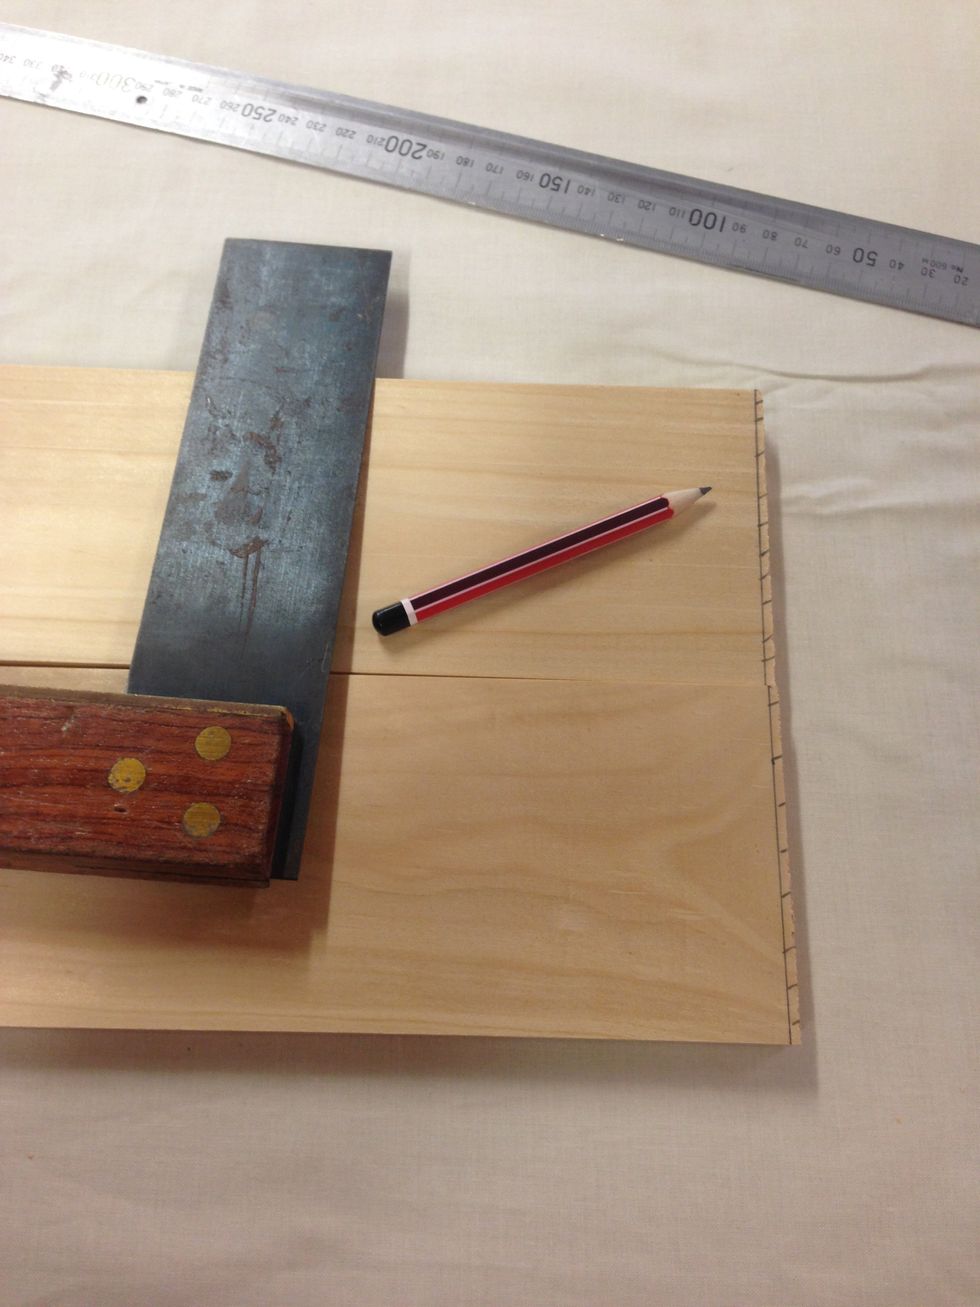
Using a sharp pencil, tri square and a ruler, accurately mark your timber 5mm in from the edge to give you a square starting point for the rest of your parts.
To mark your first part, remember to start your ruler on your squared off mark, as shown here.
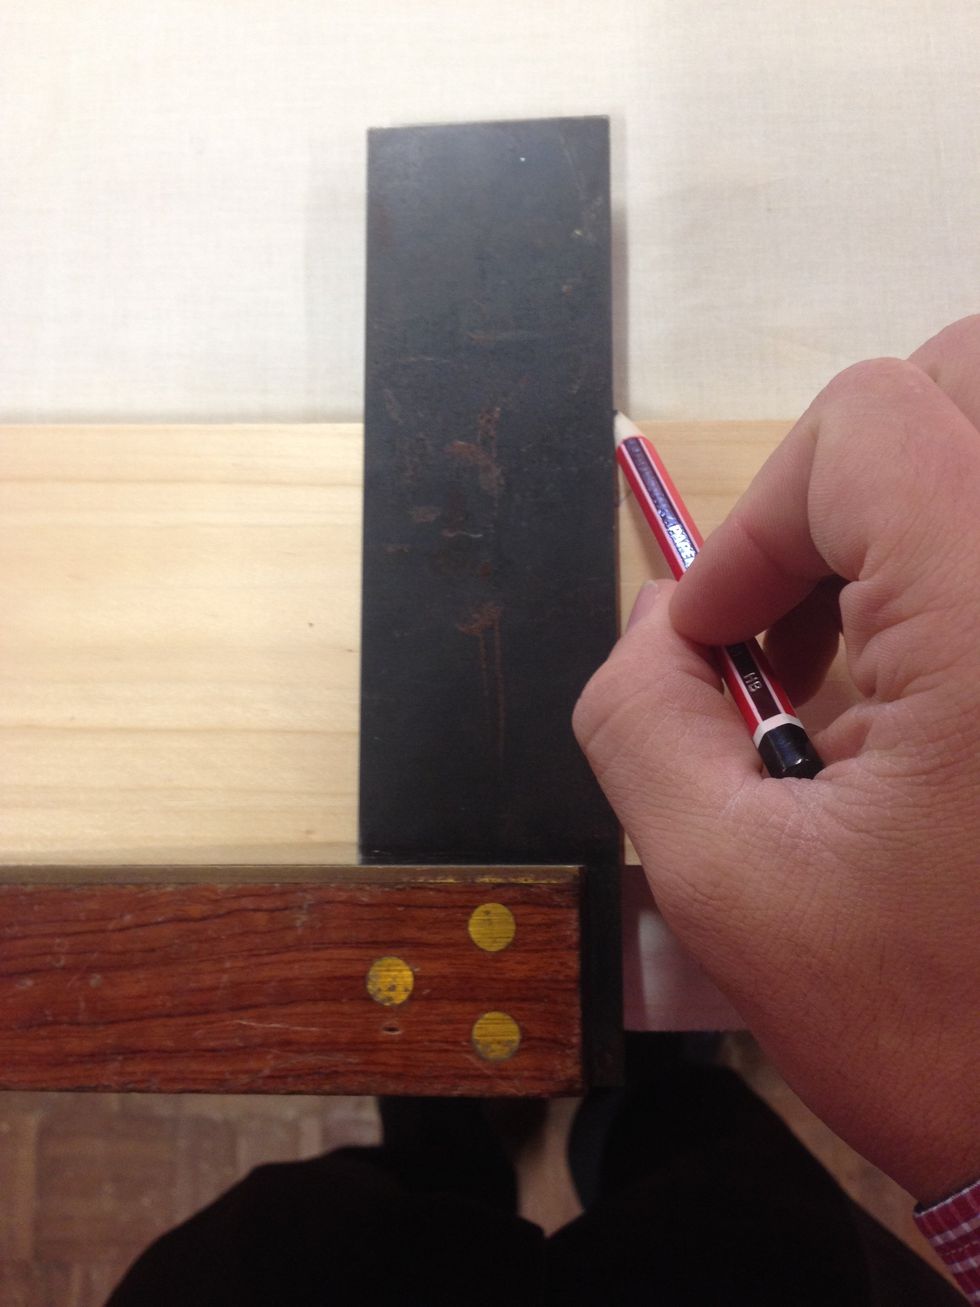
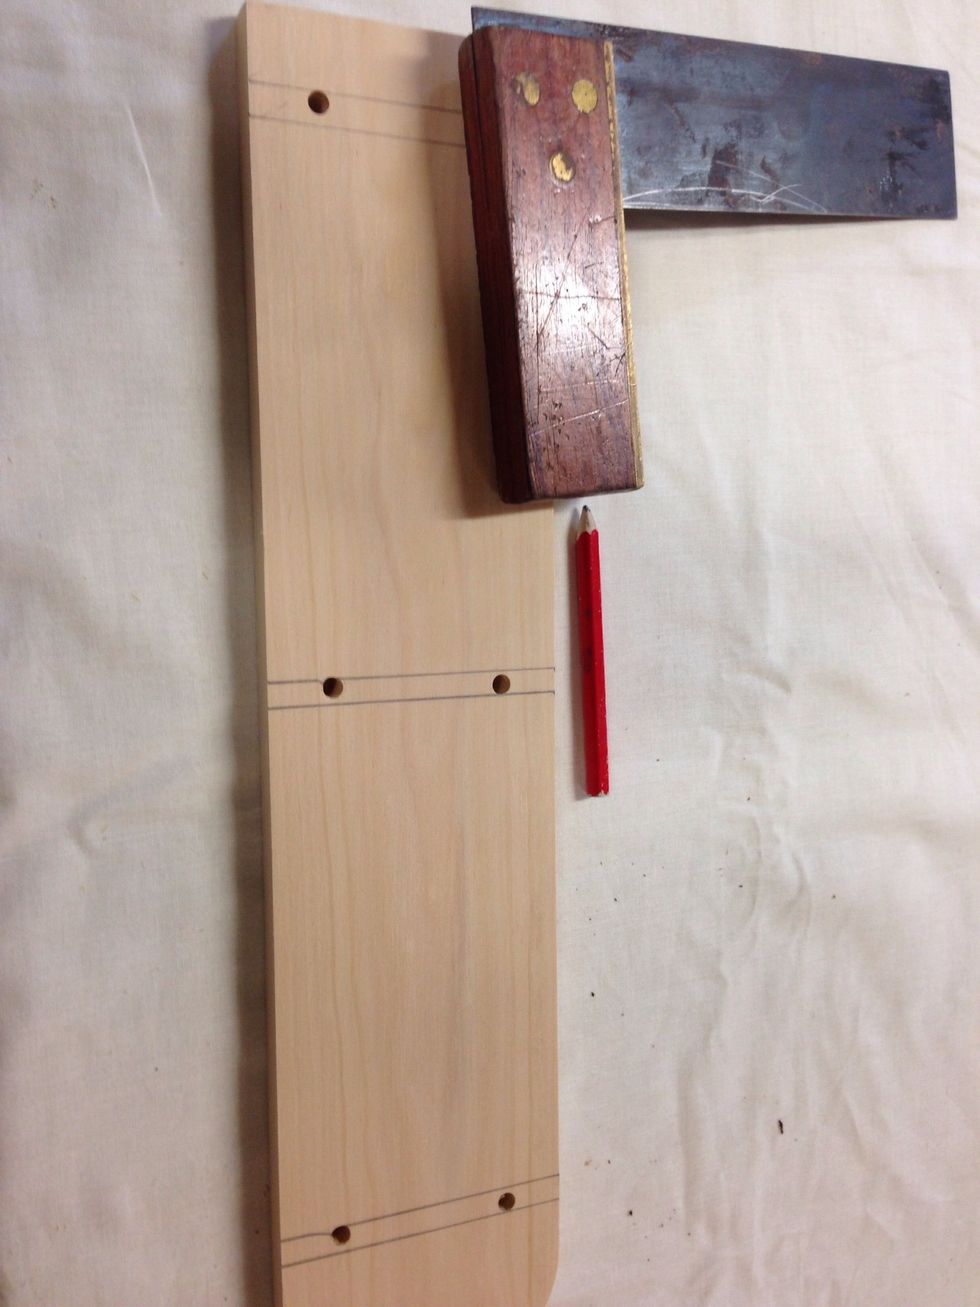
Now, using a sharp pencil and a Tri Square, rule a straight line where you previously marked your timber. The more accurate you are here will effect how accurate each of your pieces will be.
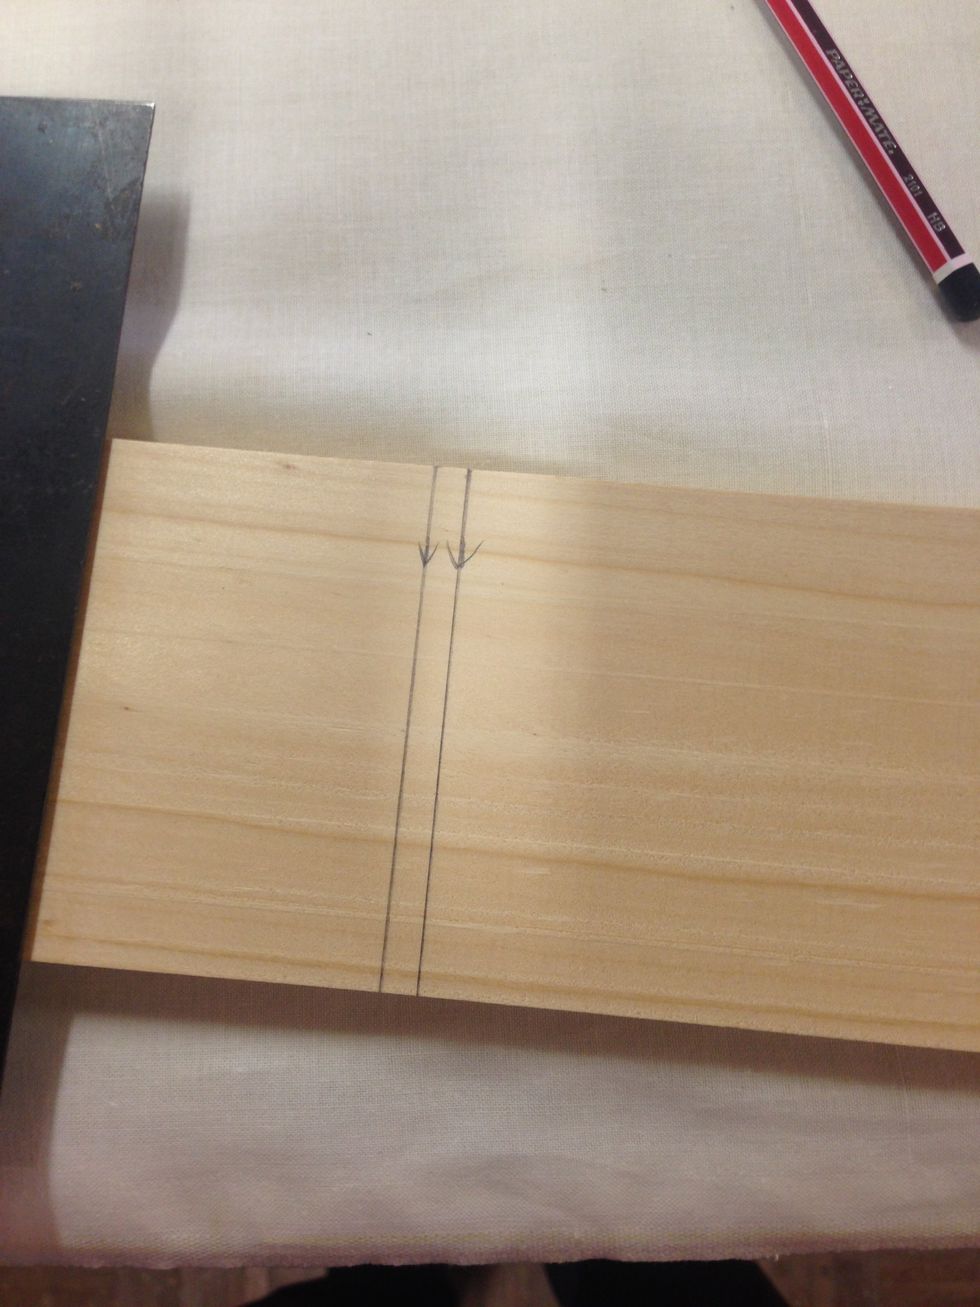
This is how it should appear once you have used the Tri Square to mark out the lines.

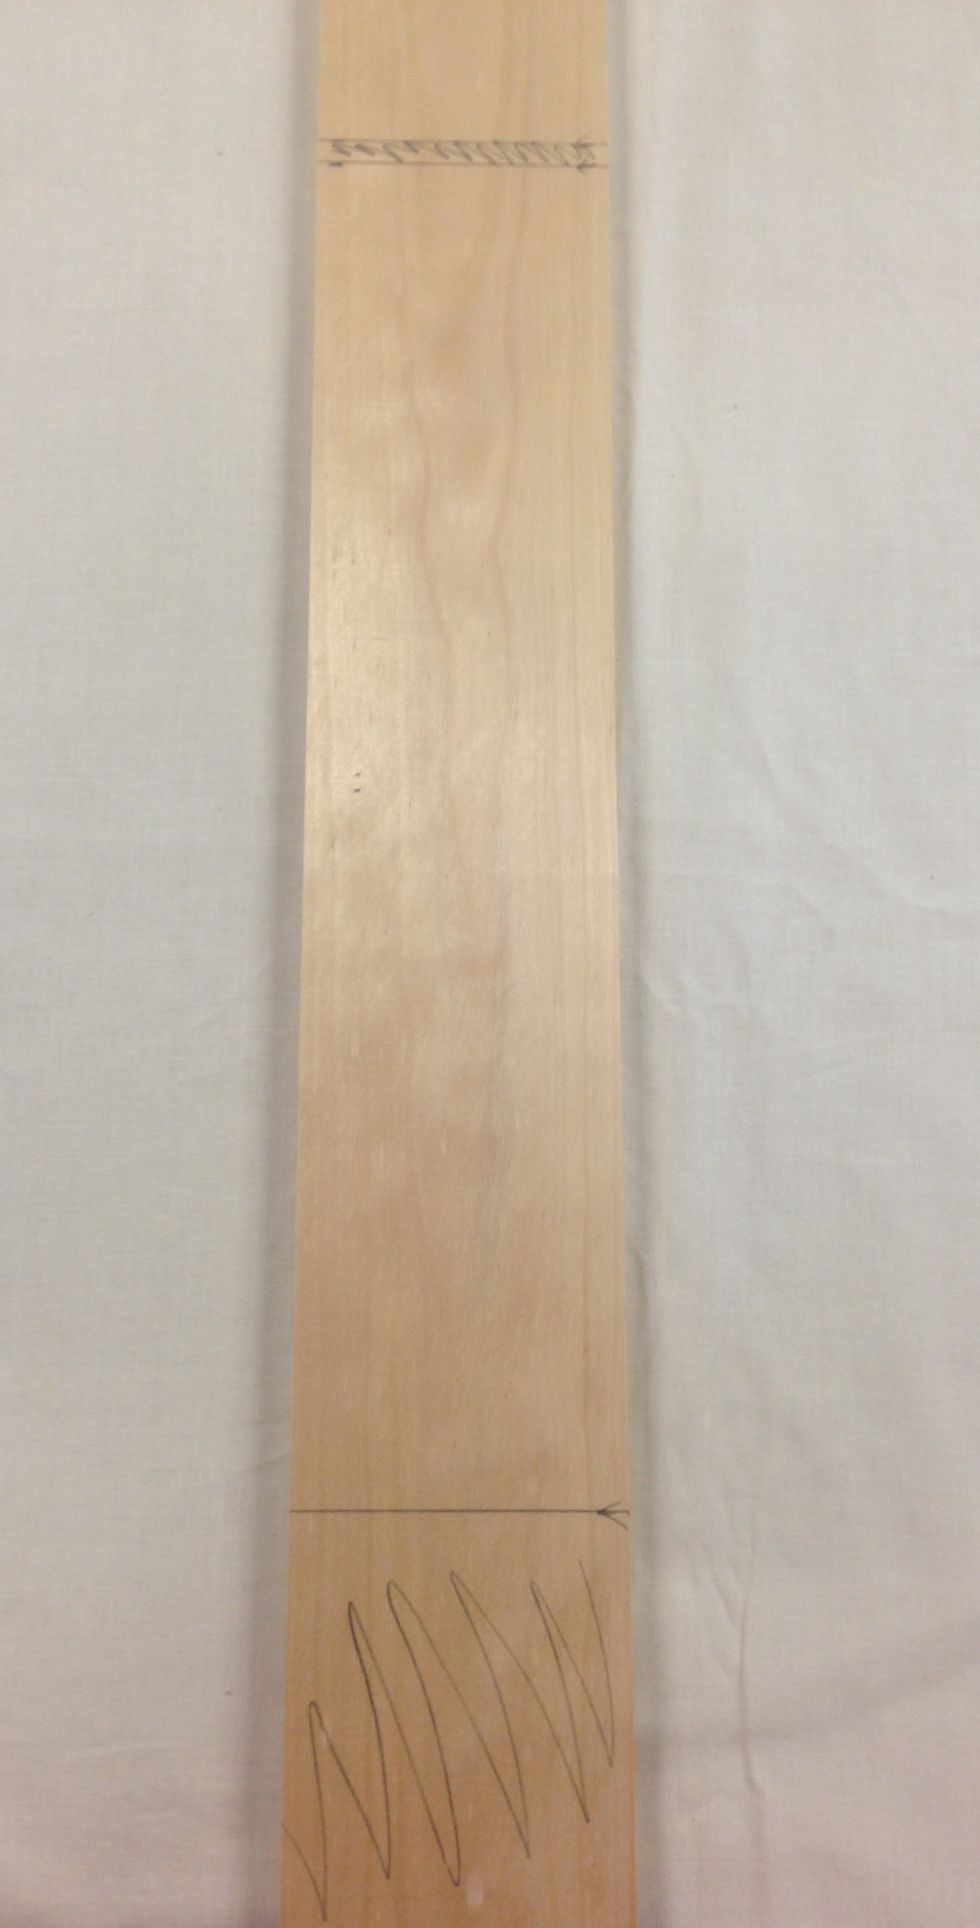
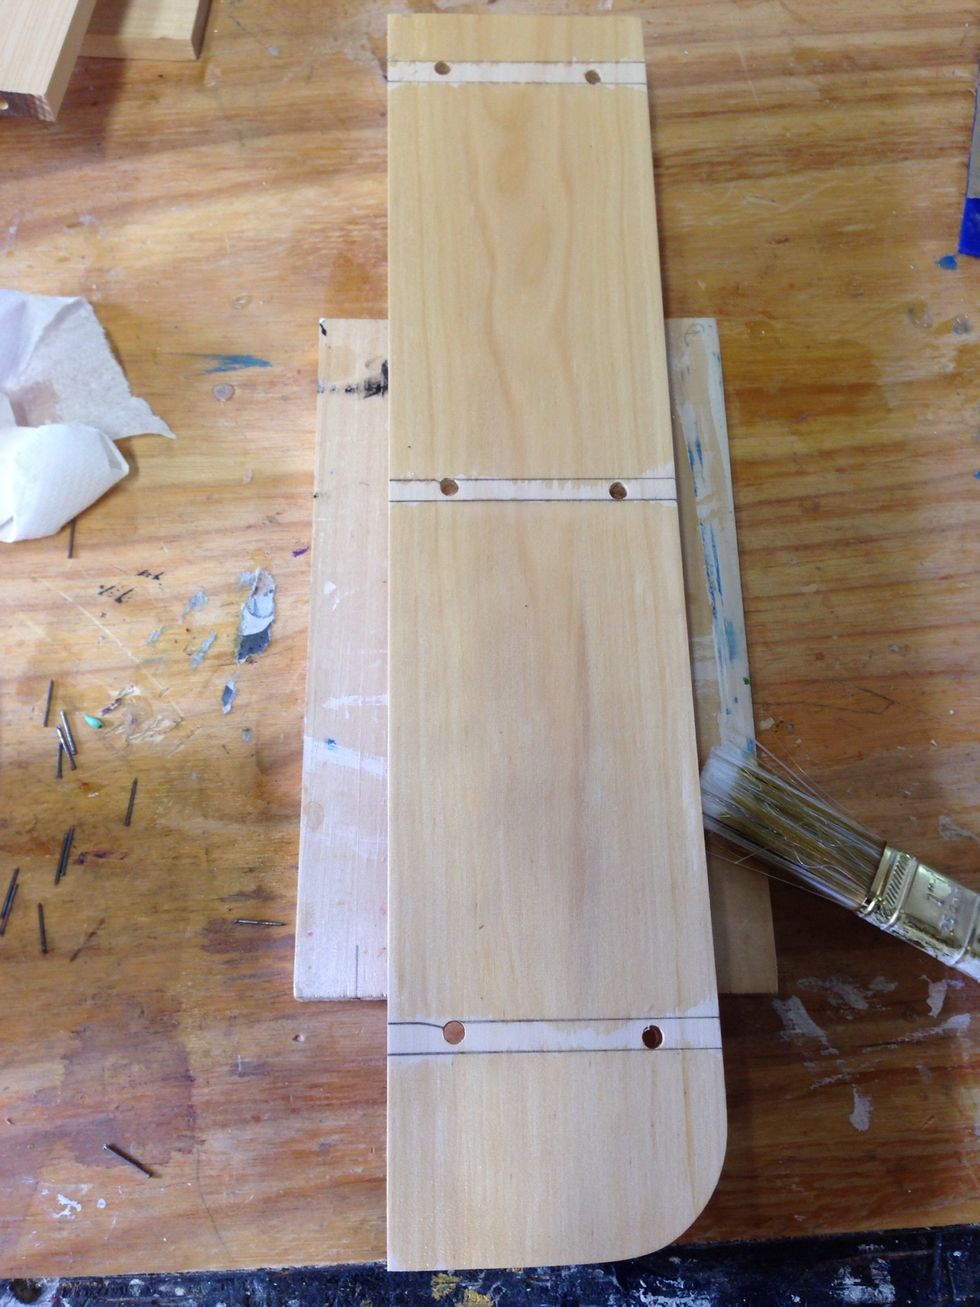
To help you visualise the area of timber that needs cutting and sanding, colour in the 8mm area you just marked out.
Remember, when marking out your next piece, start on the second of the two lines you previously marked out.
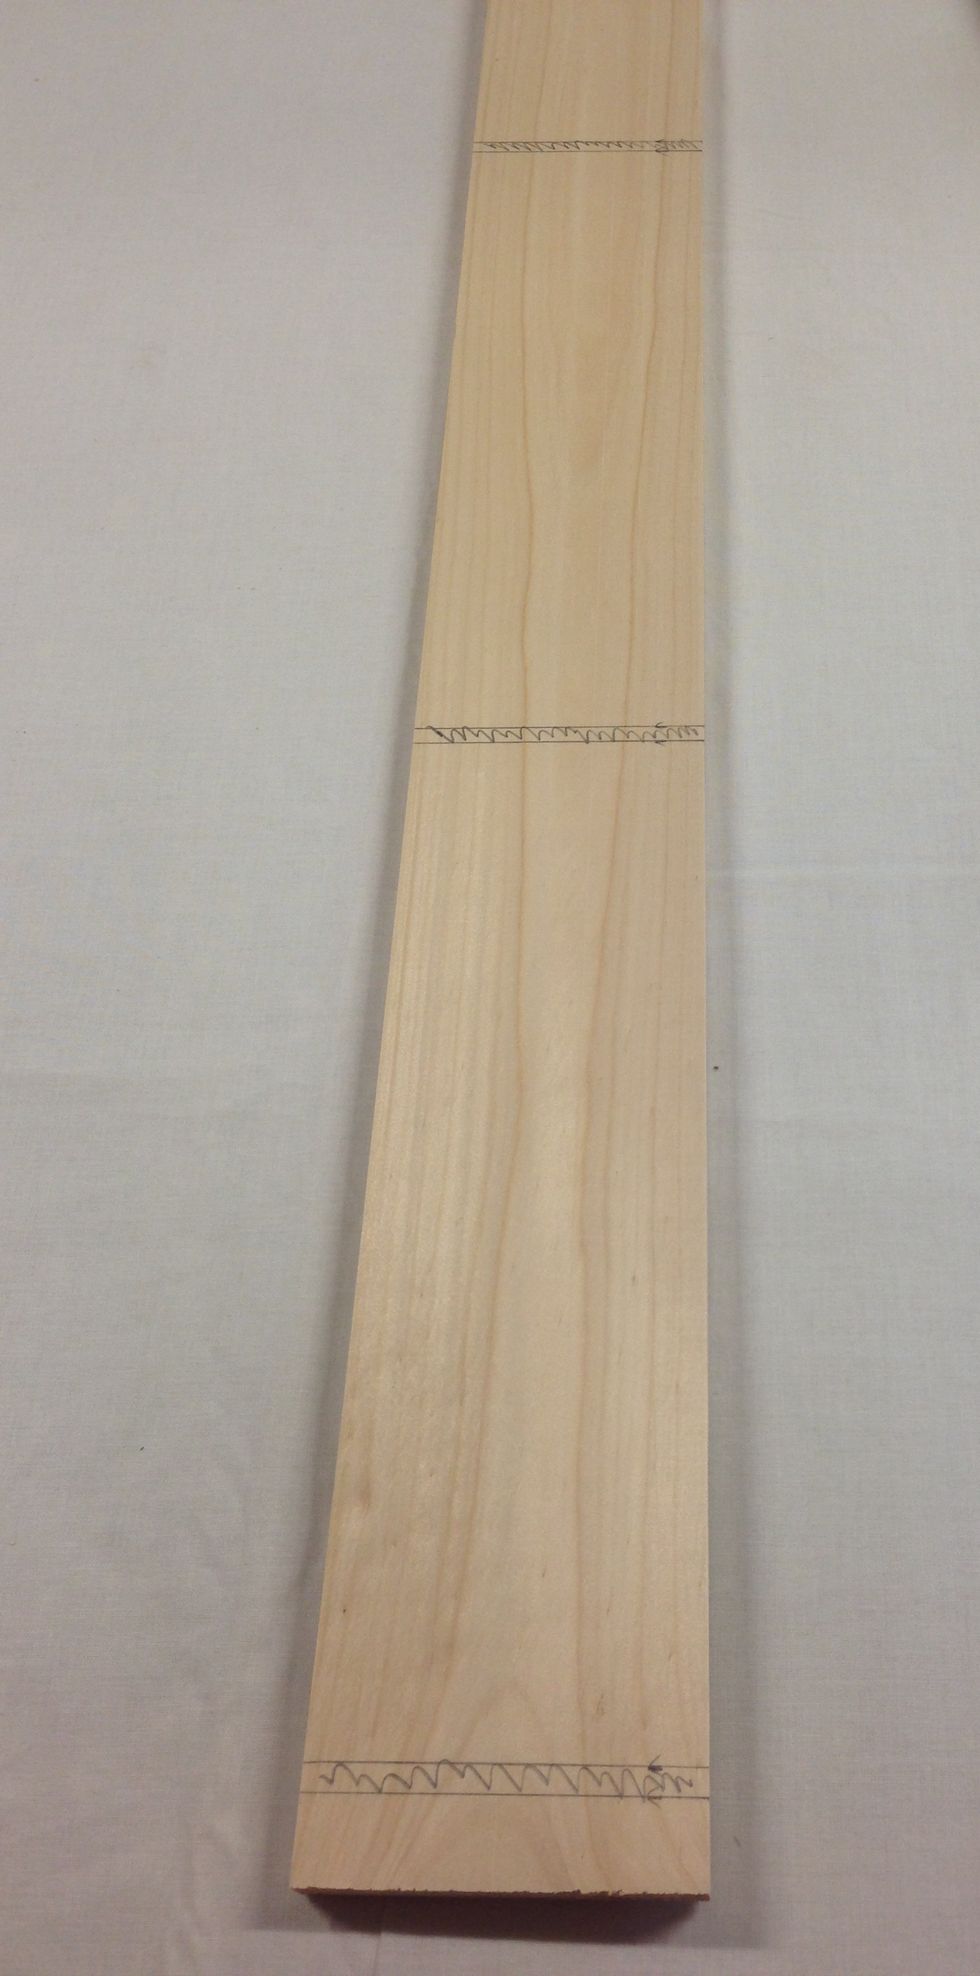
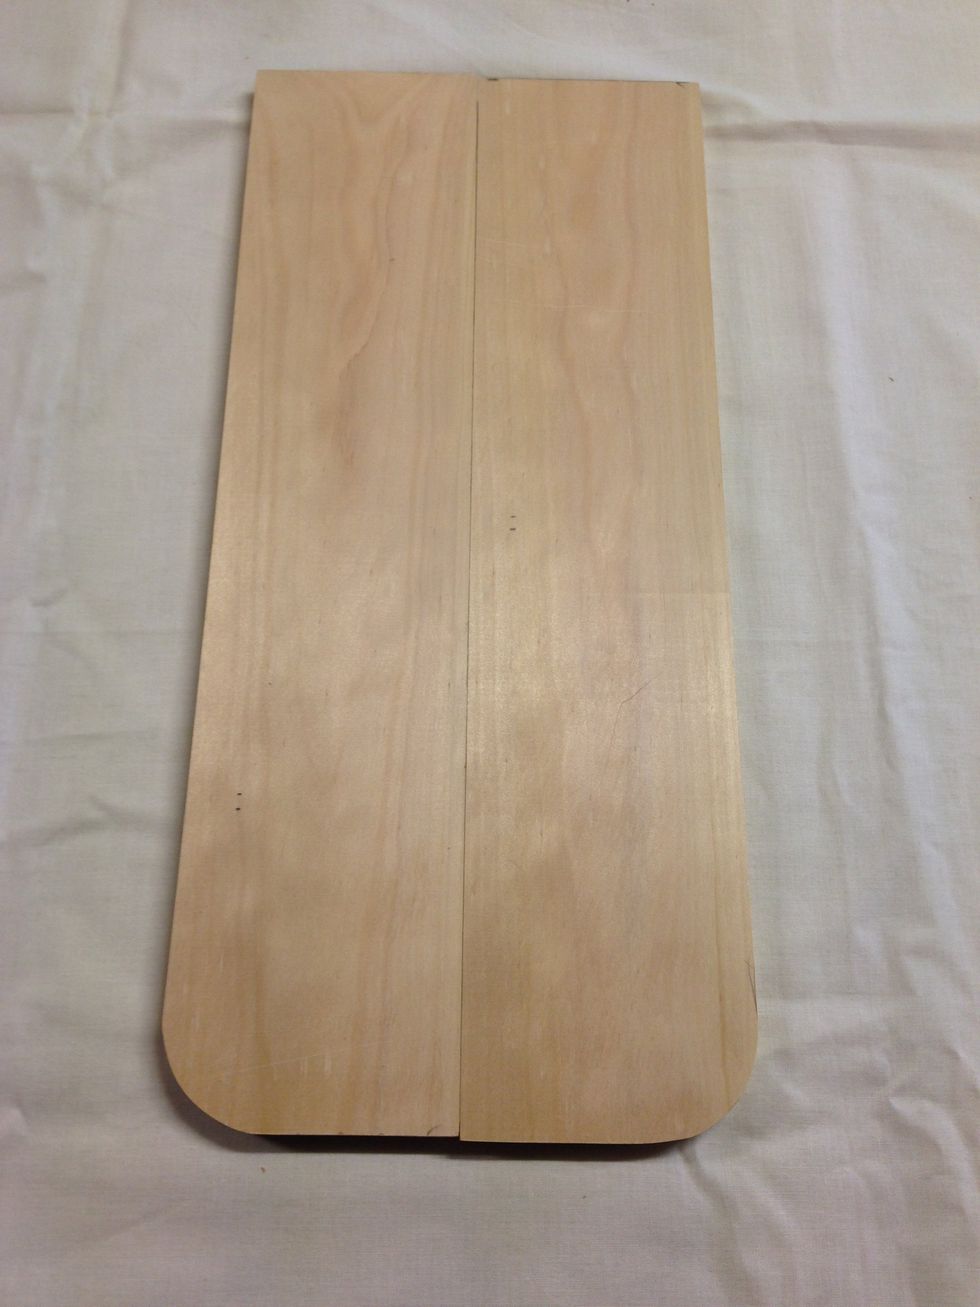
Here is how your piece of timber should look like once you have marked out your parts.

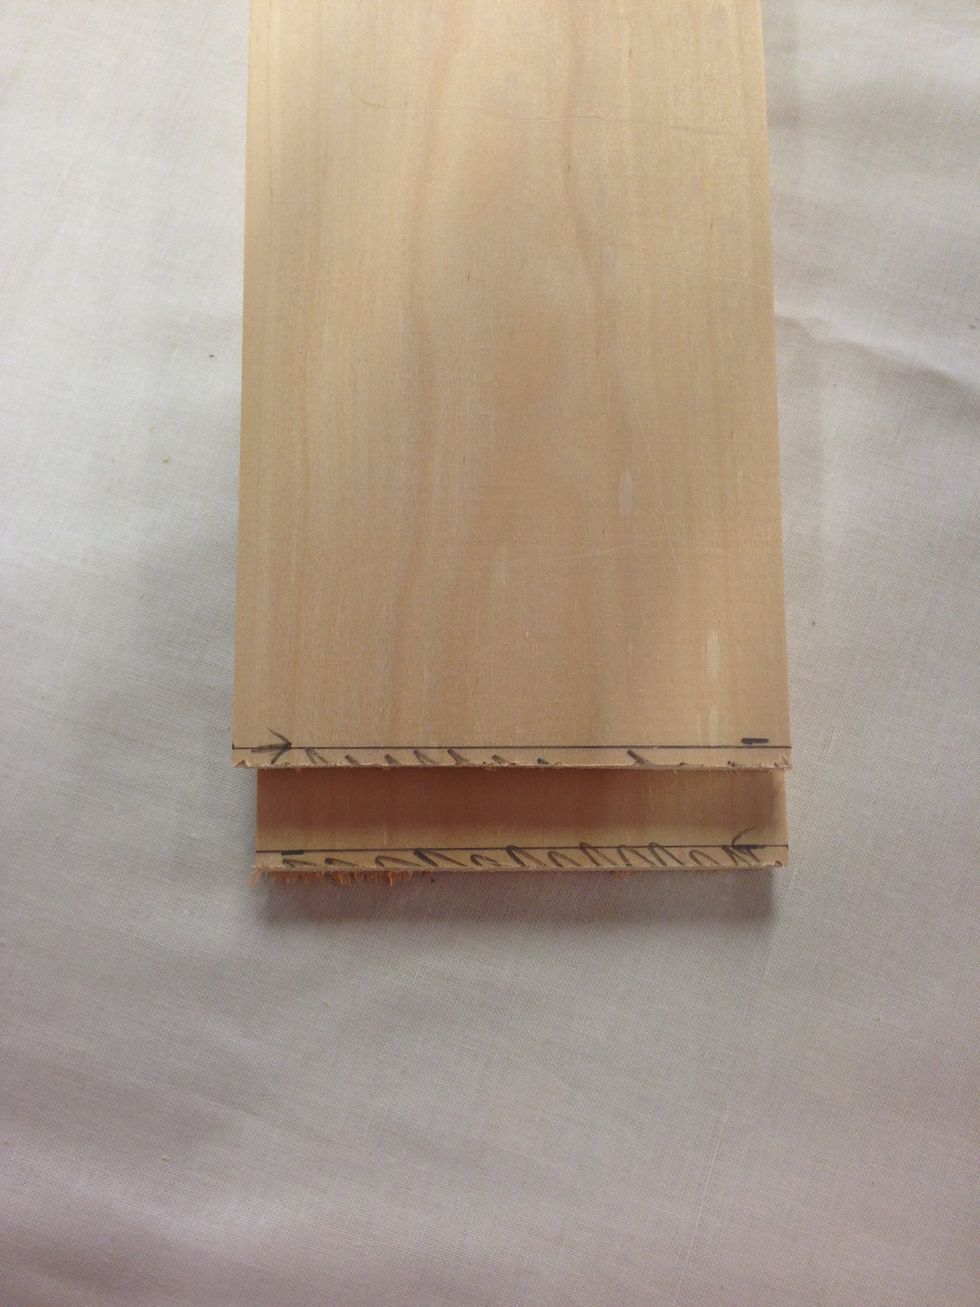
Now you need to 'Transfer' your marking out onto the edges of your timber. This will give you a great visual guide when cutting your pieces.

Again, colour is the area of 'waste' material.
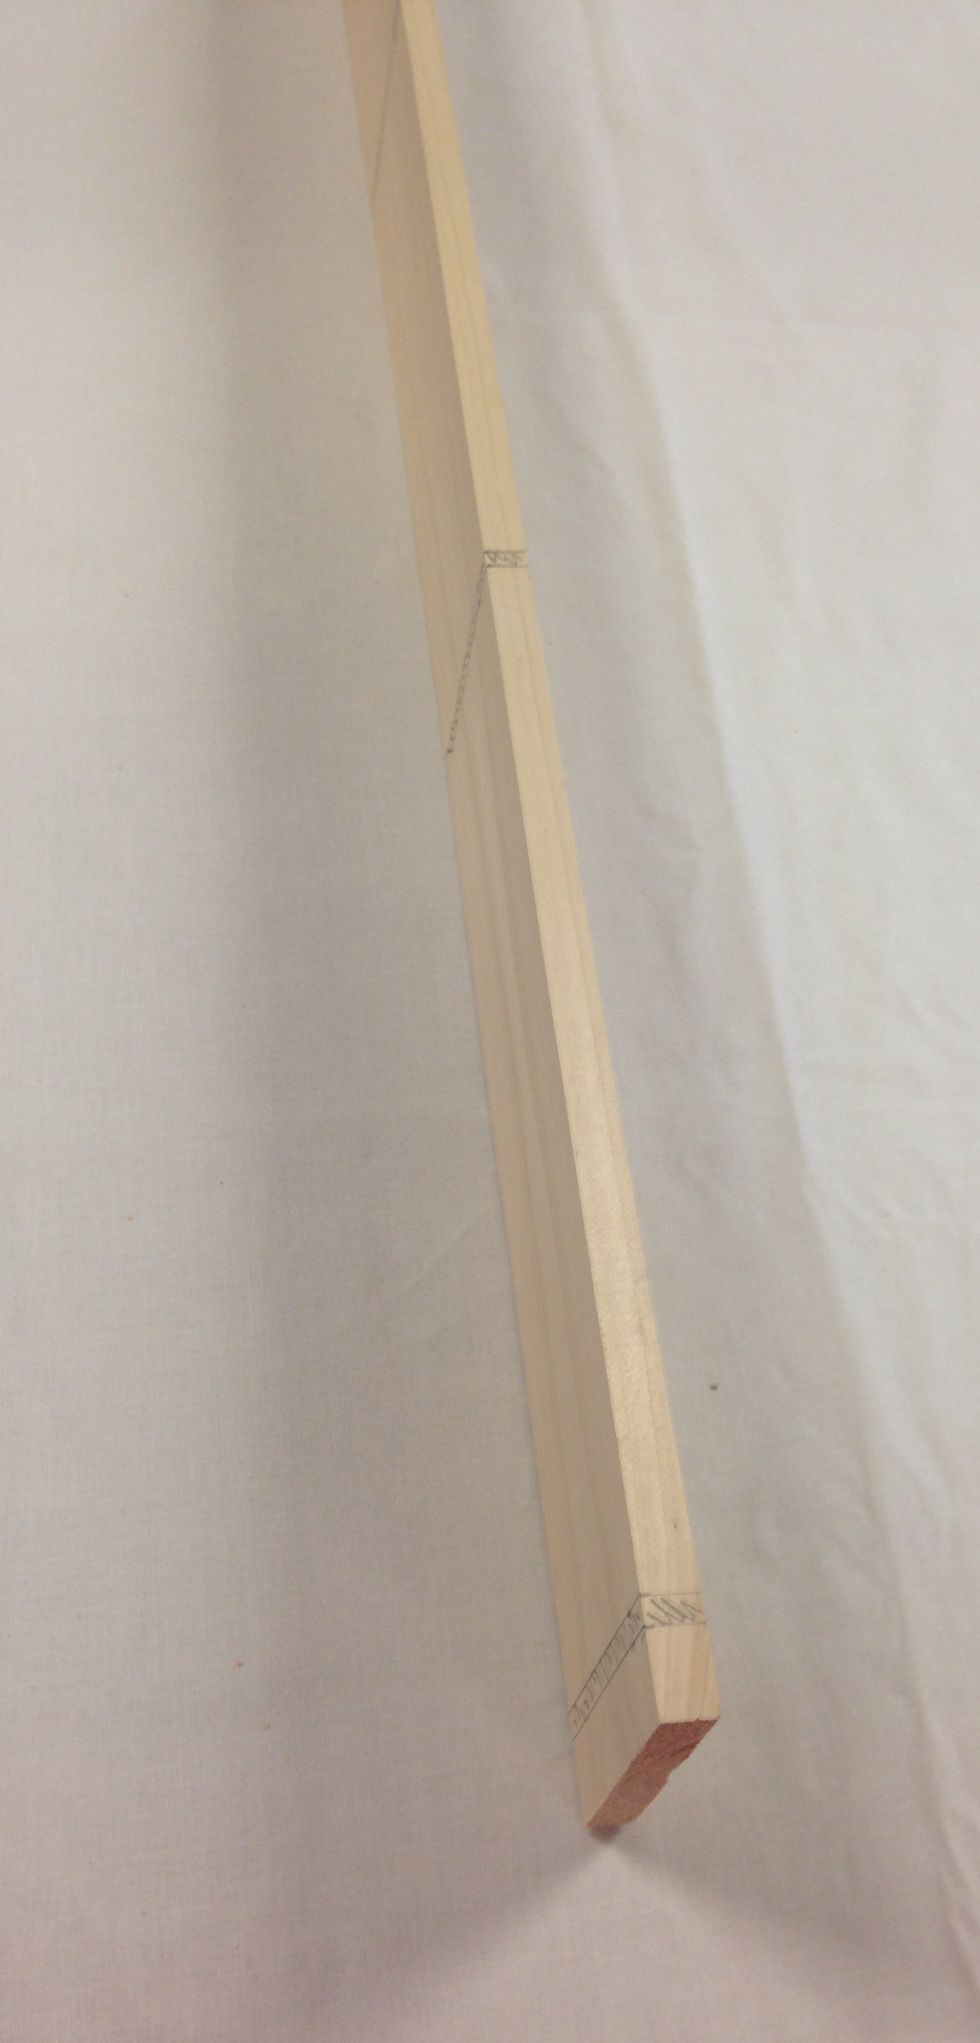
Here is your marking out complete and ready for cutting. Remember, you only need to mark out on one face and one edge of your timber.
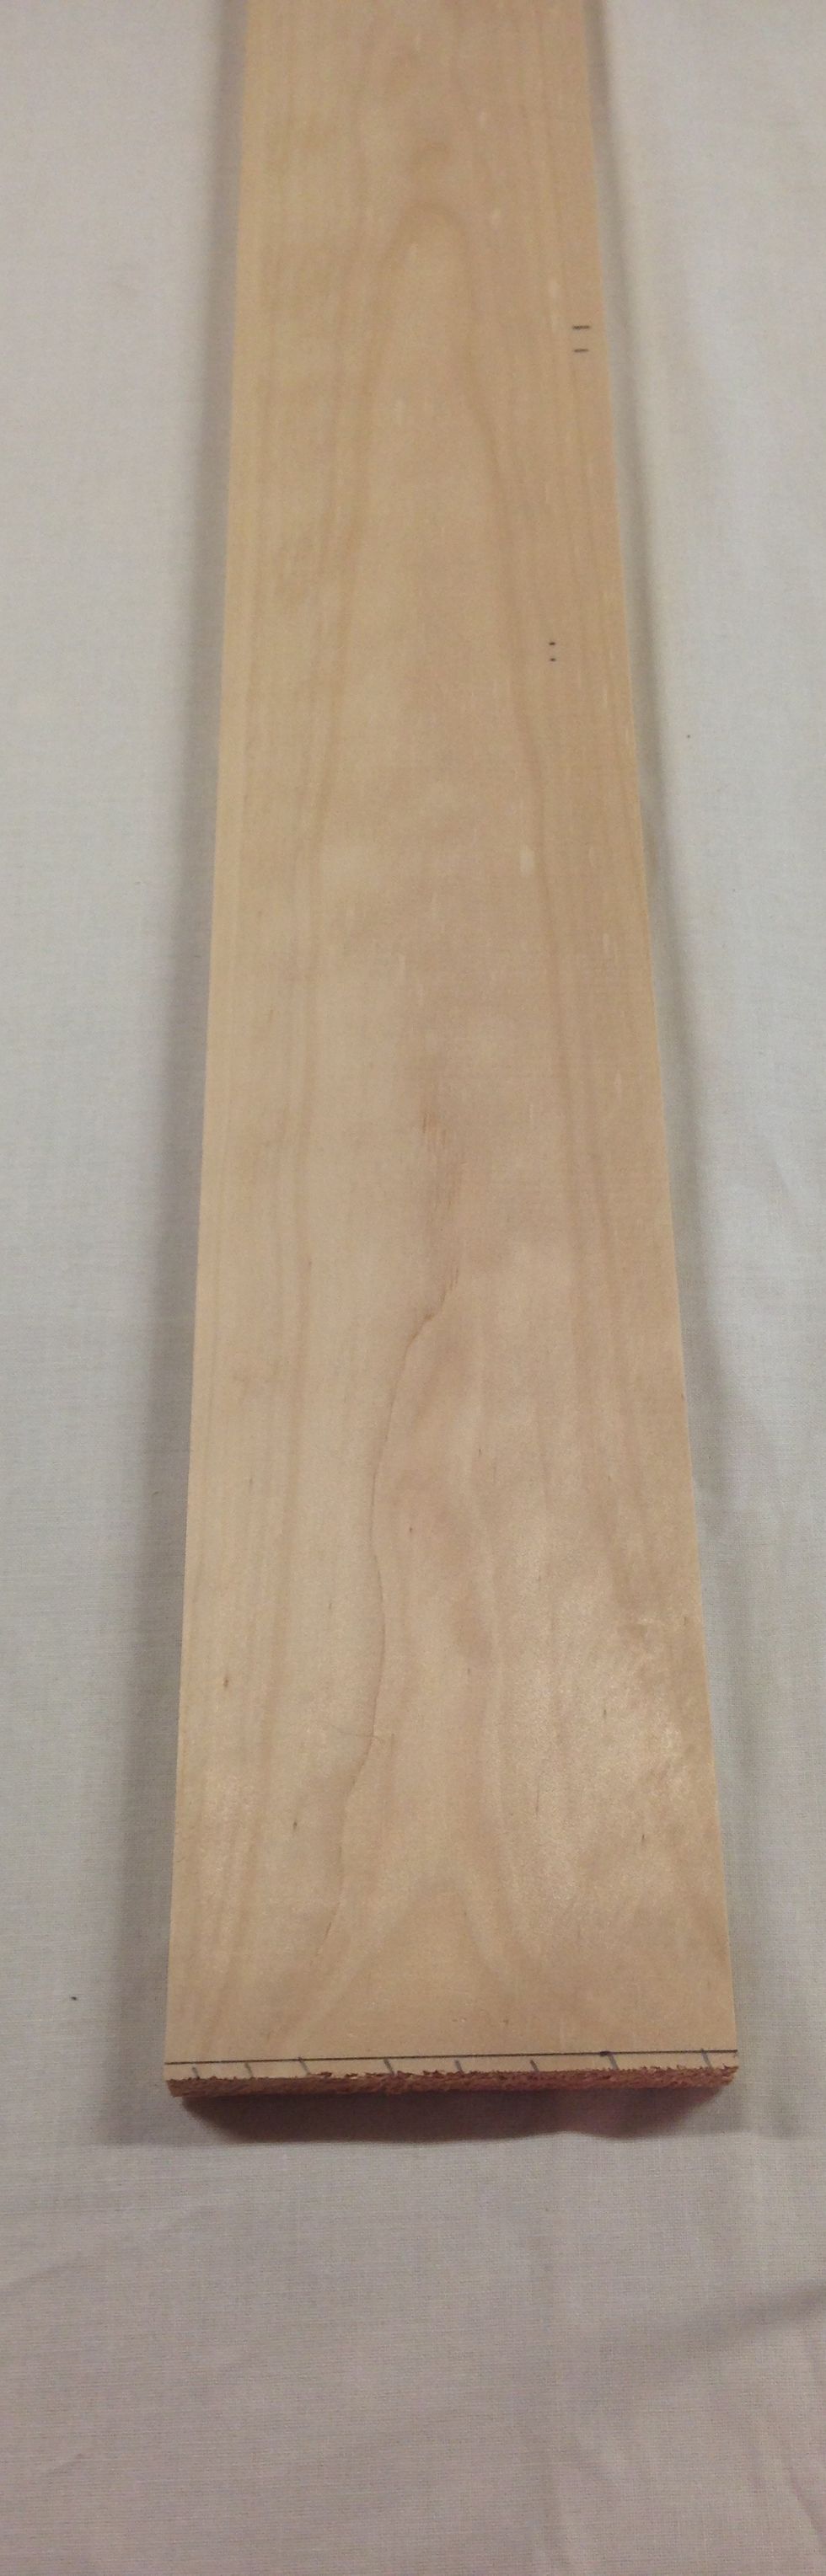
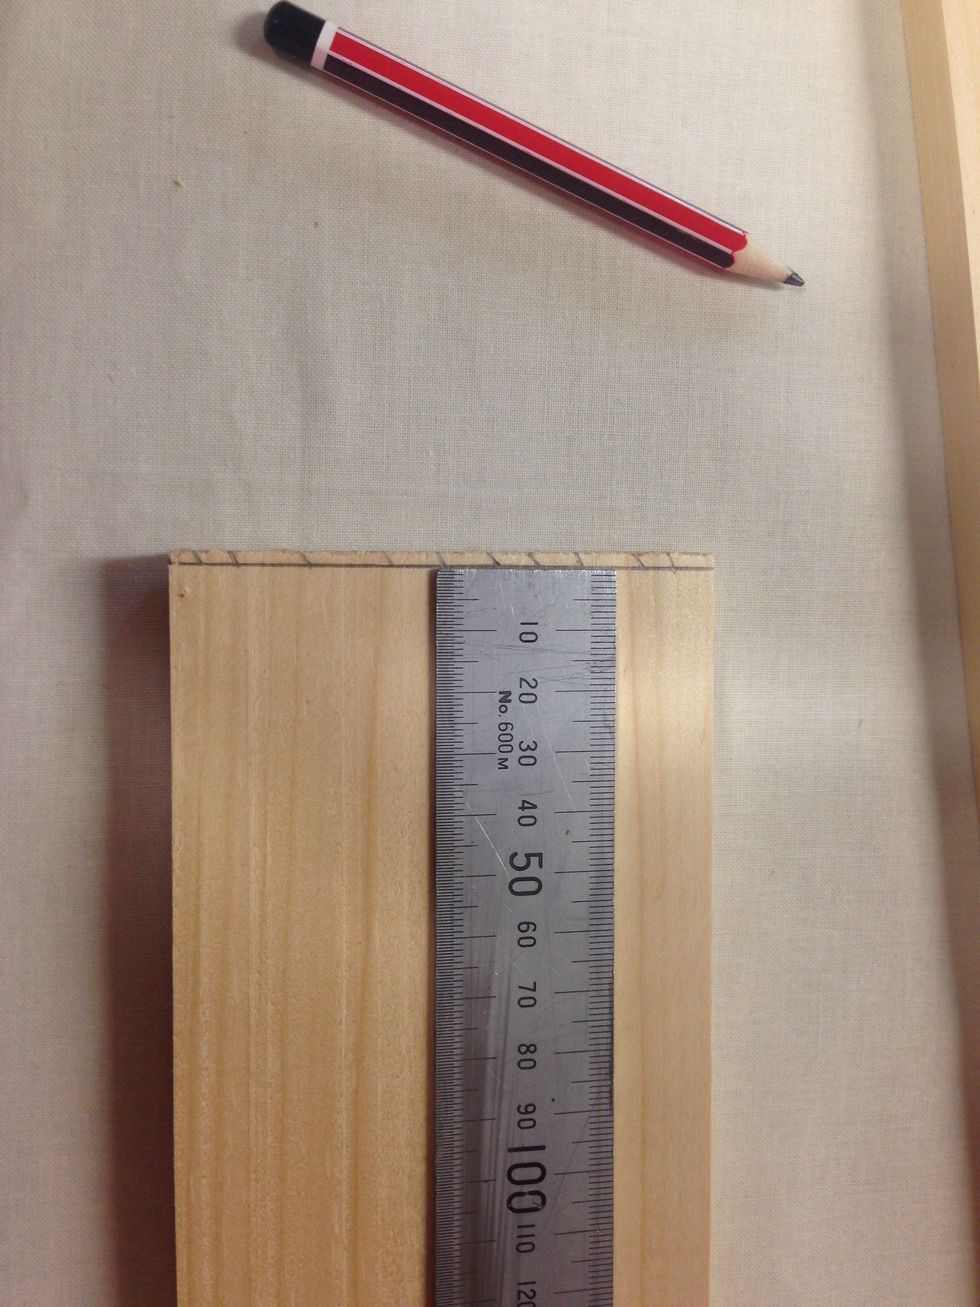
Now, it is time to mark out the sides of your rack. Remembering to check for machined edges, and to square off the ends if required.
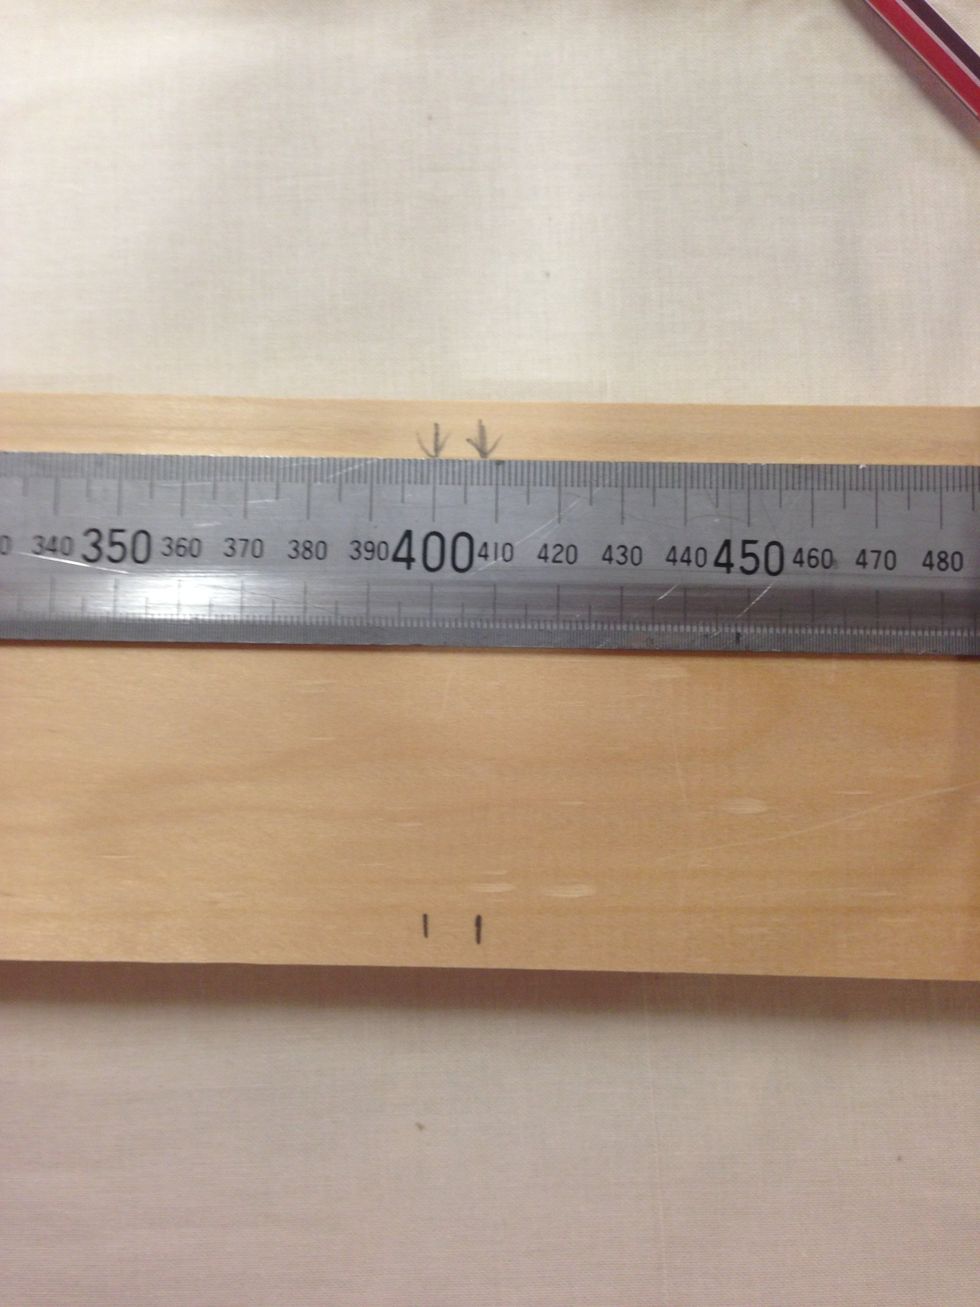
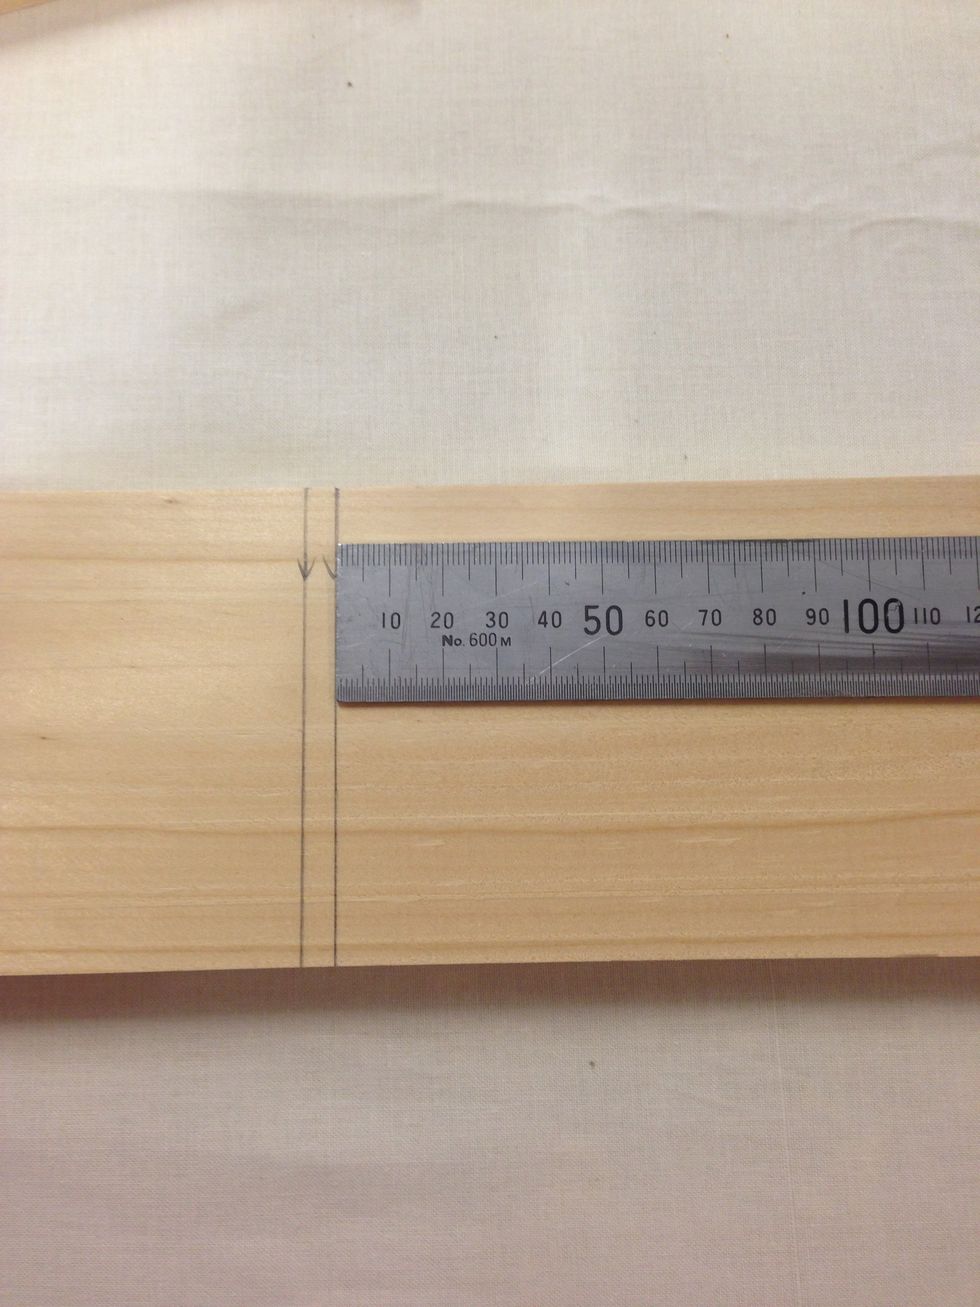
Your side pieces should be 400mm long, as shown in the picture. Remember to mark another line 5mm apart from the 400mm line to allow for cutting.
Here is your two side pieces marked with wastage coloured in. Remember, your next step is to transfer the markings onto the edge of your timber to gain a better visual when cutting.
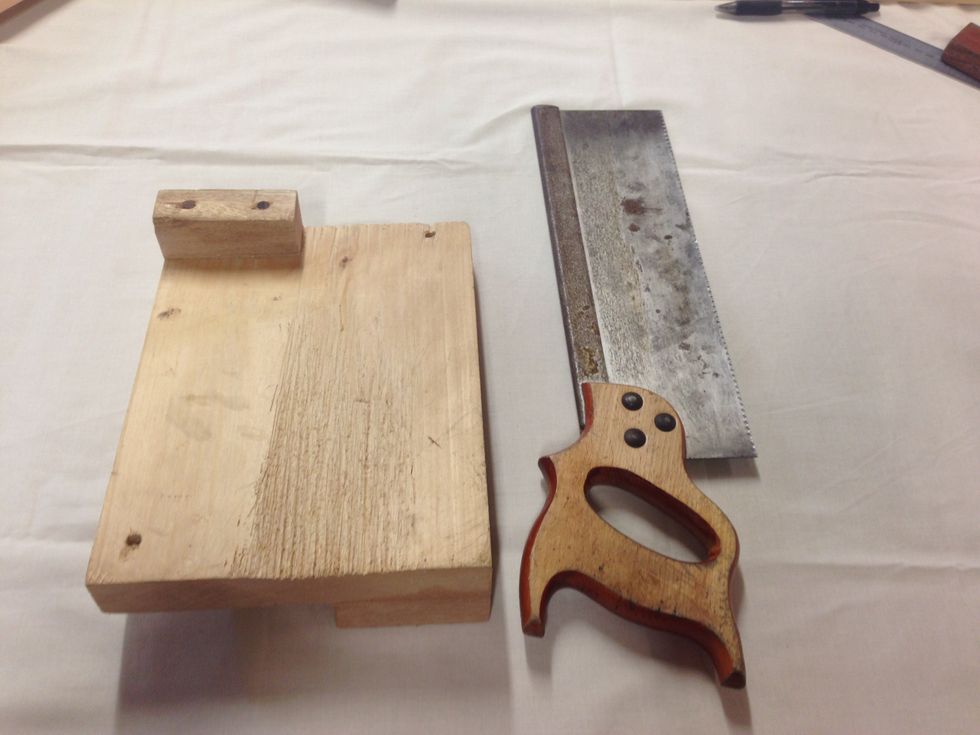
Now you will need to get a Tenon Saw and a Bench Hook to prepare for cutting your timber into your 4 separate sides.
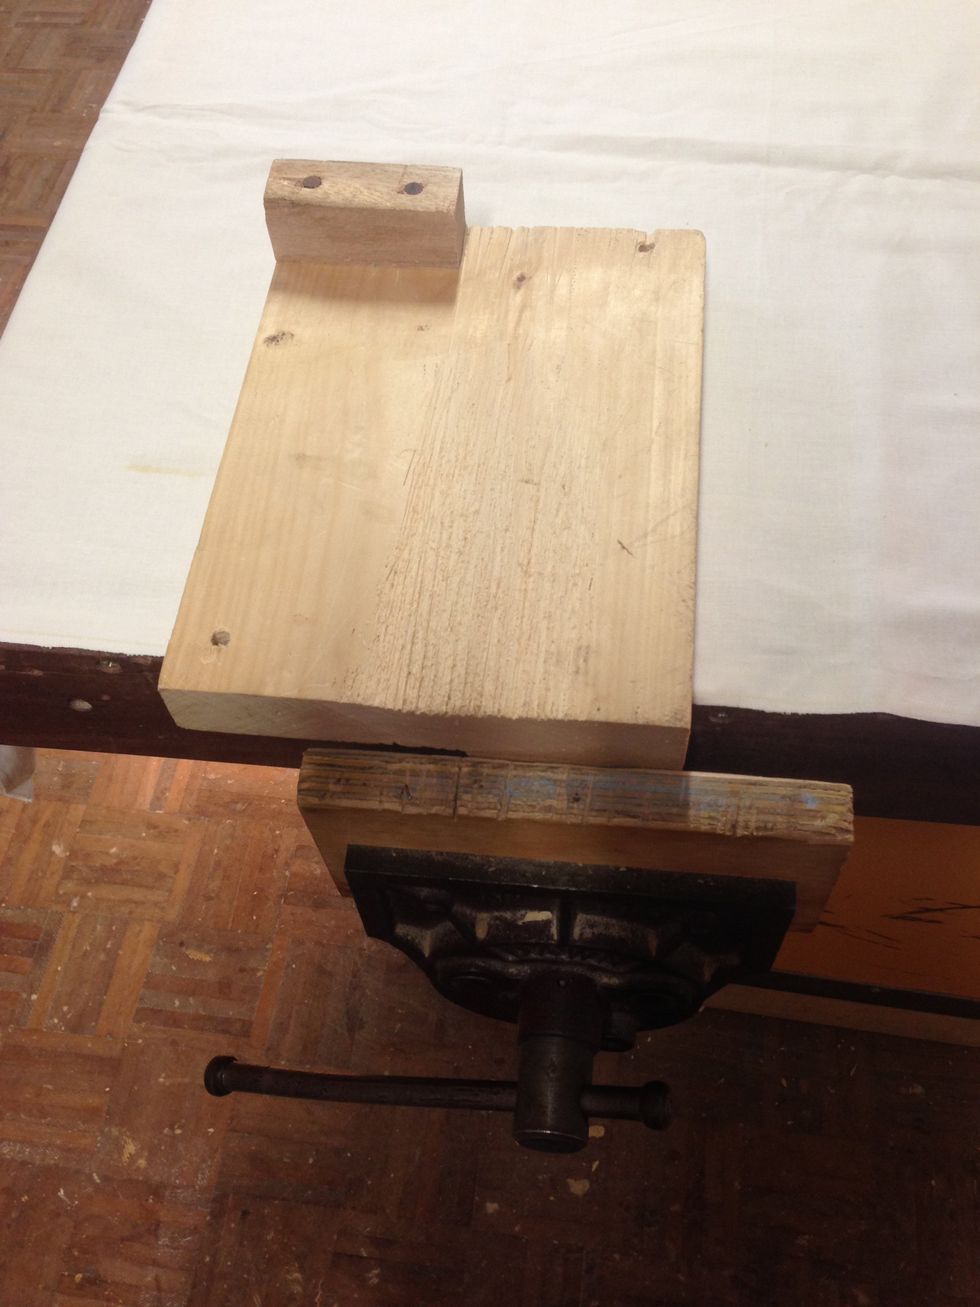
Secure your Bench Hook in your vice as shown here. Only do your vice up firmly. Over tightening of your vice is not good for it and it is actually not necessary when using a bench hook.

If you are Right Handed, this is how your timber should be placed on your Bench Hook. If you are Left Handed, flip your Bench Hook over in your vice and it will be orientated for you.
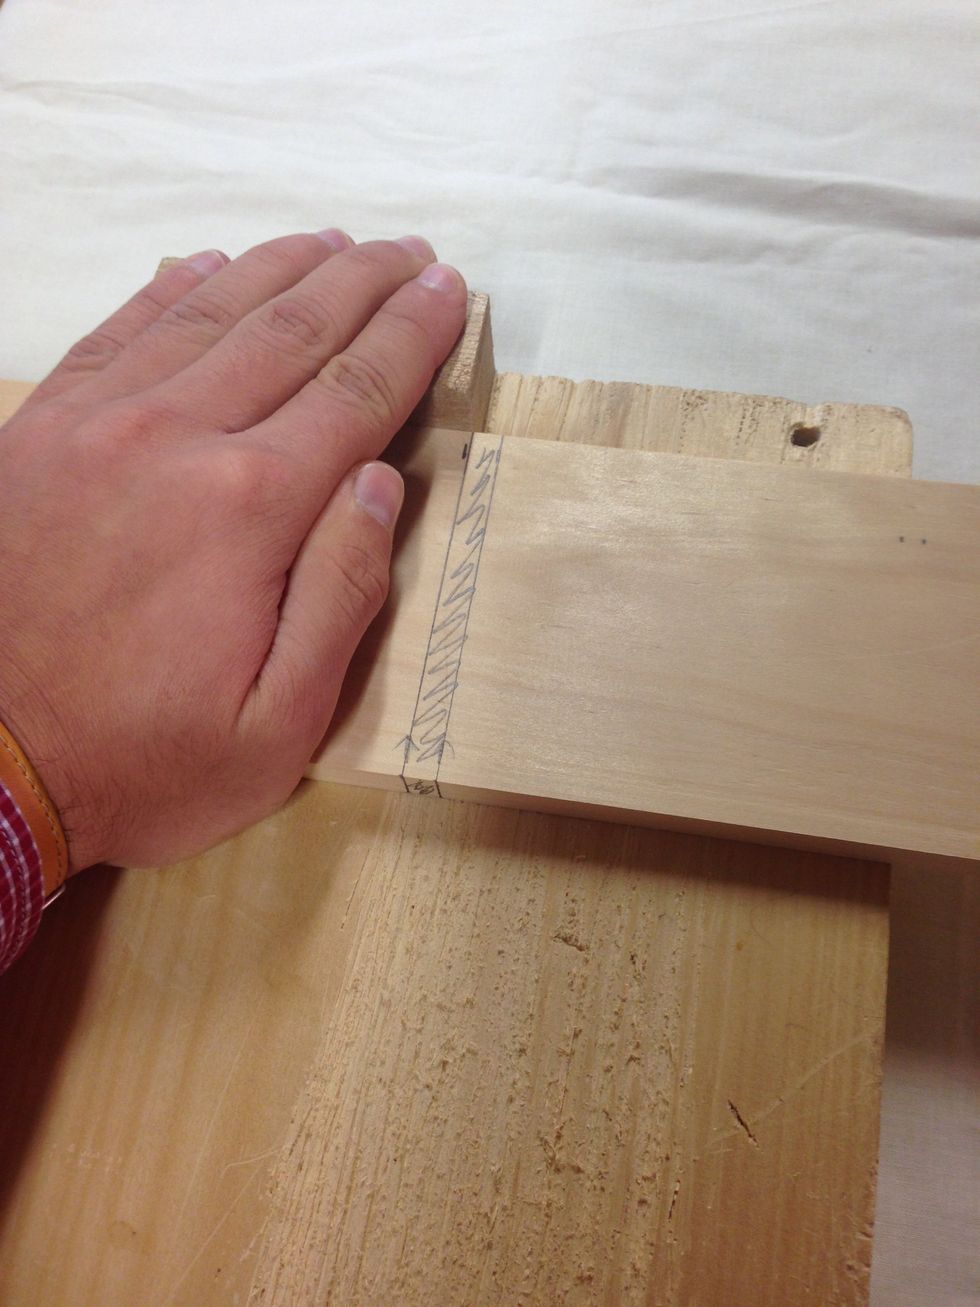
Hold your timber firmly against the stop with your pencil marks aligned as shown here. The closer you get your markings to the edge of the Timber Stop, the easier it is to hold when sawing.
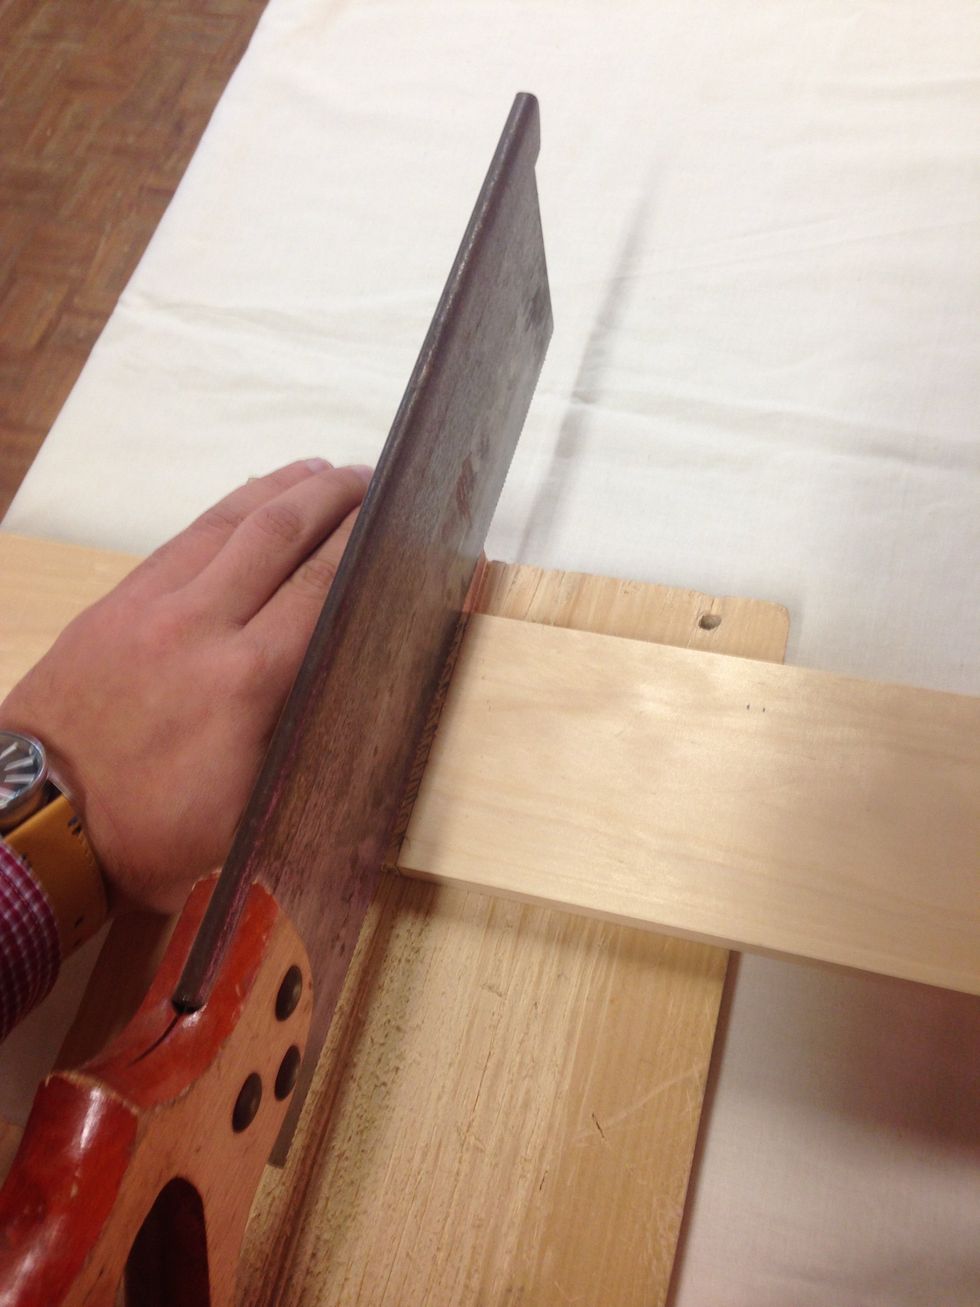
Draw your Tenon Saw towards yourself 4 or 5 times to get your cut started. Be extremely careful to keep cutting between the lines so that your pieces do not end up being too short.
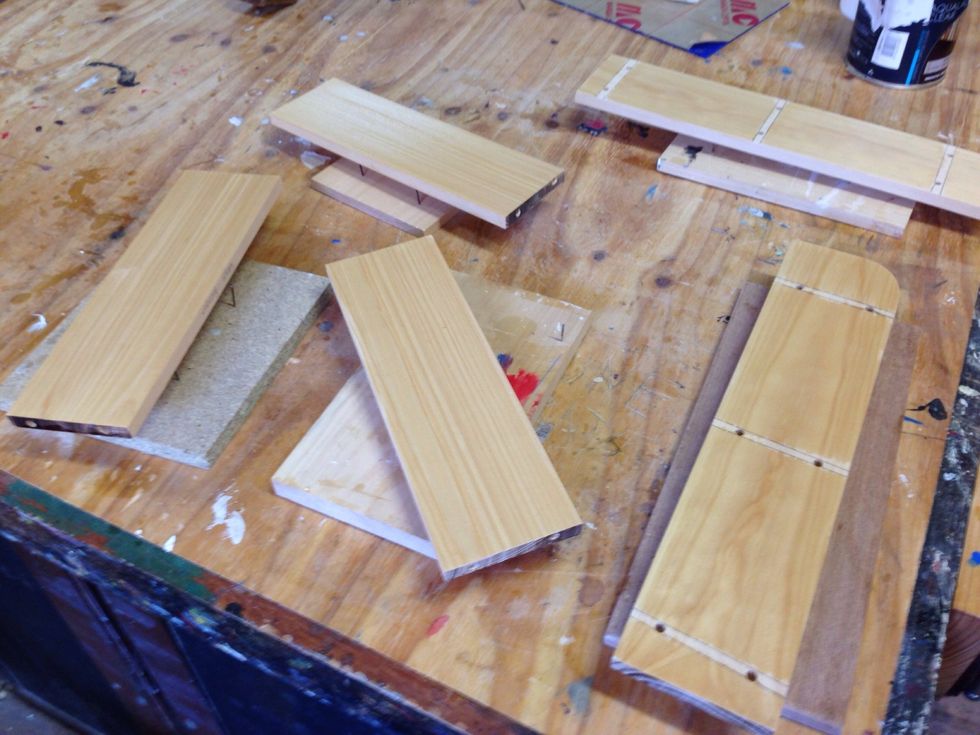
Here is your piece of timber after you have cut it. The next step is to use the disc sander to machine the edges and get your timber to the correct size.

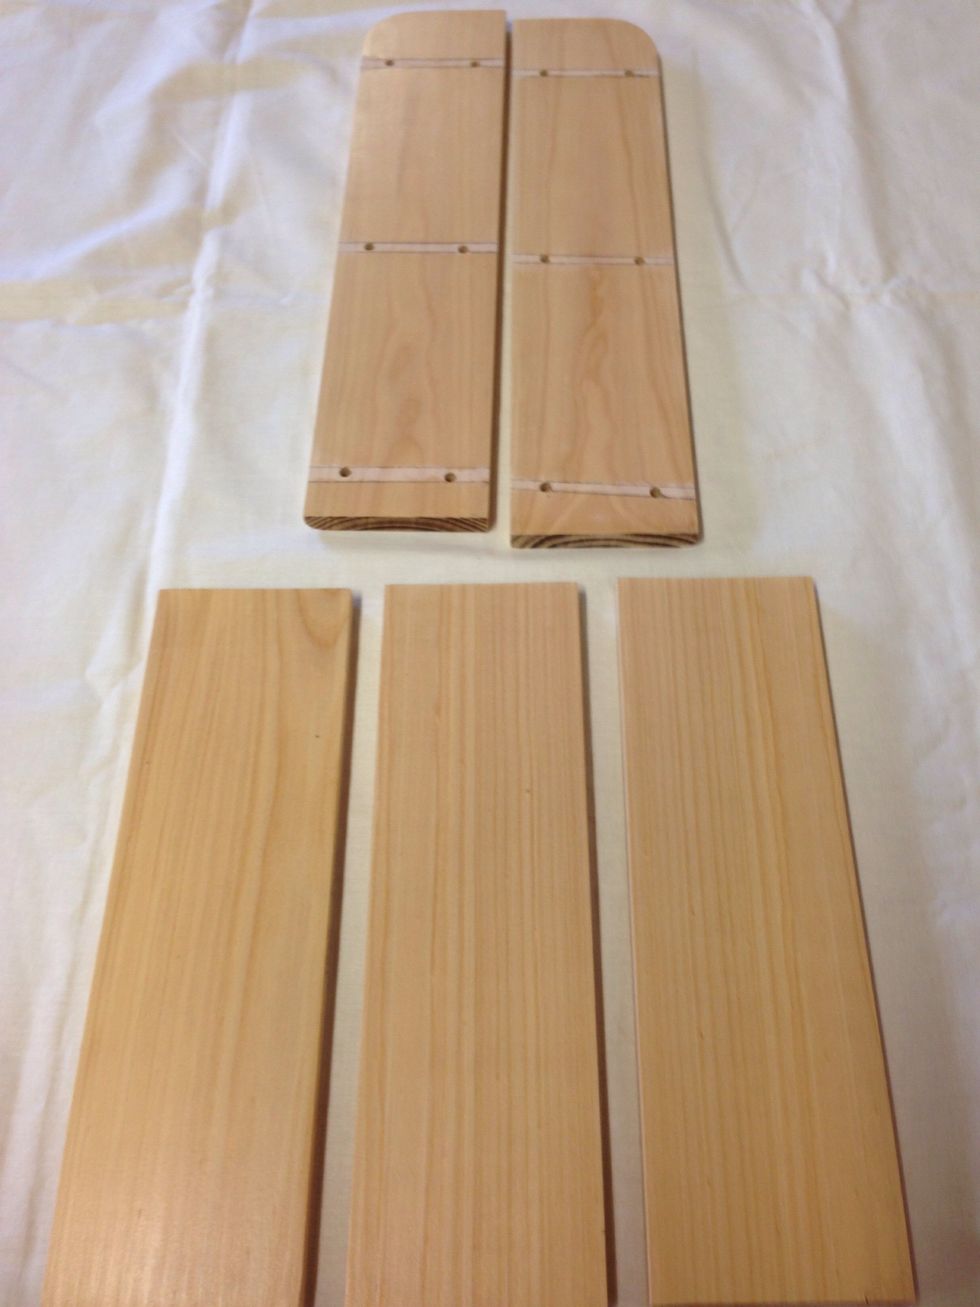
Here are the pieces as they should appear after you have disc sanded them to length. Try and avoid the burning of the end grain as much as possible as you will need to sand it off later.
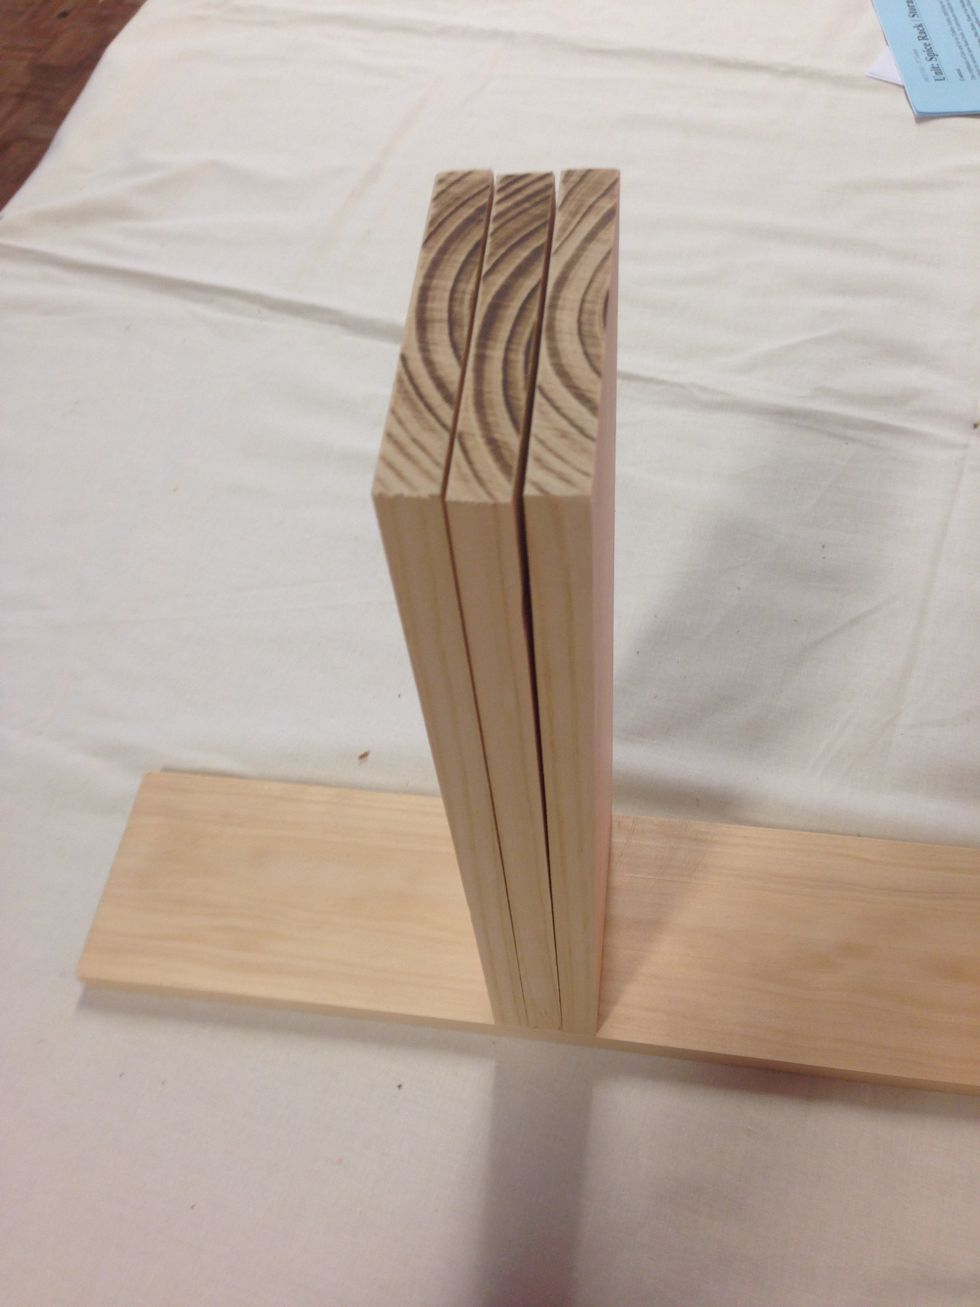
Place all of your pieces on a flat surface to check that they are all the same length. This is important so that your box is perfectly square which makes fitting the base and front easier.
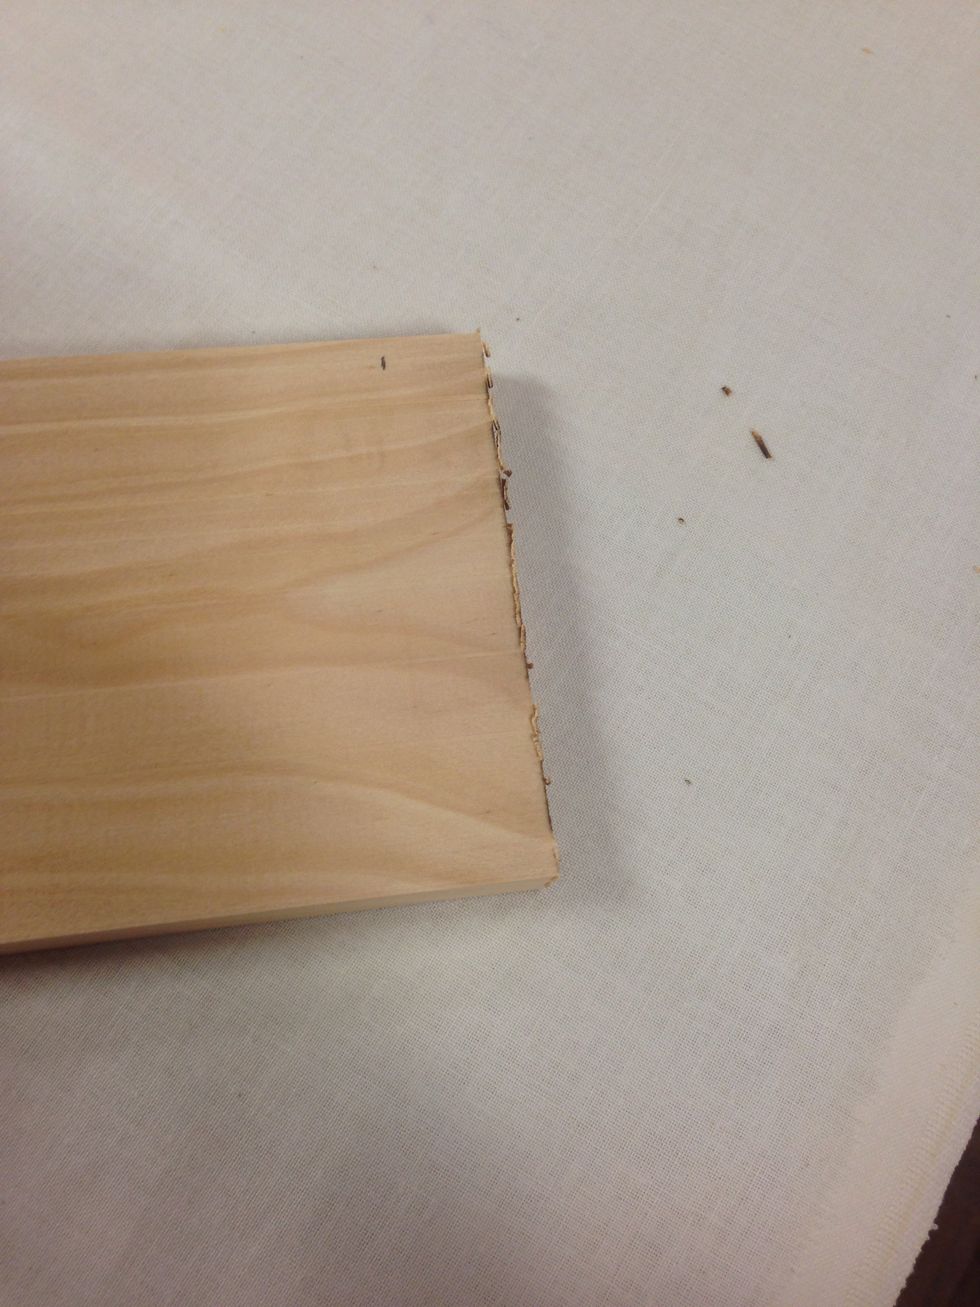
You will notice some burrs which occur after you use the disc sander. Before you continue onto the next step, be sure to remove them.
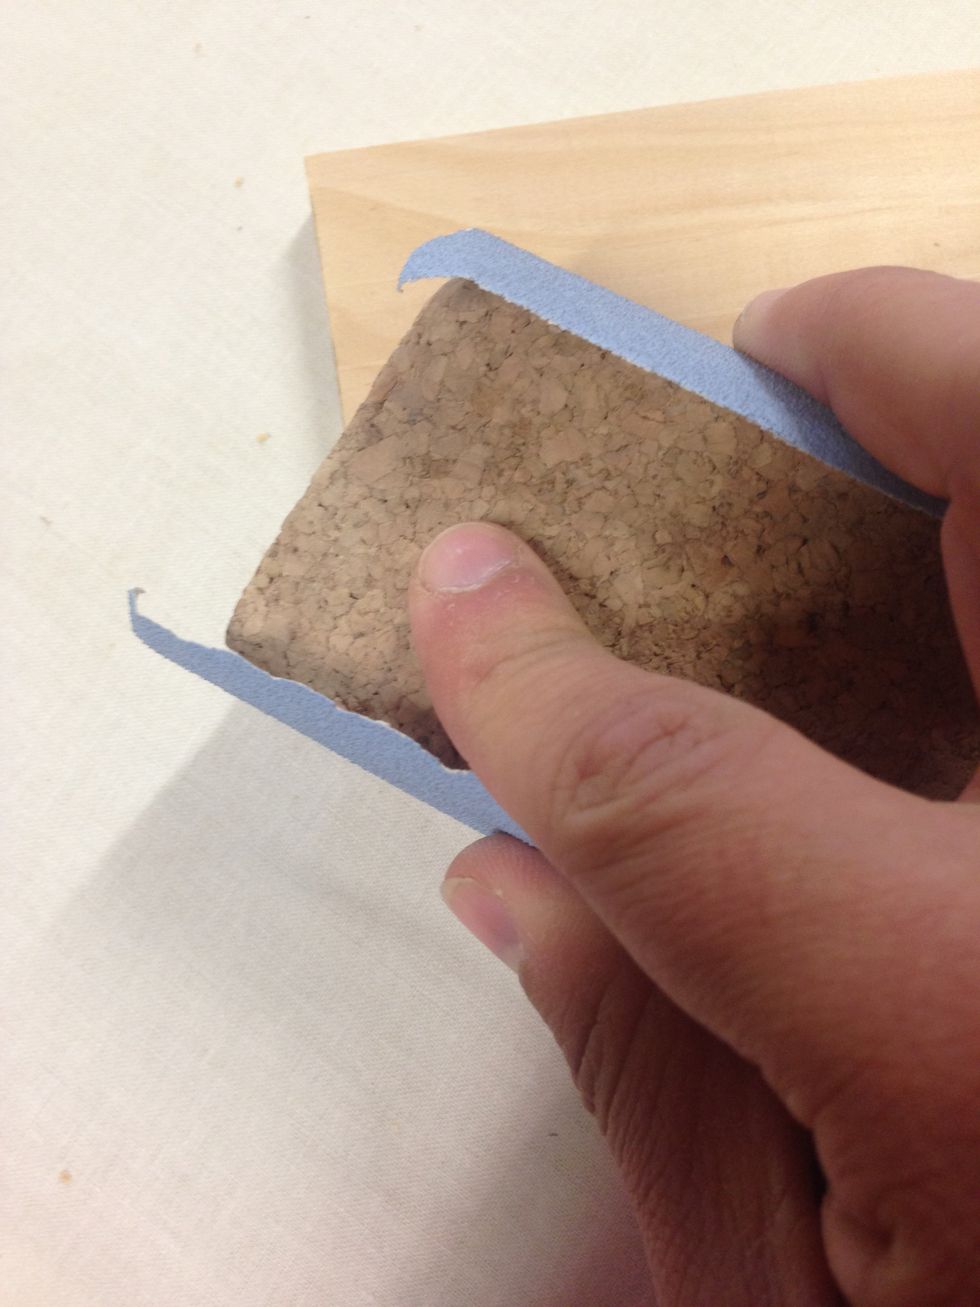
Use a Cork Block and 180 grade sand paper. Very lightly pull the sand paper on a 45 degree angle across the burrs until they have been removed. Be sure to only remove the Burrs, not any of your piece.

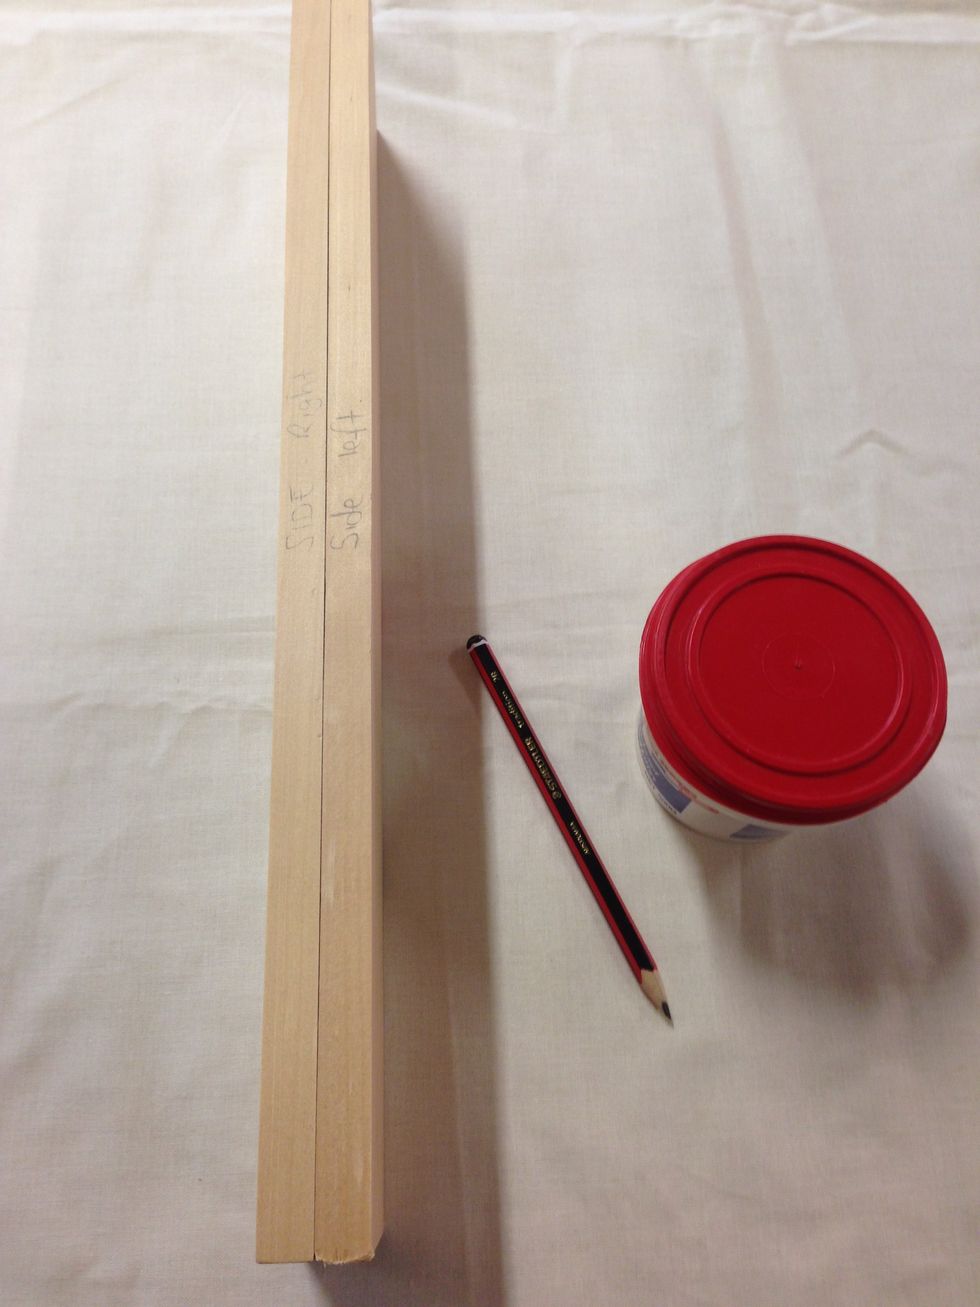
Now clearly mark your pieces of timber with your name so that you don't loose them.

Now flip your side pieces over and mark them with either 'Side Left' or 'Side Right'. This will minimise confusion later in the manufacturing process.

Flipping your shelf pieces over, mark them with 'Front Top', 'Front Middle', and 'Front Bottom'. This will also minimise confusion later in the manufacturing process.
Now you are ready to add your unique design to the side pieces of your storage unit. For this example, I will be using a round container to obtain my personal design.

To obtain the rounded top edge, place the container flush with the top and the side of your timber, and using a pencil, trace the containers shape as shown.
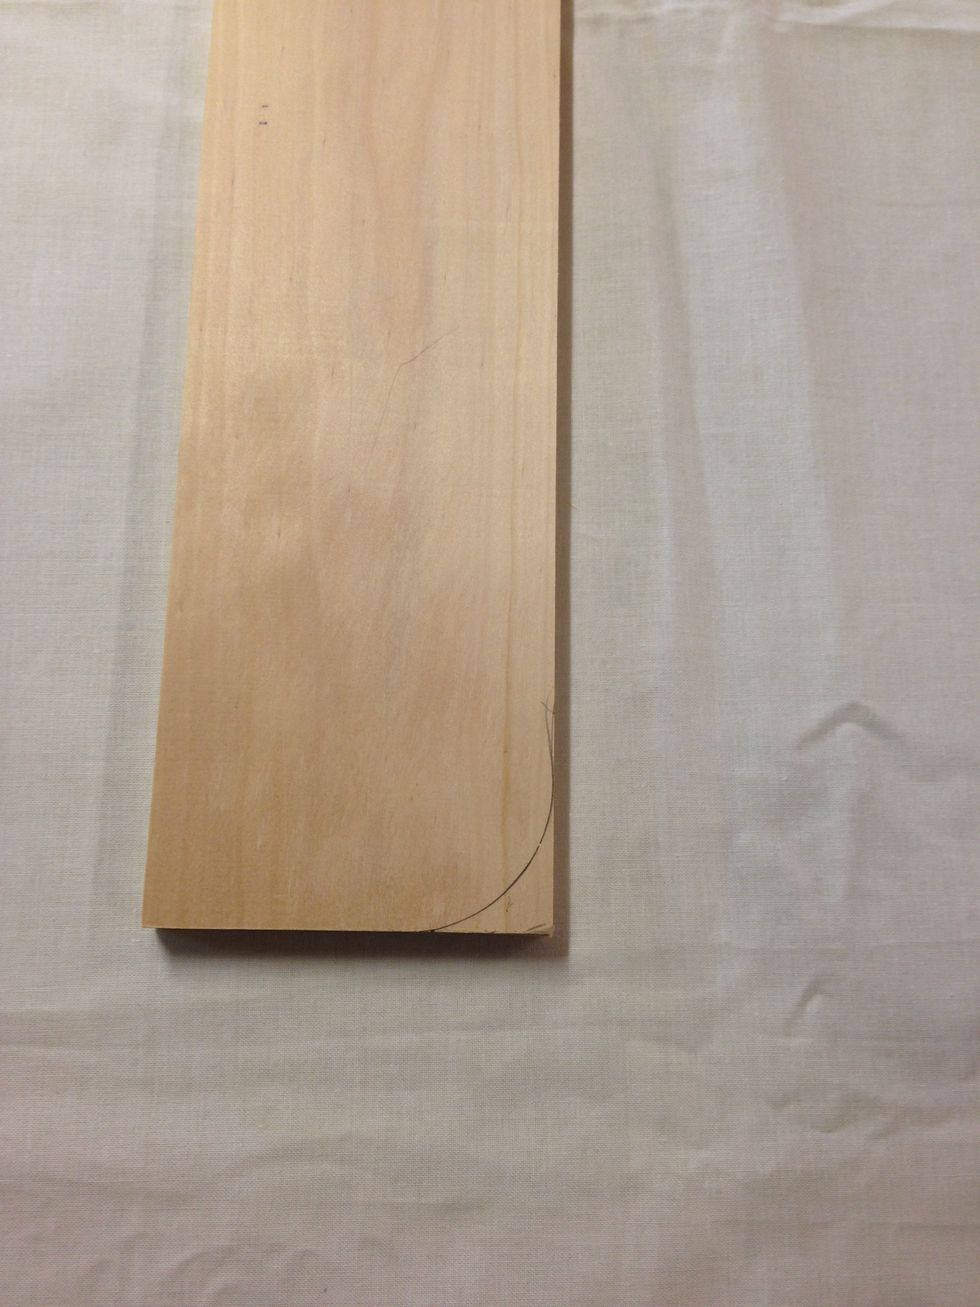
Here is the shape traced onto the timber. Now do the same for the other side. Remember to ensure you trace the shape on the top of your other side piece.

Here are your two pieces once they have been marked out. Notice how the design is on opposite sides, so when the pieces are stood up, it will be at the top front of your sides.
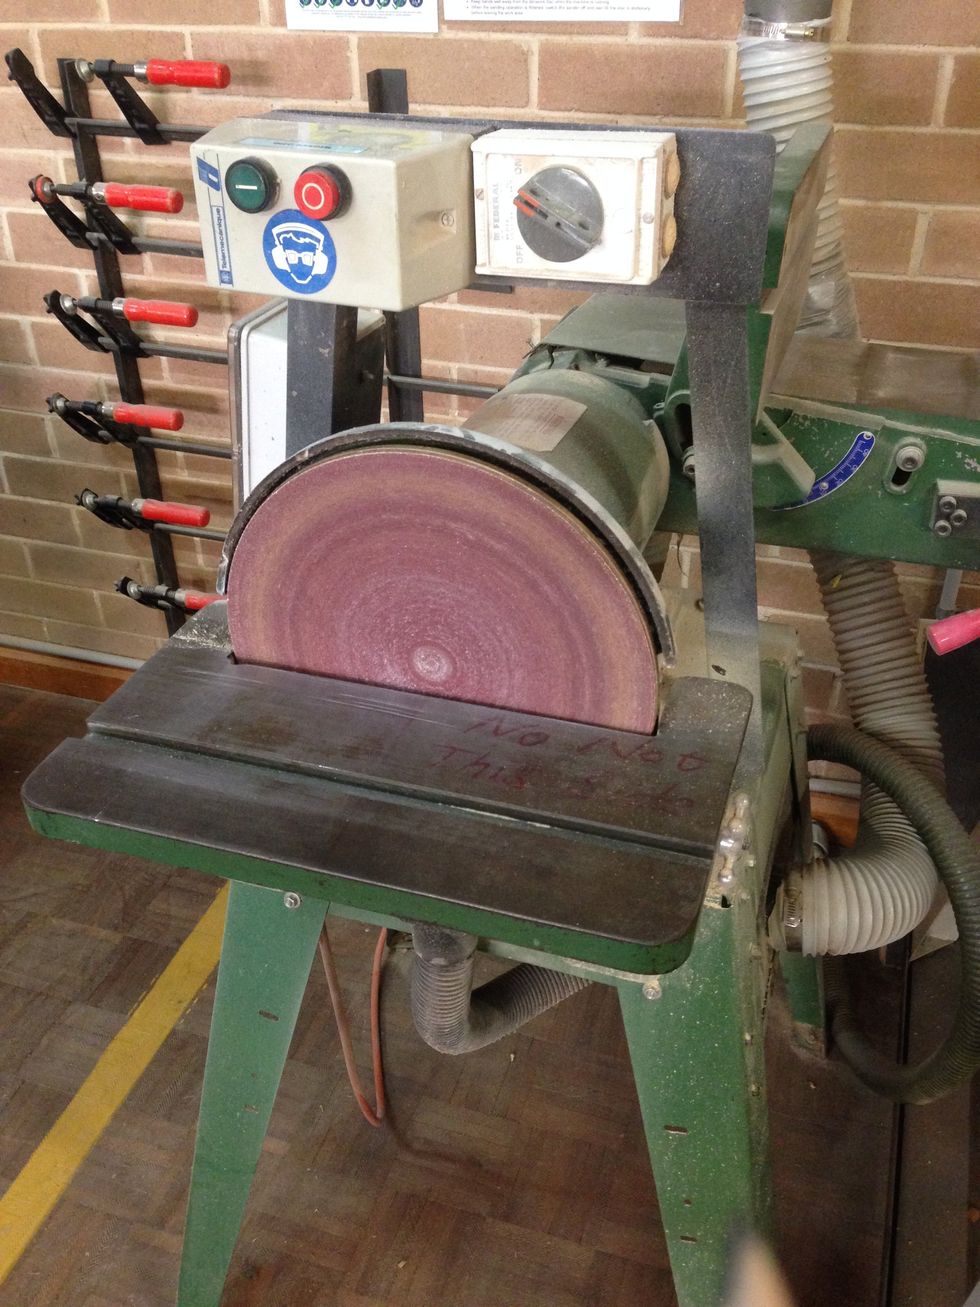
For this simple design, the next step is to use the Disc Sander.
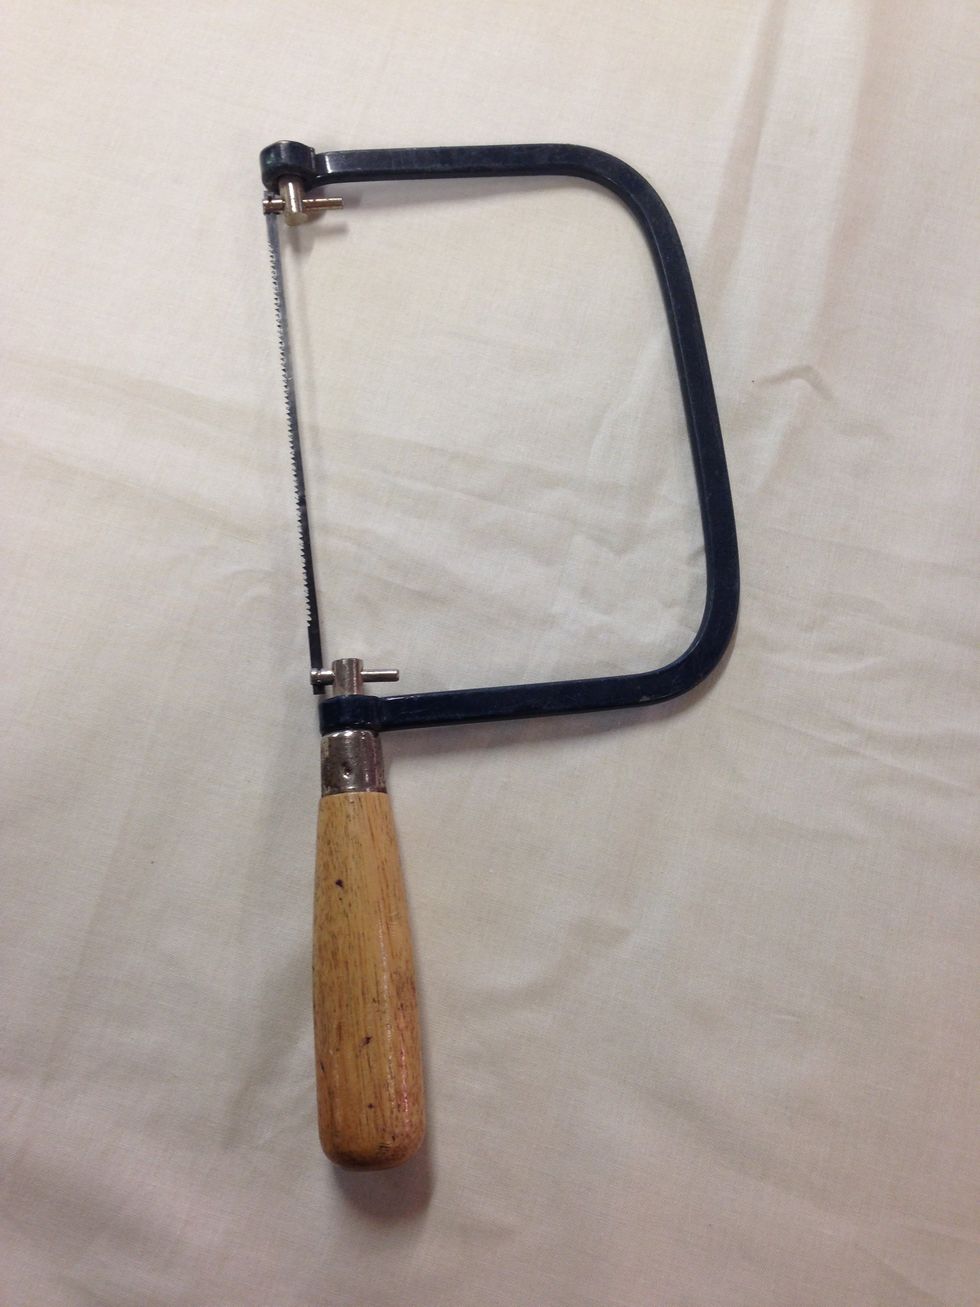
For more intricate designs, you may need to use a coping saw and sand it by hand.
Here are your two pieces once they have been sanded.
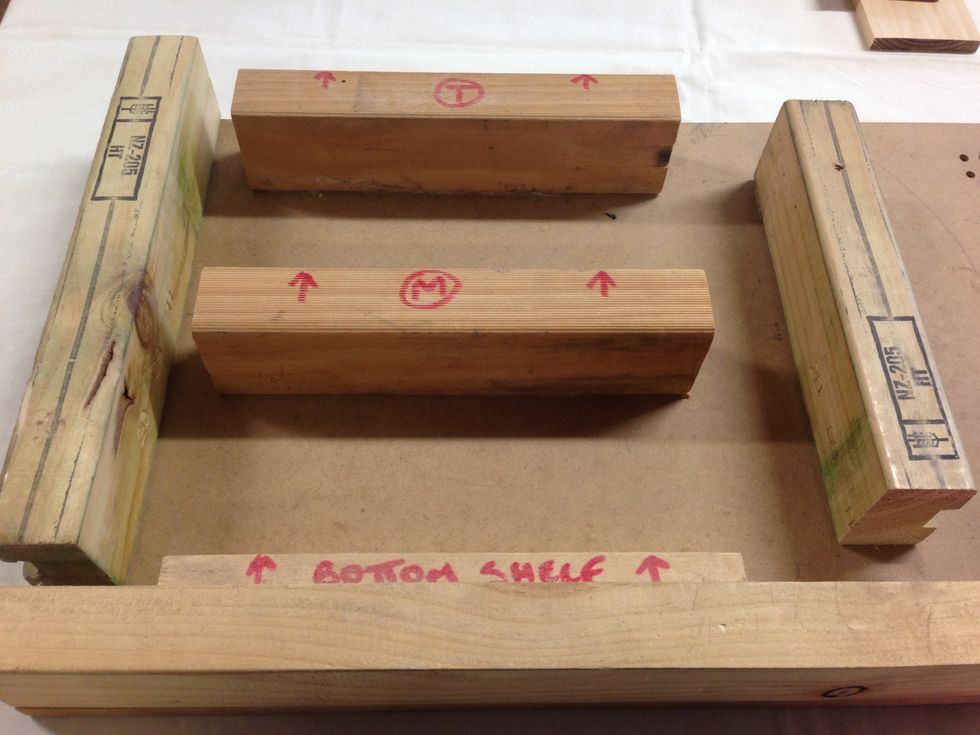
Now you are to use this jig to mark out your dowels.
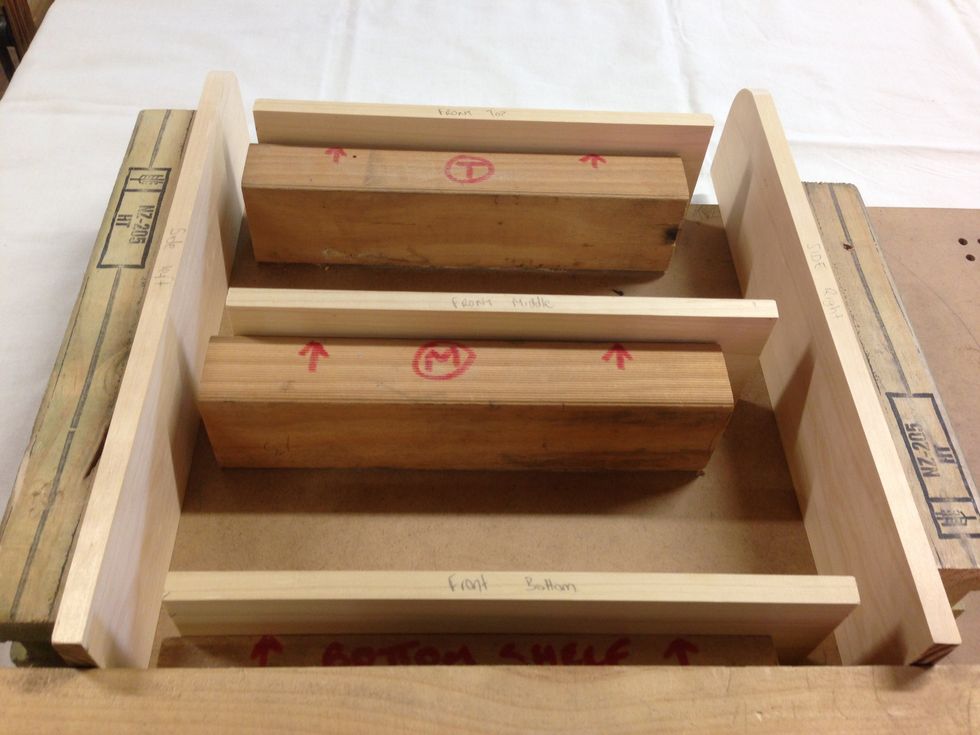
Place your pieces according to how you would like your shelves set out, as this jig allows you to adjust the spacing between the shelves.
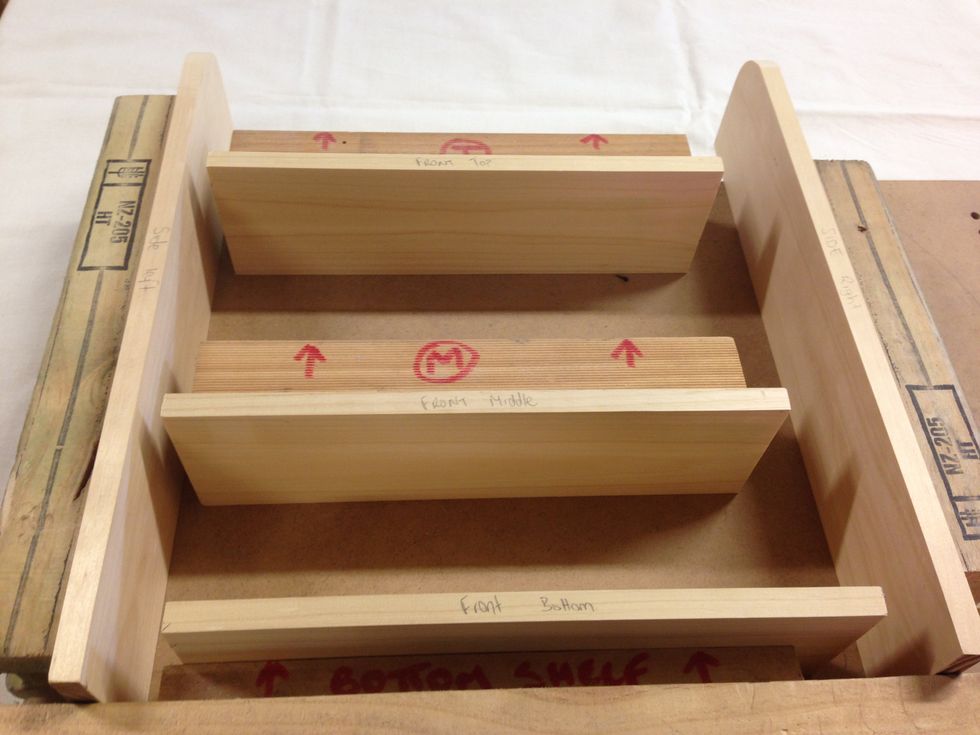
Here is another way of laying your shelves out.
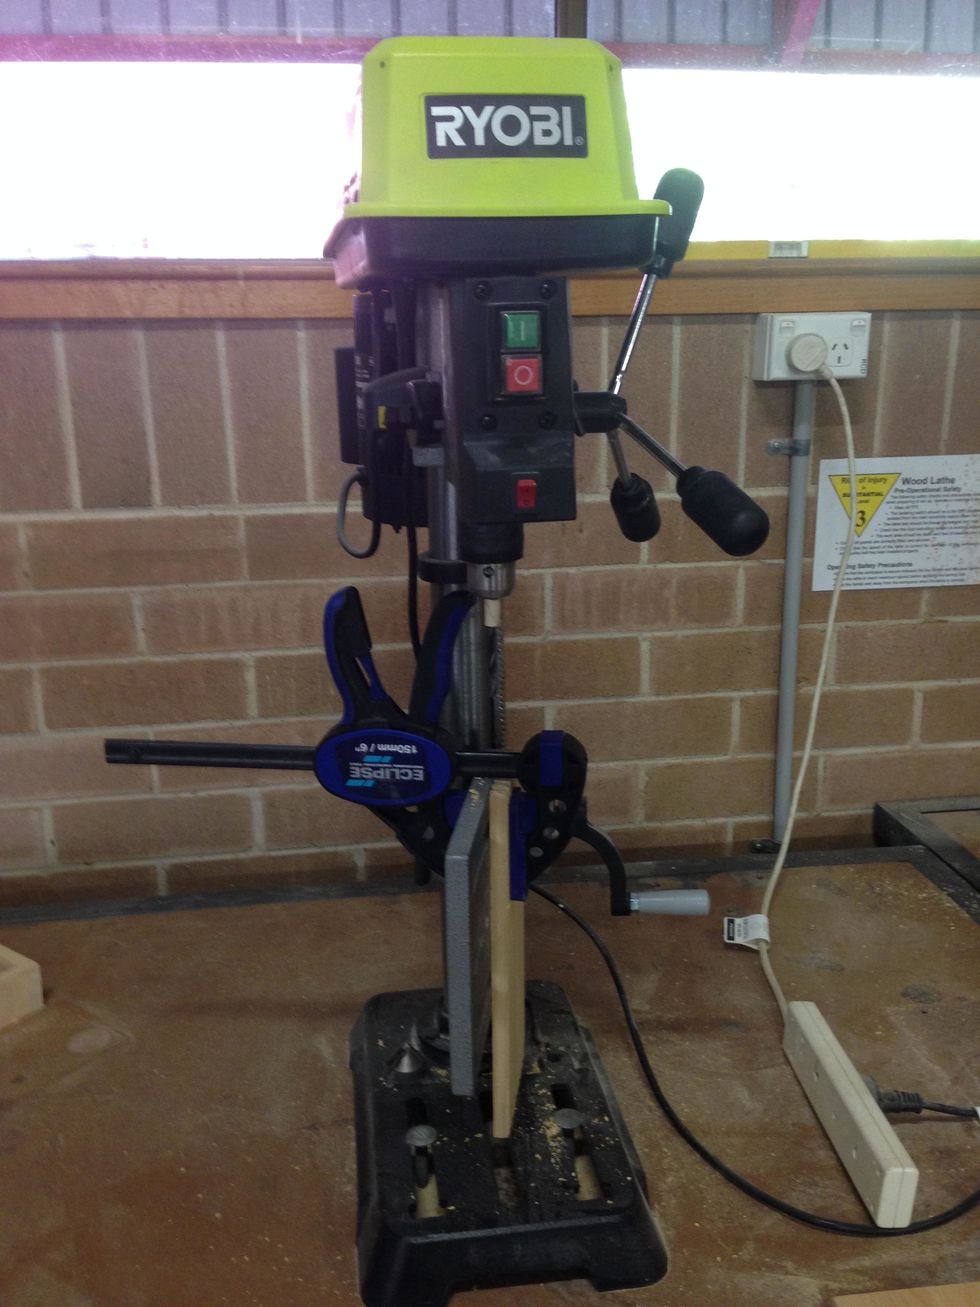
The next step is to drill the dowel holes for your shelves.
The drill press will be set up as shown. It is ready to use.
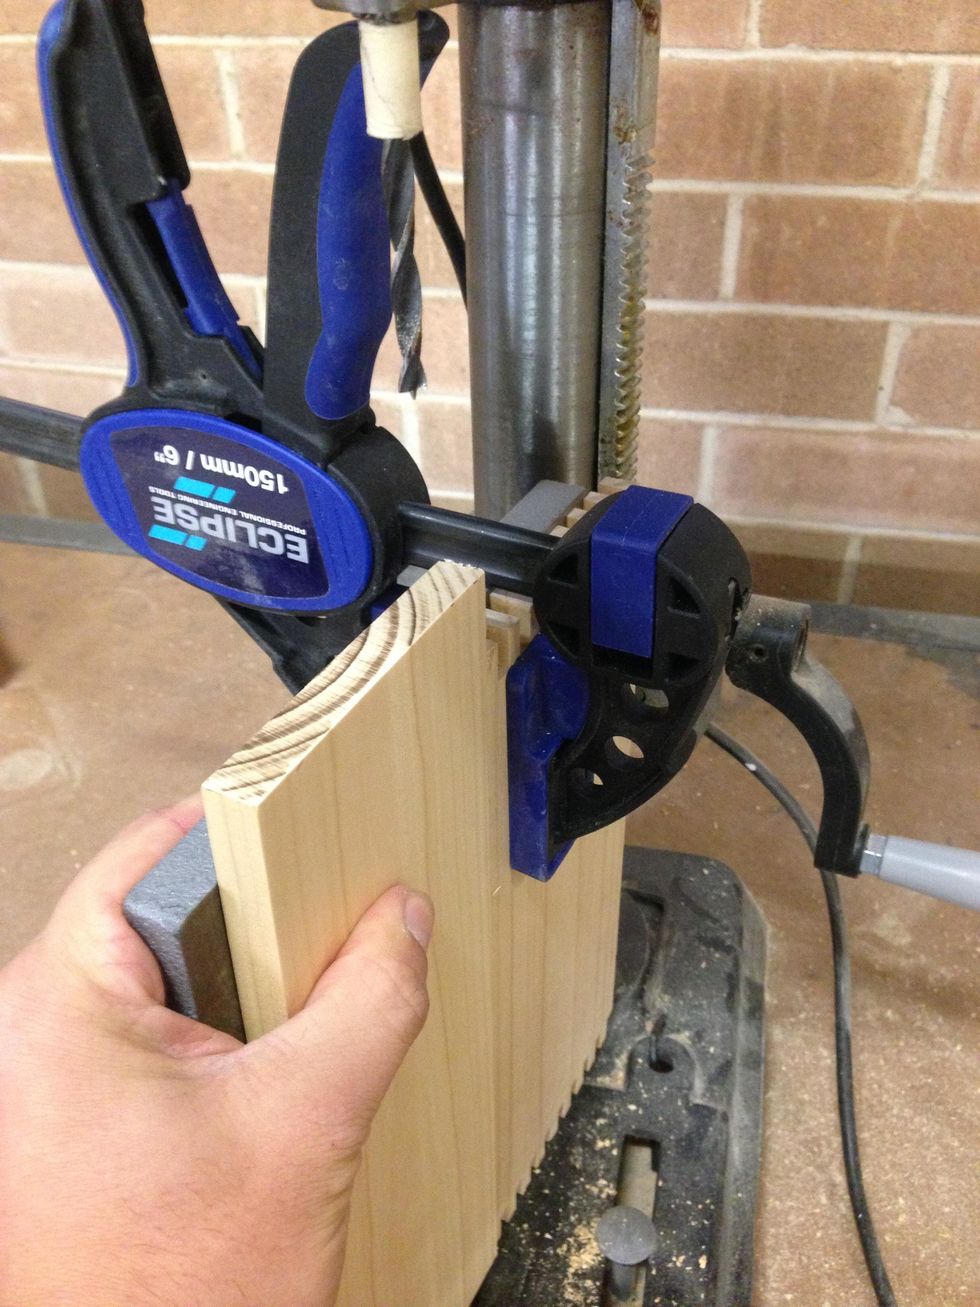
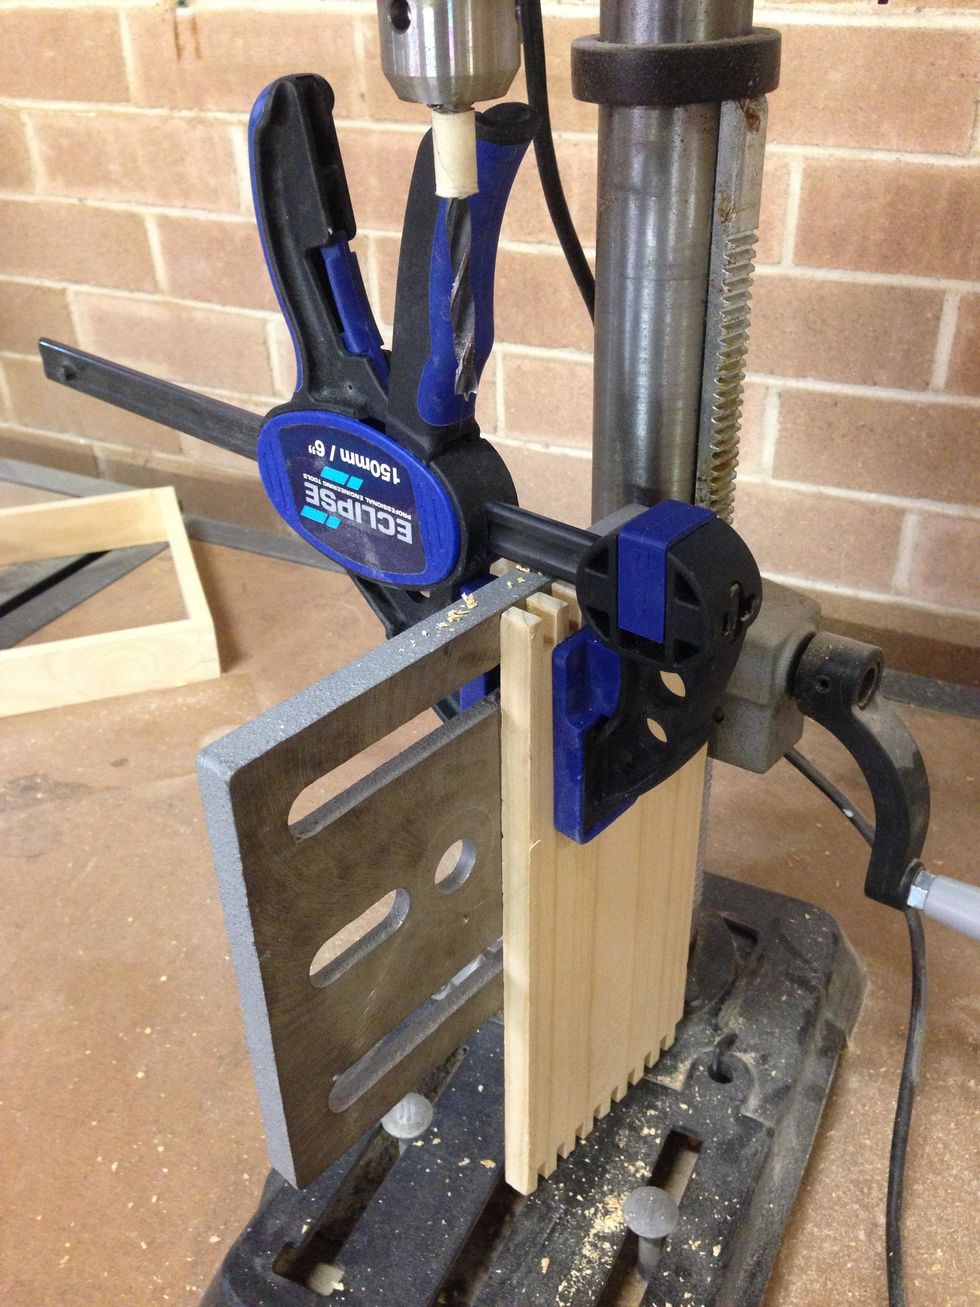
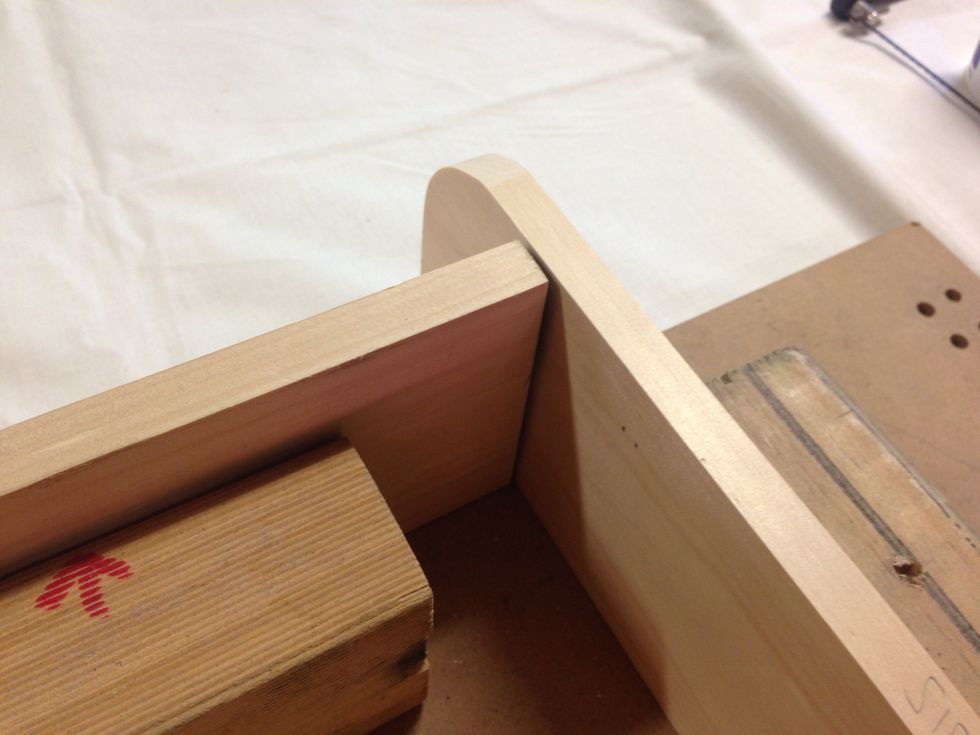
Butt your timber hard up against the clamped piece of timber. This puts your timber in the right spot to drill out your dowel holes.
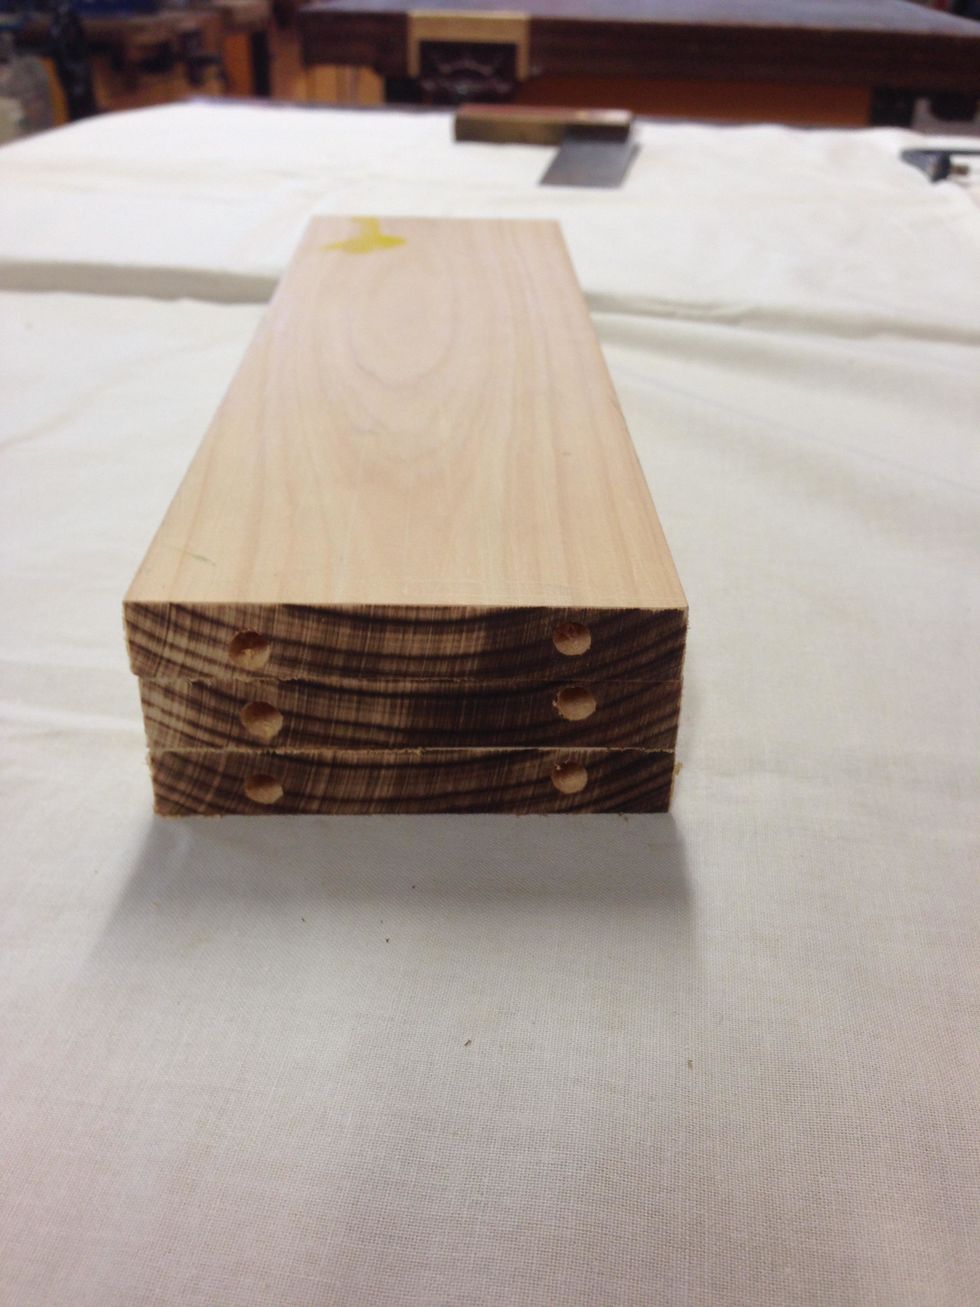
Here are all three shelves drilled out.
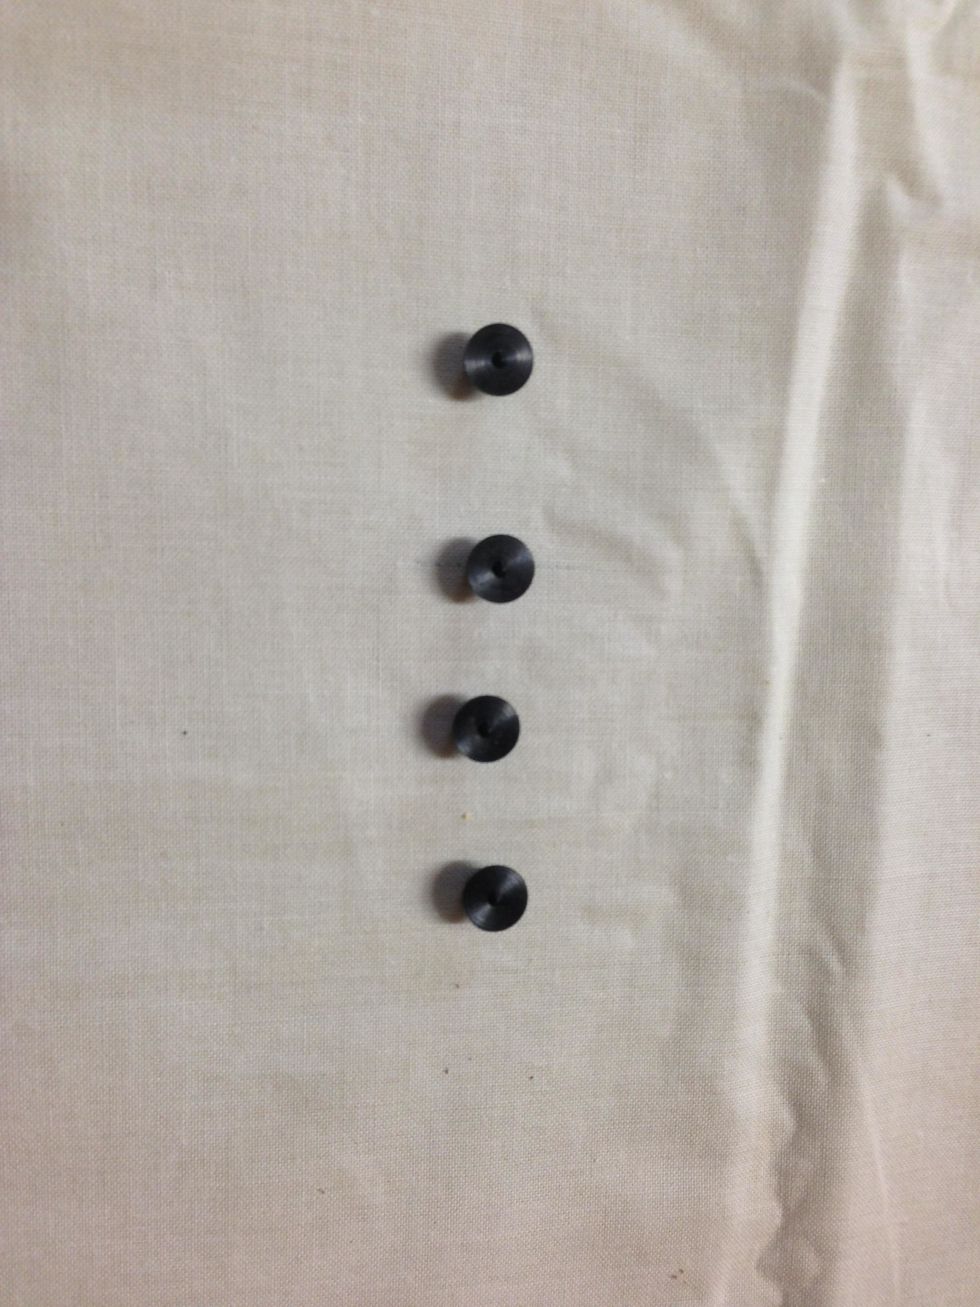
These are dowel pins. They are vital in positioning your dowels correctly on your side pieces.

This is how the dowel pins are used. You place them inside the holes that you previously drilled in your shelving pieces.

Placing your pieces back into position within the jig, press your shelf hard up against the side piece. The dowel pin will create an indentation on your side piece, which is your mark to work to.
Repeat the process to the other side of your piece. Both side pieces will be marked out for your holes. Repeat this process for all shelving pieces.
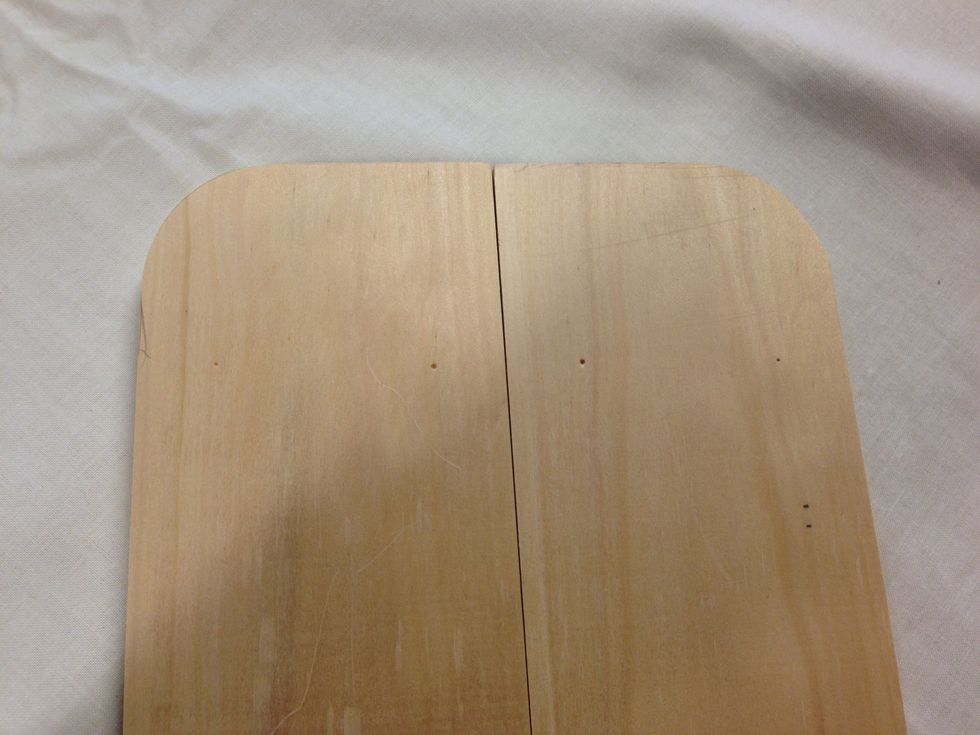
Here is how your side pieces show look once you have pressed your dowel pins into them.
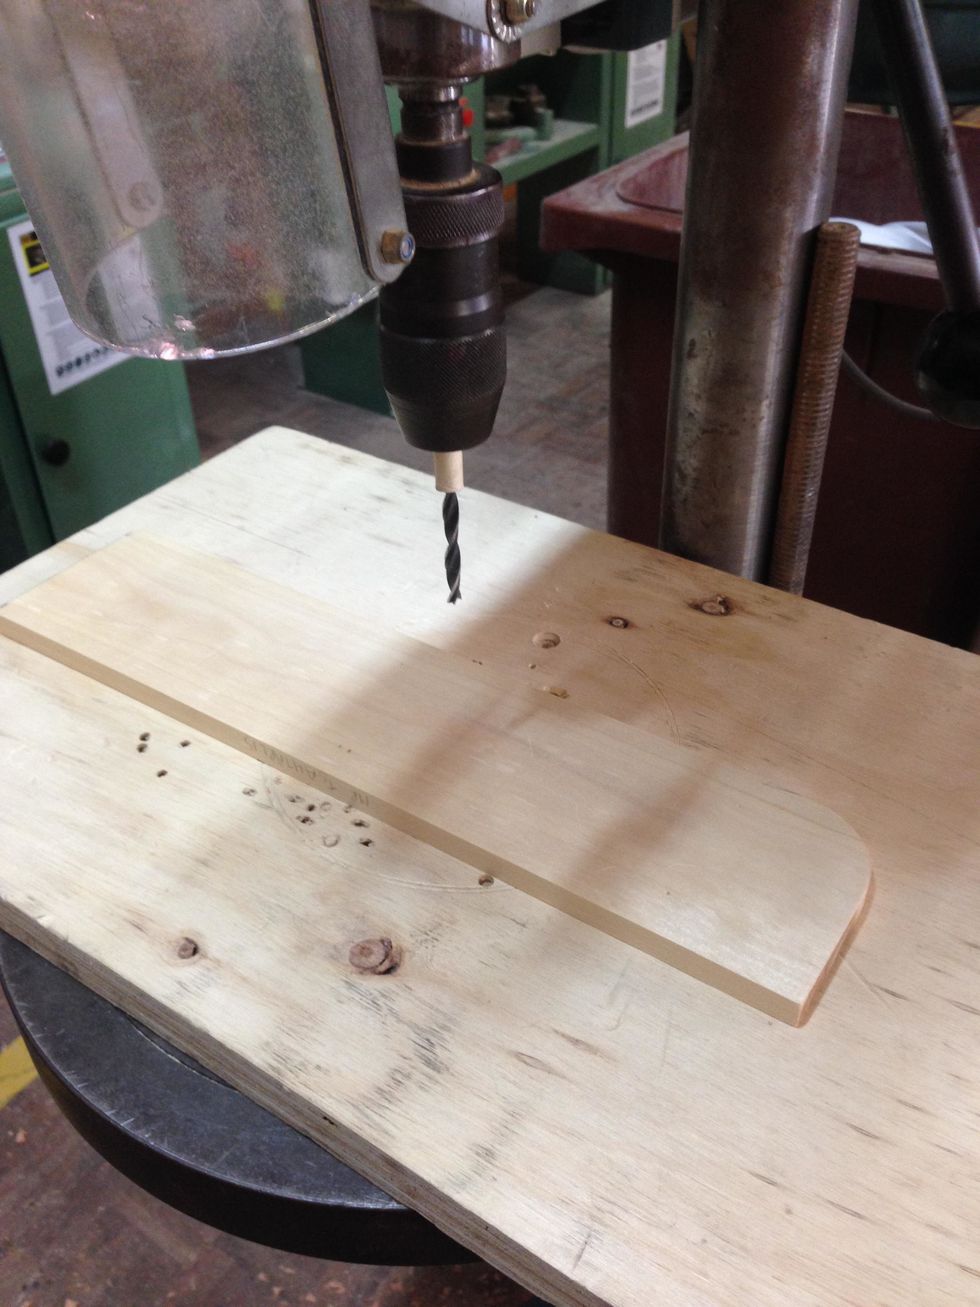
Using the other Drill press in the workshop, making sure there is a large piece of timber on the drill press table, drill out your dowel holes where they were marked by the dowel pins.
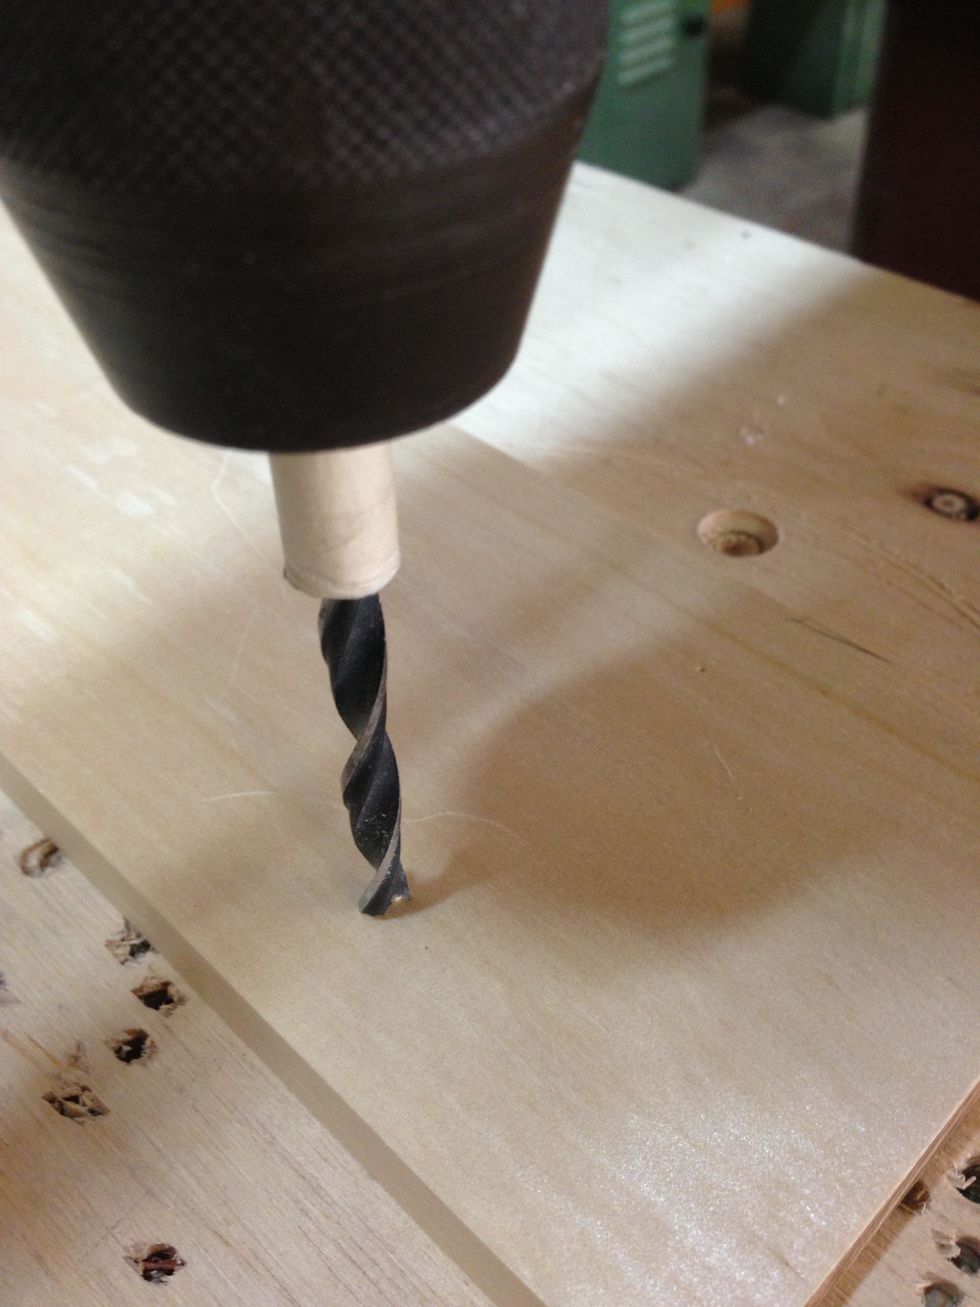
Here is the drill press in operation drilling out the holes.
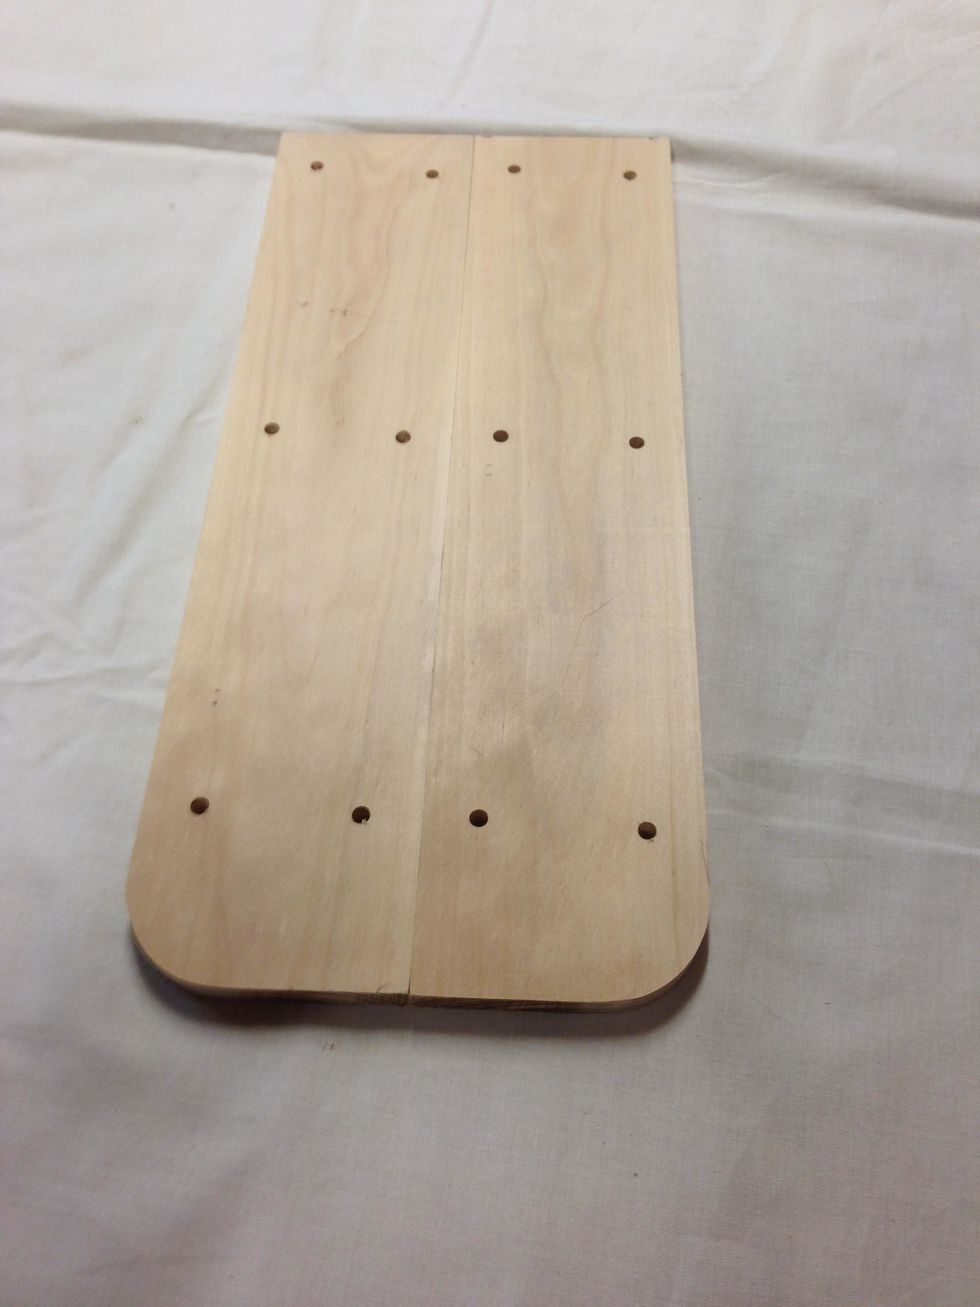
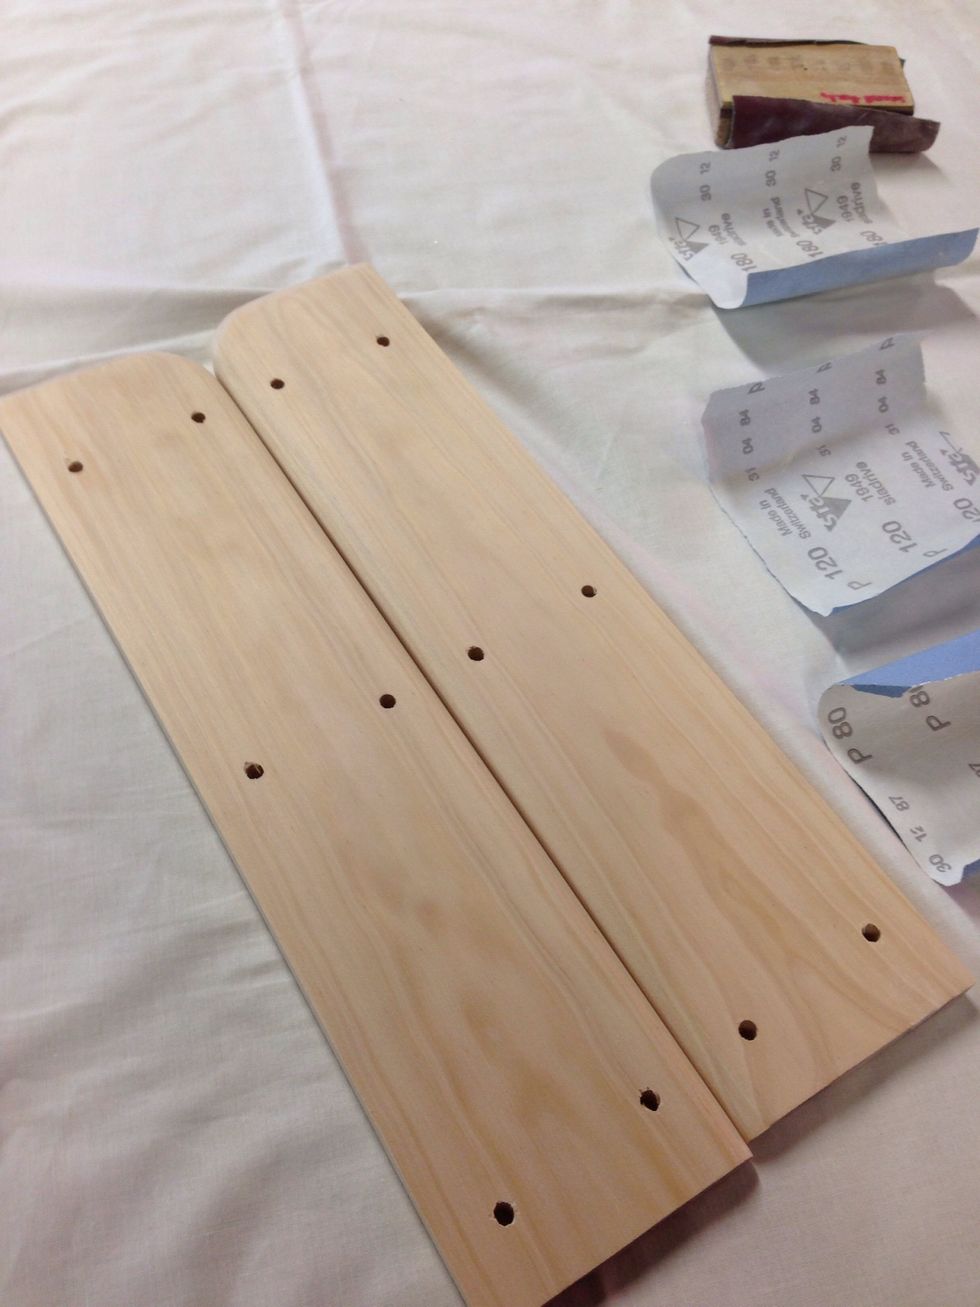
Here are your sides completely drilled ready to be joined to your shelves.
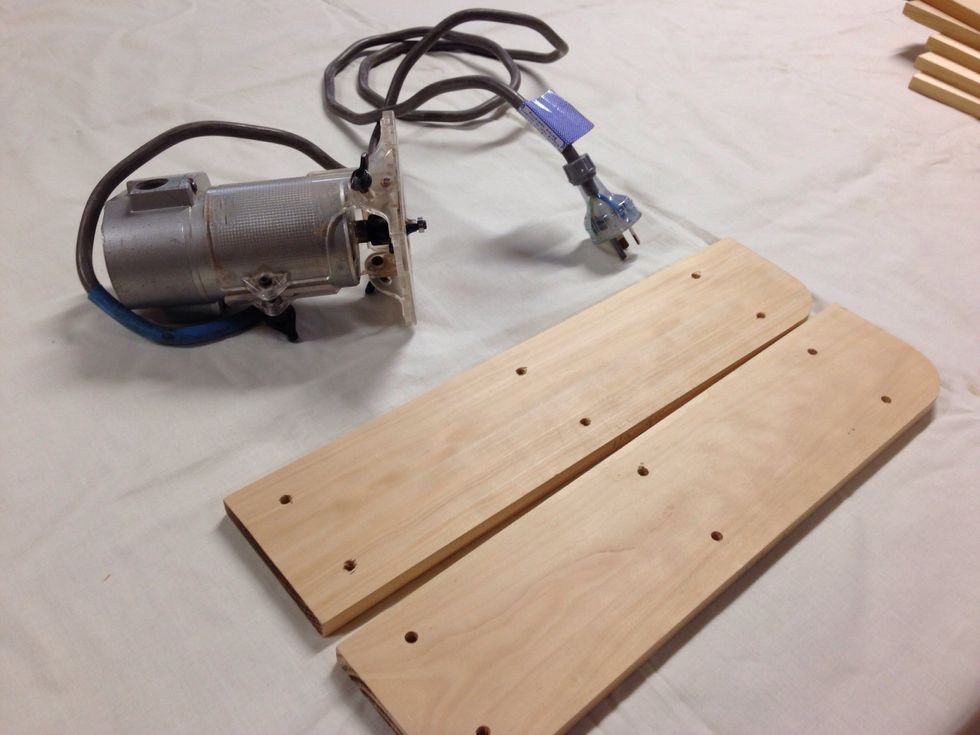
Now you are ready to add a profile to the edges of your side pieces using a trimmer router. Where you add this profile is entirely up to you. In this instance, it will be added to the external edges.
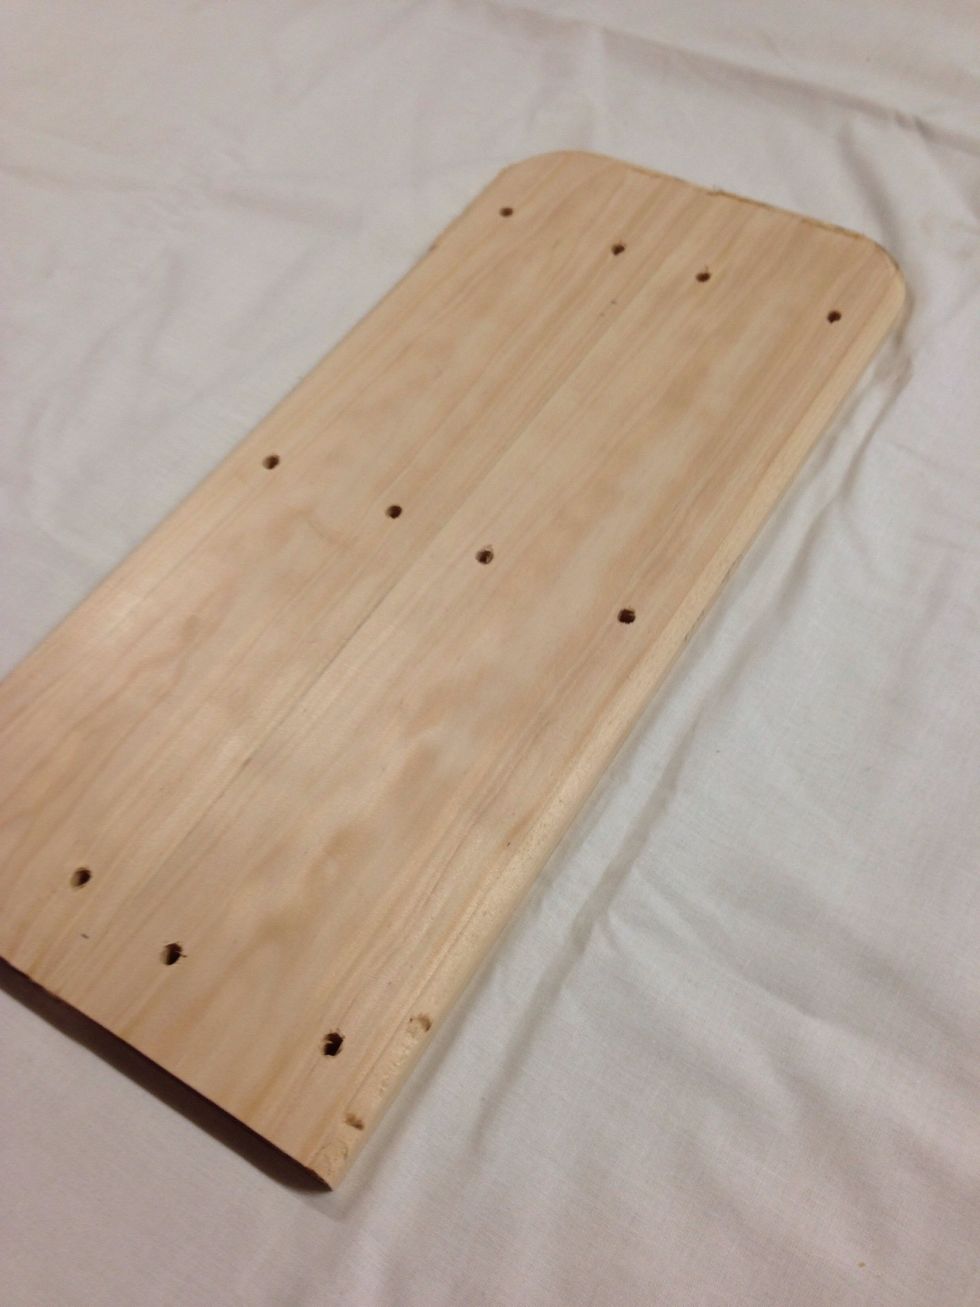
This is what your sides will look like once you have added the profile.
Now sand all surfaces of your spice rack. Remember to start with 80 grit, continuing on with 120, then 180 and finally 400. This will give you a premium surface to apply a quality finish.
This is what you pieces should look like once you have completed the sanding process.
You are now ready to begin applying a finish to the internal sections of your storage rack.
Firstly, using a pencil and a tri-square, rule lines on the internals of your side pieces as shown in the picture. This is so you have a non finished surface for the PVA glue to grab onto when gluing.
Apply a finish as shown in the picture. Notice how in between the ruled lines is not finished!!
Apply 3 coats of Estapol to all internal parts of your storage rack. This is done at this stage as it becomes difficult to finish internals once rack has been glued.
Here are all the pieces after 3 coats of Estapol. The rack is now ready to be glued together.
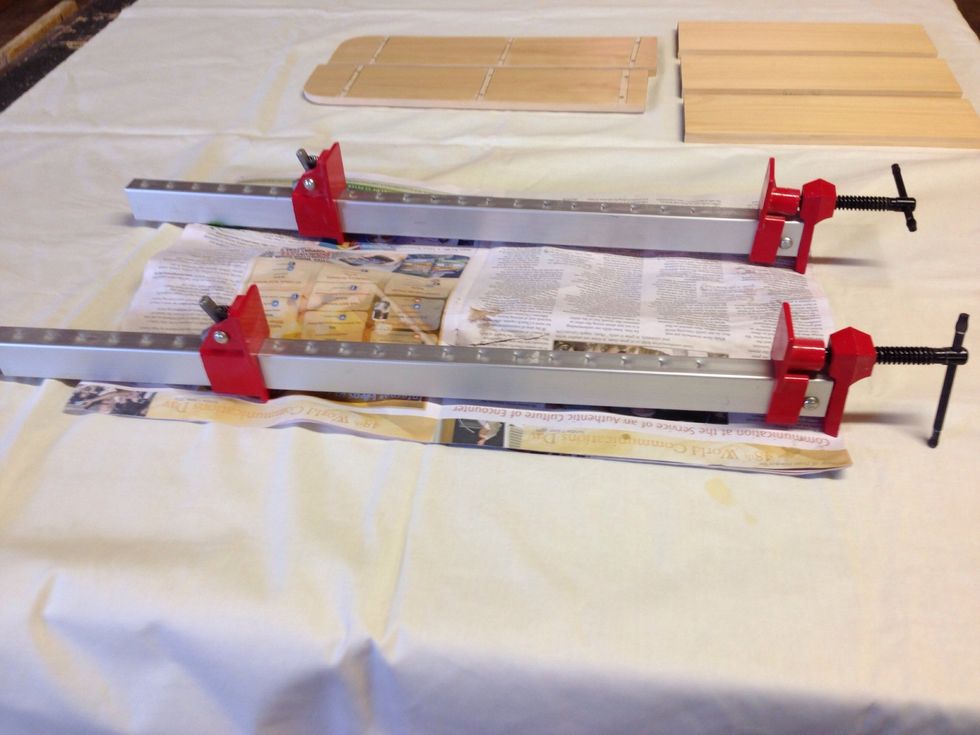
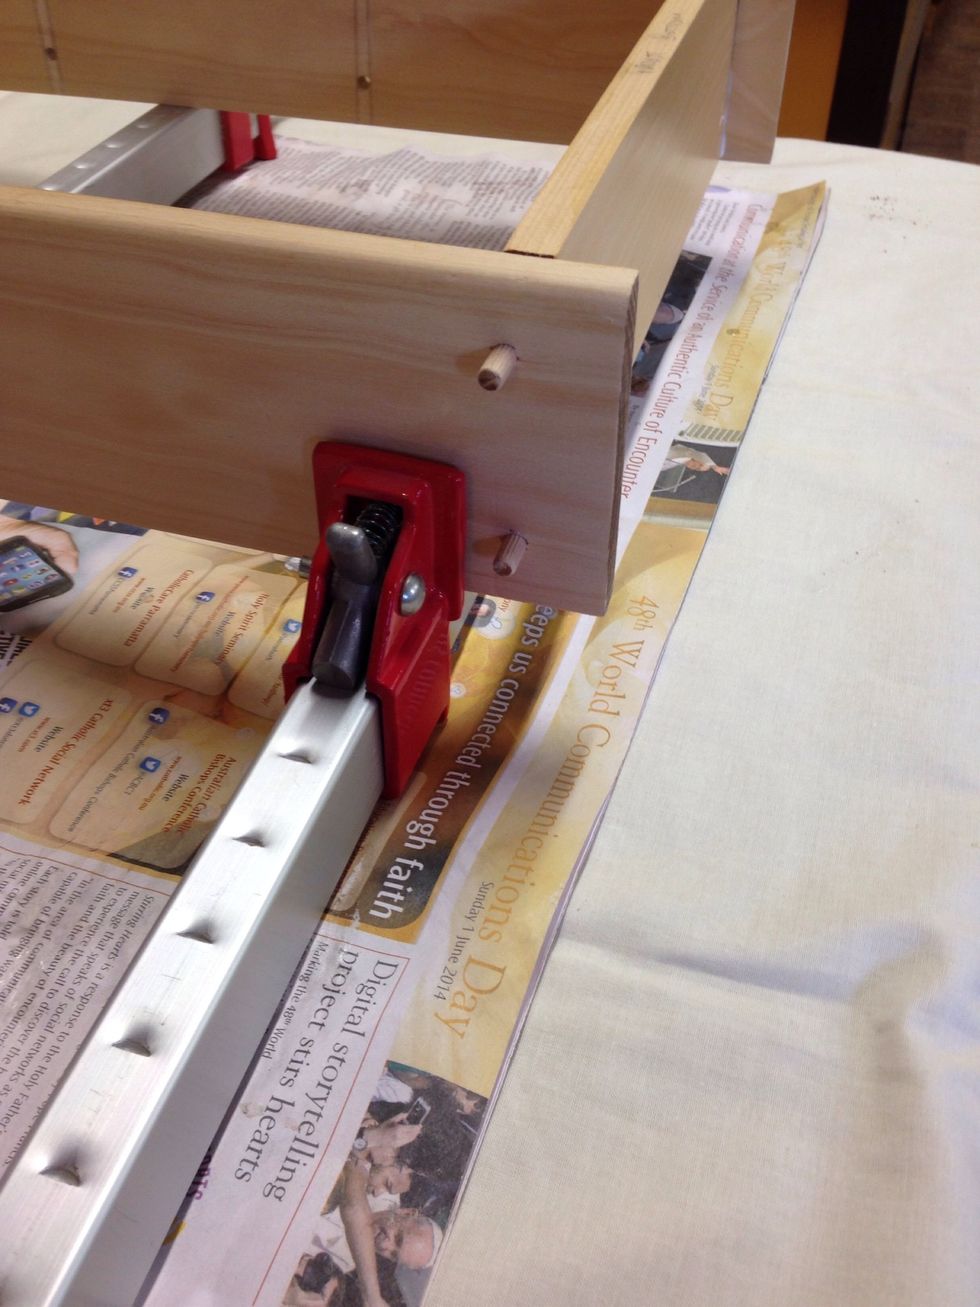
To glue your rack together, use the lightweight sash cramps as they will offer sufficient clamping capabilities for what is needed.
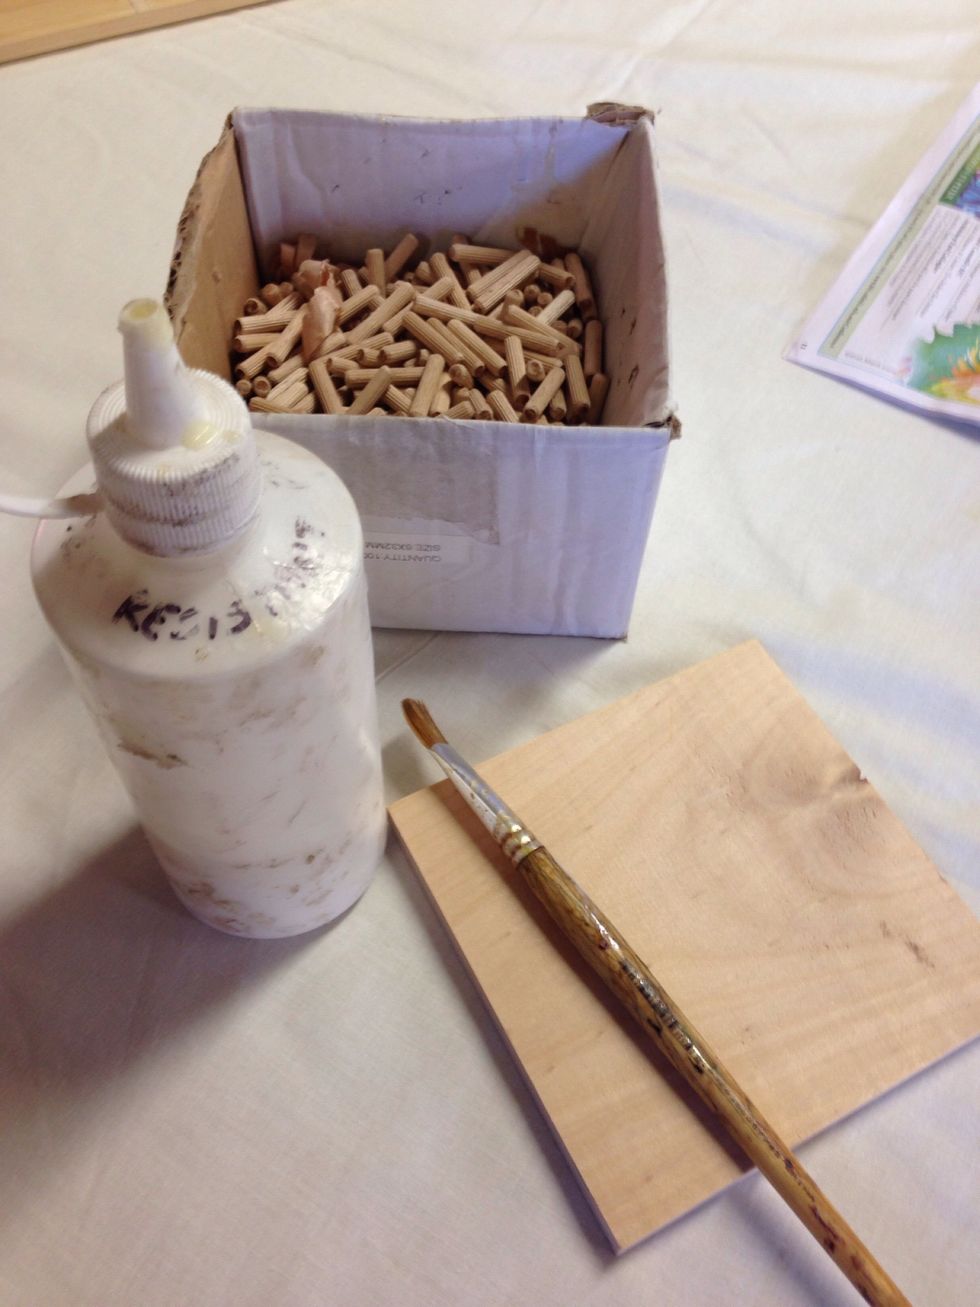
To glue the rack together, we are using 6mm dowels and PVA glue to create a strong fixture.

Squeeze a sufficient amount of PVA onto a scrap piece of timber and apply using a thin paint brush.

When applying the glue, ensure that you squeeze some glue into the dowel holes.

This is how your piece should look once you have placed the dowels inside the dowel holes.
Place your first shelf into one of your side pieces. Make sure the you have the shelves in the correct position otherwise the holes will not match up. Repeat this process for the remaining two shelves
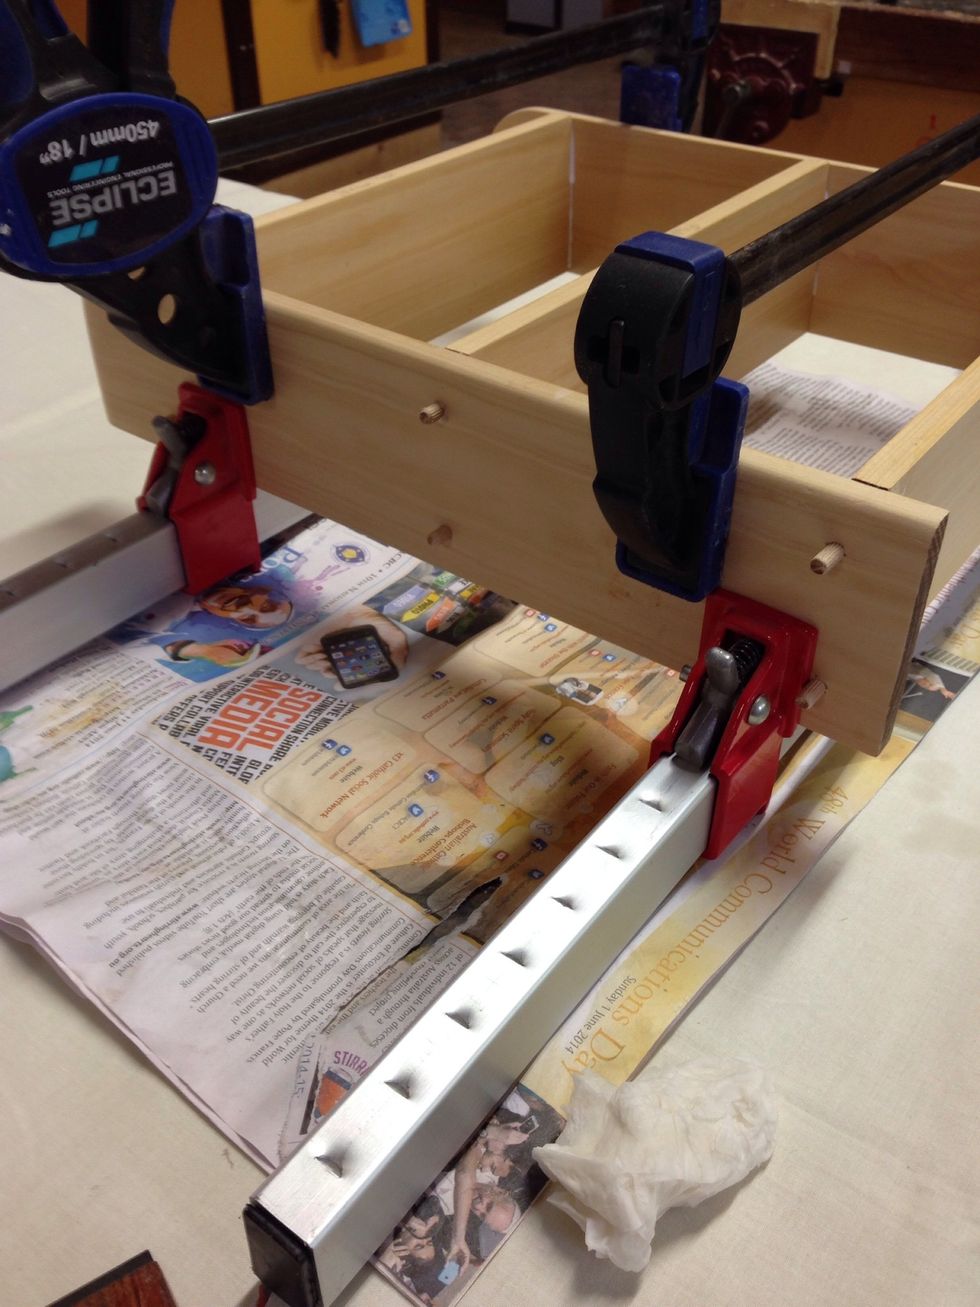
Once you have joined all of your shelves to your two side pieces, begin clamping. Be sure to use the sash clamps to initially clamp your rack together.
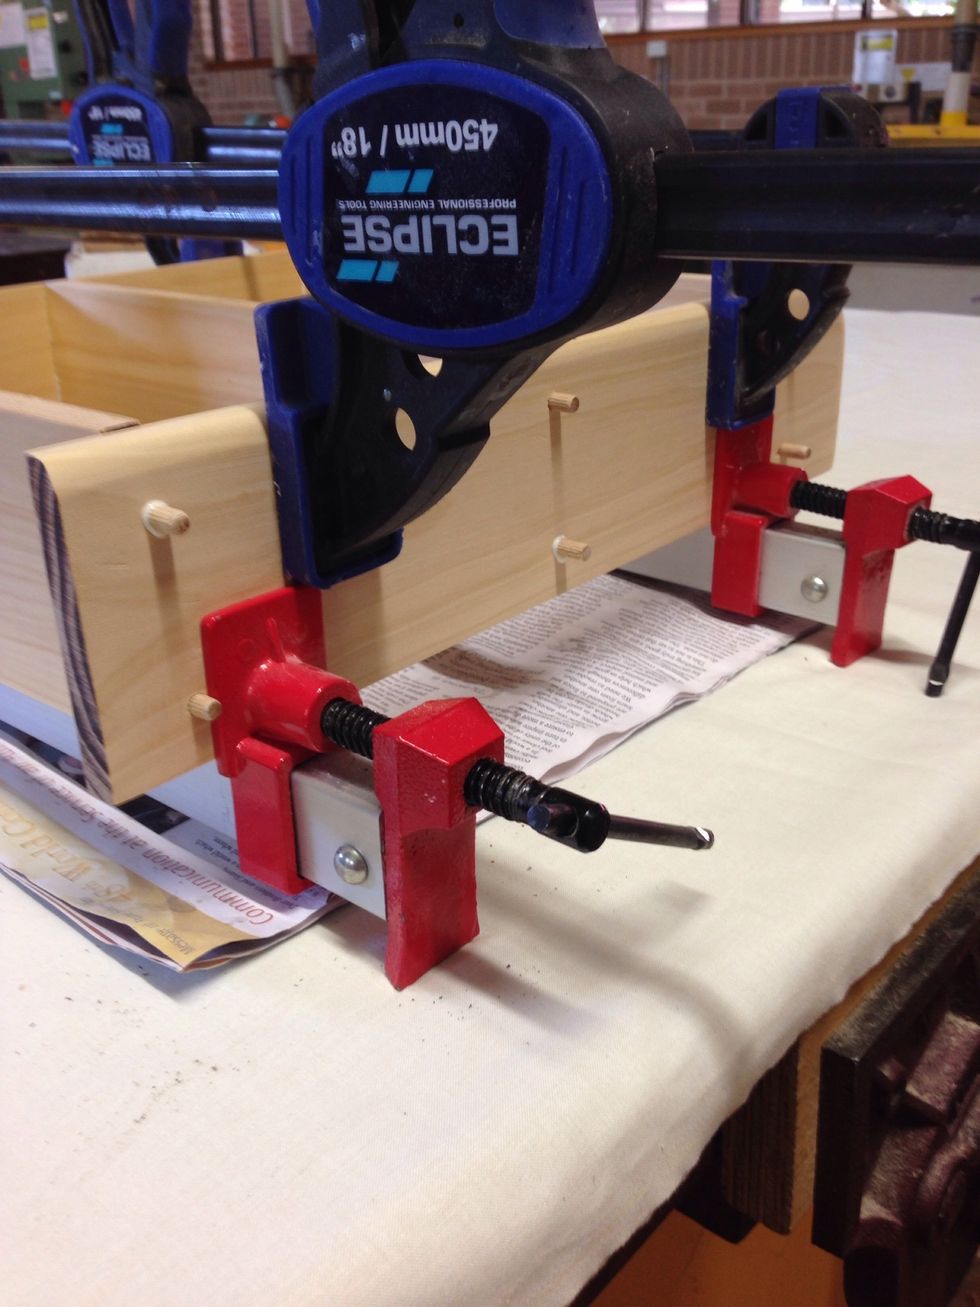
The quick grip clamps may be used to clamp the top of your rack if there are no more sash clamps in the room.
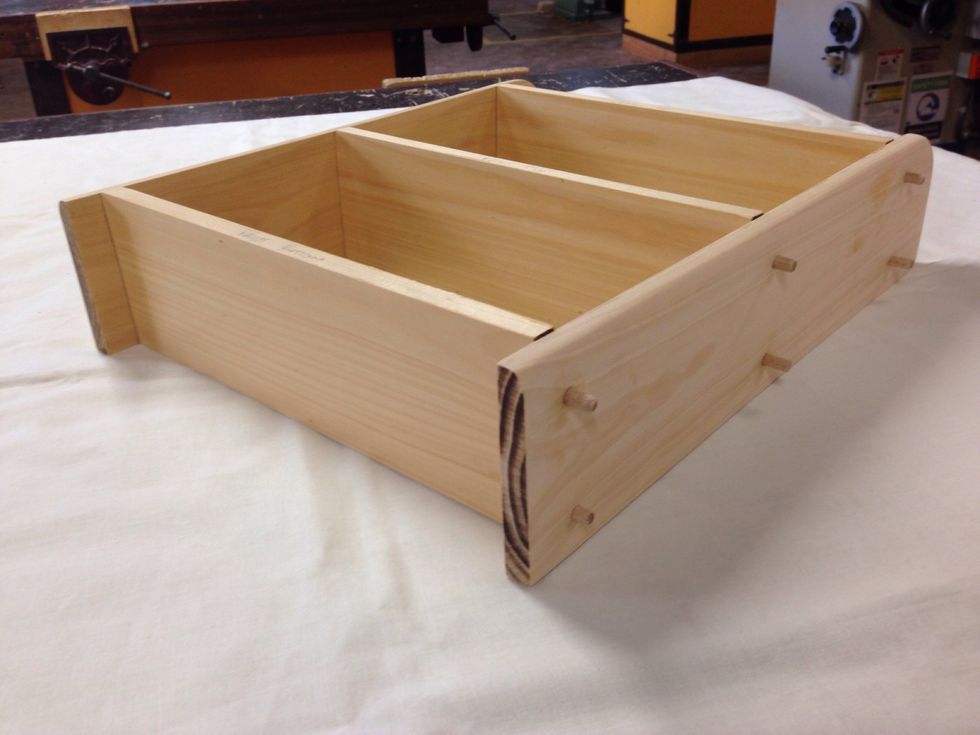
This is how your rack should look once you have taken it out of your clamps.
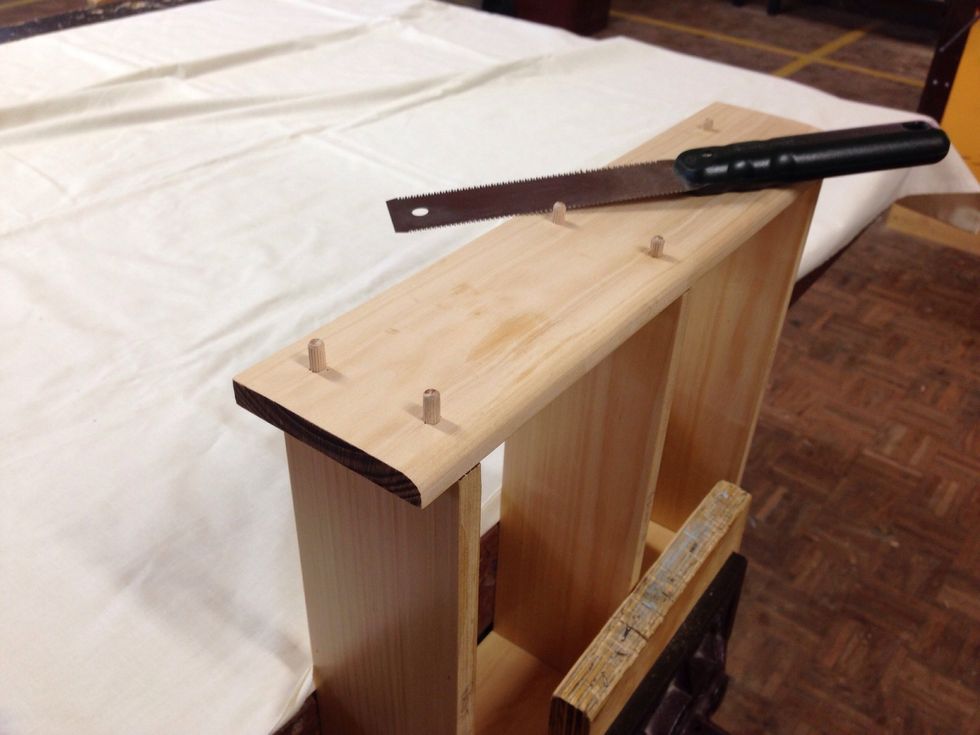
Using a flush cut saw, cut off the remainder of the dowels that are sticking out after gluing.

When using the flush cut saw, remember the techniques learnt in class. Apply pressure on the blade and bend the handle up when cutting.
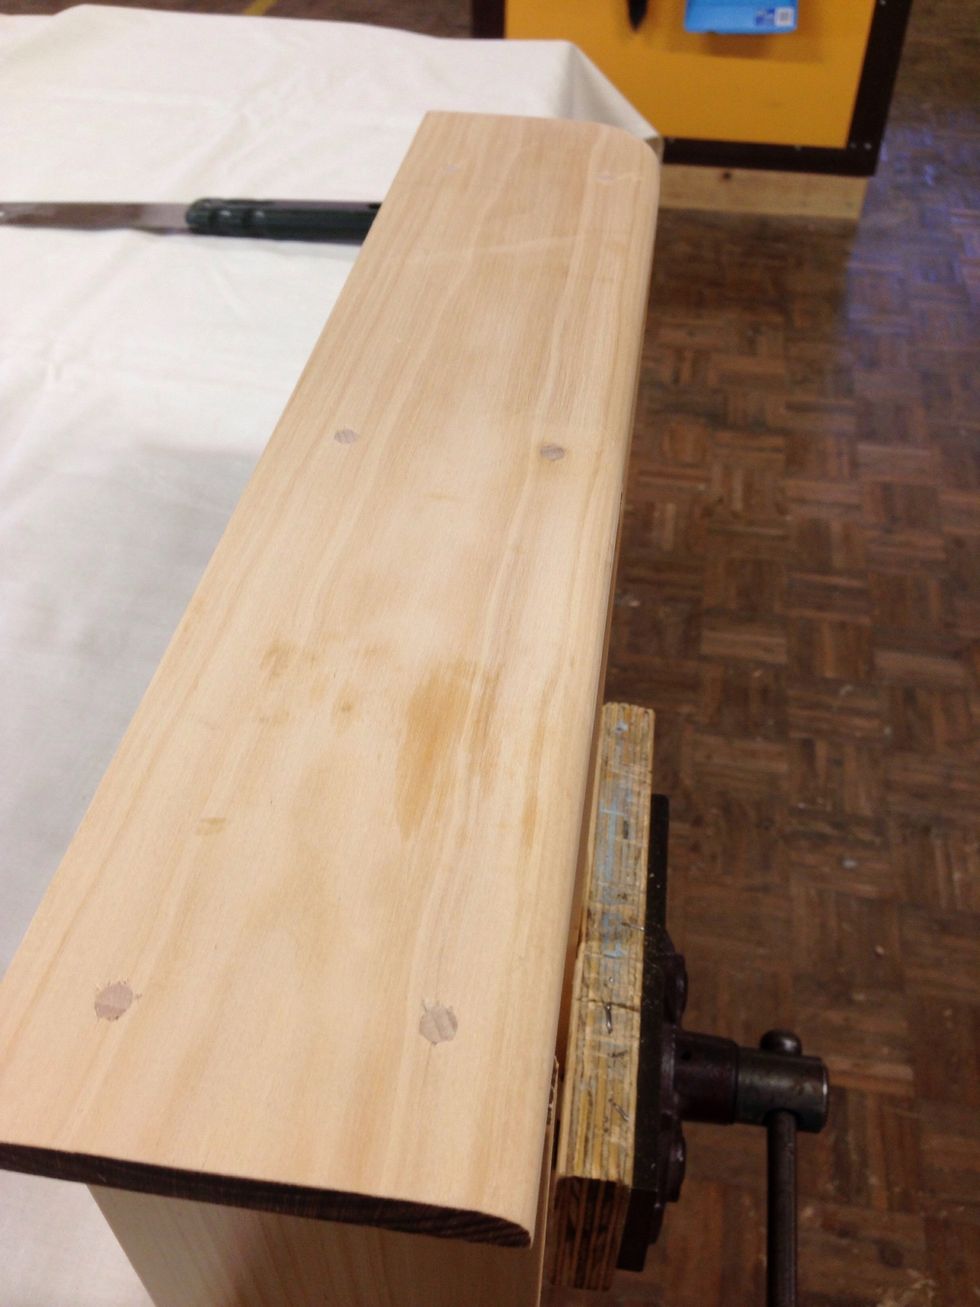
This is how your rack should look once you have flush cut your dowels. Now begin preparation process for applying a finish. Be sure to complete this process to both sides.
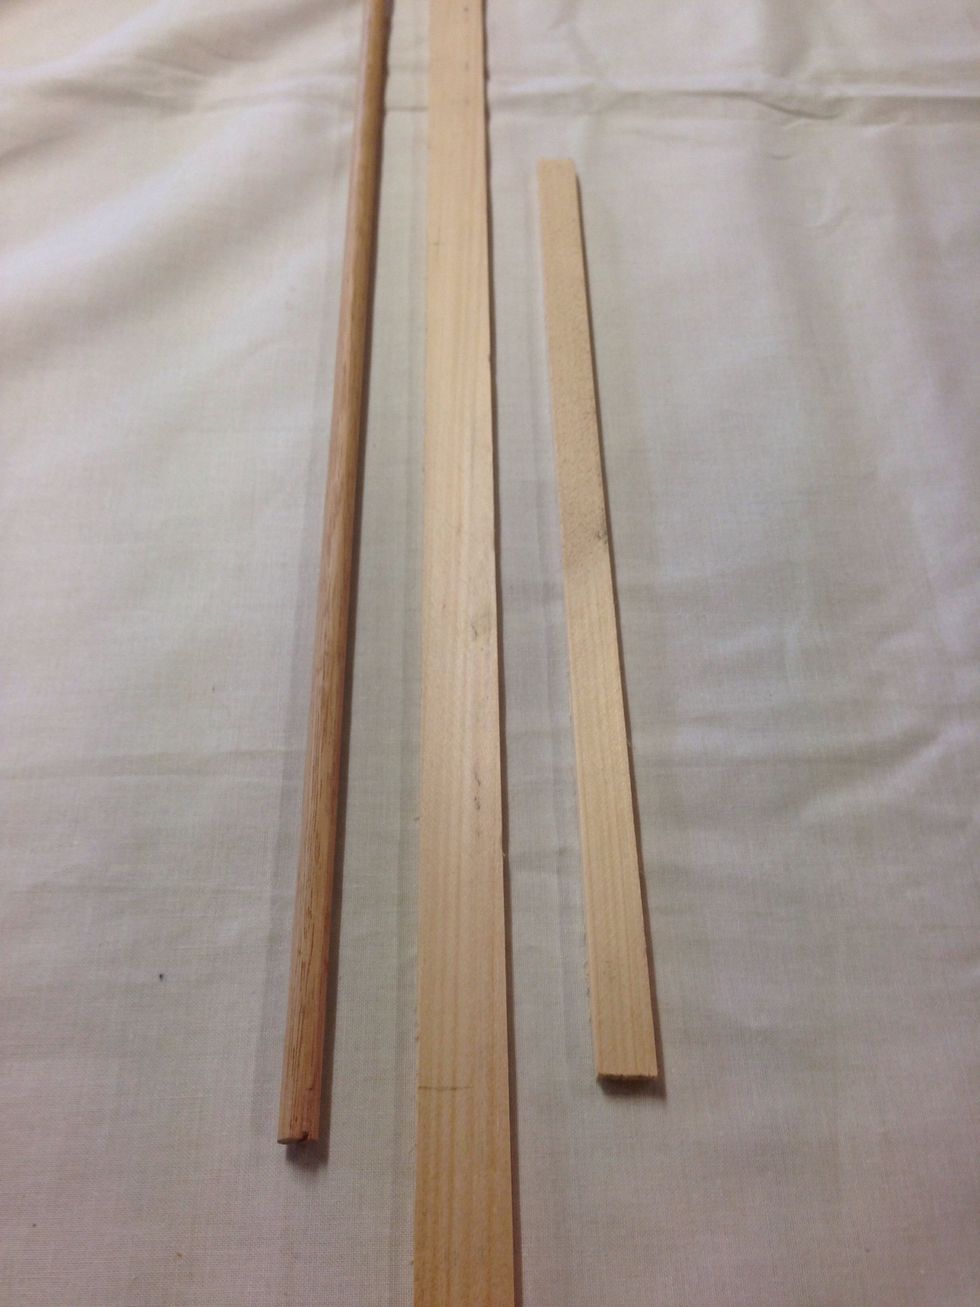
It is now time to choose your railing feature. There are three options. Dowel rod, face nailed rail or flush fitting rail. The decision is totally up to you!!
Once you have chosen your type of rail, ask the classroom teacher to show you how to fix that rail to your spice rack.
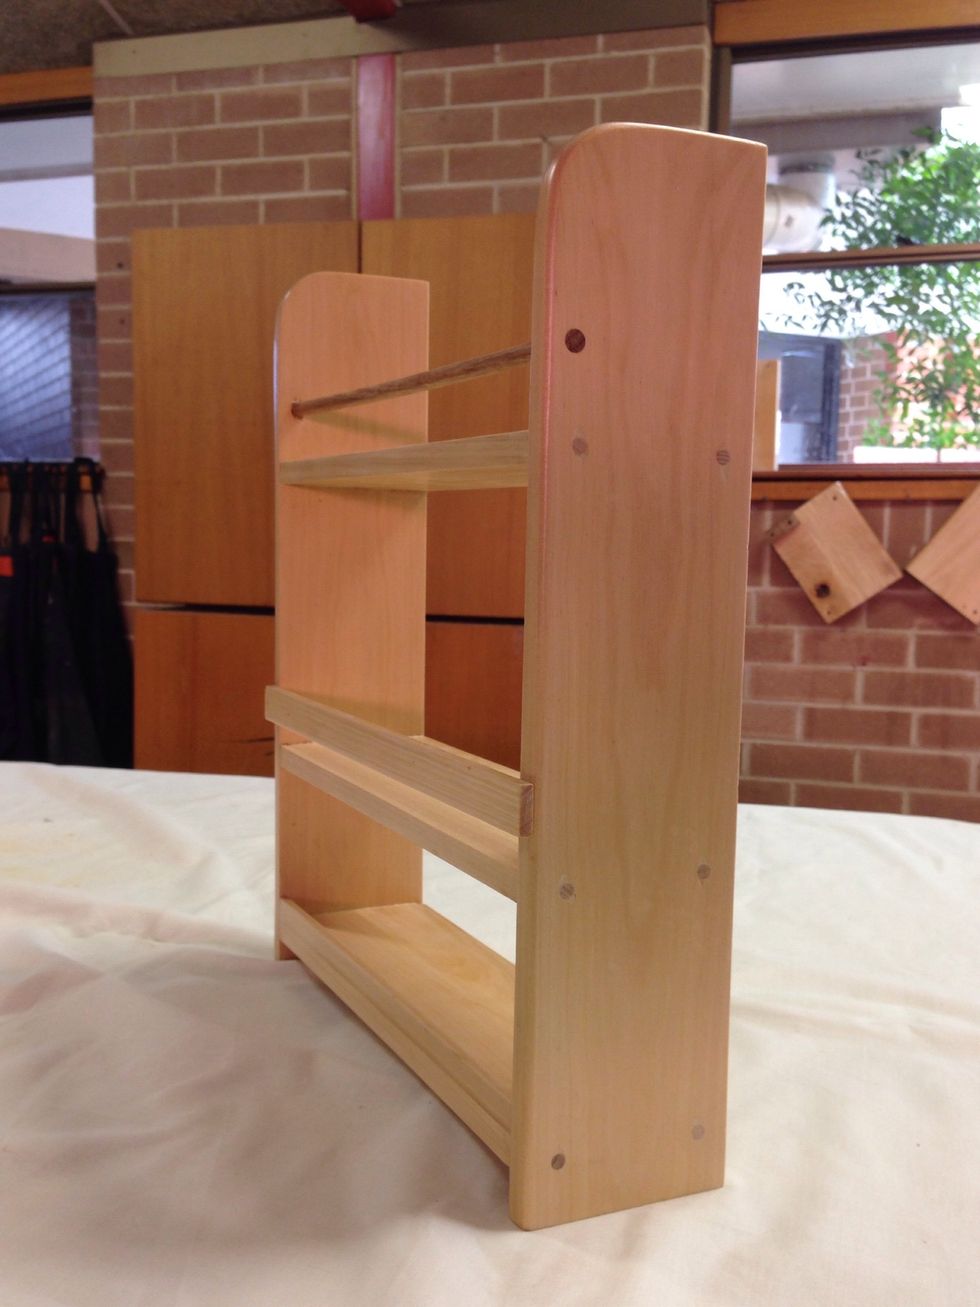
Here is the finished product with all 3 types of railing as a sample. And your done!!