The Conversation (0)
Sign Up
My preferred polishes: OPI, China Glaze. I've found that these work very well in adhering best to the nail as well as work well with the water. You may also want to try Orly nail polish!

Step 1: Get your polish ready. I usually pick 3 to 4 different colors to keep it simple. You can use less or more, depends on how funky you wanna get 😜
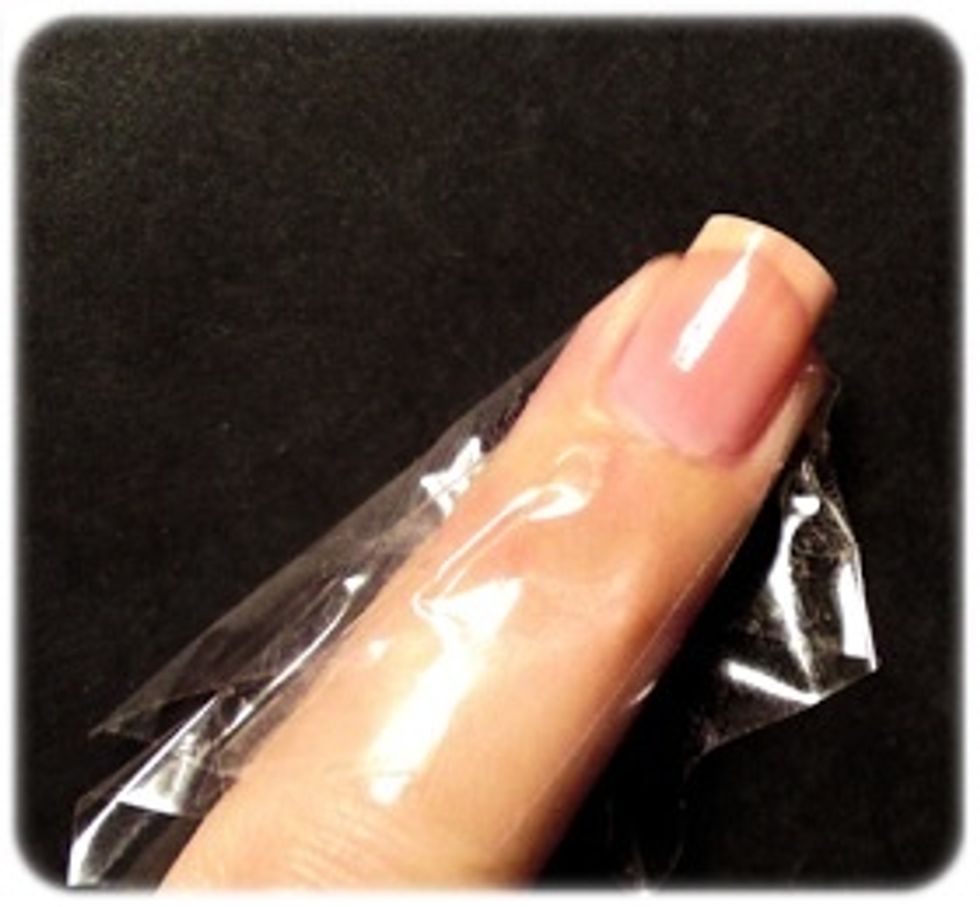
Step 2: Take scotch tape and wrap around the top of the nail base & on the sides to prevent excess polish from getting on the skin. Plus the clean-up process is much easier after you're done!
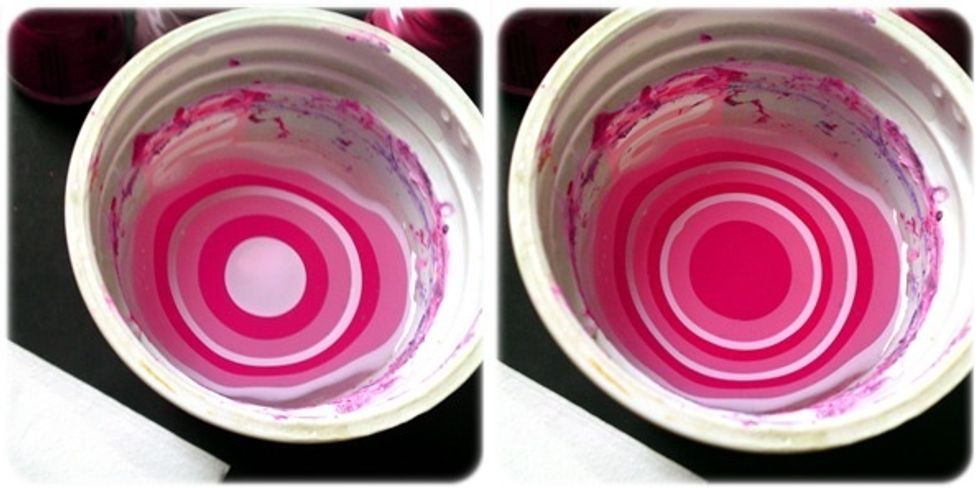
Step 3: Drip a drop of each color polish you've chosen. One on top of the other close to water surface. Make sure you do it quickly to prevent the polish drying on the surface of the water.

Step 4: Take your toothpick and make a design that you like! Wipe off the toothpick before drawing, so the polish won't stick on and ruin the whole design you're trying to get.

Step 5: When you're happy with the design you made, place your nail above the design you want to show on the nail and dip it into the water.You can also dip more nails at the same time (2 at most)
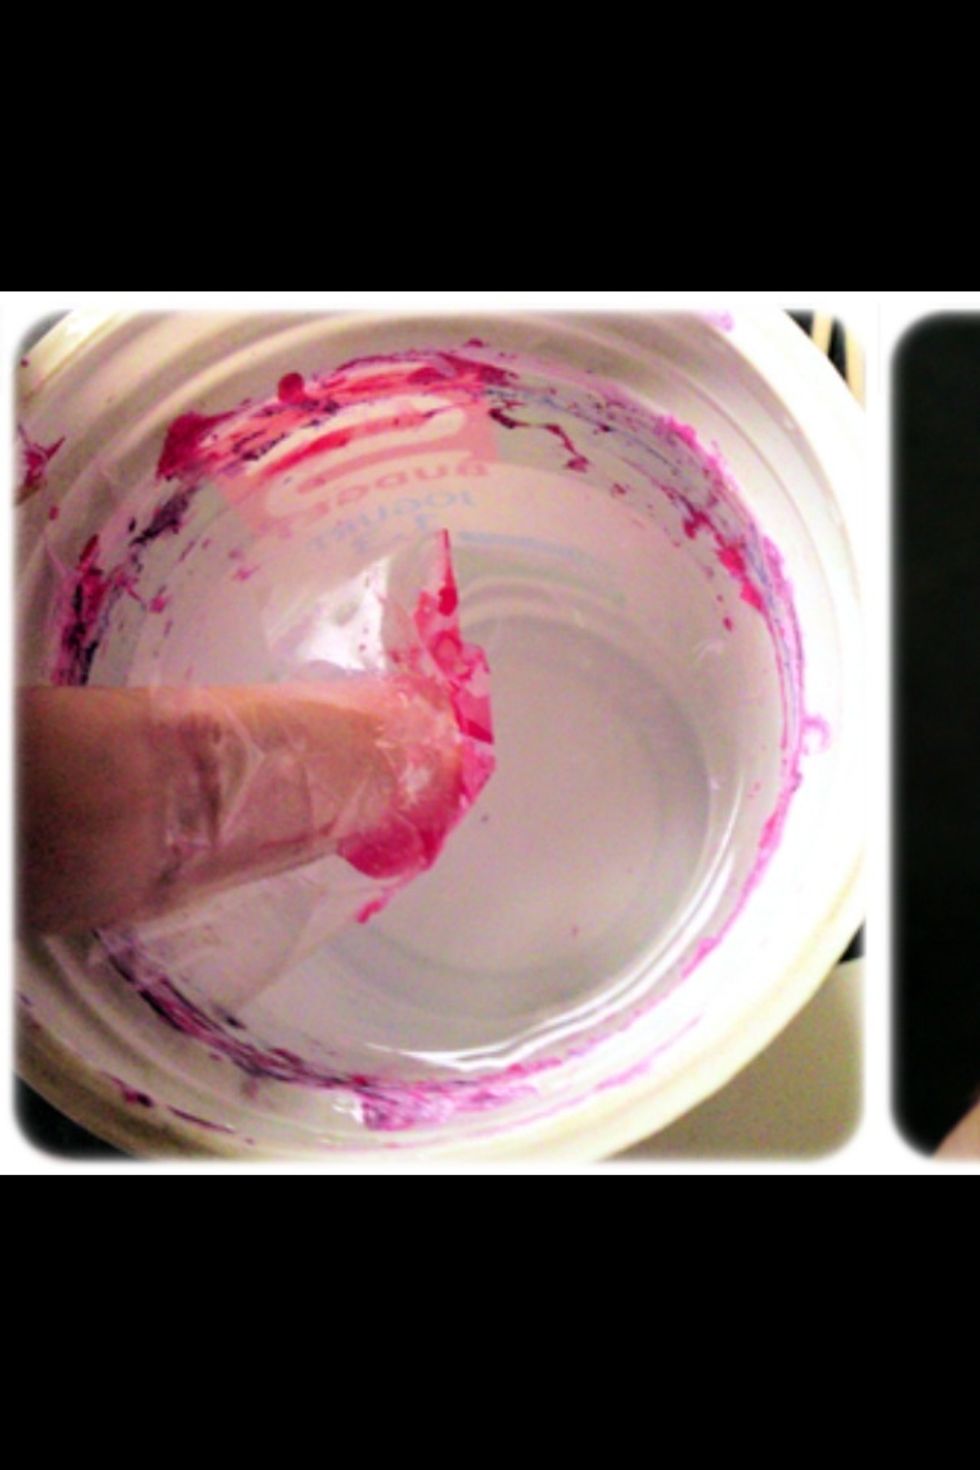
Step 6: With your finger still in the water, gently blow in the surface of the water so the polish will dry. Take your toothpick & scoop up the excess polish (this prevents the design from smearing)

Step 7: Your nail is done! Make sure you wait for them all to dry before removing the tape from your fingers!

Step 8: After tape is removed, take a Q-tip or brush to clean up the excess polish from around your nail..... And.....

CLOSE UP OF THE SNAPGUIDE RESULT! Not my best work- but the best I could do while making a guide 😛

You should have a beautiful finished product that will cause waves of admiration! (This is the result of an hours time of perfecting and revamping)
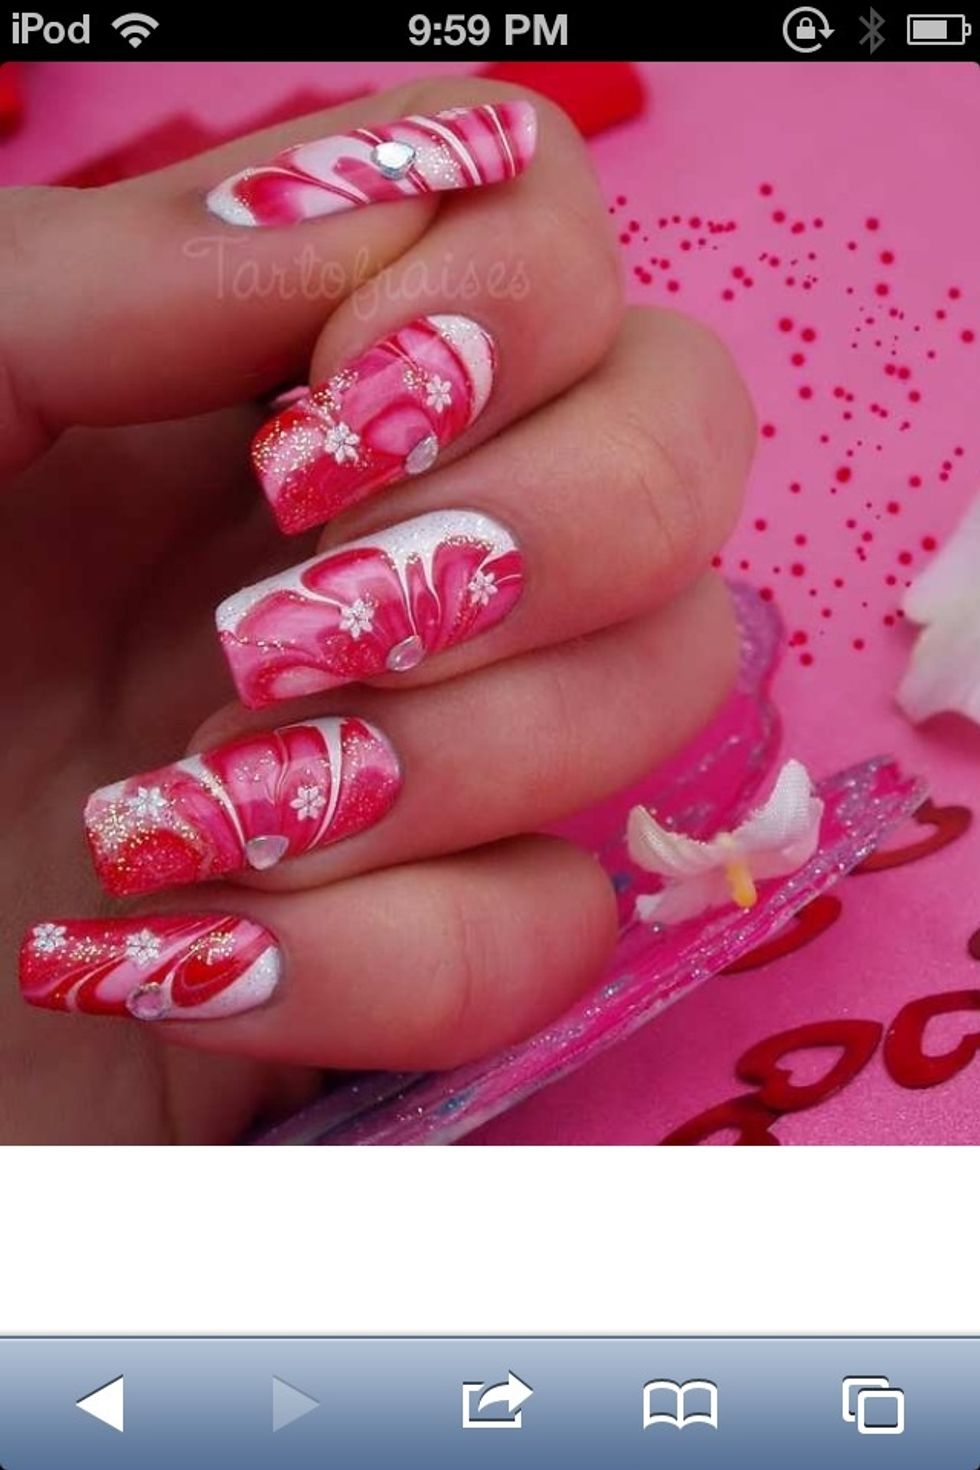
Here's another that took 2⃣ hours of my time, but well worth the wait! ENJOY!