The Conversation (0)
Sign Up
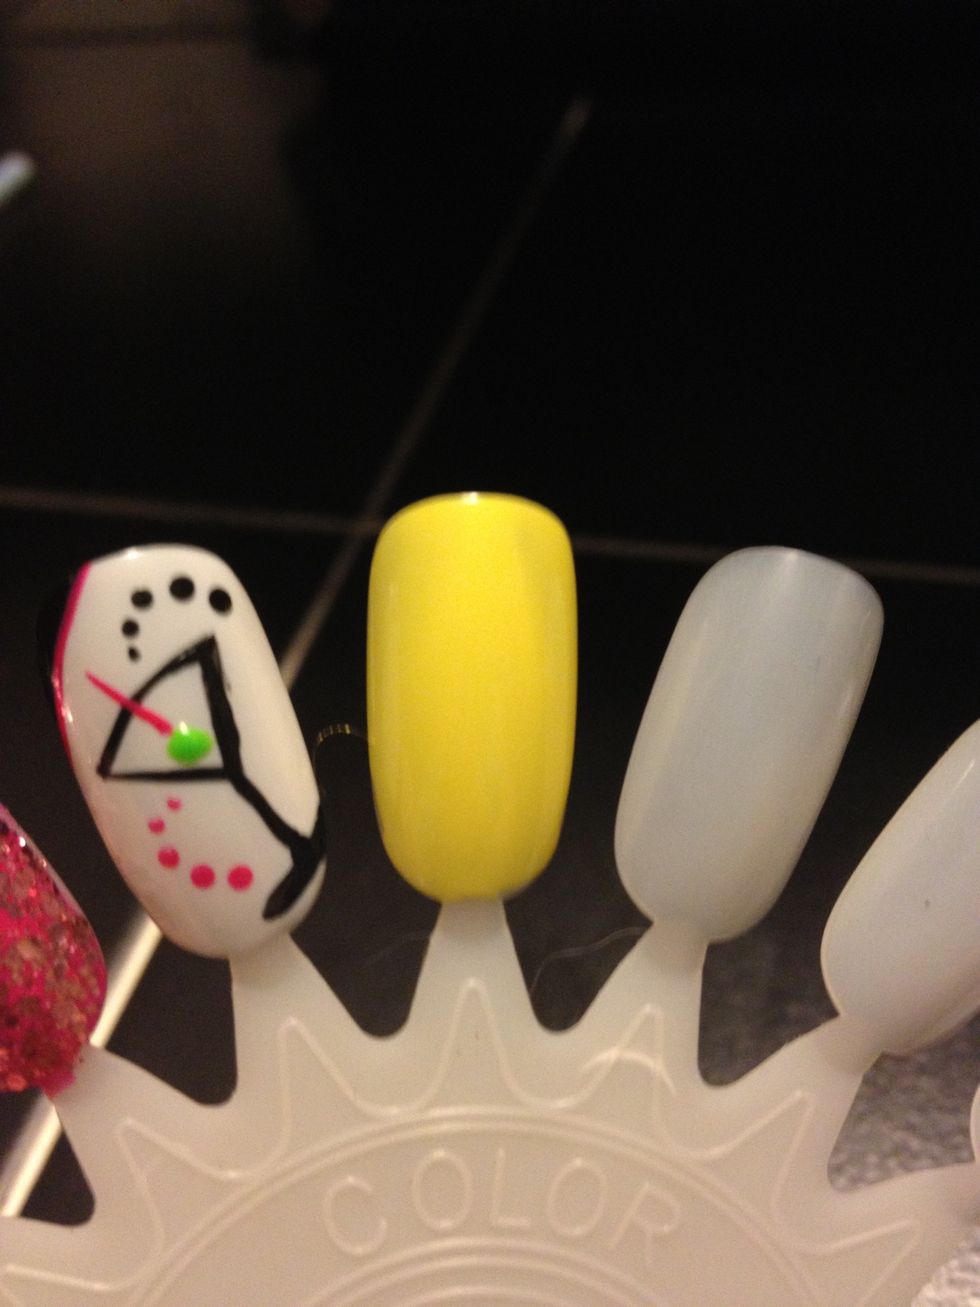
Start with a base coat of any color that you choose. I chose yellow because it really makes the black pop.
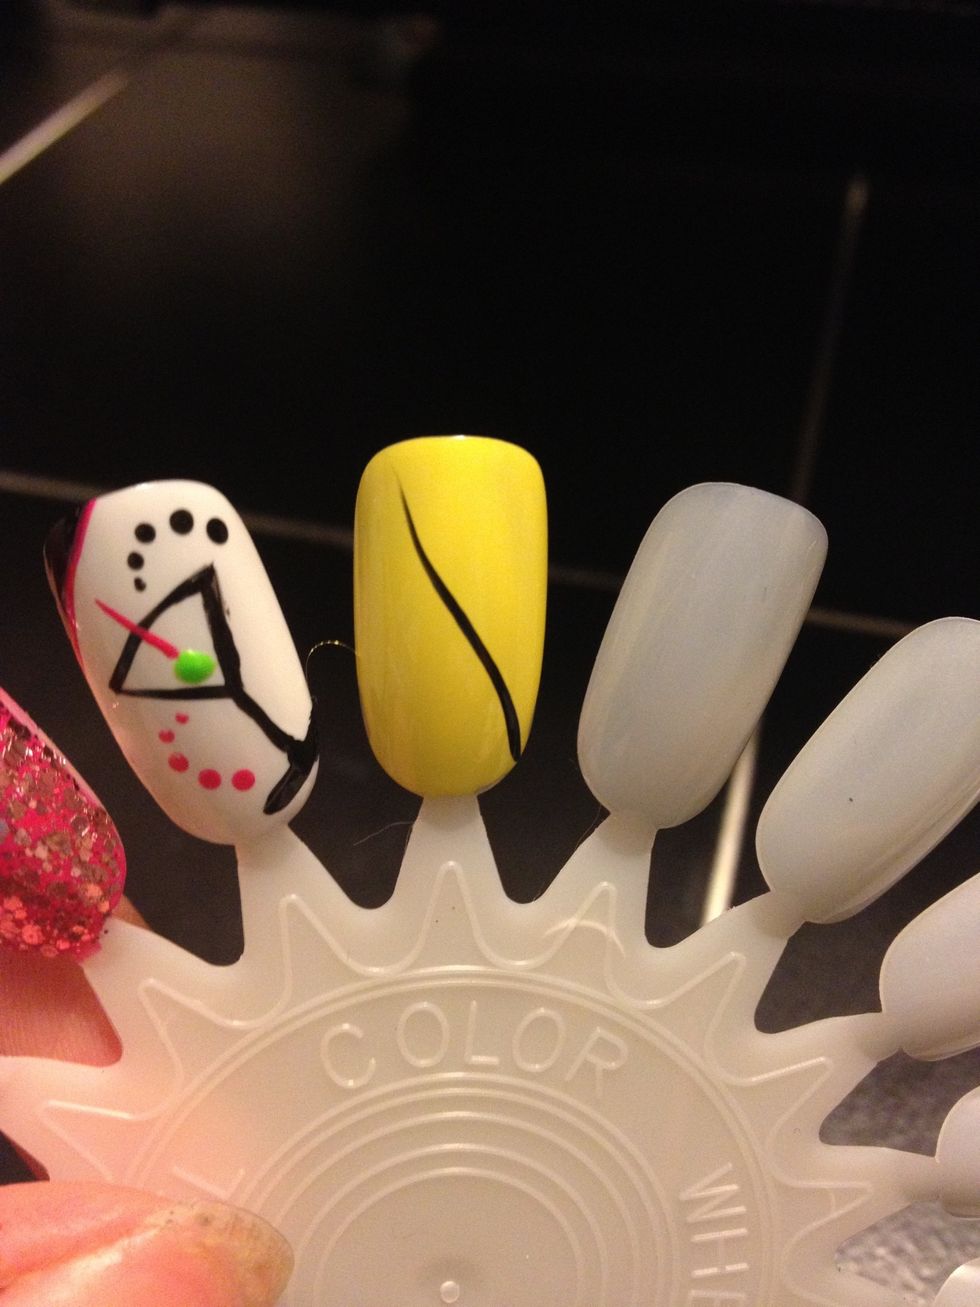
I like my zebra stripes to go from side to side, and I work from the inside out. This way there is never over crowding of stripes, however you choose your preferred method :)
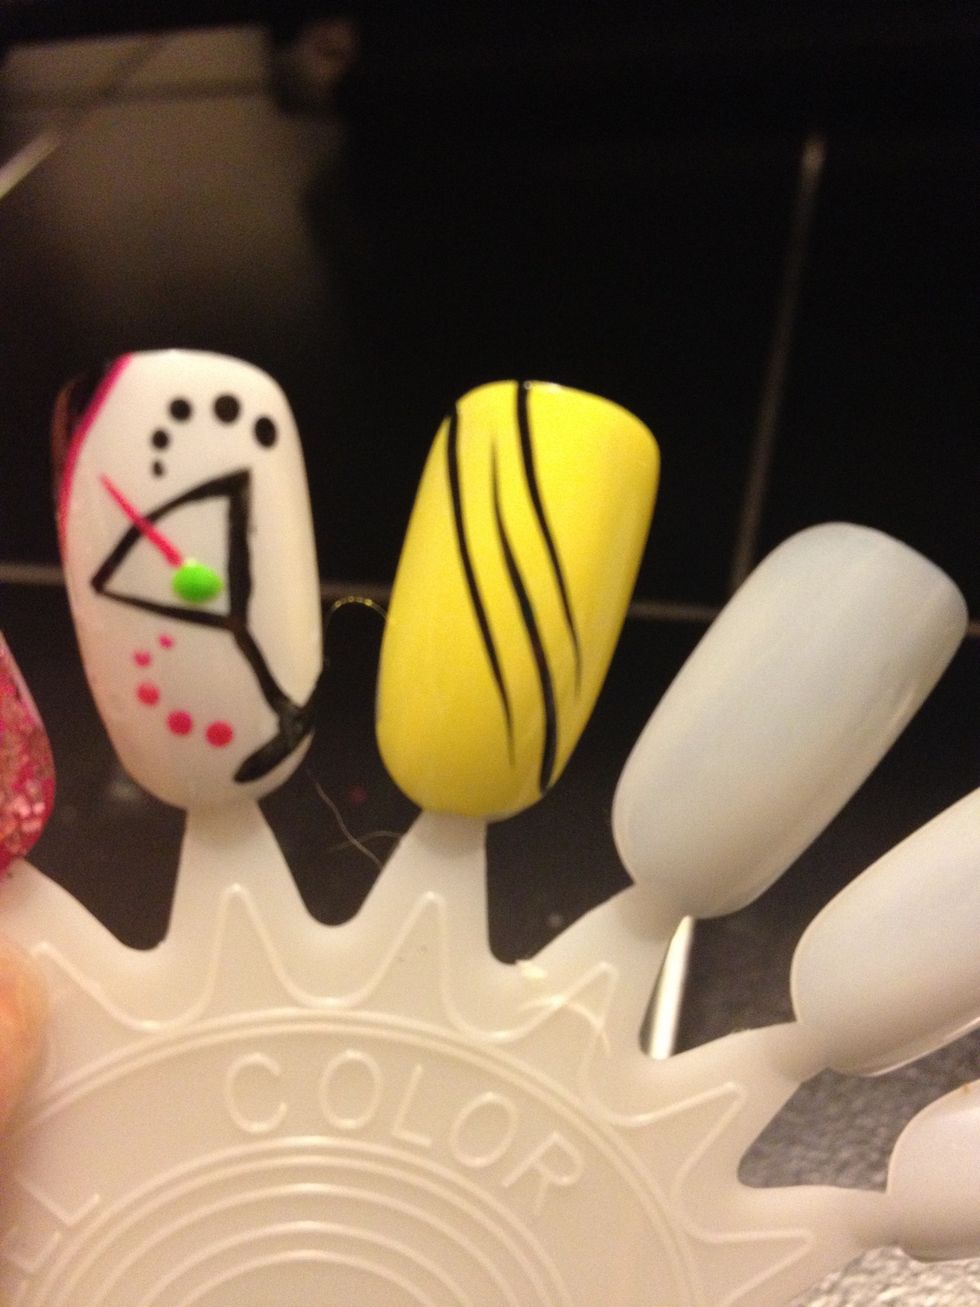
Once you have completed your first stripe, start making the corresponding stripes starting at different directions. It is quite hard to explain, so I made a video on the next slide :)
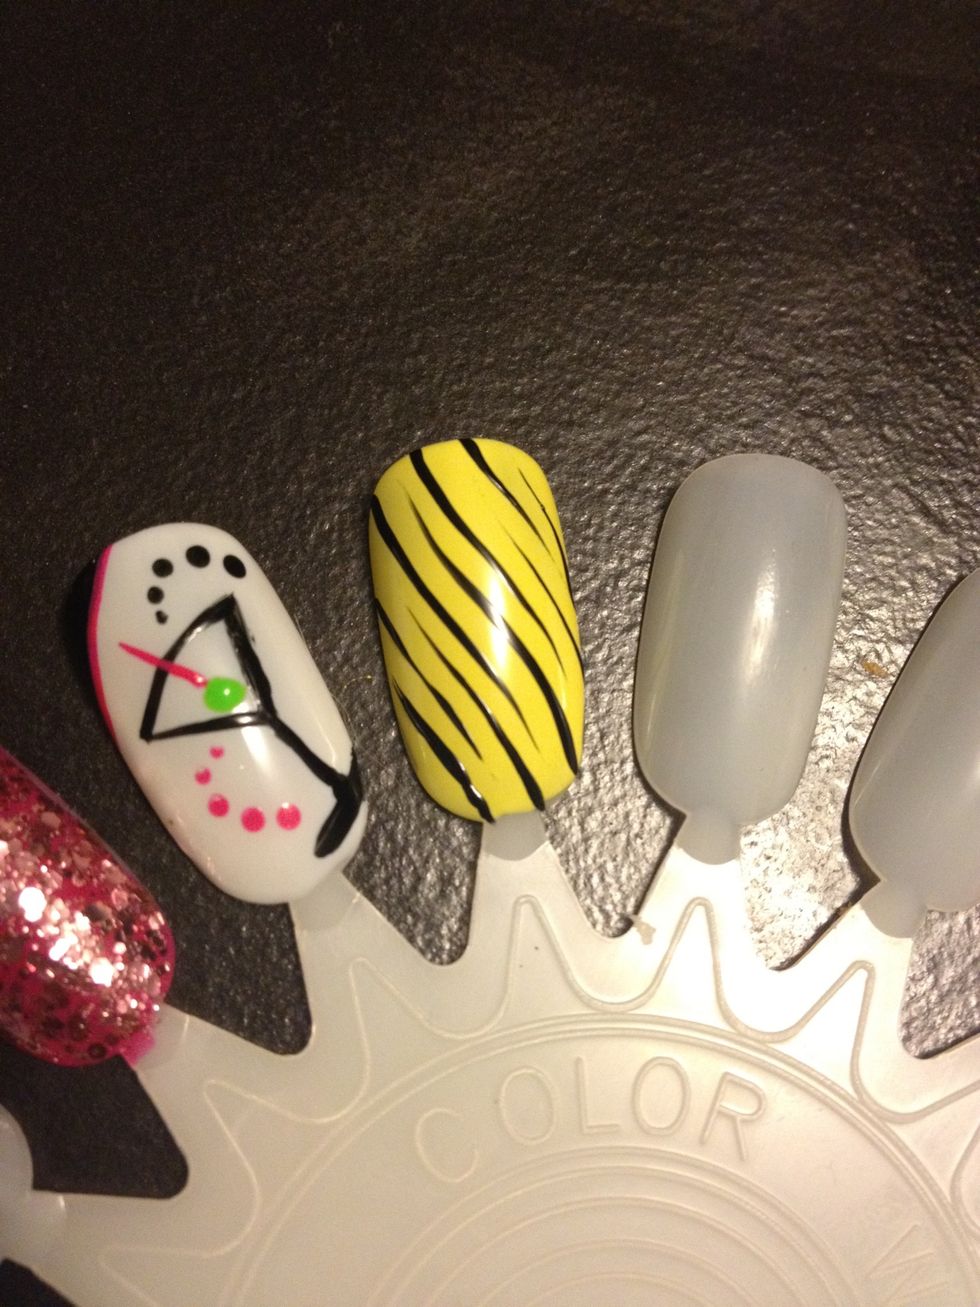
Finish your stripes and voila! !
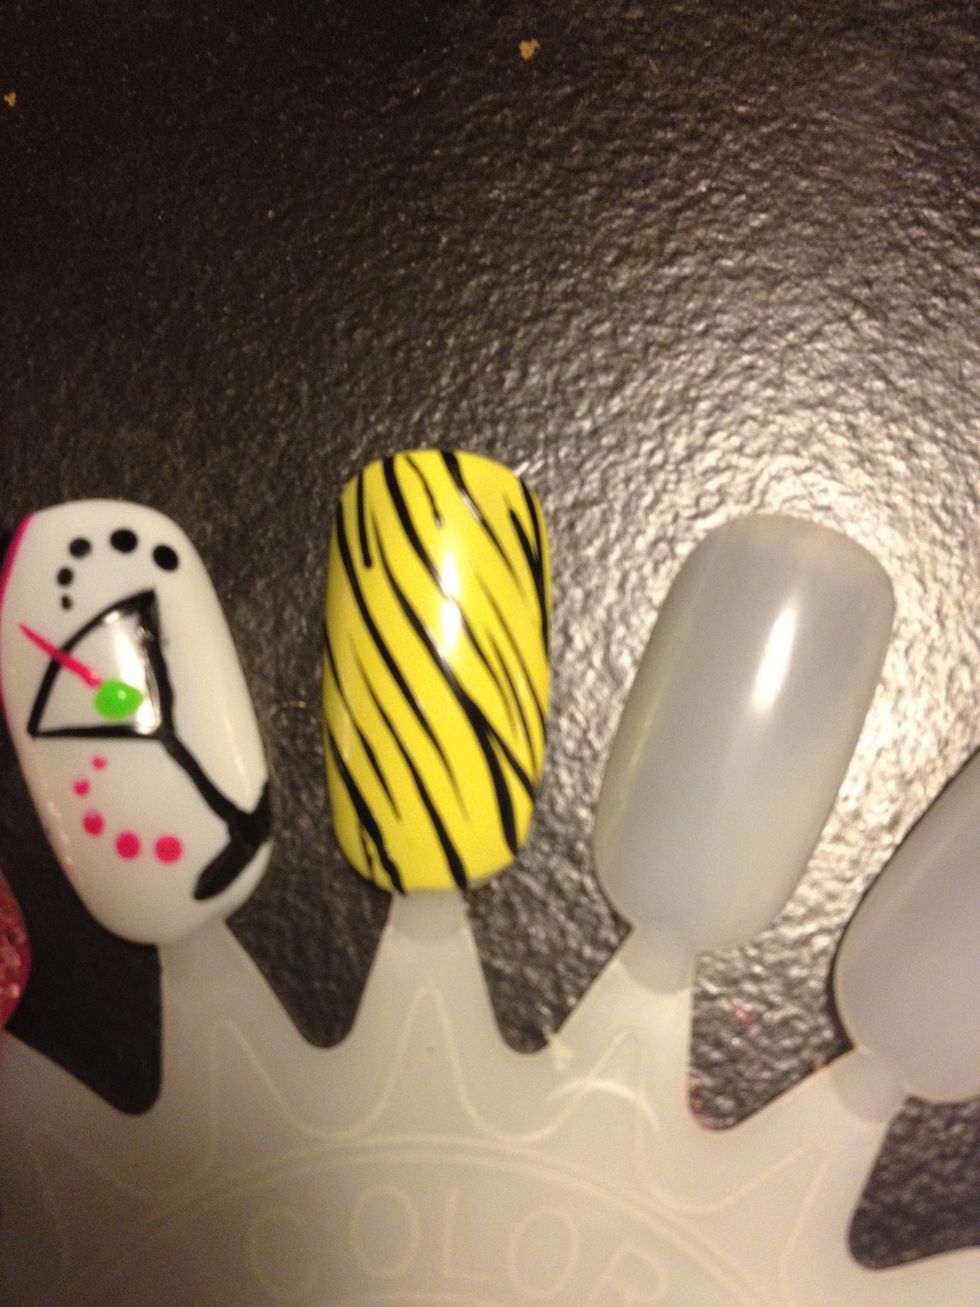
You can add more stripes in the empty spaces to add more detail of you wish, but please be careful, sometimes overcrowding the design sets it off.

Add a top coat to prolong your design.
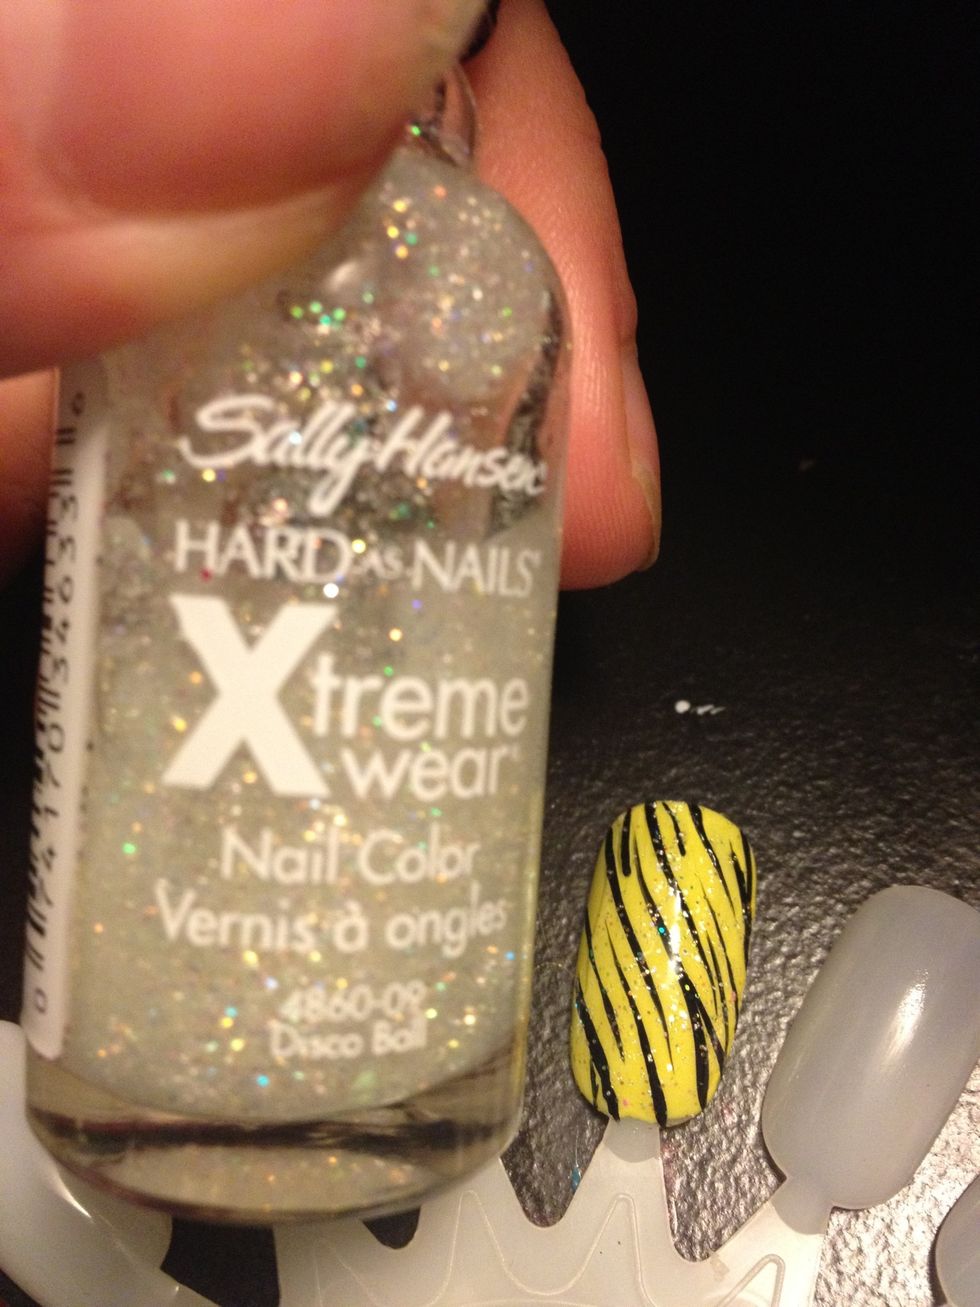
Or if your like me, you can add some glitter to give it a dramatic effect, I recommend a fine glitter polish. And that's it, I hope you enjoyed my zebra tutorial.