The Conversation (0)
Sign Up

Your favourite frame should have a glass cover 🤞🏼

I got this from Michaels & you could always find a coupon for Michaels that is on their website! (This one was 50% off)
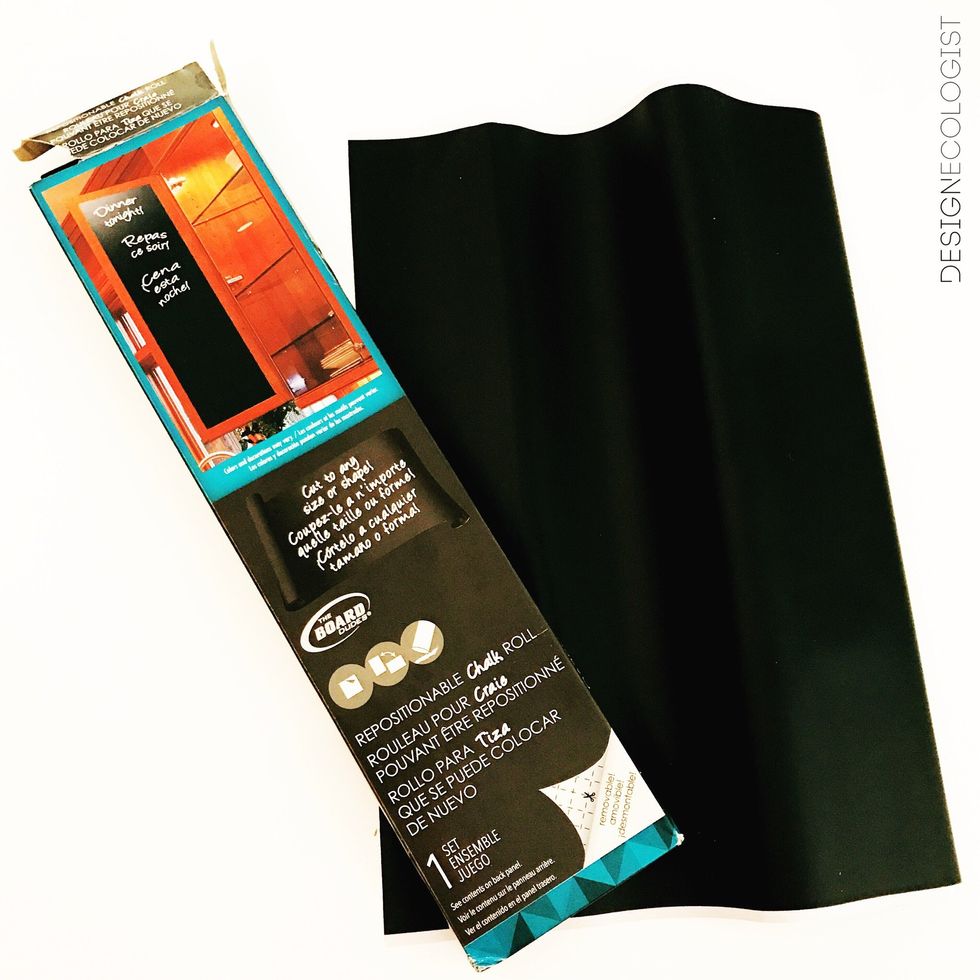
This is also from Michaels. You could also buy online from Amazon, eBay, Staples... Very easy to find!

This stuff is amazing, stick it anywhere, onto pretty much any flat surface!

It's for chalkboard use. Basically chalk but in a liquid marker format. Once it drys it lasts longer so it won't wipe off just by rubbing it - you must use water & a cloth!
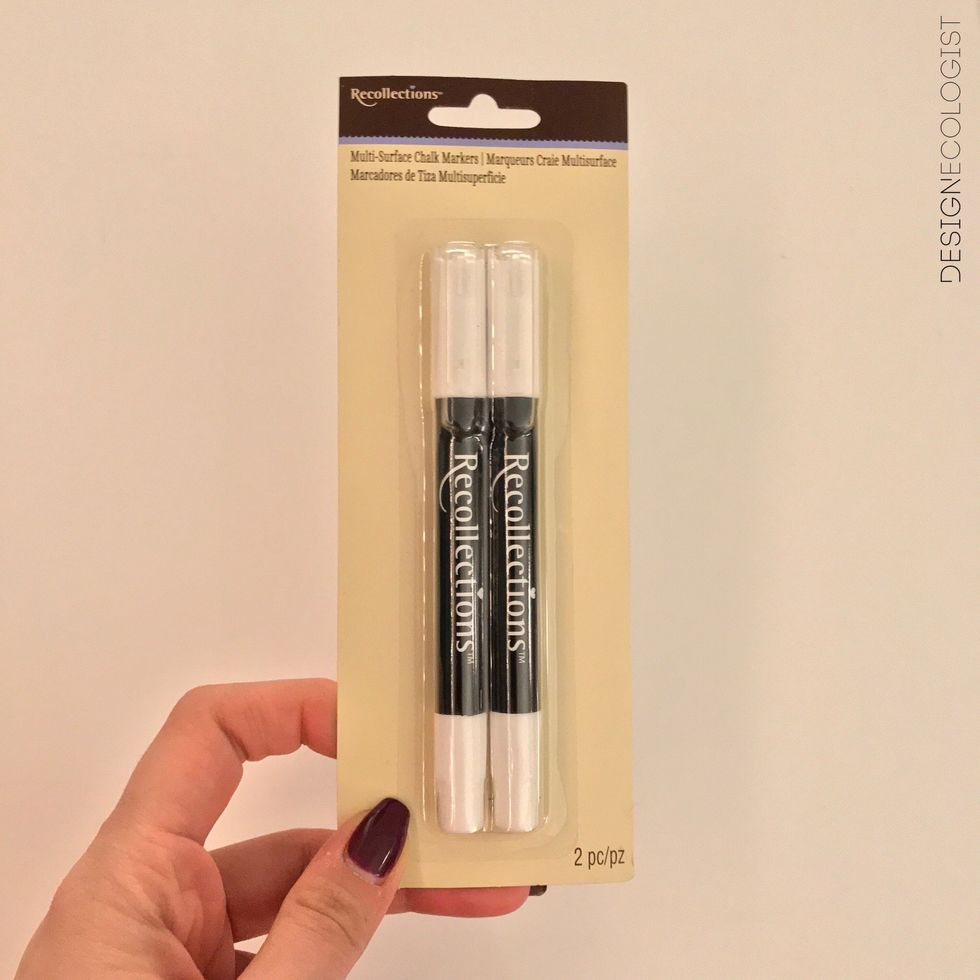
Surprise!! These are from Michaels too 😁🙈
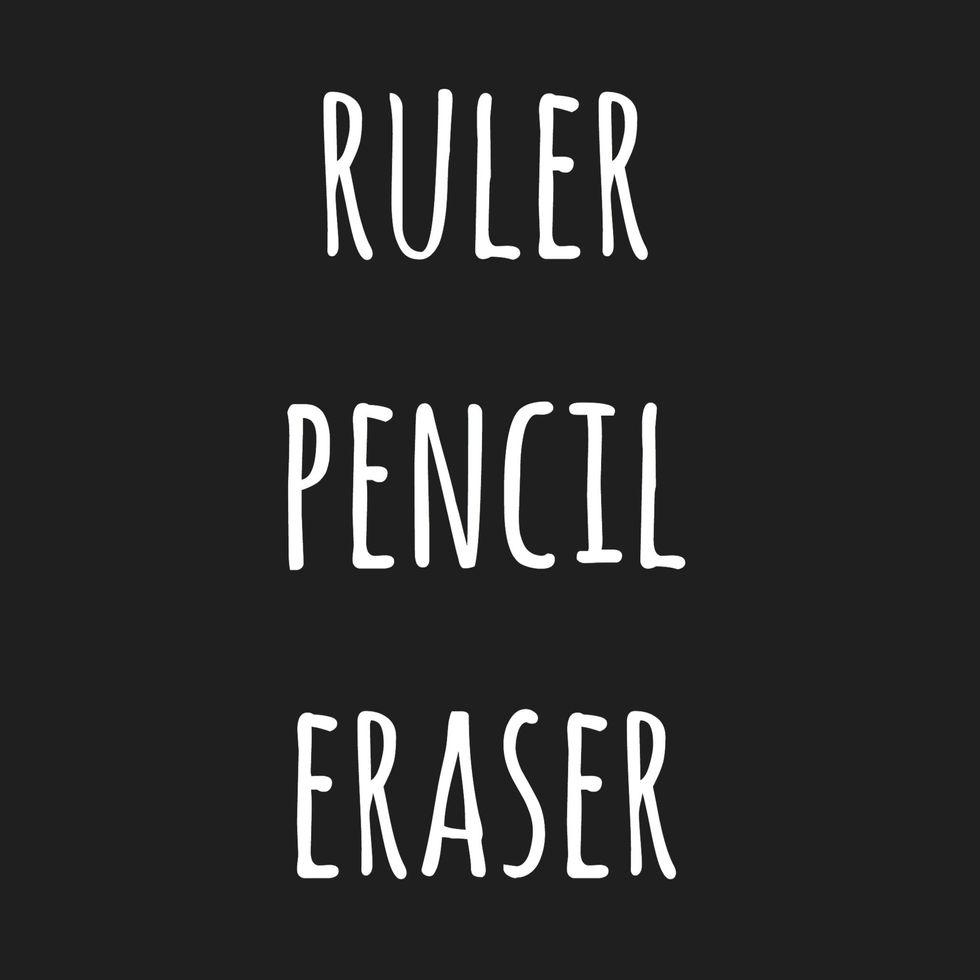
You WILL need these in order to make your artwork PERFECT!
Now that you have everything you need!!! 1. Take your frame apart 2. Wrap the chalkboard paper over the glass 3. Put the frame back together!
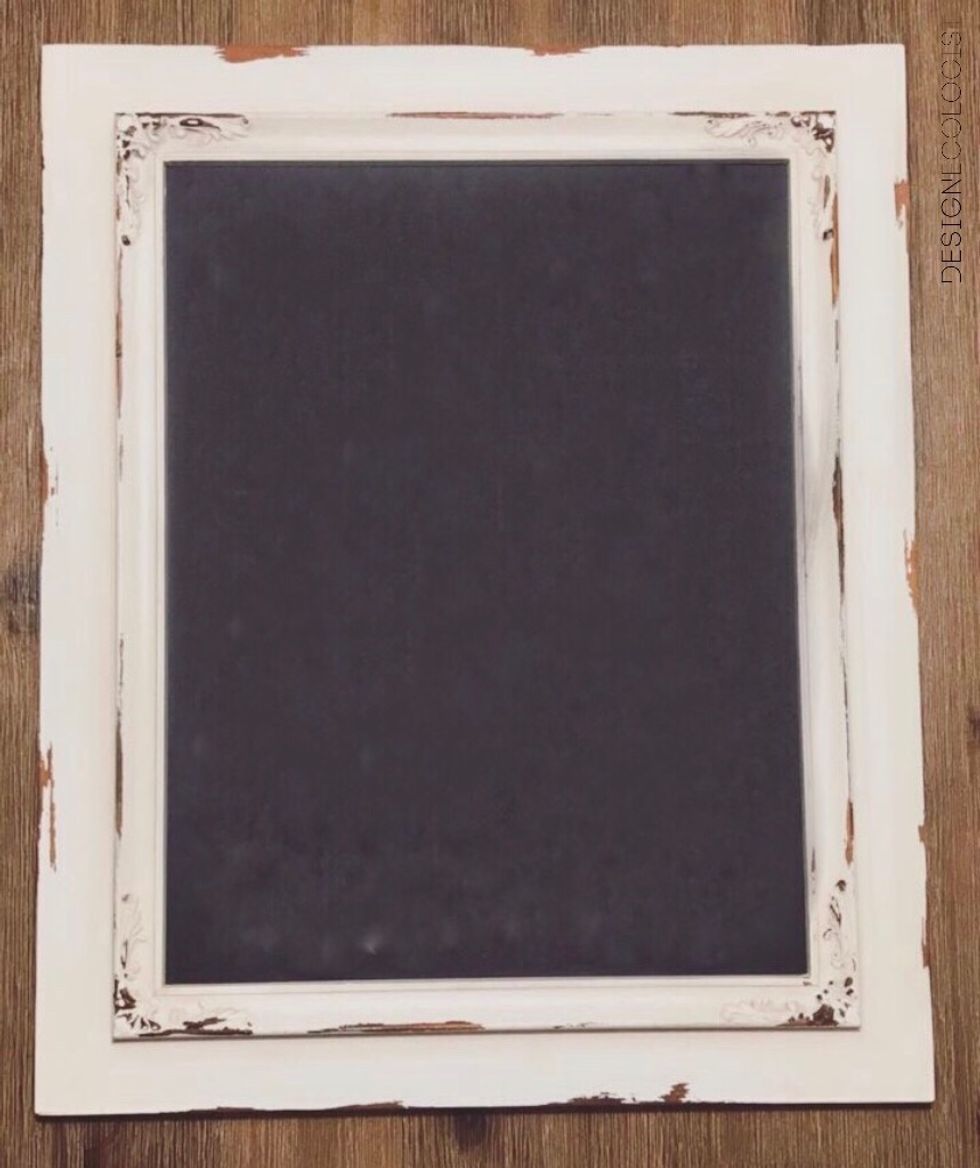
Your chalkboard frame is ready for you to use! 🎉
With your ruler & pencil, LIGHTLY draw your lines as a guide for you to keep everything straight & proportioned You could also LIGHTLY draw your artwork with a pencil & go over it with your marker
If you make any mistakes don't be worried, let the chalk marker dry and then use a white eraser to erase away! When you're done don't forget to erase your pencil guidelines so they don't show!
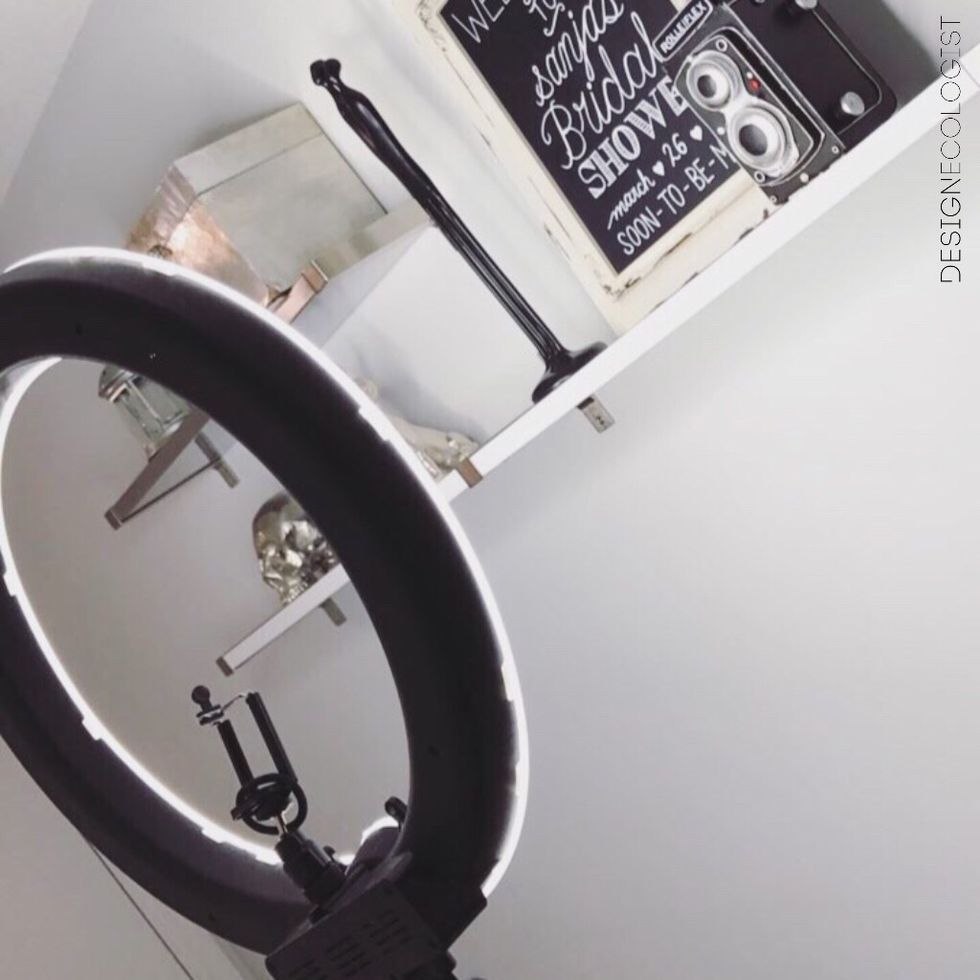
Behind the scenes of photography for Instagram 😇
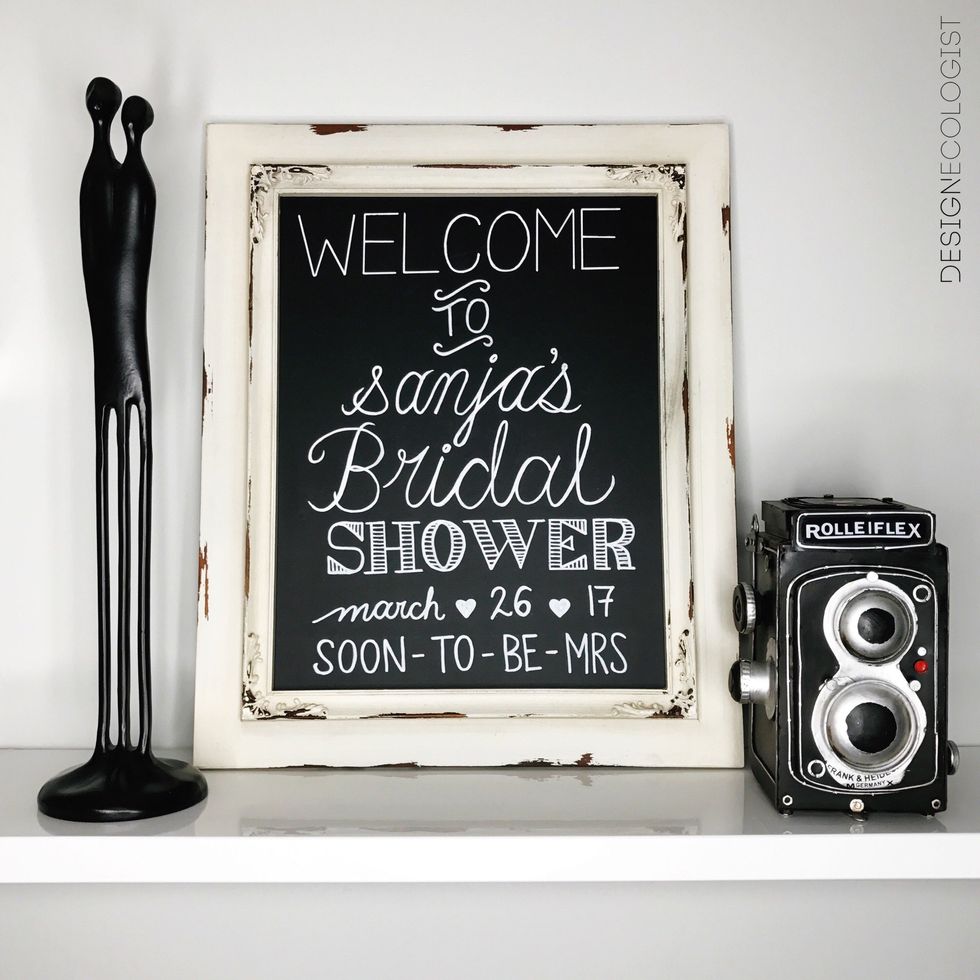
Ta da!!! Perfect for events or parties. Or even just for your home or office to make your daily notes.
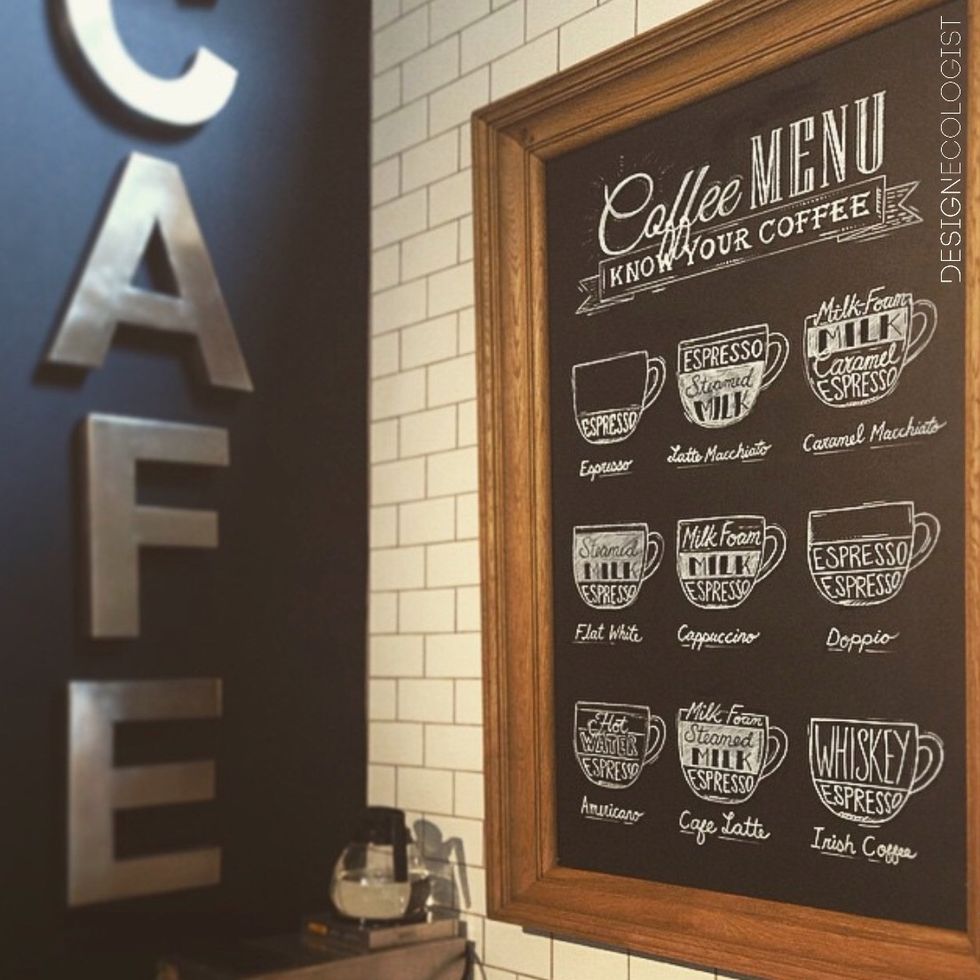
Hand drew this for a business cafe area (I got the inspiration from google)
DON'T FORGET TO FOLLOW MY INSTAGRAM & FACEBOOK PAGE: @designecologist ALSO WORKING ON A DIY TUTORIAL YOUTUBE PAGE! Please subscribe ♥️ Thank you!!