The Conversation (0)
Sign Up
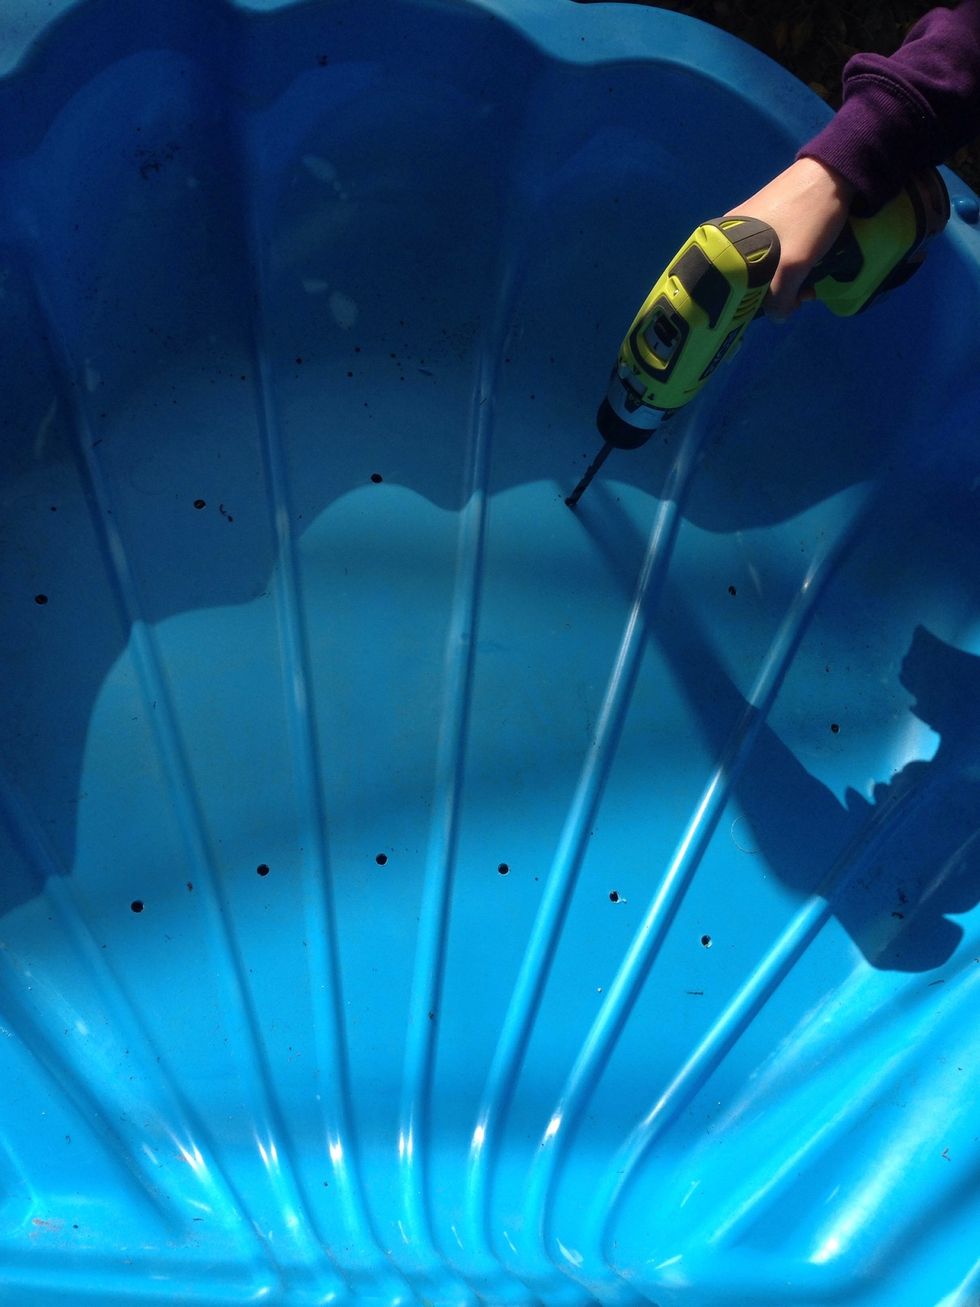
Get excited! Drill holes in the base of your clam pool. The holes will allow for drainage from watering and rain to avoid root rot. I did 2 holes in every row to ensure good drainage.

Don't make the holes too big or too small. You can pour some water in to test out the flow at this point.

Pour the gravel in and spread it around. This allows a little air and will help the drainage.
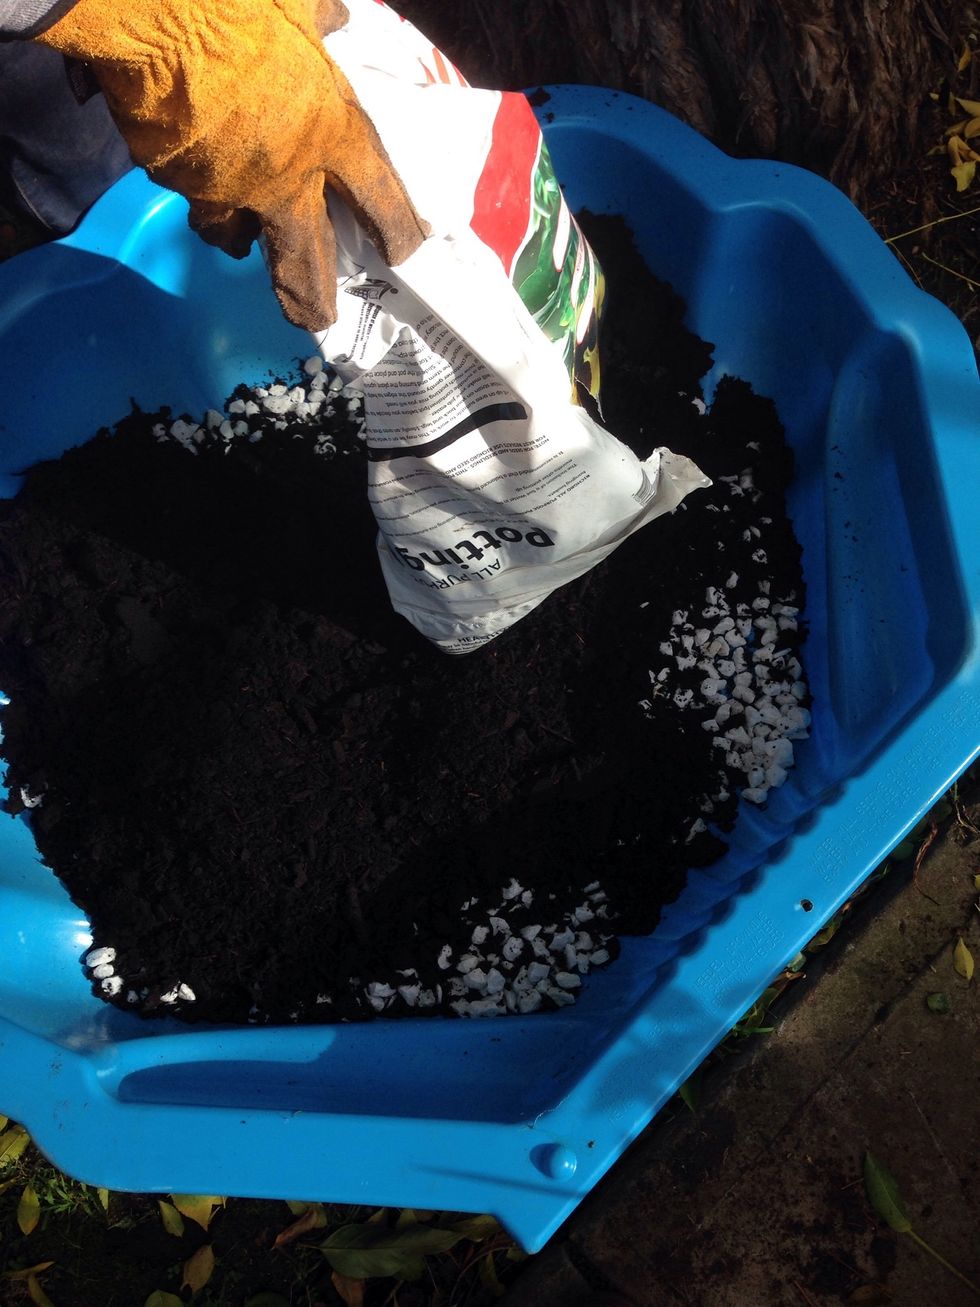
Time to get your hands dirty! Add in the potting soil into the clam and cover up the gravel. You will need a full bag of soil to do this. The end result should be a nice and deep surface.
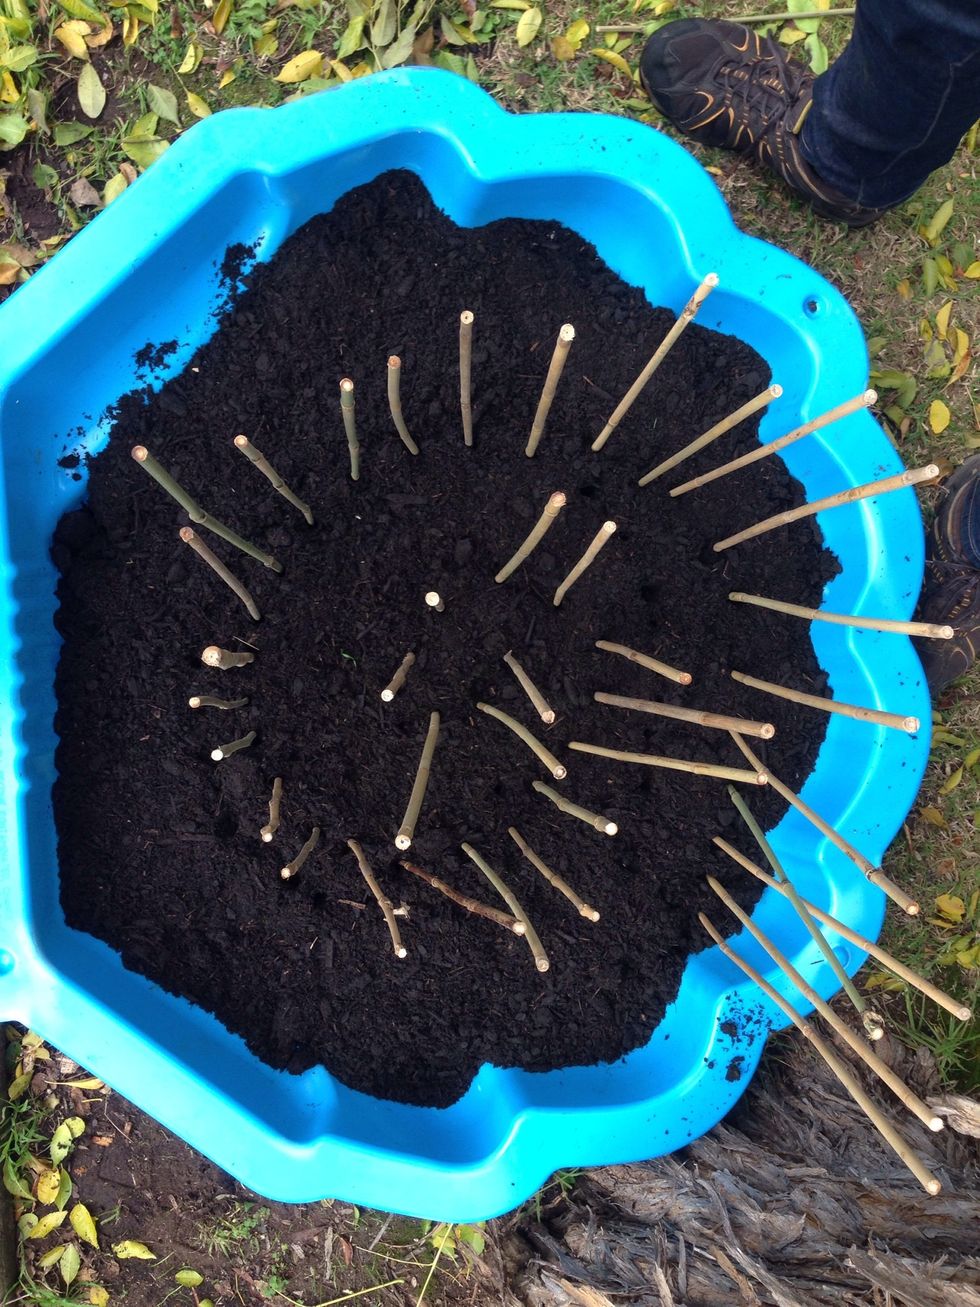
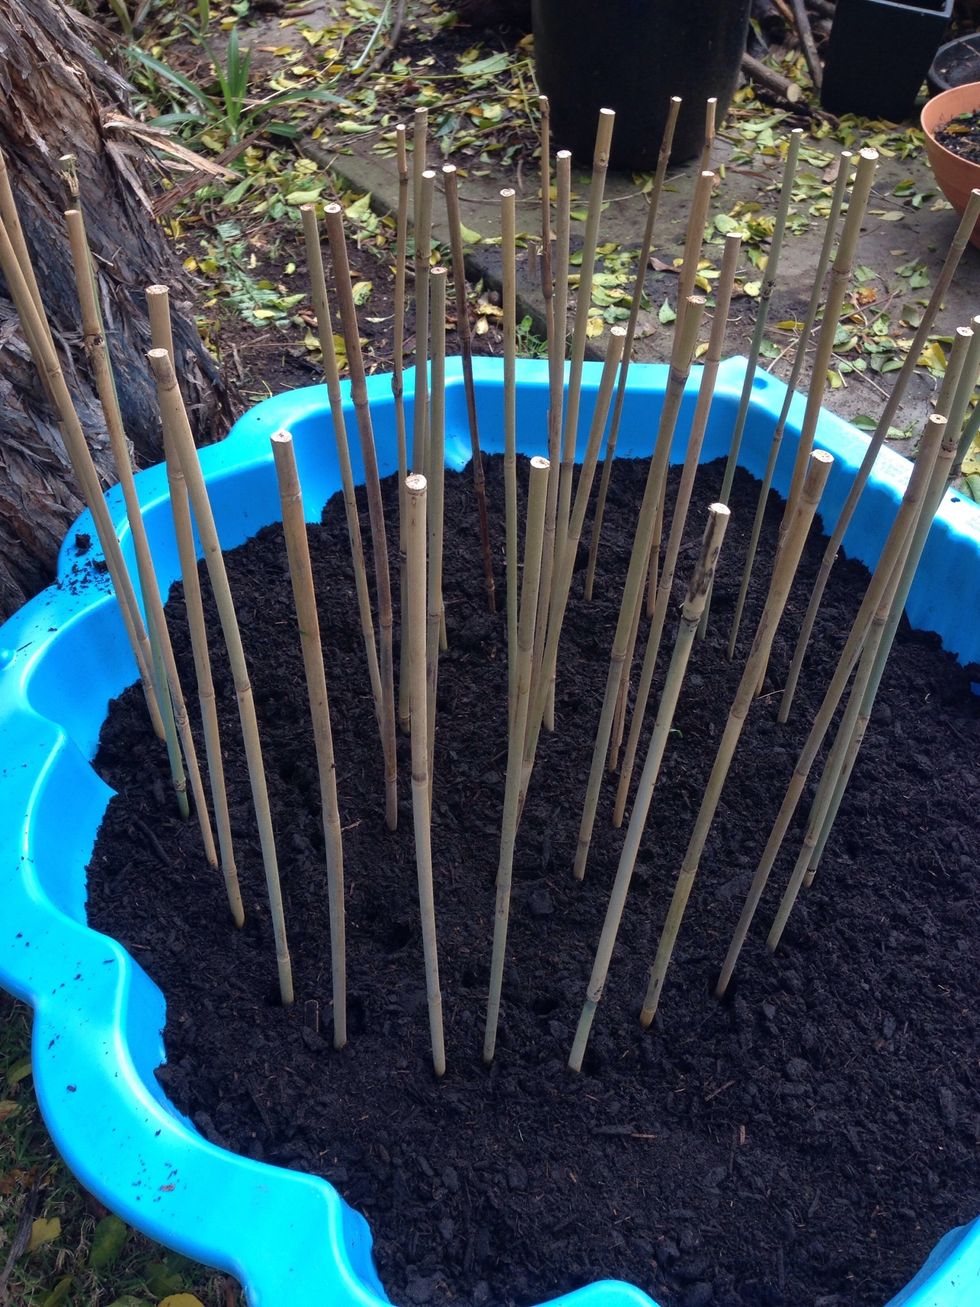
Stick in your bamboo poles to roughly mark out your spiral. It won't look like much at this point but it'll give you a good idea of how wide or narrow or high your spiral can or will go.
Tadah! Now, take the hessian cloth and wrap over and around the edges of the clam to hide the blue clam walls. I simply tucked it into the soil and the bottom of the clam shell.
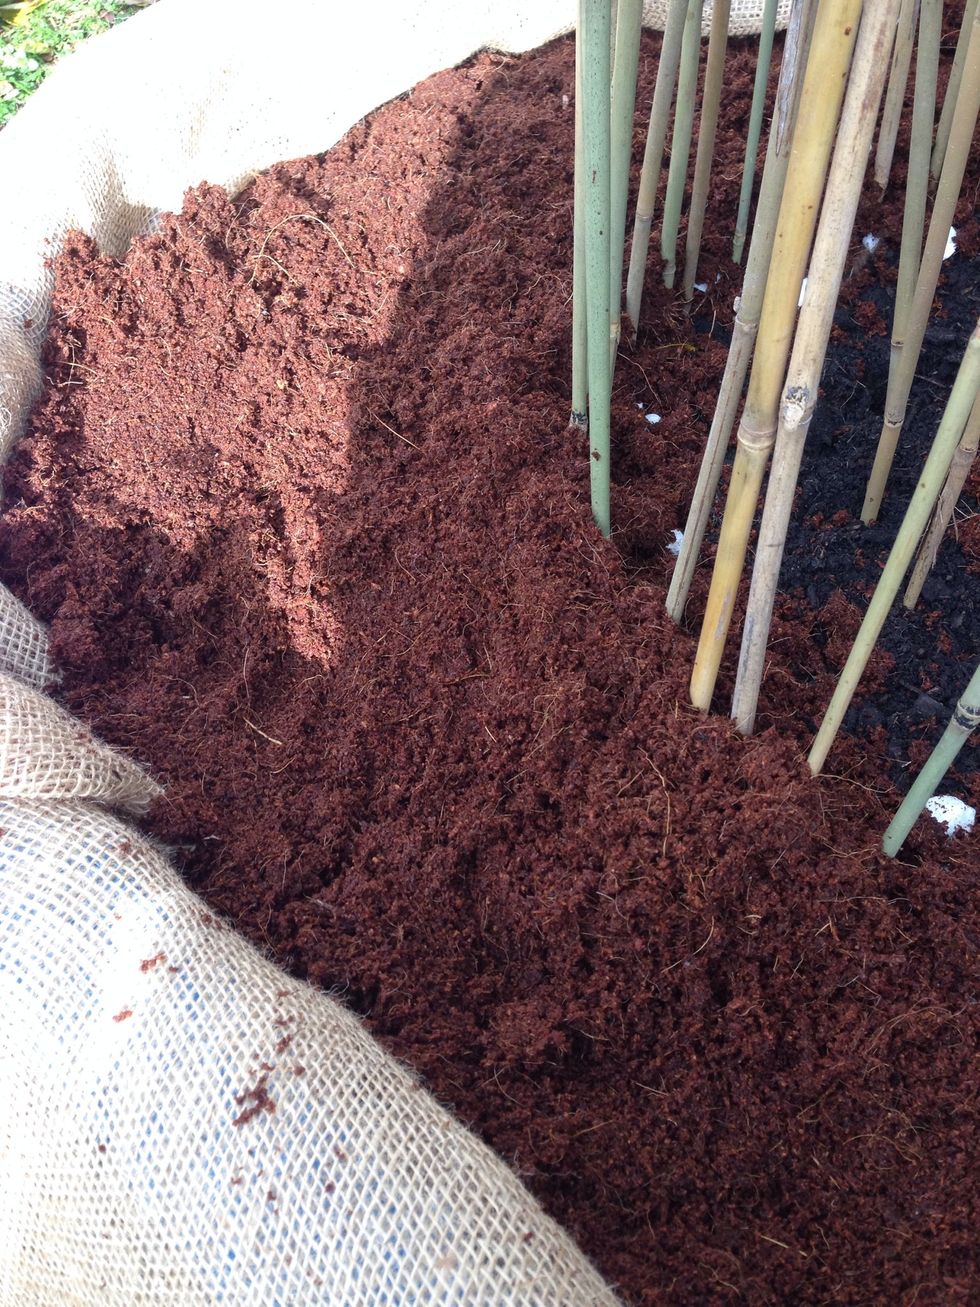
To save money, I bought some wetta potting mix. These came in a block & once water is added it expands & becomes soil. As this was meant to be an inexpensive project, I mixed good and cheap soil.
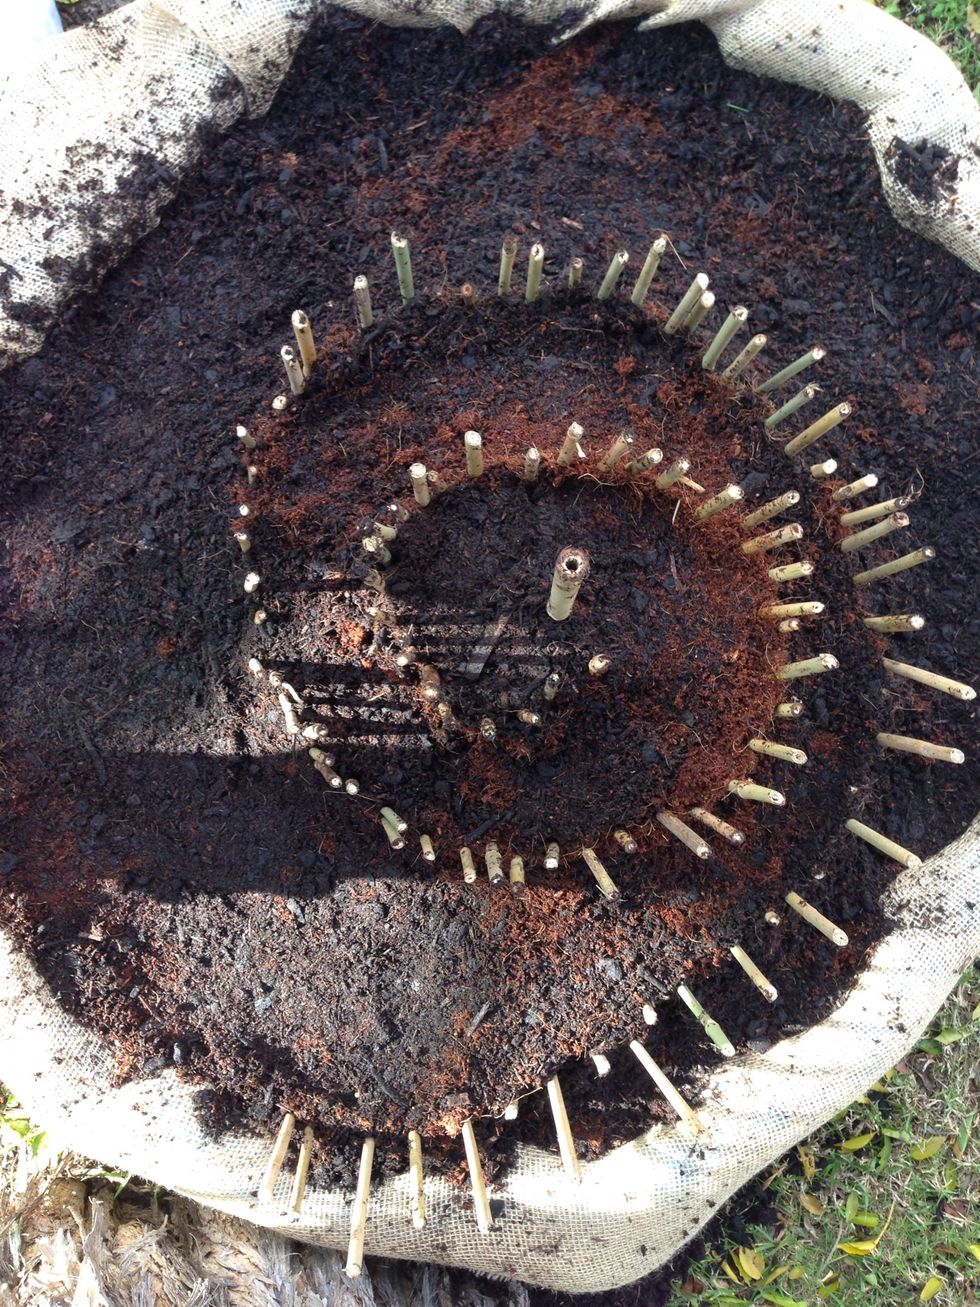
Get your hands in there! Start sculpting your spiral. Start from the base and slowly sculpt you slopes with the bamboo as your guides. At this point you can still move your bamboo around as needed.

Take a step back and give yourself a pat on the back. It is looking AWESOME!

Start planning where your herbs go! The herbs that do best with full sun should be north-facing (Southern Hemisphere) and those that need shade should be on the other end.

Herbs such as watercress that need more water can be put at the bottom of the spiral. And you're done! Take lots of pictures and watch it grow!