The Conversation (0)
Sign Up
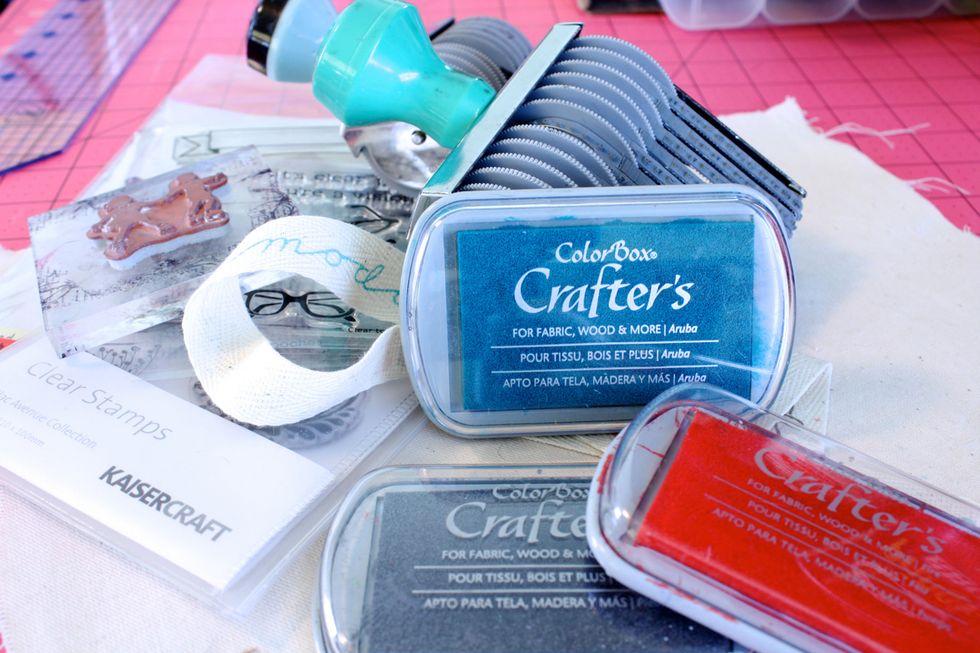
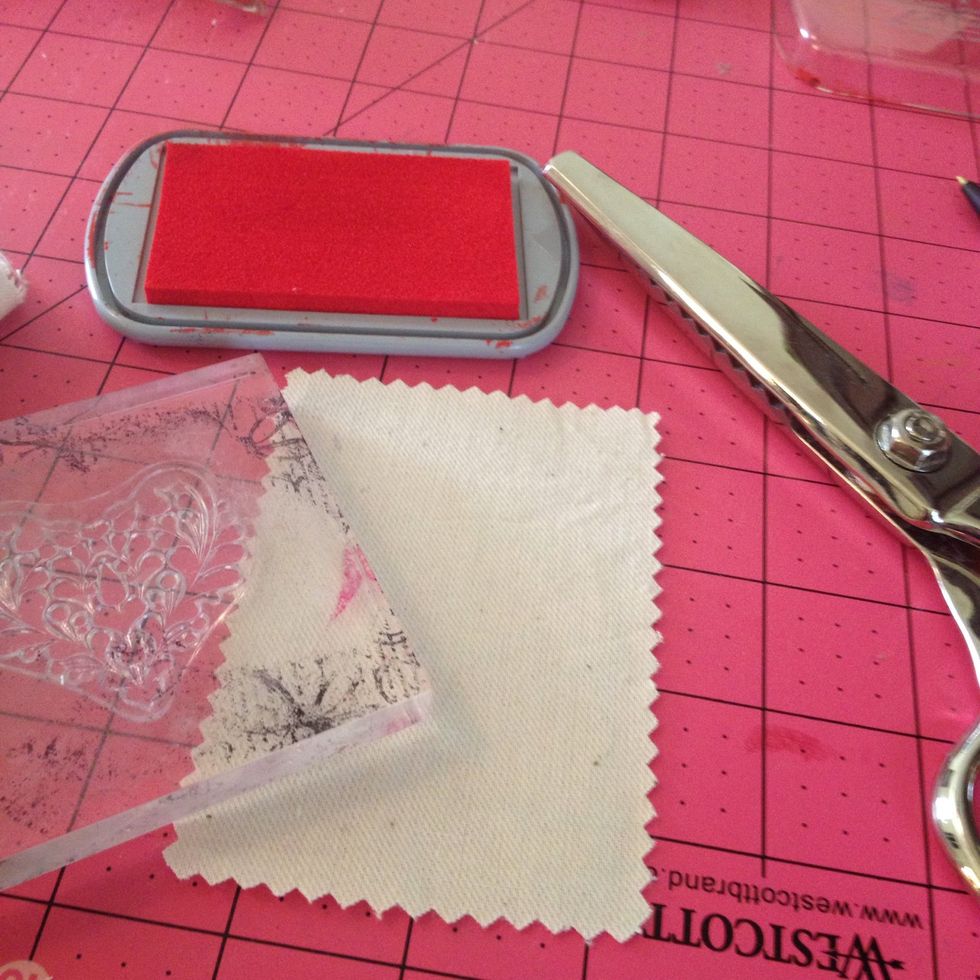
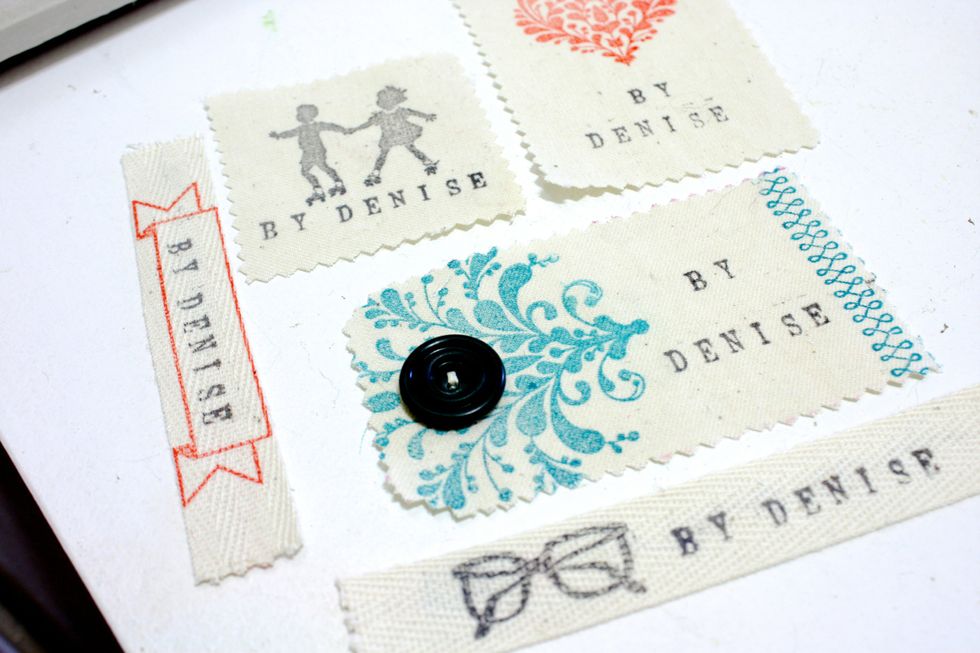
I am a designer for Colorbox- their Crafters Ink is available online and at many craft stores. They are heat set with an iron and safe to wash.
Gather your supplies: Tip many Fat Quarters and Jelly Rolls come wrapped in the perfect size twill tape to make labels!
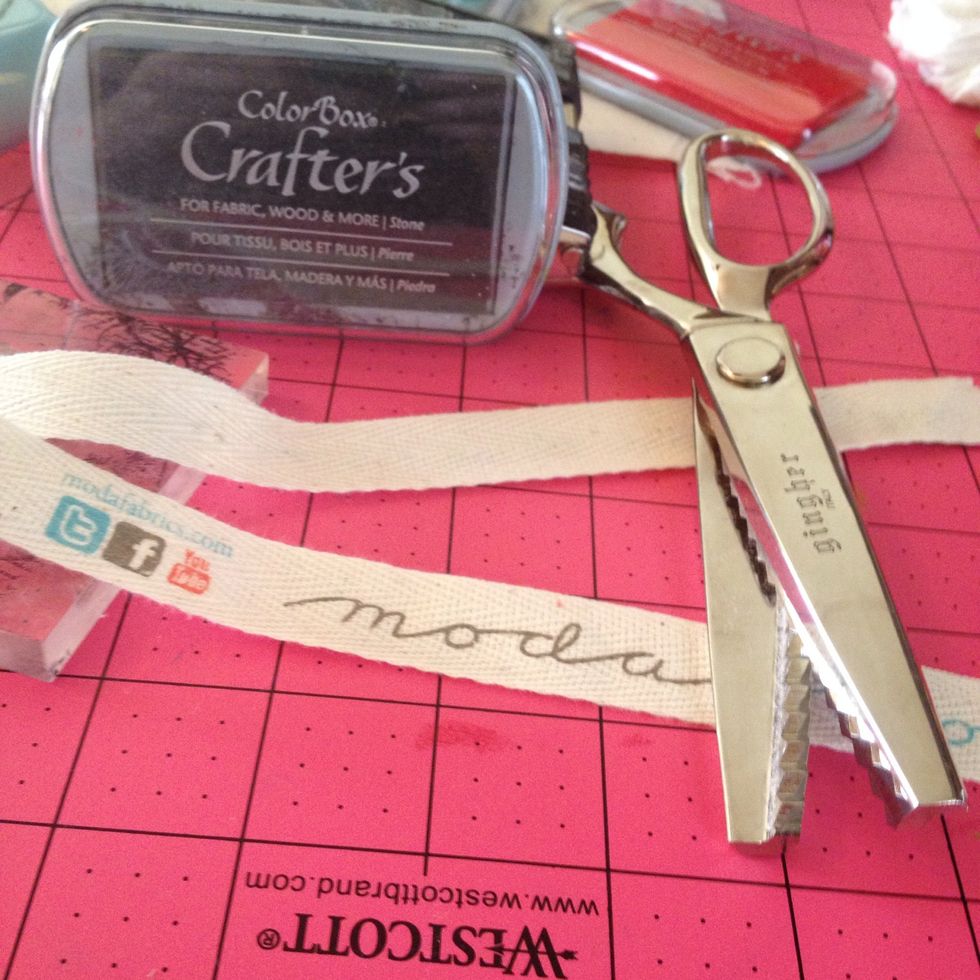
Trim tape with Pinking Shears (optional but keeps tape farm raveling). Measure in 3/4 of an inch and make your first stamp. Tip- don't press too hard! Press firm and even. Practice a first on a scrap
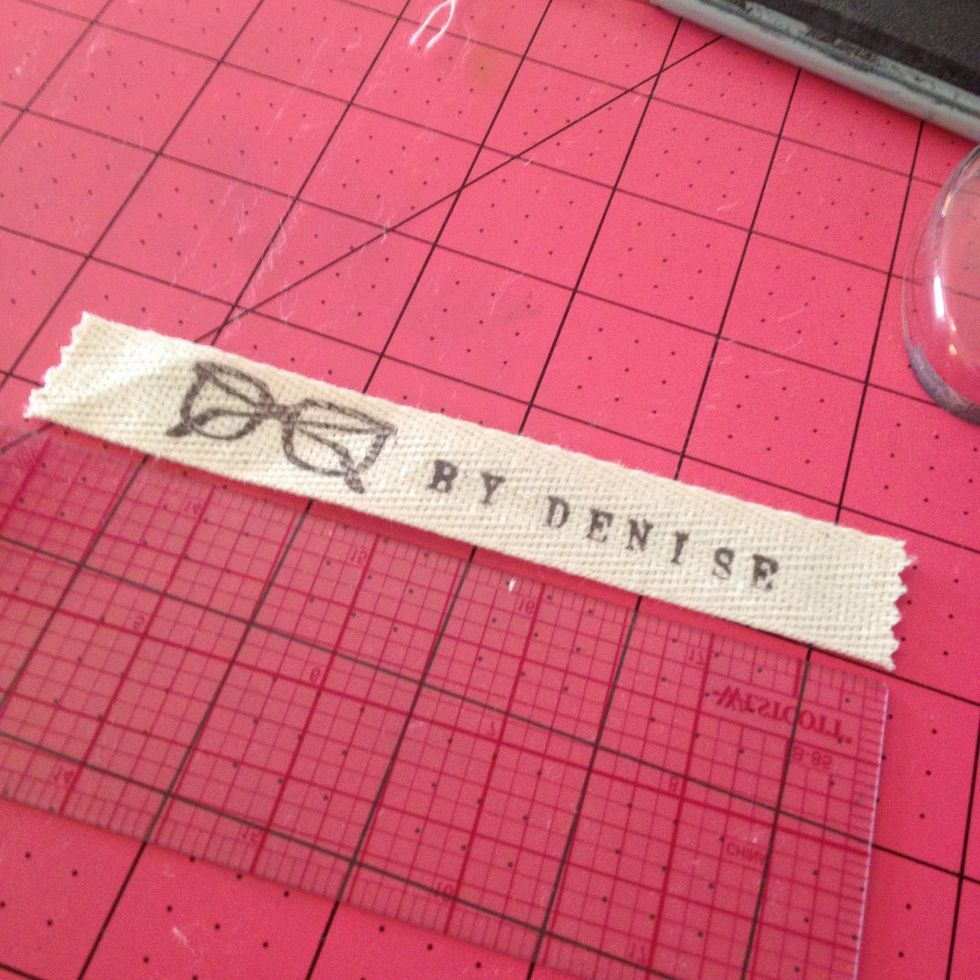
I used a Provo Craft letter stamp- if you don't have letter stamps, you can write with a fabric marker also available at craft stores
Fo the muslin, just cut to size and then stamp. If you aren't sure you can always stamp first and trim down after
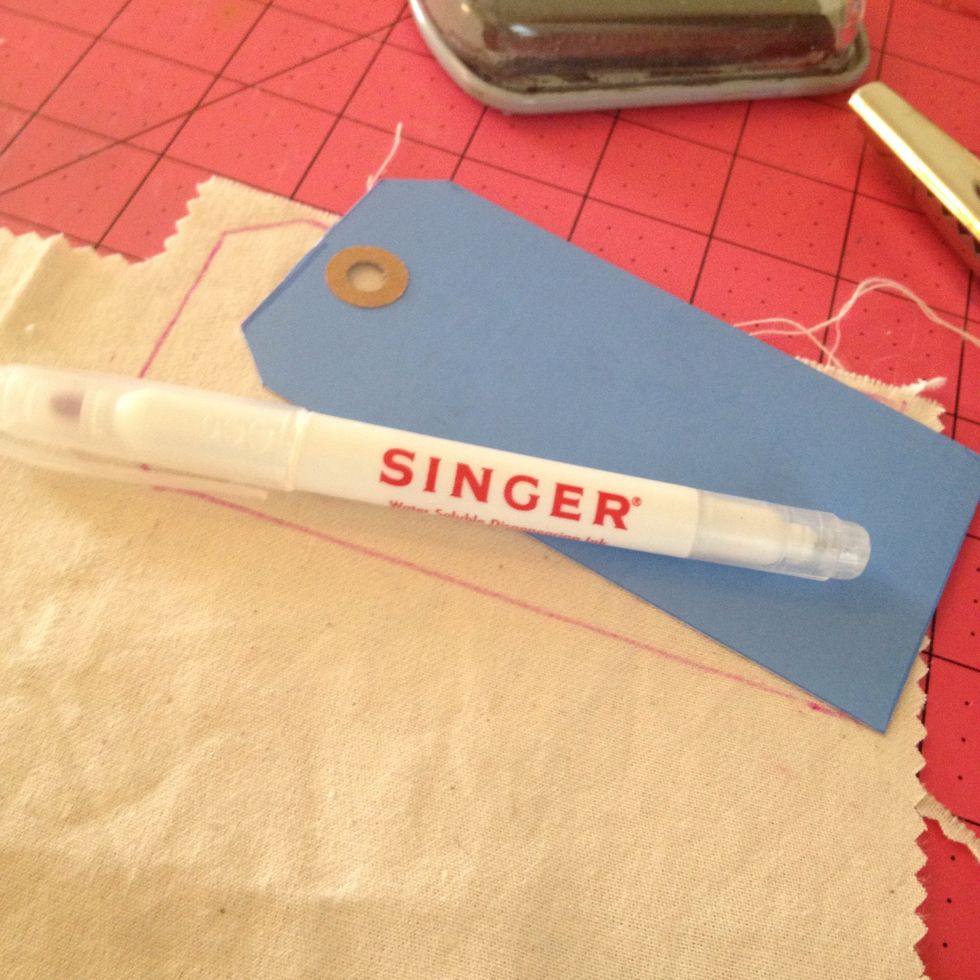
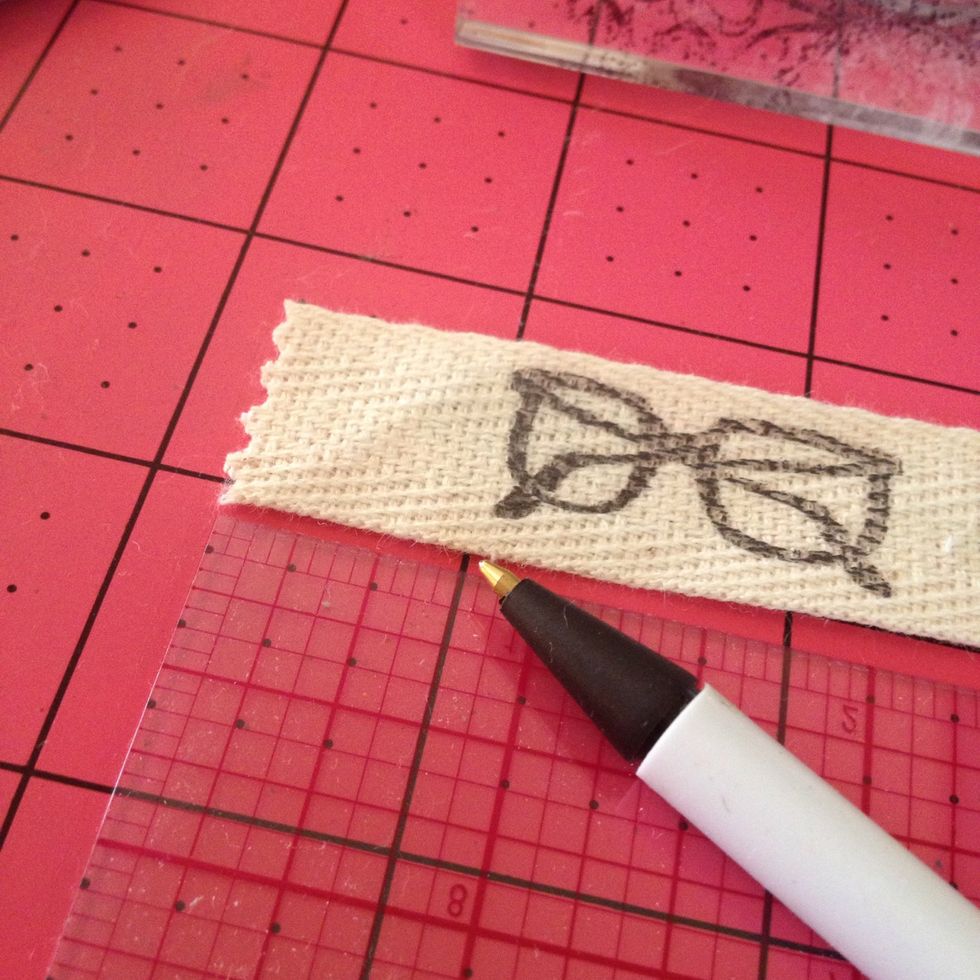
Make your own tag style label by tracing an existing tag with a fabric marker or pencil
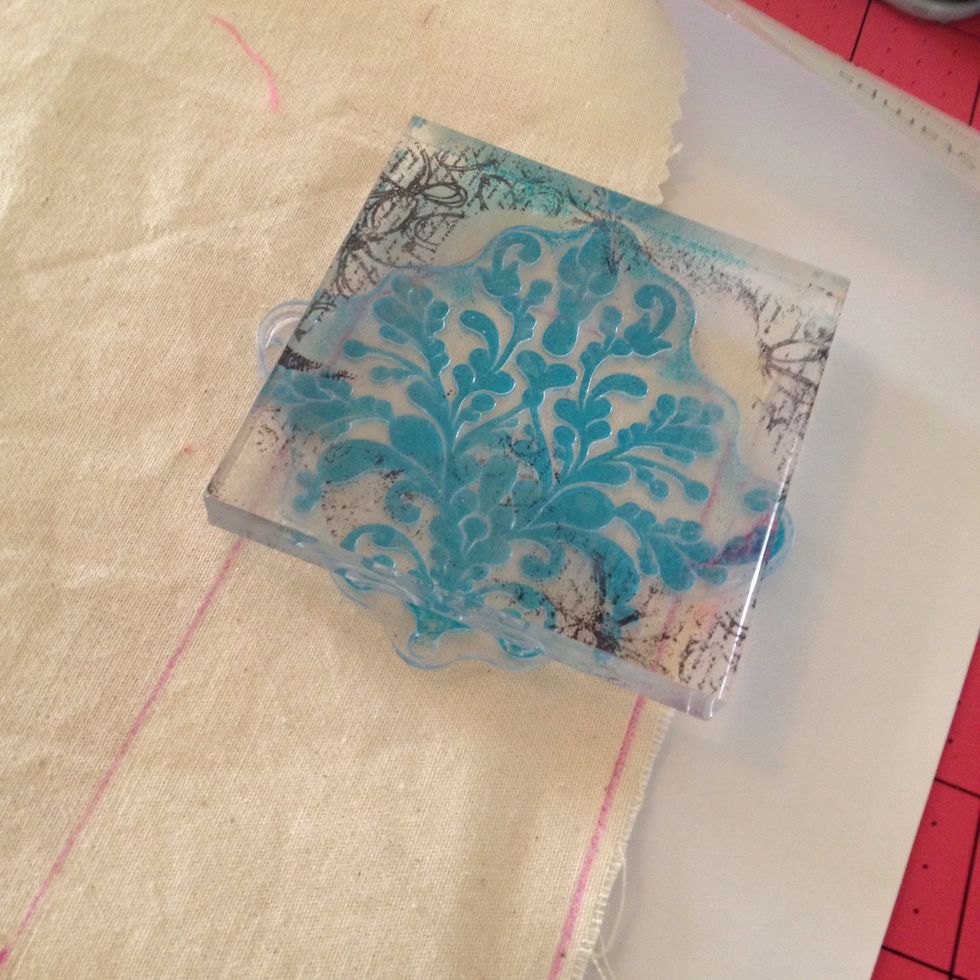
My stamp went over the edges, so I stamped first ten cut out. Make sure you have enough ink!
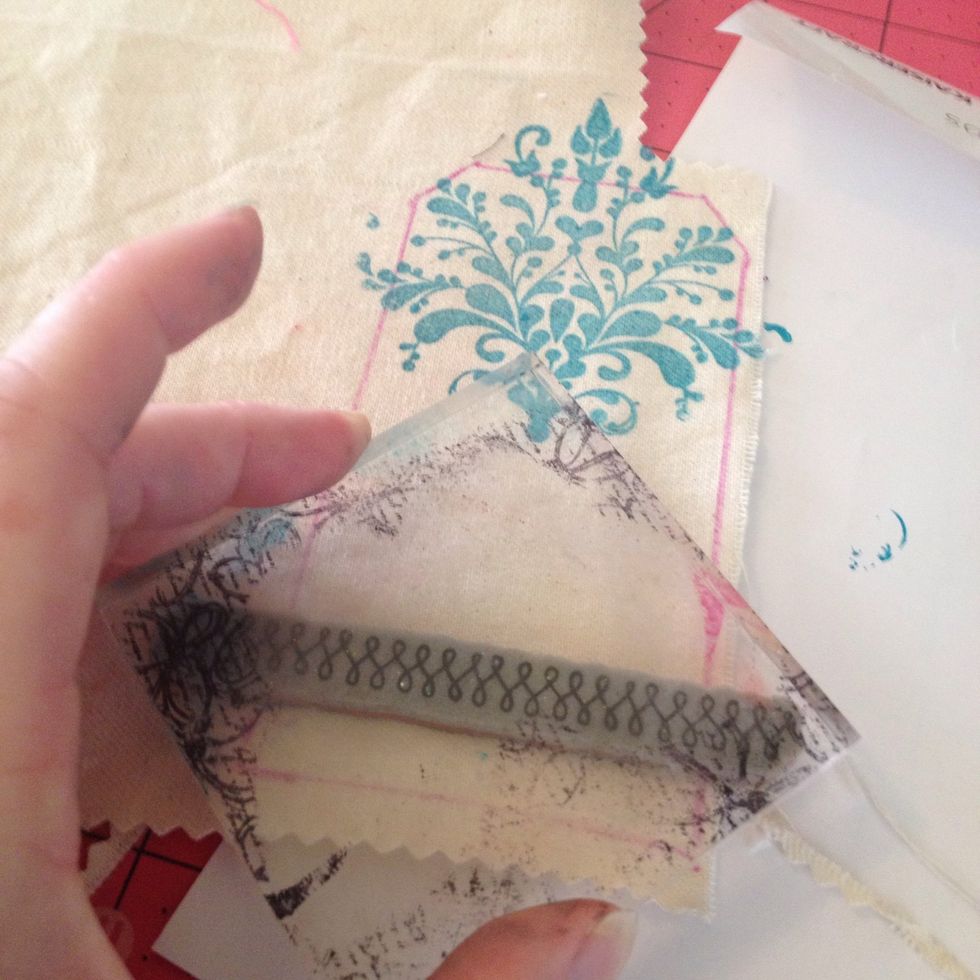
I added a cute border. Remember to press from and even but not to hard.
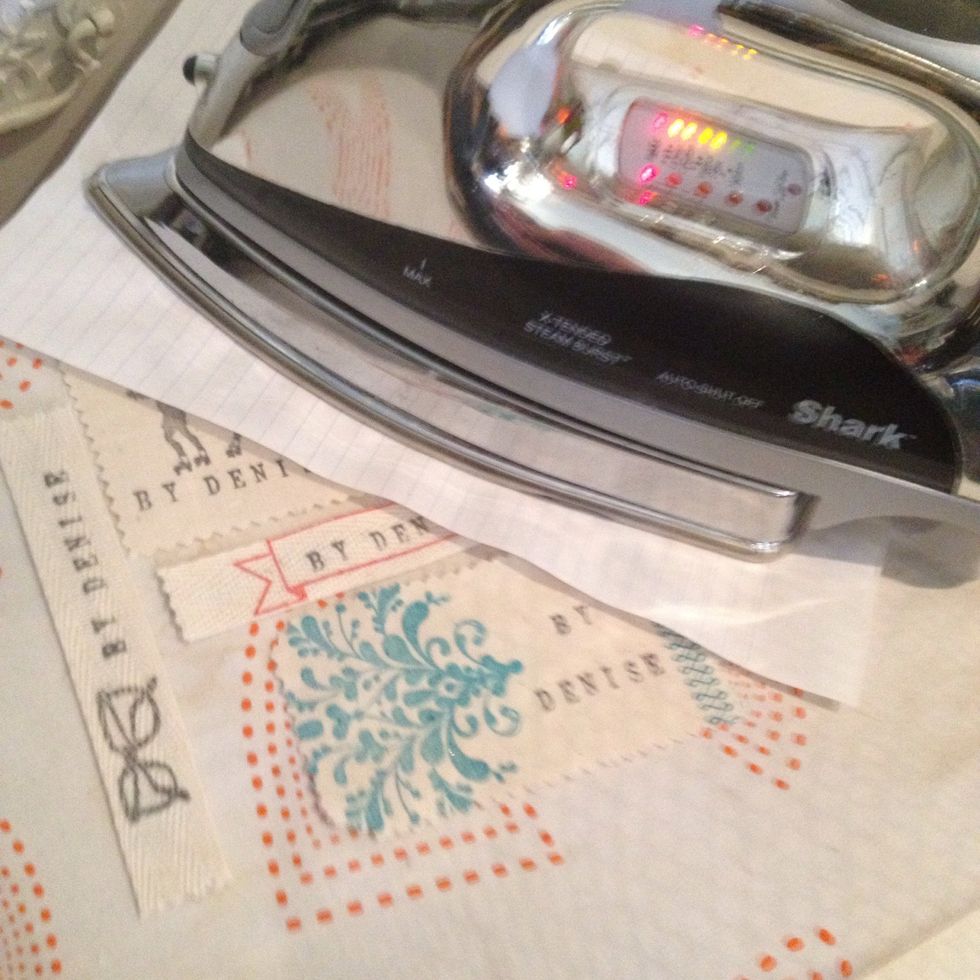
Now heat set your creations. I put a piece of paper between my labels and the iron to prevent any smudging
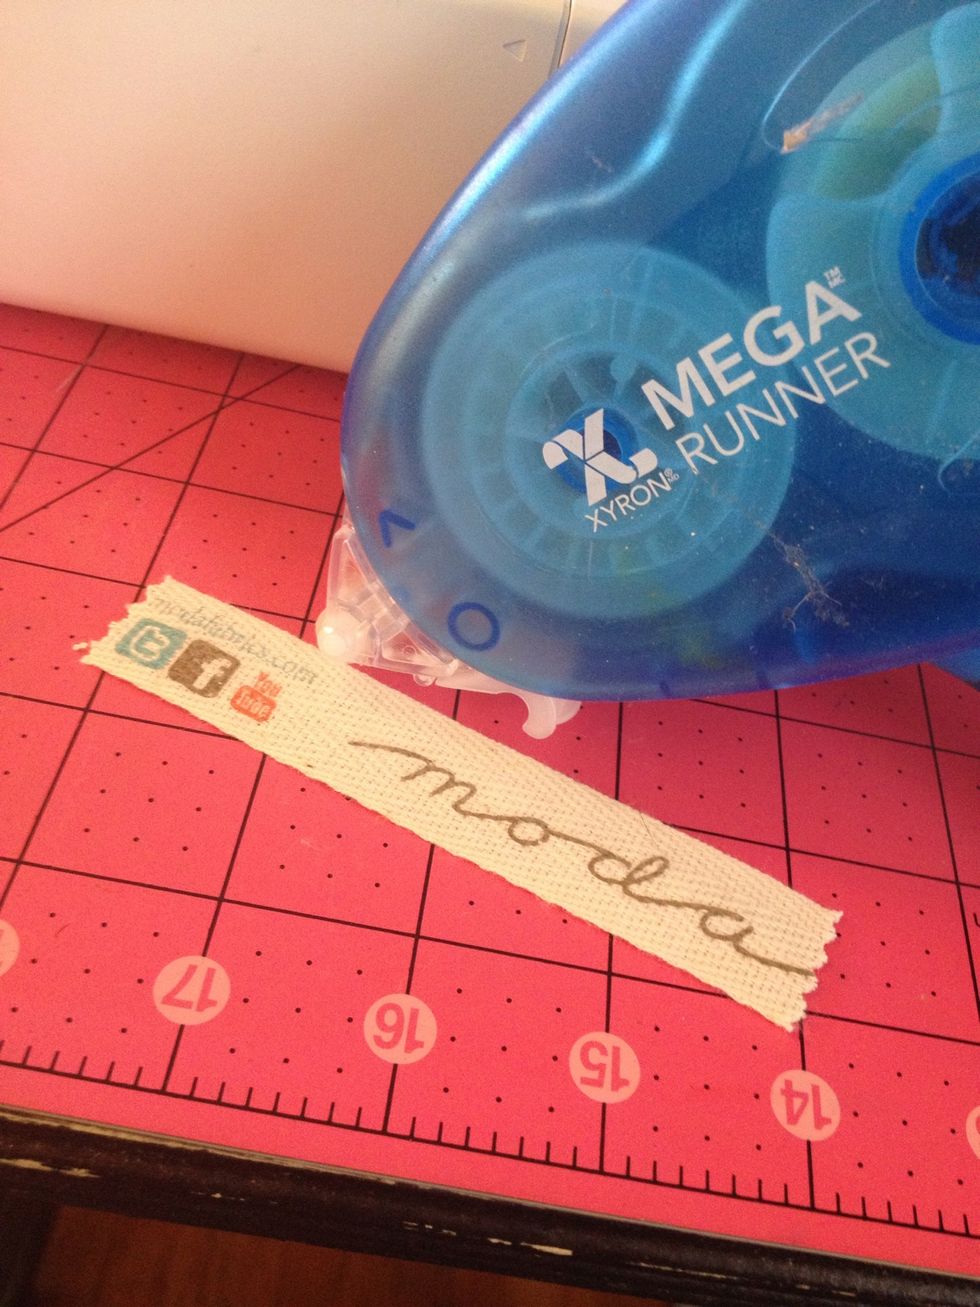
Now to sew on! I use a little bit of Xyron take runner down the center to hold the tape in place as I sew. You can also use fabric spray adhesive or fusible webbing
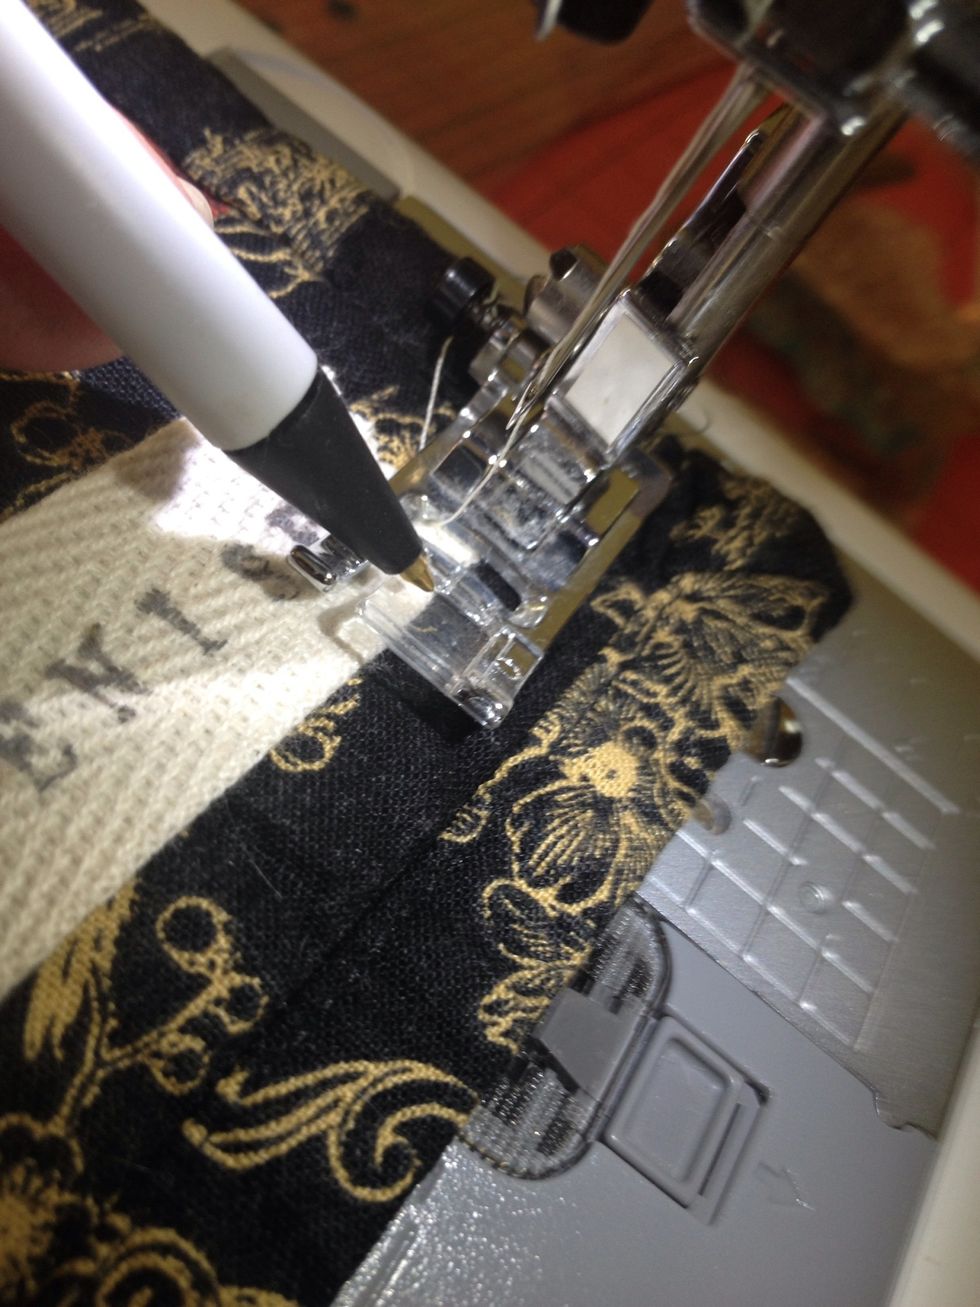
Find a spot on your sewing foot to determine a seam allowance- I am using my center notch, with the needle to the left position
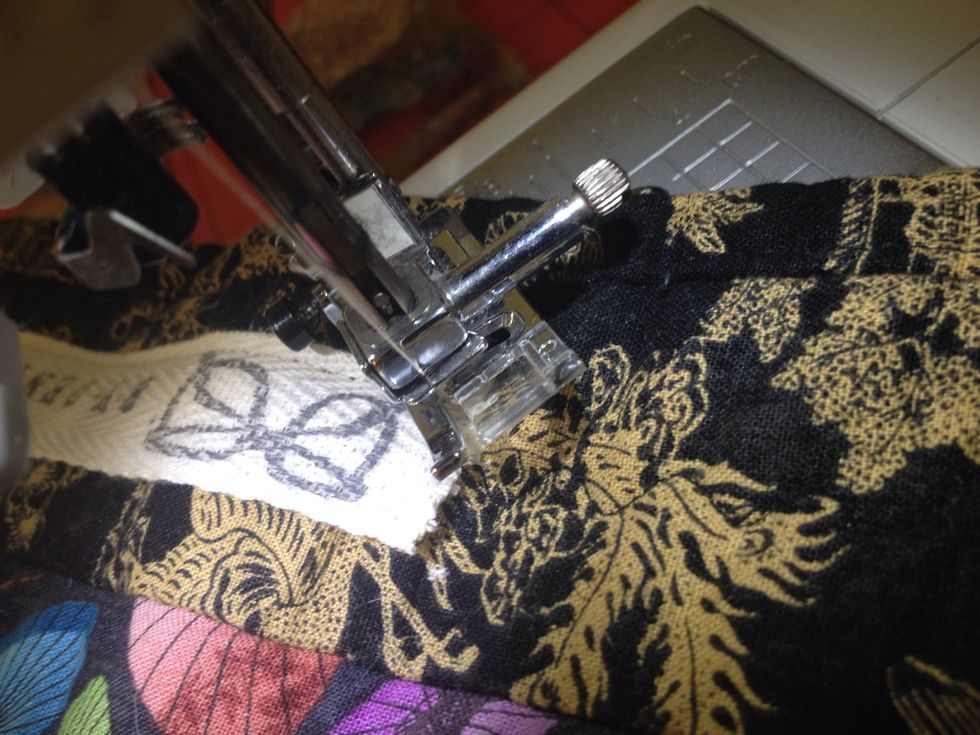
When you get to the end, drop your needle and spin around the corner- you can also just sew up two sides
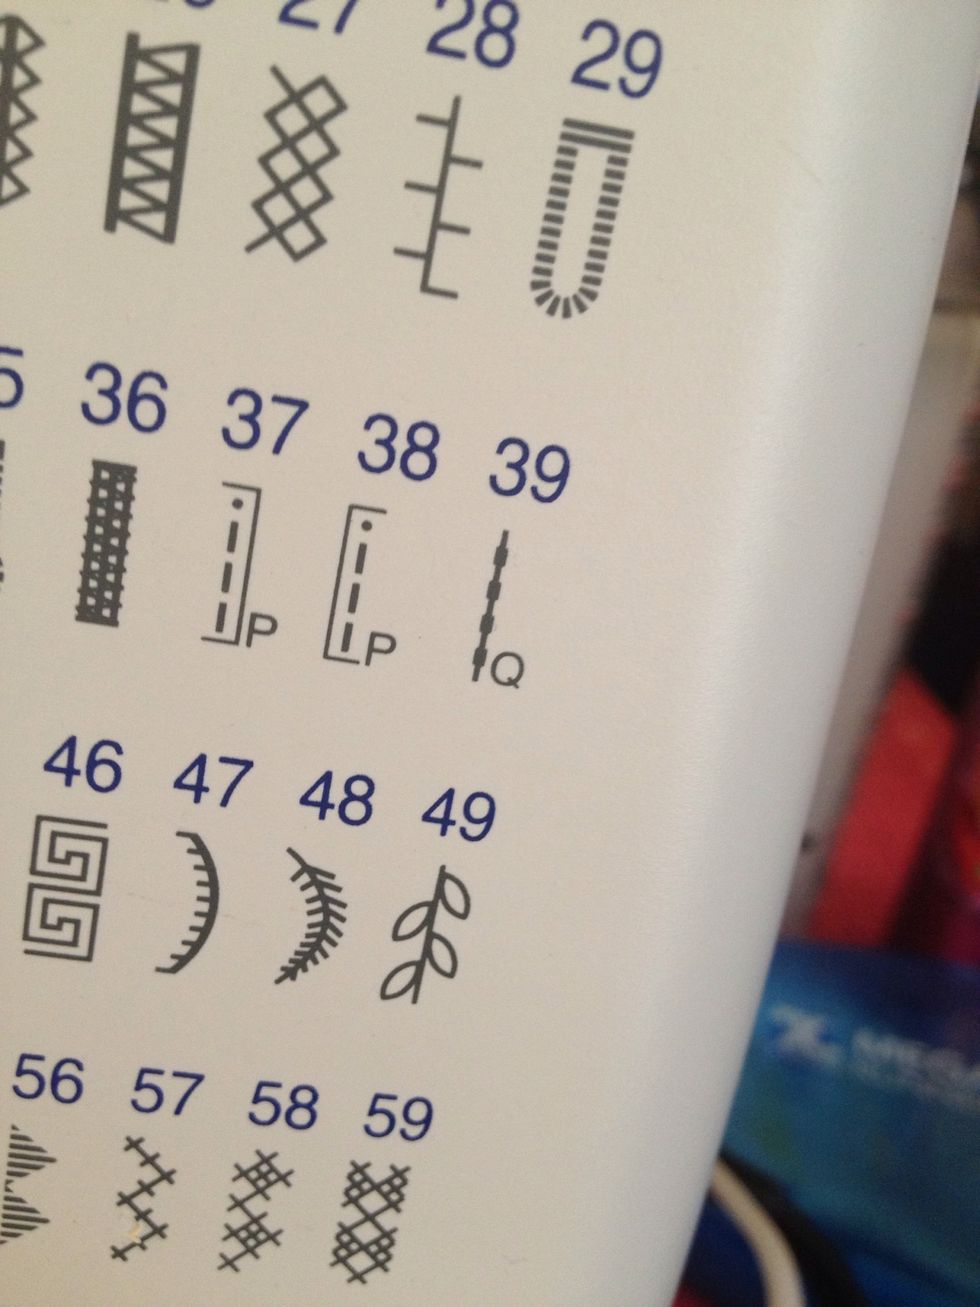
You can use any stitch you want. If you didn't use pinking shears, you can do a zig zag to prevent fraying. I used a quilt stitch that makes it look more hand sewn (#39)
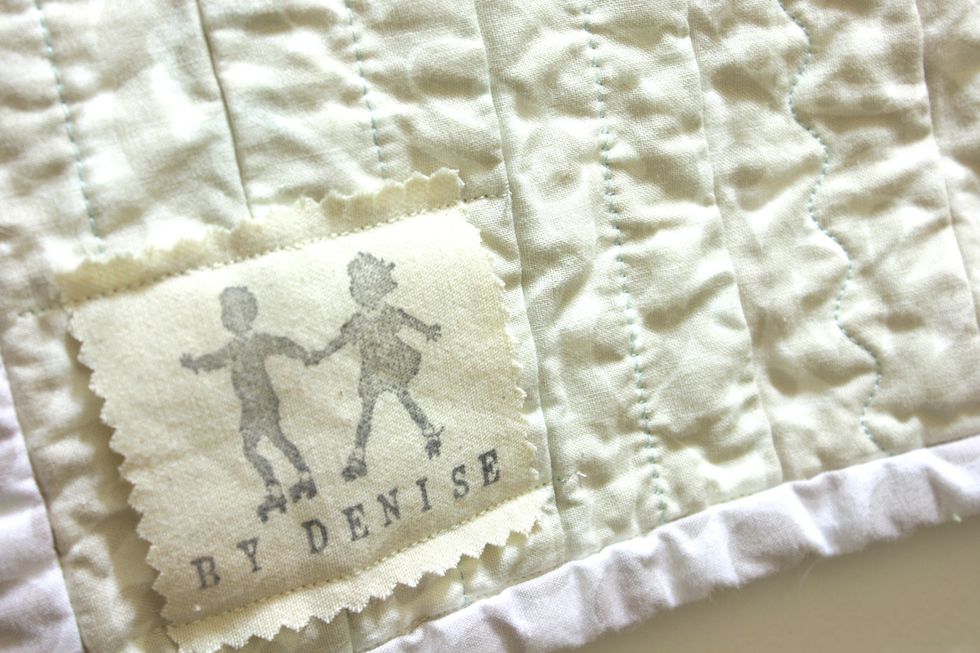
Here is my finished label on a quilt
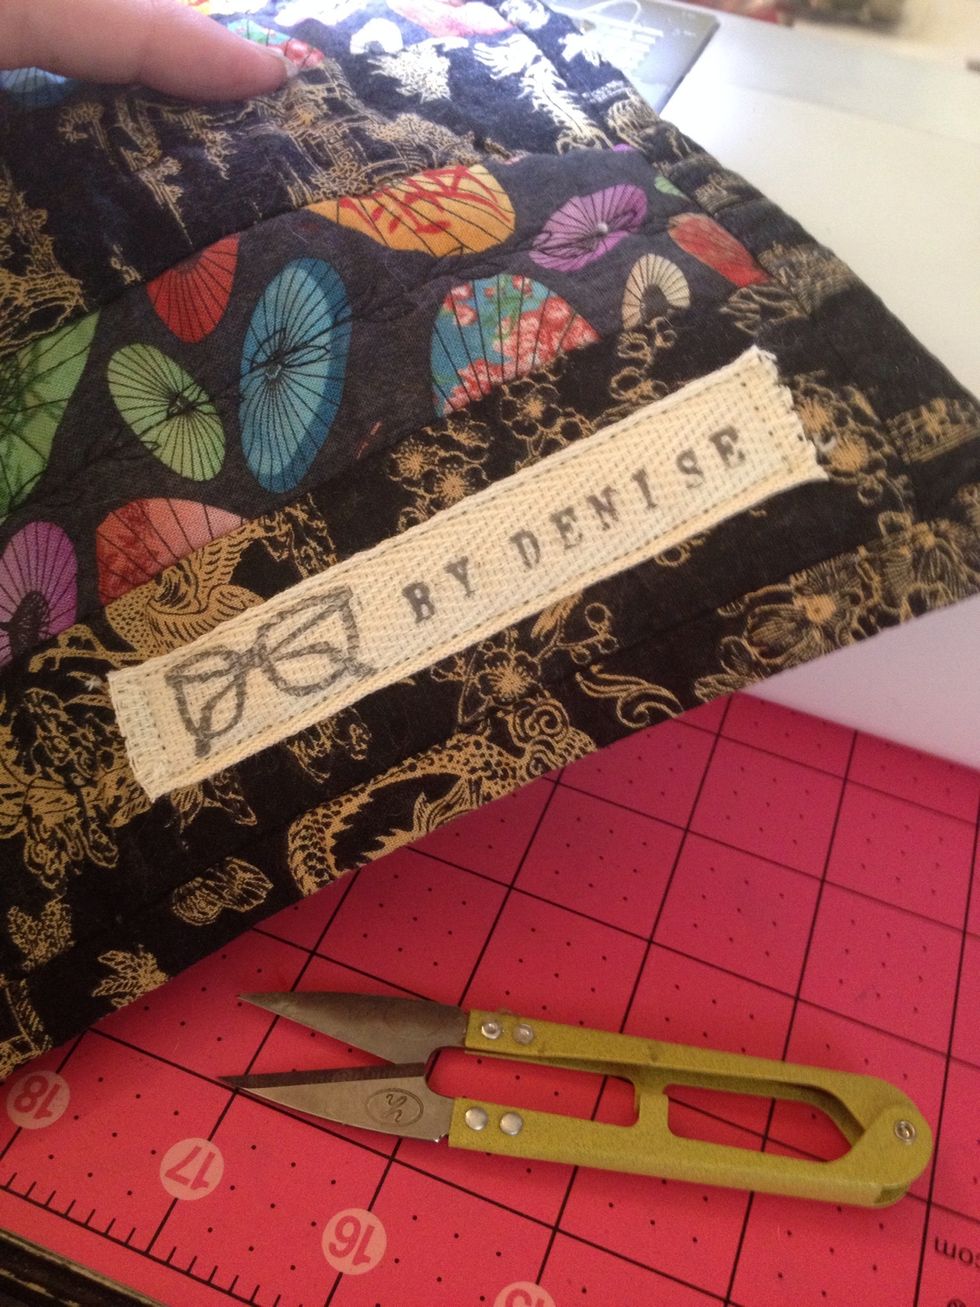
Here is one for another Quilt where I only sewed the top and bottom
see http://clearsnap.com for more info about our inks and our blog for project ideas. You can visit my persona blog at inmyblueroom.blogspot.com