The Conversation (0)
Sign Up
There are various ways to scrunch the sides of a t-shirt, but this is what I feel is the easiest, fastest and least destructive method. Especially if you are working with an expensive top like me!
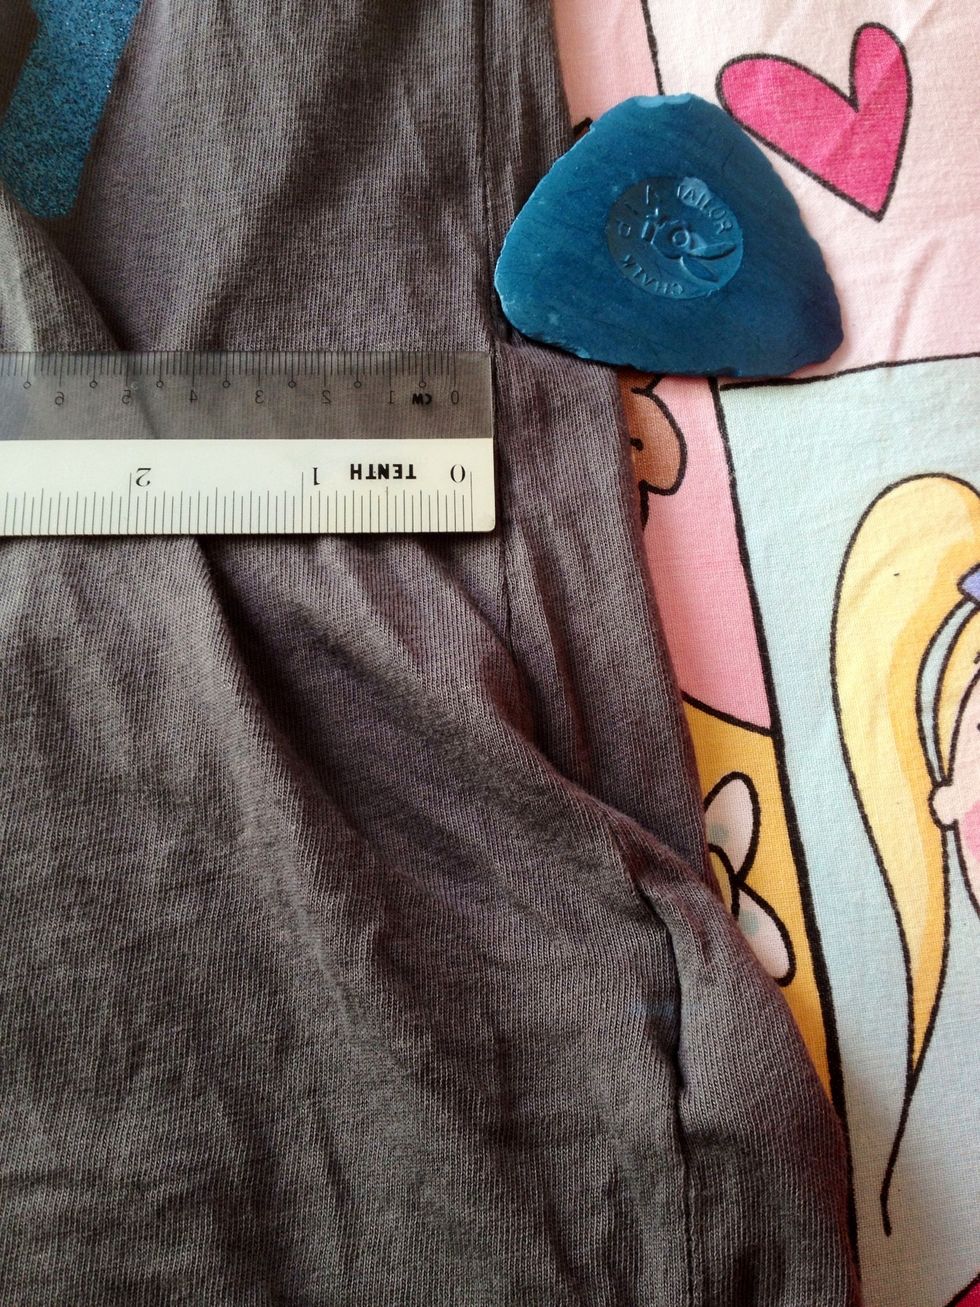
Use a fabric chalk to mark out on the sides of the t-shirt where you would like the scrunching to start. Bear in mind that you will be scrunching till the bottom of the t-shirt.
Using a ruler, ensure that the markings you make on both sides are of equal heights.
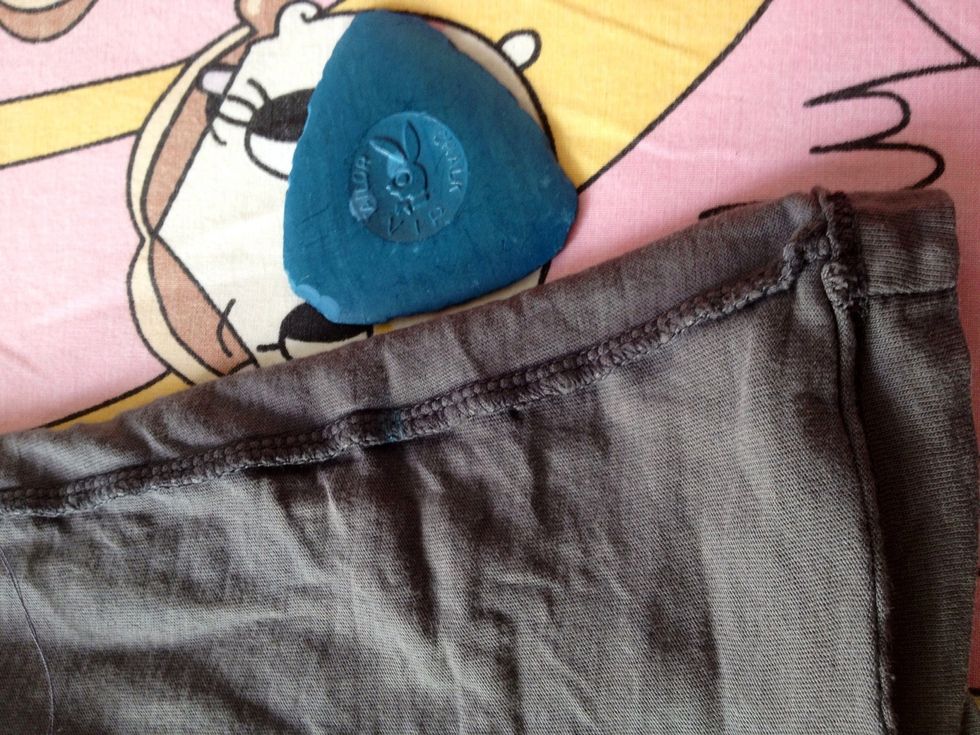
Flip to the reverse side to mark with chalk at the same spot.
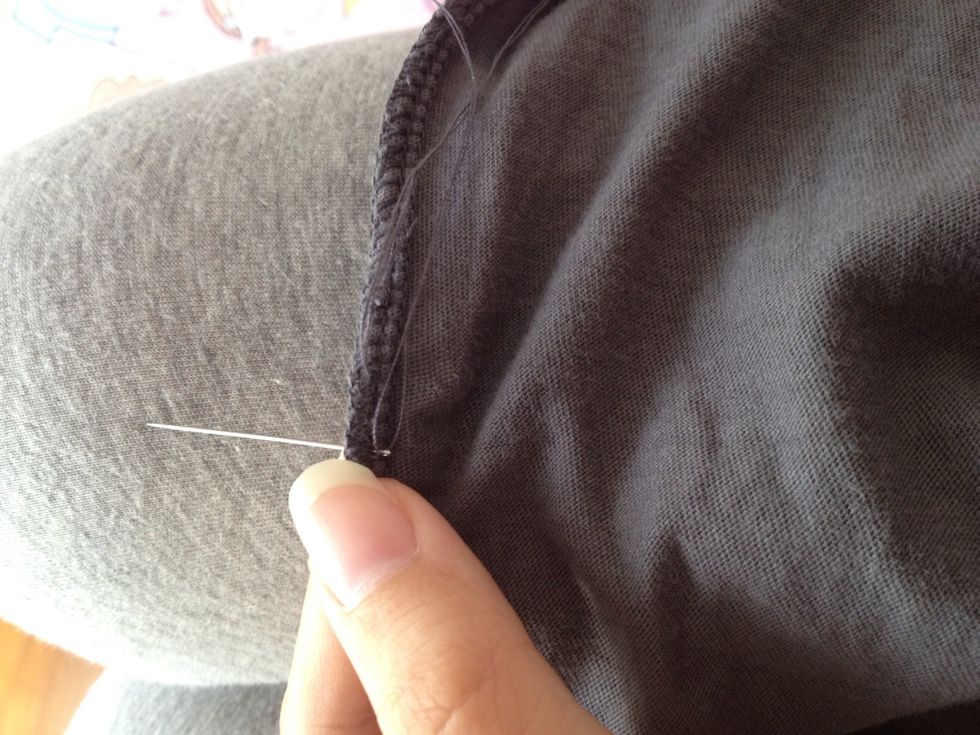
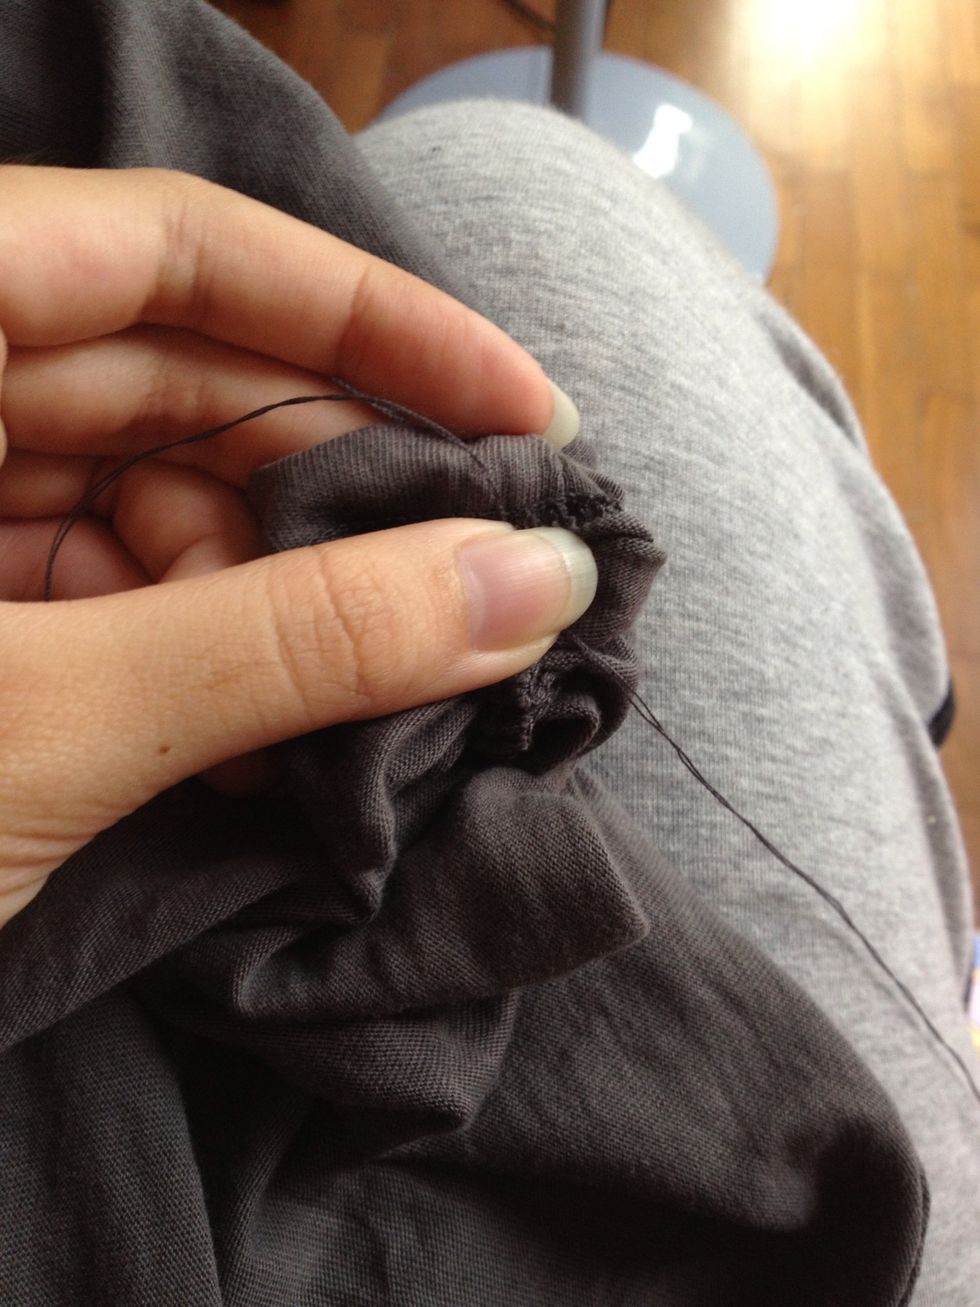
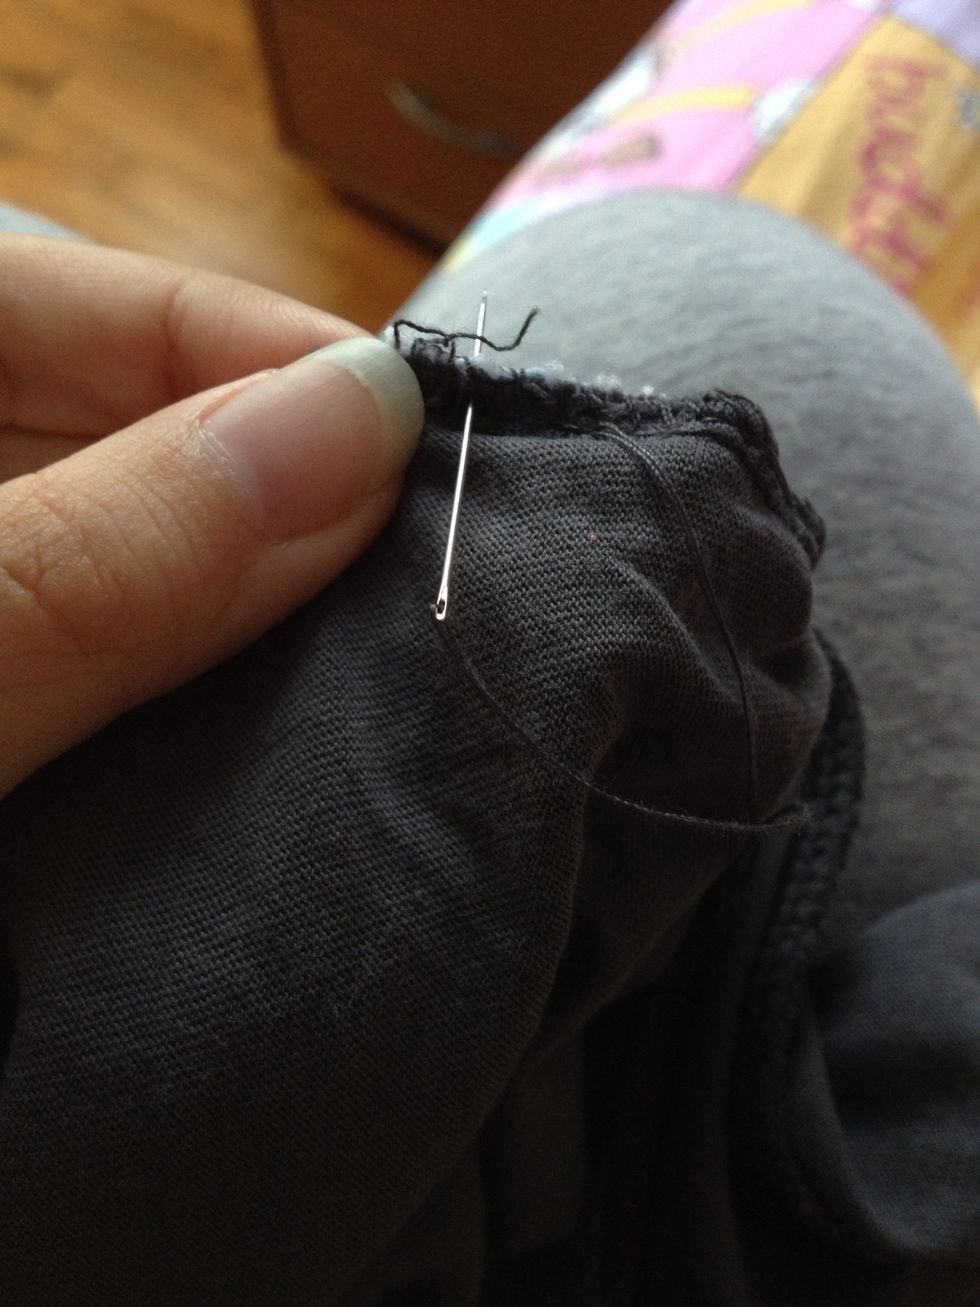
Tie a huge knot at the edge of your thread and begin sewing at the starting point.

Sew in and out- I think they call it a simple hand stitch or running stitch. Try to sew such that the stitches are evenly spaced apart from each other.
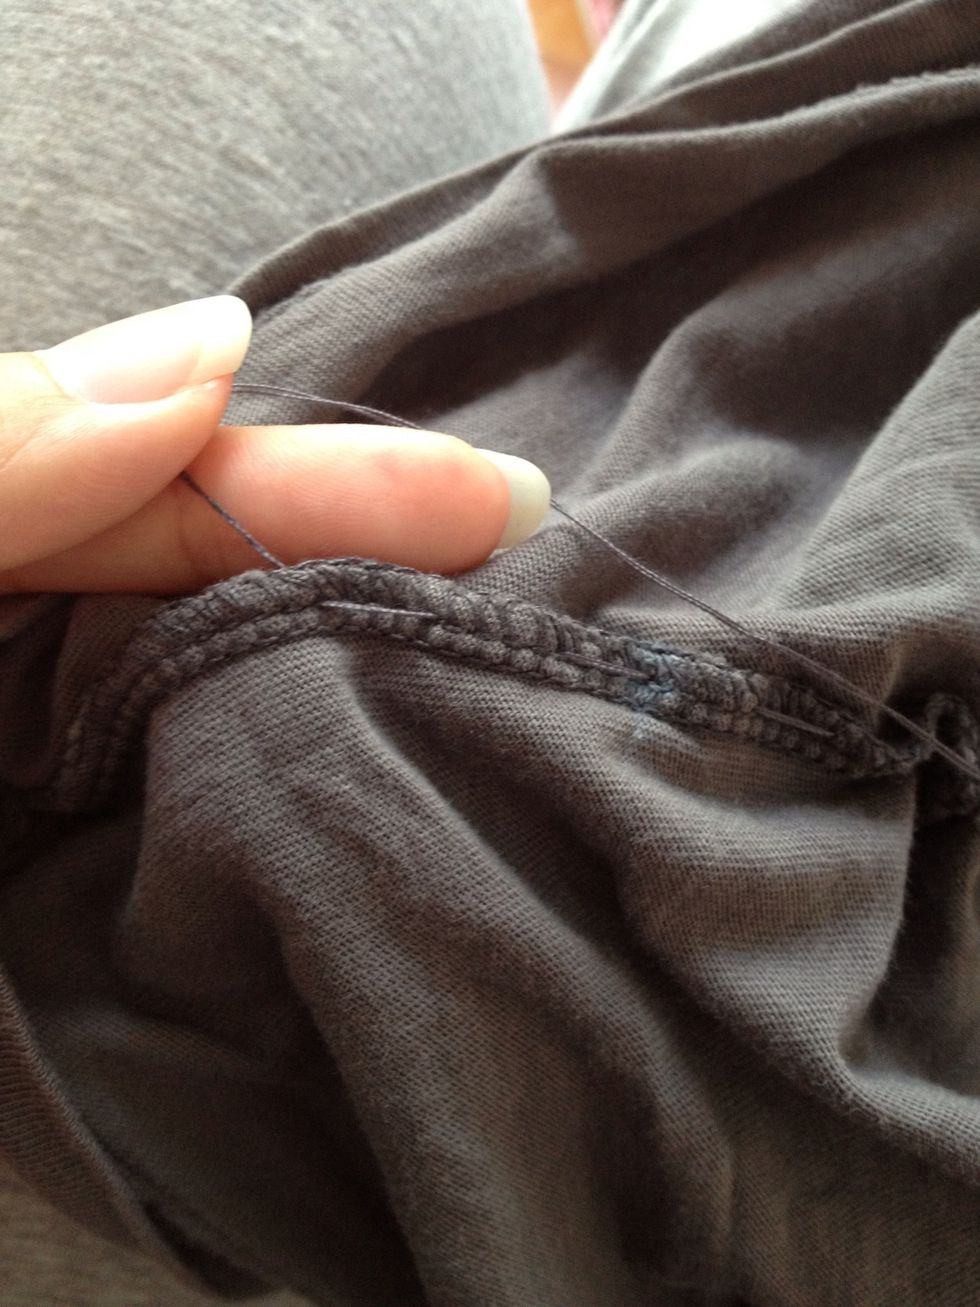
Continue sewing until the end of the tshirt.
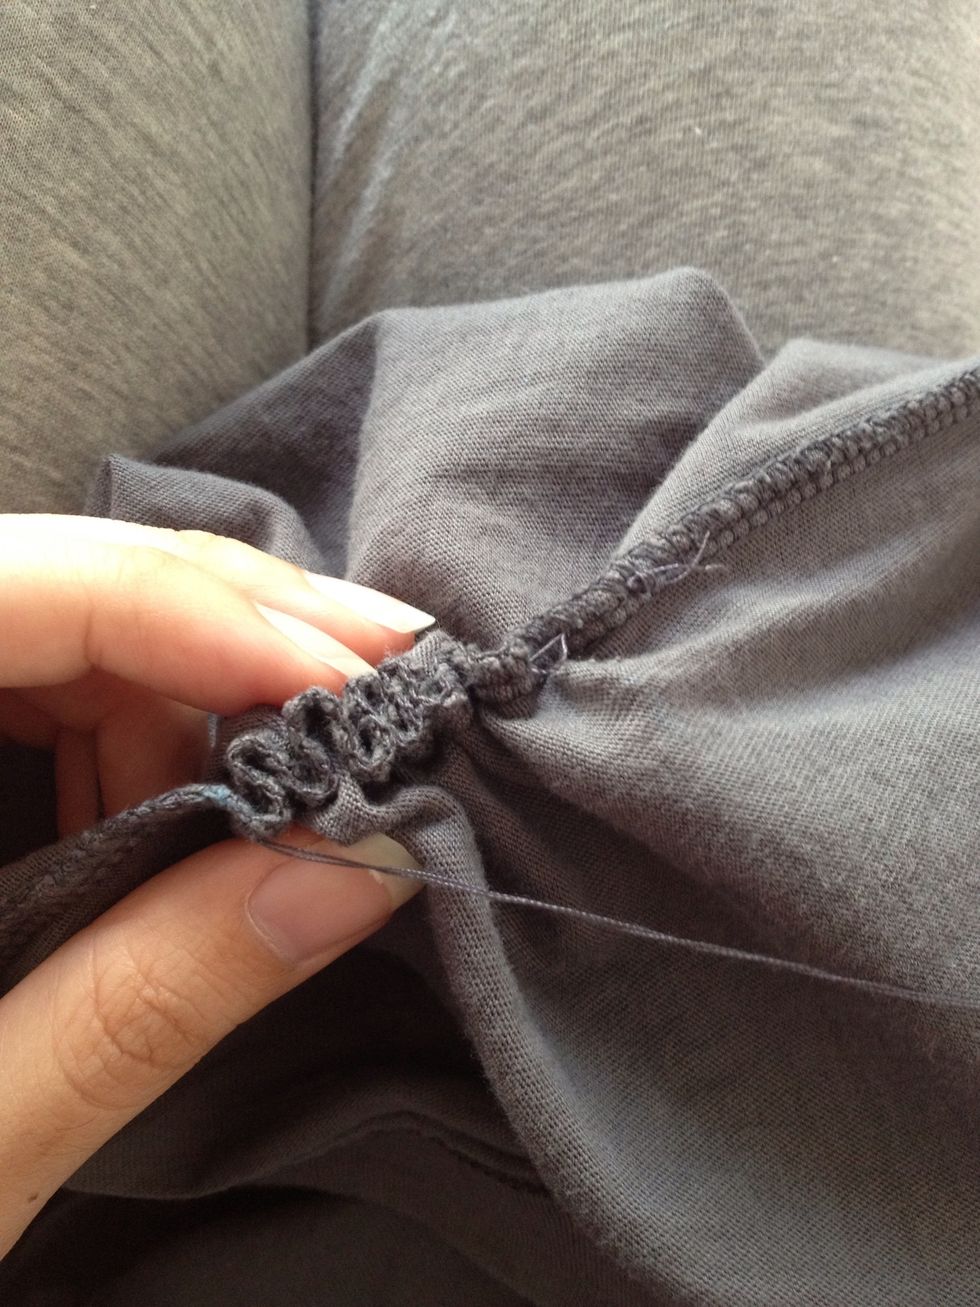
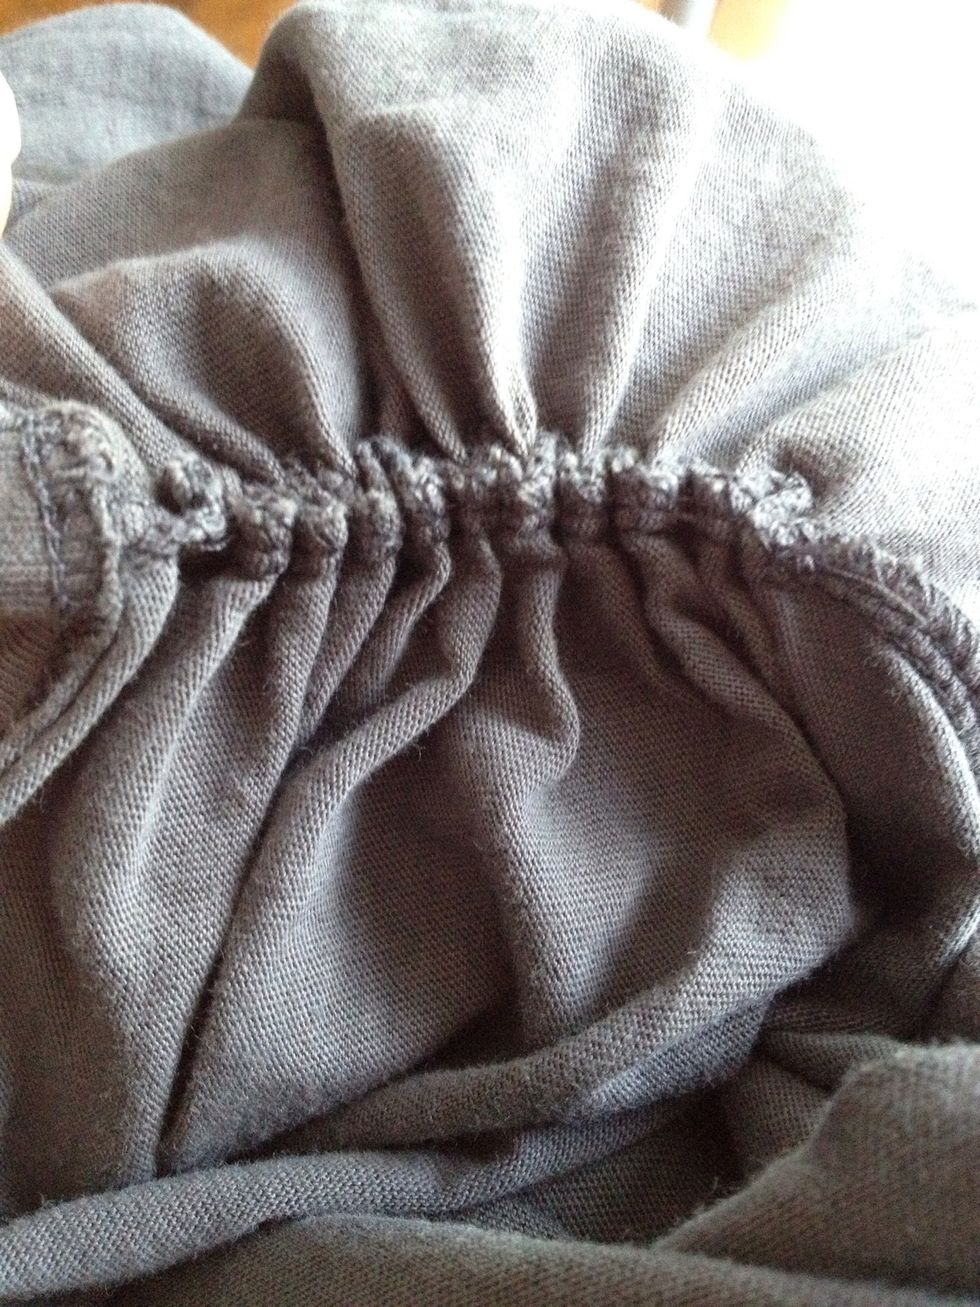
Pull the stitches together until you are satisfied with how tight the scrunches are.
Flip to the other side of the t-shirt to have a check.
If satisfied with the scrunches, secure a knot at the end of your stitches.
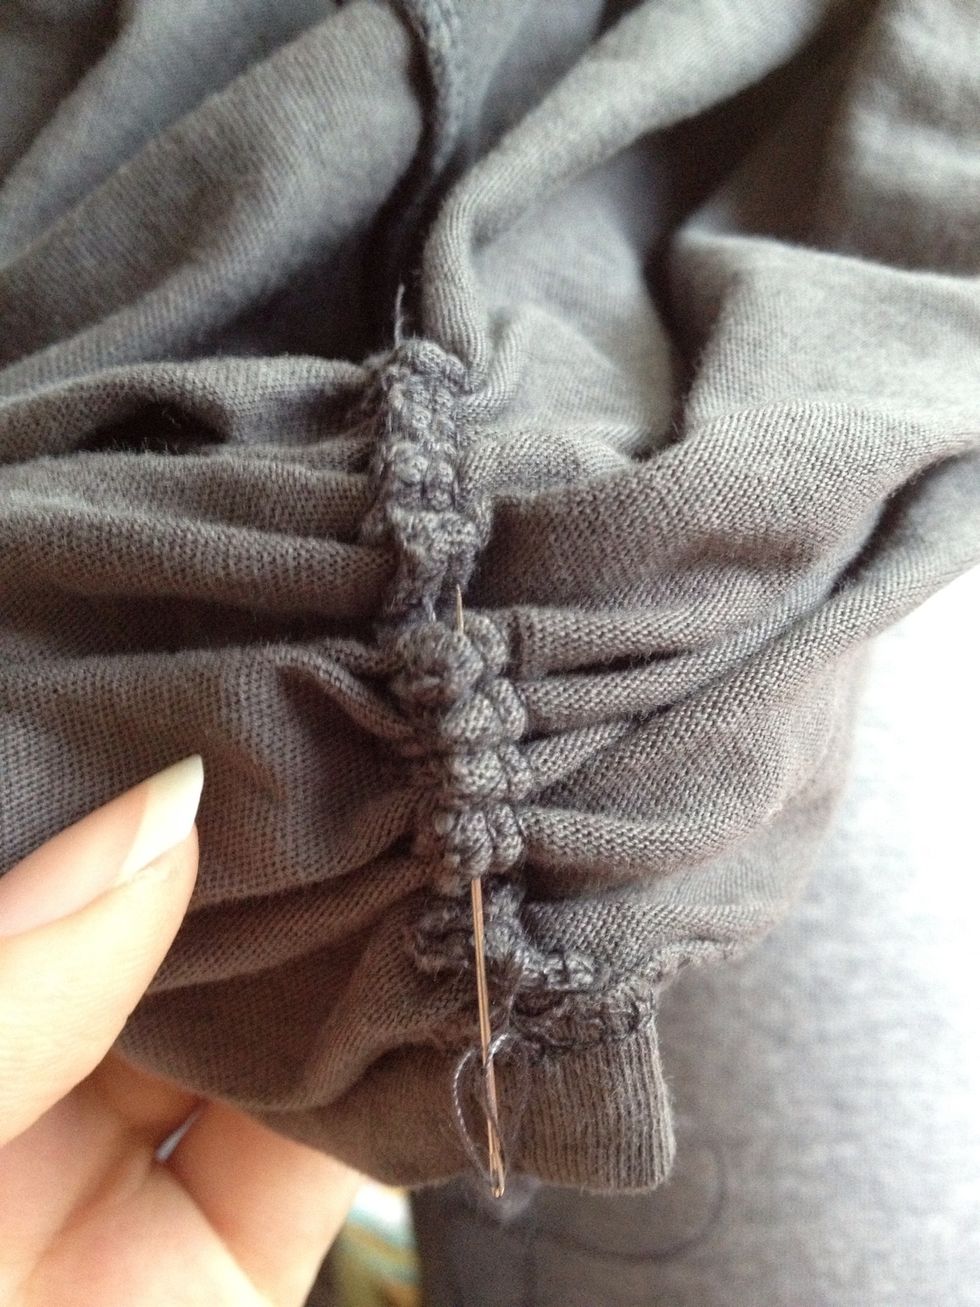
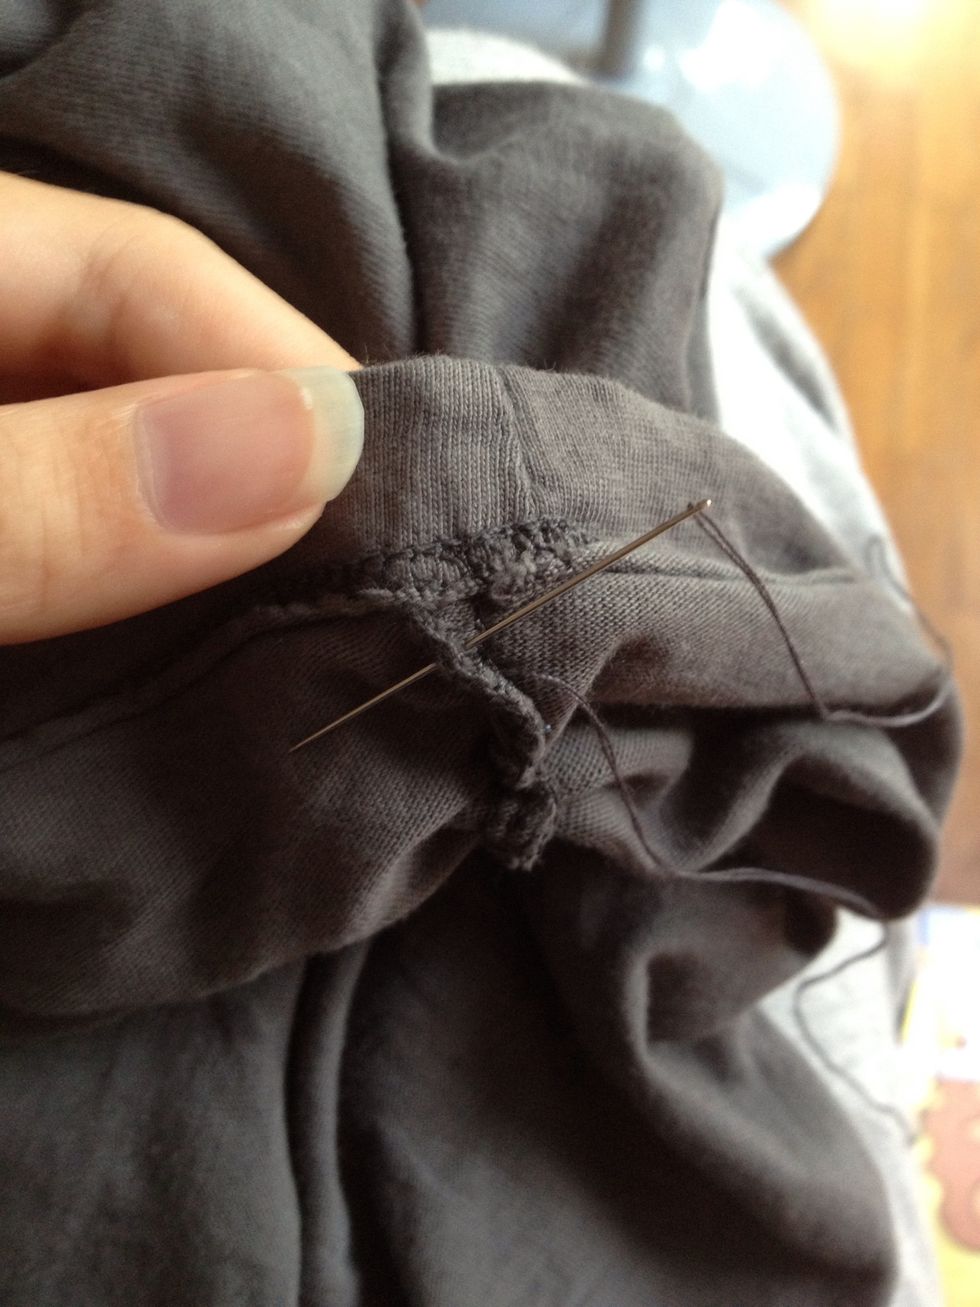
The next part is going to be a bit tricky: try to do a "back stitch" by threading the scrunches backwards through the needle, a bit like putting meat on a skewer.
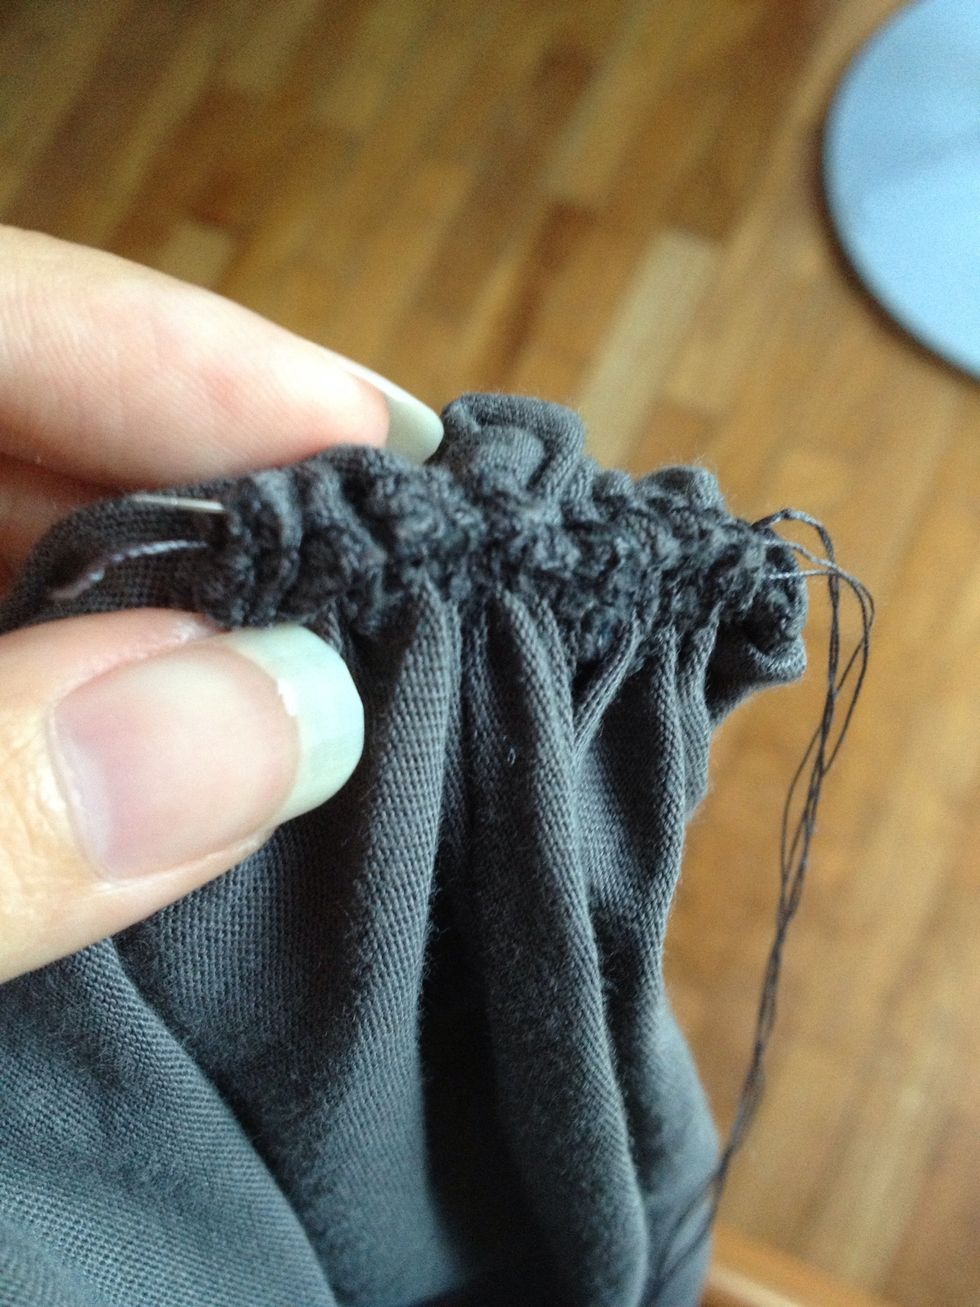
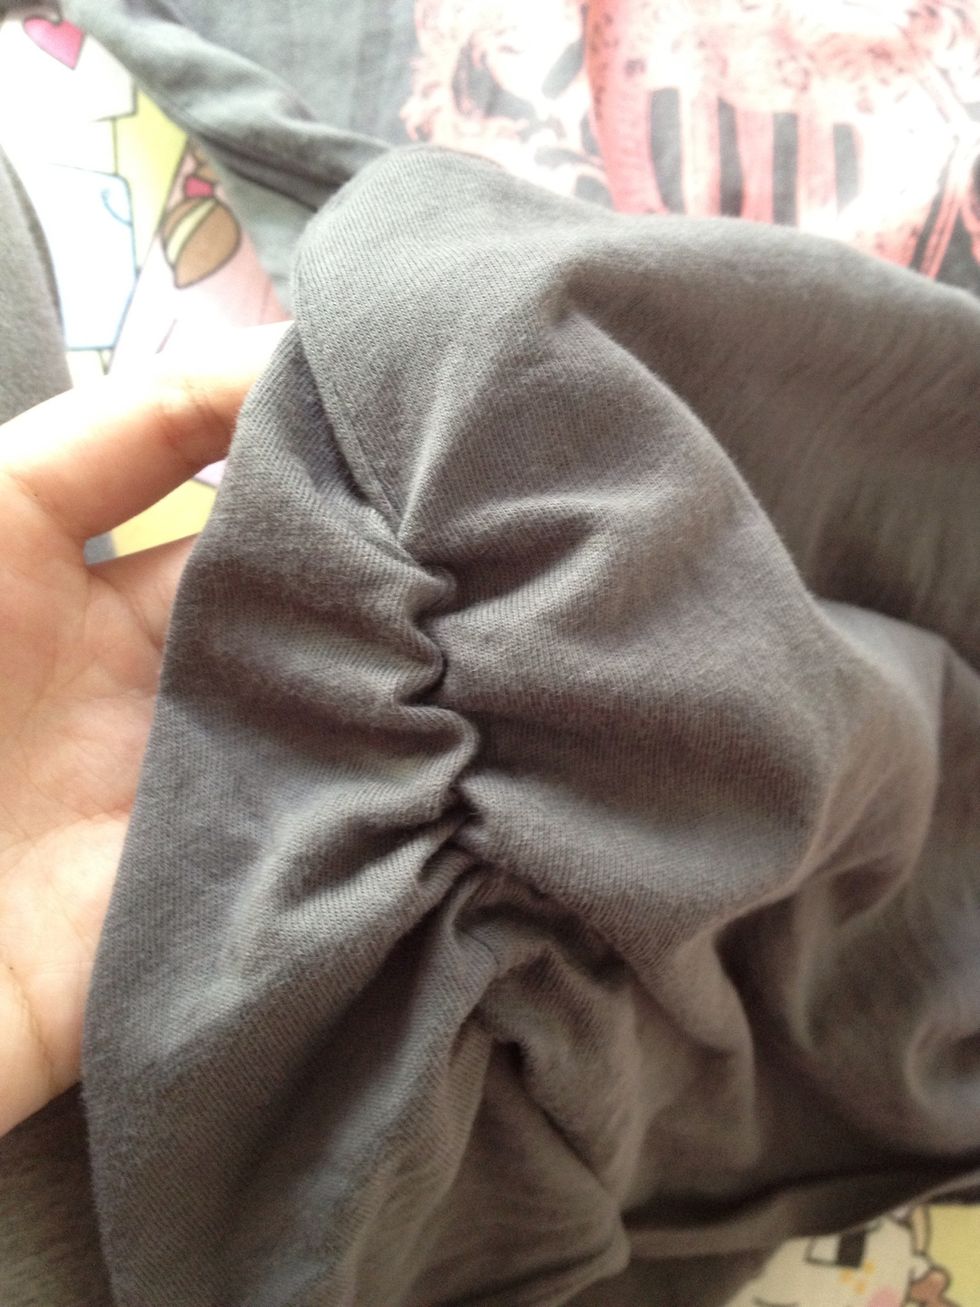
What it should look like. Once you've pulled the needle through, tie a huge knot at the end.
Finished product for one side.
Repeat for the other side of the t-shirt, I'll show you how to tackle the clothes information tag at the side of the t-shirt.
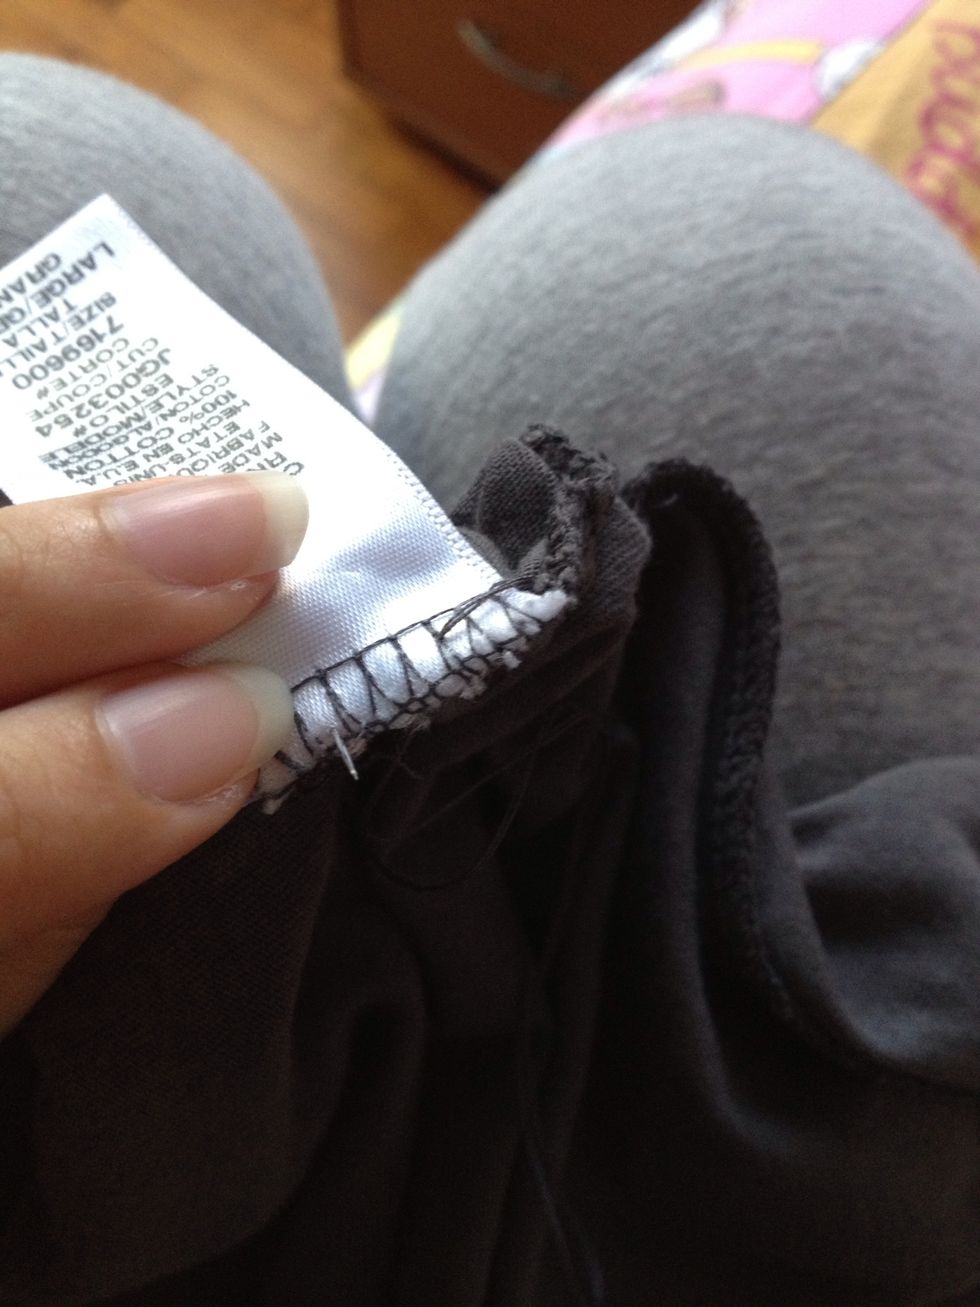
When you reach the clothes tag, do an evenly spaced stitch as per normal.

Repeat through all of the steps until the end. You would probably find that the scrunch is especially loose at the clothes tag area, so I'll show you what you can do.
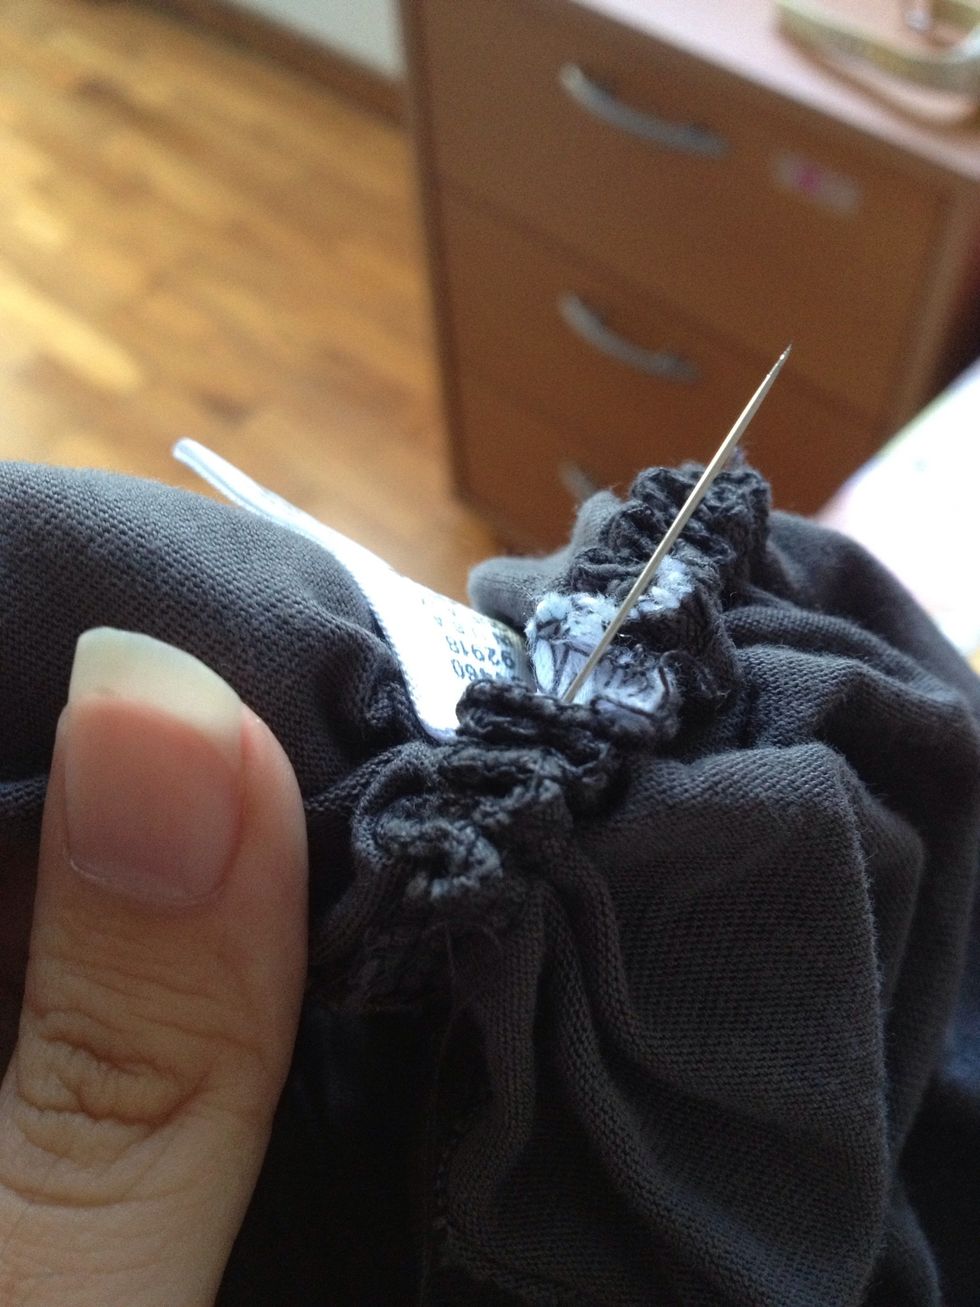
Use a fresh piece of thread to specially stitch through the clothes tag area, until the scrunch is tight enough.
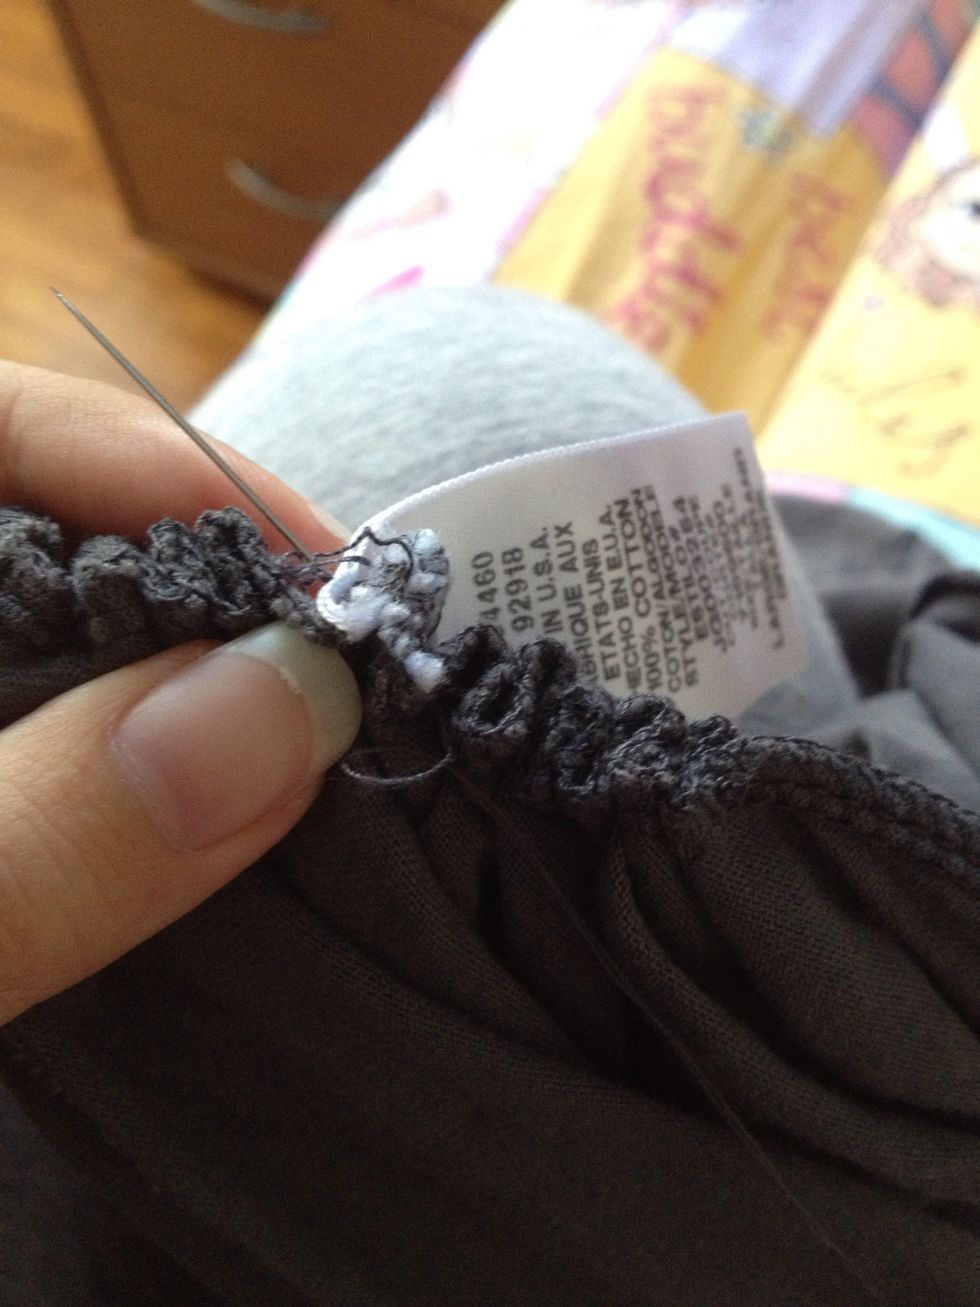
Then tie a knot at the end.
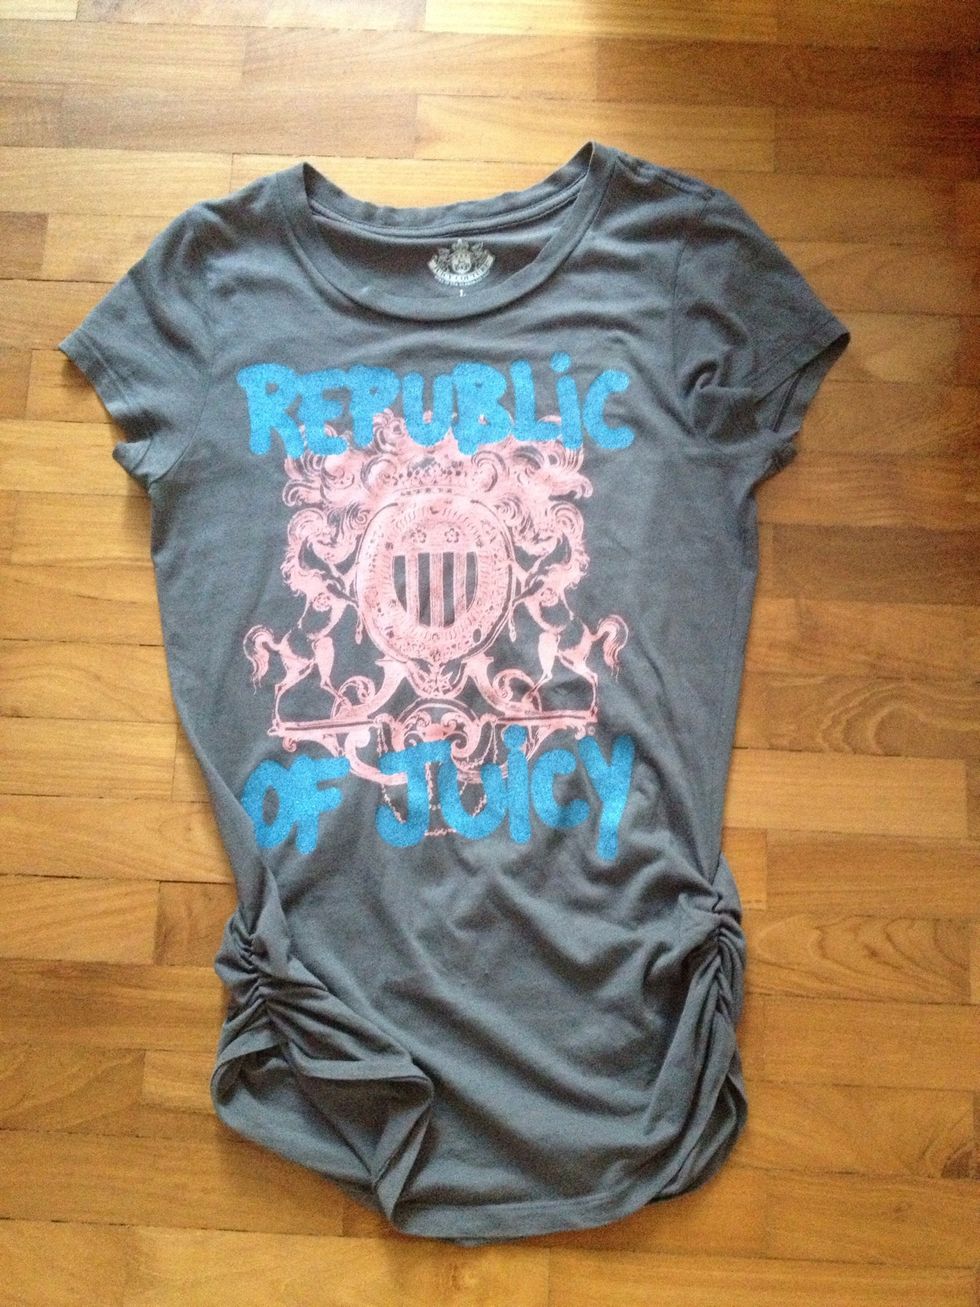
Finished product!

How it looks worn on