The Conversation (0)
Sign Up
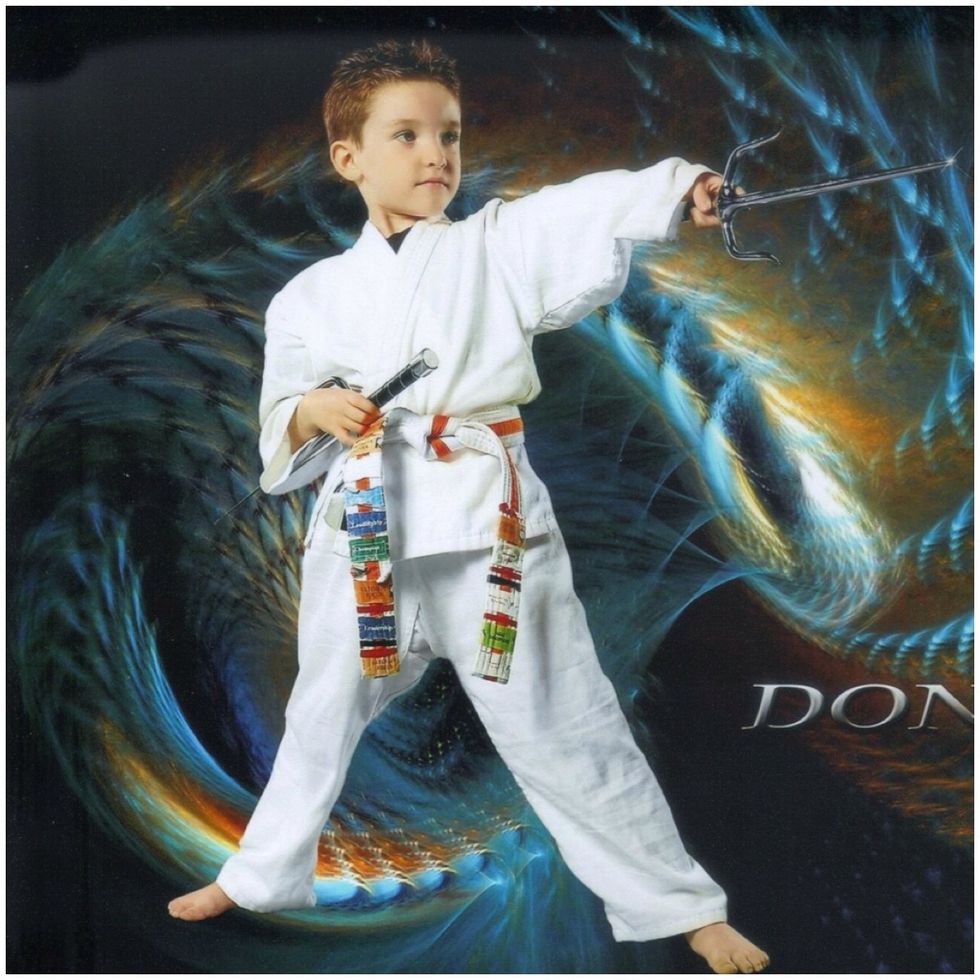
Start by figuring out what kind of fantasy photo you want. I knew I wanted to use this photo of my son and imagined him with a dragon.
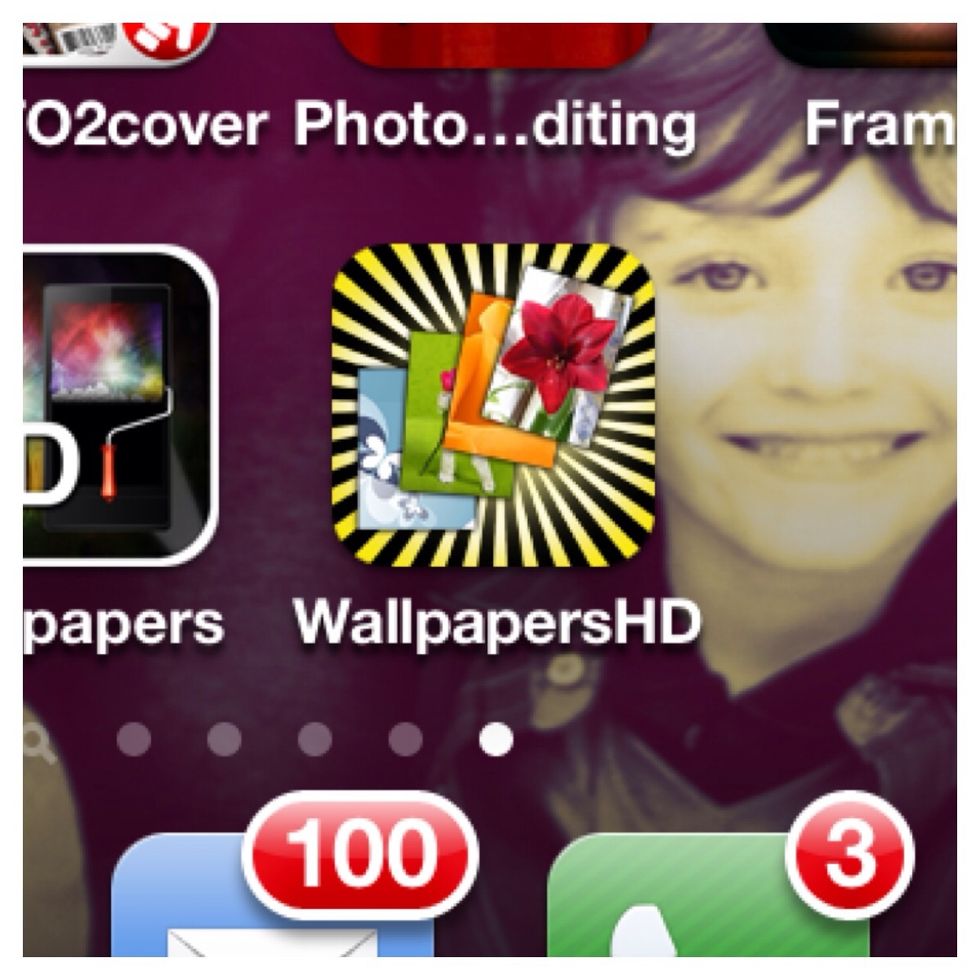
Open WallpapersHD to search for a background photo. Start here if you have no clue what you want and need some inspiration on what kind of fantasy photo you would want to do.
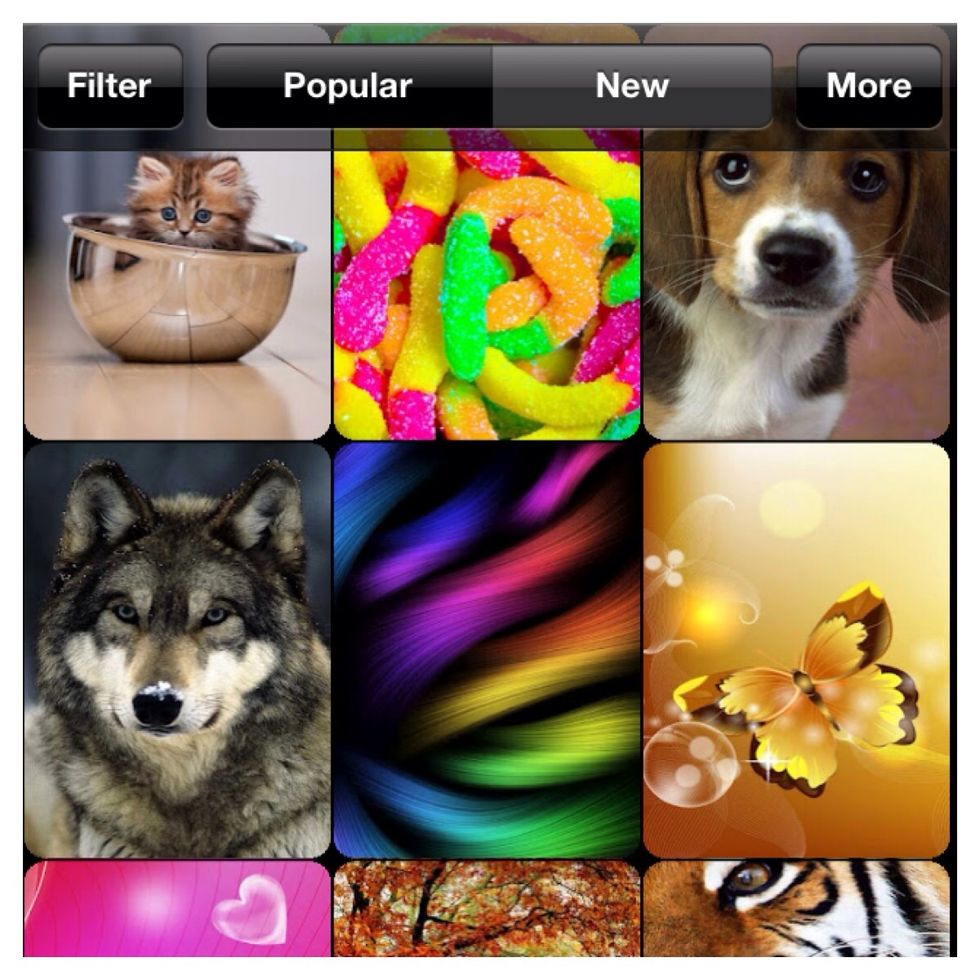
Search for your background through filter(which will give you categories), popular, new or more(where you have the option to search for a specific item/category).
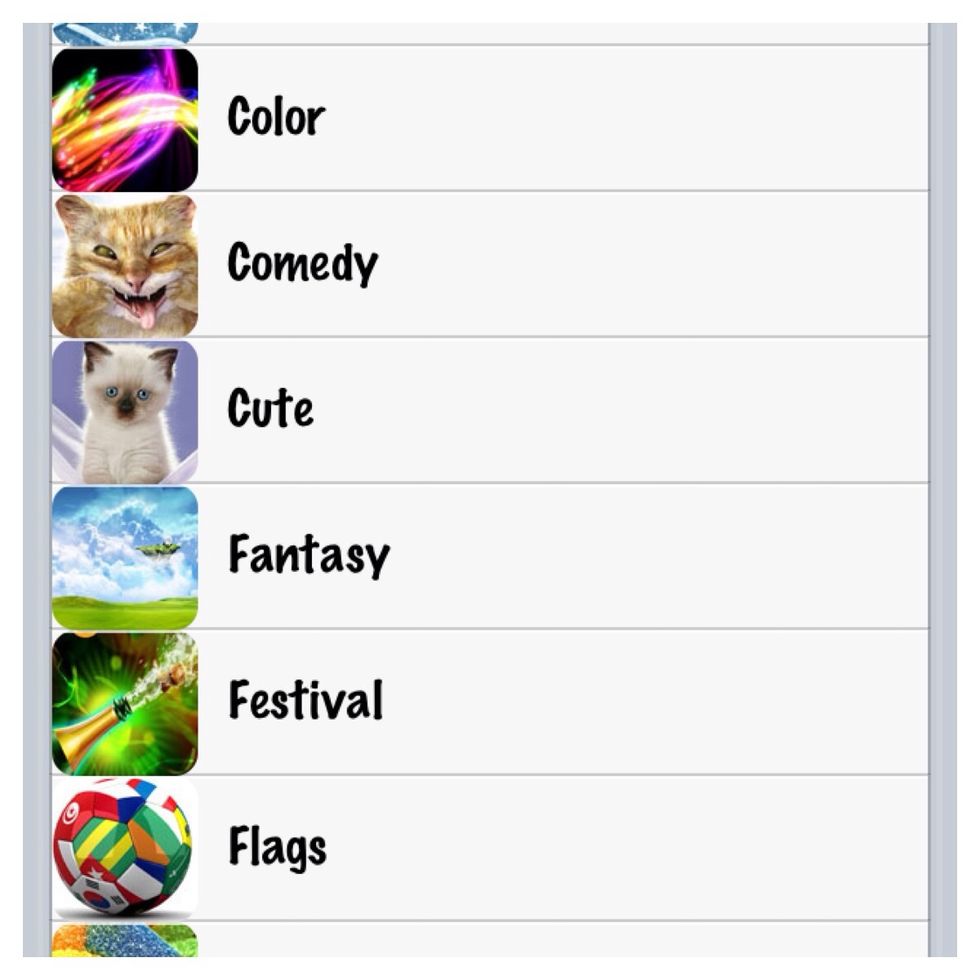
Choose filter and scroll down to Fantasy if you want to browse all fantasy photos or need inspiration.
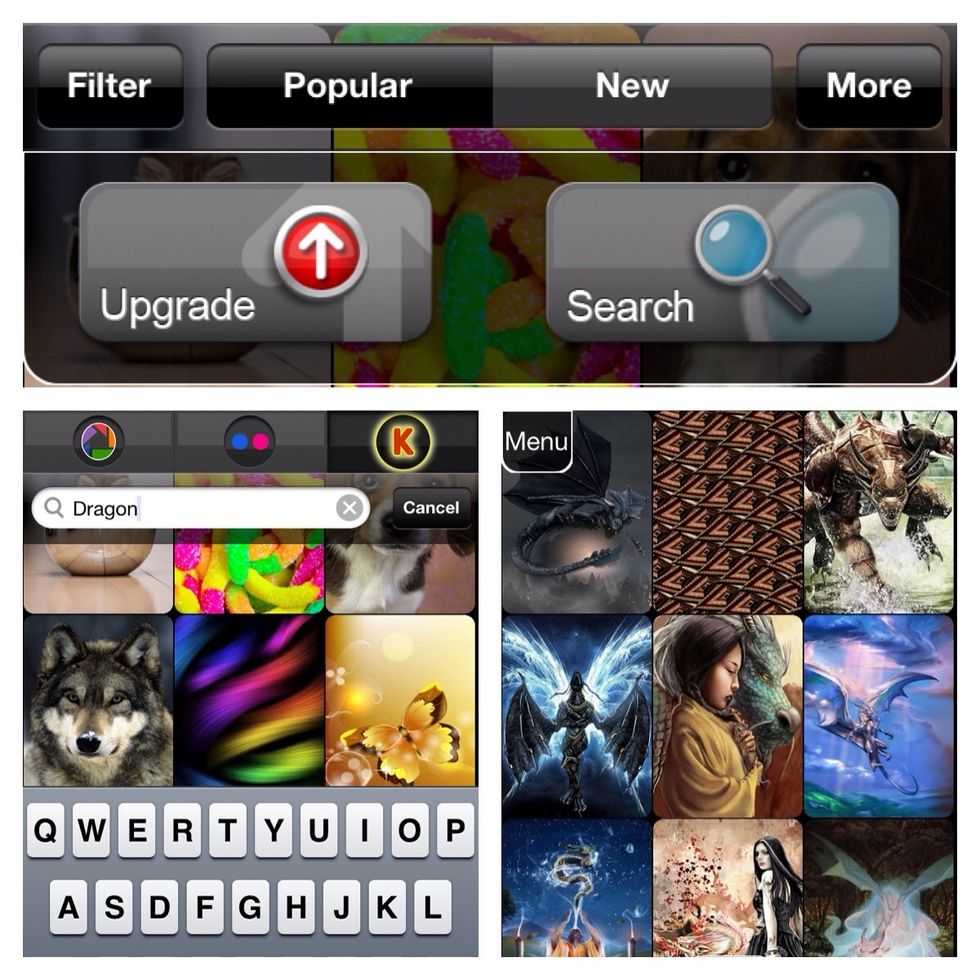
If you know what you have in mind tap More and choose search. Type in what you want to search for(example: dragon), then browse the results until you find one you like.
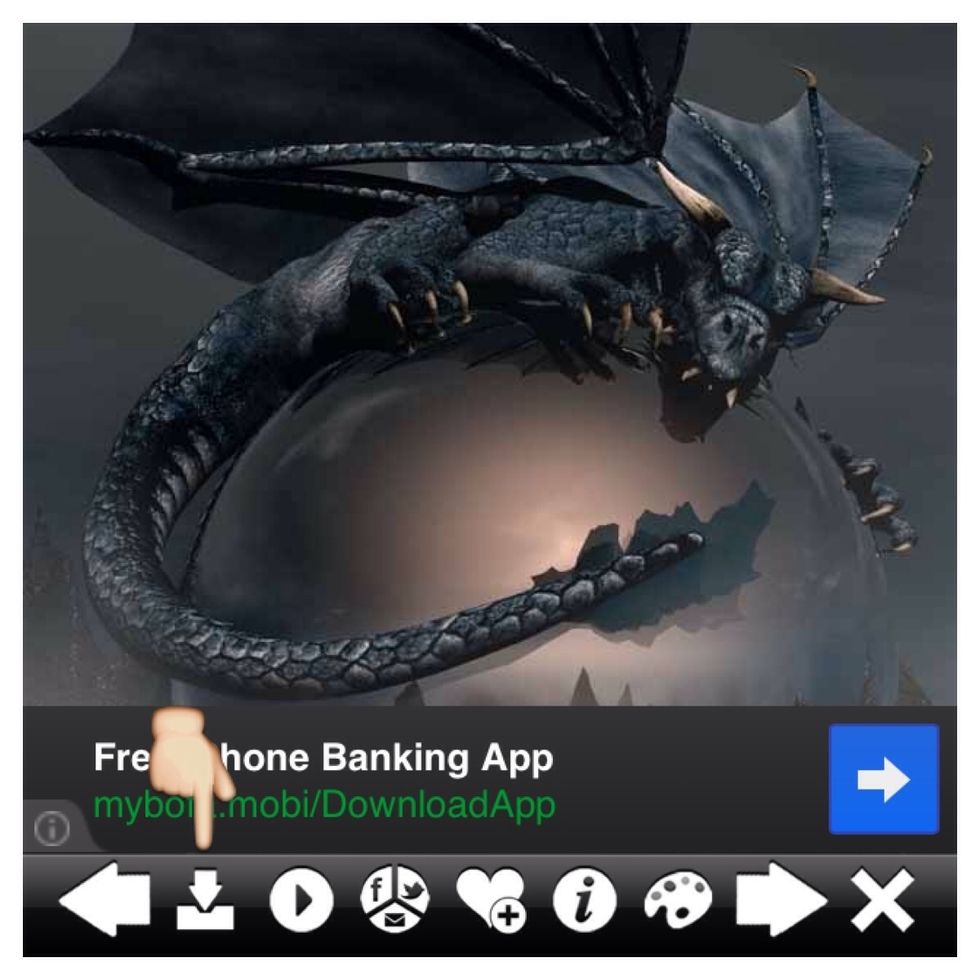
When looking for a background keep the other photo you are using in mind. When I saw this one, I envisioned my son standing on the dragon's tail. Once you think your choice will work then save it.
Open CutNPlace.
Tap on the Cut Item.
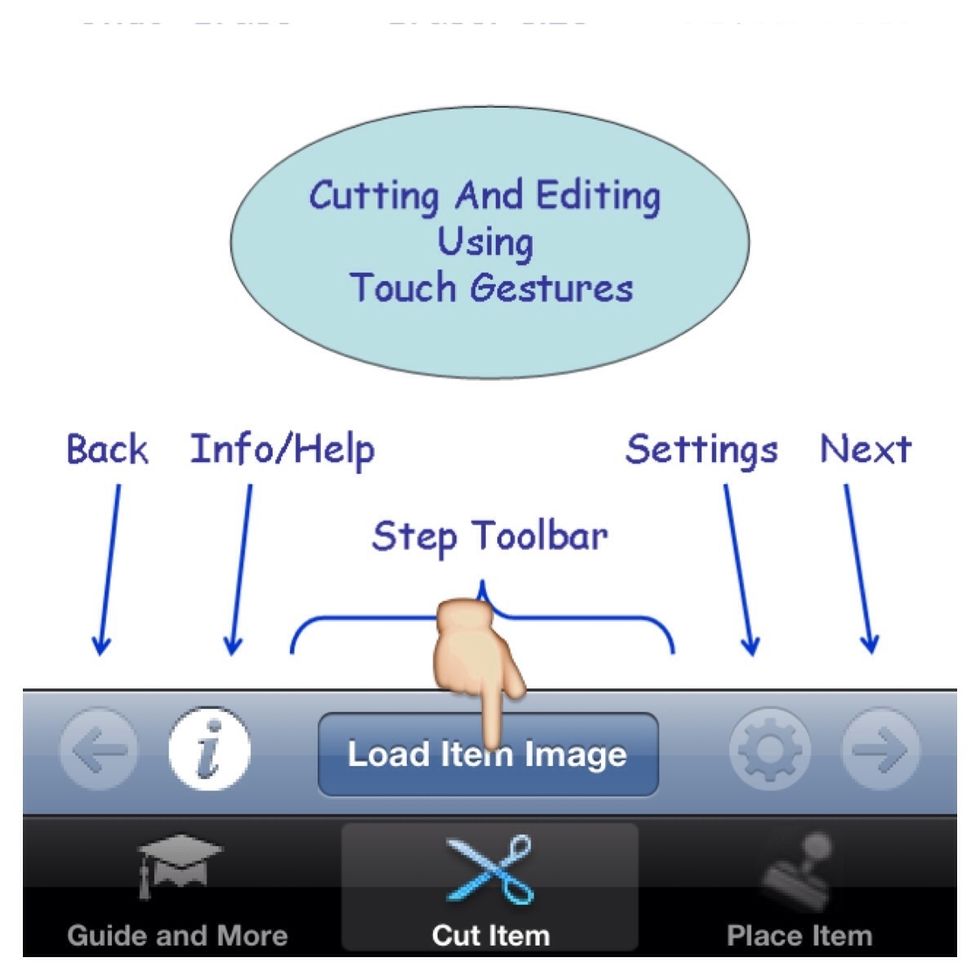
Now load item image.
Take or choose the picture you want to use. Full body ones work the best. When your picture has loaded tap the arrow to the right.
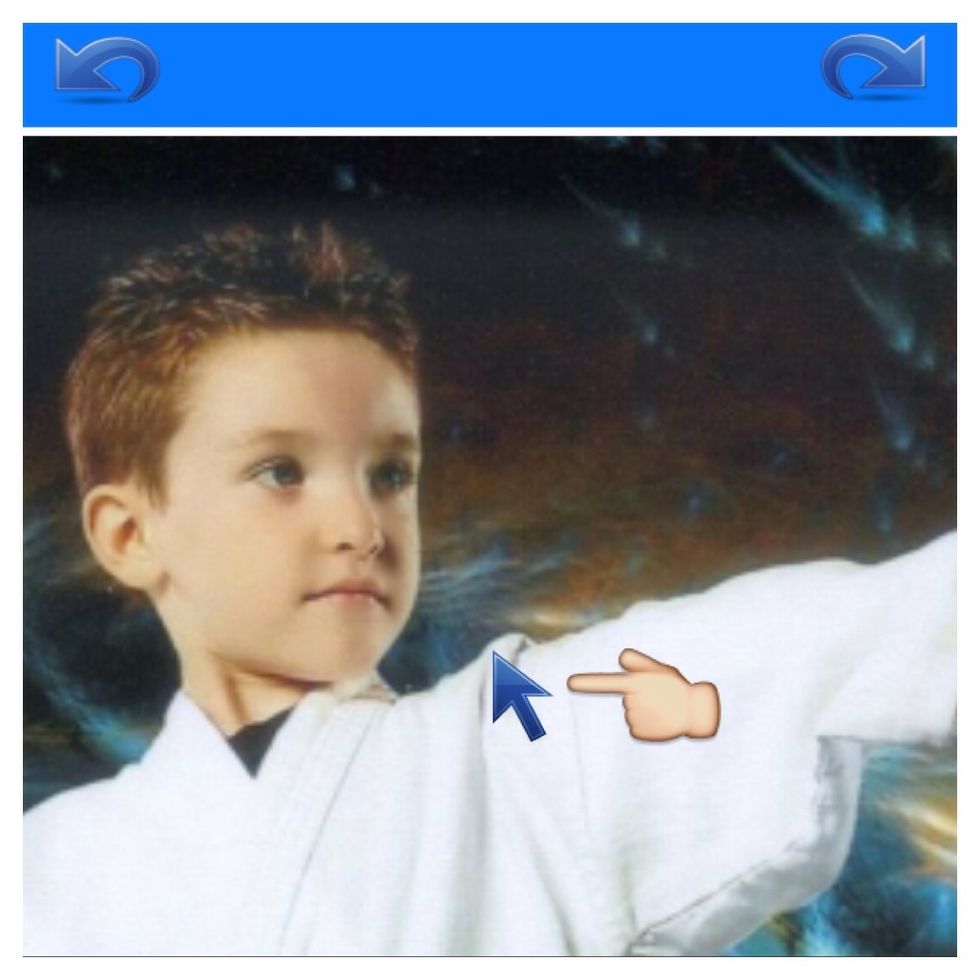
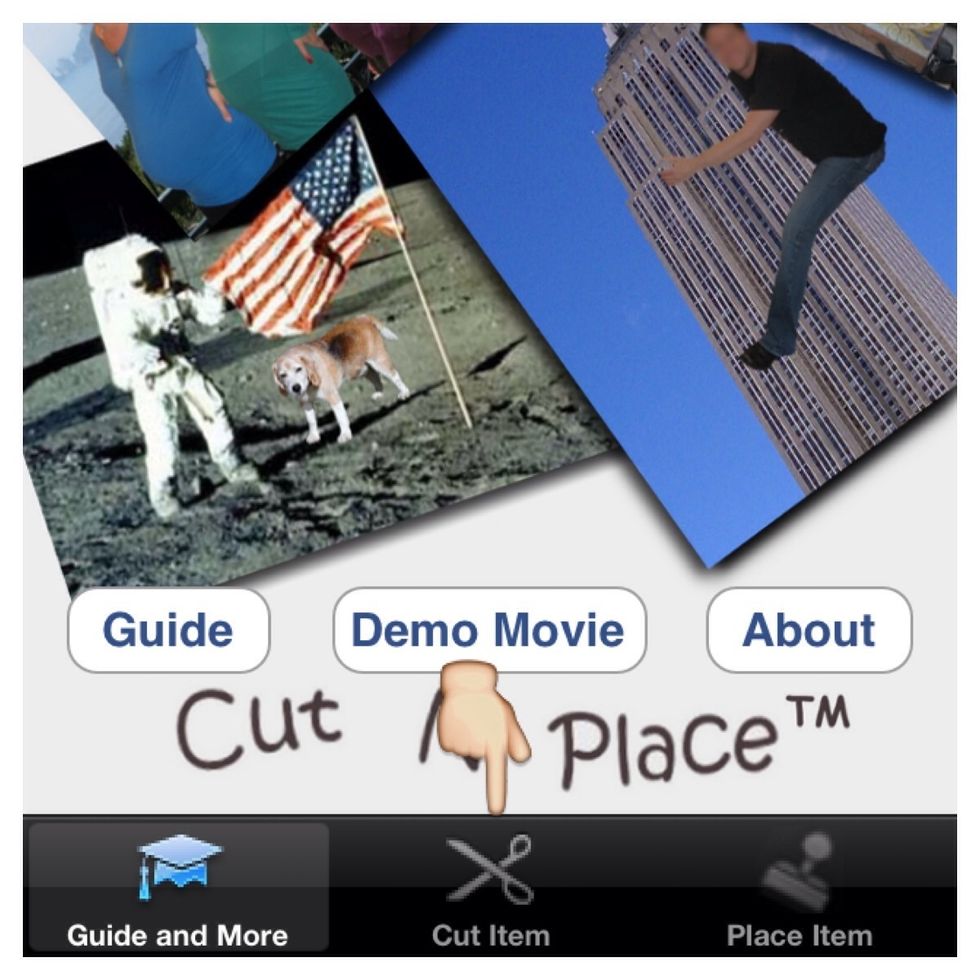
You might want to watch the demo on how to do this or take a look at the sample guide pictures and instructions. Tap where you would like the arrow to be placed to start.
Press and hold and trace around the region you want to be cut out. It worked better for me to be zoomed in on the image to get a better trace, moving the picture as you go, then repositioning arrow.
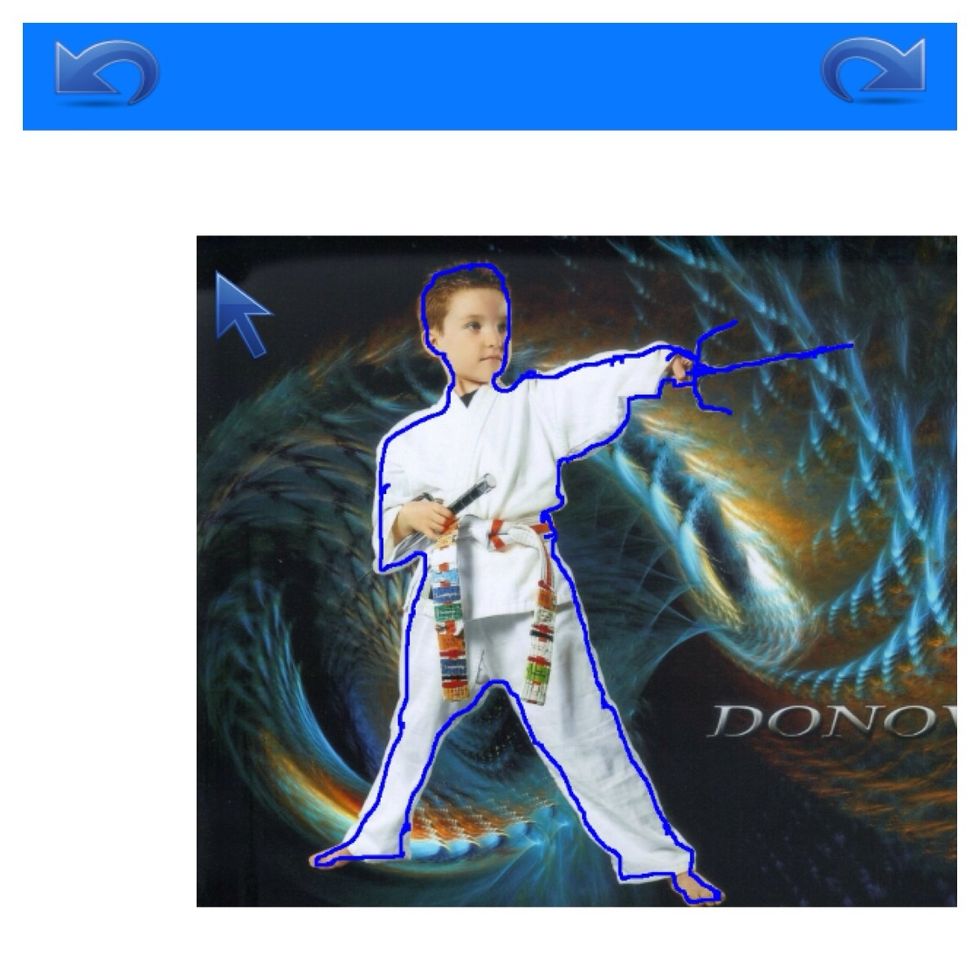
Tap the next arrow shown above.
Again tap where you want arrow to start and now trace the outside region(background) of the image you want cut out.
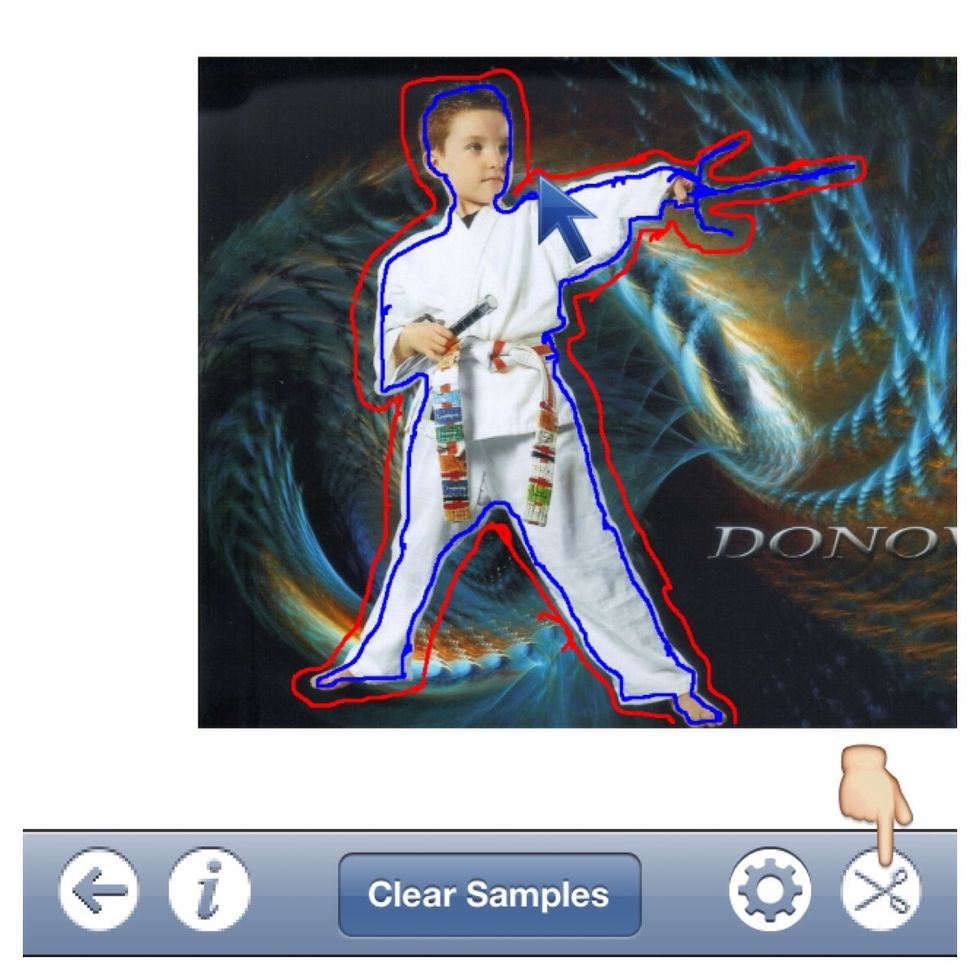
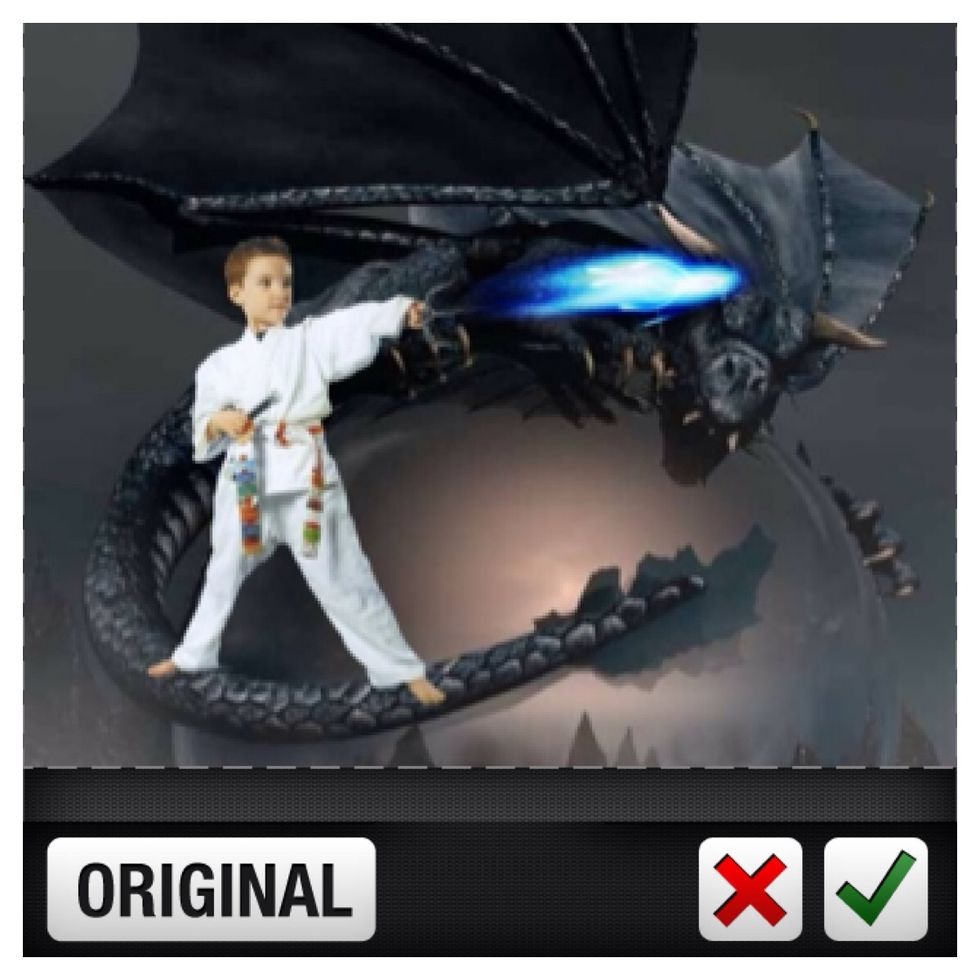
So you should now have something that looks like this with the item (foreground) outlined in blue and the background outlined in red. Then tap the scissors to move on to editing your cut result.
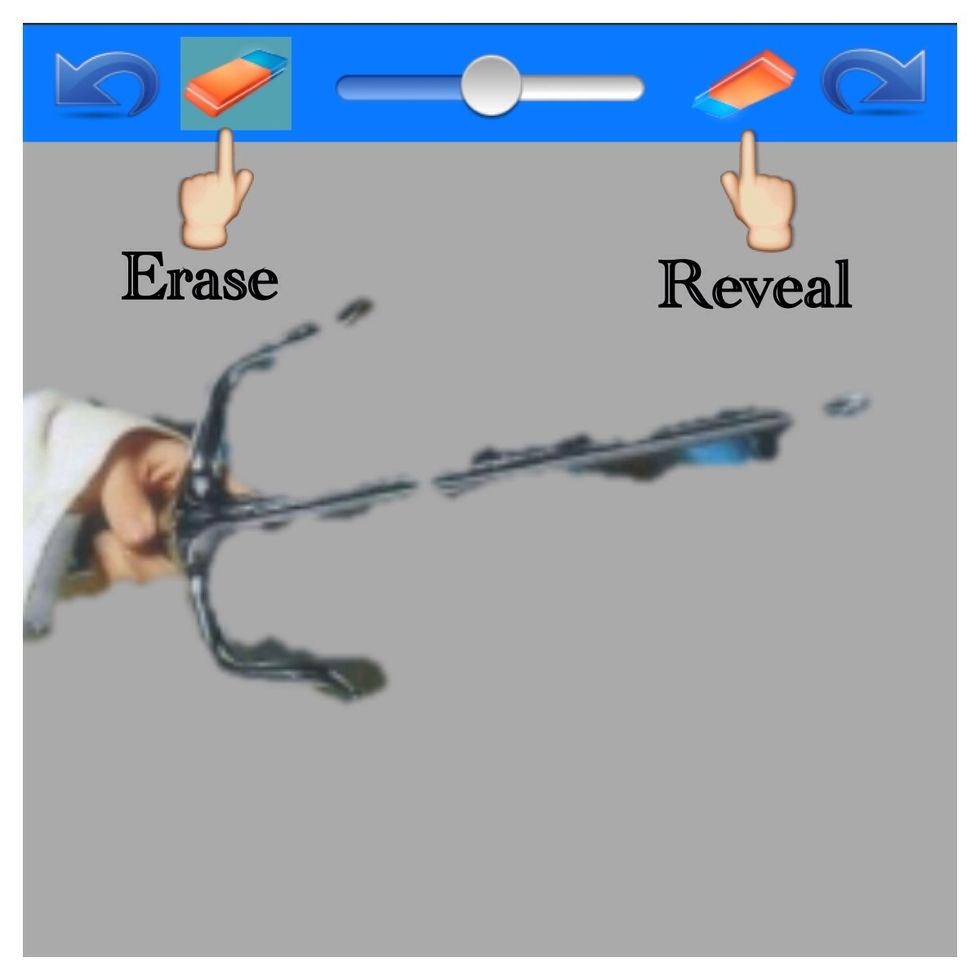
Now you can make some final revisions. The cut is usually good but this weapon was tricky. Tap the erase at the left to erase more of the item or reveal at the right to reveal more of the item.
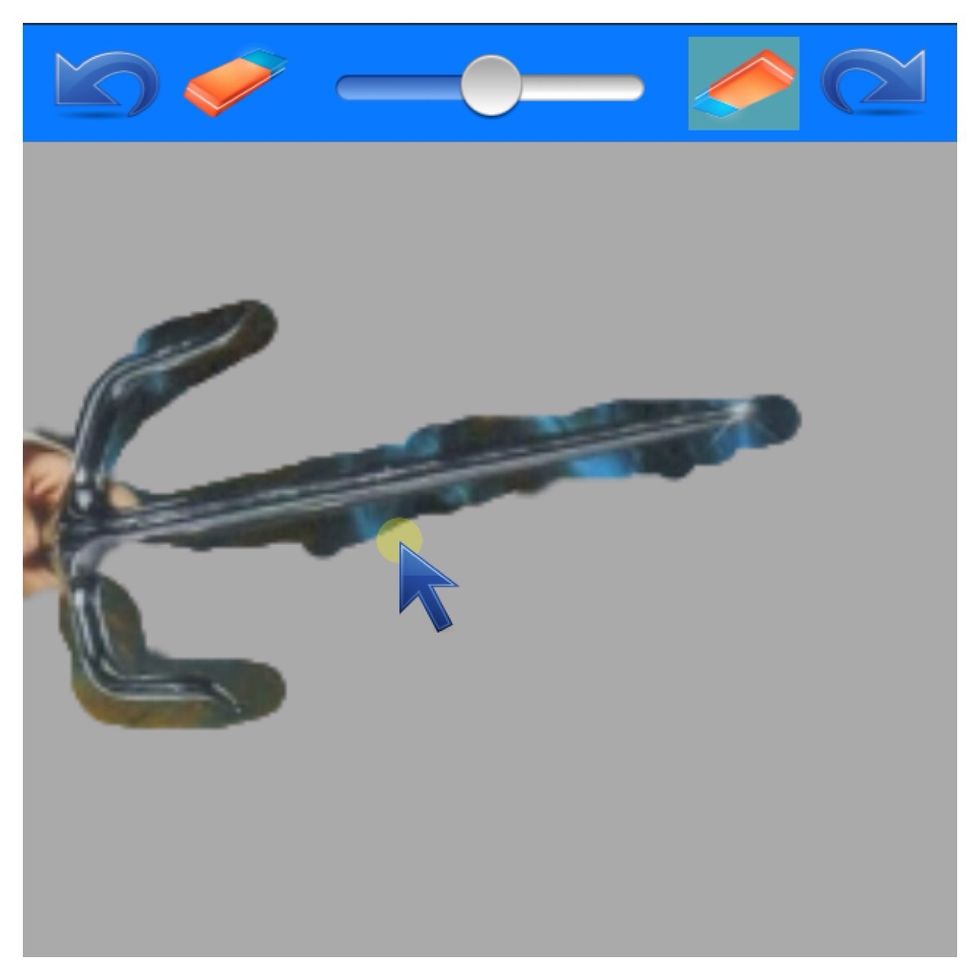
I found it easier to reveal the entire weapon and even the background around it first, then carefully erase the background which is shown better in next step.
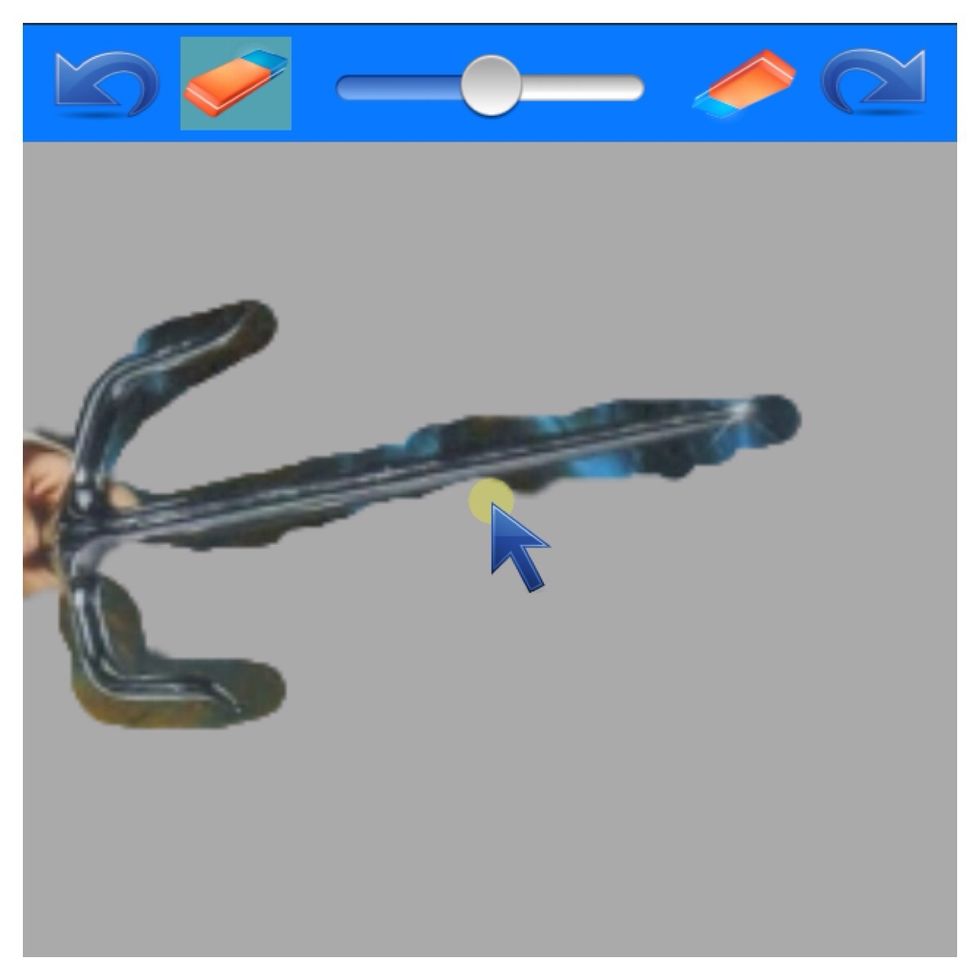
I just followed the outline of the weapon to erase the background. Also, the bar in the center of the erase and reveal will adjust the circle to be bigger or smaller as needed.
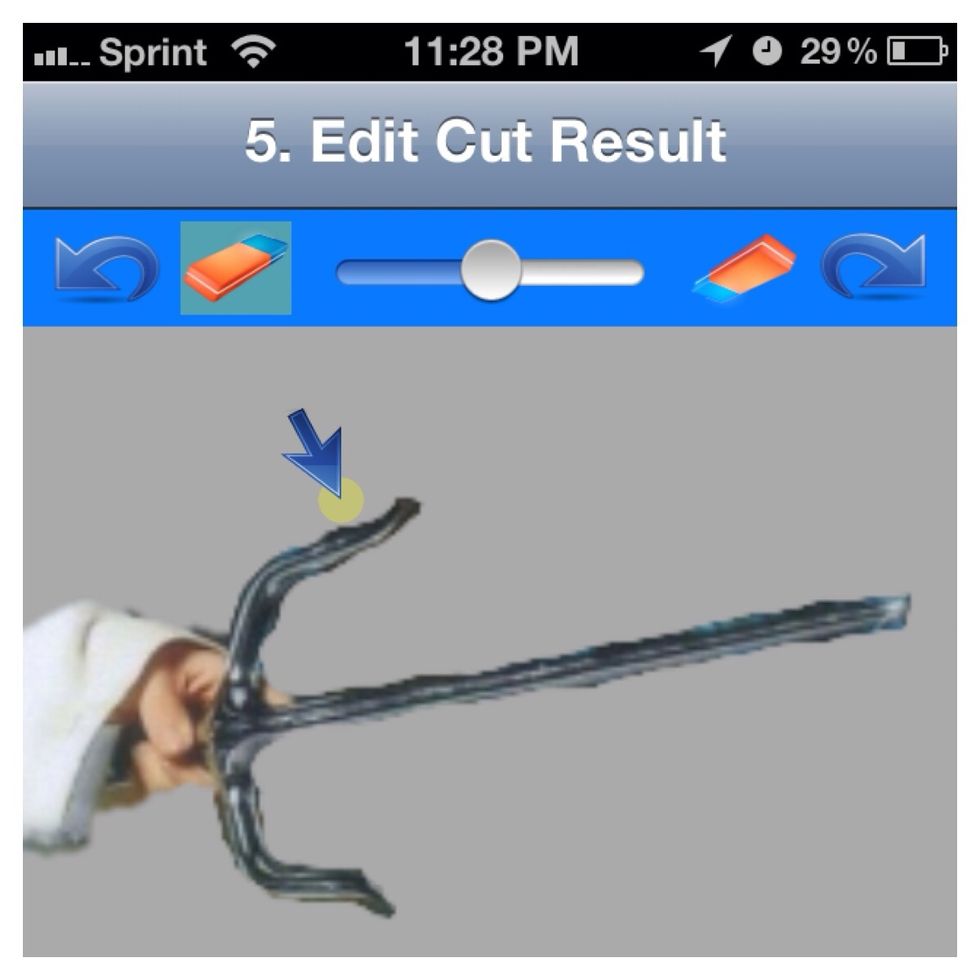
Here is the end result 😊
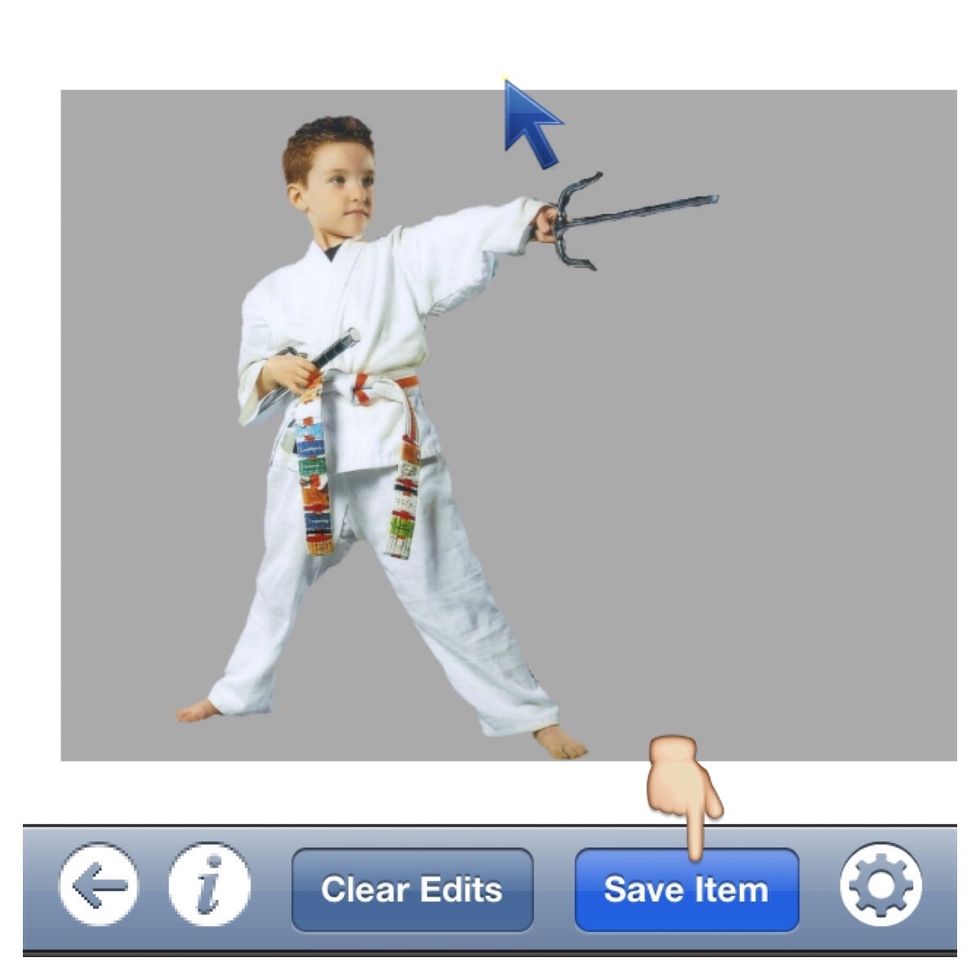
Once you are pleased with the cut of the item tap Save Item.
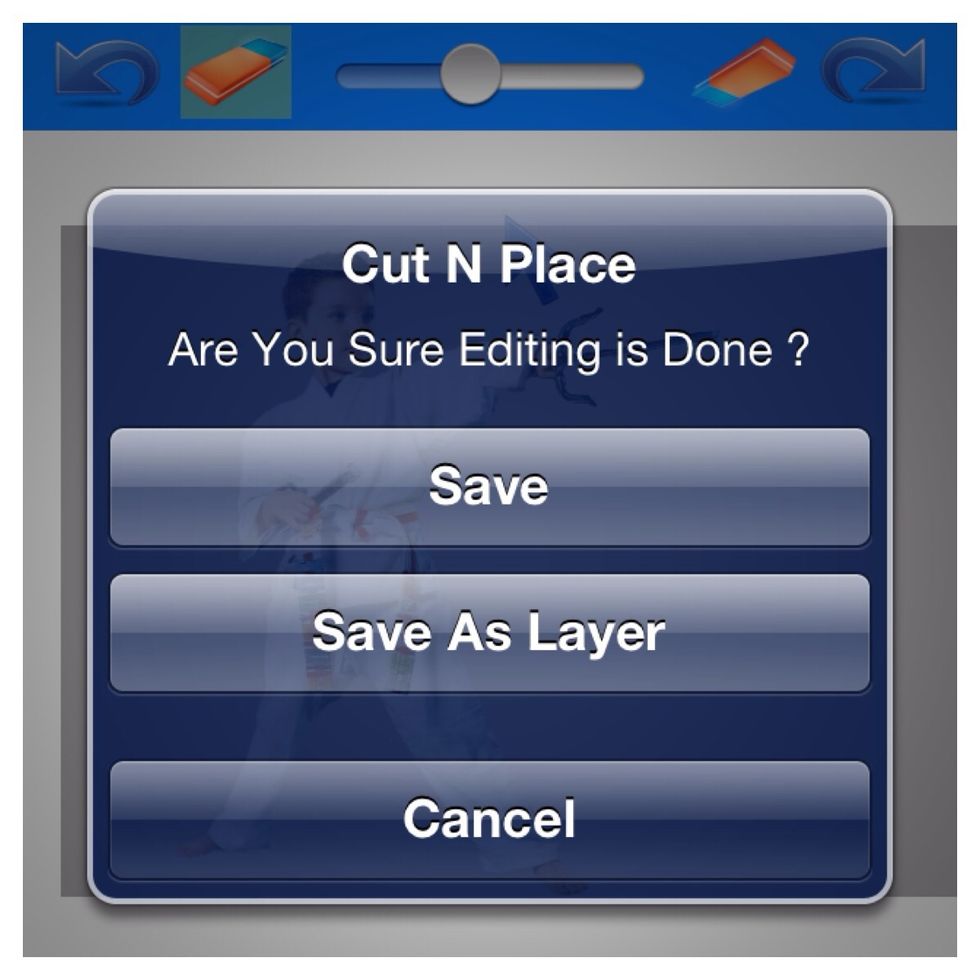
Choose Save, this option is best to really position the item on the background you choose.
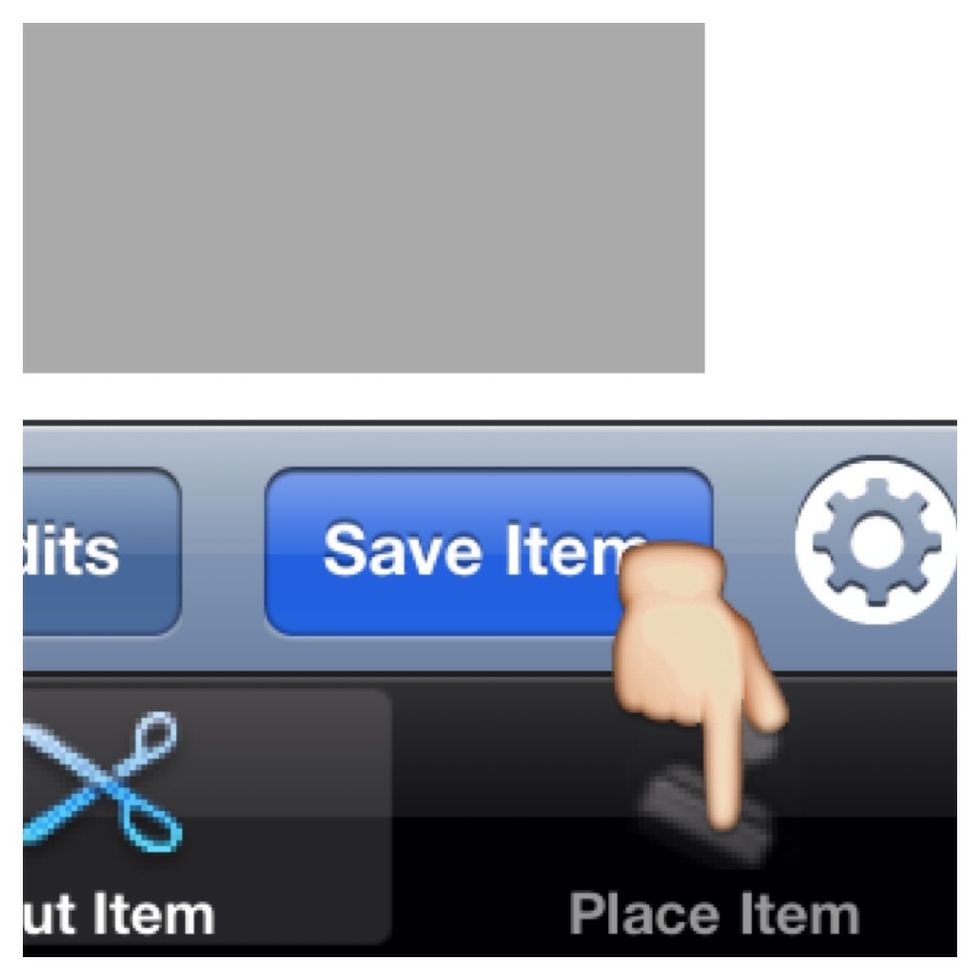
Now tap Place Item.

Tap Background and choose the background you saved to your camera roll earlier.
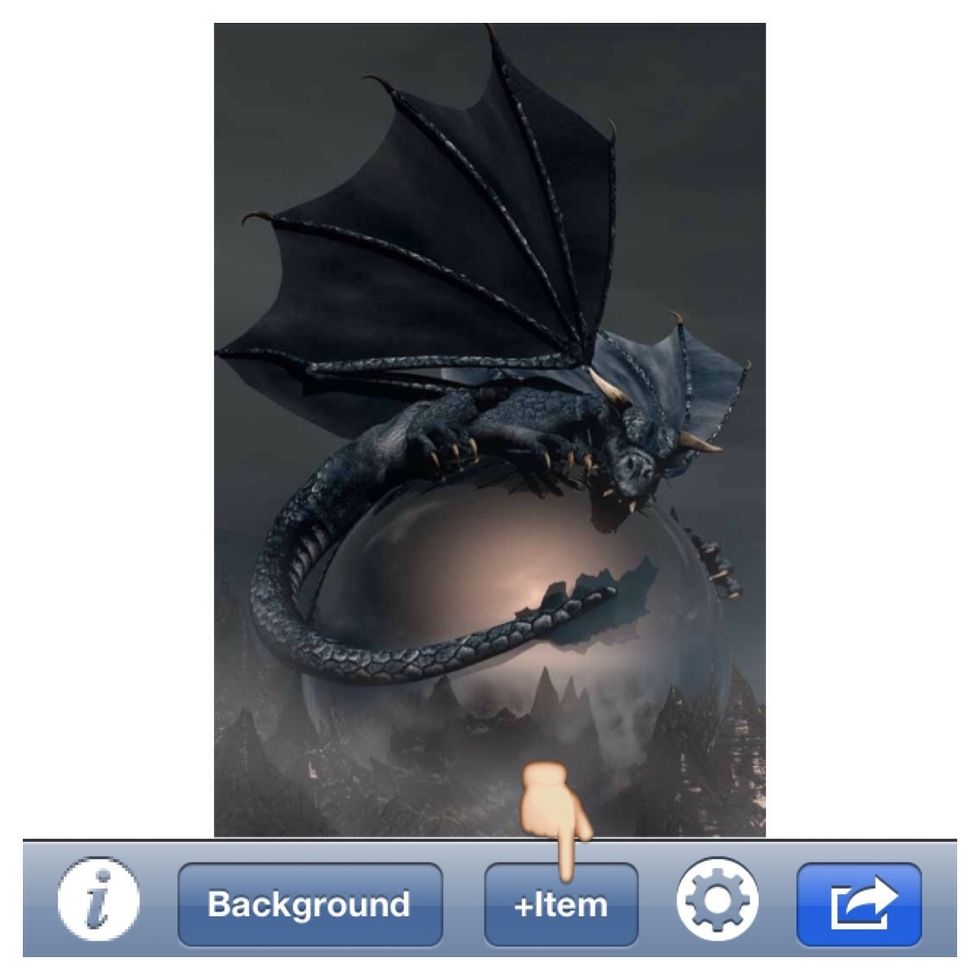
Now tap the +Item.
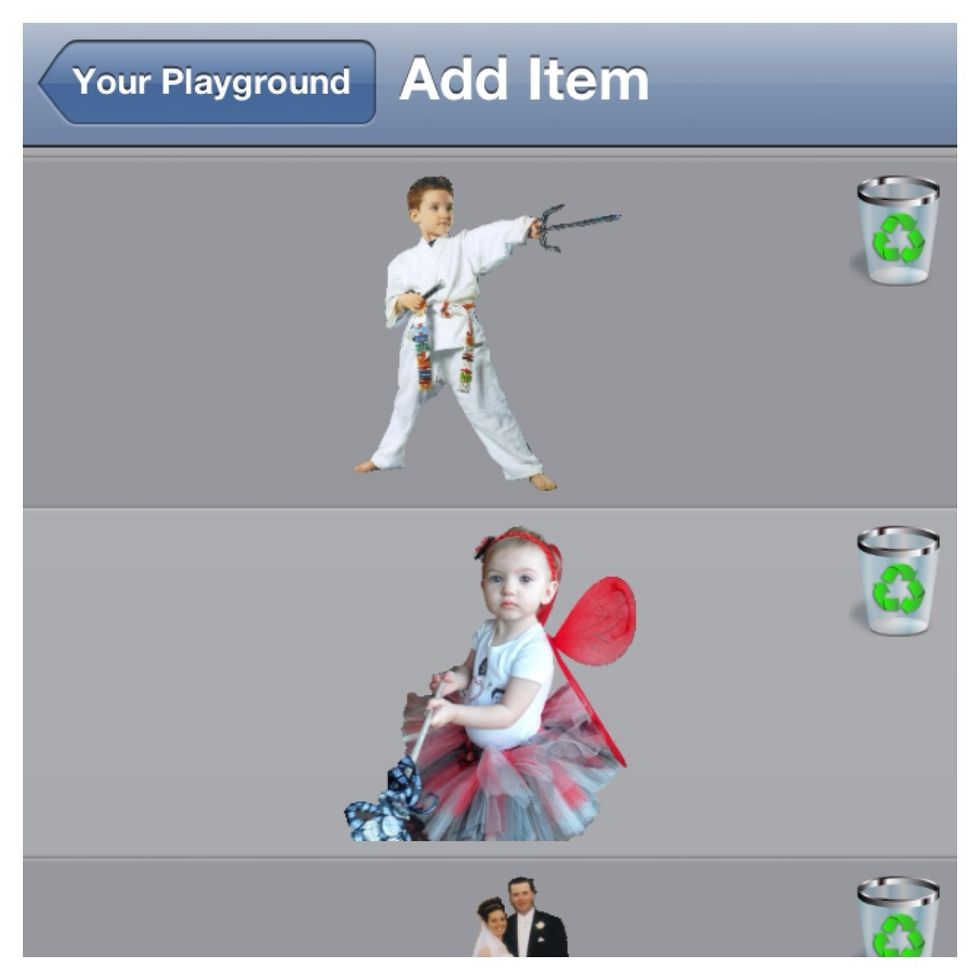
Tap the item you just cut out.
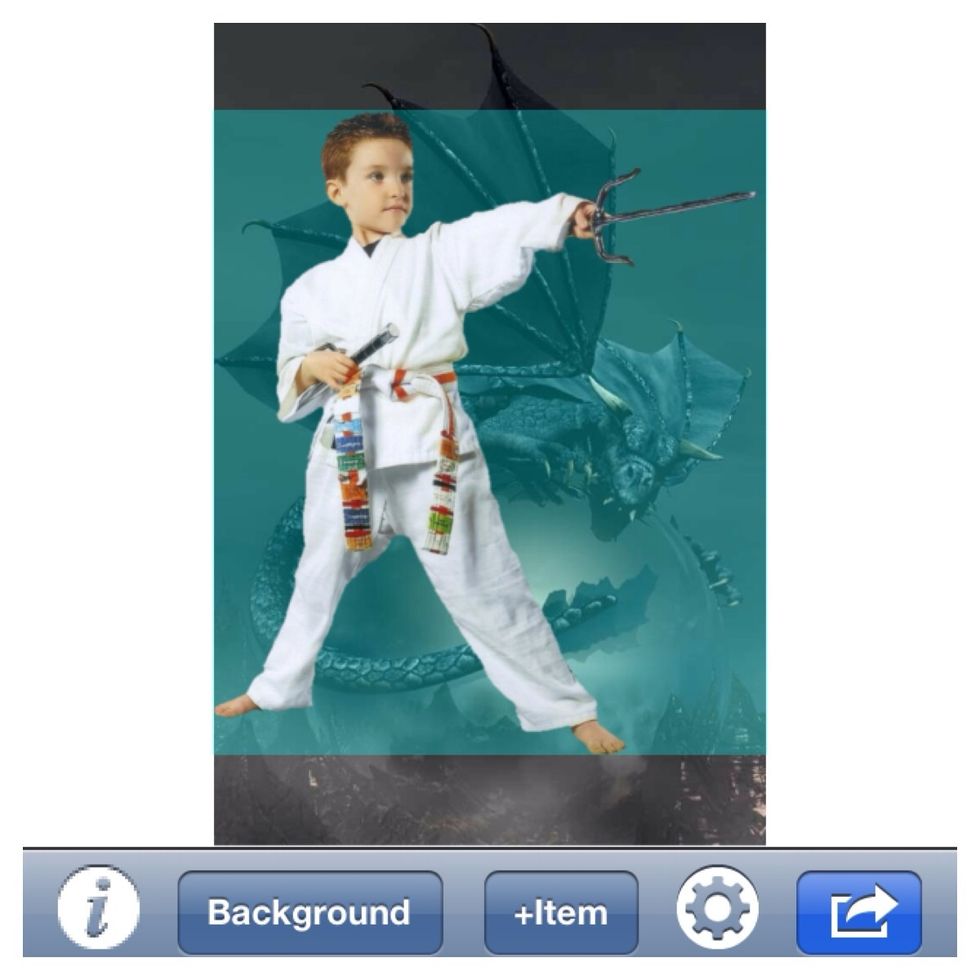
With two fingers pinch and zoom in or out to make your image bigger or smaller. You can rotate it and/or move it anywhere you want. You can also double tap the image to flip it's direction.
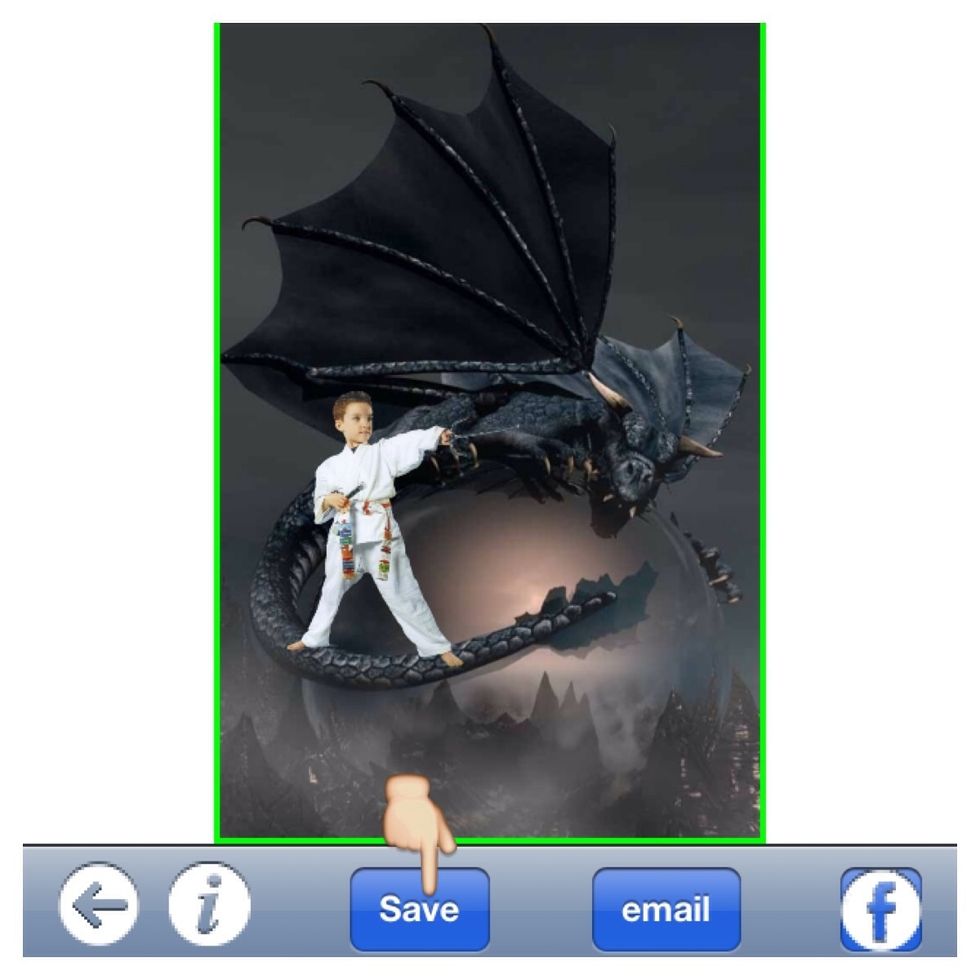
When you are completely happy with the position tap Save. Now you can choose to be done here or choose to add some cool effects.
Open SpaceEffect FX PRO app.
Tap Photos to choose your photo you just saved.
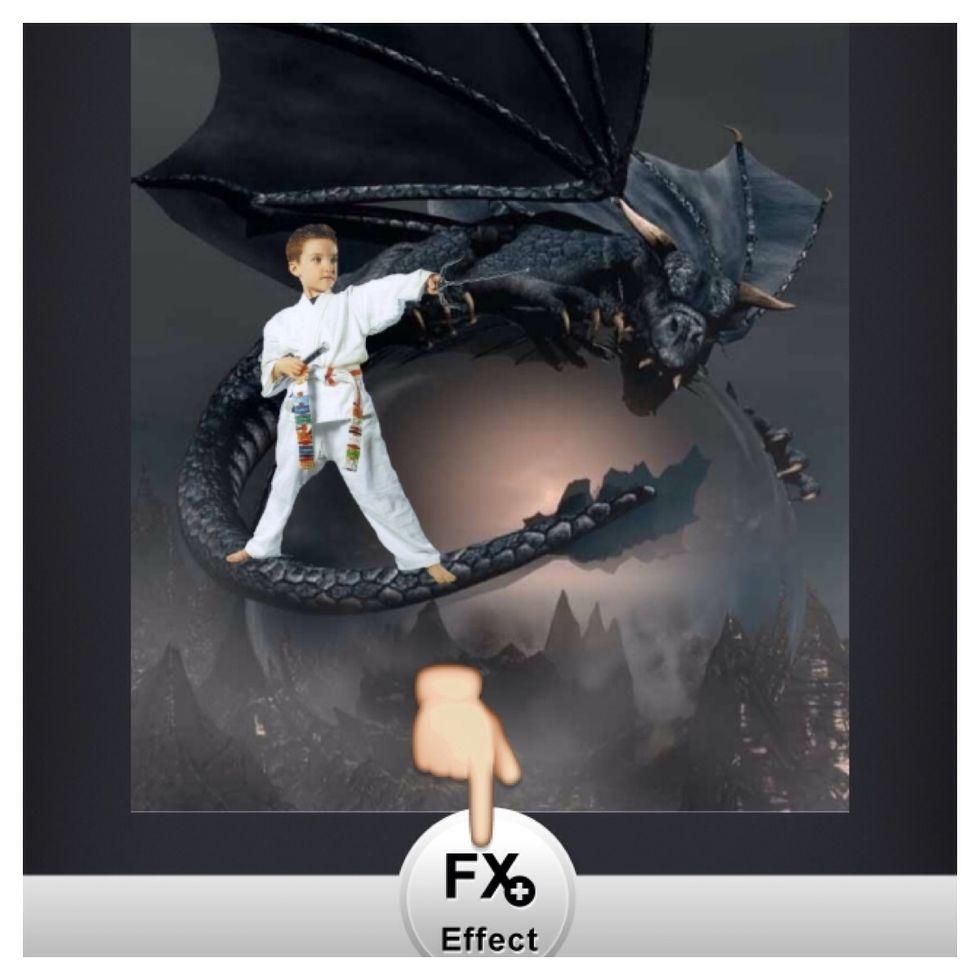
Tap the FX+ Effect.
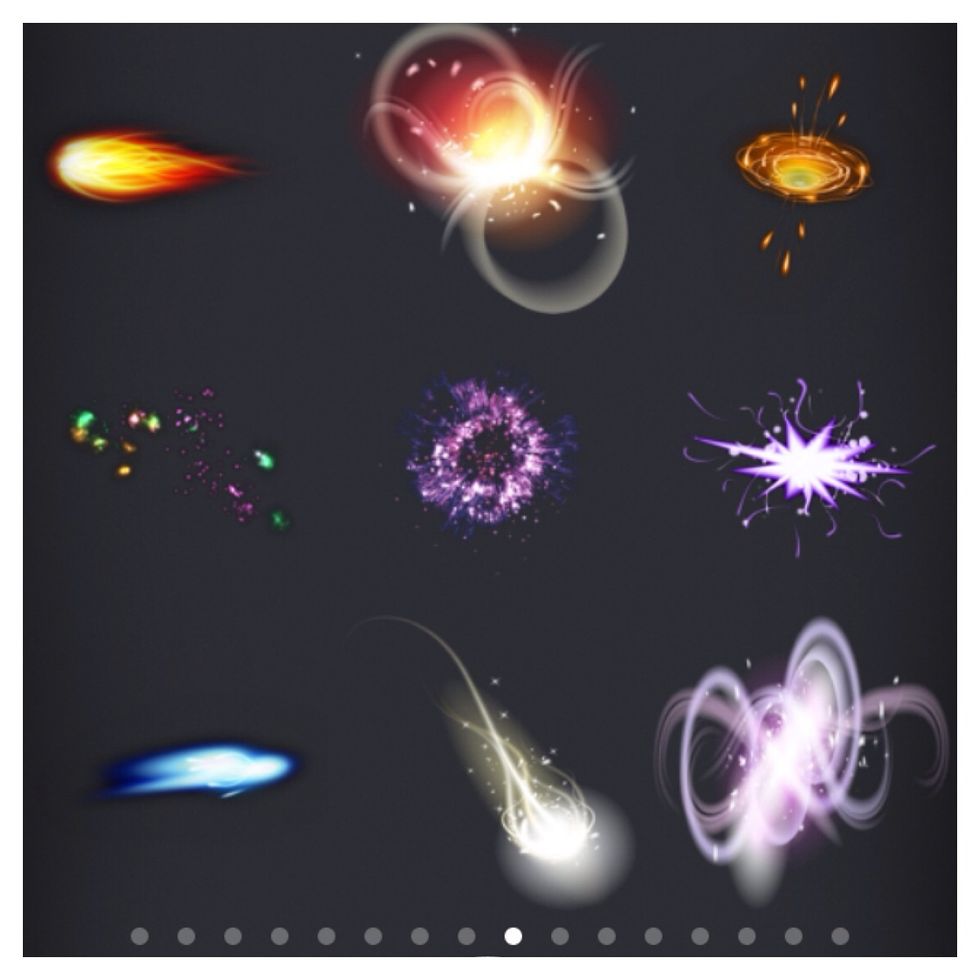
Browse all the cool effects experimenting as you go. It's a lot of FUN!! I knew I wanted some sort of fireball coming from the weapon my son was holding. So I chose the blue one shown above.
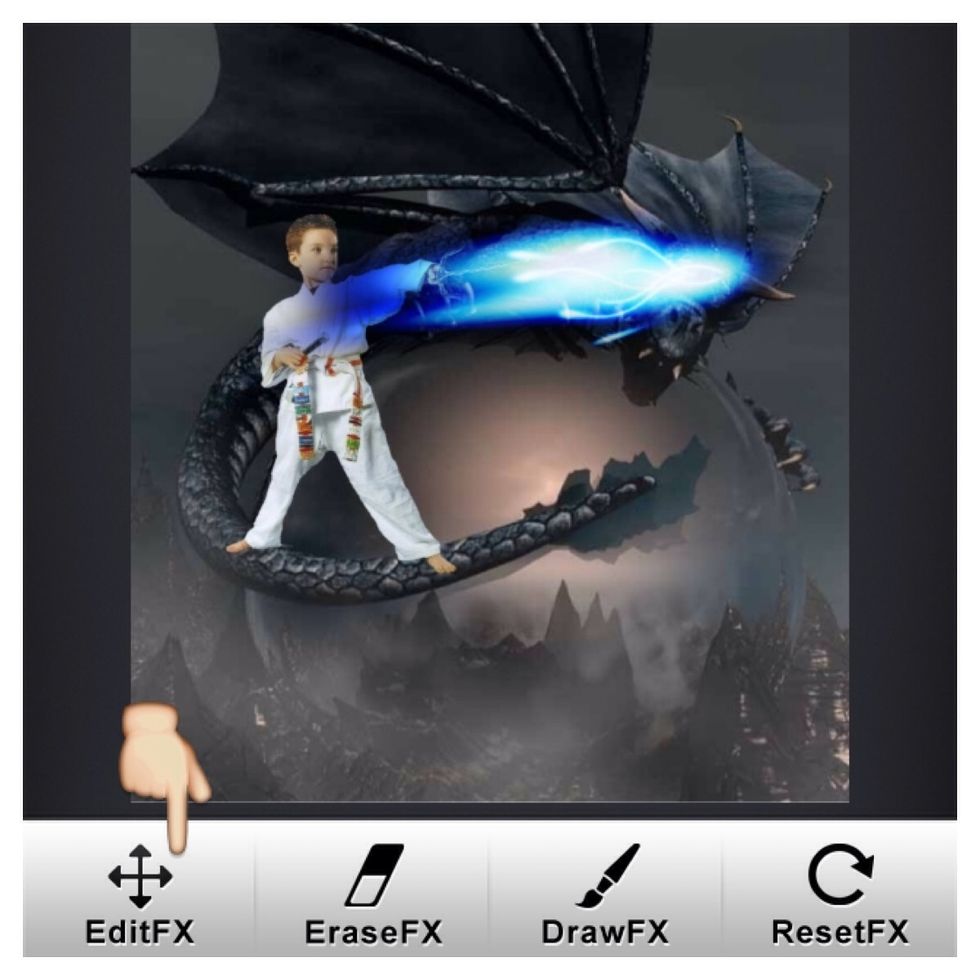
Tap the EditFX to position the effect.
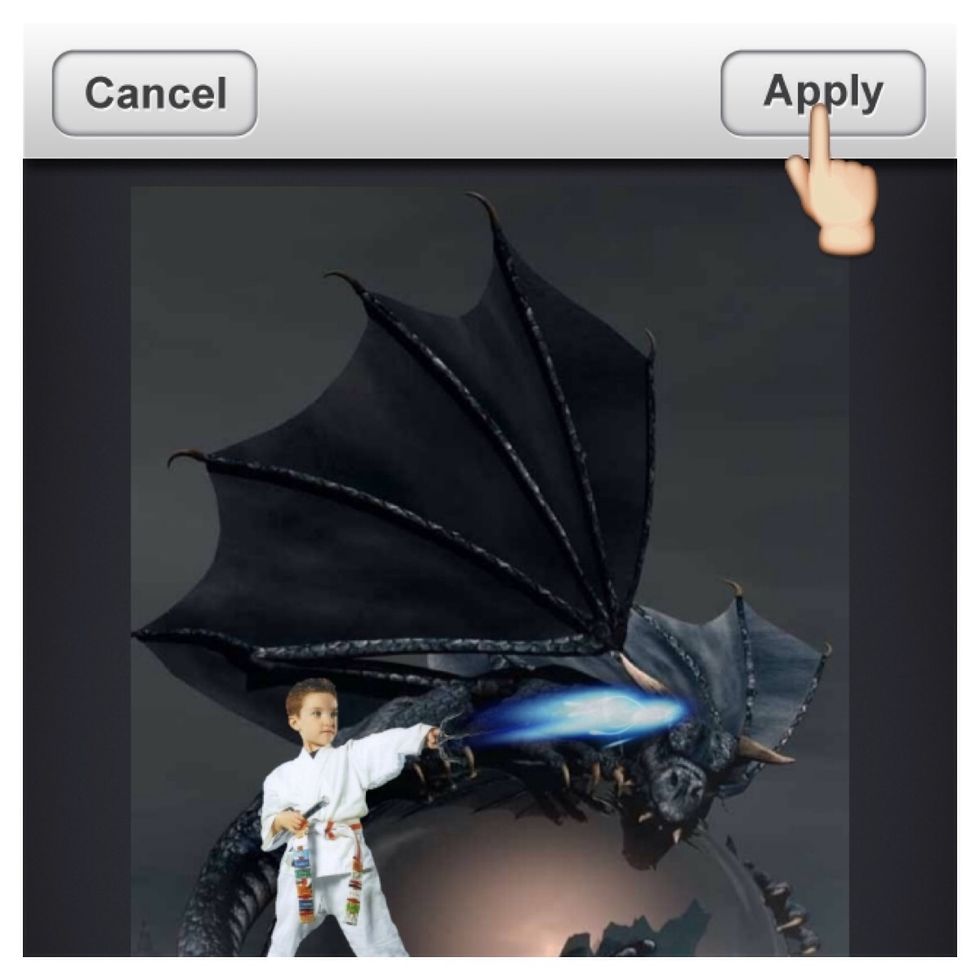
I made the effect smaller and positioned it so you could still see most of the dragon's head. When you like the position of your effect, tap Apply.
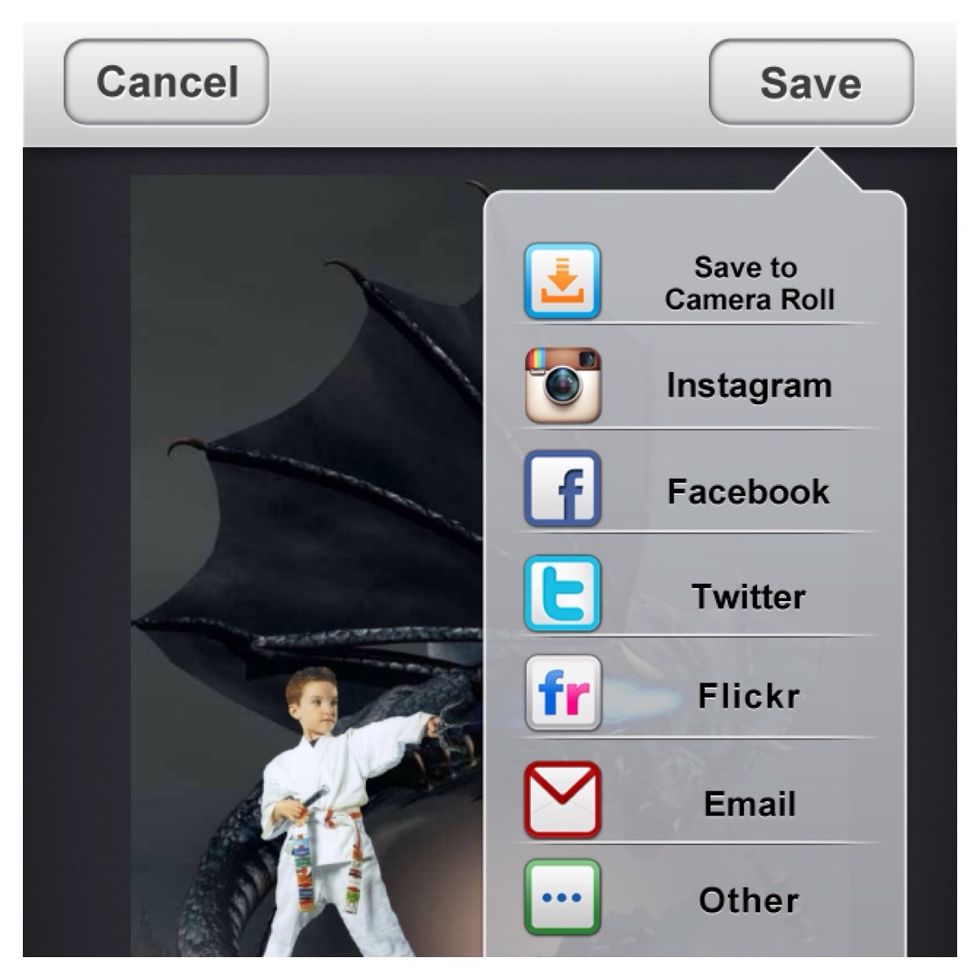
Again, you can be done here, add another effect or save it and add an effect from another app like FilterMania 2.
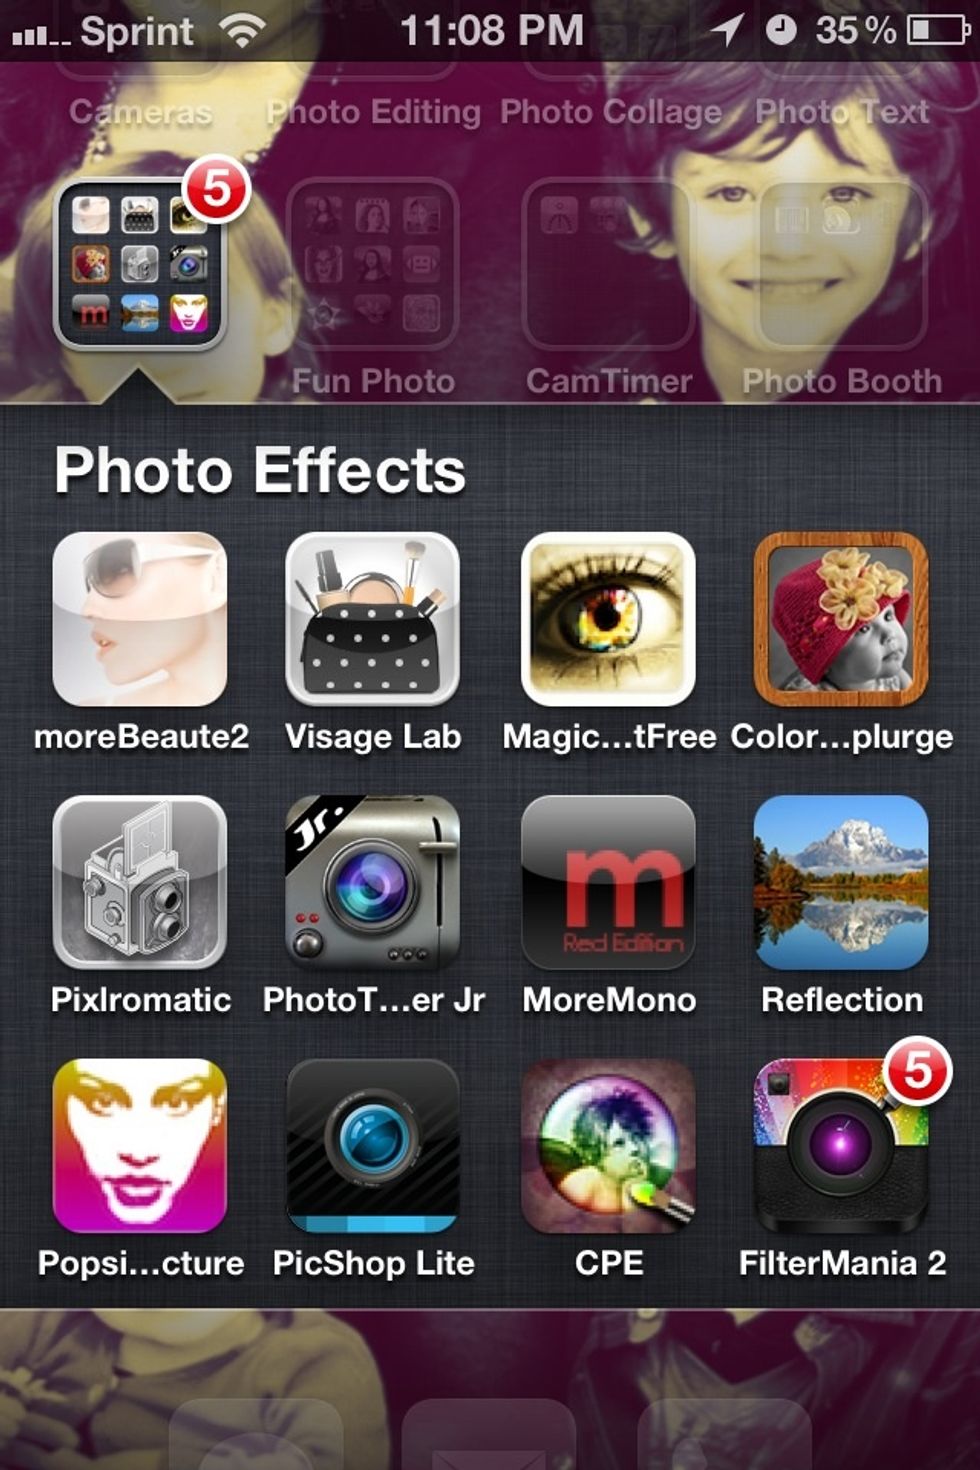
Open FilterMania 2.
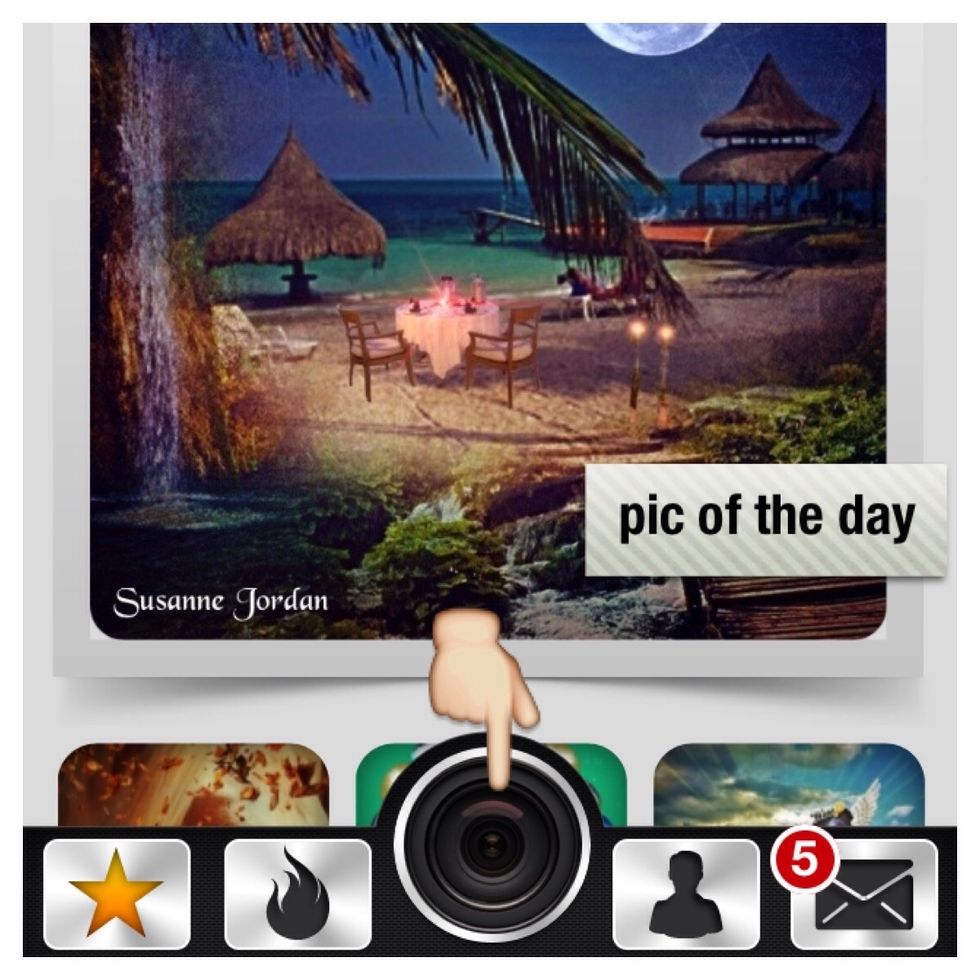
Tap the center camera lens.

Tap BROWSE to choose your photo you just saved.
It edits your picture to a square. So position your photo how you want it within the square and tap the green check.
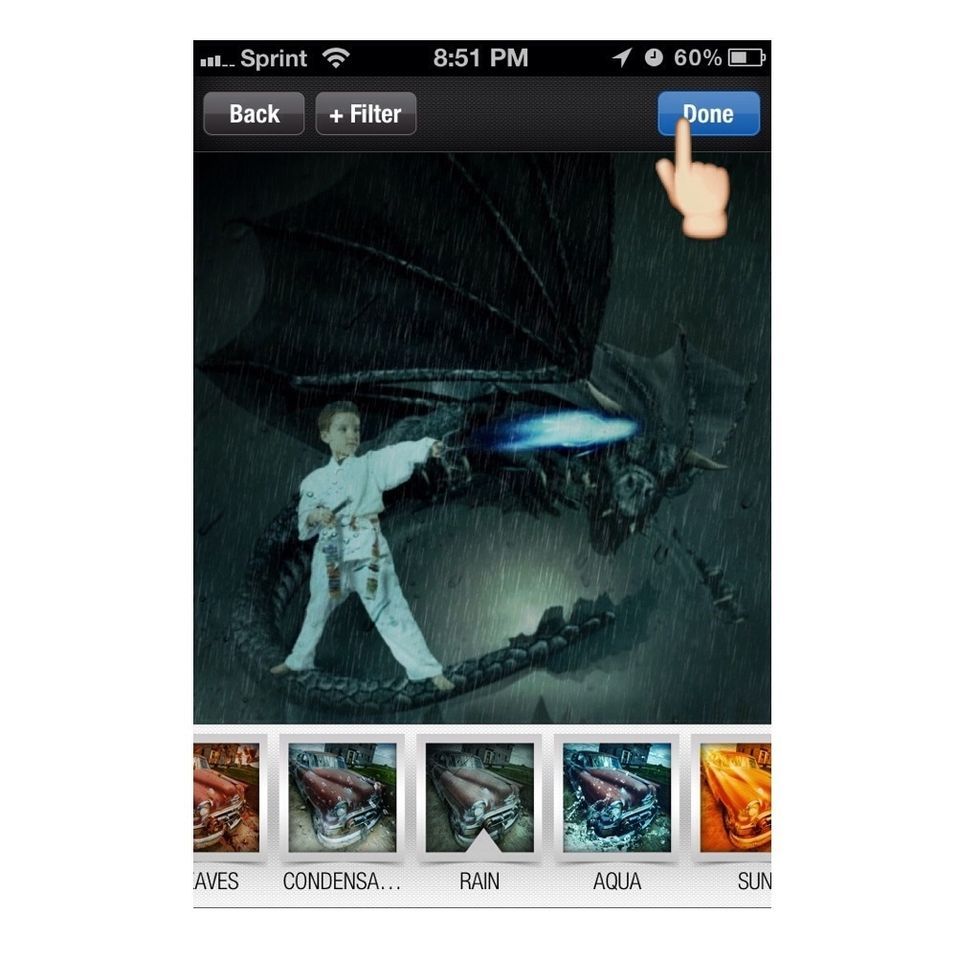
Now browse all of the cool effects. I HAD to try ALL of them!! My favorite was the RAIN filter, so I chose that one. Tap Done when you've made your choice.
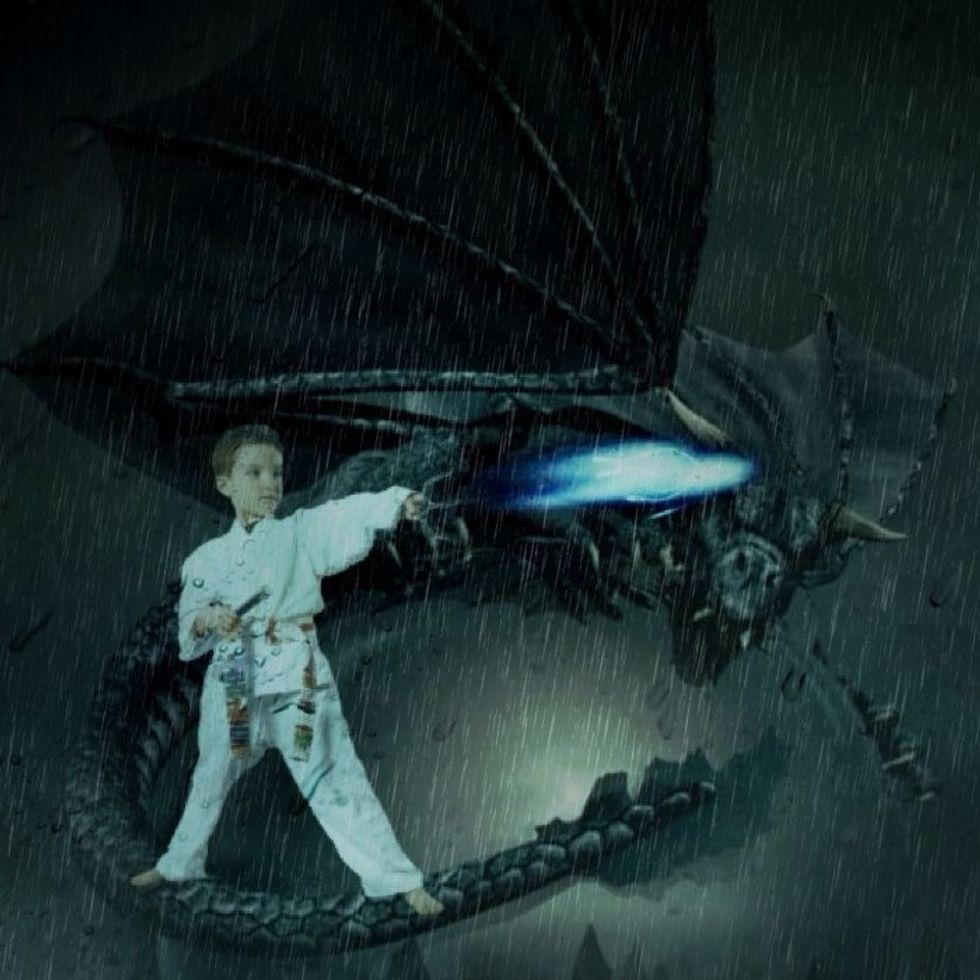
Now you are done!!! Share your cool creation with family and friends. 😁
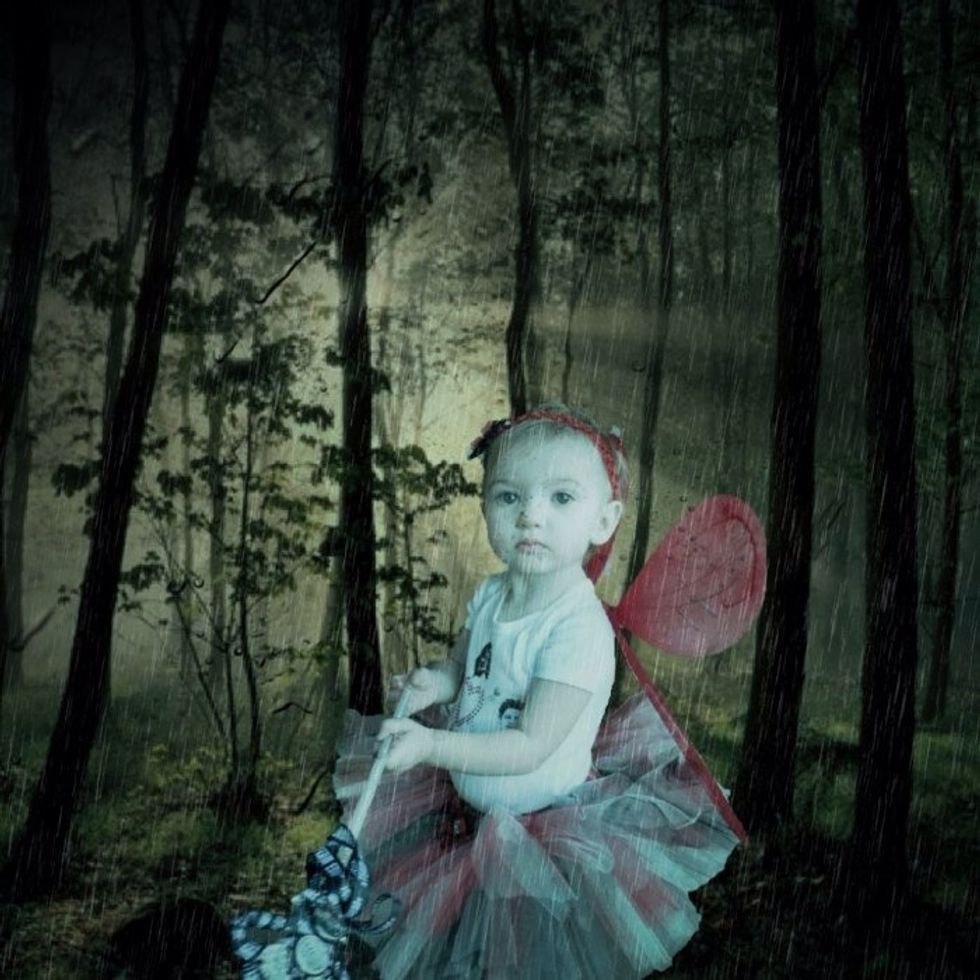
Another example, "Twilight" inspired. I made this costume for my daughter. She was a Twilight fairy 😜(yes I'm one of those obsessed Twilight moms😁). The RAIN filter was perfect for this photo 😍
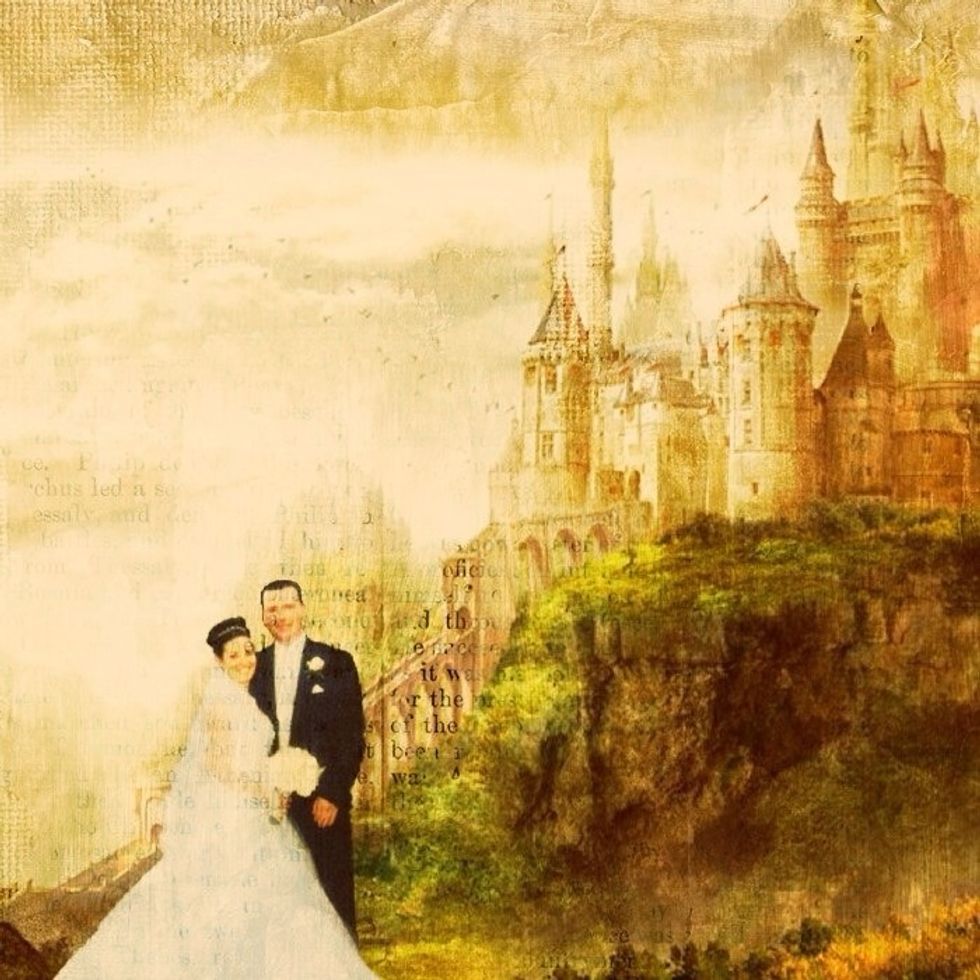
Another example/idea, take a wedding photo and put it on a background with a castle. The FilterMania 2 app has the GRUNGE filter which has the look of a book page faintly blended in the image. 😍
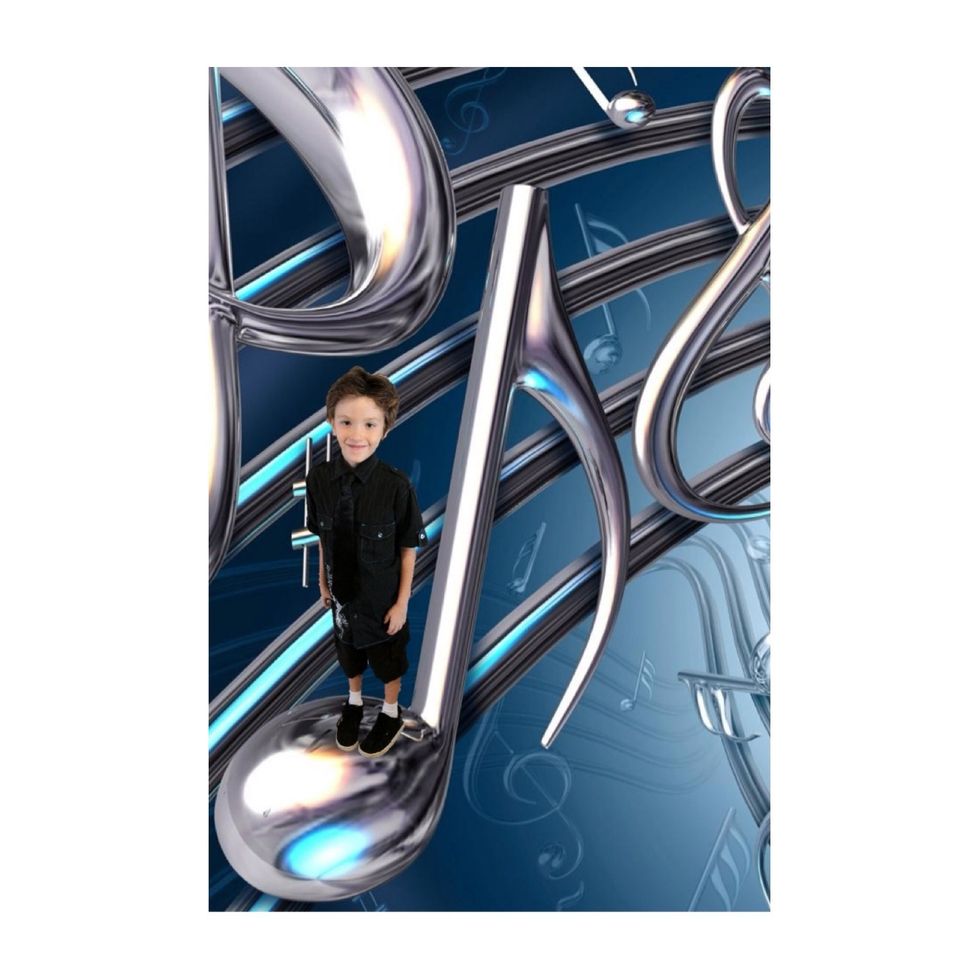
🎶My son loves music🎶. So when I saw this background I knew I wanted to use it. I didn't add any effects to this one.
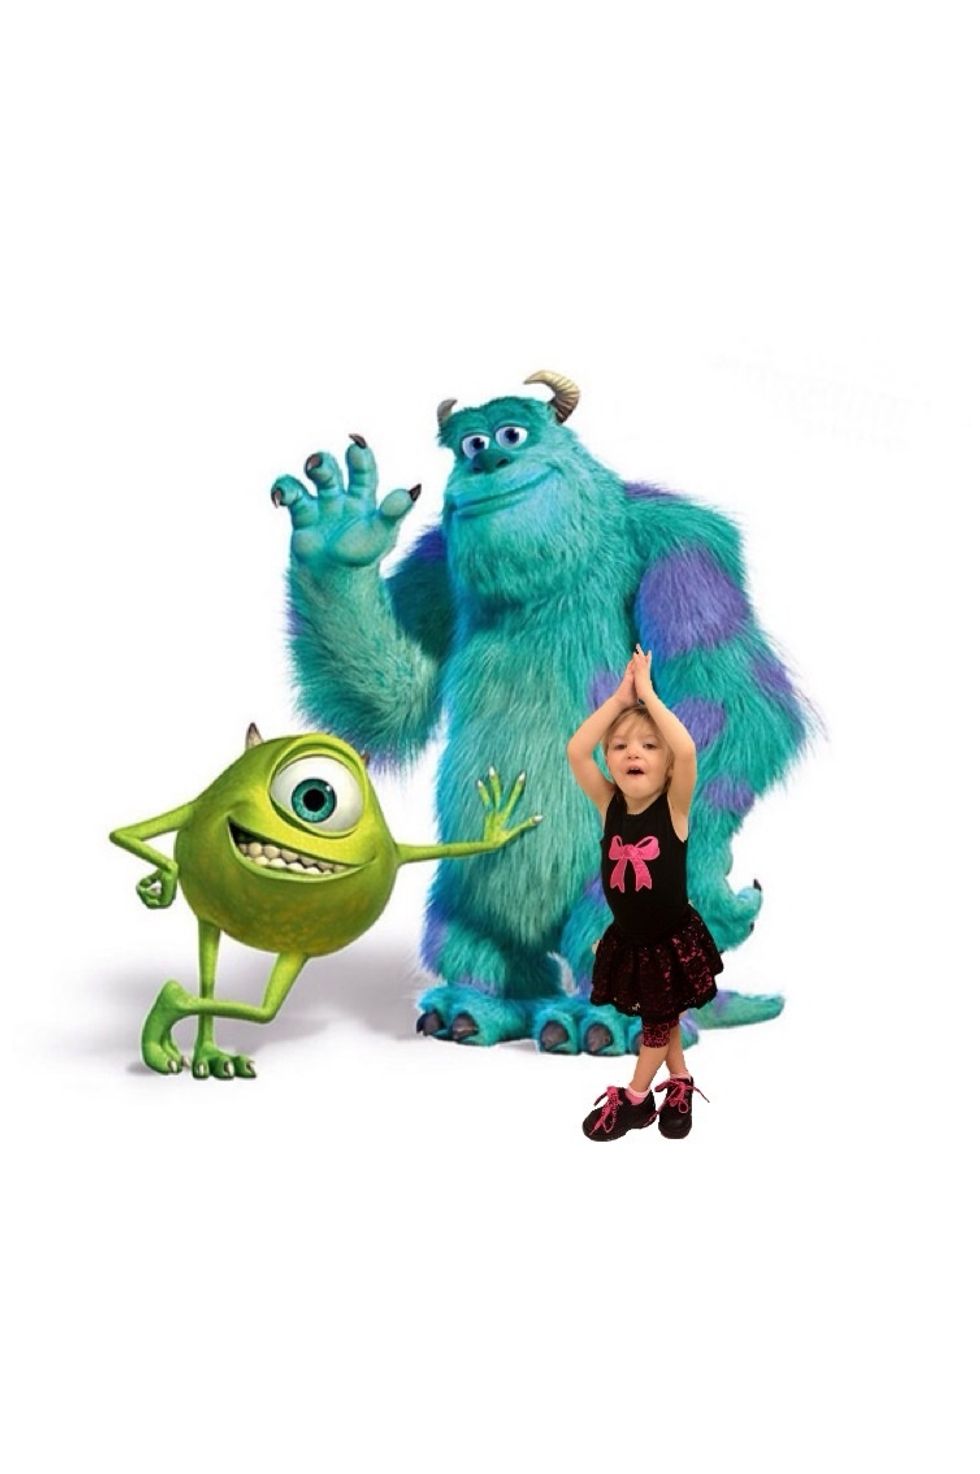
🎀An example with some favorite characters🎀. Again, no effects added after Cut N Place.
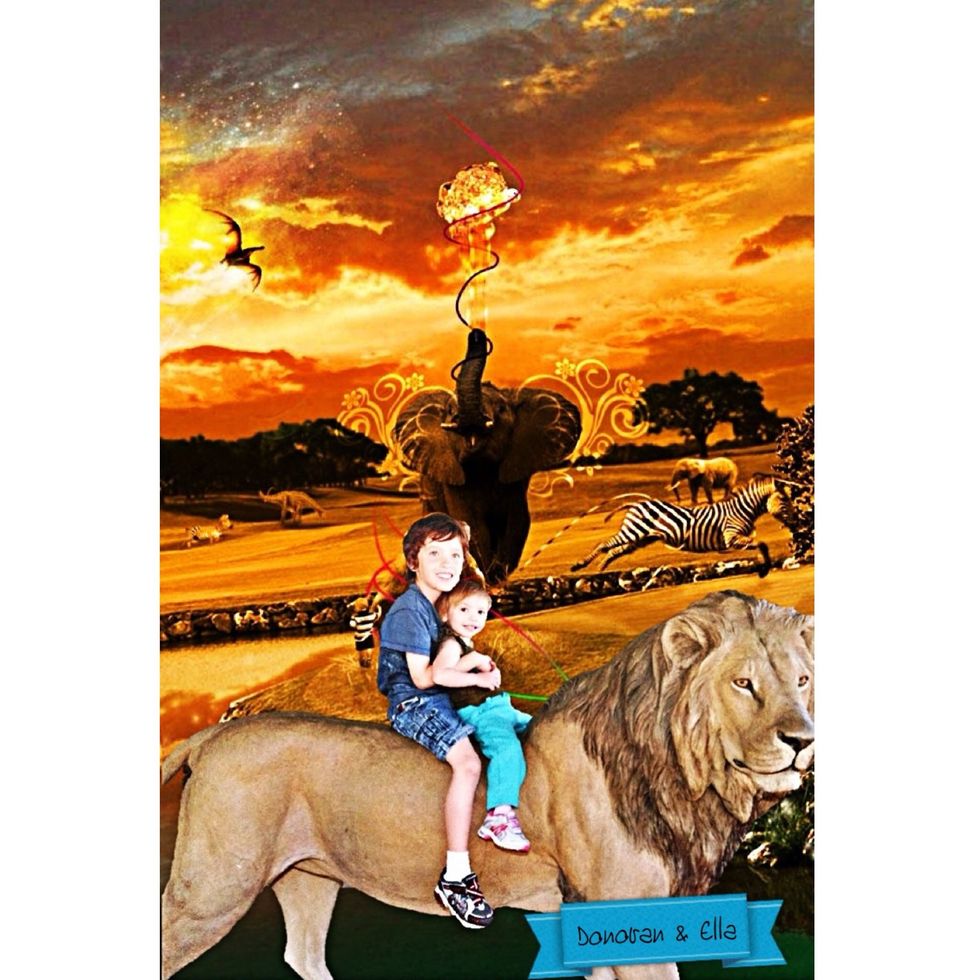
Here is one last example. I just can't stop making these. It's so much fun!! I hope you try this out!! I know it's a little time consuming but it's totally worth it!! 👍