The Conversation (0)
Sign Up
What I mean by no cut its the letters themselves. The piece I used was already cut so I used it for one letter sample. Depending on how many letters you plan to do cut wood accordingly
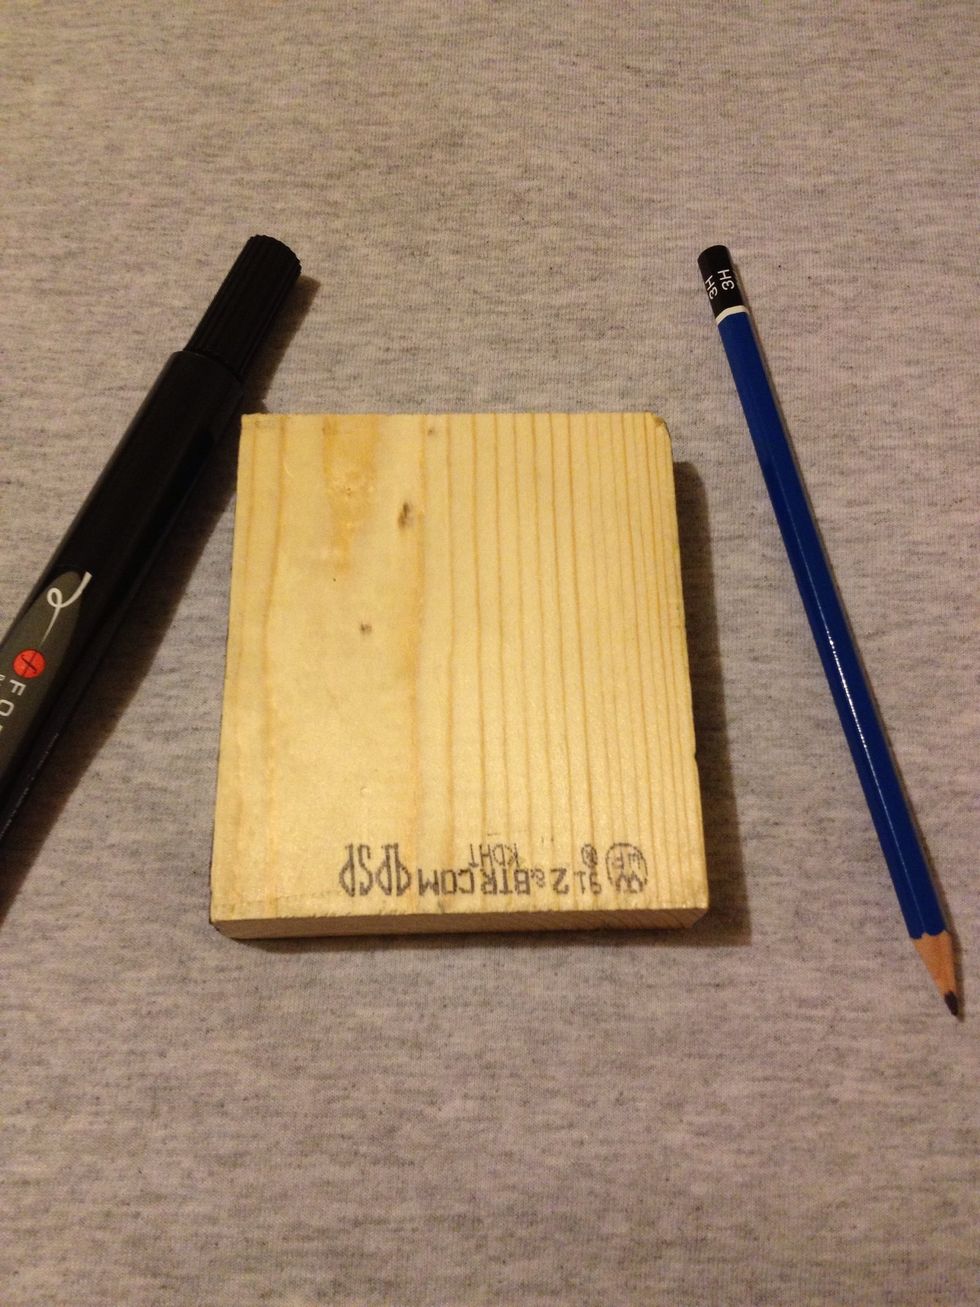
I found this piece of wood laying around so I figured I show you guys how to make your own letters. This piece of wood is a little more than 1/2" thick. Thick enough to stand on its own
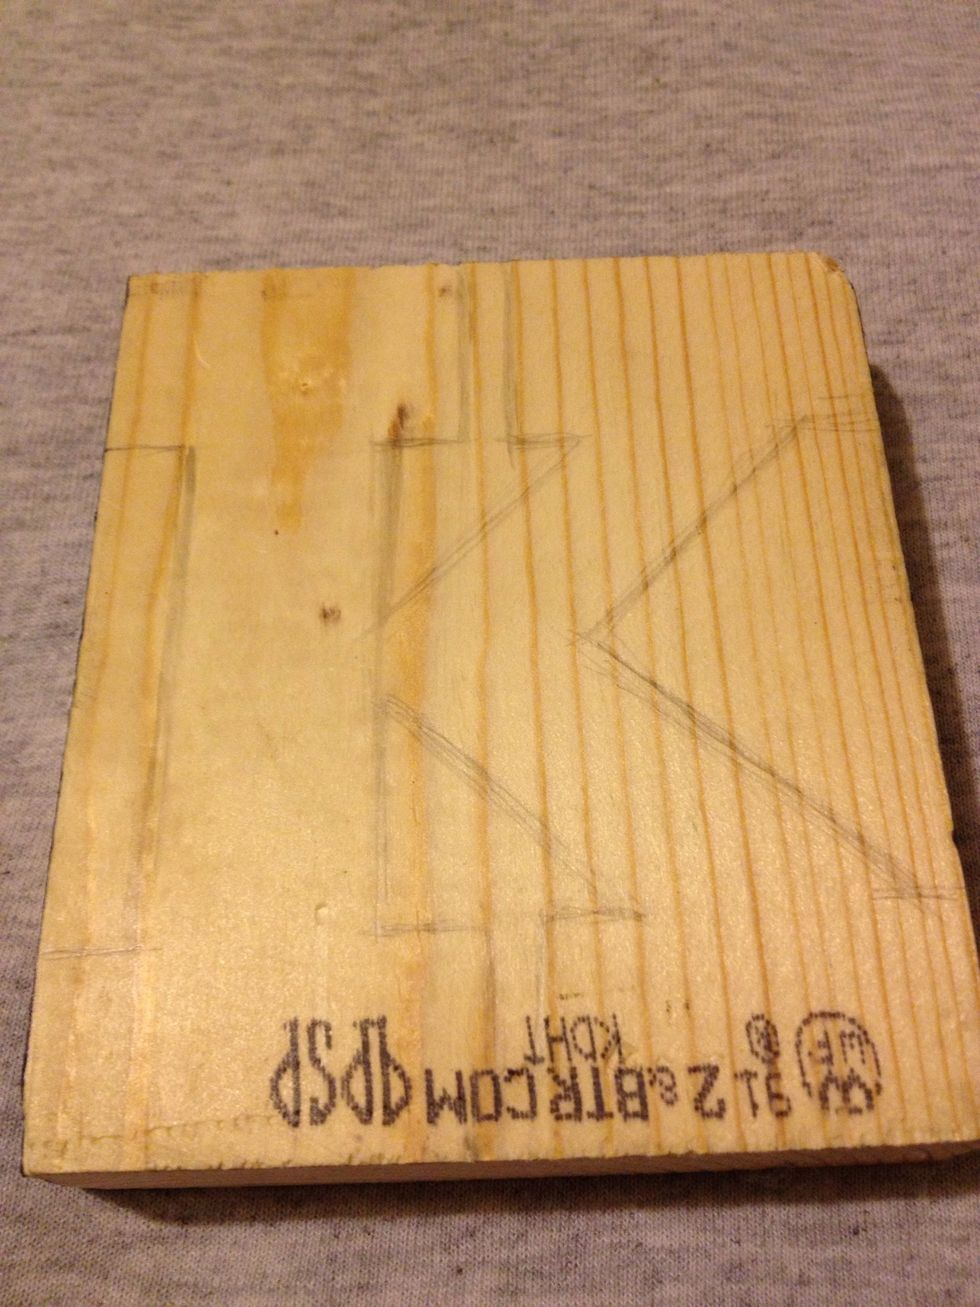
So go ahead and sketch out your letter. Get creative and create your own font if you wish
Once u have your letter sketched out u have the option of either coloring in the inside or outside of letter. It's your choice. I chose the outside for this guide

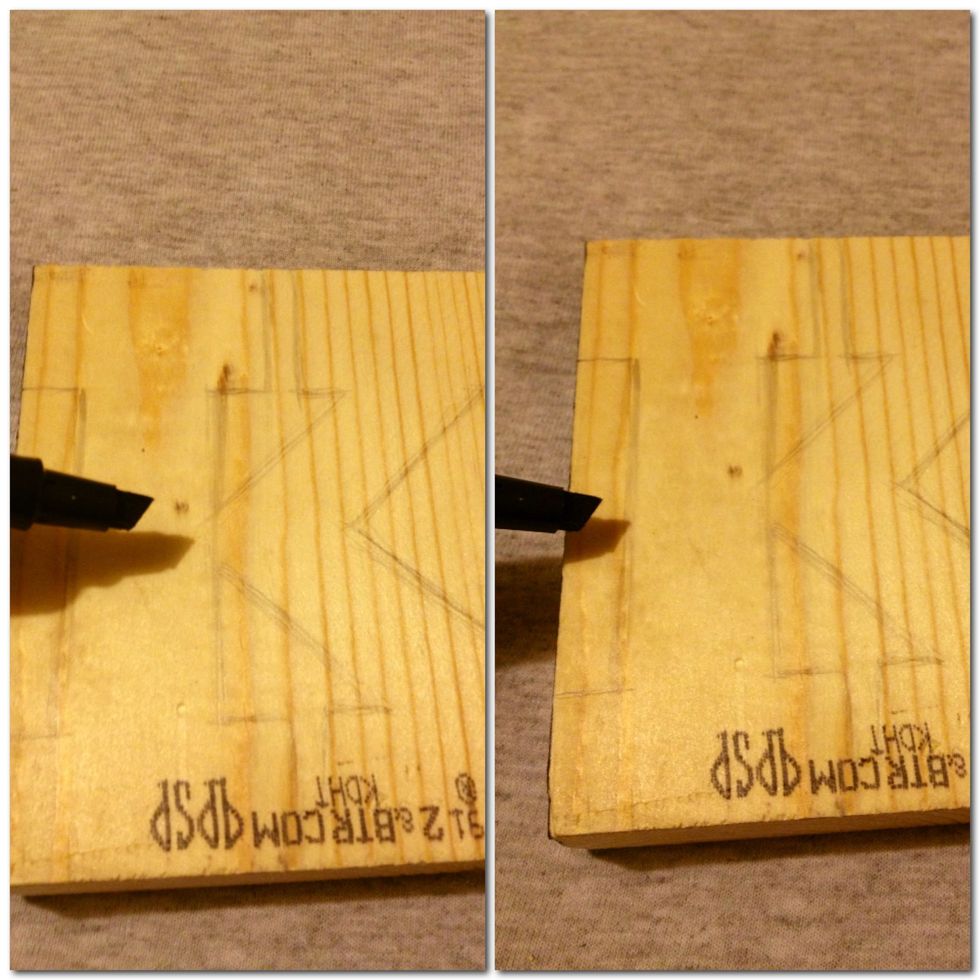
Time to start outlining with permanent marker. If u don't have a ruler u can just use something sturdy and straight as I did here
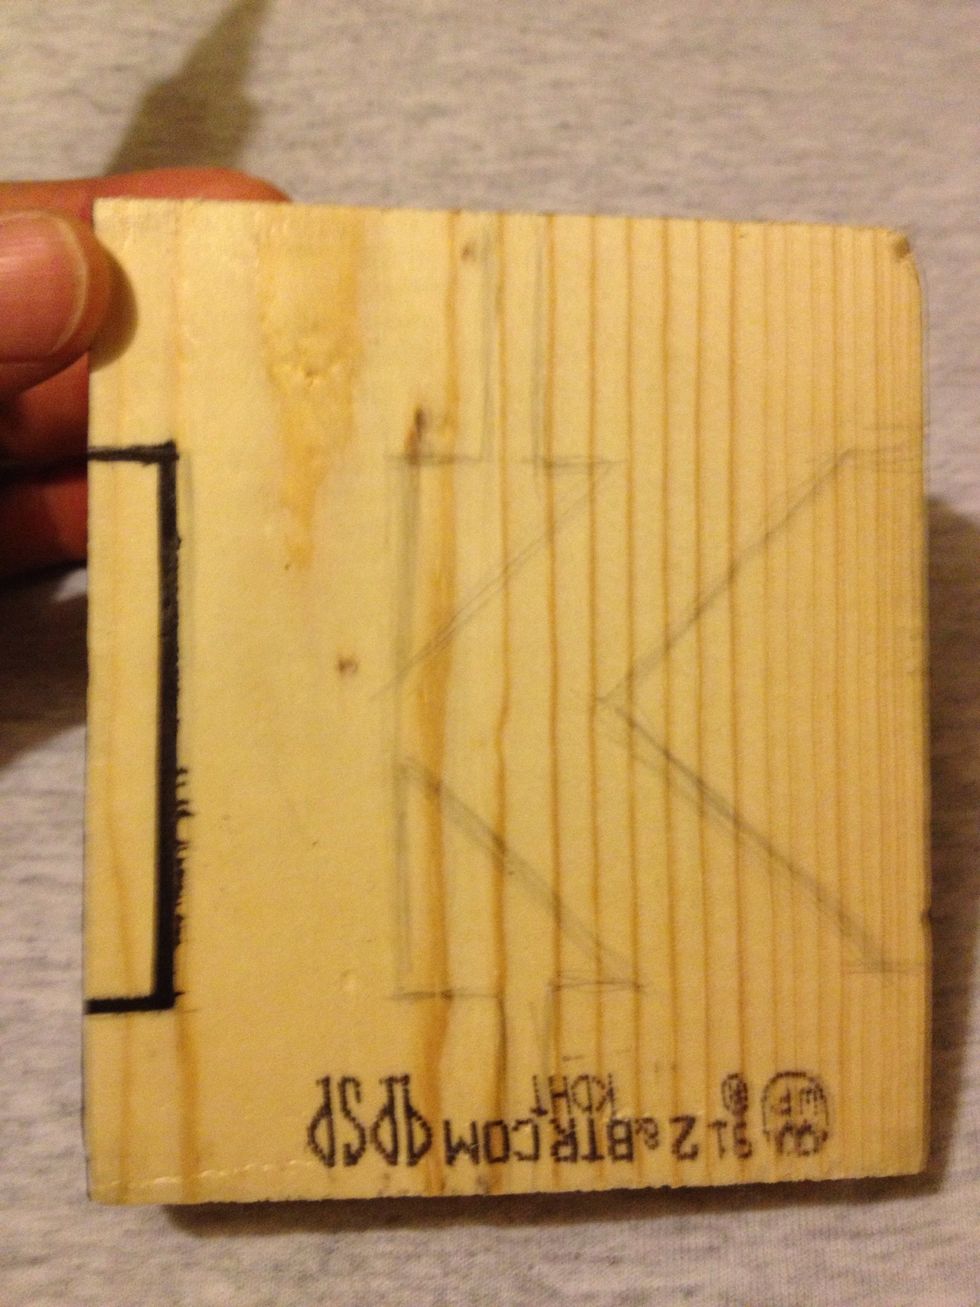
Permanent markers tend to run/spread out as you can see here. It'll probably work best if you sand the wood or use paint and brush. I went the easy and fast way on this
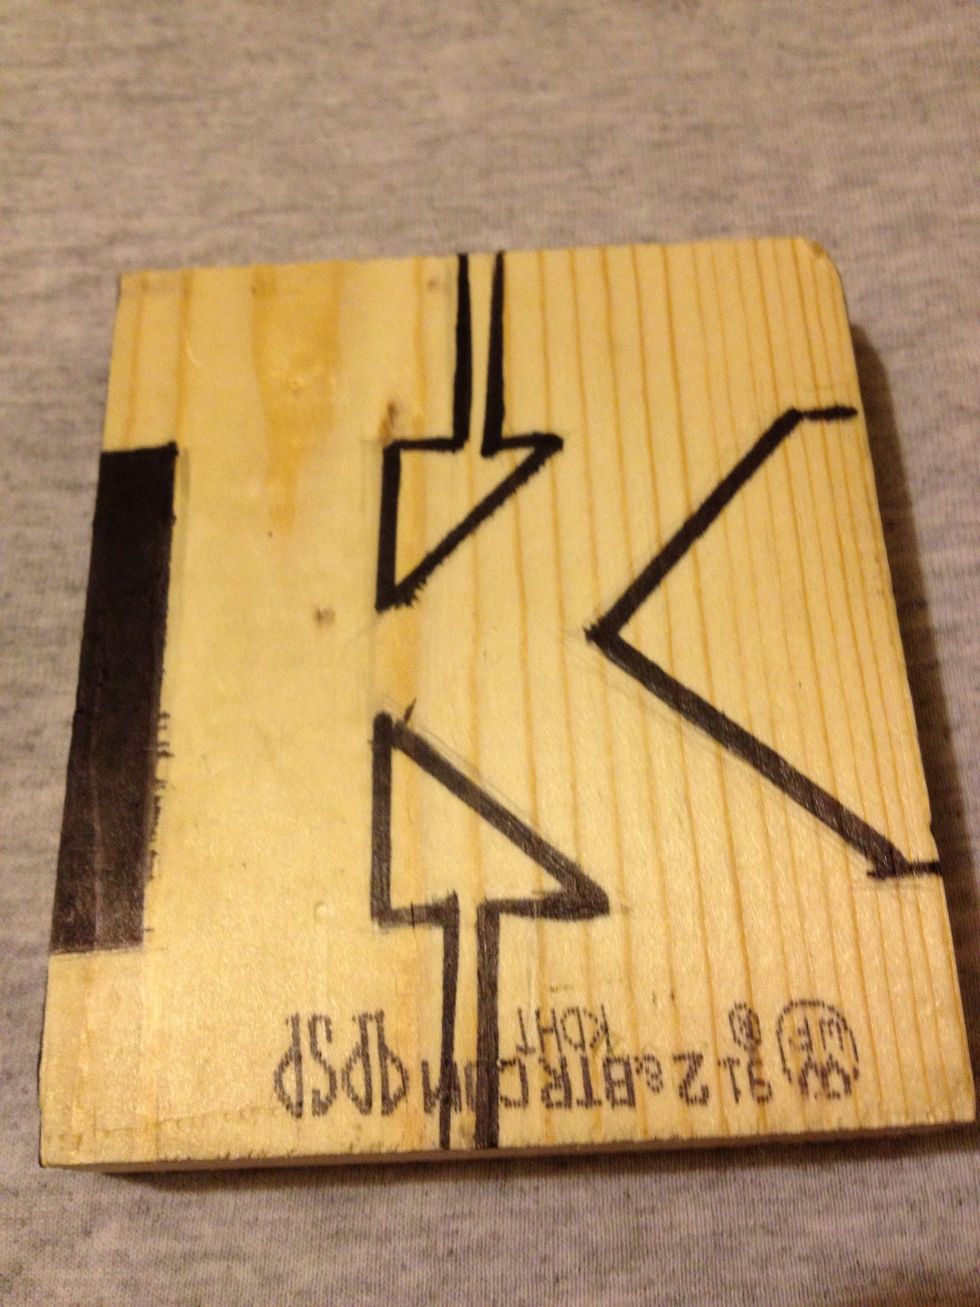
Outline complete and time to color in. Of course choose any color u wish
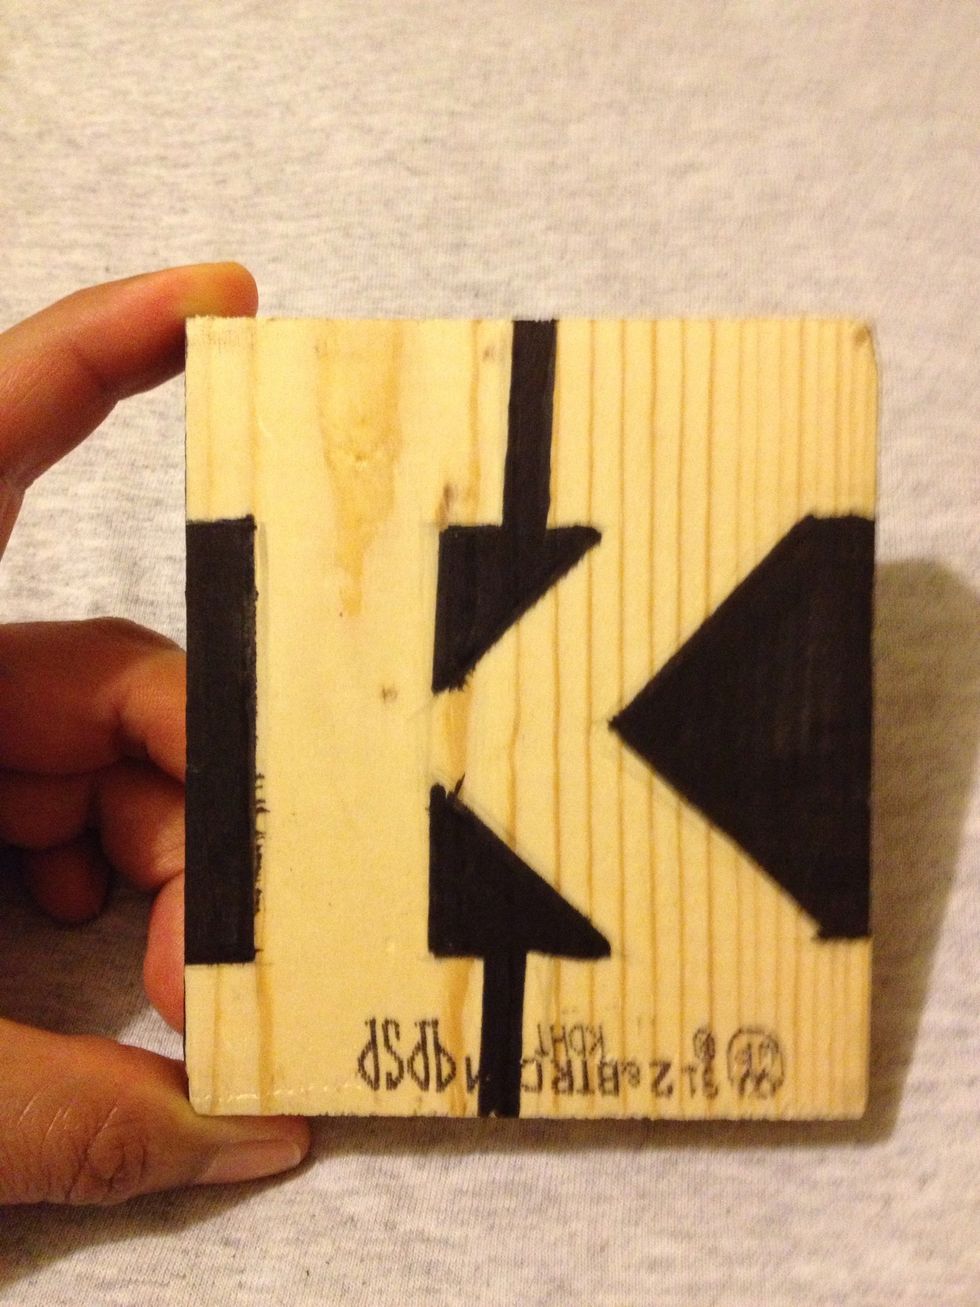
All complete. Now u can just leave as is or color in letter with other color or make designs in it. I chose to get a little creative with it as you will see on next pics

Here it is placed on desk. Due to thickness of wood it won't tilt easily. You can also add hanging clips to back and hang on walls.
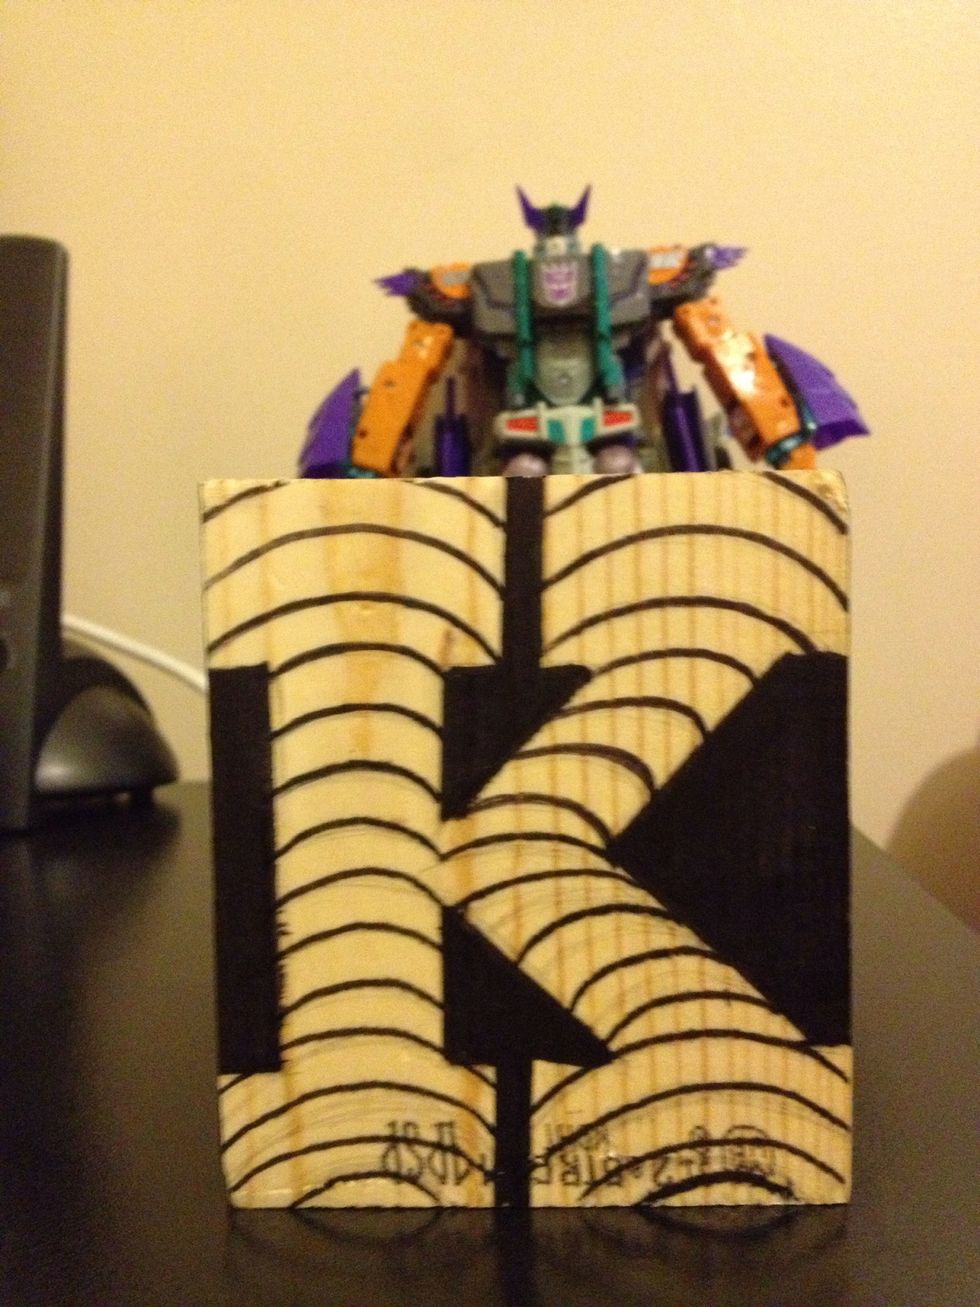
You can do this if you wish. Give it a little dimension to it
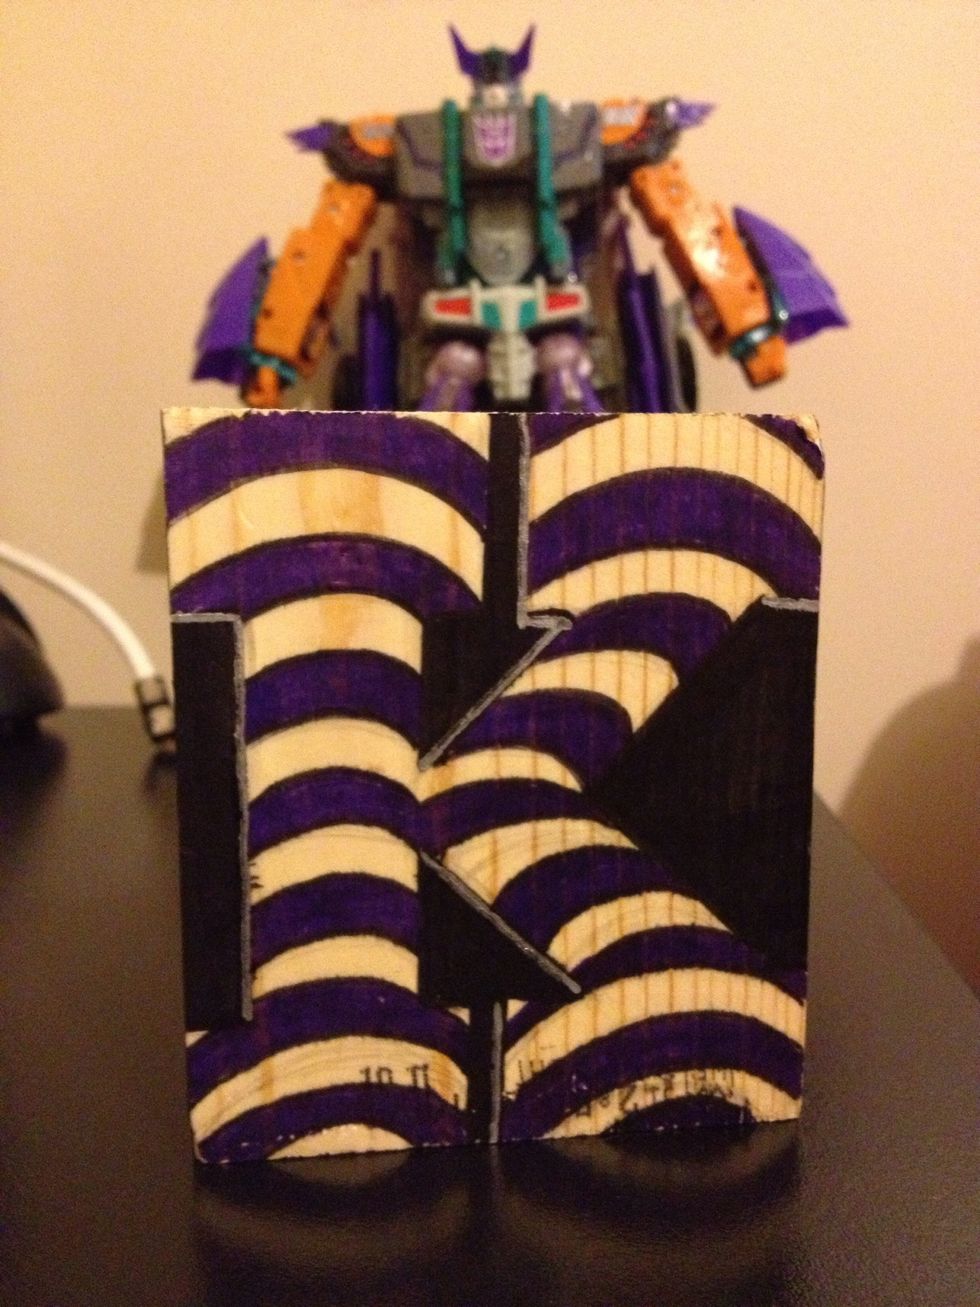
Or this but I think this is a little too much. Went a bit overboard with it. Note that when using markers don't press to hard when coloring or tracing on wood. You will mess up the tips.
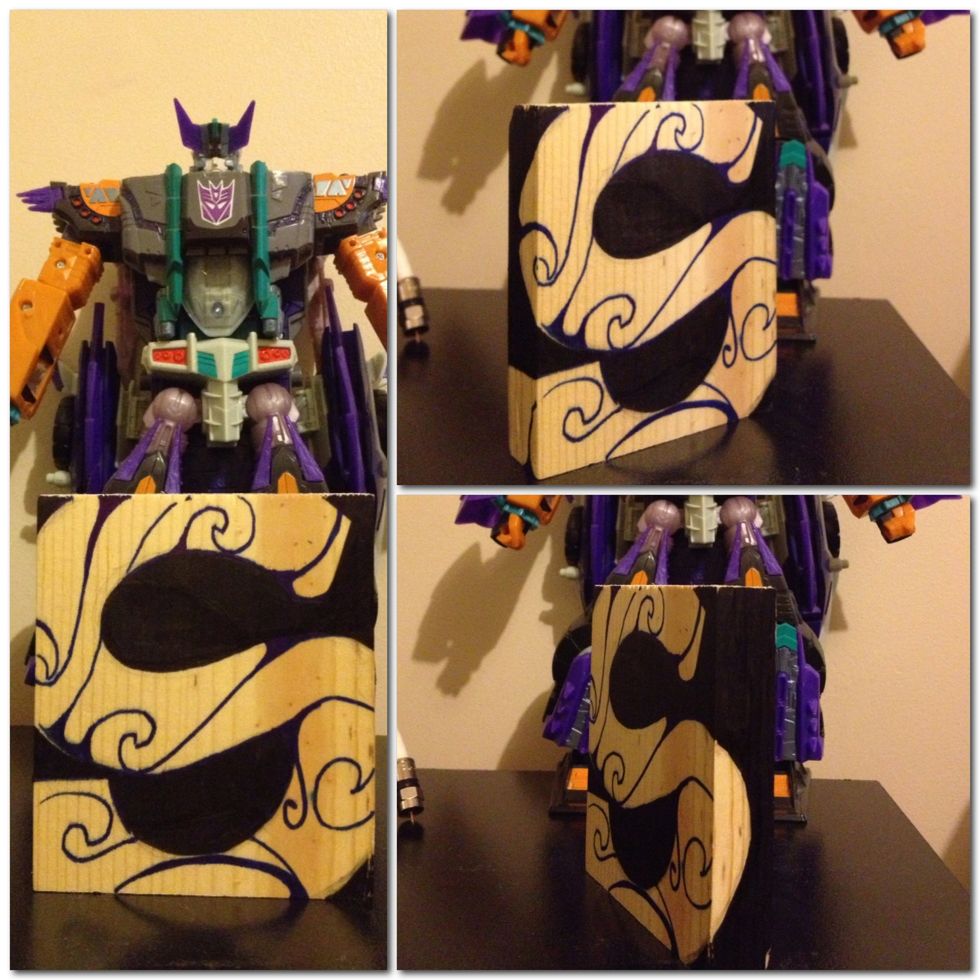
This I did on the back of the same piece of wood. Got more creative with it. It's all about creativity. I know it's a lot easier to just buy already made ones but I enjoy creating my own things