The Conversation (0)
Sign Up
Unlike my previous guide, it's impossible to create this summers dazzling trend with eyeshadow! This tutorial will show you how to make a colour so bright, it could probably blind a small kitten!
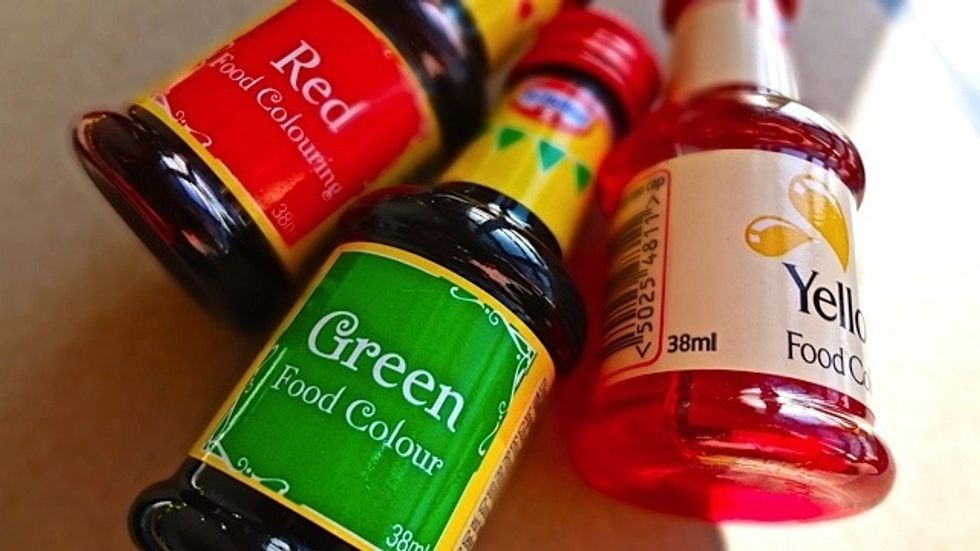
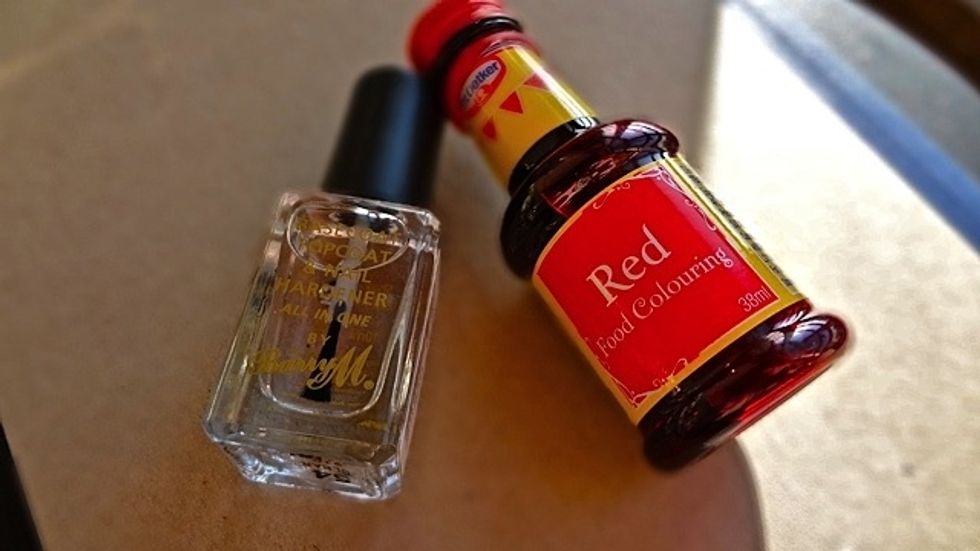
You can use any type of food colorant, in this tutorial I will be using a mixture of red and yellow to make a fruity summer shade.
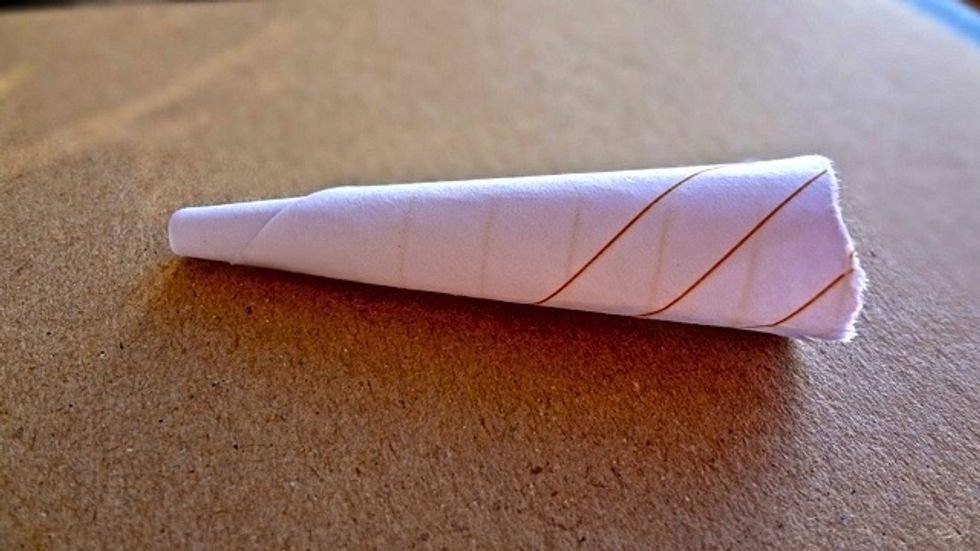
First make a small funnel by rolling your strip of paper like so. Secure it by wetting the loose end or use sticky tape.
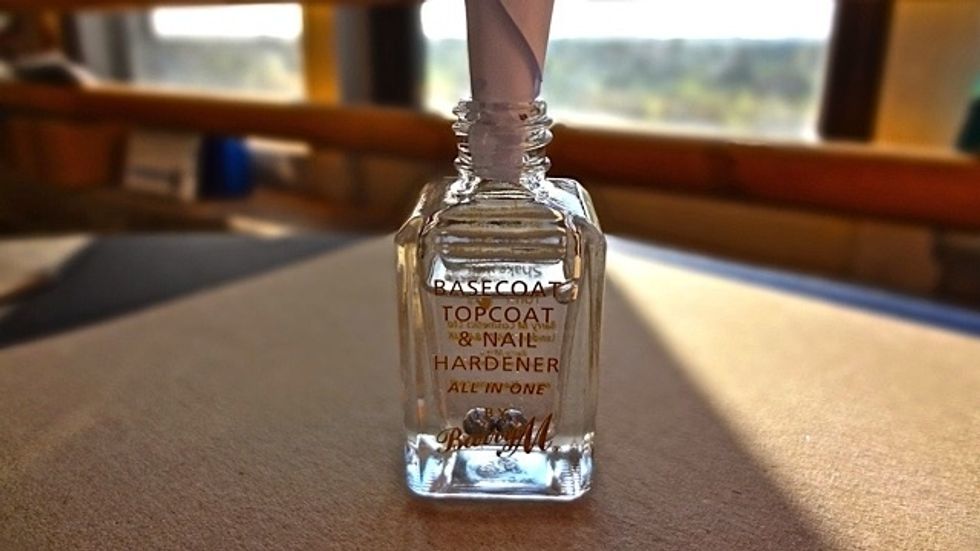
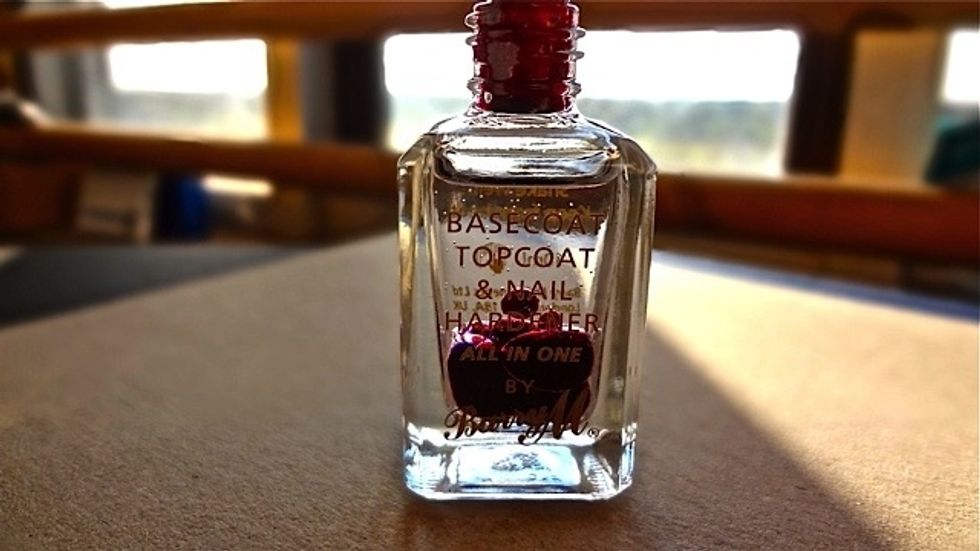
Next insert the funnel into your chosen clear varnish. IF FULL TIP SOME OUT FIRST!!! Tip : be sure to preference a varnish with ball bearings inside. This will make mixing your final result a breeze.
Next gradually add your chosen food colorant. Don't be fooled by how intense the colour looks, you will need a lot! For this tutorial I used 12 drops of red and 3 yellow.
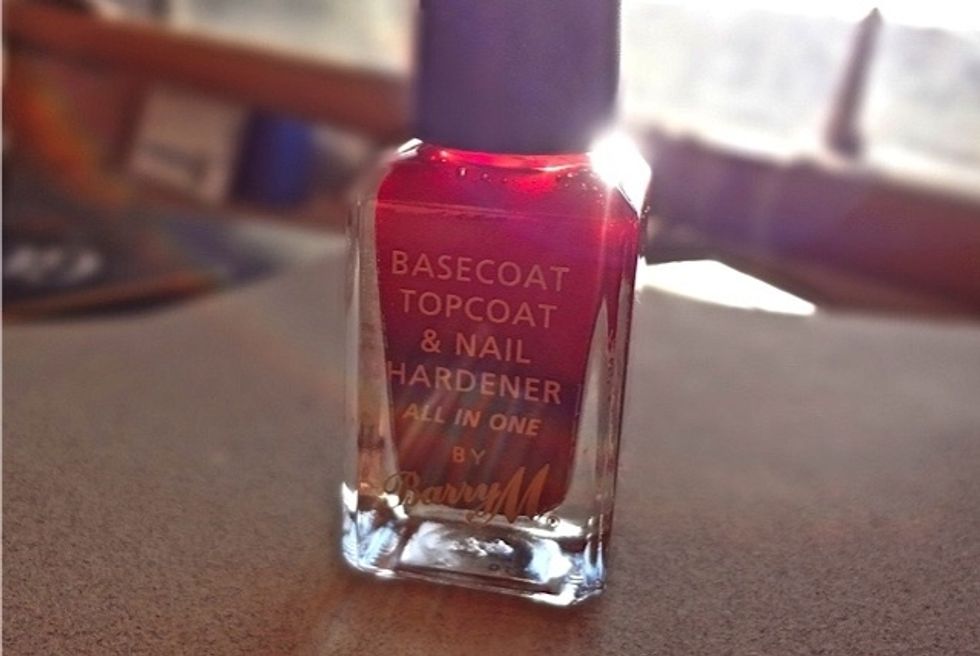
Now it's time to mix. Close the lid and shake that bottle like your life depends on it! The colorant will naturally try to split from the varnish so you will need to shake before each application.

Test your results before application. I found a timed shake of about a minute before each layer worked best, giving the above result with 2-3 coats.
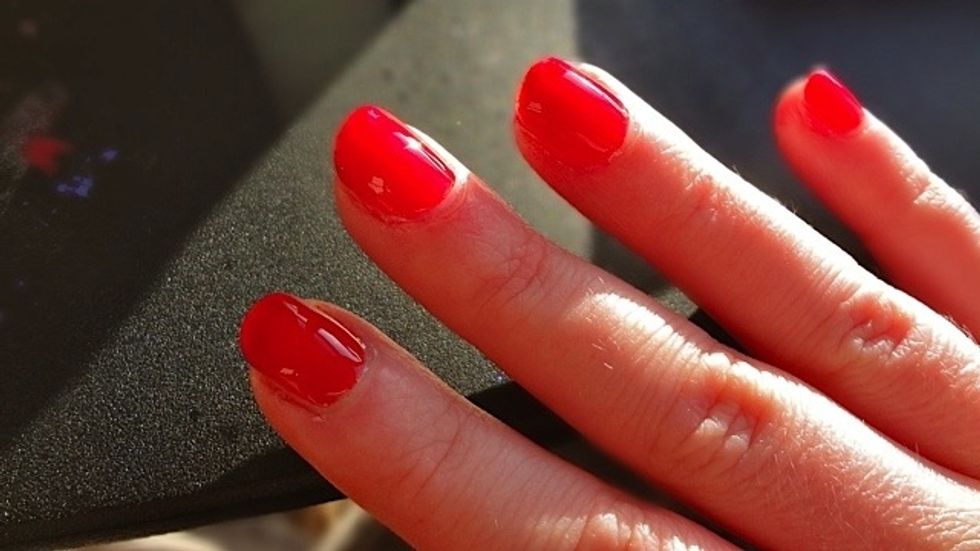
Make sure each individual coat dries before applying the next. Otherwise the colour will clog together and look lumpy.
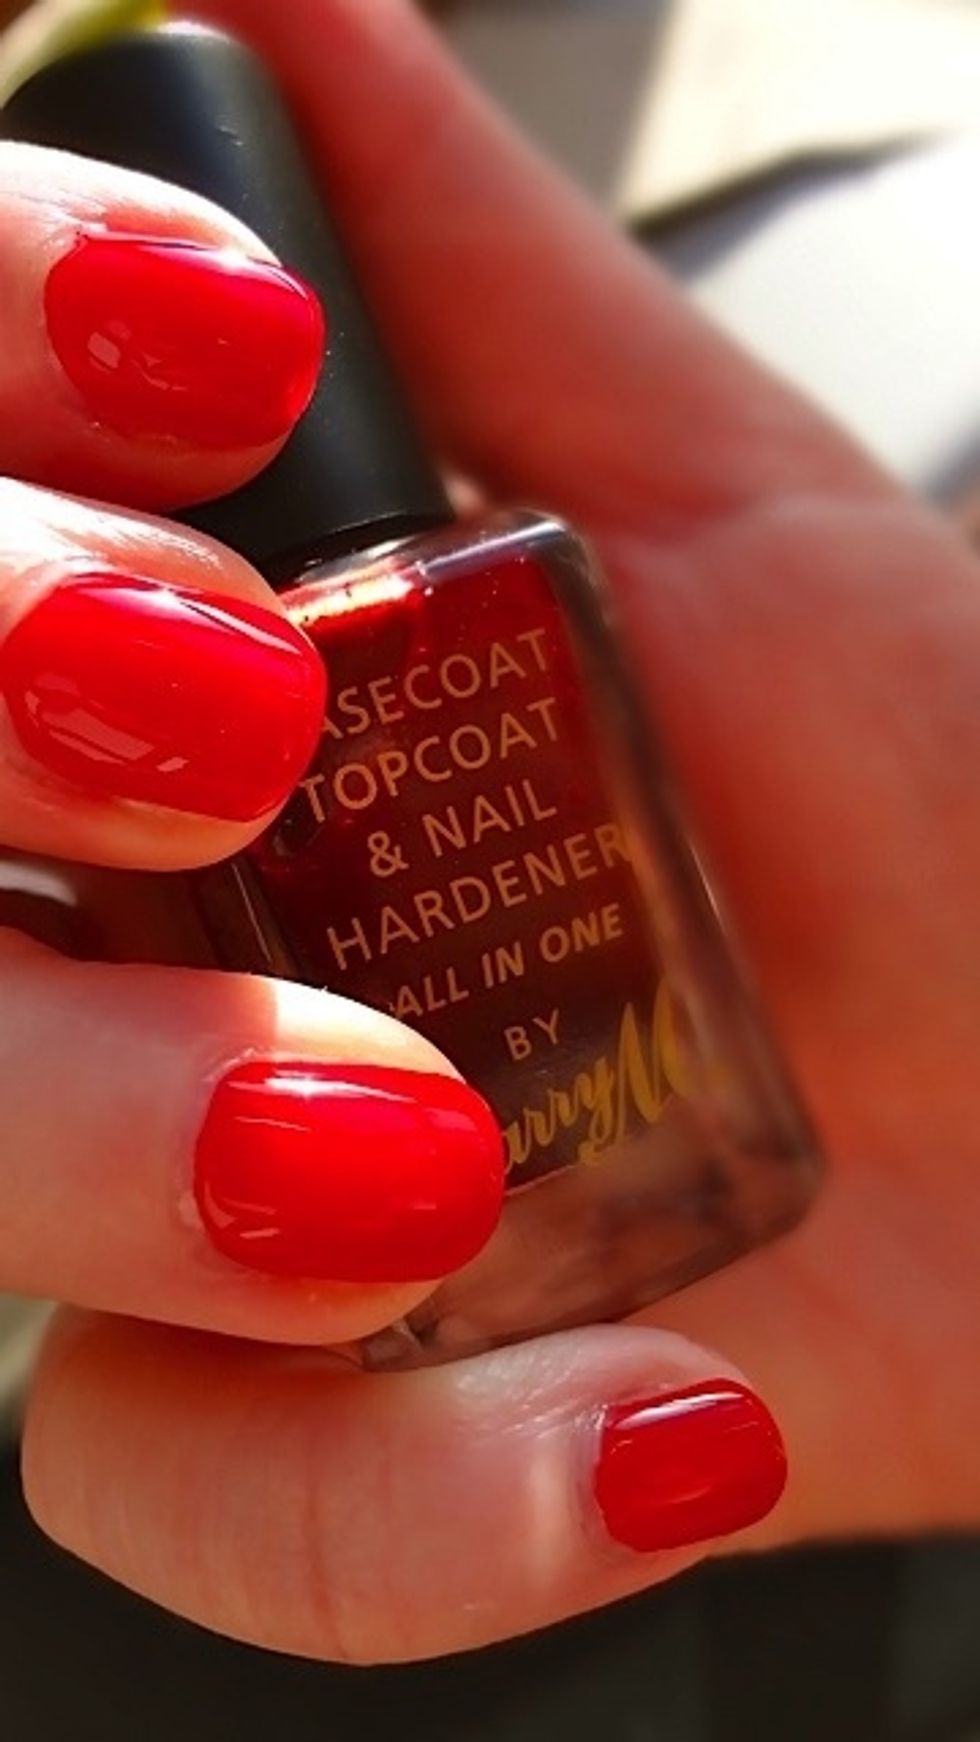
And there you have it. Pretty simple and much cheaper than the current fashion polishes you can find online. Have fun creating your own neon shades :)
One last tip : food colorant can easily stain the skin, but can be removed with a good scrub! Always be sure to apply a clear base coat to your nails to protect them.
Why not check out my other guide : How to make your own standard nail varnish colour. View my profile for the link :)