The Conversation (0)
Sign Up
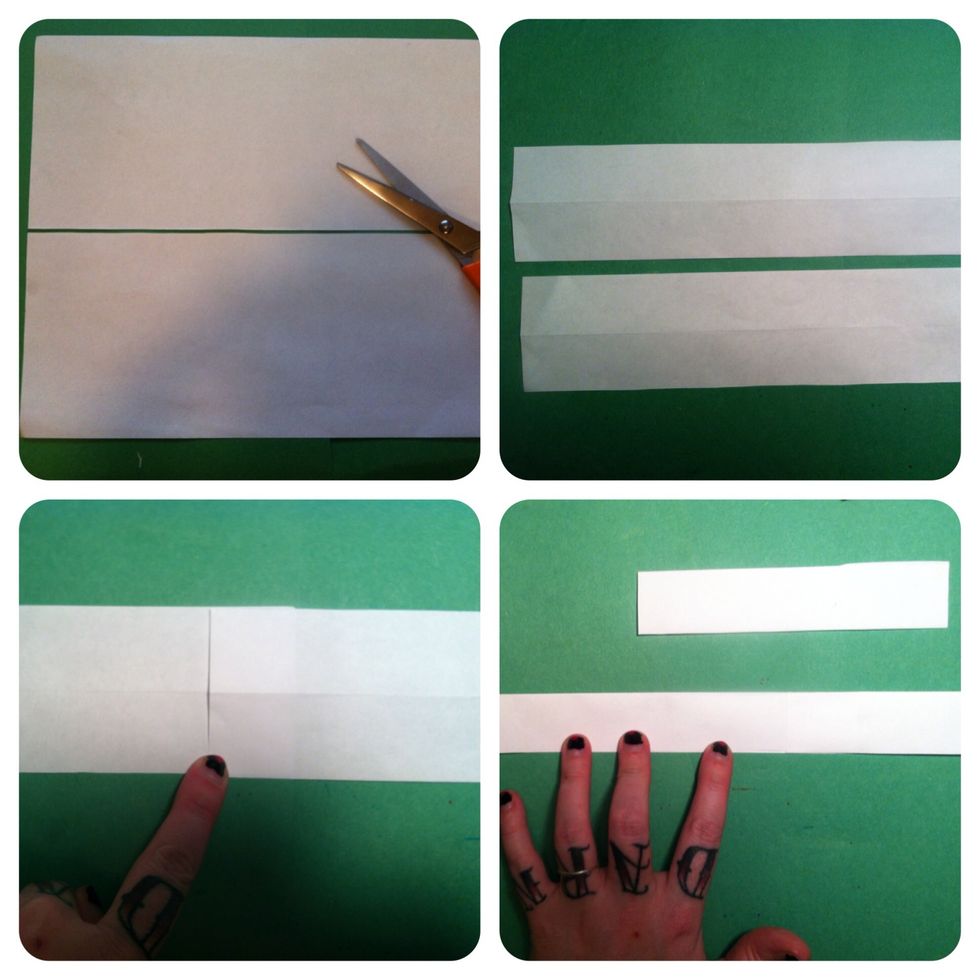
Printer paper. Cut in 1/2 long ways. Cut in 1/2 long ways again. Match the 2 ends together & glue. Fold in half & glue together. You can cut about 5 inches off the end. You now have a long strip.
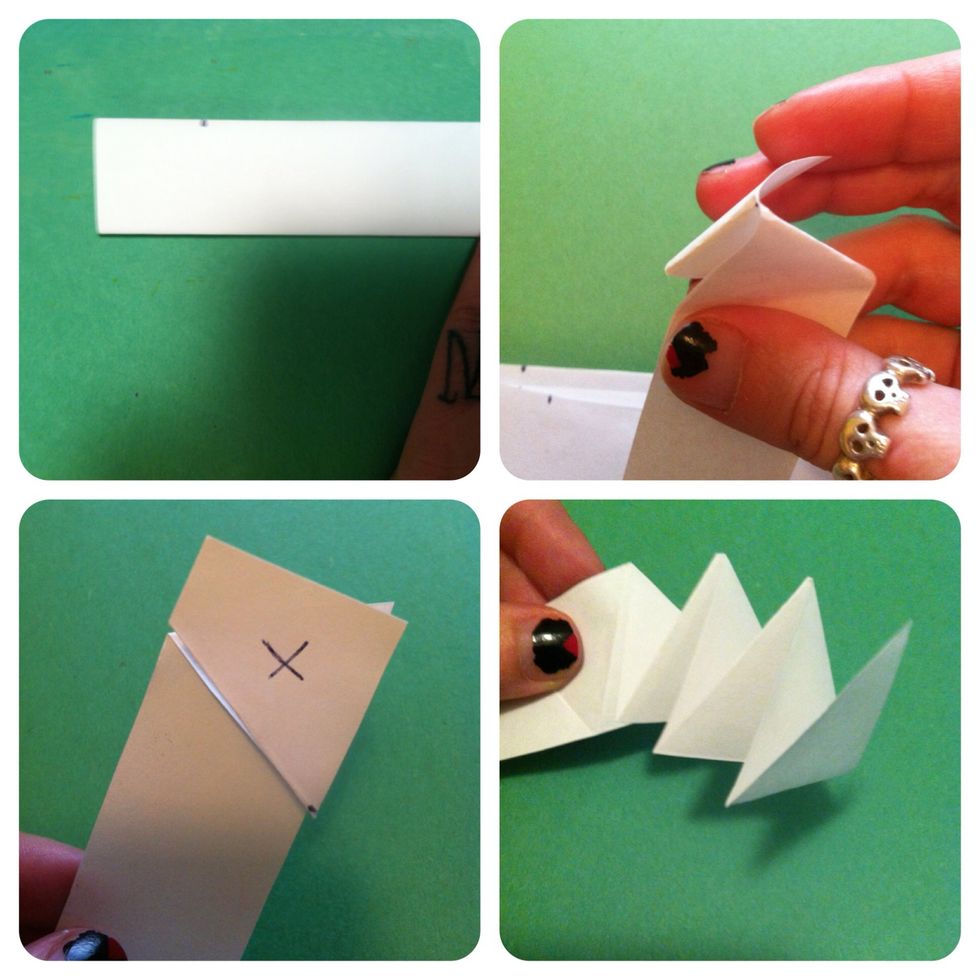
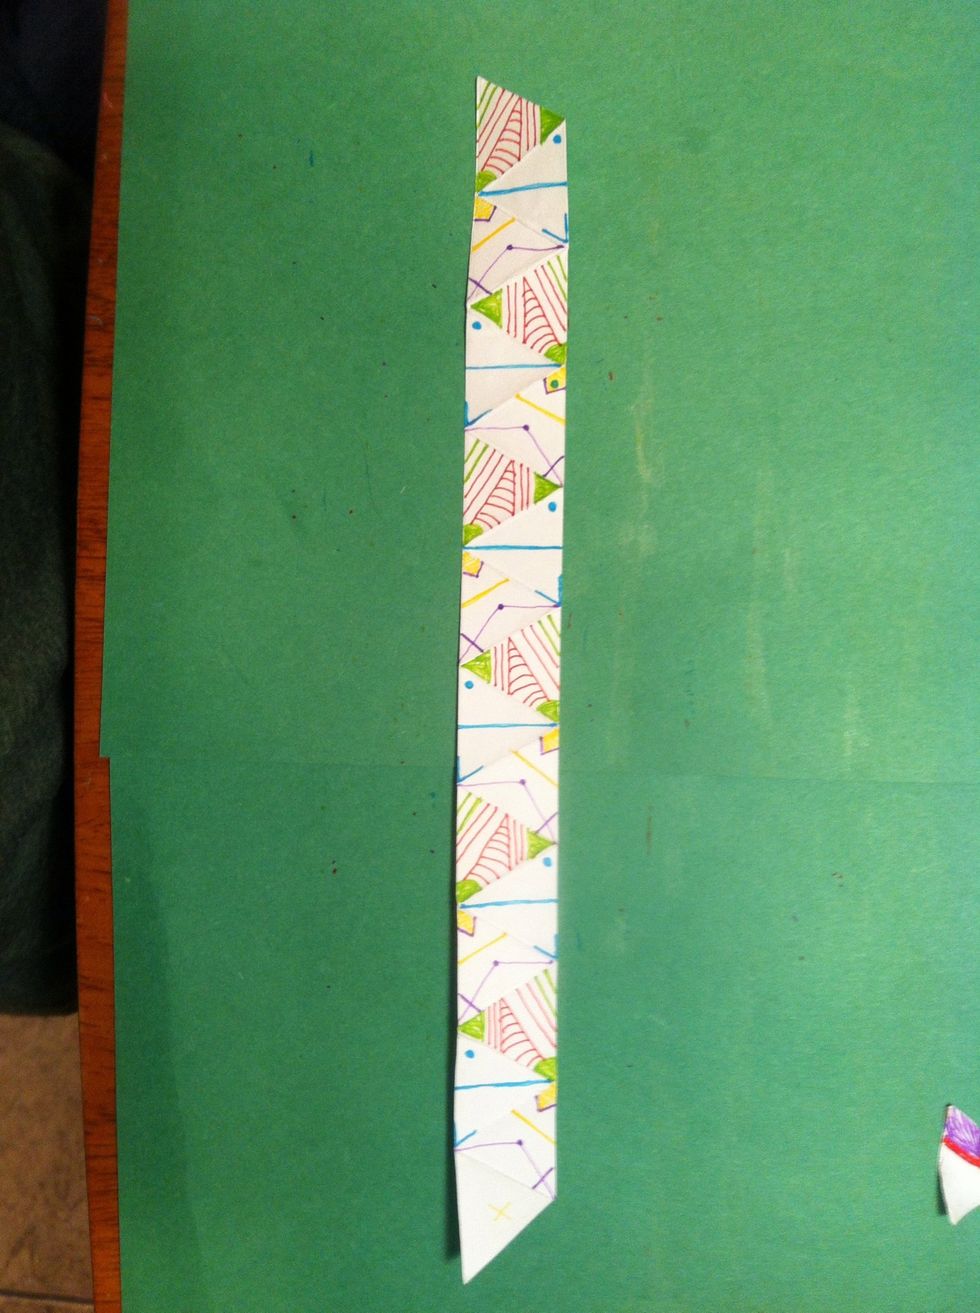
Make a mark to use as guide for tip of triangle. Fold short end back & long piece forward, aligning their edges = equilateral triangle. Cut short piece off & continue zig zag folding the strip
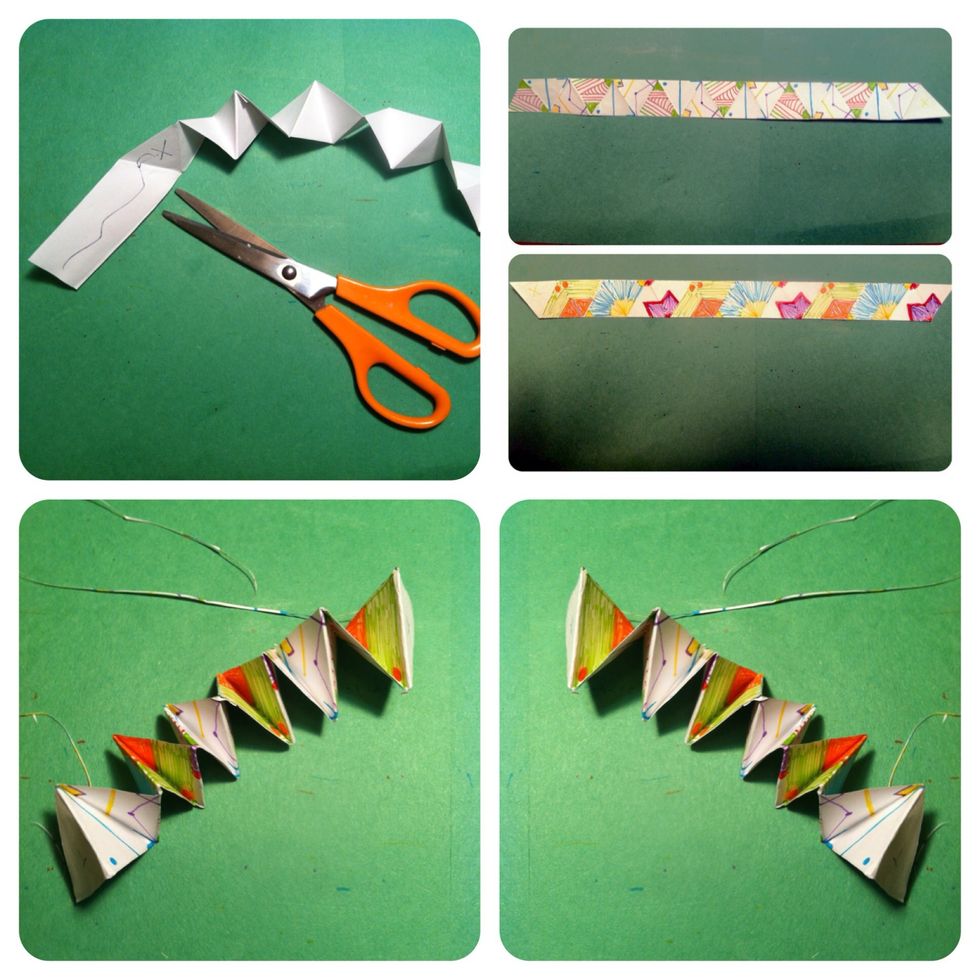
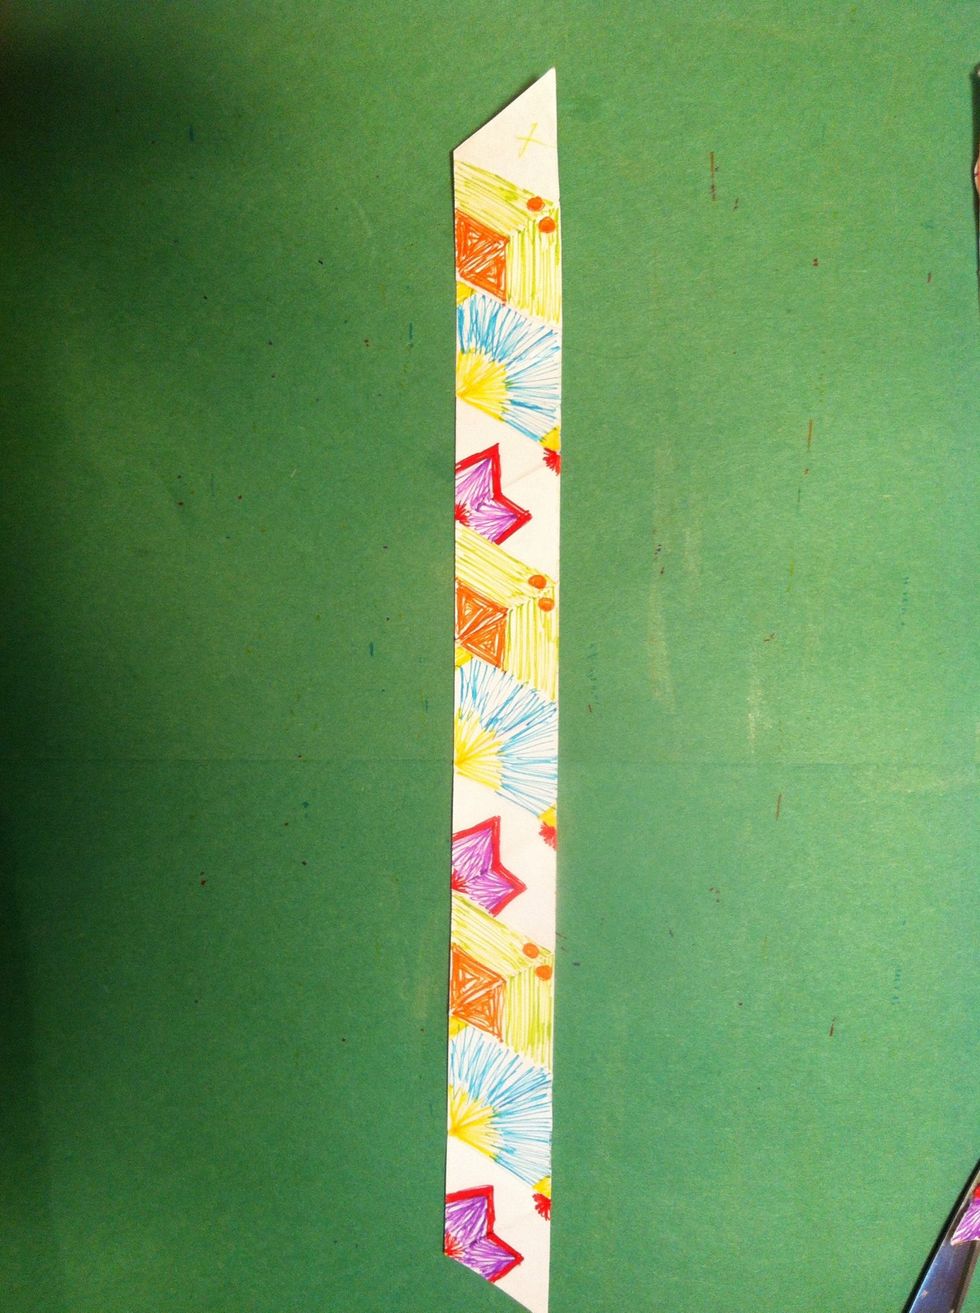
Continue till you have 19 triangles. Cut off end. Fold creases again, back & forth, really well. Design & color. Larger pics at end explain pattern or color later. Zig zag crease both ways again.
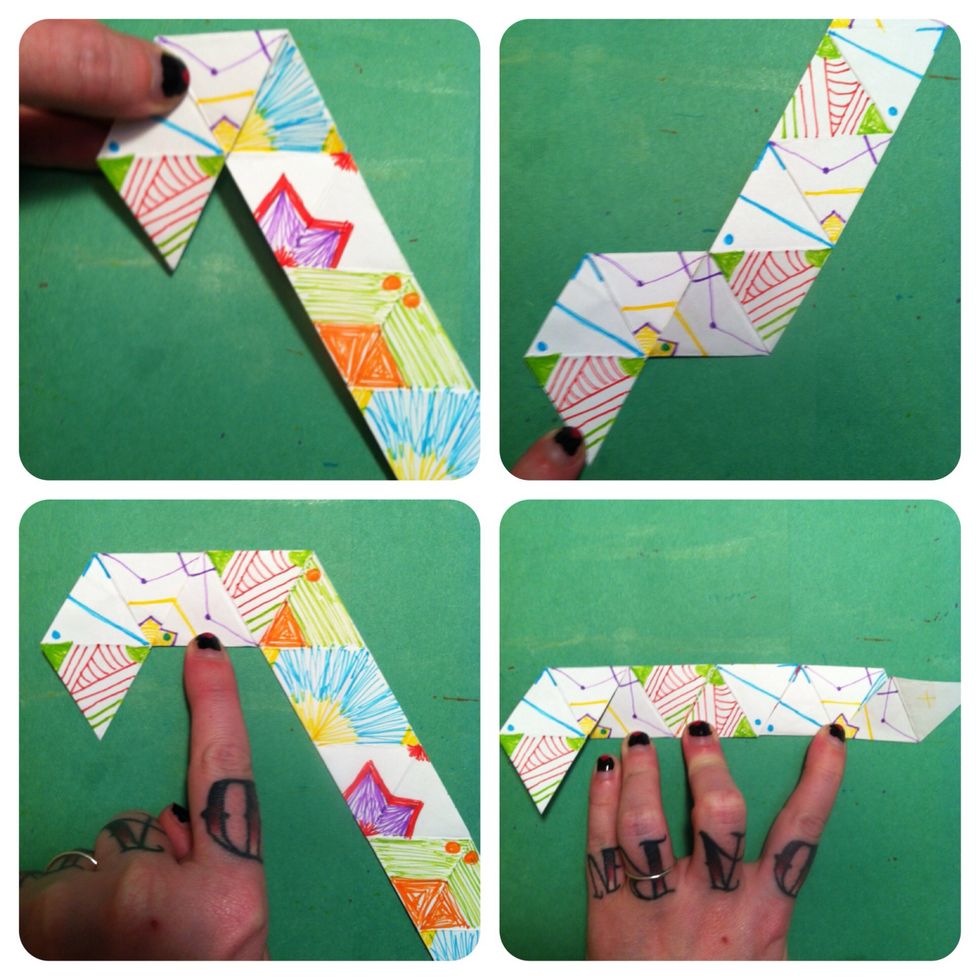
Hold 3 triangles on left & bring strip down. Leave 3 triangles in horizontal line & bring strip back 'n up. Leave 4 triangles in line & bring strip down. Continue wrapping strip around itself.
Hold 3 triangles on left again & bring strip down. Bring strip around again & over that original bottom triangle, so that all triangles match. Locate blank triangles & glue together.
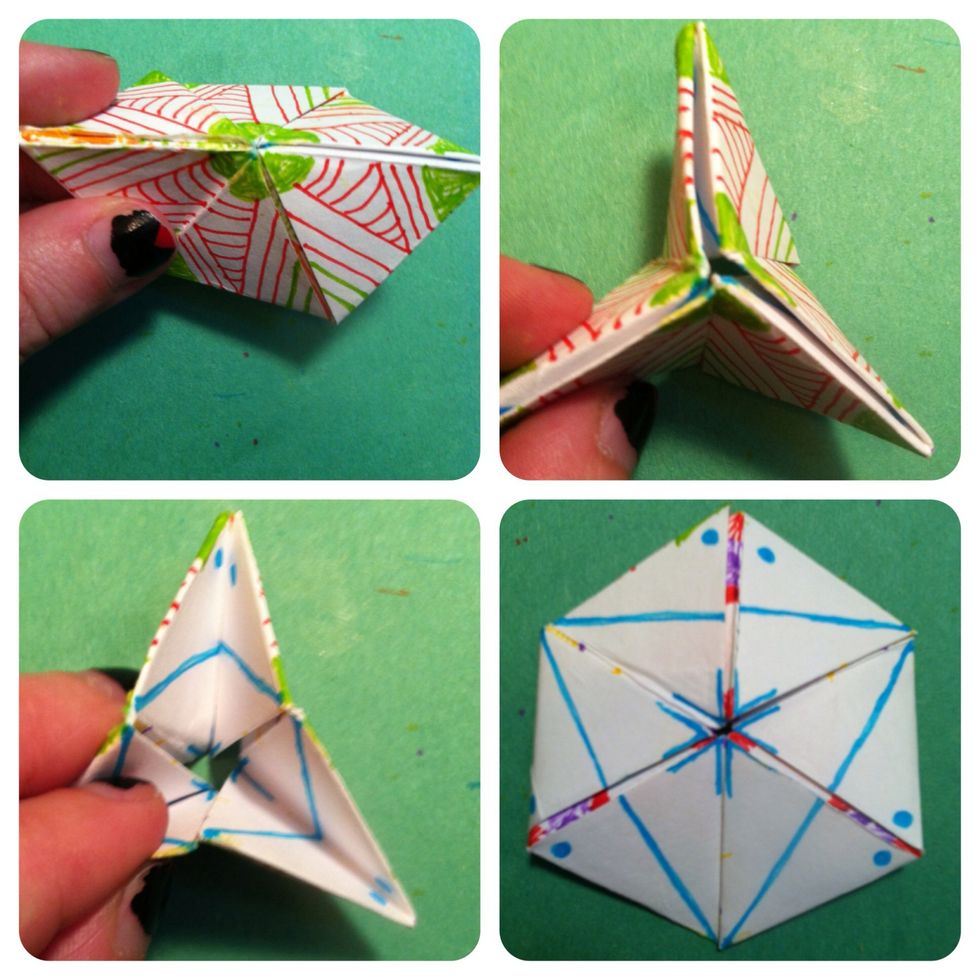
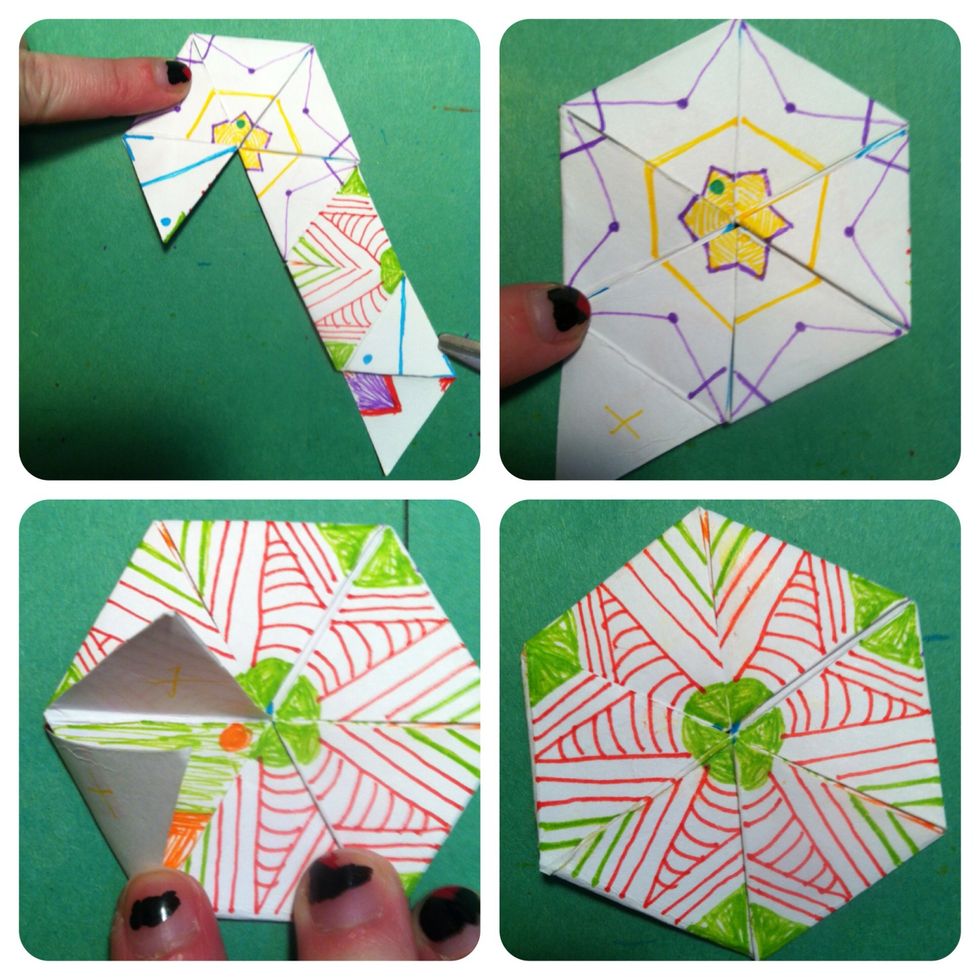
Fold back 'n forth along all creases to break in. Pinch as shown & pull open. You can keep doing this, flip it over & do it again. You can open it forwards or backwards & some have 2 pinching places.
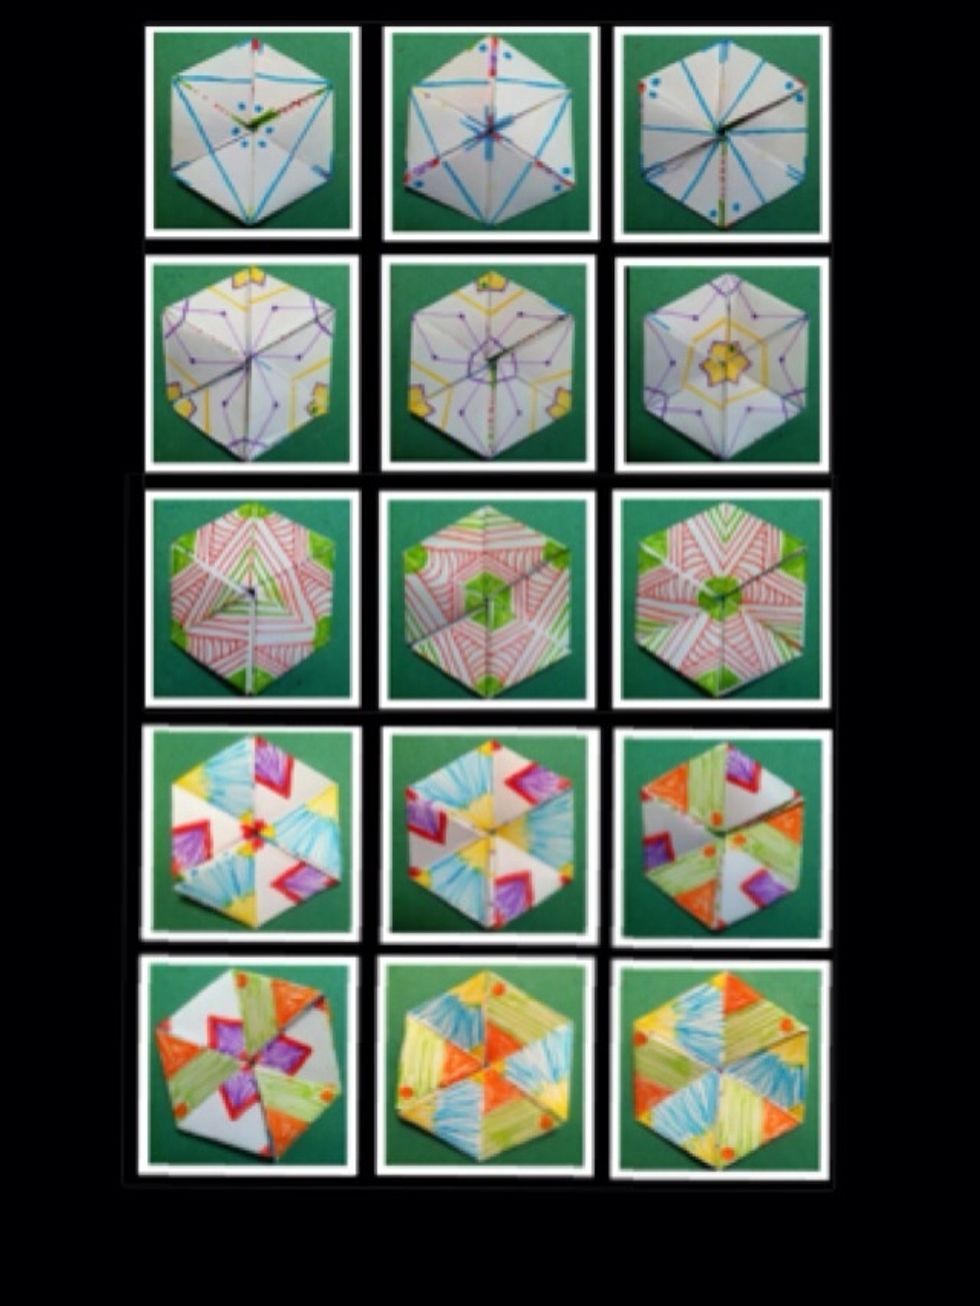
How many faces can you find? I believe w/ this particular fold pattern there are 15. It's probably easier to design & color after its put together. I prefer hard way cuz then the faces are a surprise.
Here is front. It goes 1-2-3, 1-2-3, 1-2-3, 1-2-3, 1-2-3, 1-2-3. The first 3 are normal & next 3 are mirrored/flipped. Focus on the triangles that are red 'n green. You'll see it. Last triangle blank.
The back. 1st triangle blank. You can see this pattern easier. 2nd triangle normal, next triangle is mirrored; repeat in 1-2-3 pattern. Easiest method I know, discovered while making this guide 😃