The Conversation (0)
Sign Up
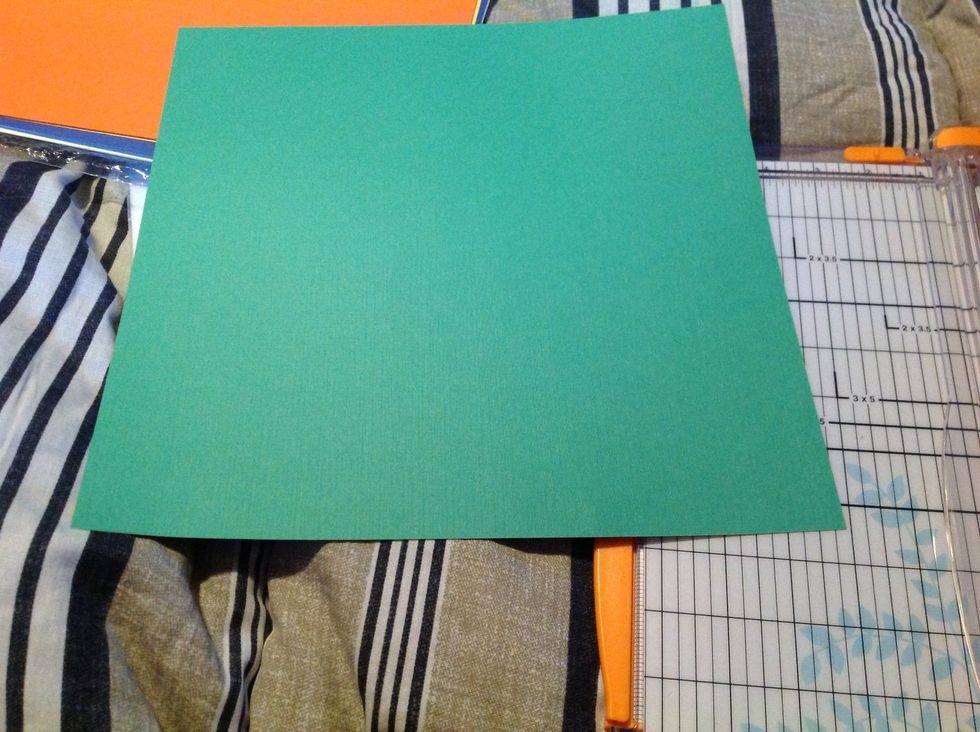
Start with a piece of 12x12 scrapbook paper. (I am going to make 125 cards, so I do each step multiple times.)

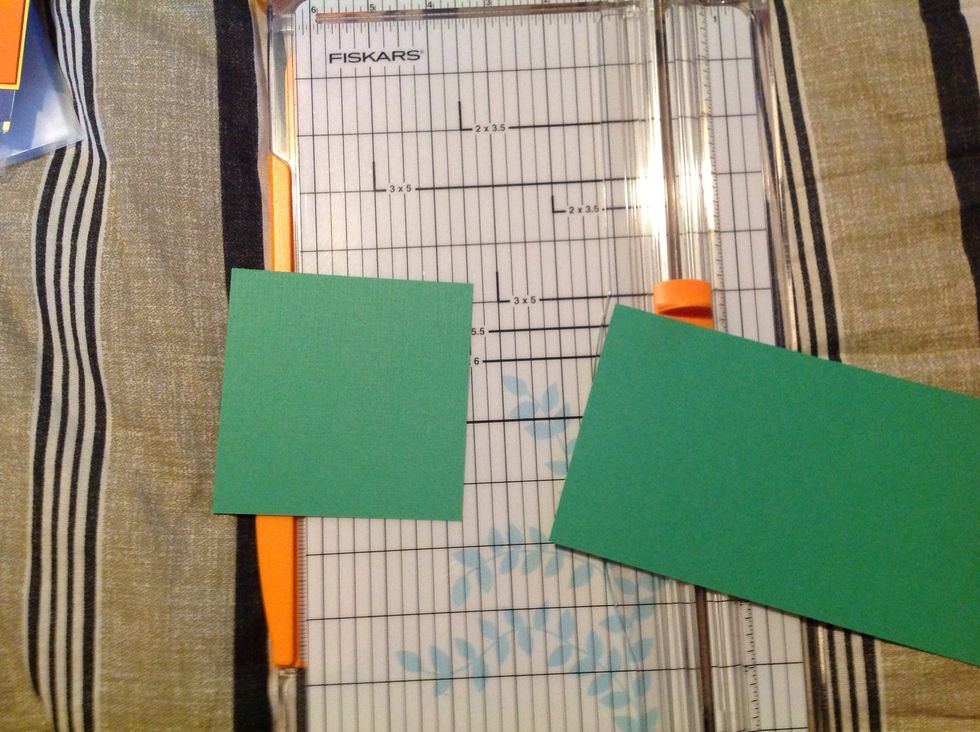
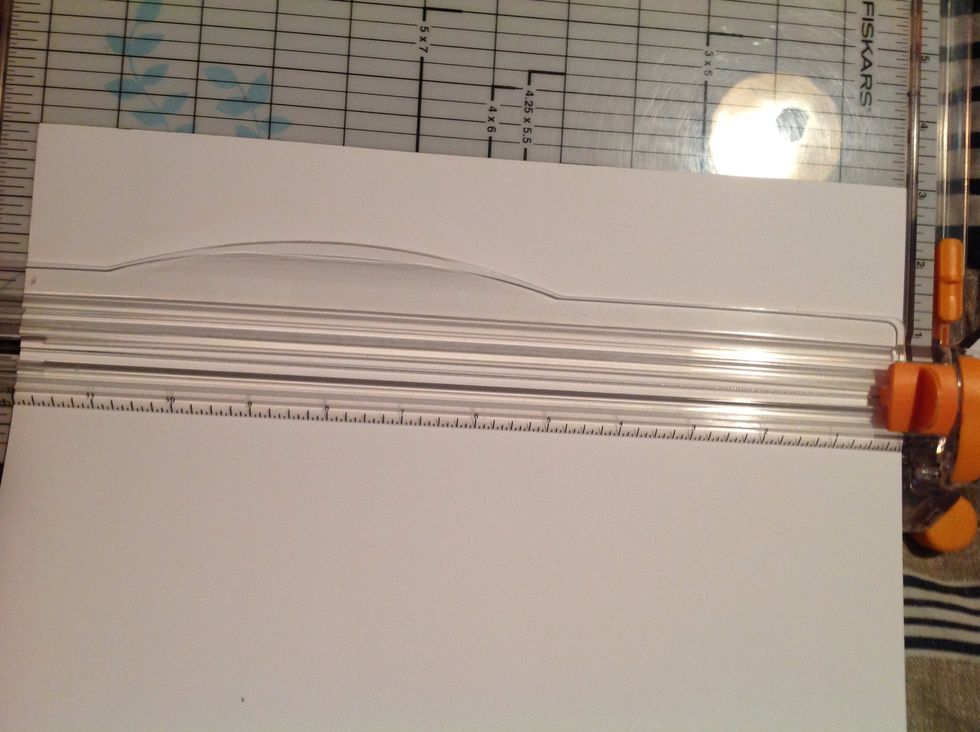
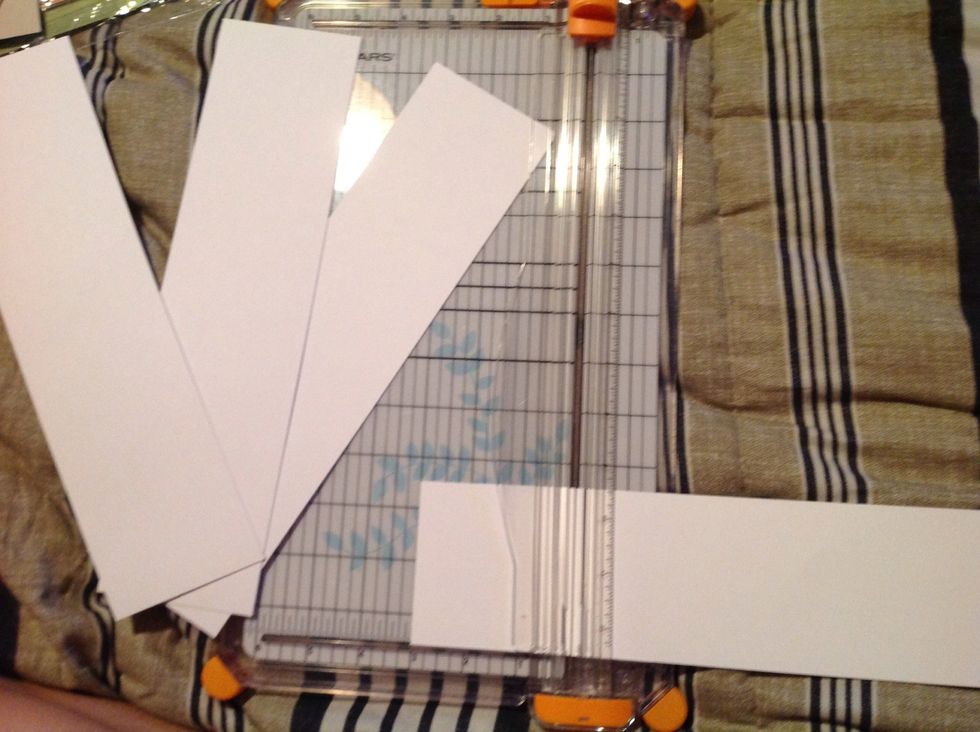
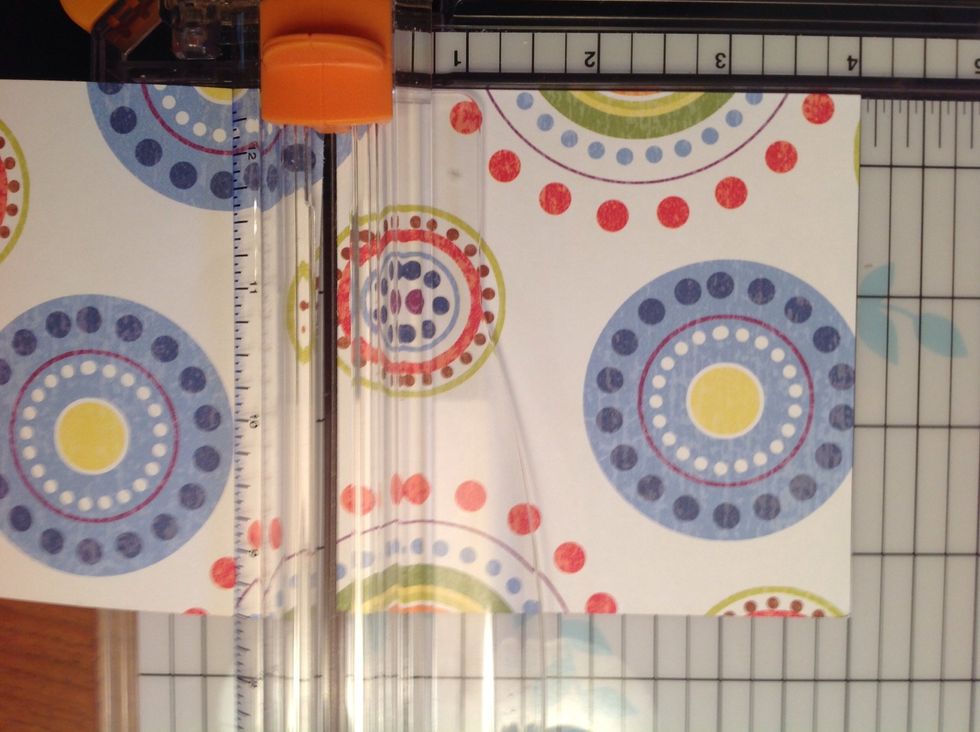
Place the paper at the 4 and cut a 4 inch strip off.

Rotate the paper a quarter turn and cut the paper at 4 inches and 8 inches. This will give you 3 bases that are 4 inches wide by 8 inches long. Take the first strip you cut and cut 4 inches off it to.
Save the remaining 4x4.
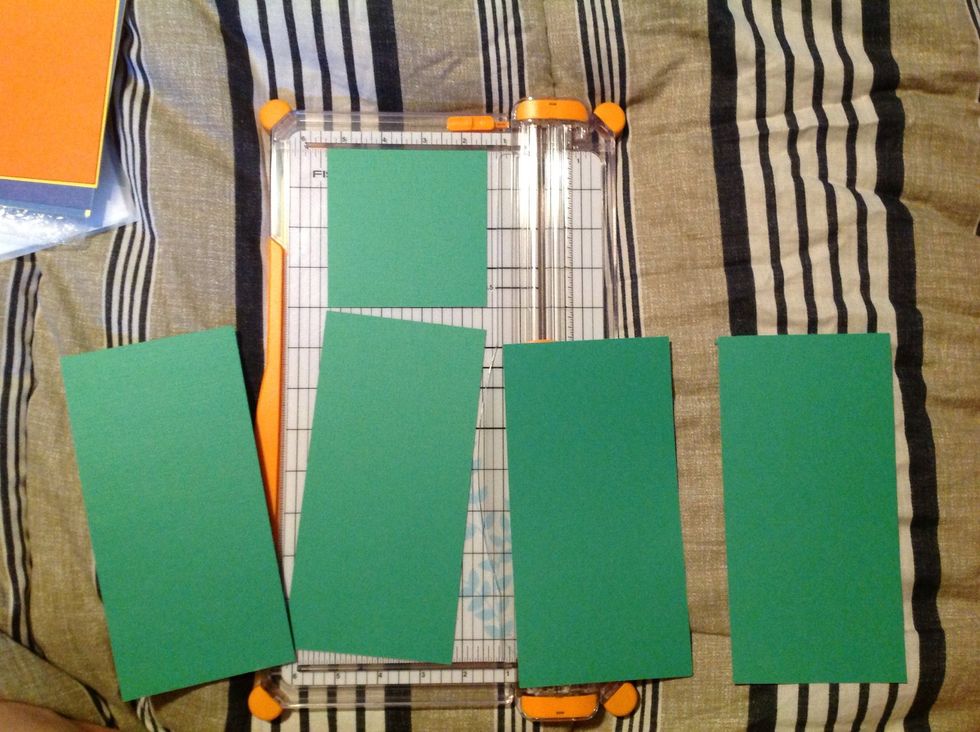
To recap: one piece of paper gives you 4 card bases and one 4x4.

If you are making lots of cards, continue to cut bases.
Now you will fold the base in half to get a 4 inch by 4 inch card.
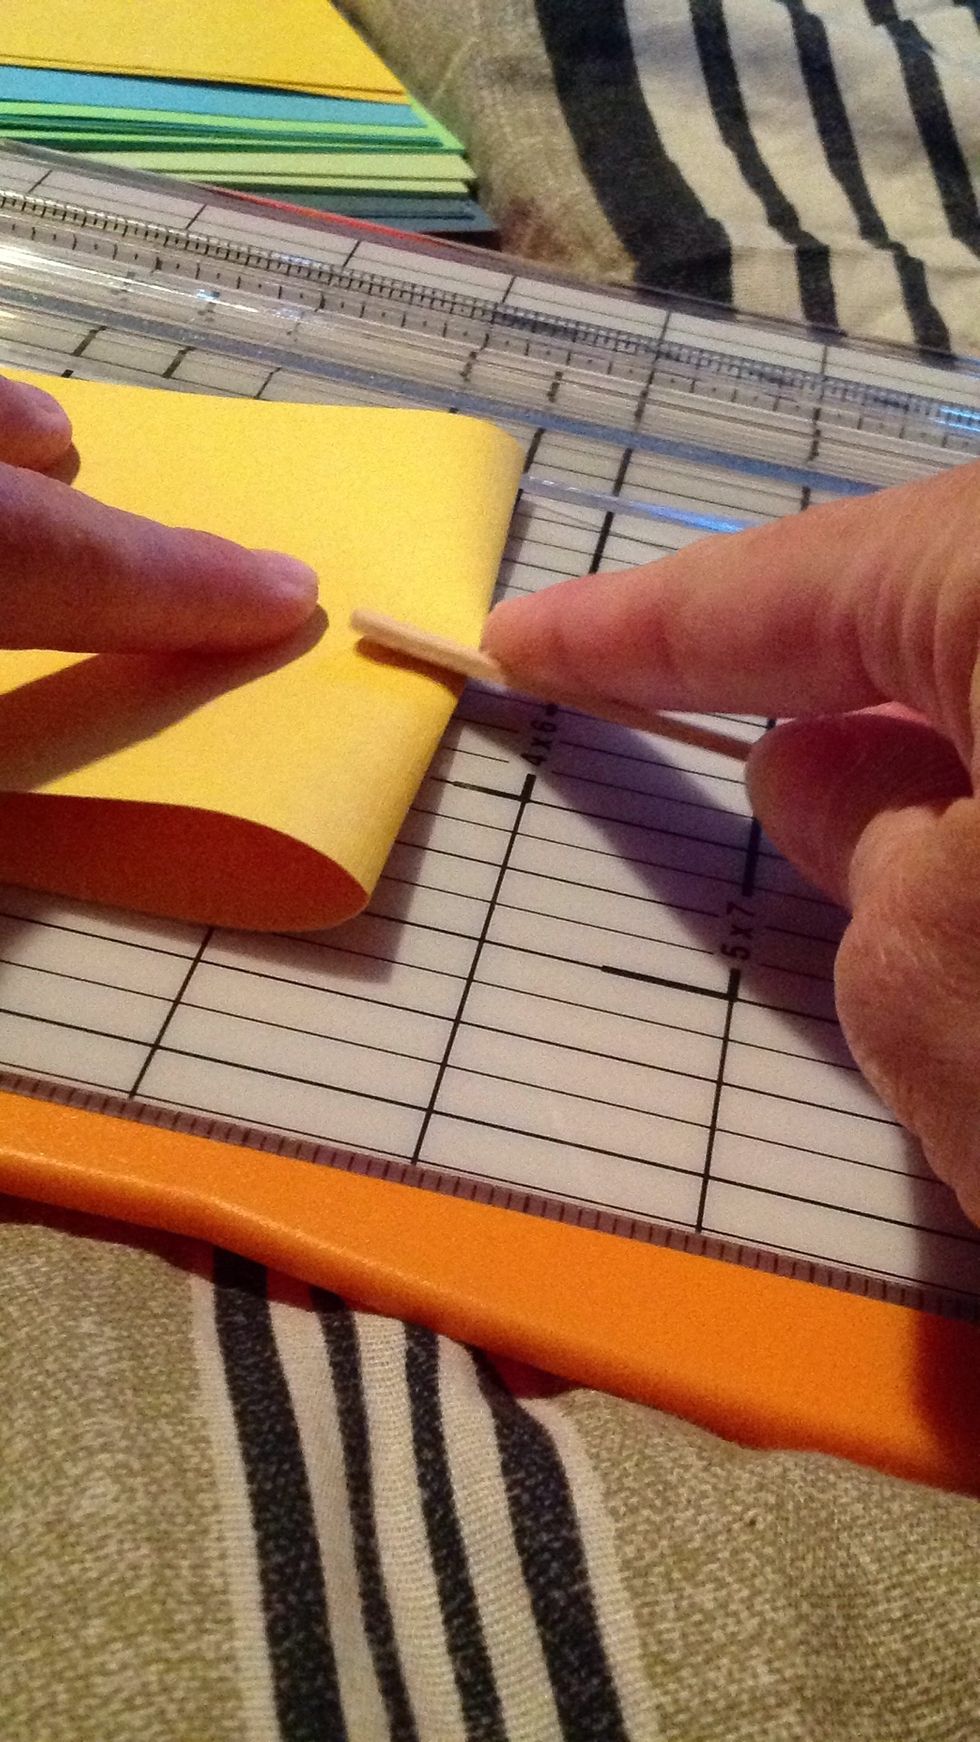
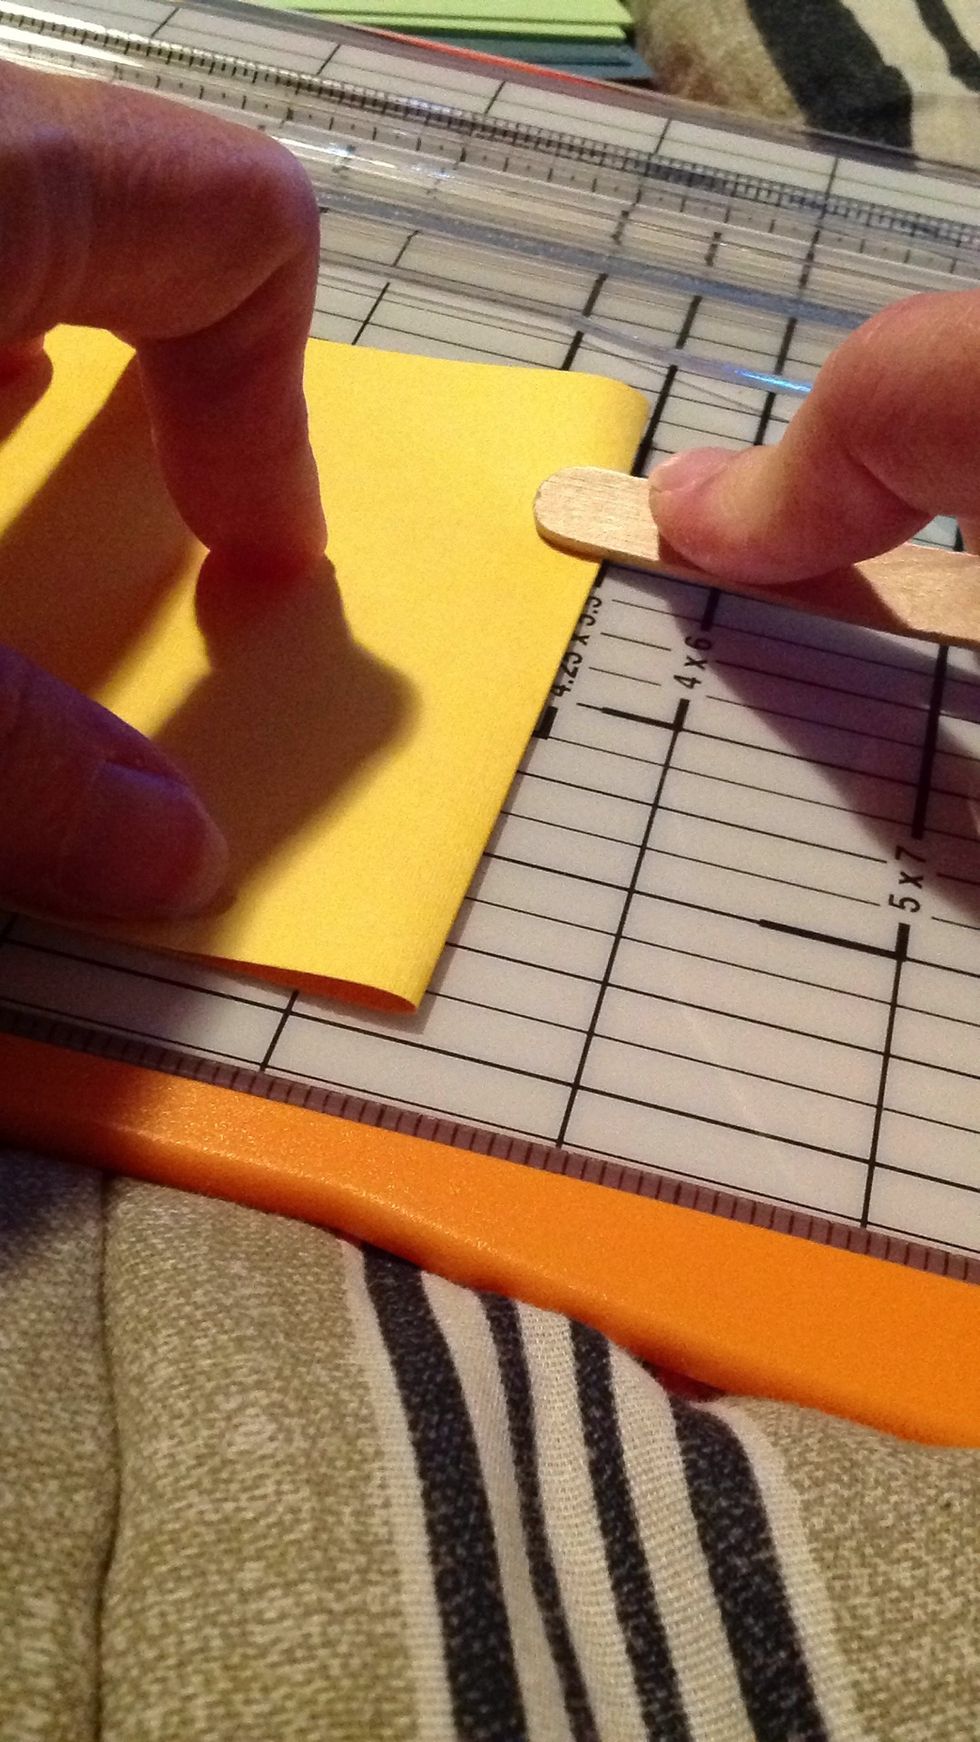
You can use a Popsicle stick or a bone folder to get a hard crease, or just use you finger!
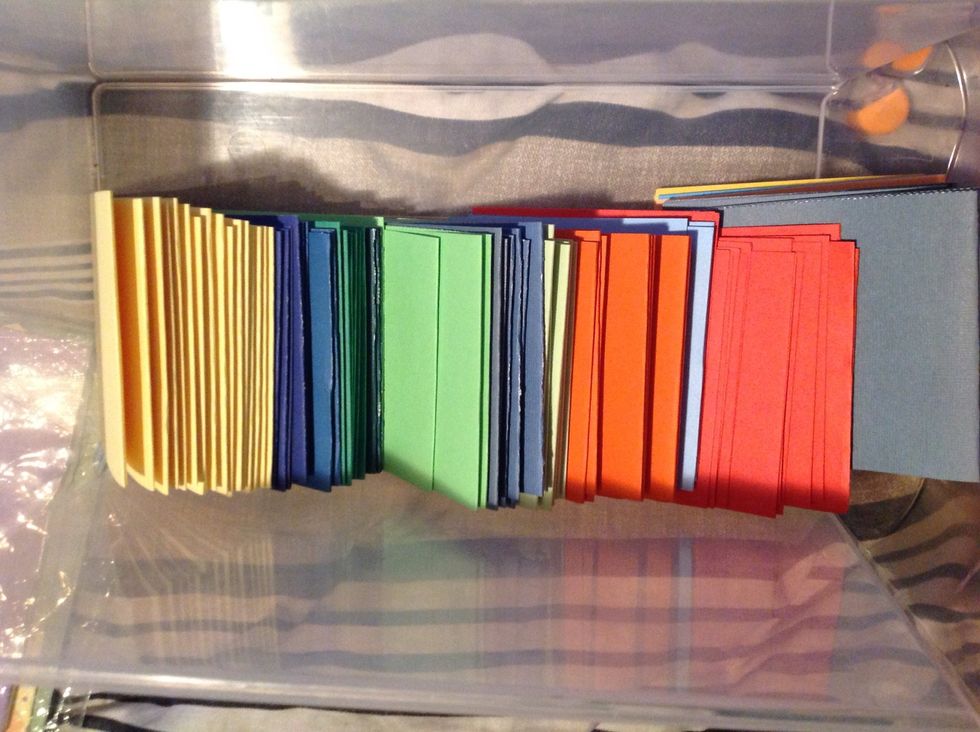
Here are all 125 cards folded!
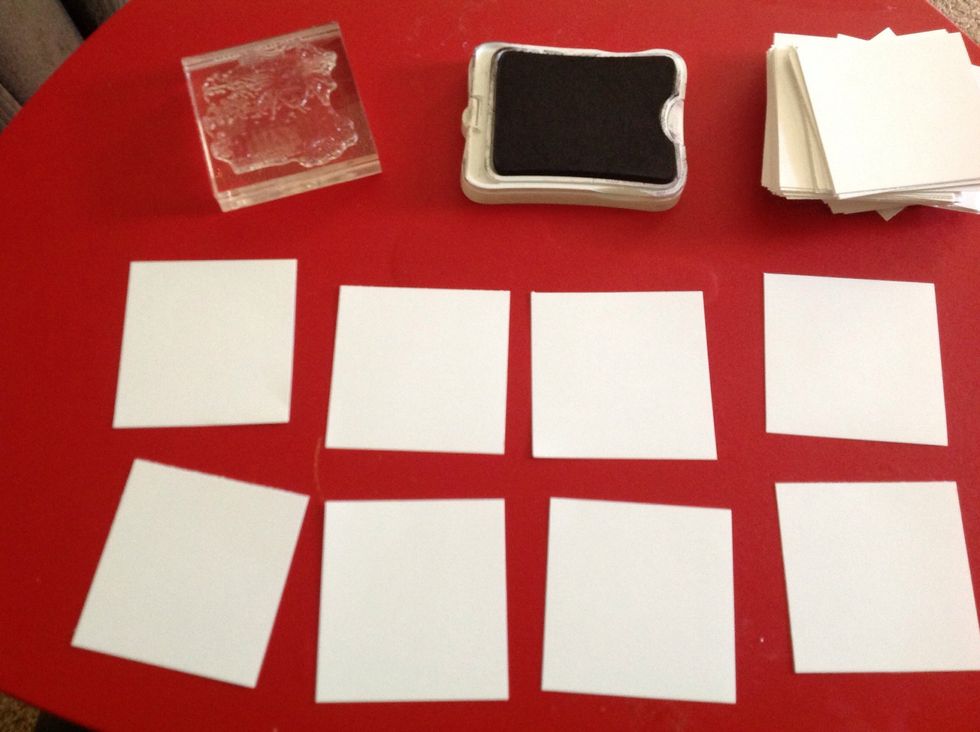
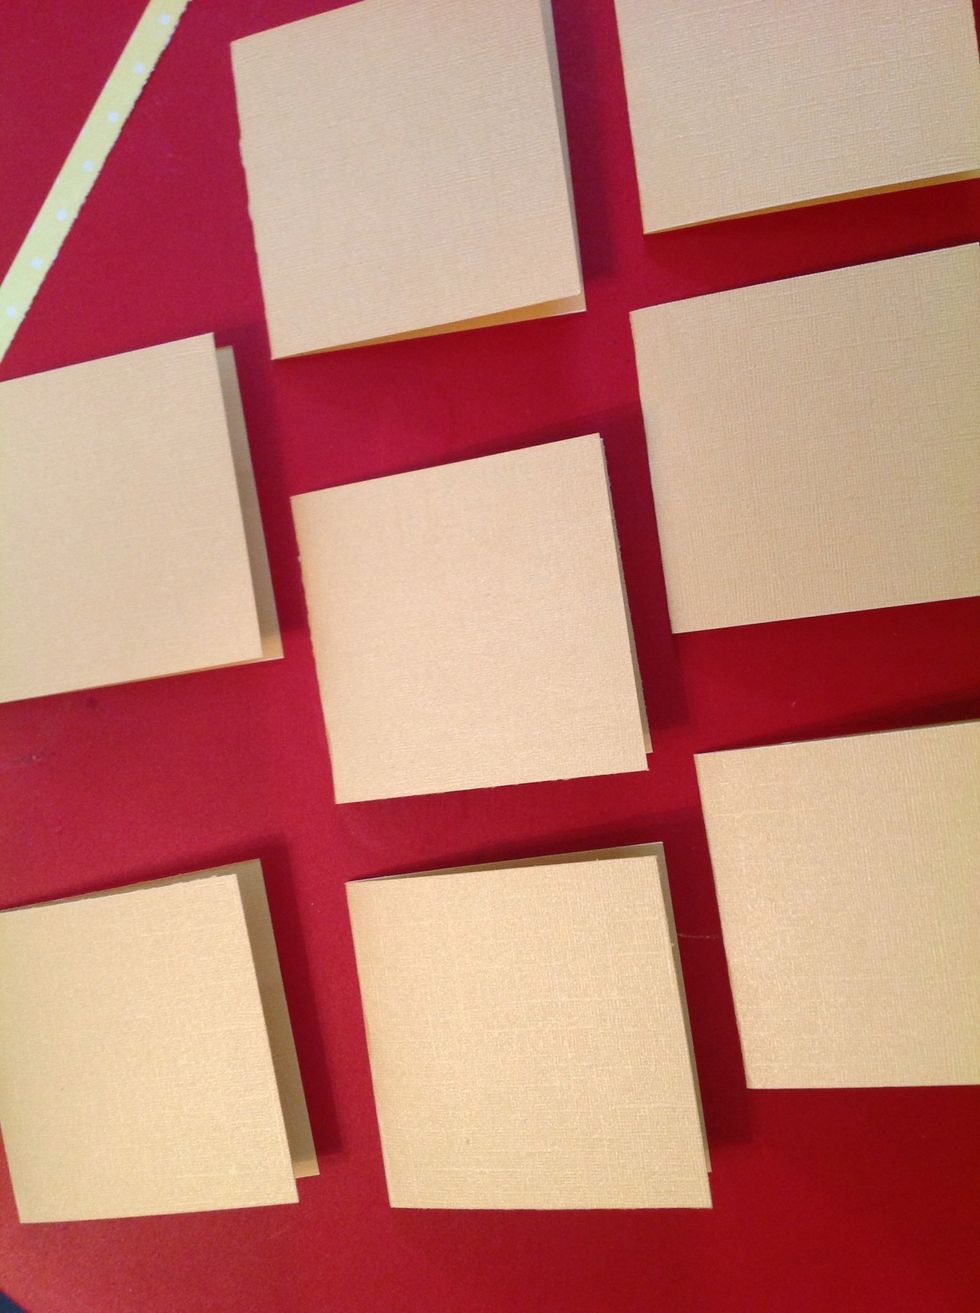
Now I cut the paper for the stamped image. I cut this to a 3x3.
One piece of paper makes 16 3x3 blocks.
Now it's time to stamp. I like to stamp at least 4 at a time, more if the stamp is simple and doesn't require the carrier sheet to be used under it.

This is a very detailed stamp, so I put the foam sheet that comes in the package under the paper when I stamp.
If your stamps don't come with a foam carrier sheet, place your paper that you are stamping on top of something soft that is firm, but has give... Like a mouse pad!
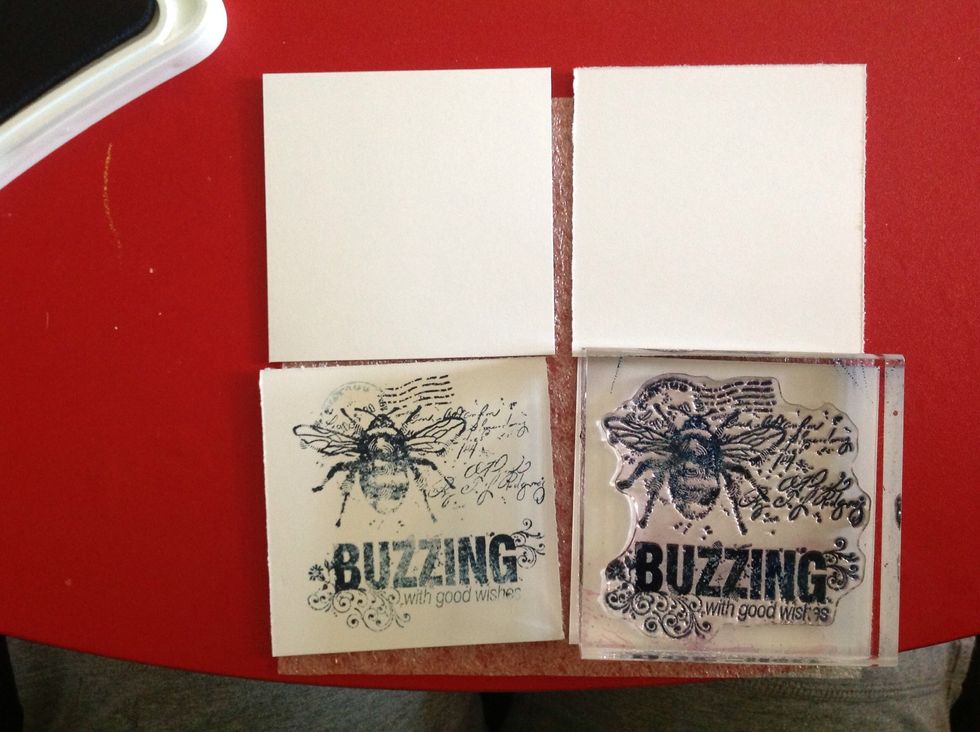
Ink your stamp and stamp the image. Make sure you re ink prior to each stamp.
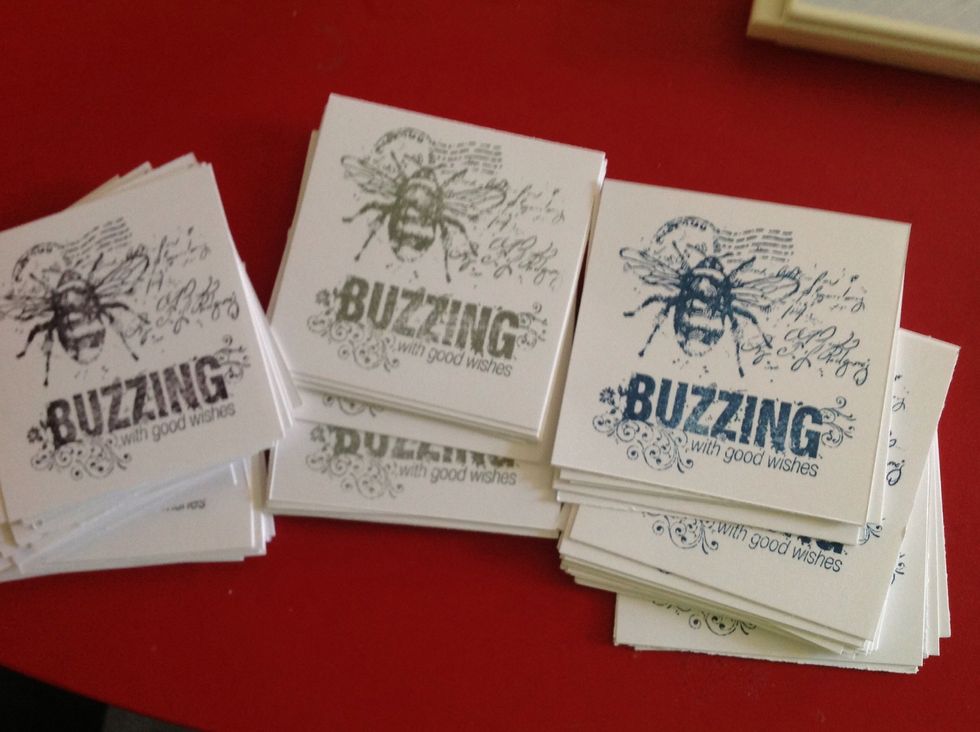
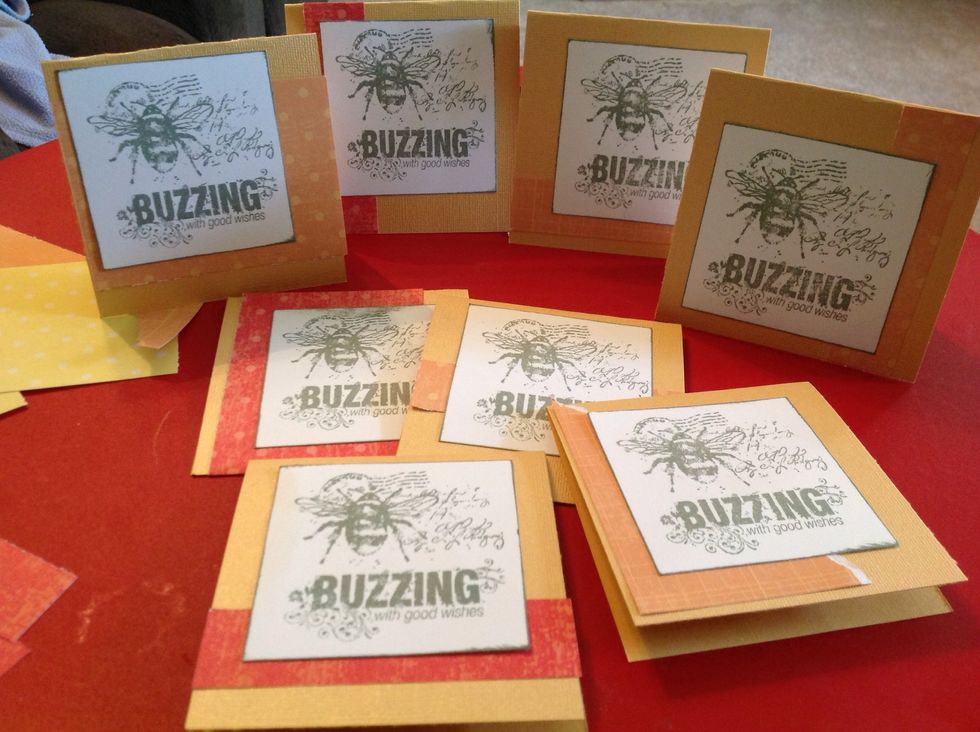
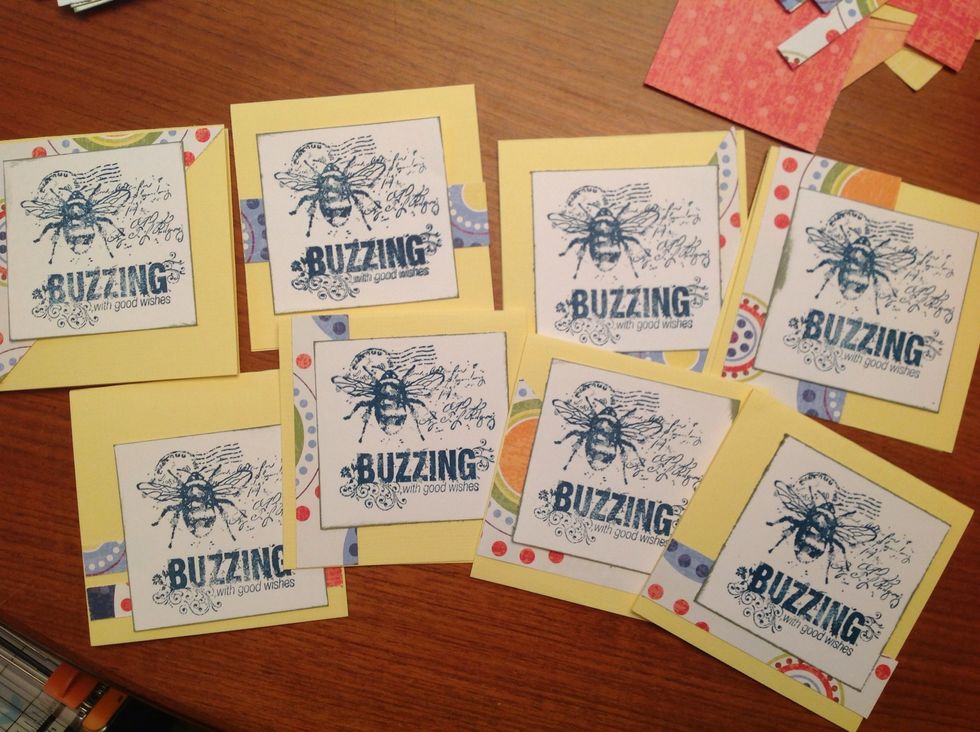
I used navy, tan and black ink. These are all neutral, but give me a little variety as I am making 125 cards!

Now comes the step that makes your card look even better! You can skip this step, but you will be disappointed if you do. I use the tan ink to edge all of the bases. This steps adds so much dimension!
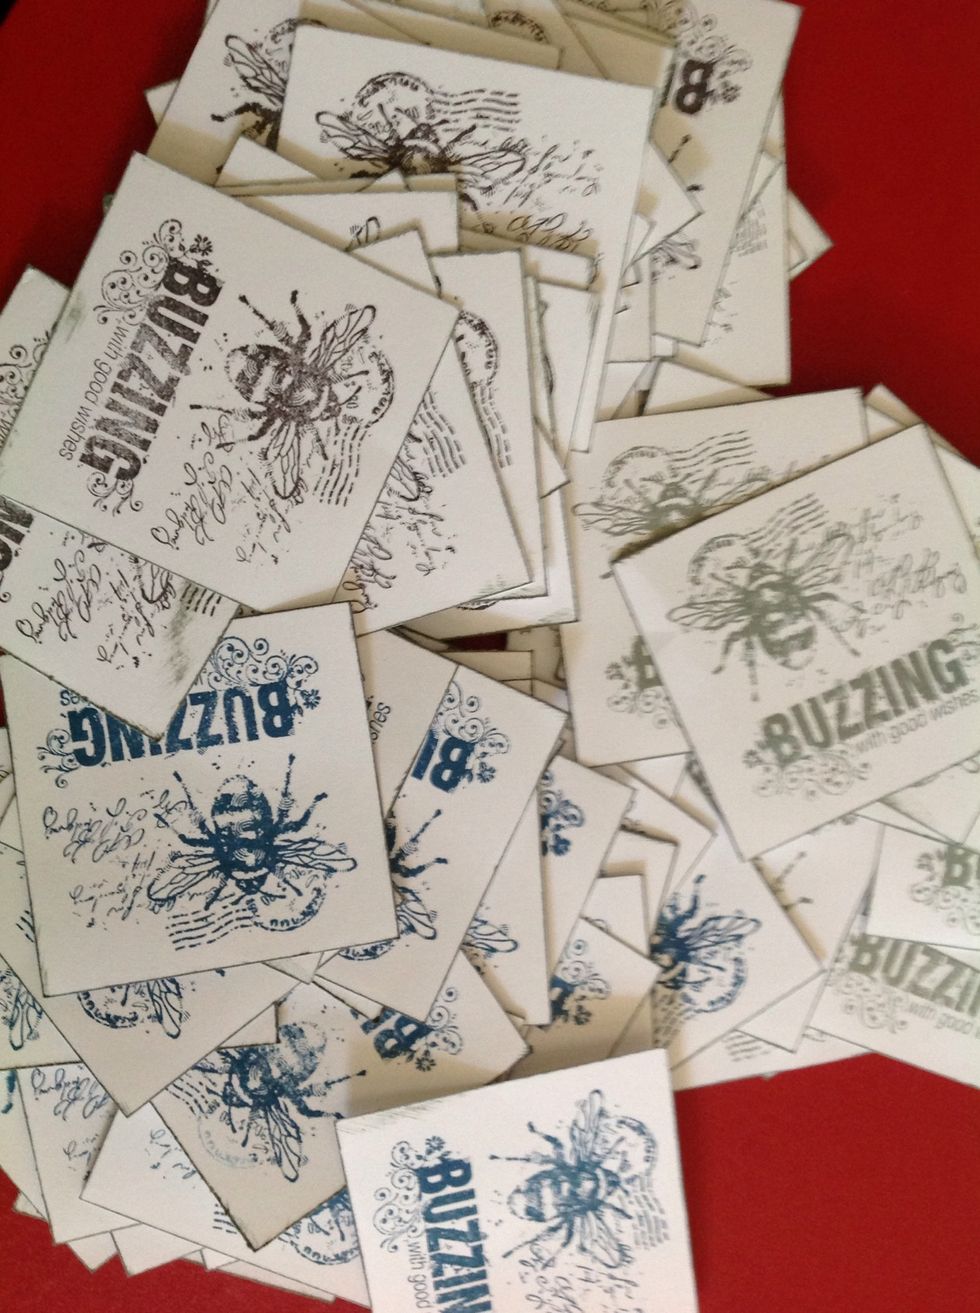
Here are all of the stamped images with the edges inked.
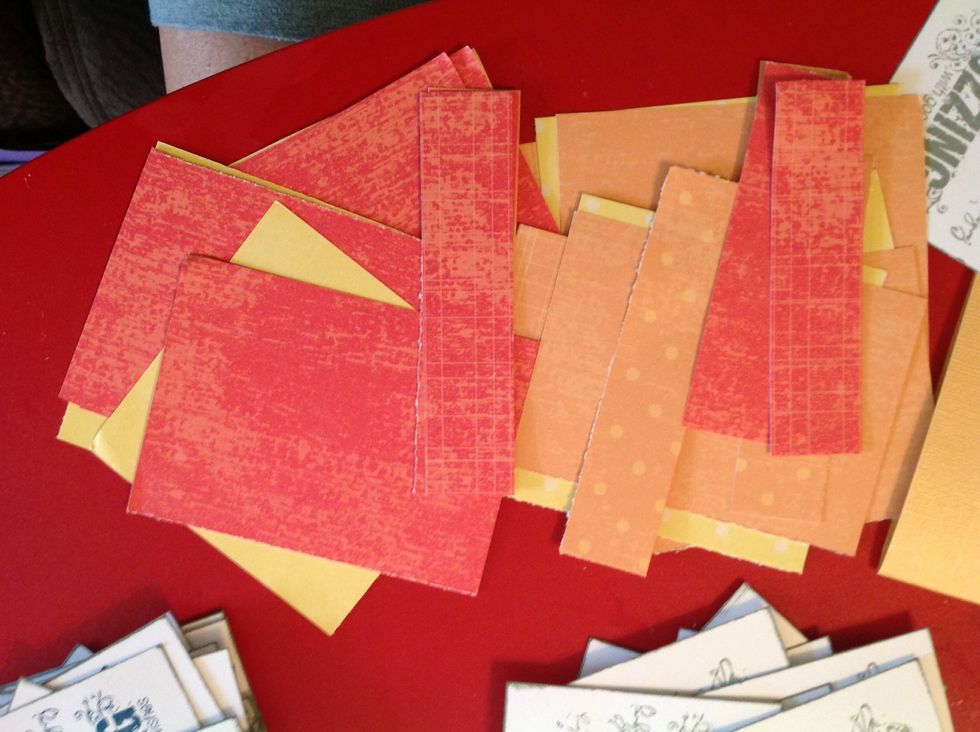
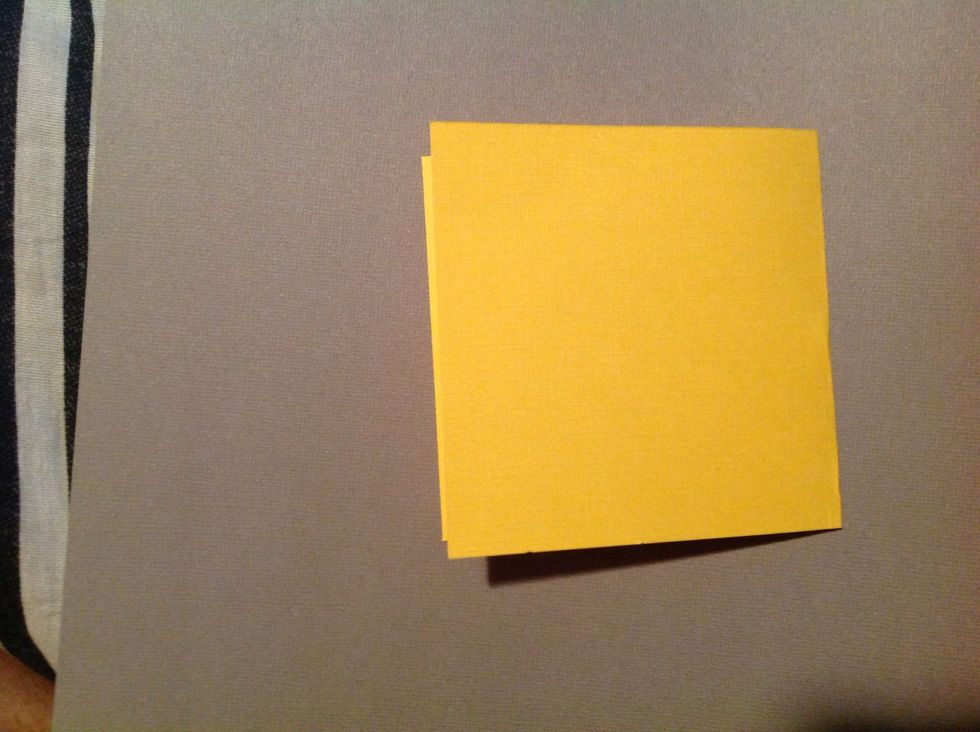
Now dig out some coordinating paper. It doesn't have to completely match, it just can't clash! Don't worry about the widths, you want a variety, but cut the lengths to no more than 4 inches.
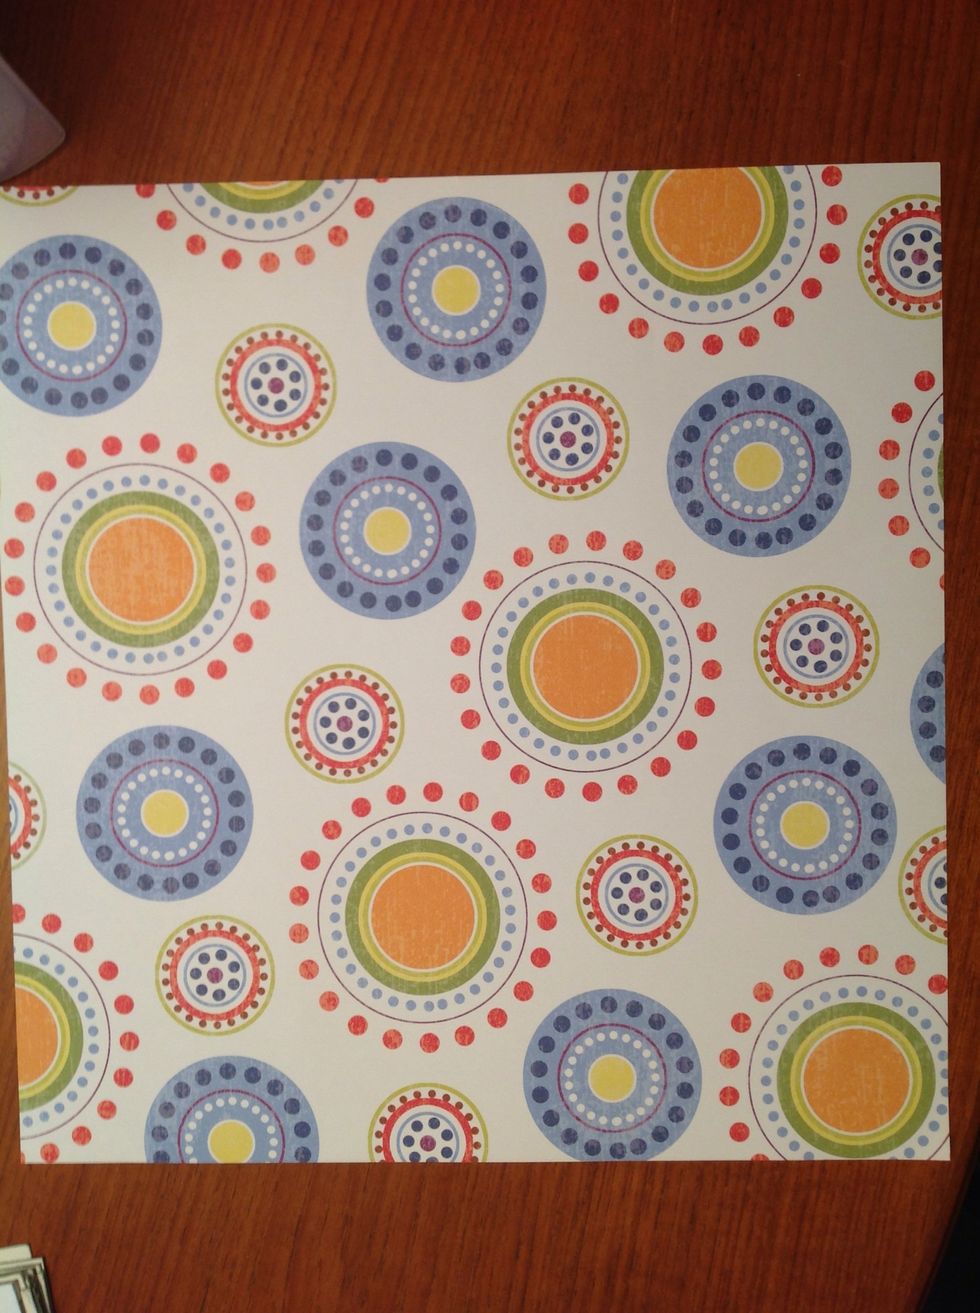
If you don't have scraps get a piece of pattern paper. Ideally it would be 12x12 for ease of cutting and consistency. However, mine is 10x12.
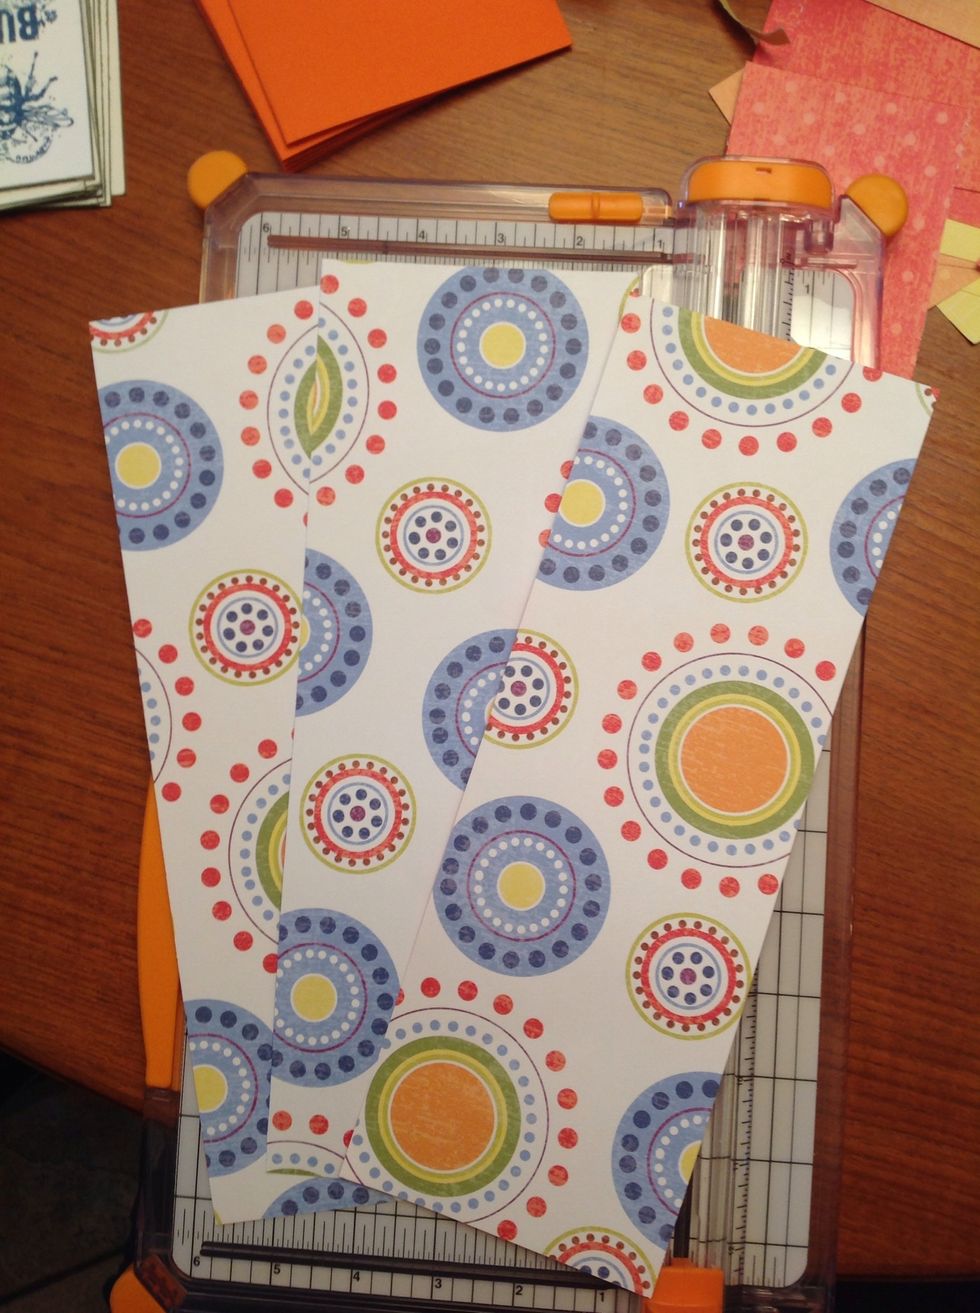
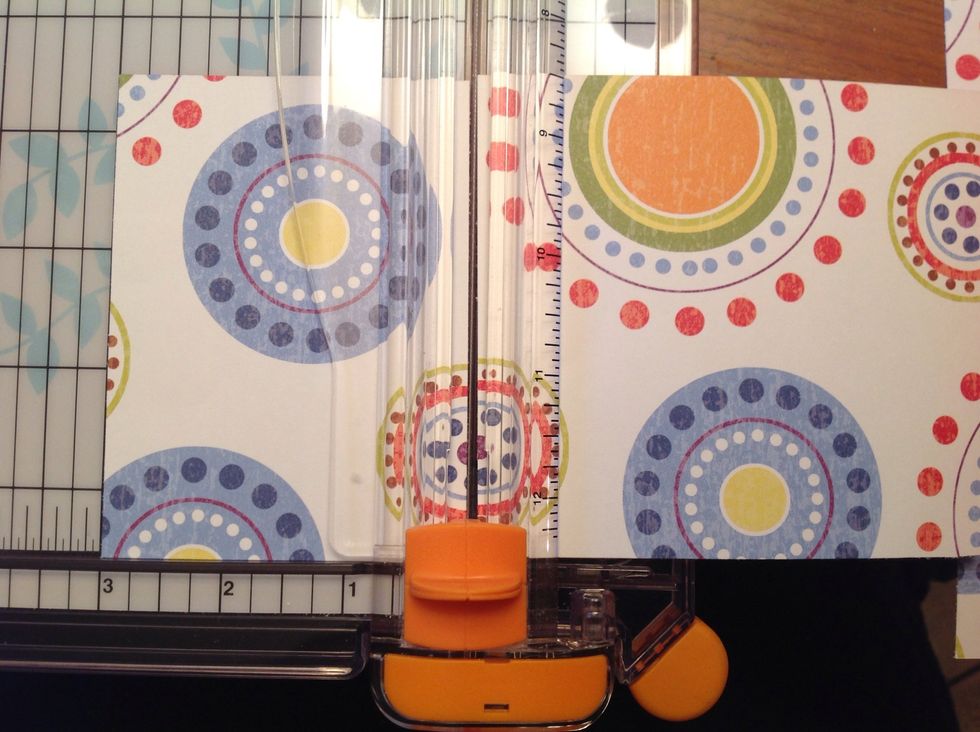
Cut the paper is 4" strips.
Now, turn the strip and cut on the 4.
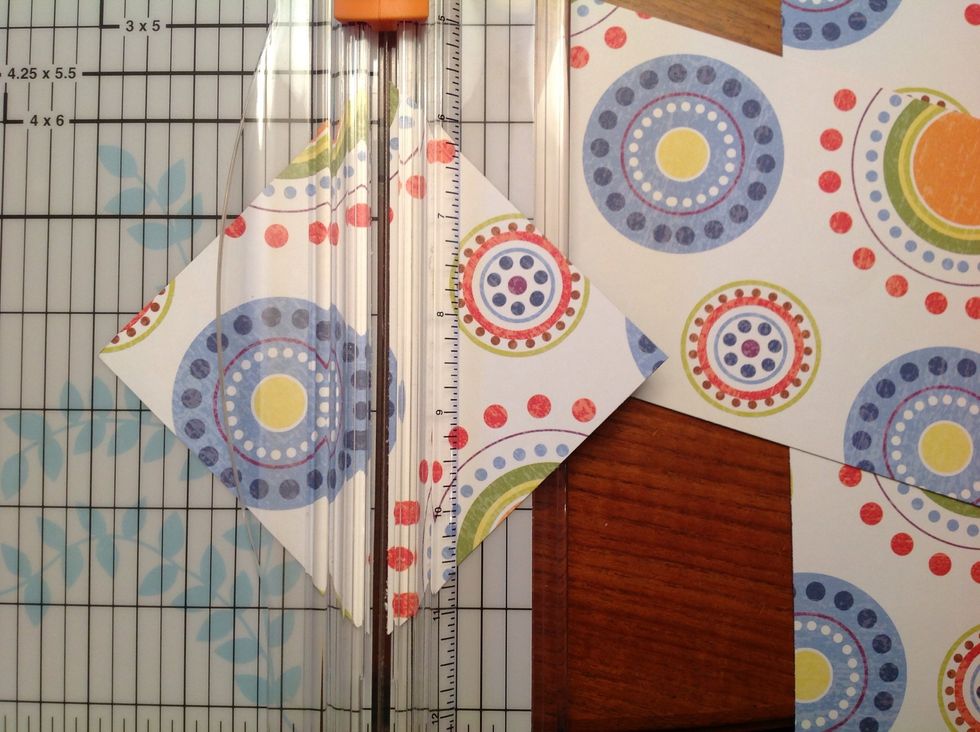
Take the 4" square and place on diagonal and cut into 2 triangles. Place both triangles together into a pile. This will be your work pile.
Now cut the strip at the 3" mark. Place in your work pile.
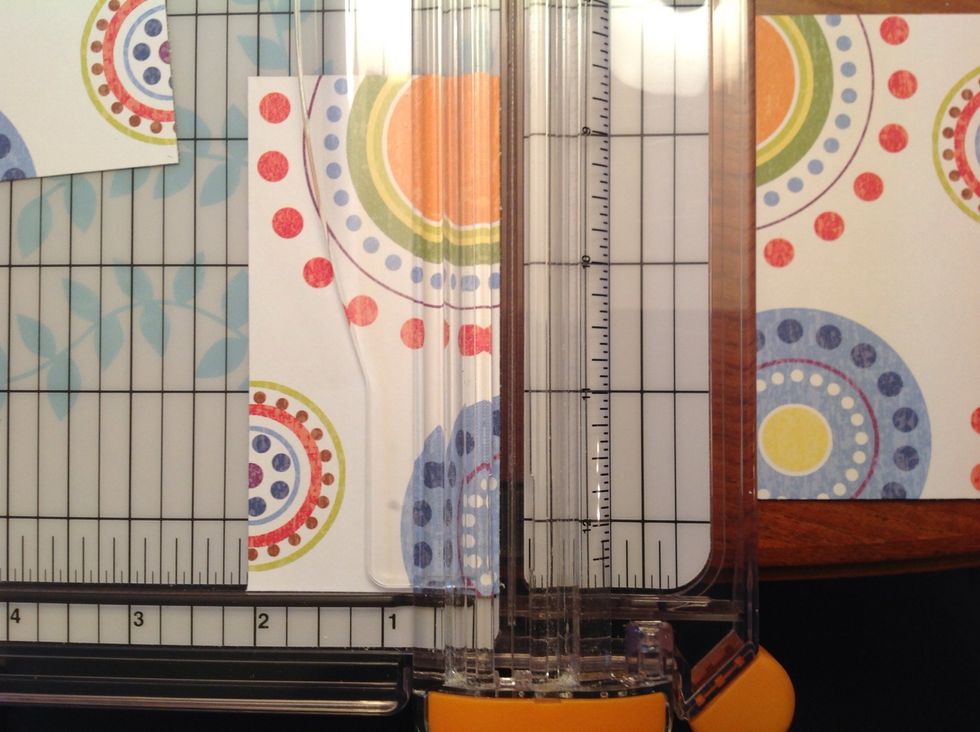
Now cut at the 2 inch line. Place in work pile.
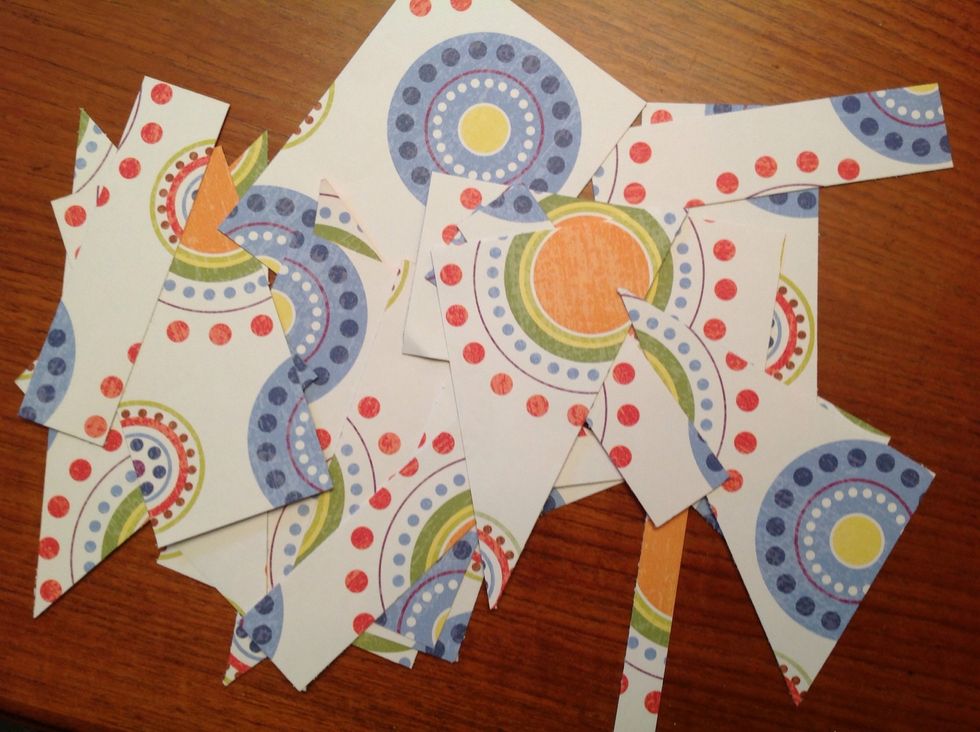
You will continue cutting each strip into 4", 3", 2", 1", 1/2" pieces until you have cut the entire paper into small 4" long by various widths pieces.

If you are making 125 cards, you will need more than one piece of paper!
Lay out a set of card bases. I have room for 8 on my little TV tray.
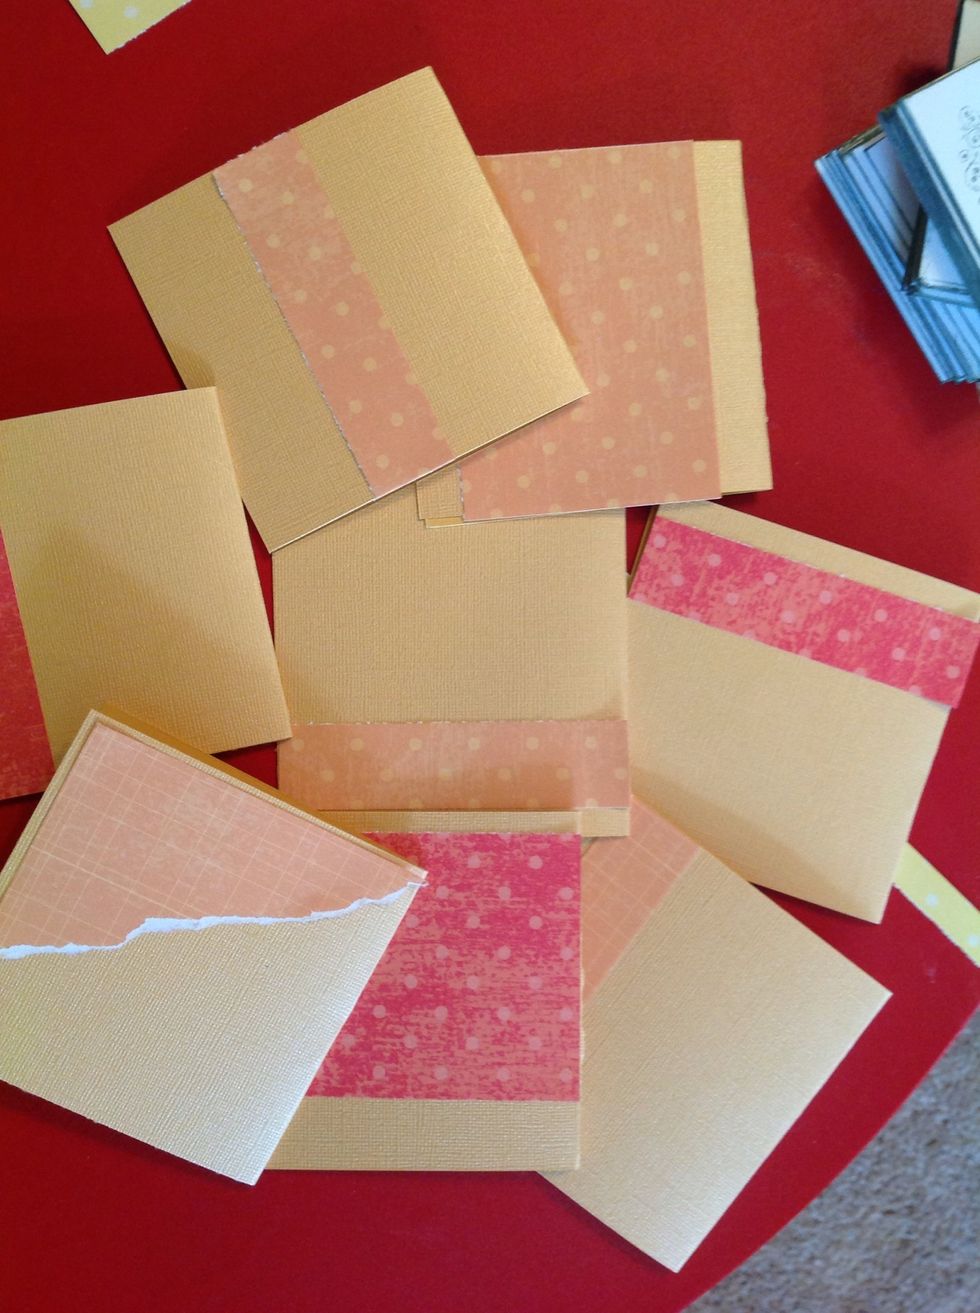
Pick up a piece of paper and tape down to the card base. Go for variety! Don't glue down your accent papers all in the same place. That gets really boring.
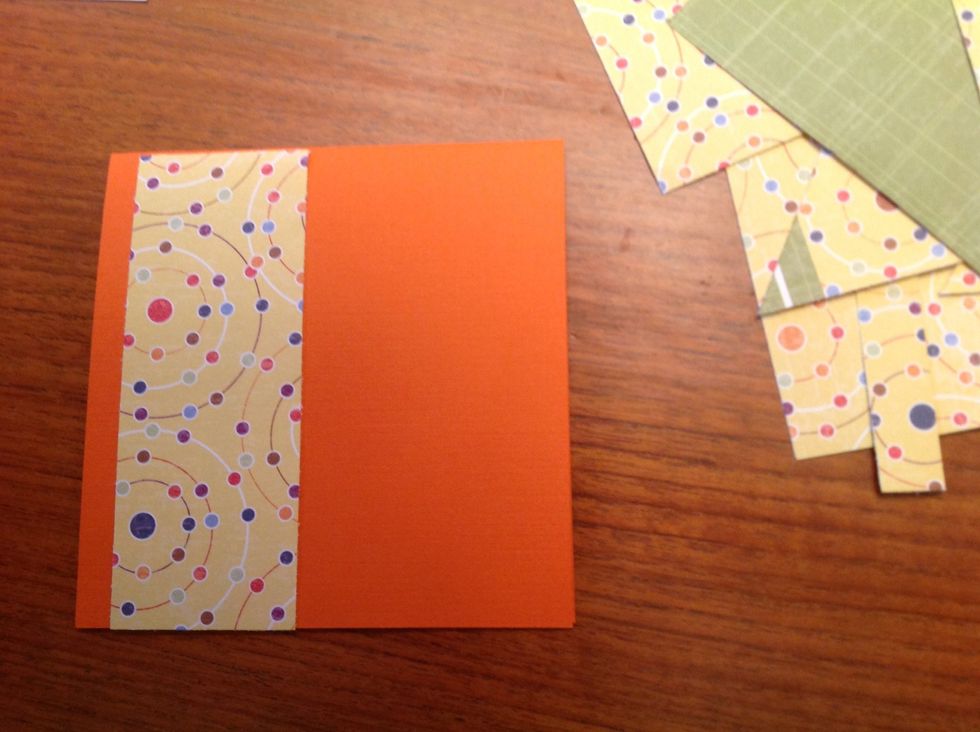
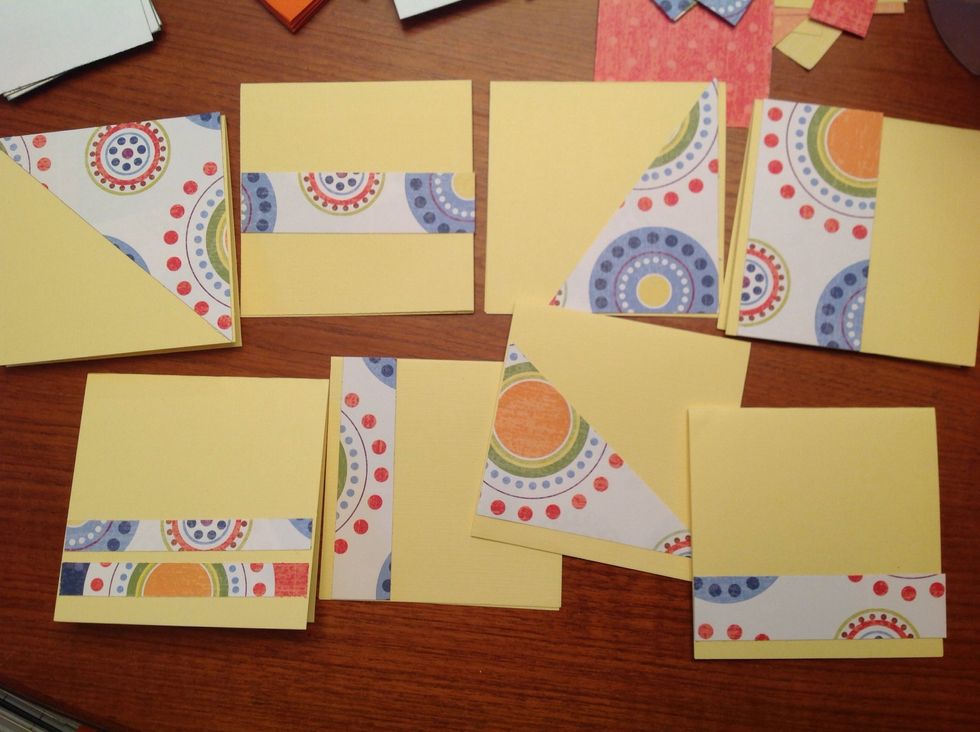
Pick up your stamped image and place on the card front. That's it. Once again, change up where you place the image...variety is key!
Variety and color coordinating is key.

125 cards completed... Kind of. I could stop here, but I like to embellish them!
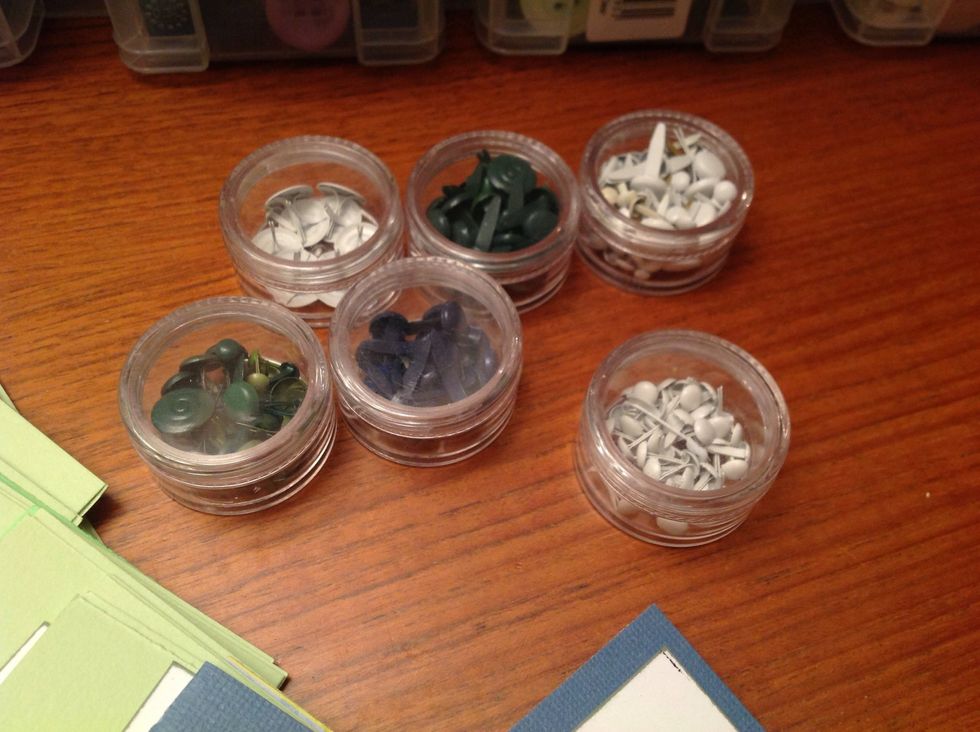
Here I use my random scrapbook supplies. I have thousands of brads, button and whatnots!
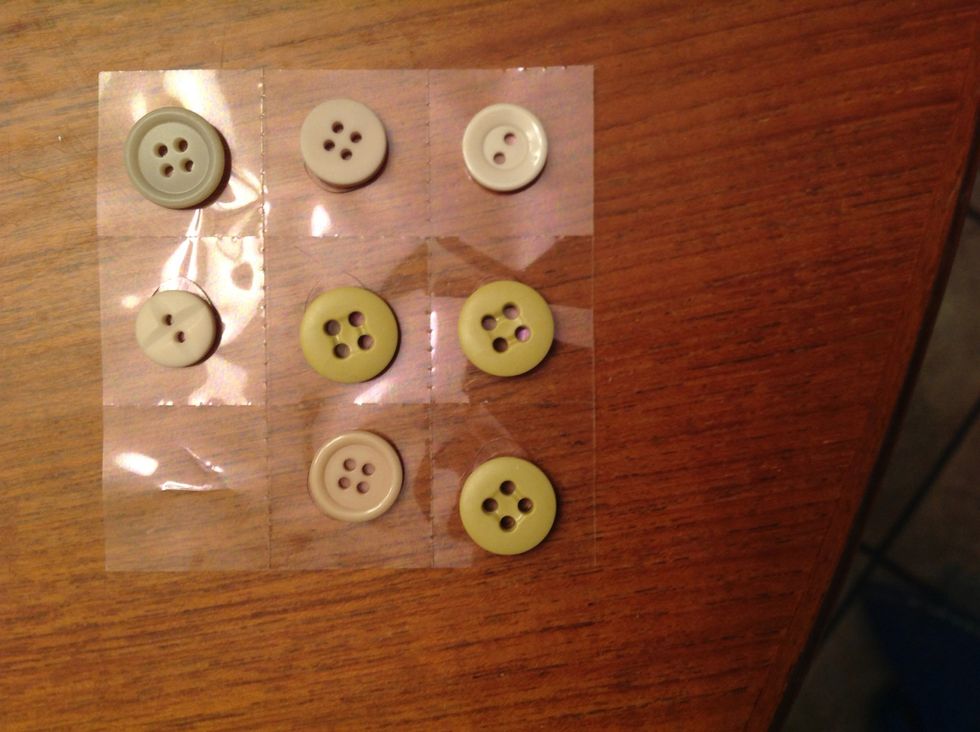
Use glue dots and grab some buttons and place them on a sheet of glue dots. If you are using rolled dots, just unroll some and place the buttons on the roll!
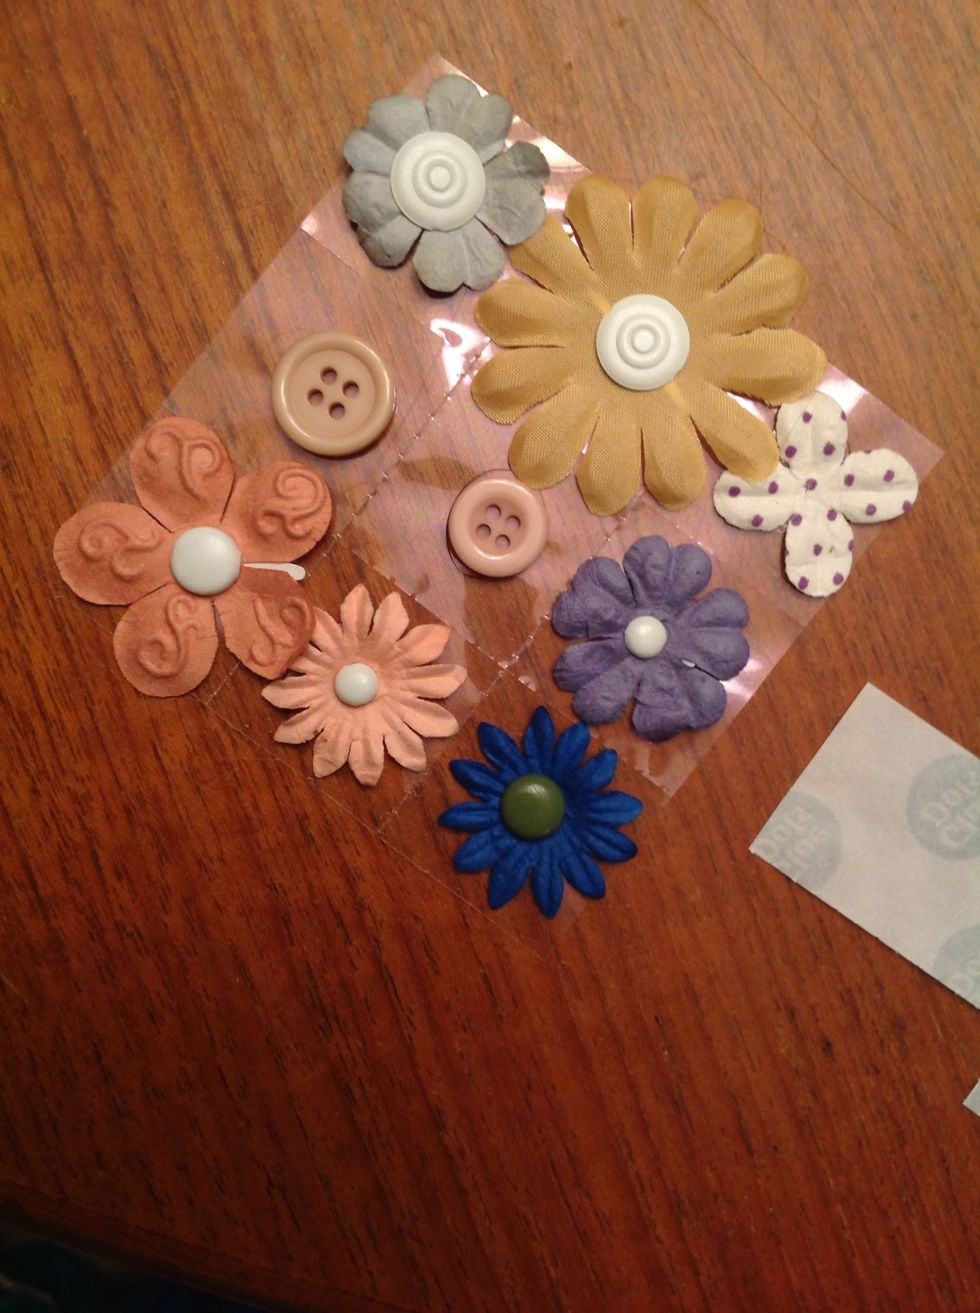
For more flash and flair, add flowers! I put the brad through the flower and use glue dots here to.

Ta da!! I love embellished cards!
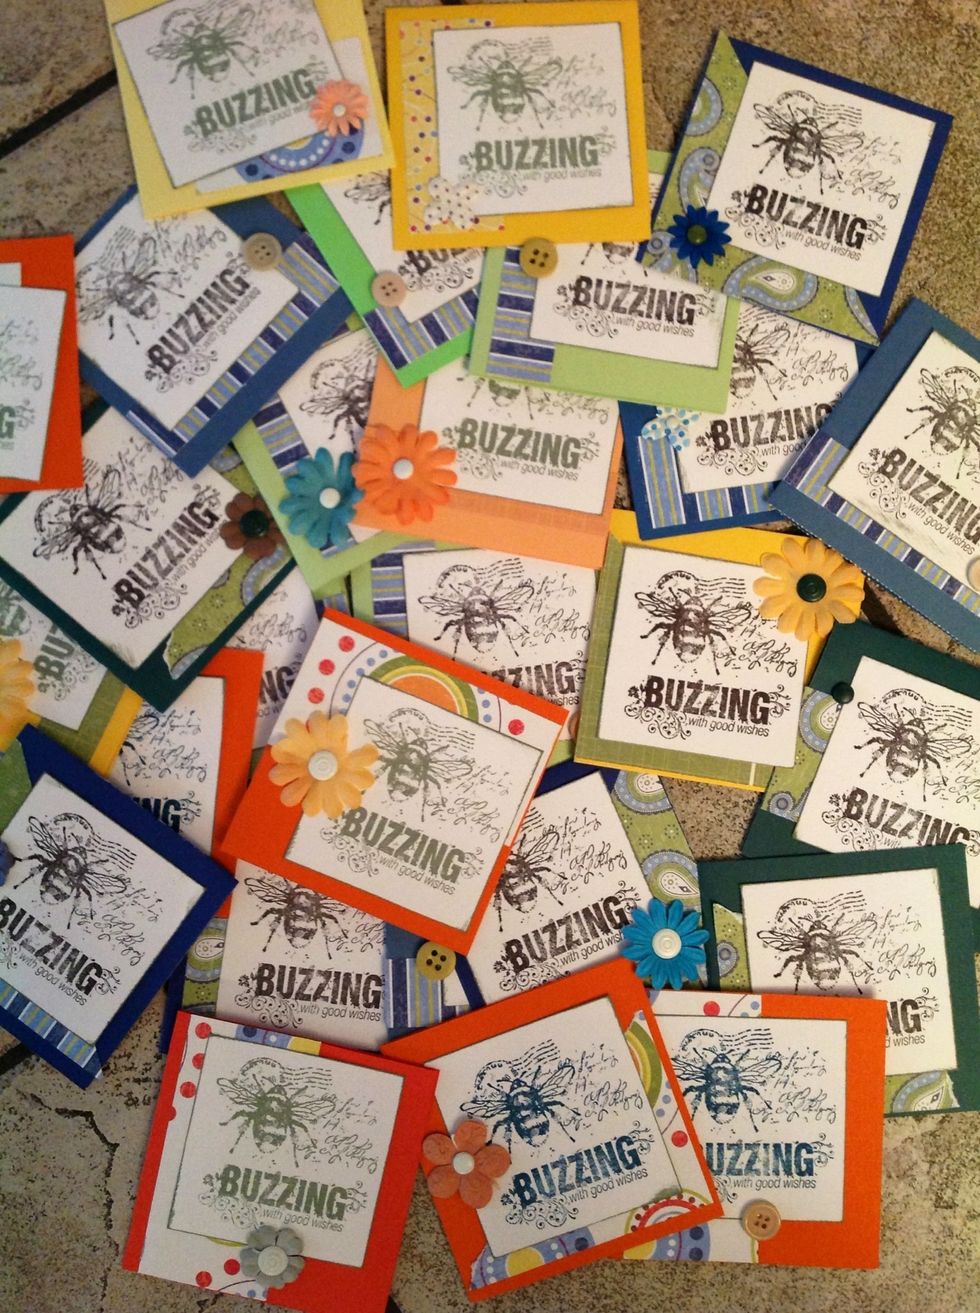
A few of the embellished cards! Enjoy! www.faithhopeandart.blogspot.com