The Conversation (0)
Sign Up
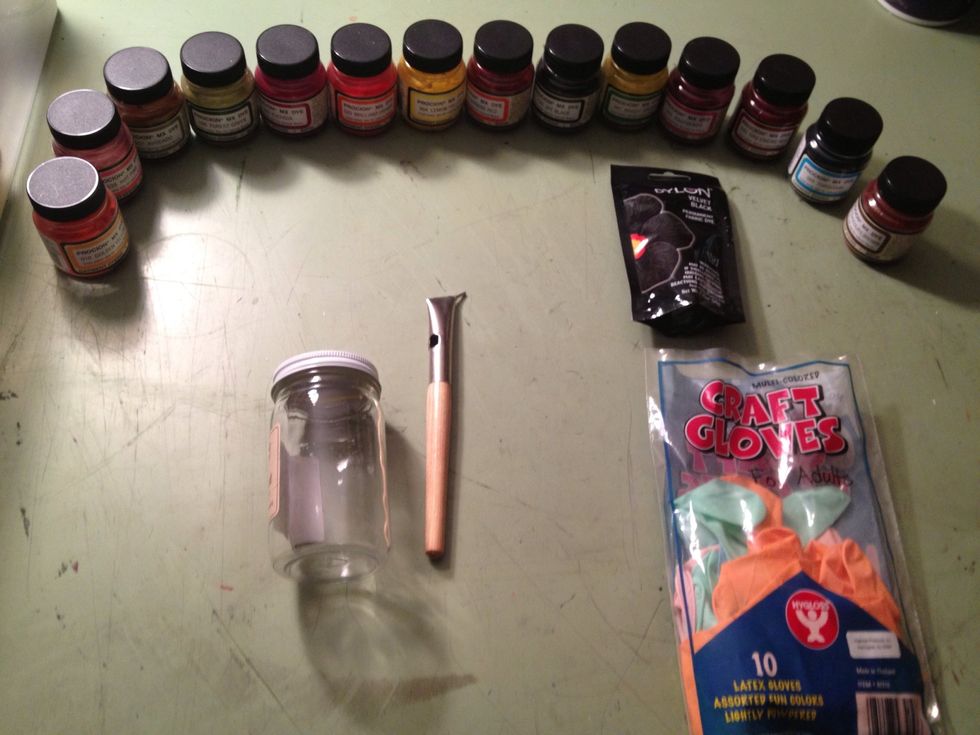
Here's a few of the supplies you will need: empty baby food jars, cold dyes, gloves, a batiking needle. (If you like more of a run with your colors wash the muslin before you start and hang dry)
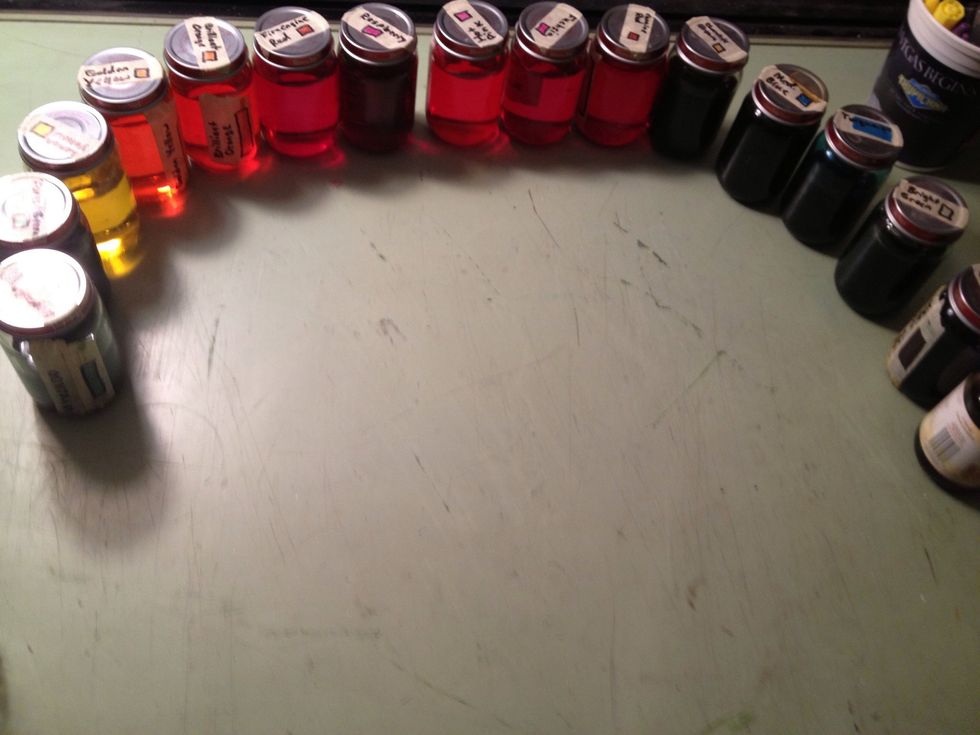
Mix the cold dyes with water in the baby food jars, a little powder goes a long way so watch out! Don't add too much! Practice the color intensity on a scrap piece of muslin.
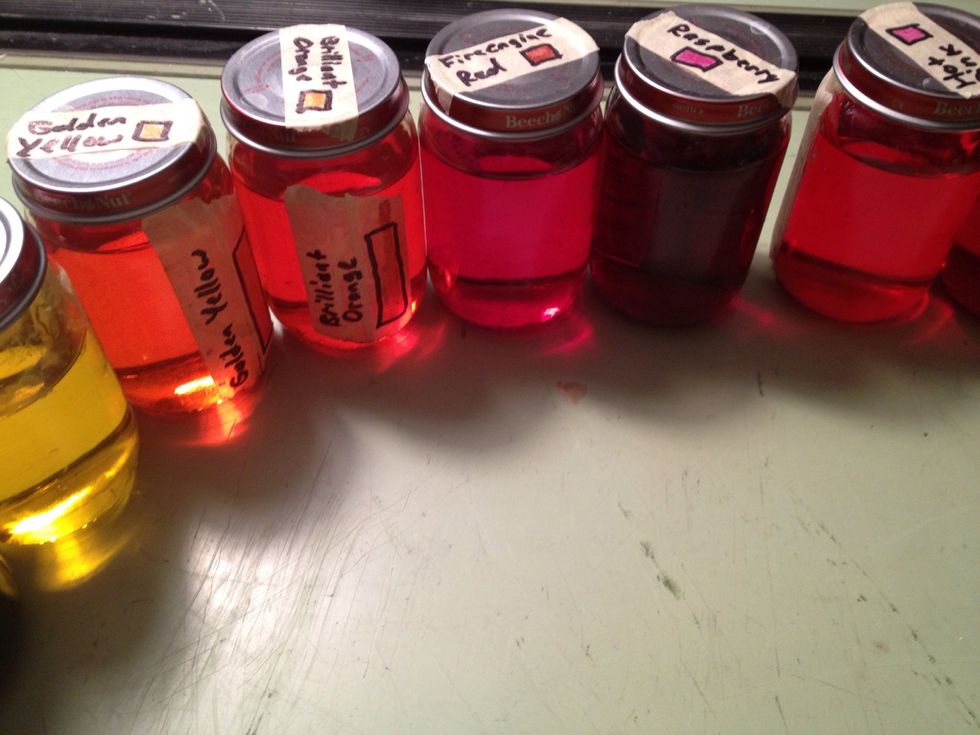
Lable the jars with the name of the dye so you can tell them apart, I use masking tape and a permanent marker.

Cut the muslin to your desired size and shape. In the meantime turn on your burner and melt your wax completely in the top boiler pot! it'll take a bit to melt. This makes the house smell like honey!!

Tape the muslin with a piece of newsprint underneath to board, stretch it tight and tape all sides completely!
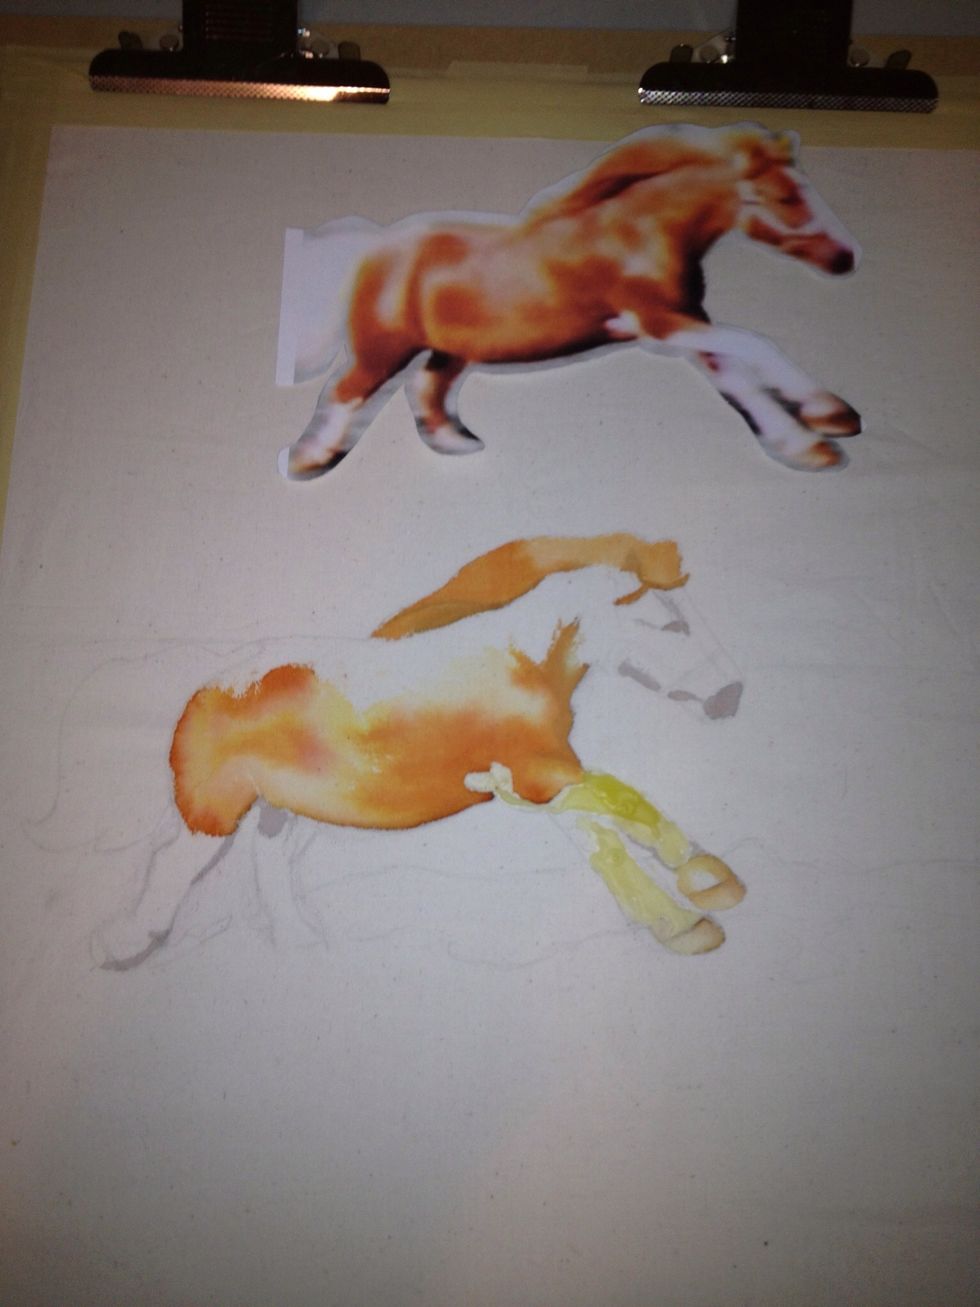
Draw with a pencil lightly what you will be drawing, if you are not good at drawing cut the picture out and trace it! Just remember draw lightly! Start by assessing what you want to be white.
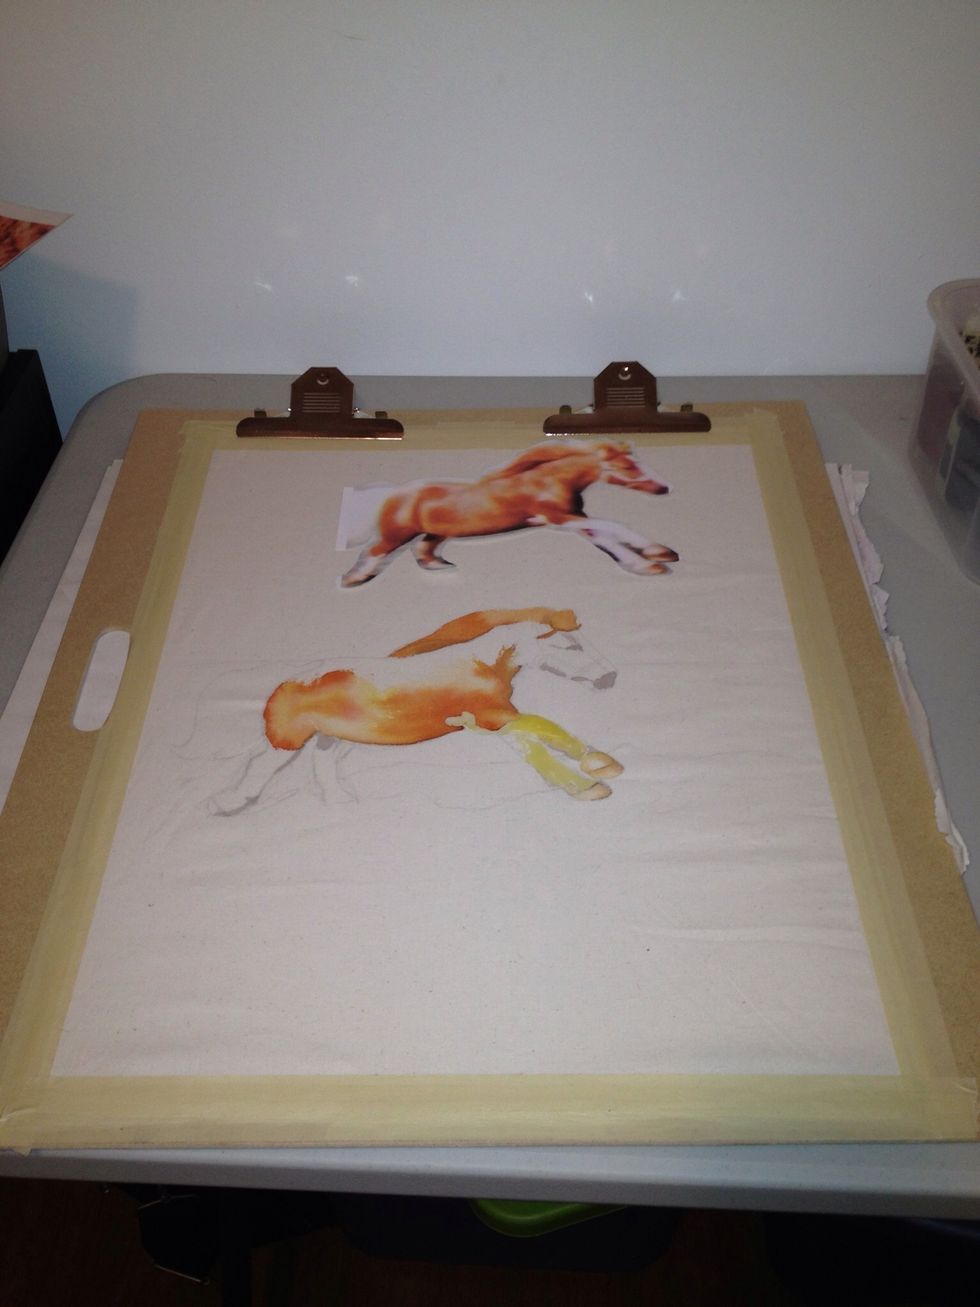
This Is a resist so anything you want white apply wax to first dip your needle into the wax, keep a scrap piece of muslin or paper towel to hold to the tip of the needle to keep it from dripping.
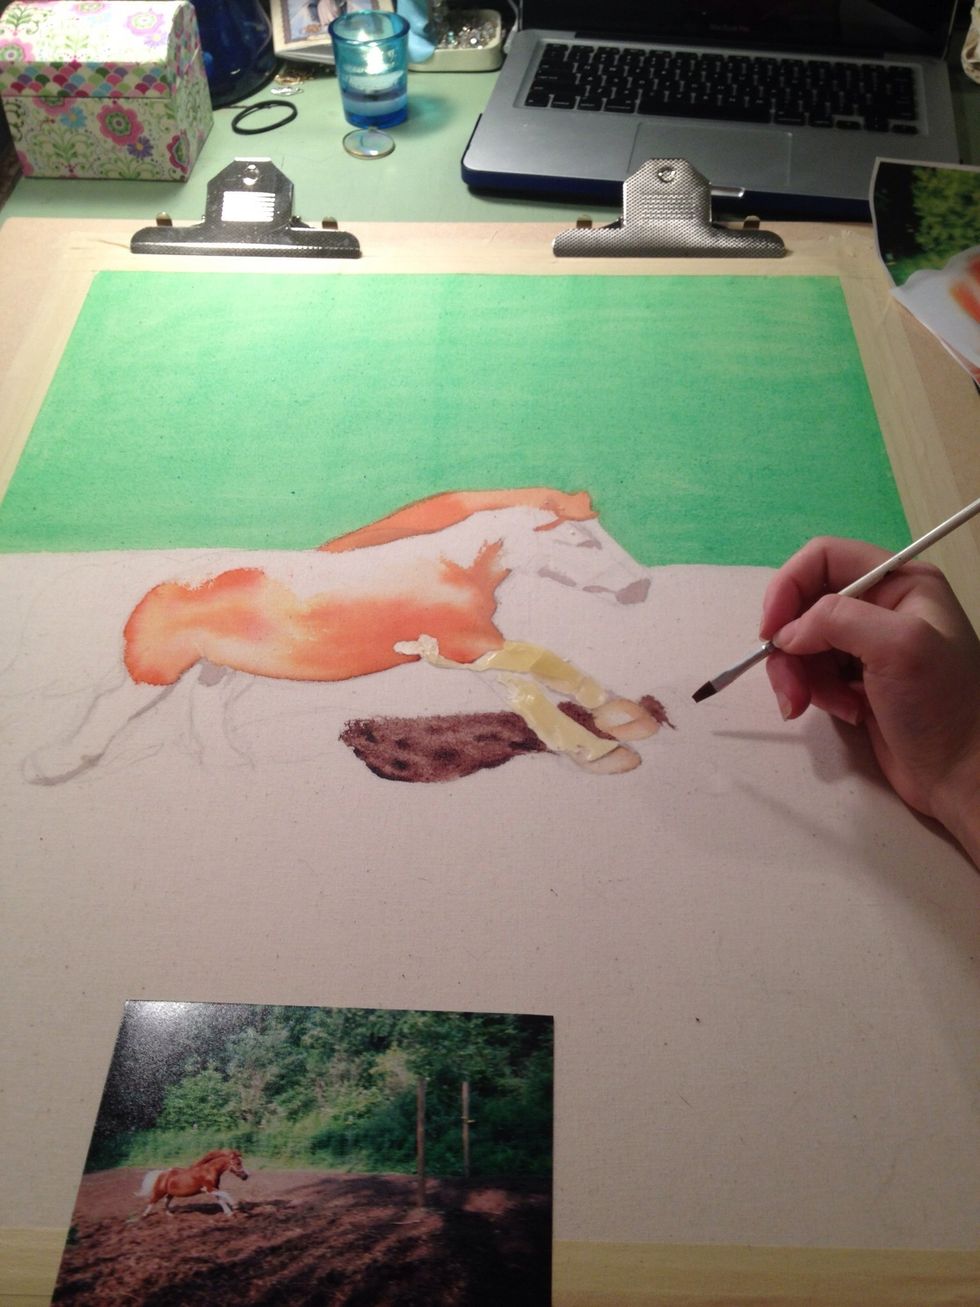
Its easy painting on the dyes, but If you apply too much dye or it is too dark you can blot the dye with a scrap piece of cloth to pick up the dye.
Getting there...
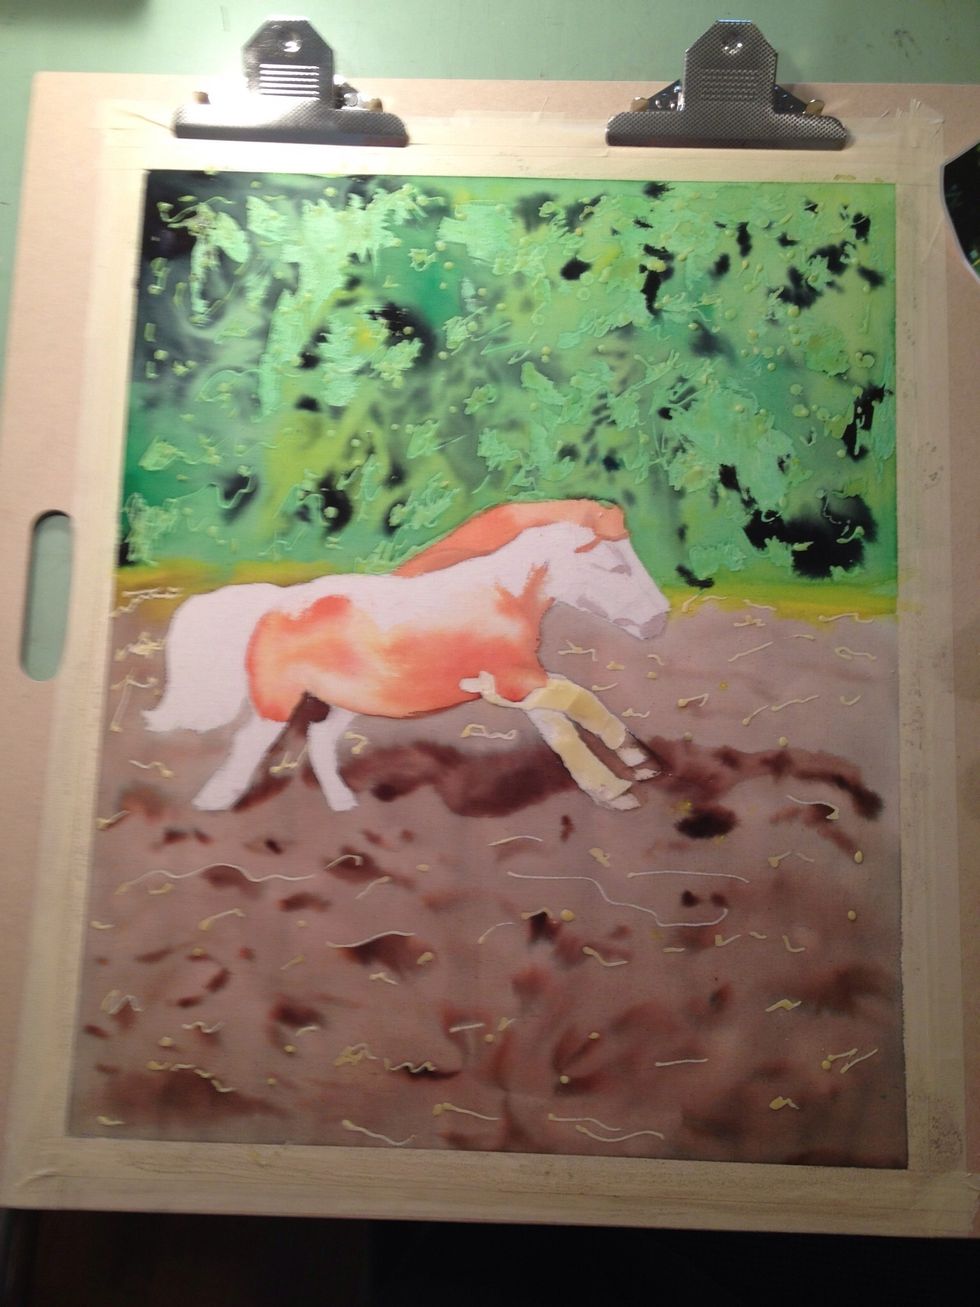
Drawing with the needle is tricky. Add your colors, and if you want to add more dimension wait till your fabric is dry and apply more wax and when it is cooled ad darker color to the surrounding area!
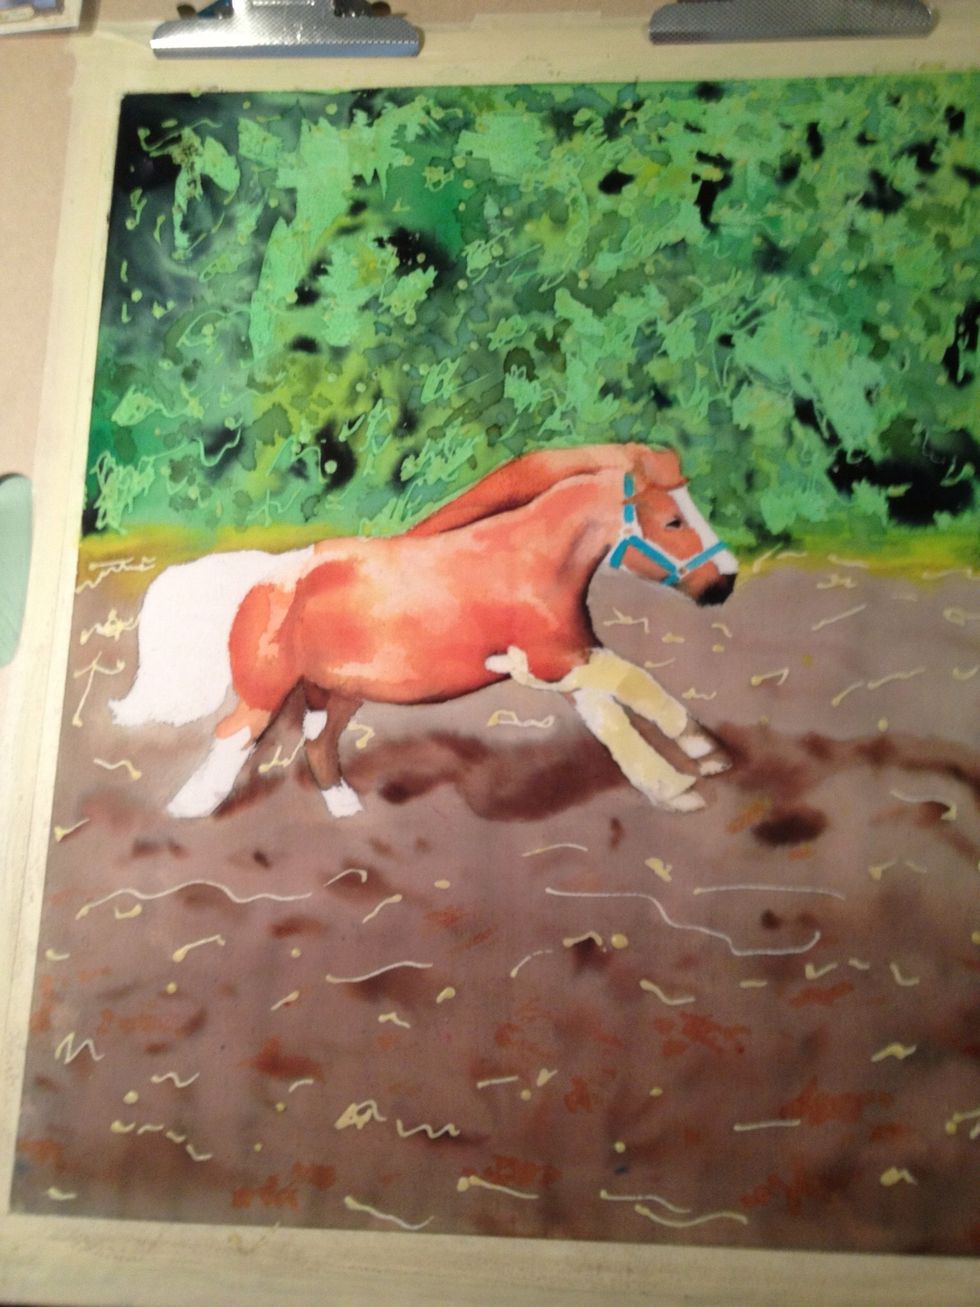
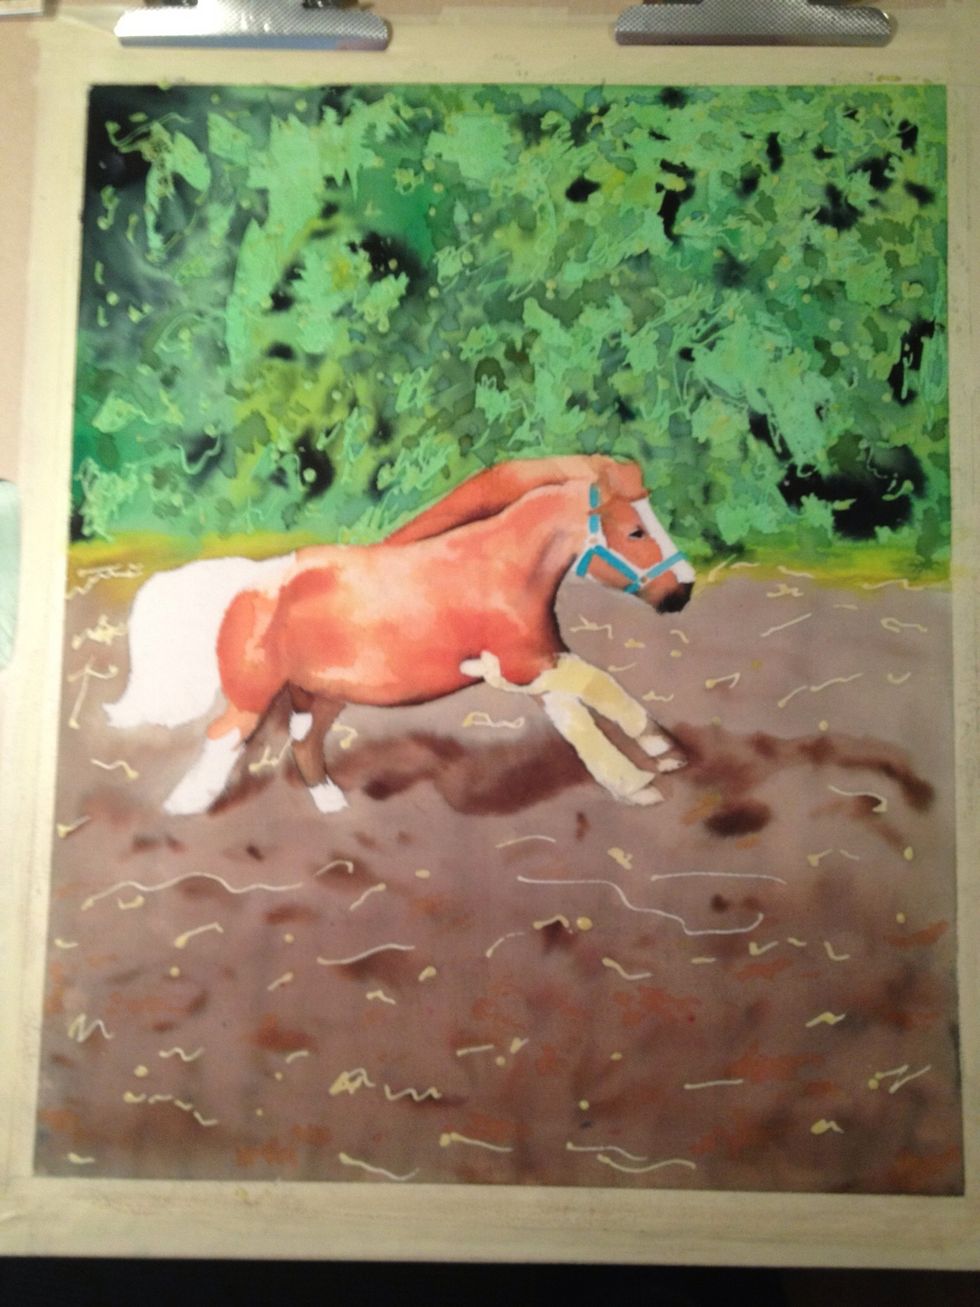
I love the way the colors bleed and mix together, this may take some time to complete mixing your dyes to achieve that perfect color.
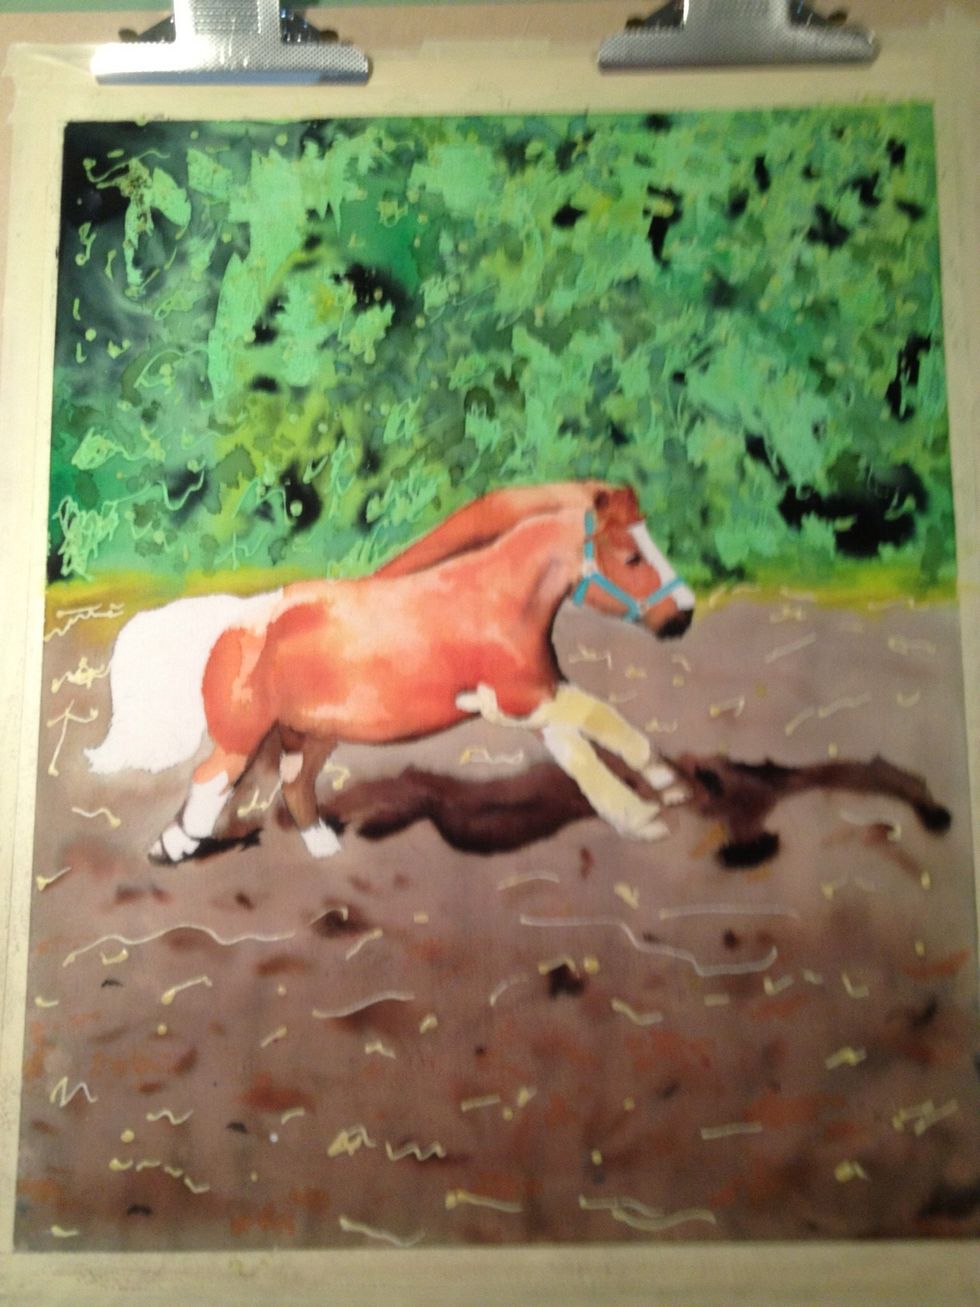
When you are satisfied with your piece...
Use your natural brush and dip it in the wax. Paint the wax on the entire piece front and back! Make sure the wax is hot enough to soak into the fabric this is important!

Also make sure you don't go over the same spot too many times it will built up the wax and crack more.
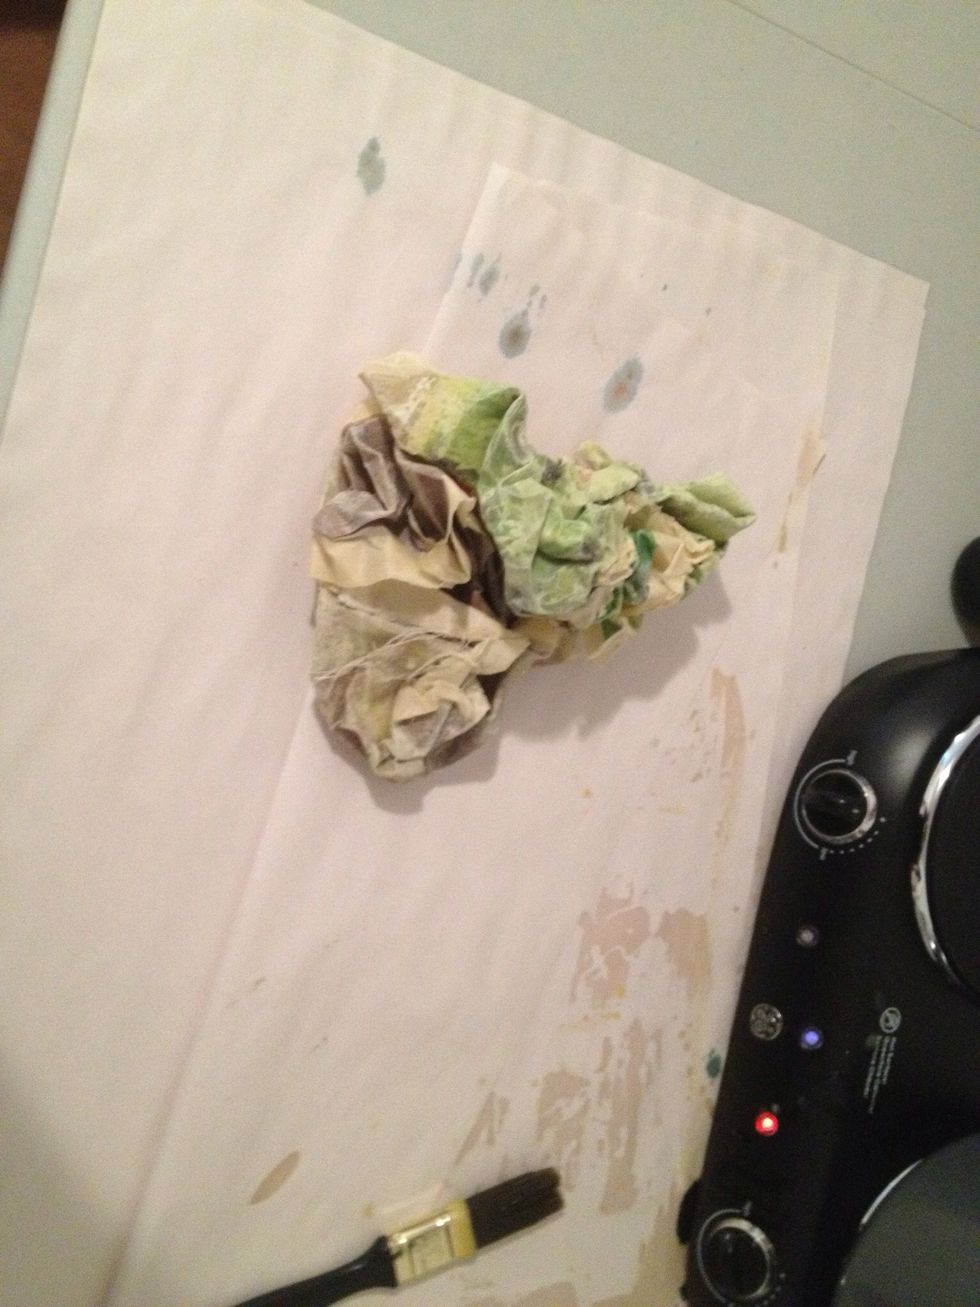
When the wax is cooled crumble it up into a ball,and make sure to really crumble it so the fabric is exposed from the wax this will allow the dye to soak in.
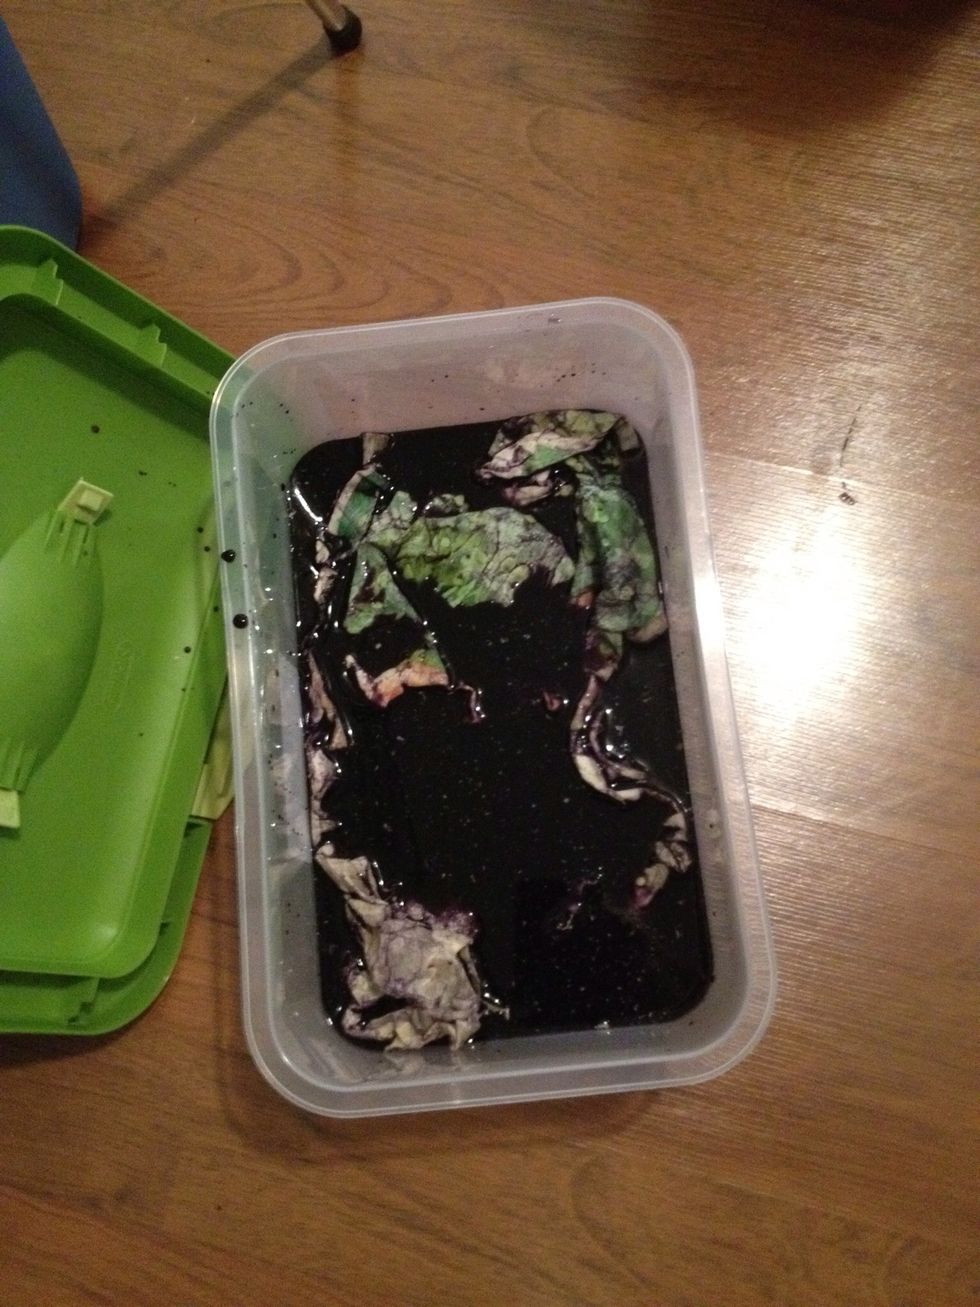
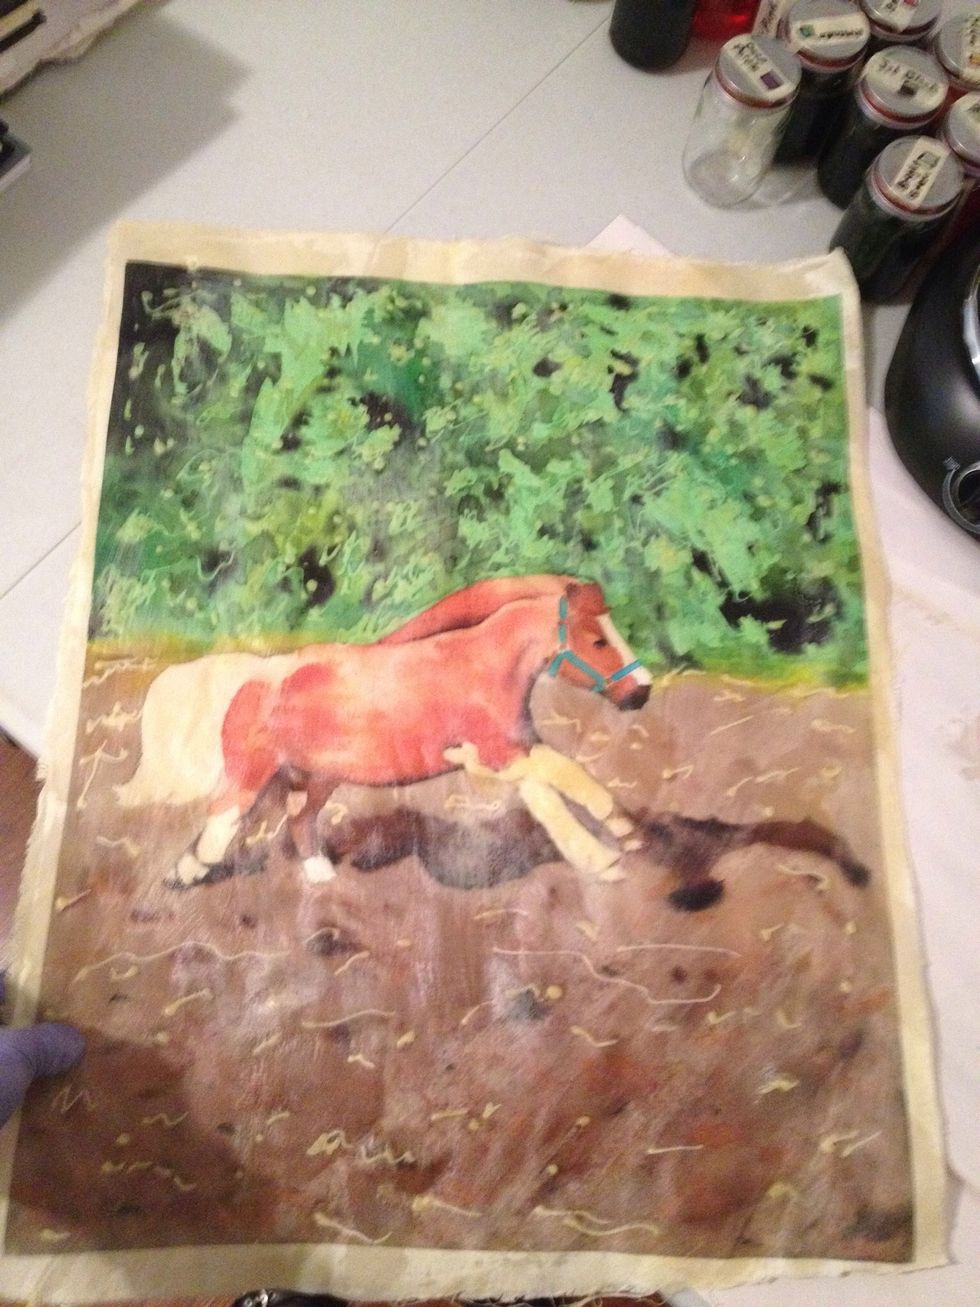
Mix black and violet dye into a plastic tub, submerge your waxed and crumbled art into the dye let it stand for about 15 min, check to see how dark the dye is in the cracks use your gloves to check
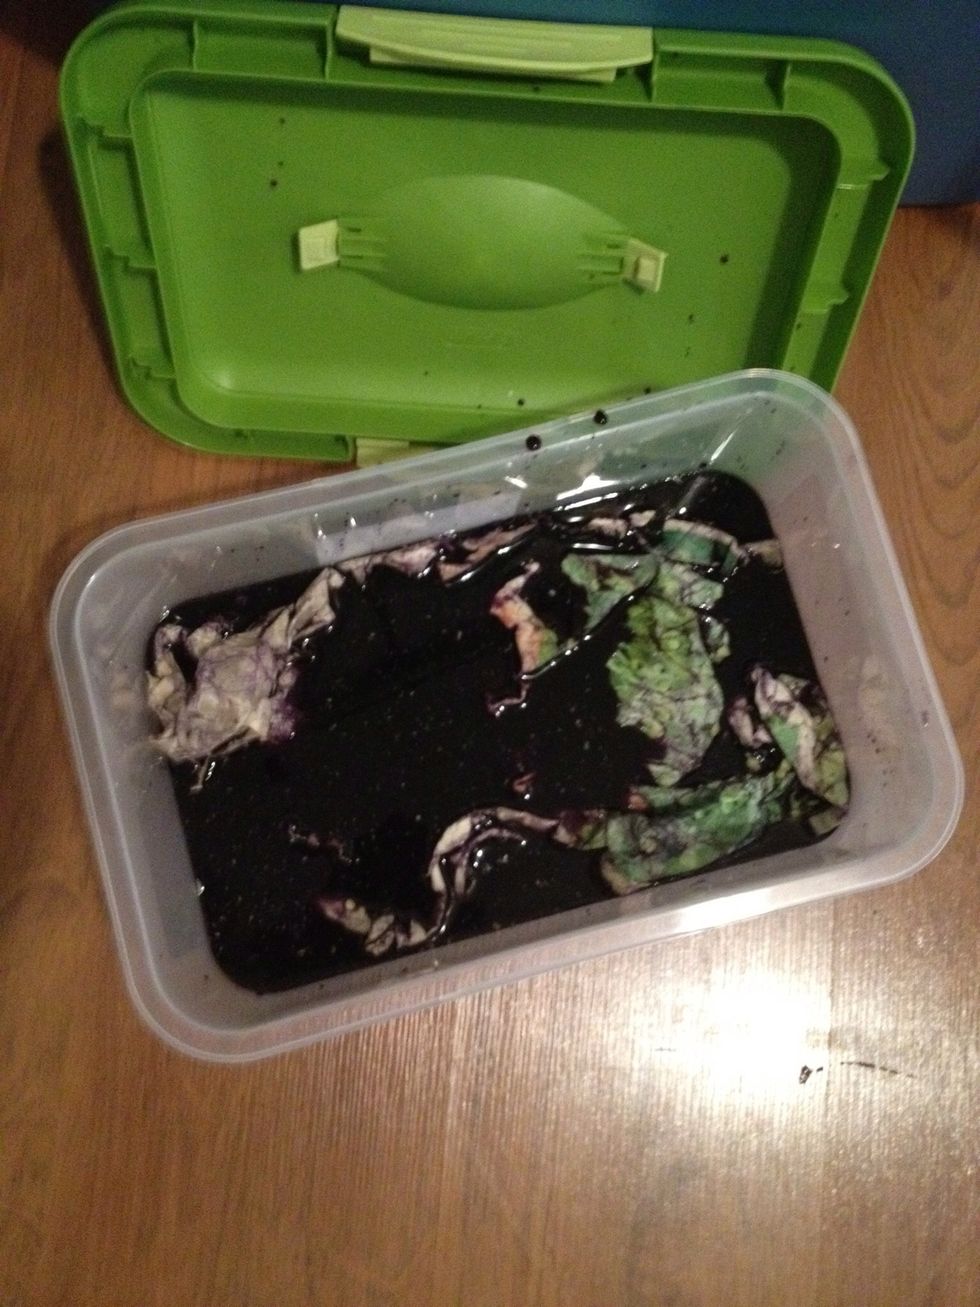
For the desired effect, darker crackle, leave in longer, lighter crackle take out at 15 min

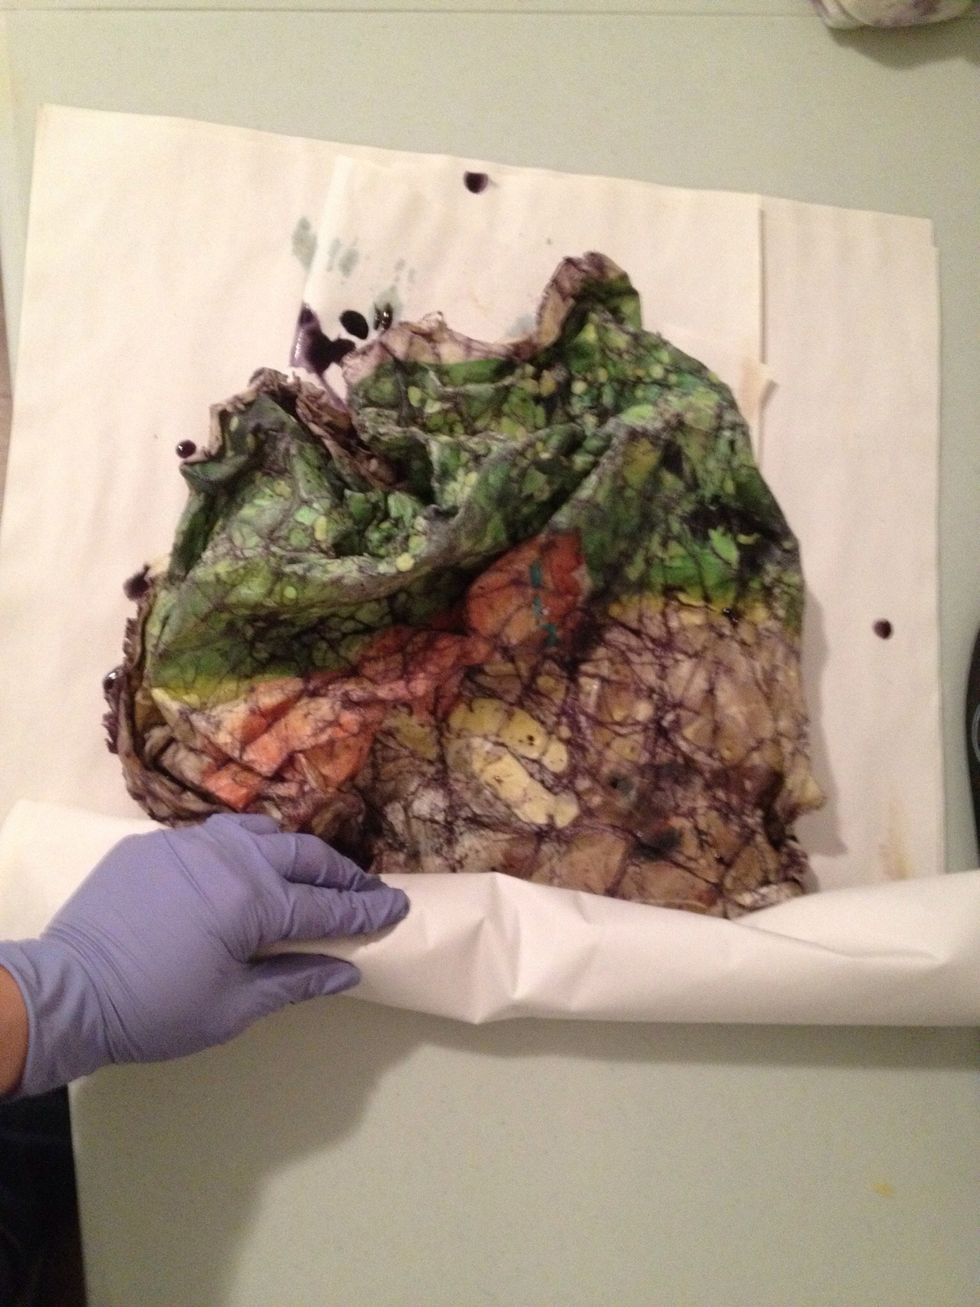
With gloves remove art from dye, place on pad of newsprint.
Roll up art in about 3 pieces of loose newsprint
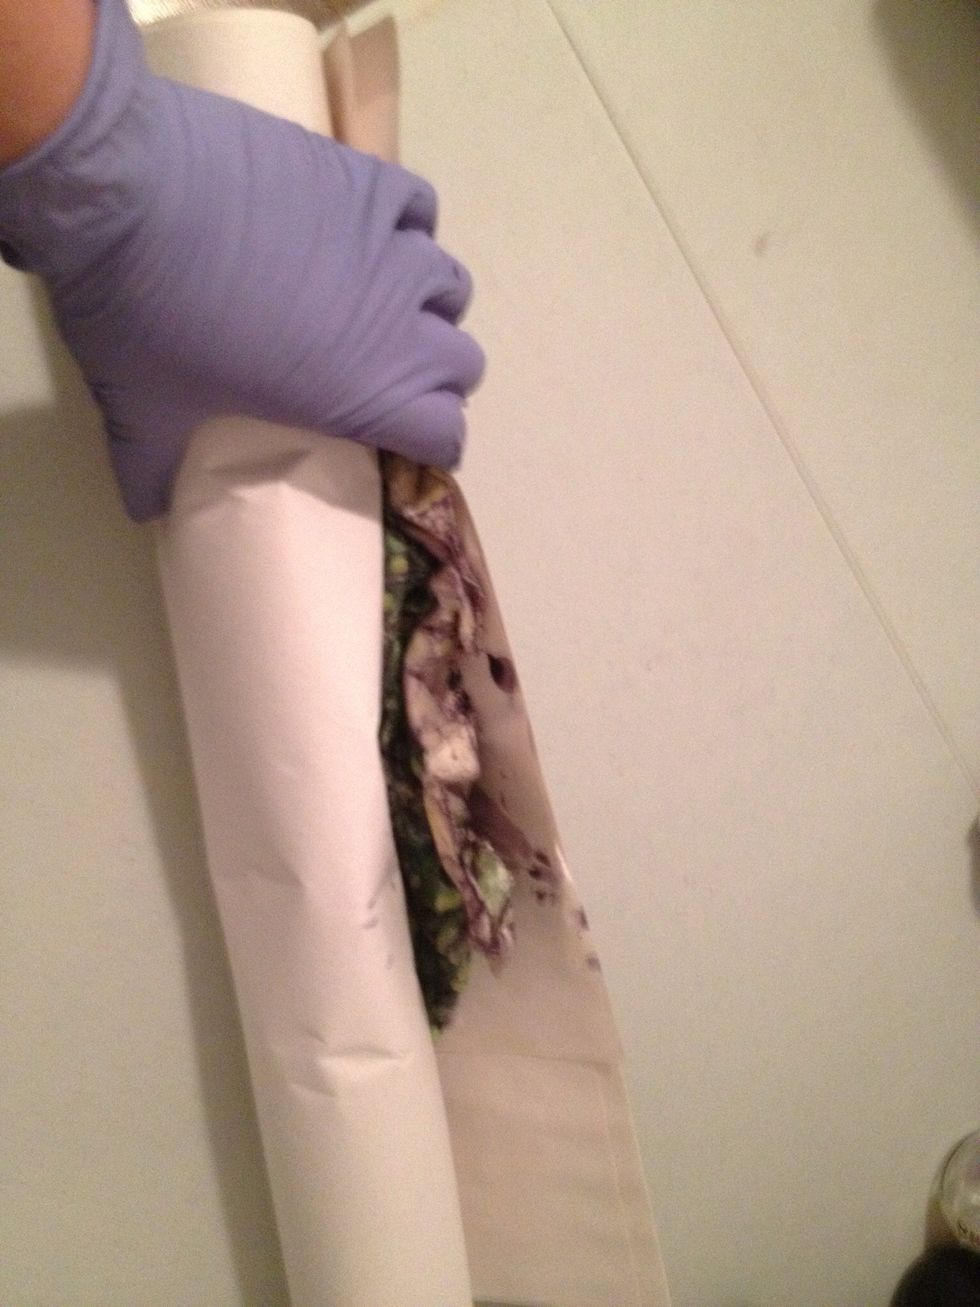
Make sure it doesn't drip all over.
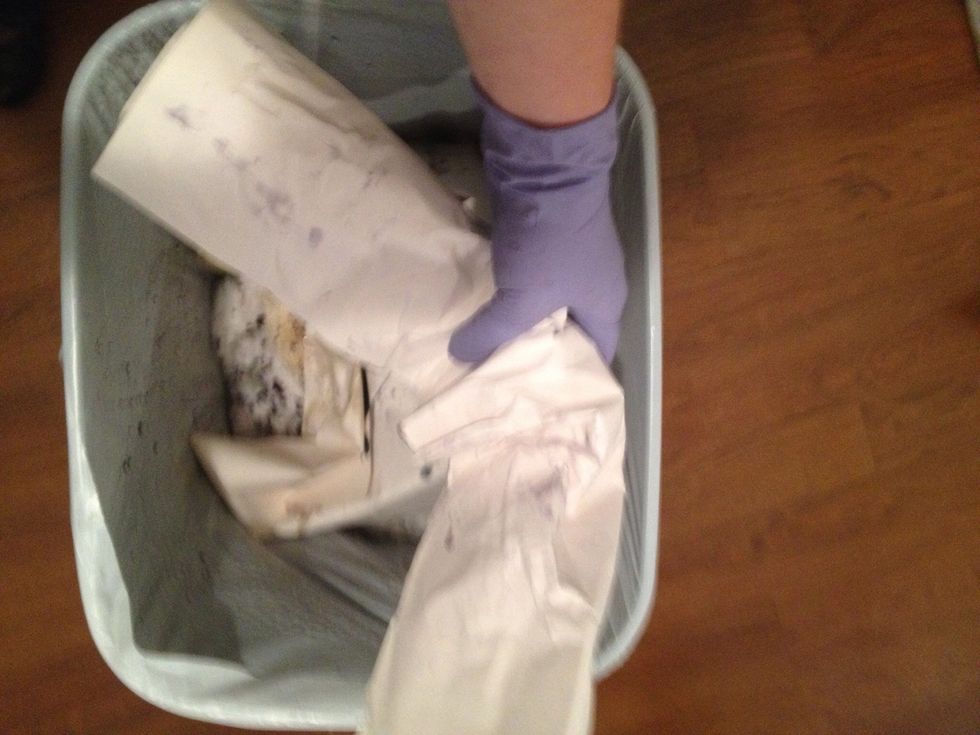
Over trash can wring out art and scrub and work the fabric to loosen the wax.
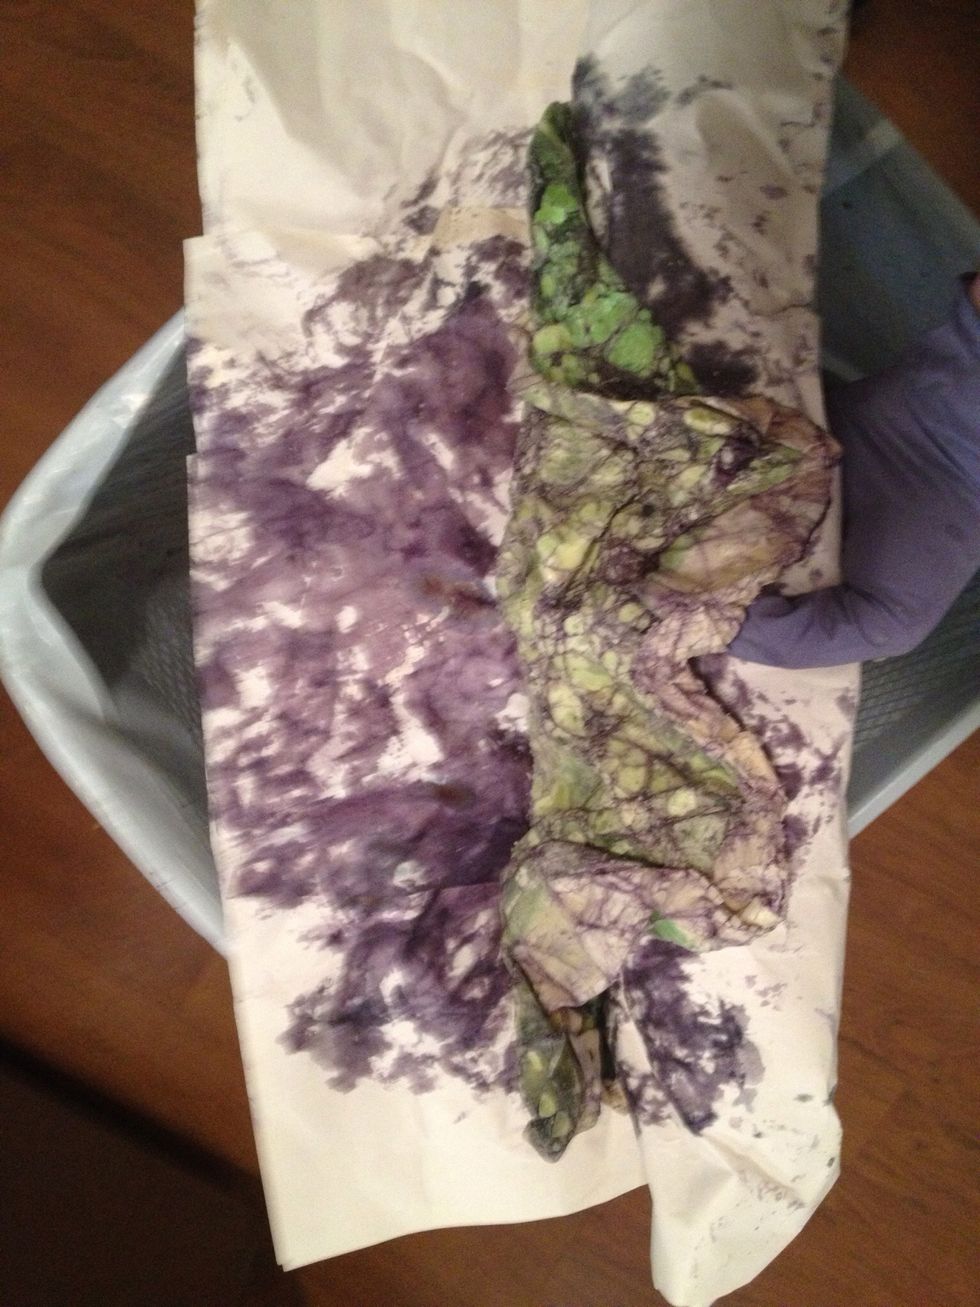
The paper will soak up most of the dye
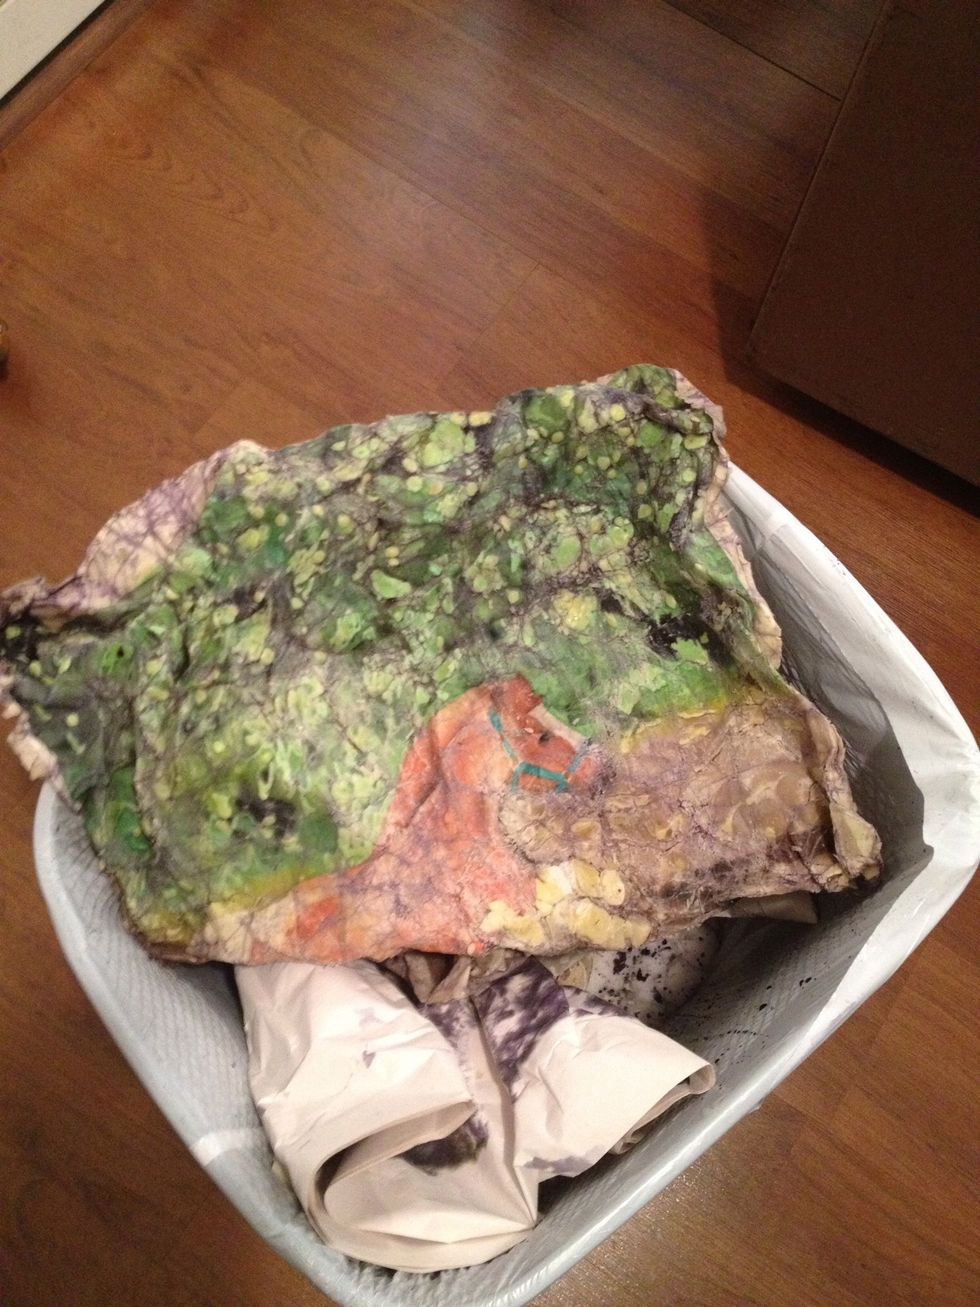
When you are done remove from paper
Lay on newsprint flat
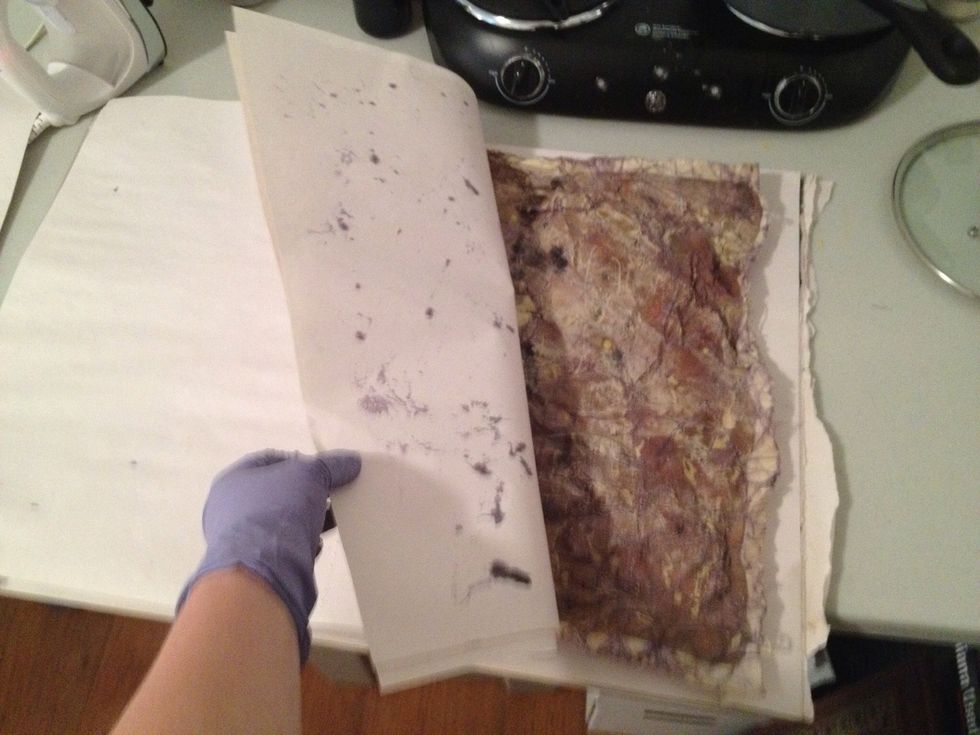
Sandwich art between a couple loose sheets of newsprint and turn on your iron. You will put the iron on the top pieces of paper to melt the remaining wax.
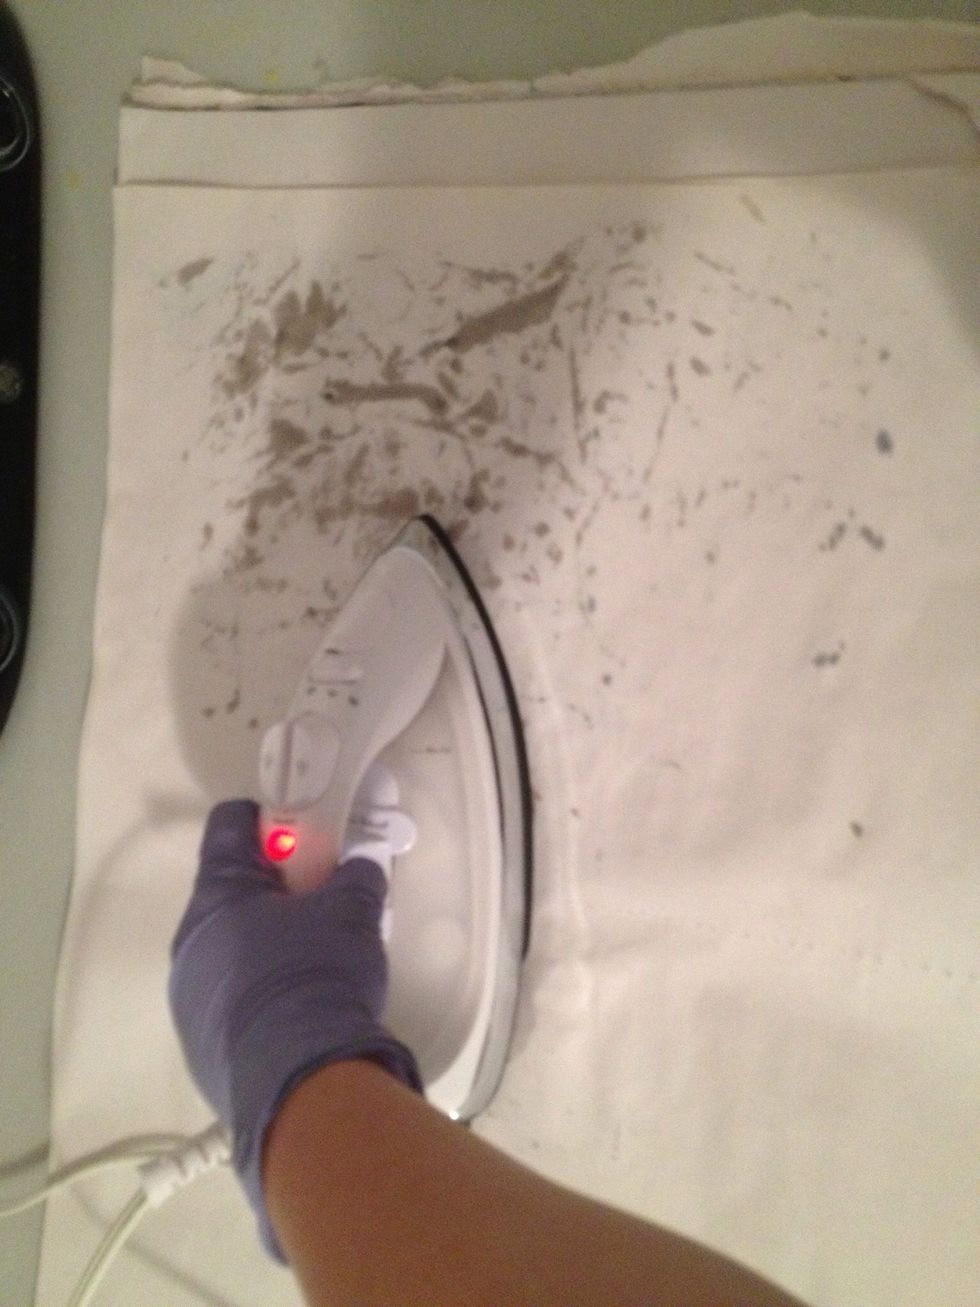
Heat till the wax bleeds through
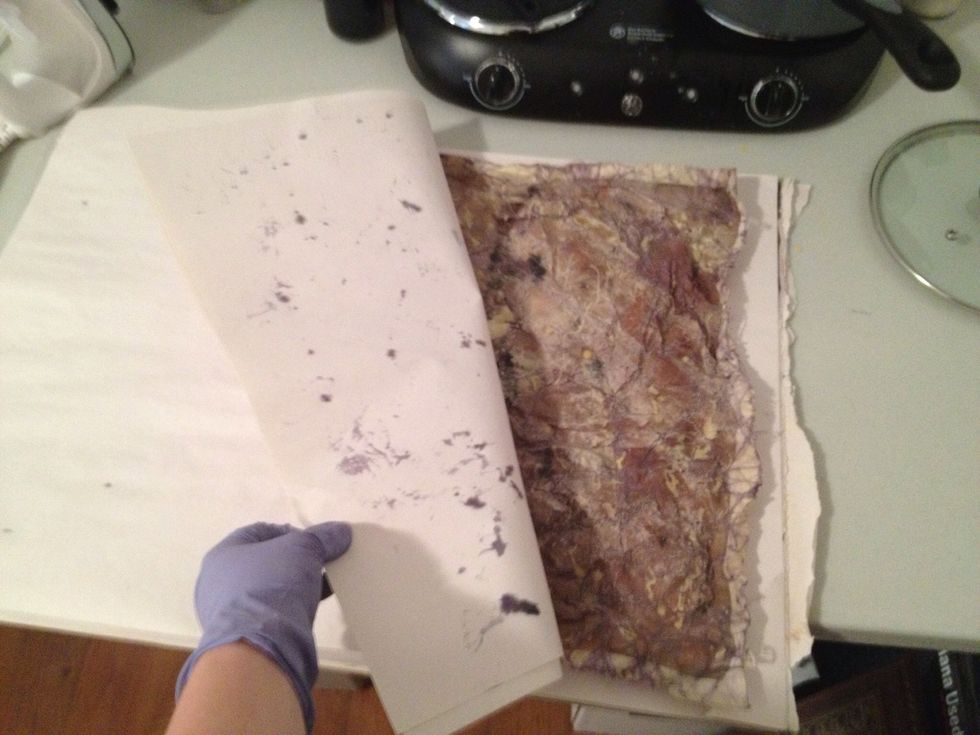
Check your paper and artwork often to chane paper or see where you need to melt more
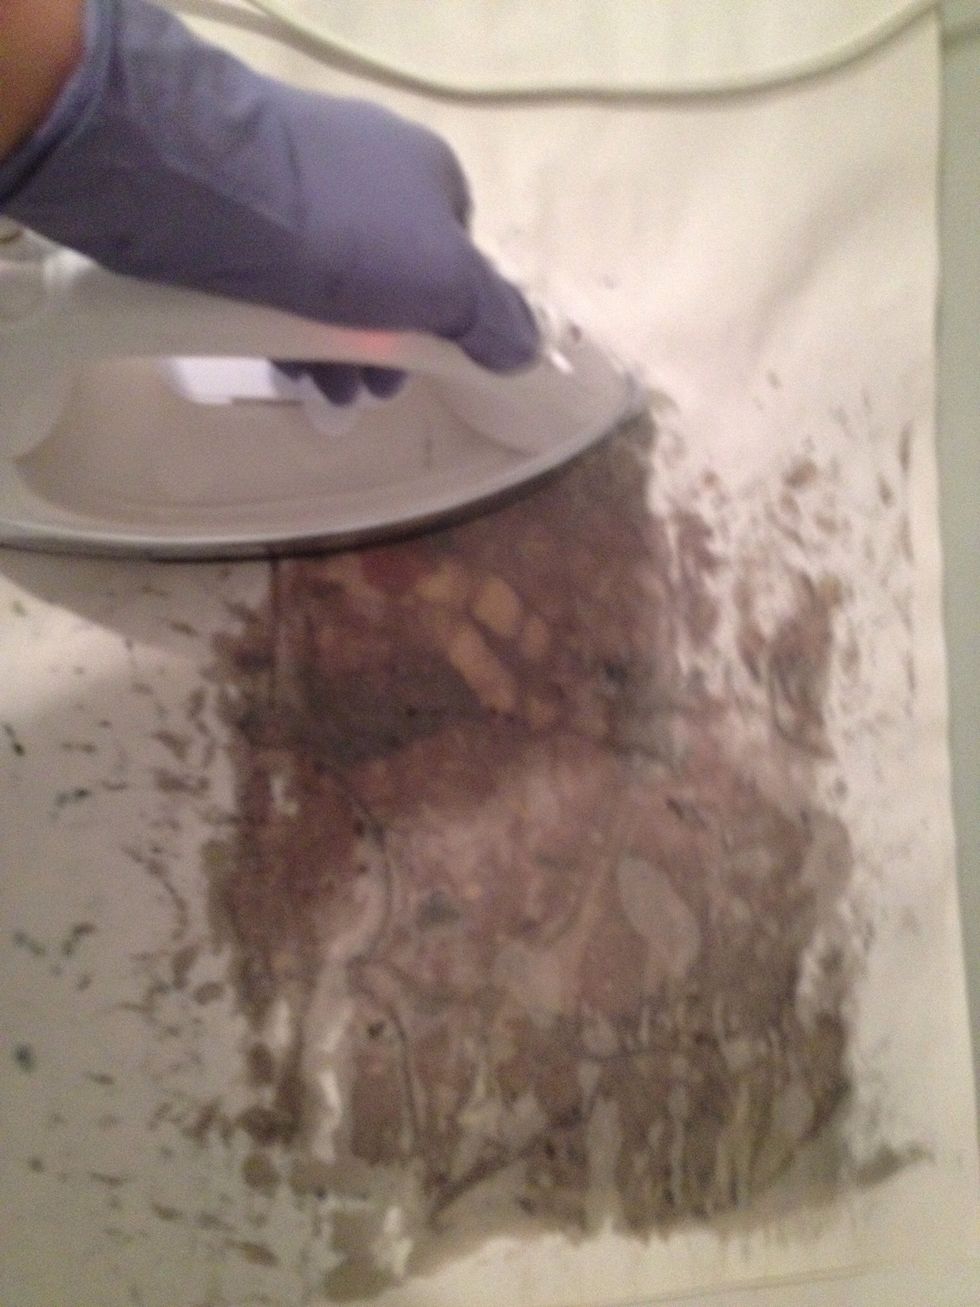
Too much wax you need to change the paper. Repeat changing paper until no more wax bleeds through the paper.
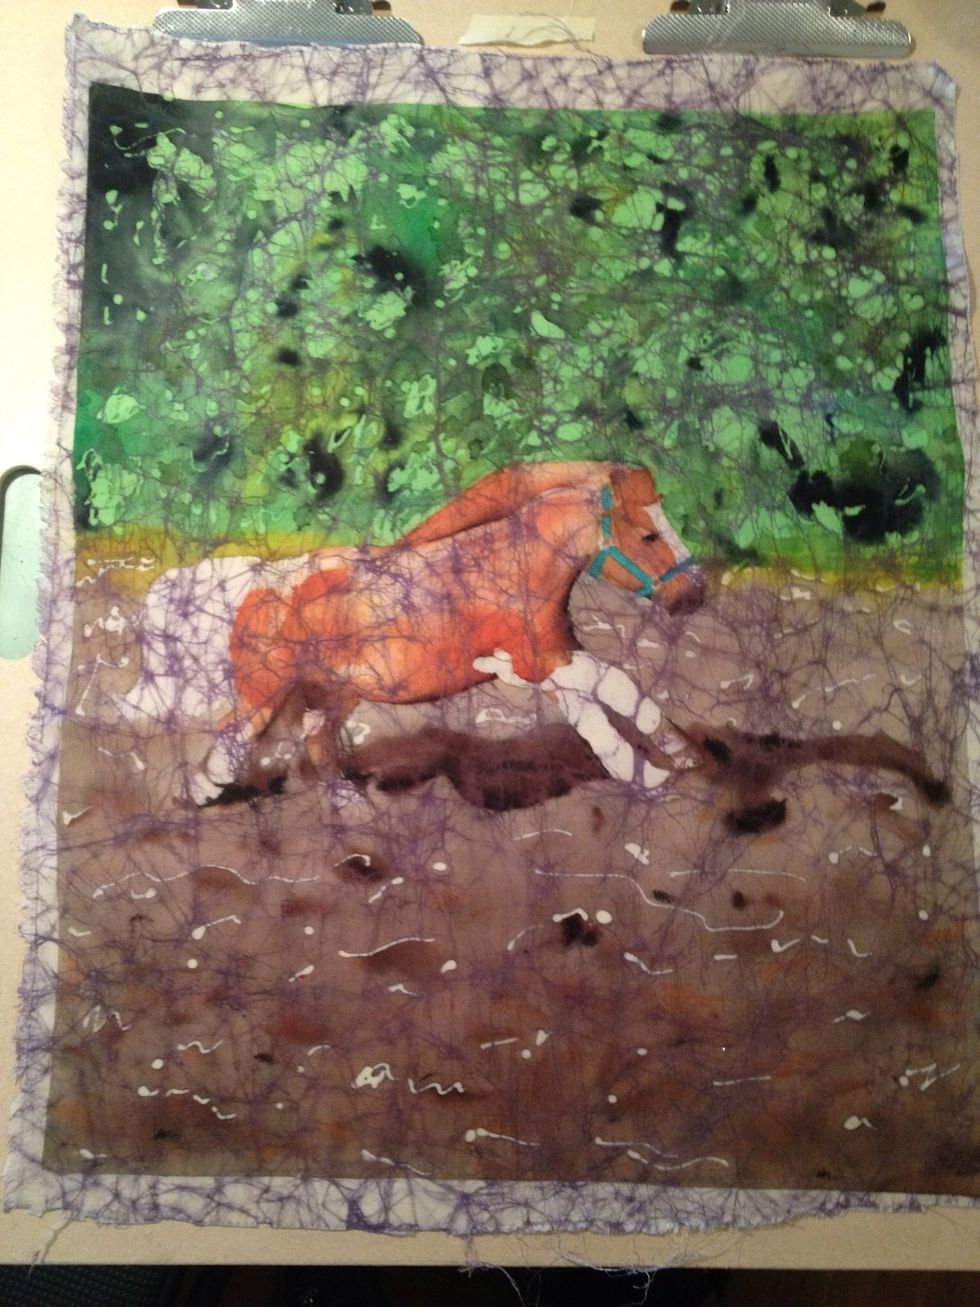
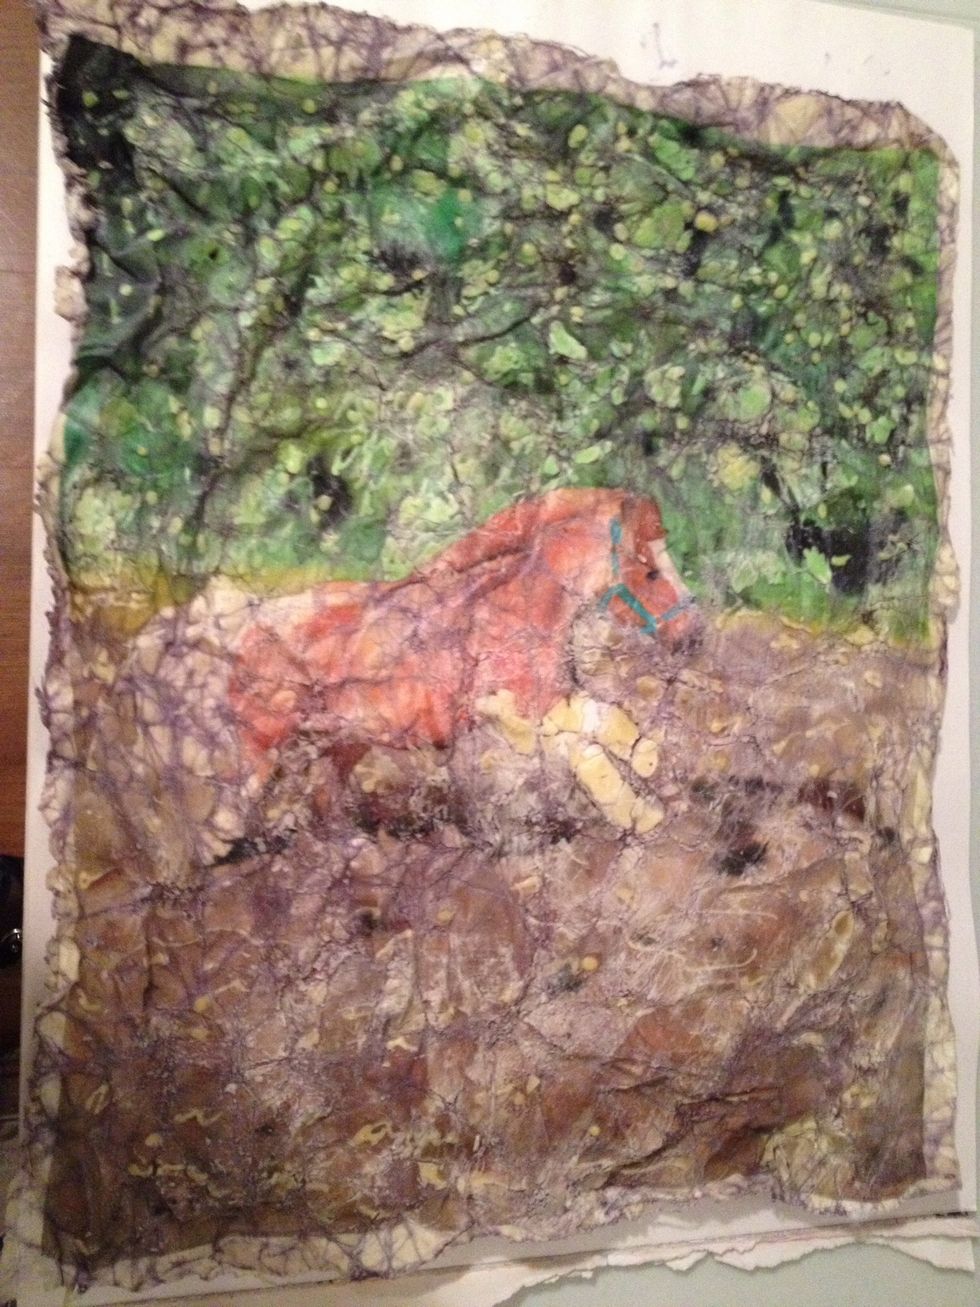
There you have it!! A one of a kind fabric art that is cool to hang on the wall or make into a purse, tote bag, or a pillow case! Me personally I hang them! Hope you enjoyed this!!
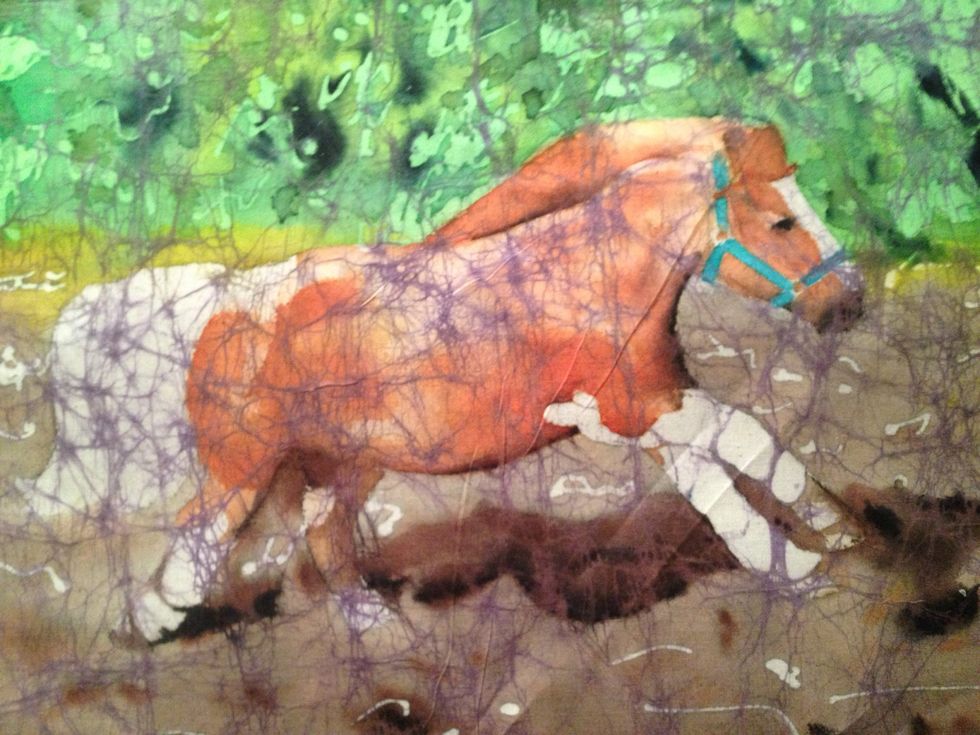
A close up!
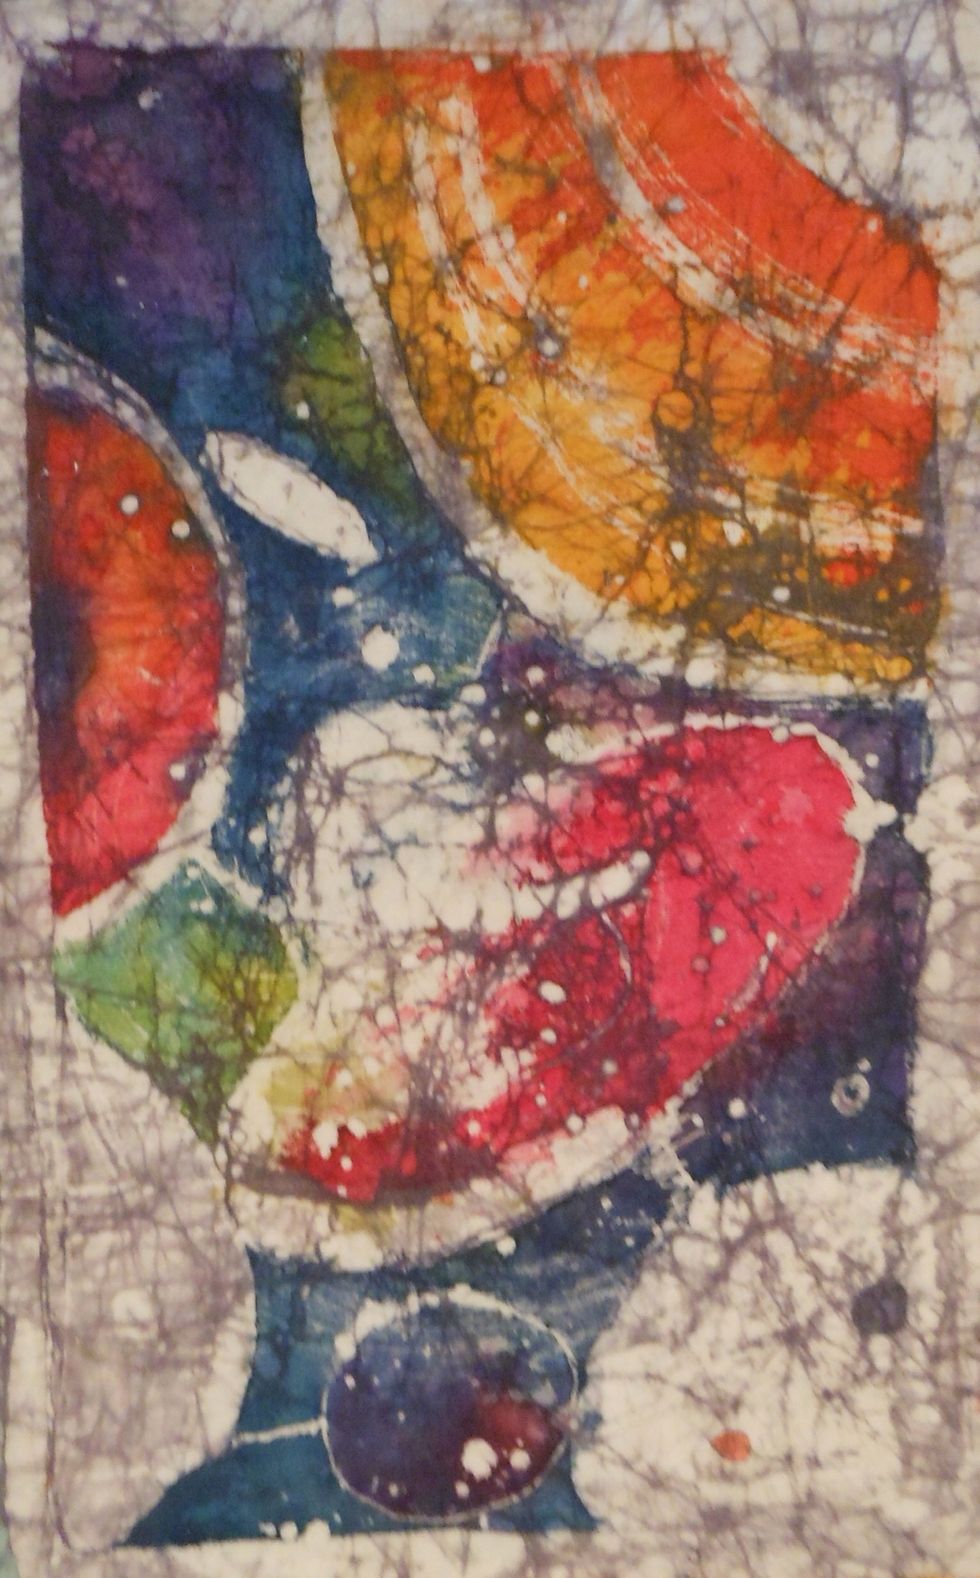
This is the first batik I ever did just playing with the wax and colors, played with applying wax with a brush as well as a needle...
This is the second one I did, notice everything is outlined this can be useful to not let the colors bleed together, but I personally don't like it..
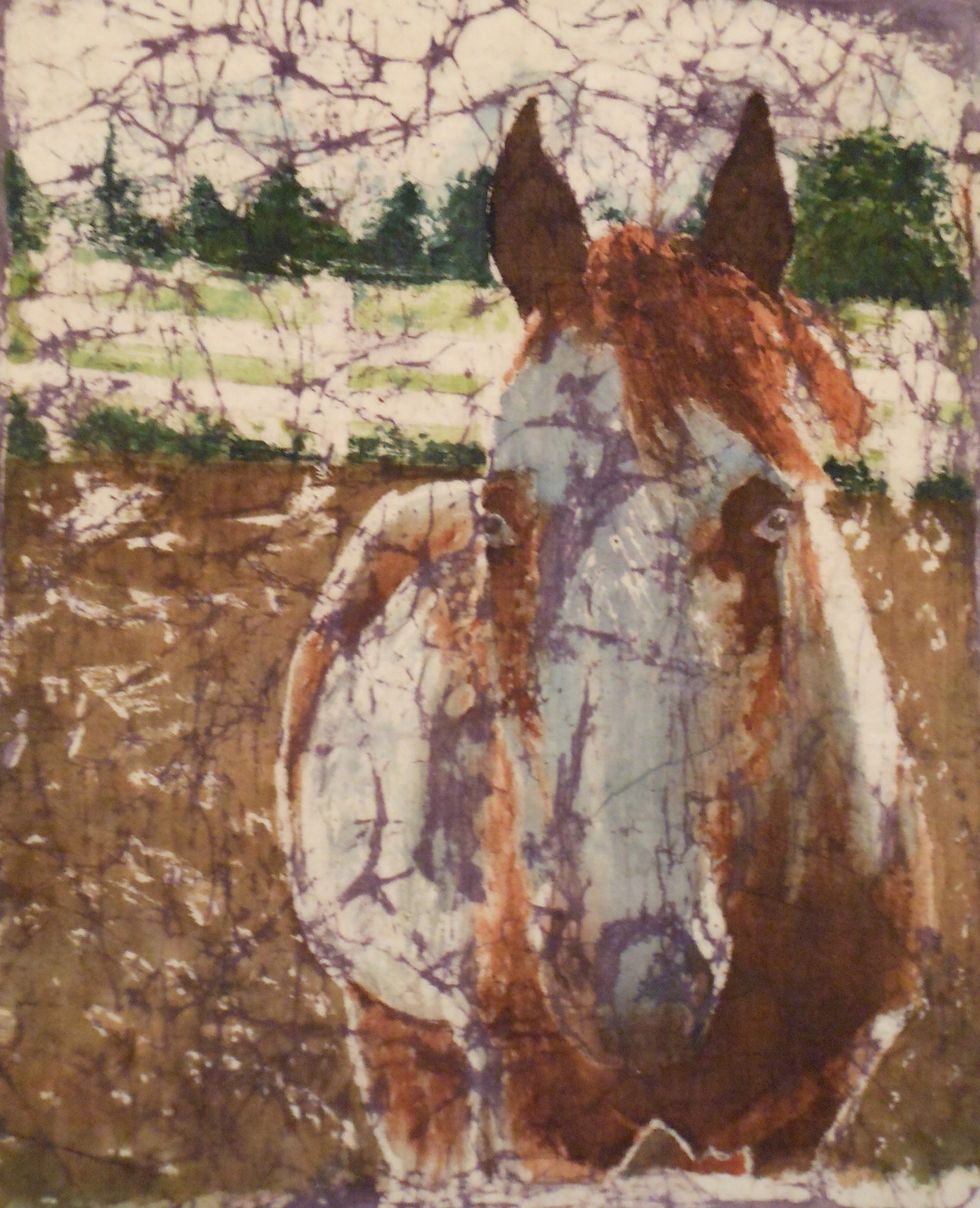
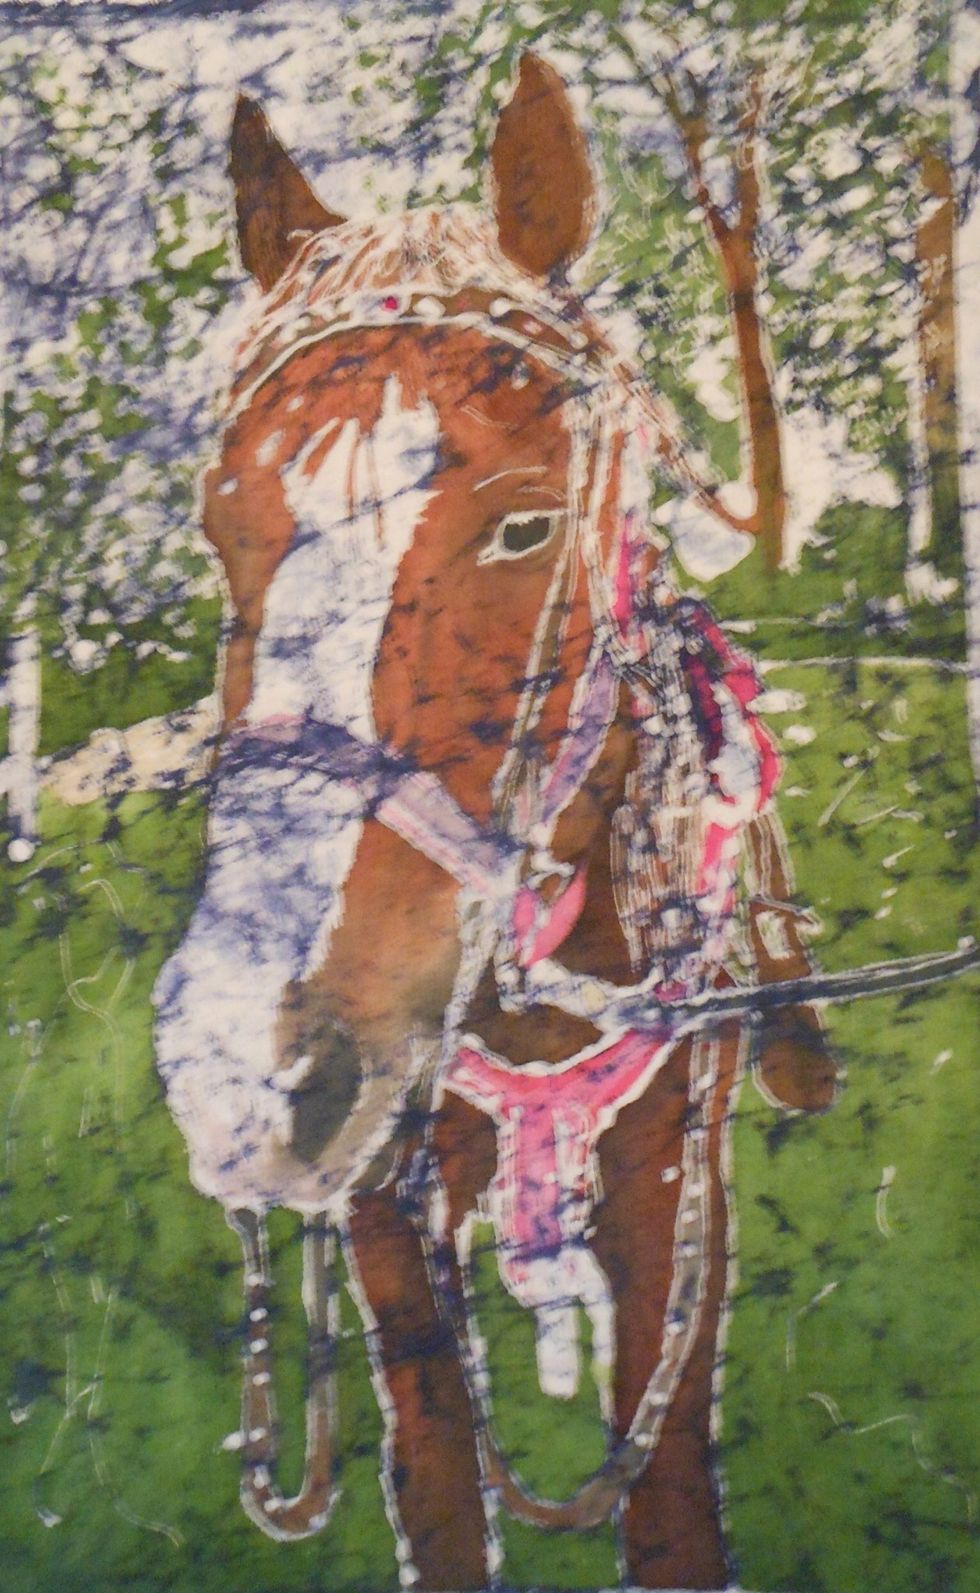
This is the third one I did practicing on not outlining and blending colors. It's a constant goal to try new techniques and ways to crackle the wax. Good luck!! Hope you enjoyed it!!