The Conversation (0)
Sign Up
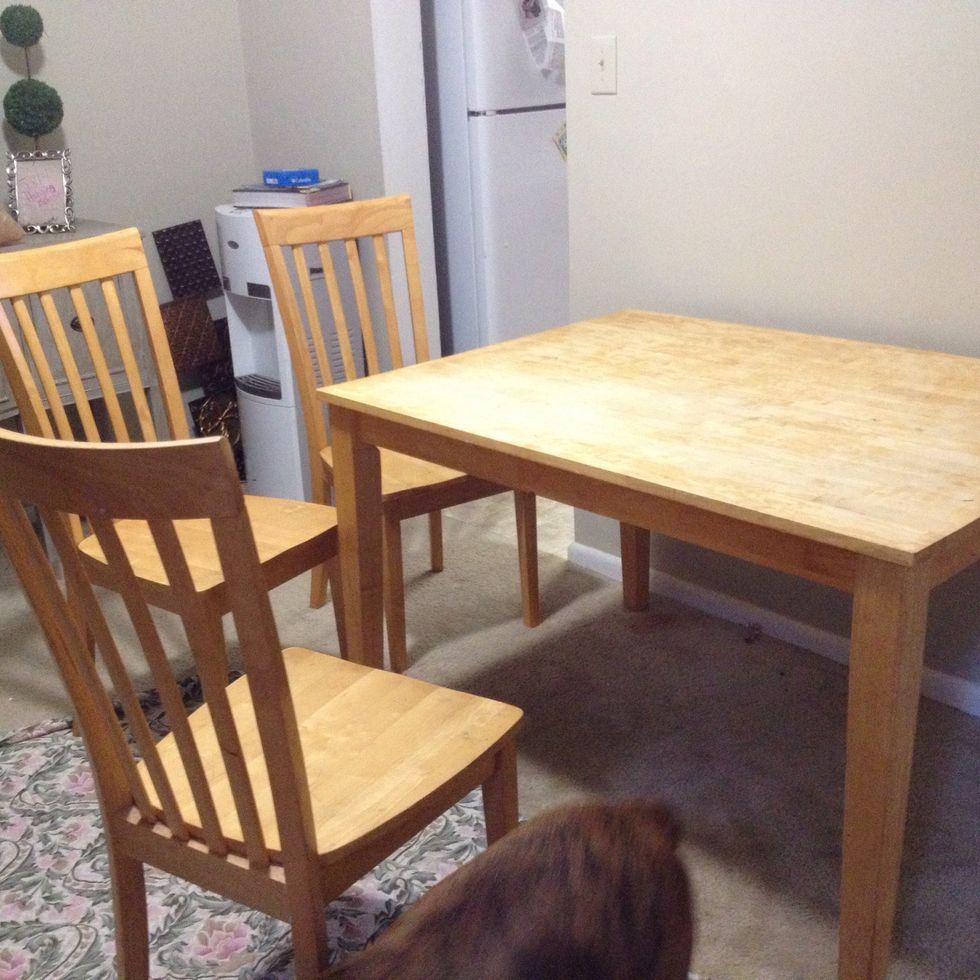
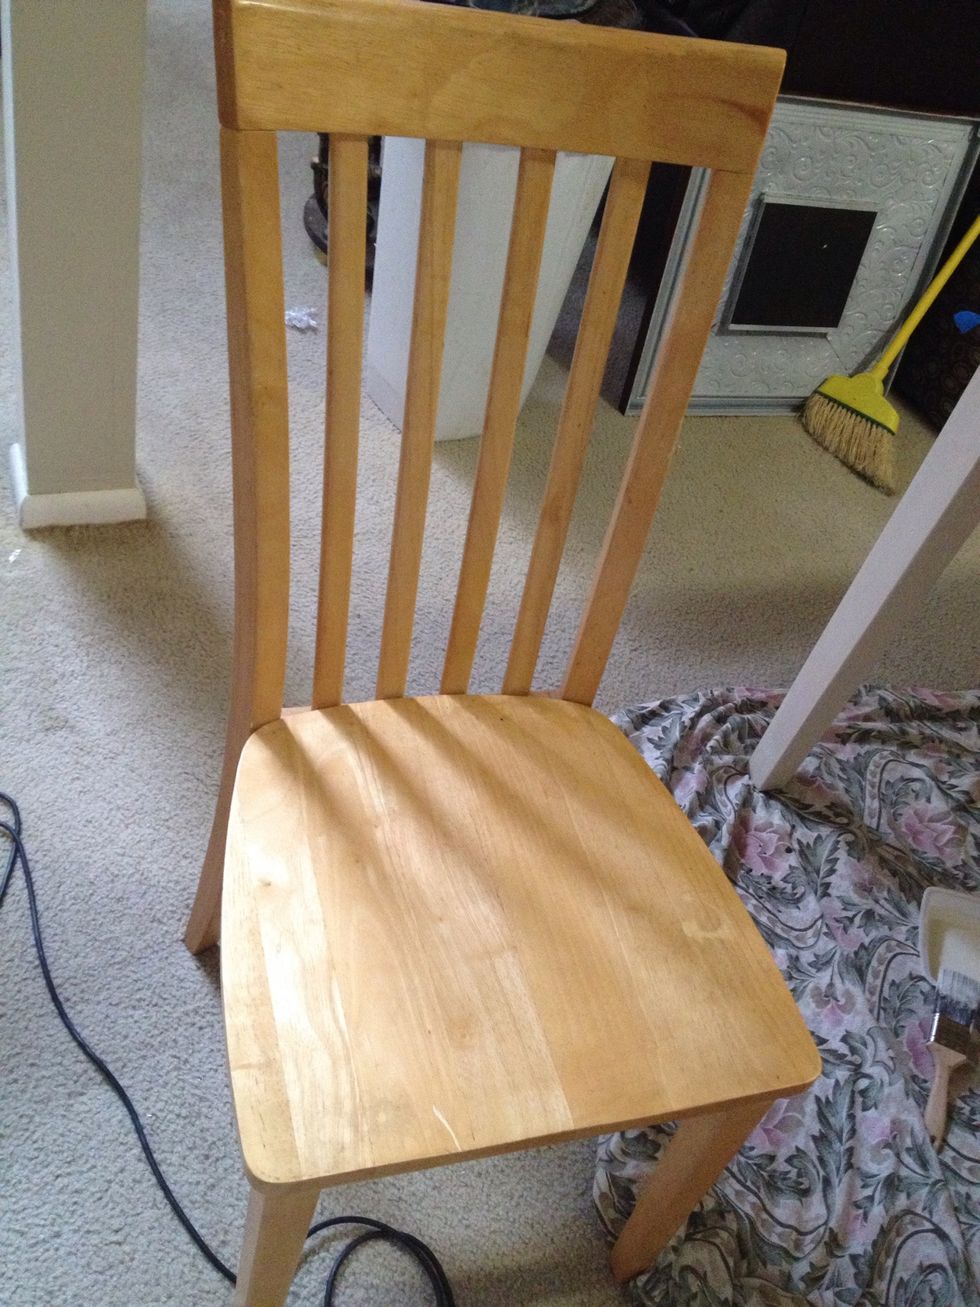
Start with an old, outdated table. Mine is over 13 years old and has seen better days.

Start removing and varnish from just the table top with your 80 grade sandpaper. This will take some effort but believe me, using an electric sander is a huge help.
Things I've Learned: 1. Don't try to skip out on the safety glasses and mask.... Unless, you like sawdust in your eyes and lungs full of powdered wood. I learned the hard way. (Cough, cough)
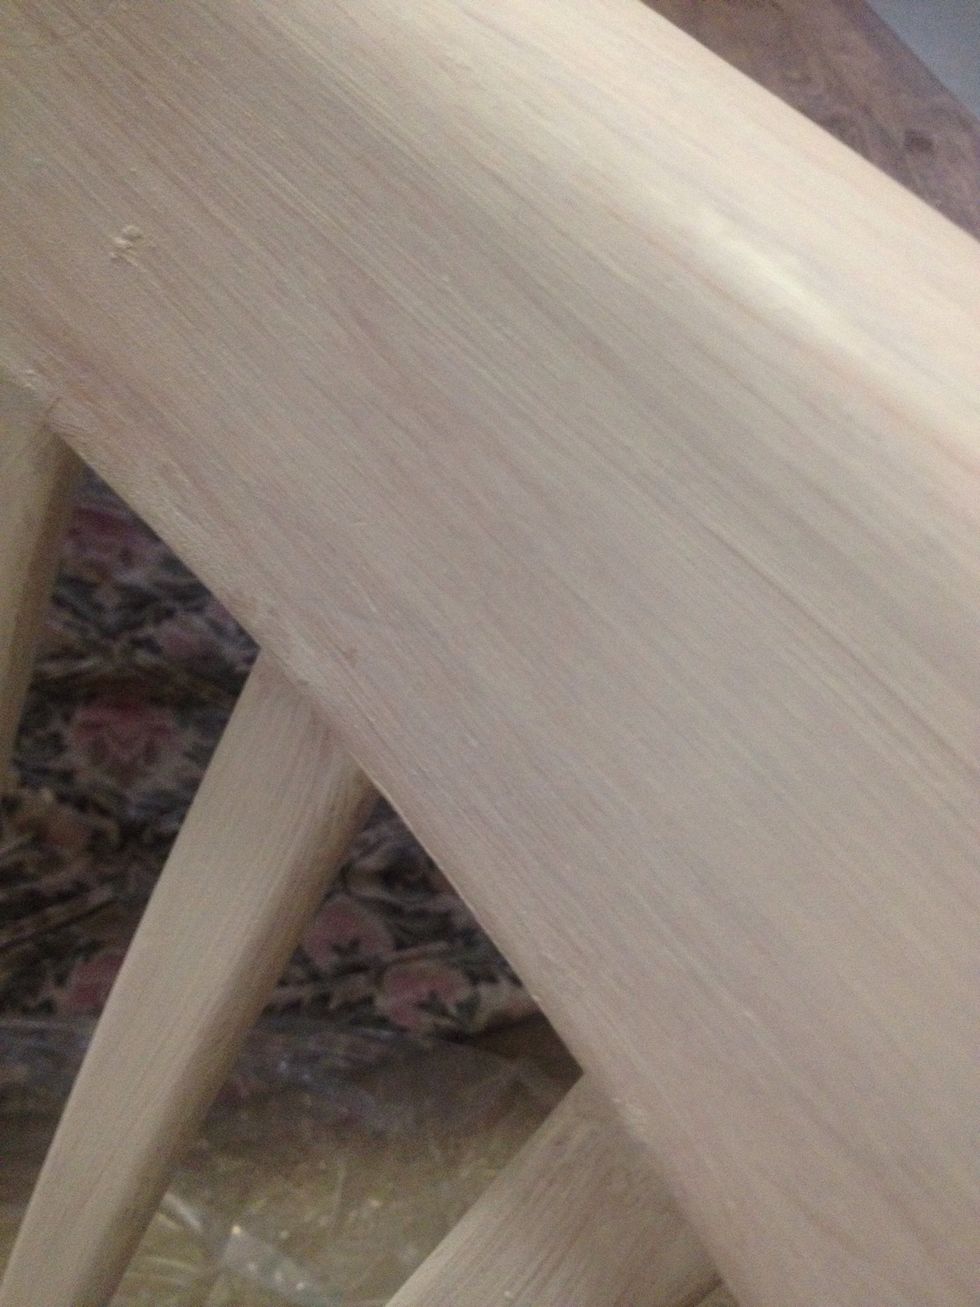
Don't forget to sand the sides and under side of the tabletop.

Clean and vacuum all sawdust. This is important or else your stain won't go on smooth and you will get a gritty finish.
Things I've learned: 2. Even though it may not seem like sawdust is getting everywhere, it is. This project is best done outside or in a garage. I say this as I wipe down every surface in my house. 🙈
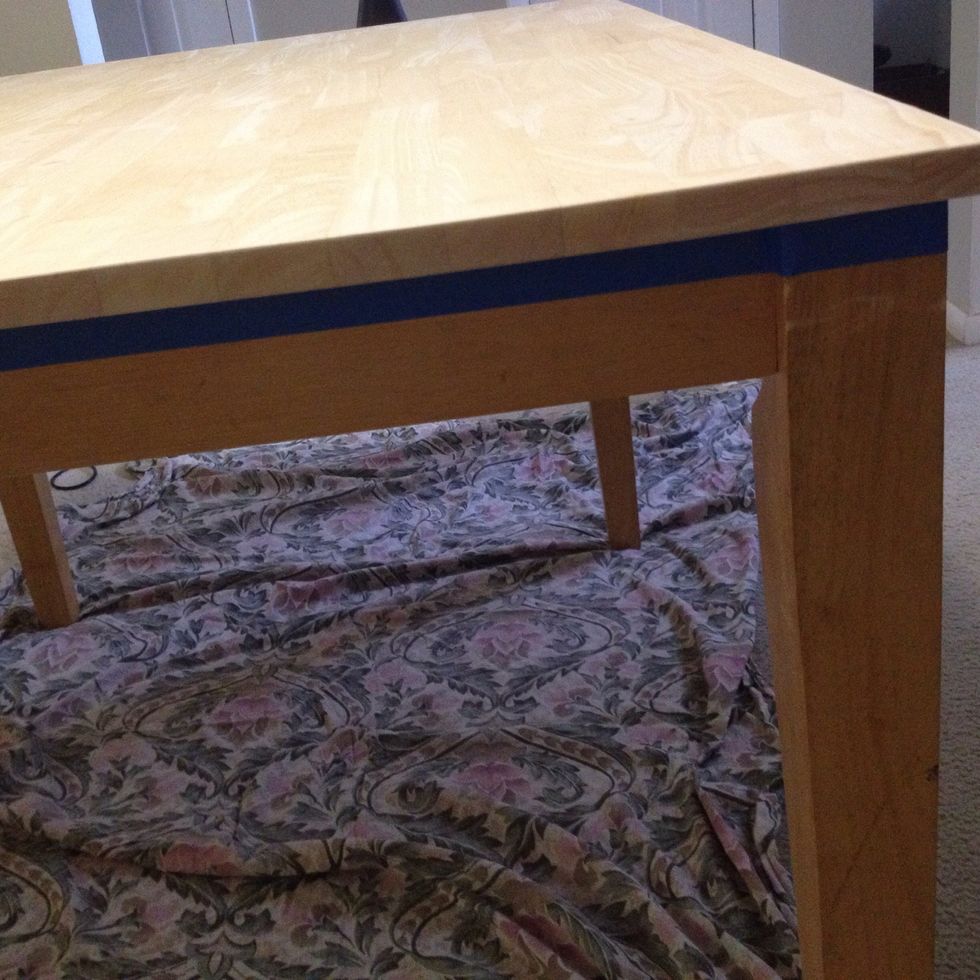
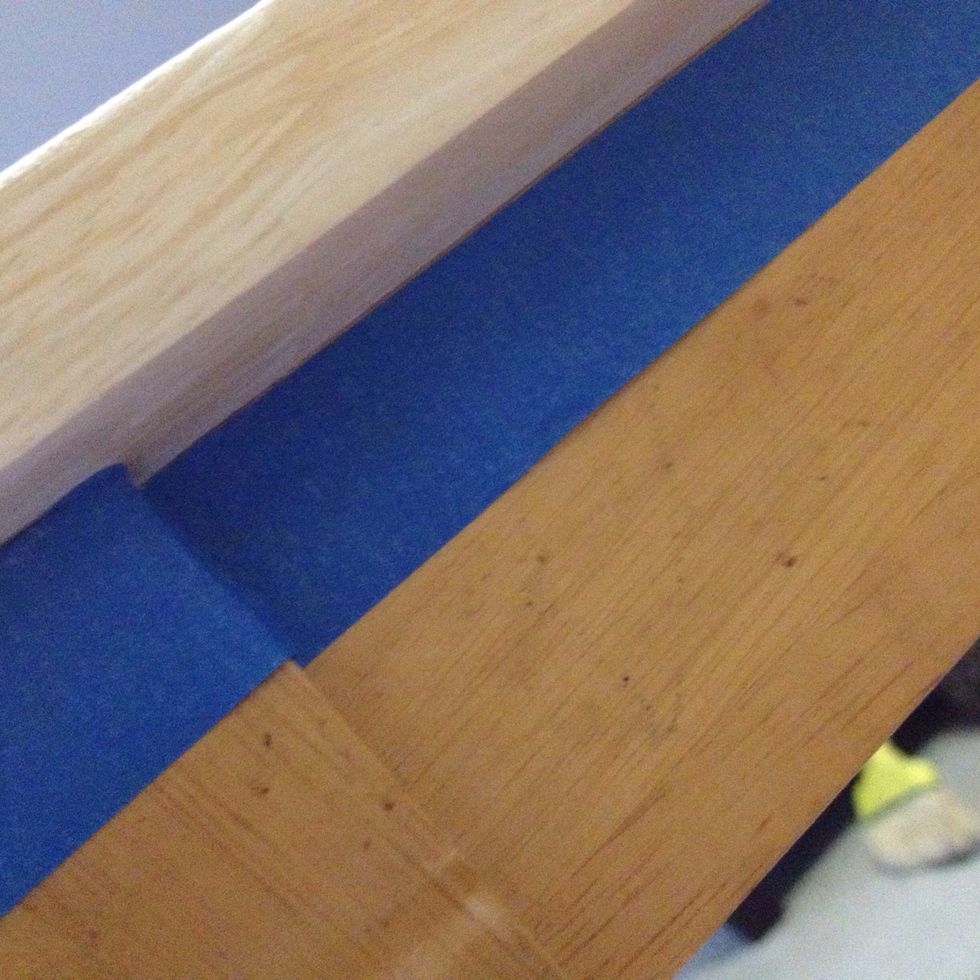
Tape off the side of your table so that stain doesn't get on the bottom part.
Notice the sanded under part of the table.
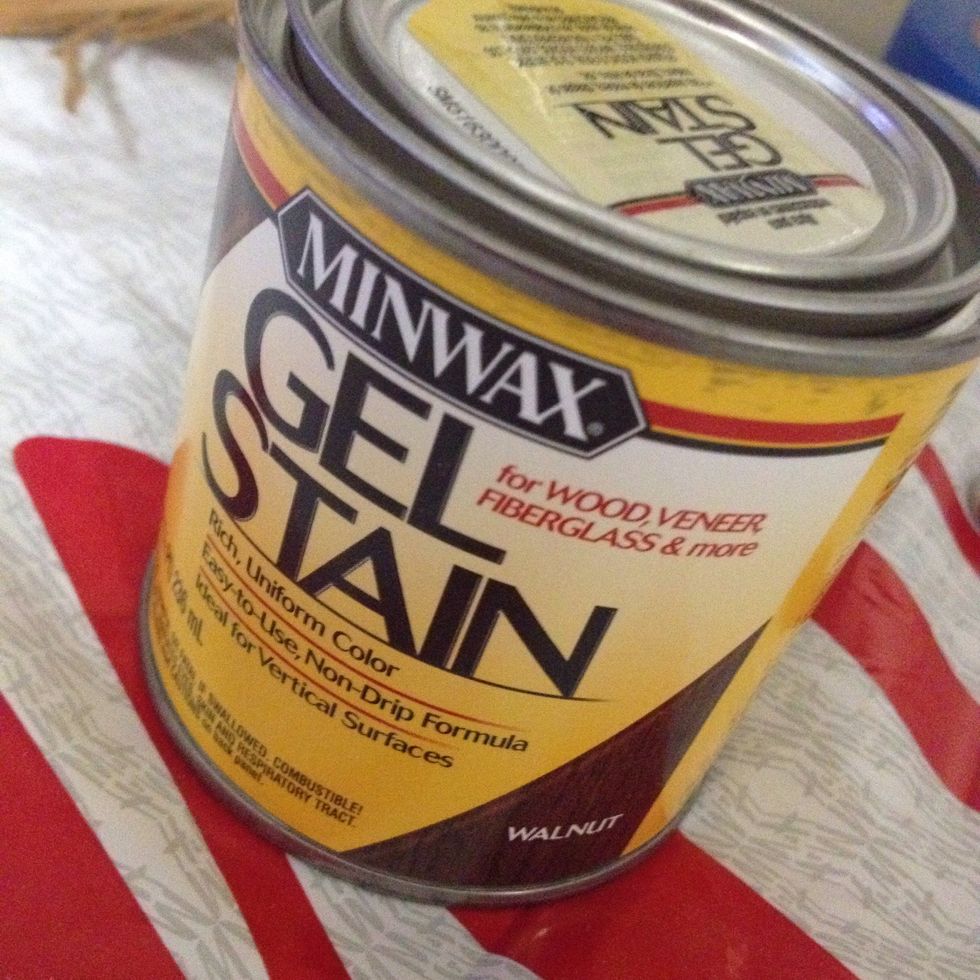
Grab your stain. I'm using MinWax Gel stain in Walnut. I will be applying 3 coats.
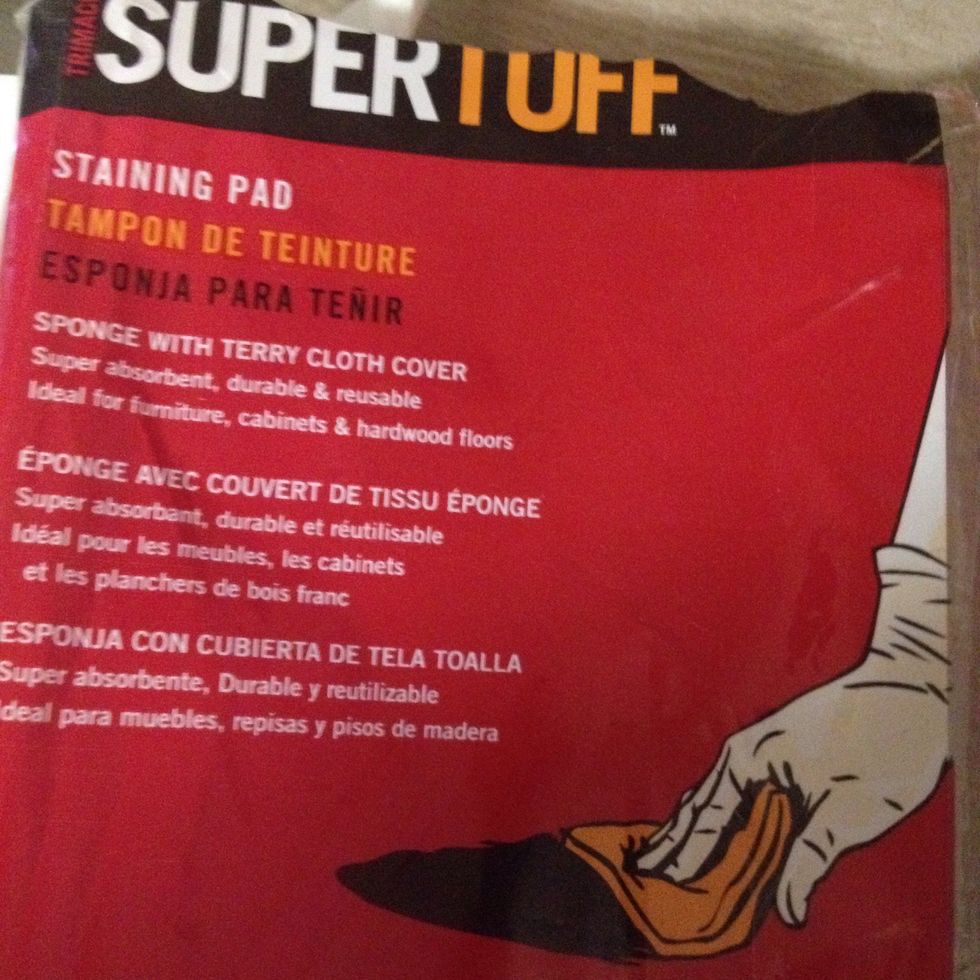
To apply the stain I used this staining sponge. You could use a paintbrush or old t-shirt if you'd like.
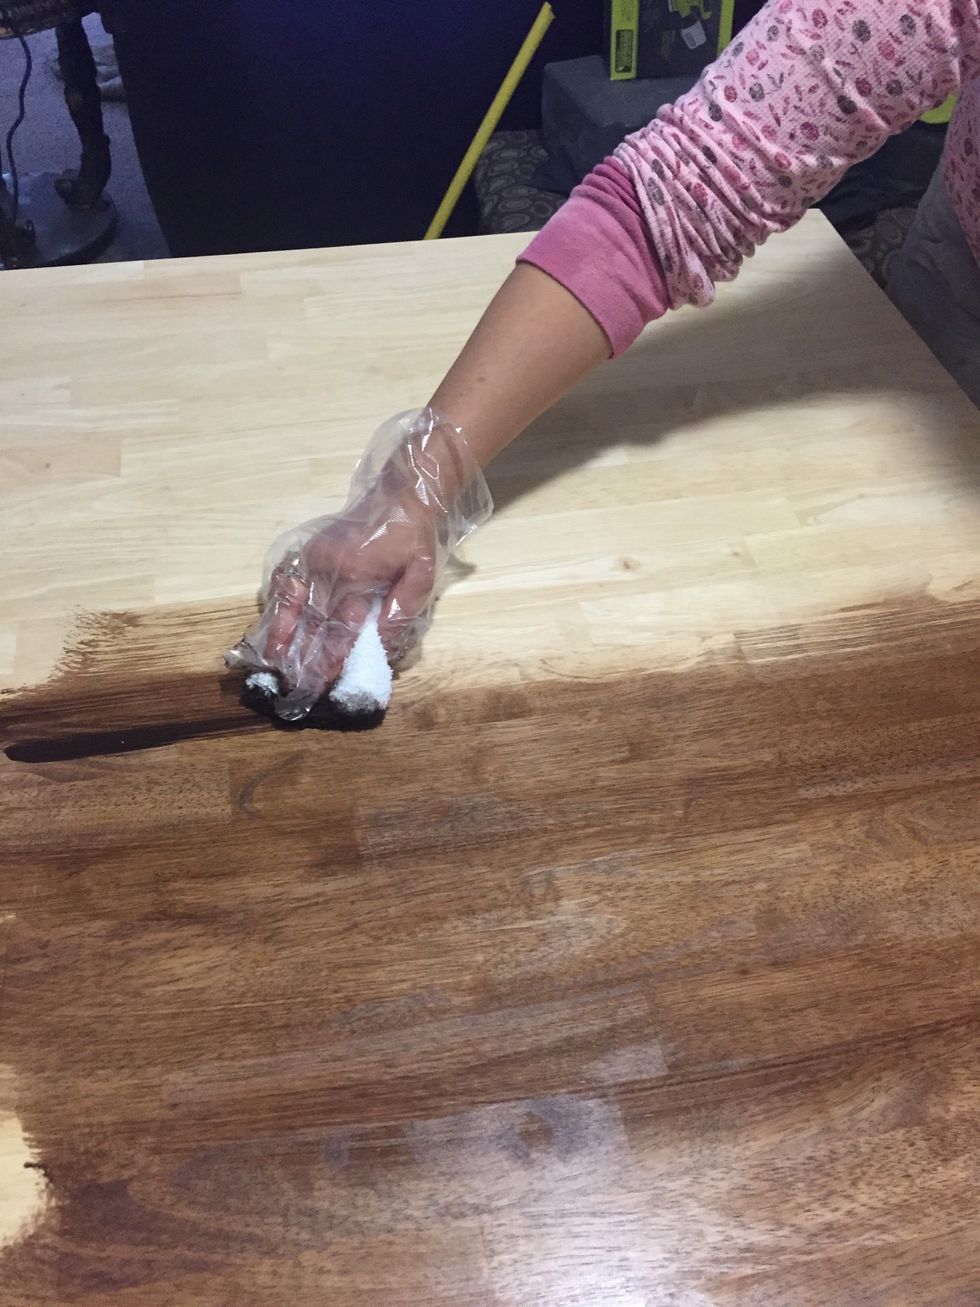
Begin applying the stain in the direction of the wood grain.
Try to blend out any sponge marks you may see. Continue to stain until your table is covered.

Don't forget the sides and under side.

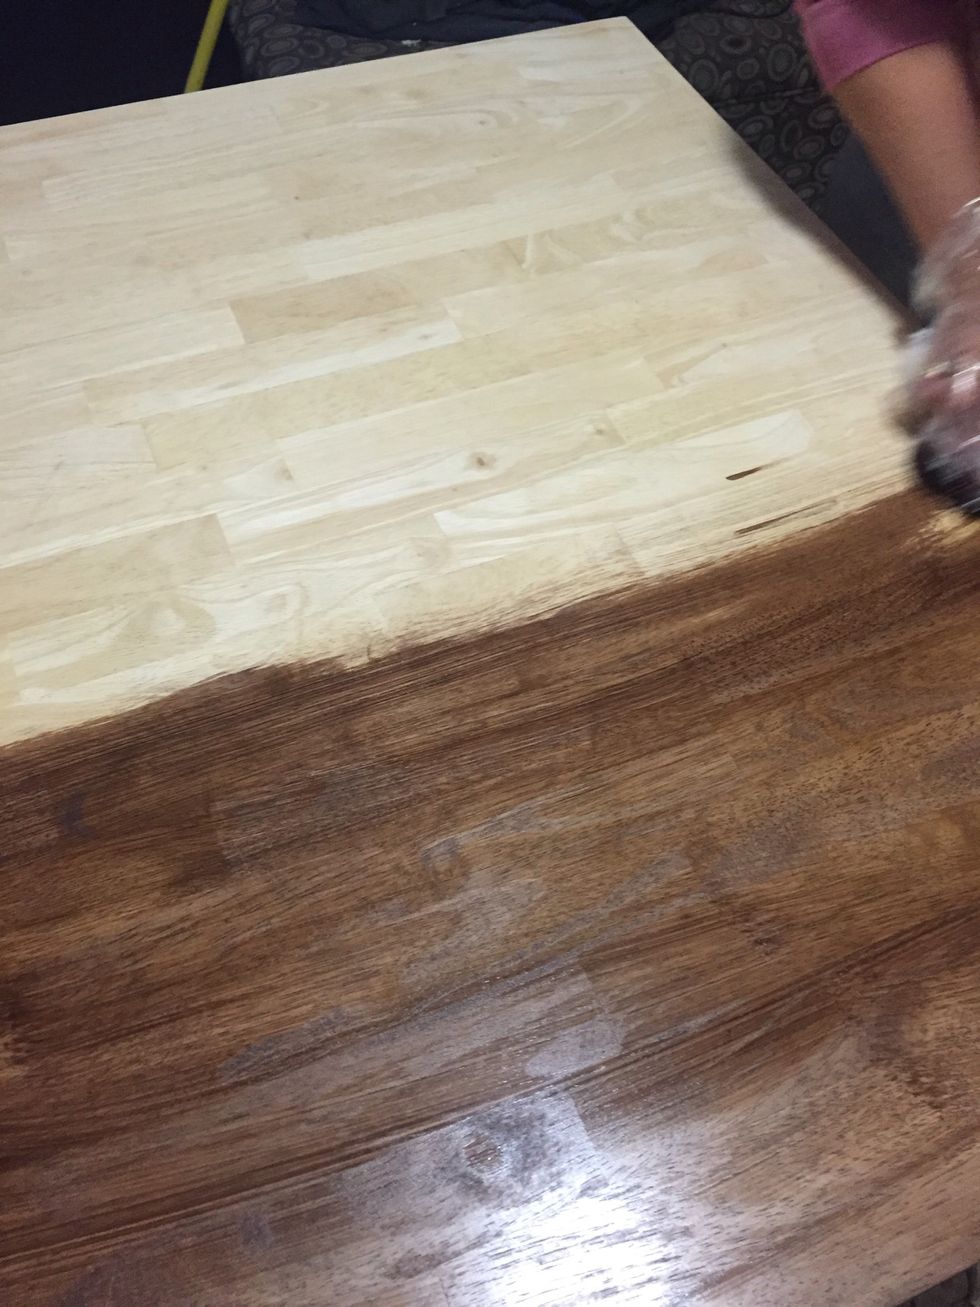
Wait 3 minutes. Look how pretty and rustic it's beginning to look.

Use an old t-shirt to wipe off the excess stain. Wait about 8 hours or so before applying another coat. (I know, it's time consuming.)
Continue adding layers of stain until you get your desired look.
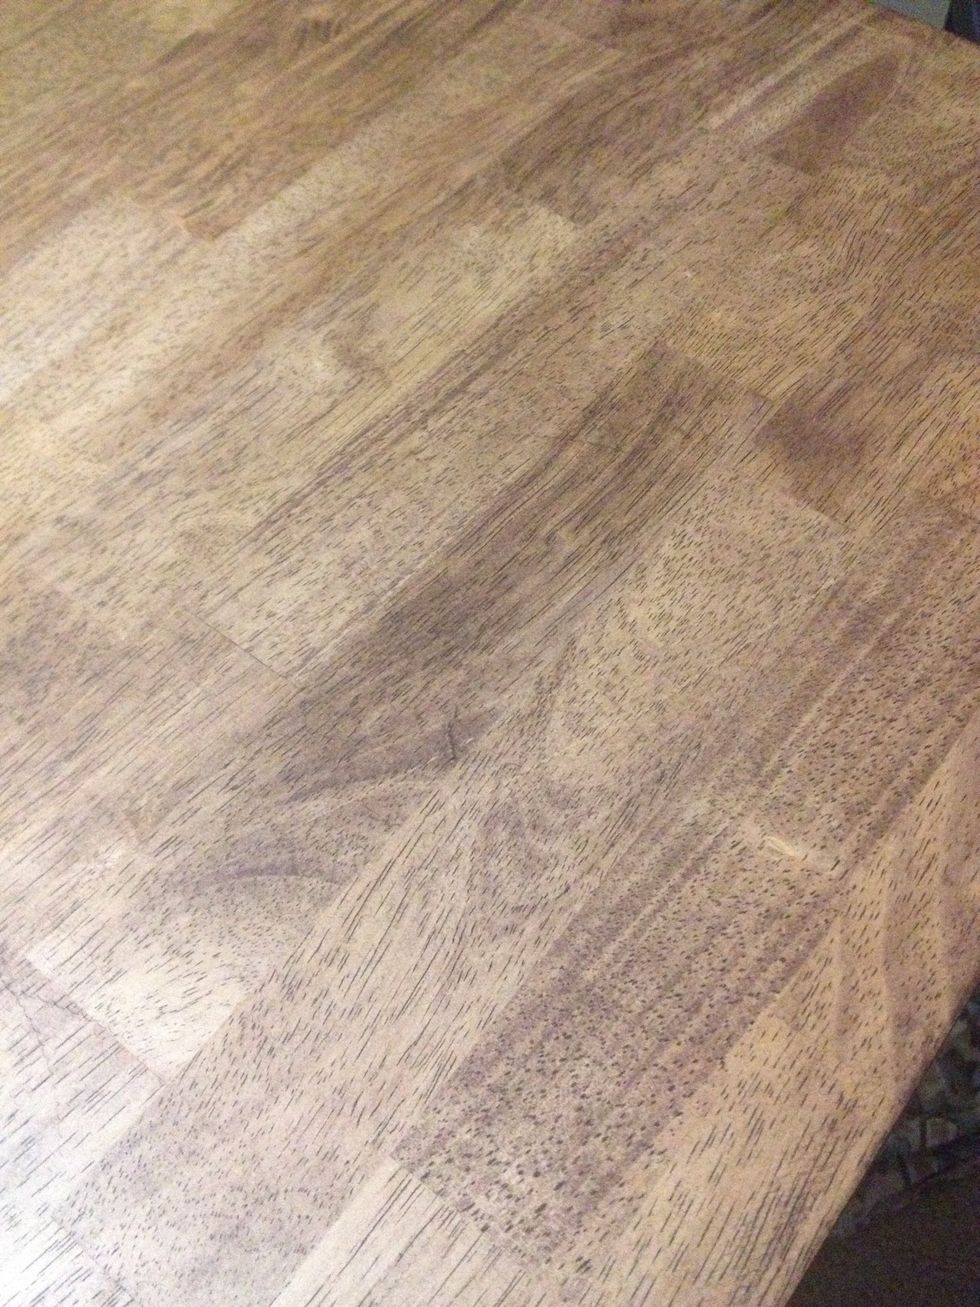
After second coat
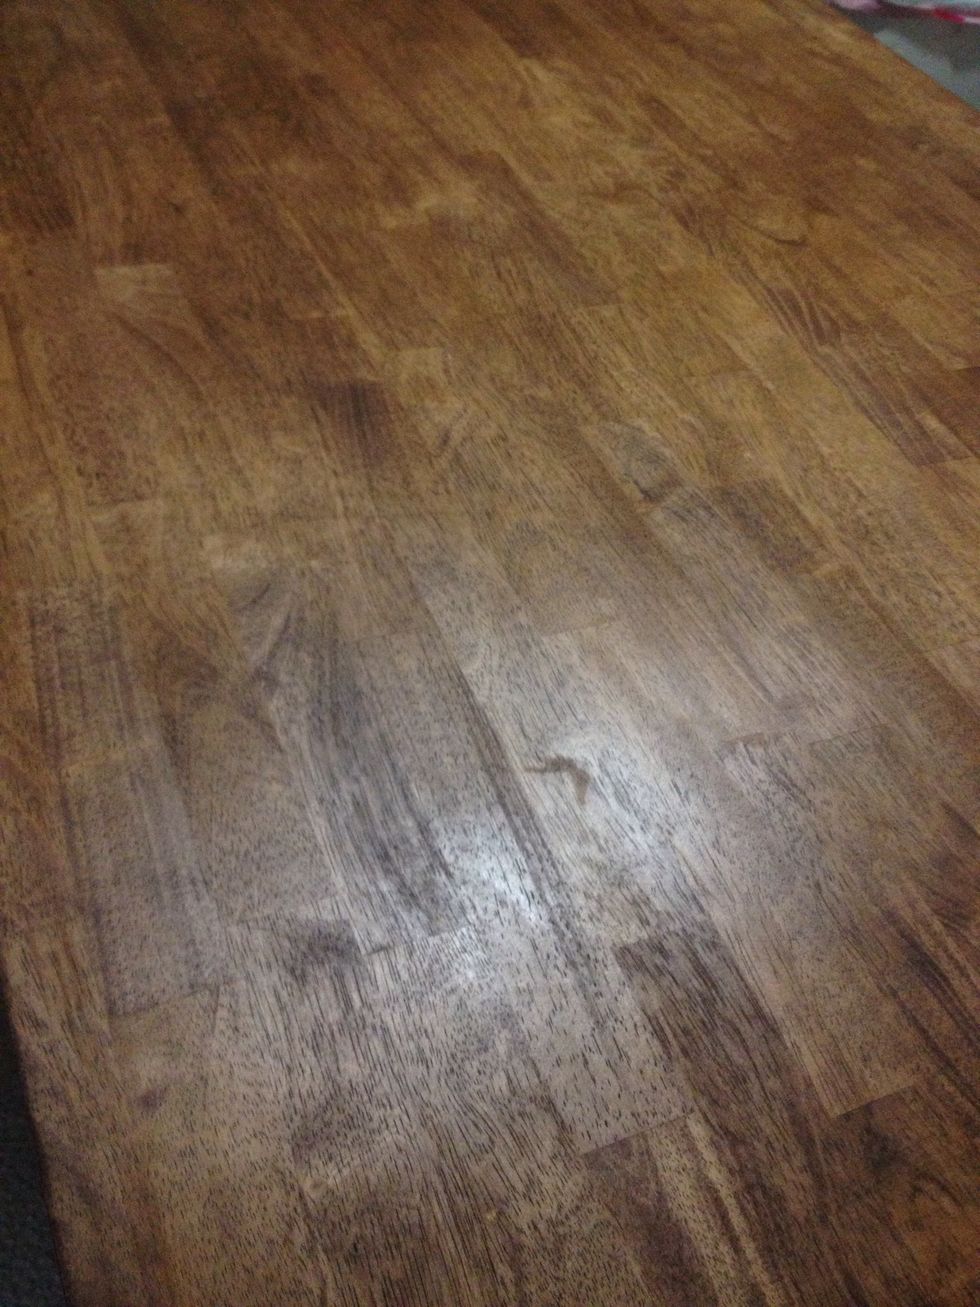
After third coat. It's not as dark as I would have liked but it will do.
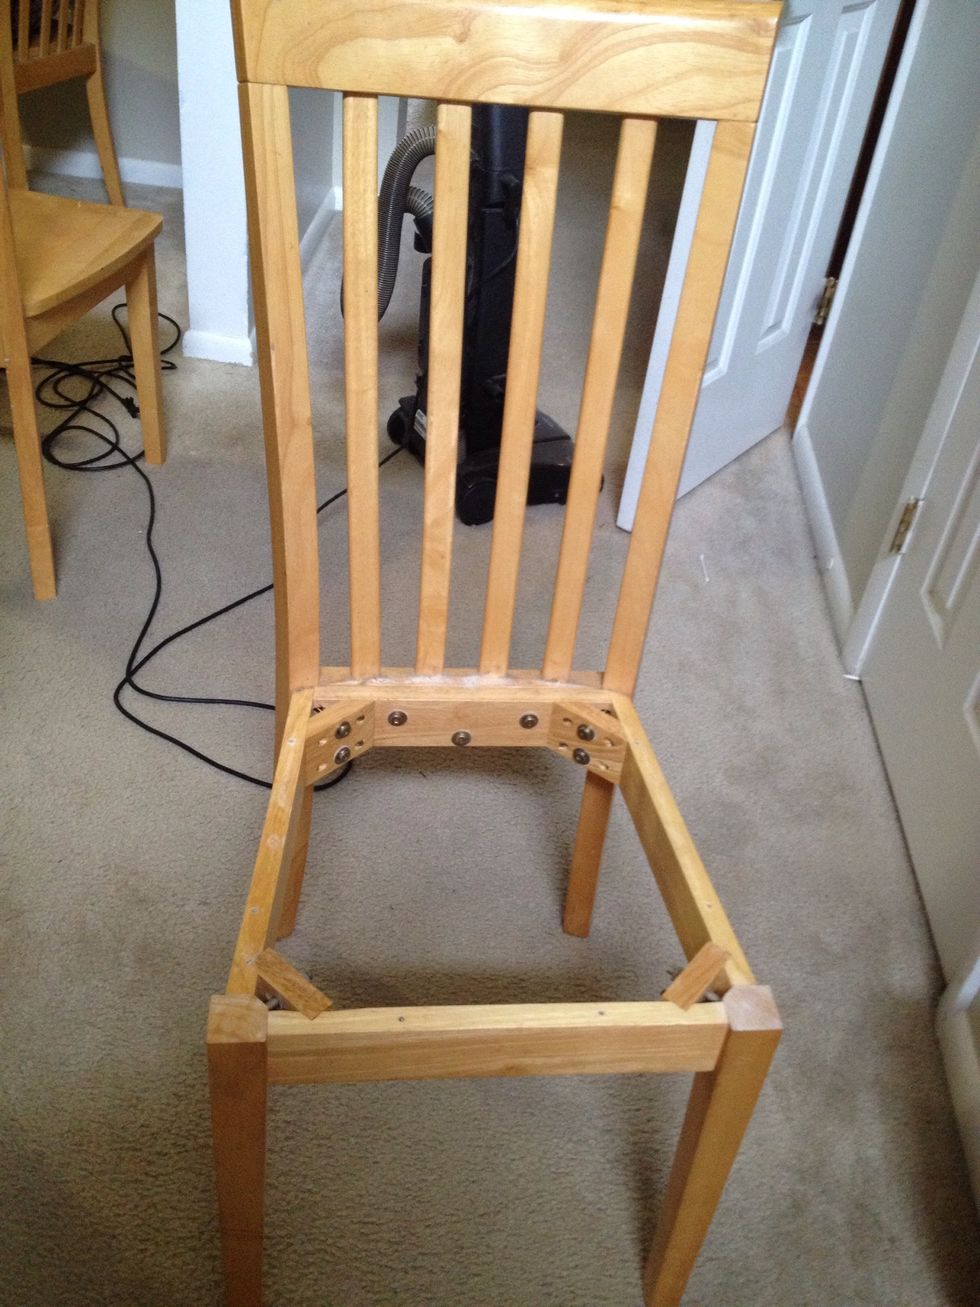
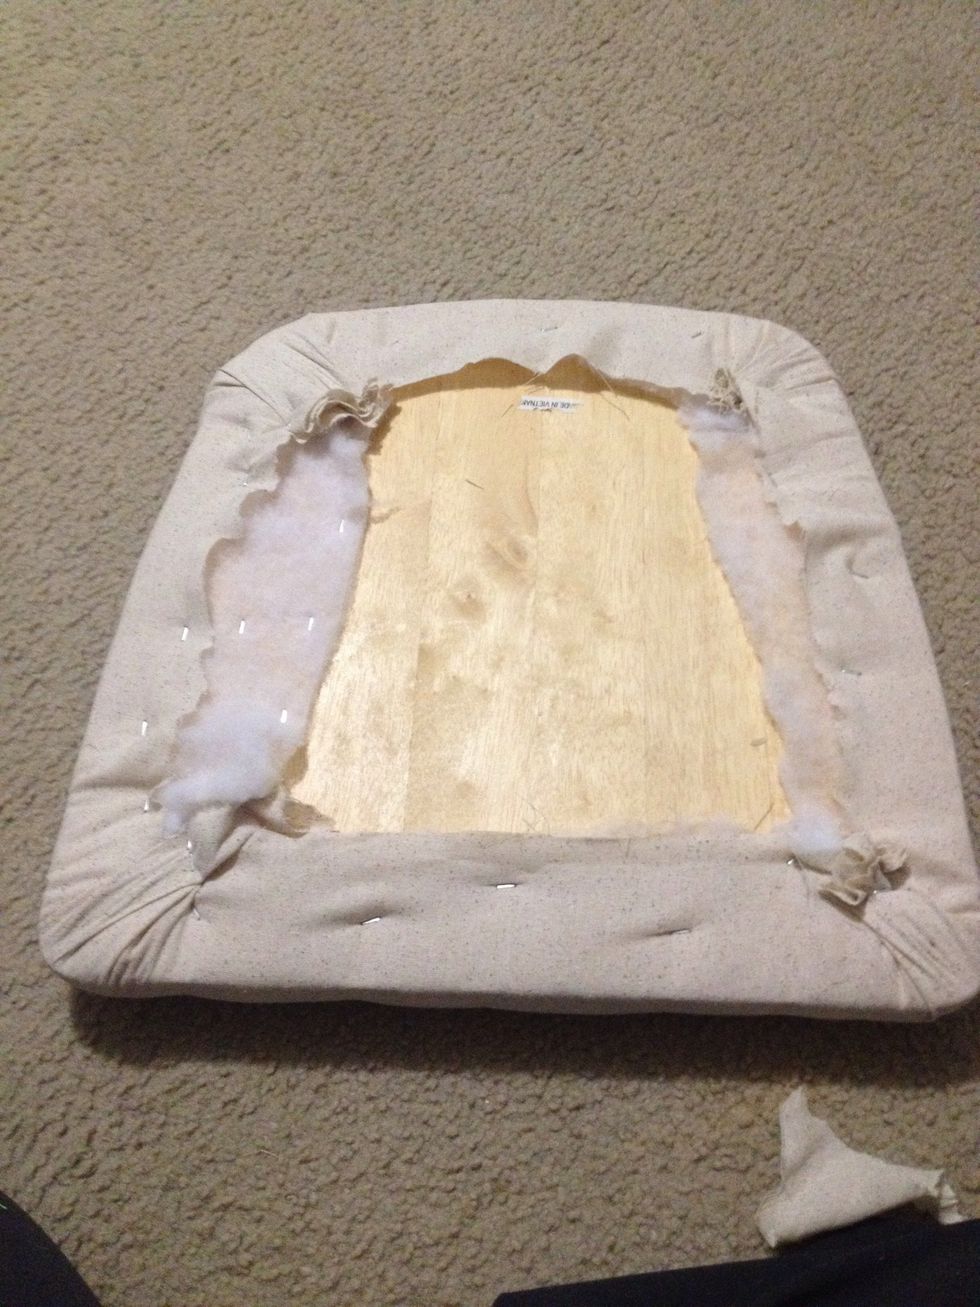
Remove the seats from each chair.
This part is optional. If you dont want to upholster the seats, you can sand and stain them.

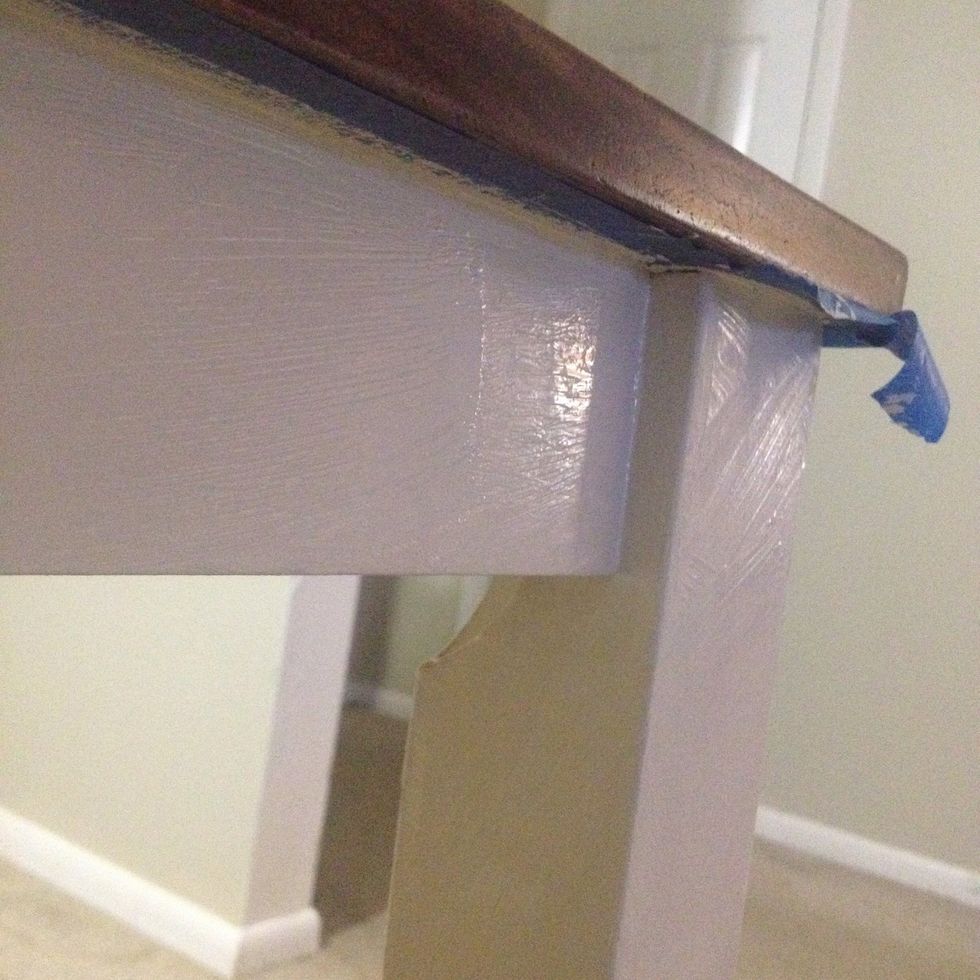
Tape off the bottom part of the table and begin applying your chalk paint.
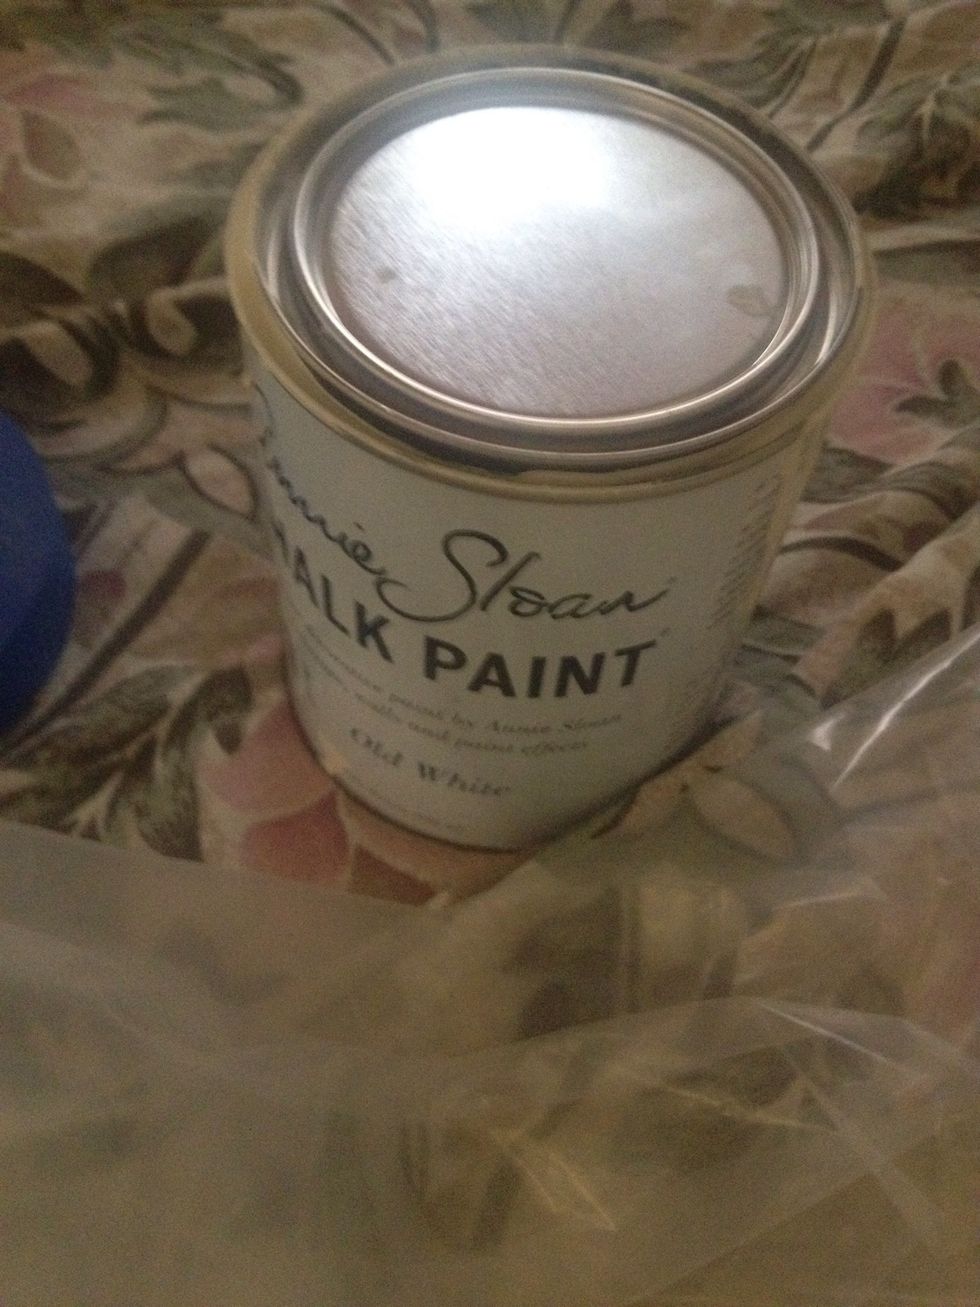
I'm using Old White by Annie Sloan.
You will still be able to see through your first coat of paint but don't worry, the second coat will really make it all come together.
Continue until all chairs and table are done. Let dry completely before applying the 2nd coat.

After your stain has dried completely, it's time to apply poly to protect the wood. I've chosen a wipe on polyurethane.
Things I've learned: 3. When they say well ventilated, they mean it! If you are doing this indoors, open windows and doors and get some air flowing. HOLY HEADACHE!

Pour it directly onto the table and spread all over the wood in the direction of the grain. Don't forget the sides.
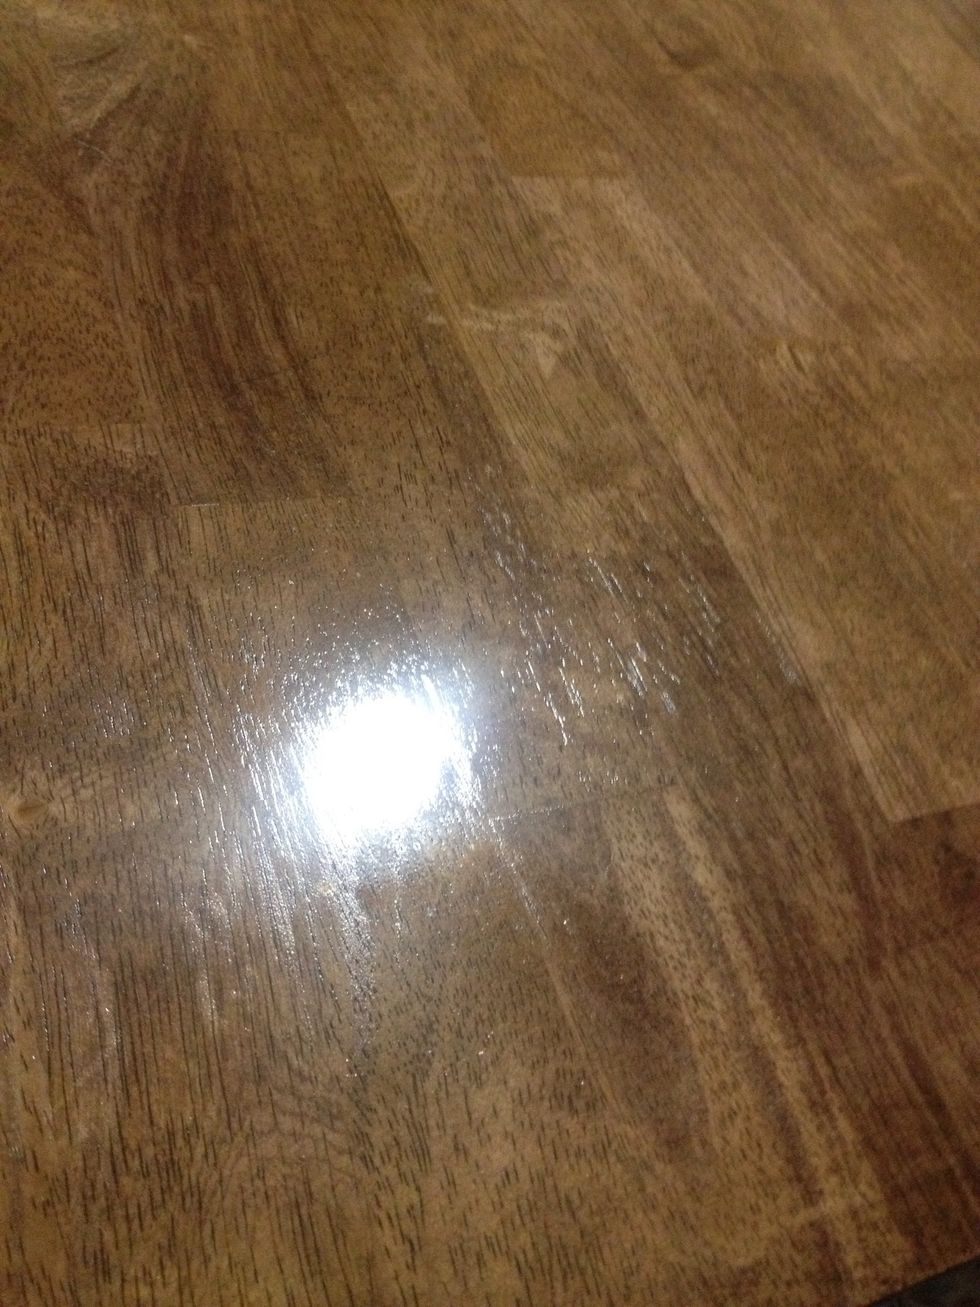
Look at how the poly enhances the wood. After just one coat, look at the pretty shine it's giving.
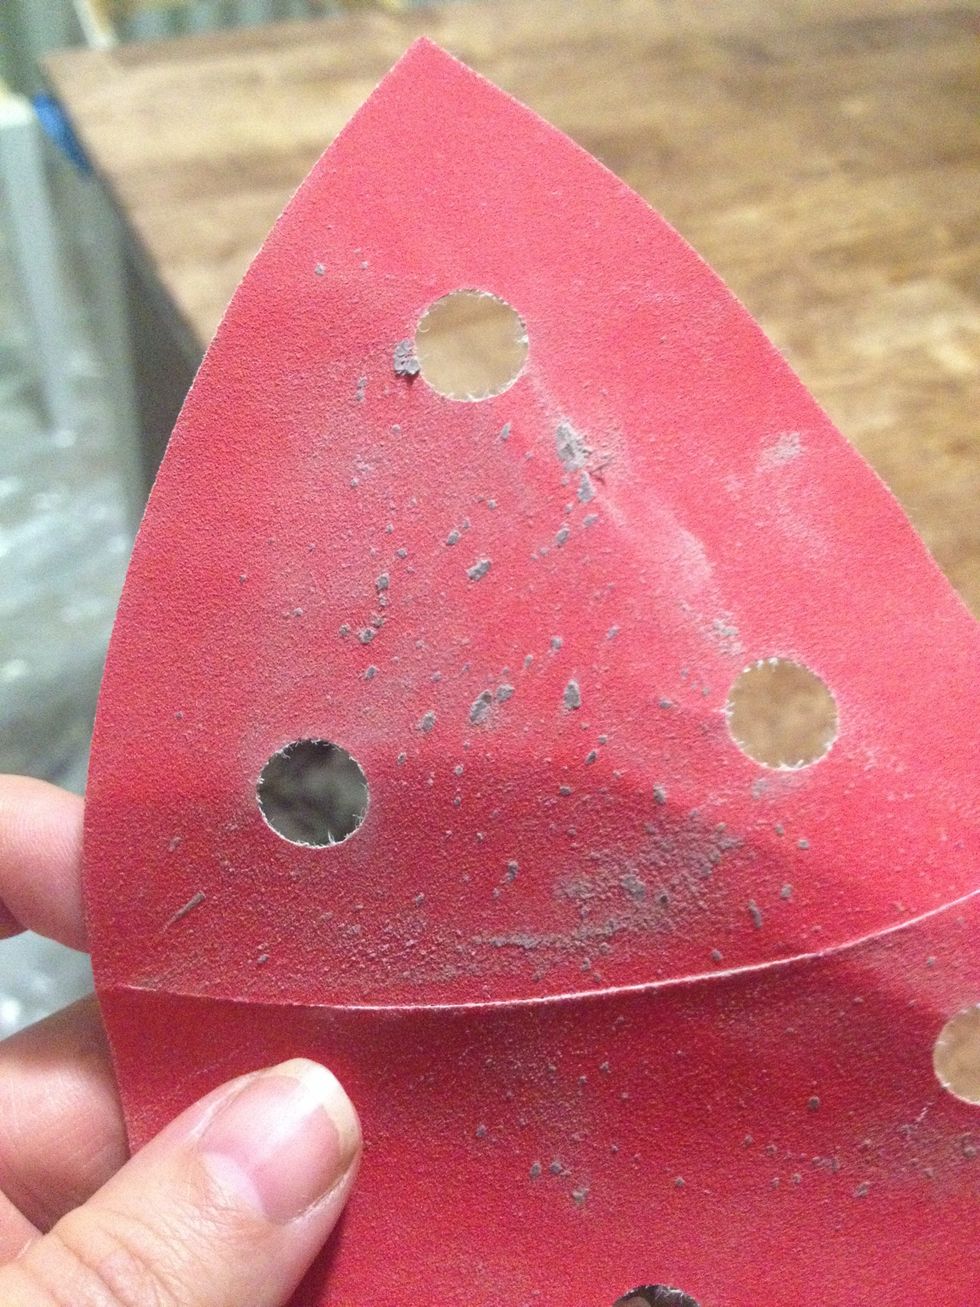
After waiting at least 3 hours for the poly to dry, lightly sand the surface with your 220 sandpaper.
Remove any dust and particles from the table with a soft cloth and add another layer of poly.

Apply a second coat of chalk paint.
Apply a 3rd coat of needed.

I like to brush the last coat on with X or zigzag brush strokes to add texture and dimension. Let dry completely.

Once your paint is completely dry, you need to cover all surfaces with wax to seal and protect all you have done. I'm using Annie Sloan clear soft wax.

Add some wax to a plate and spread it out a bit.
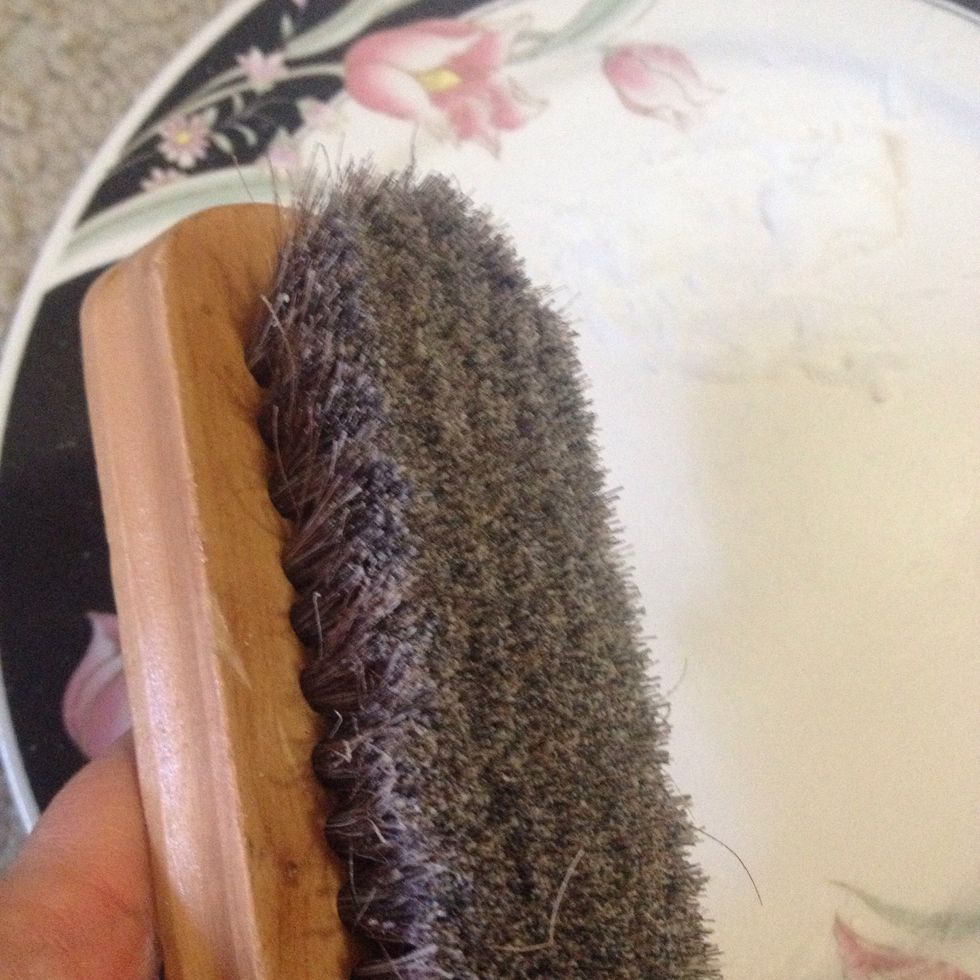
Use a cloth or brush to apply a thin layer of wax. To save money I used a shoe polishing brush to work the wax in. $4.95 compared to $30 seemed like a no brainer.
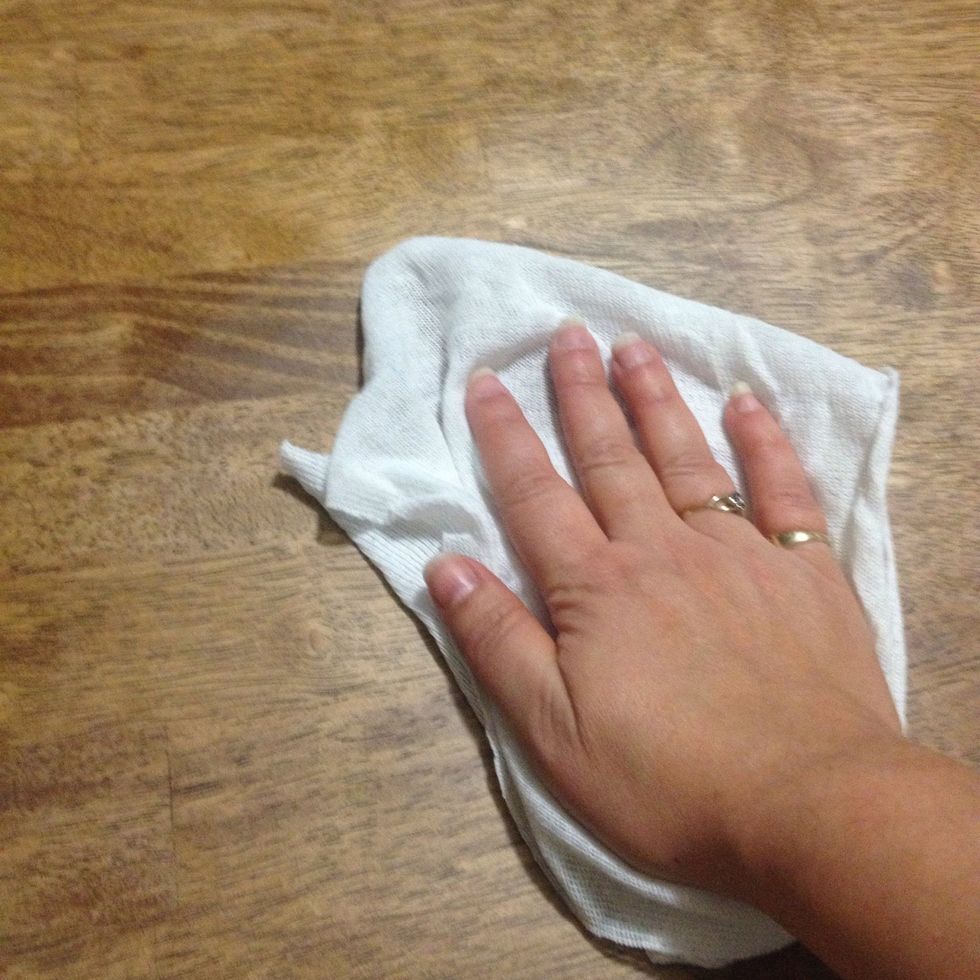
Next use a clean soft cloth and wipe away the excess.
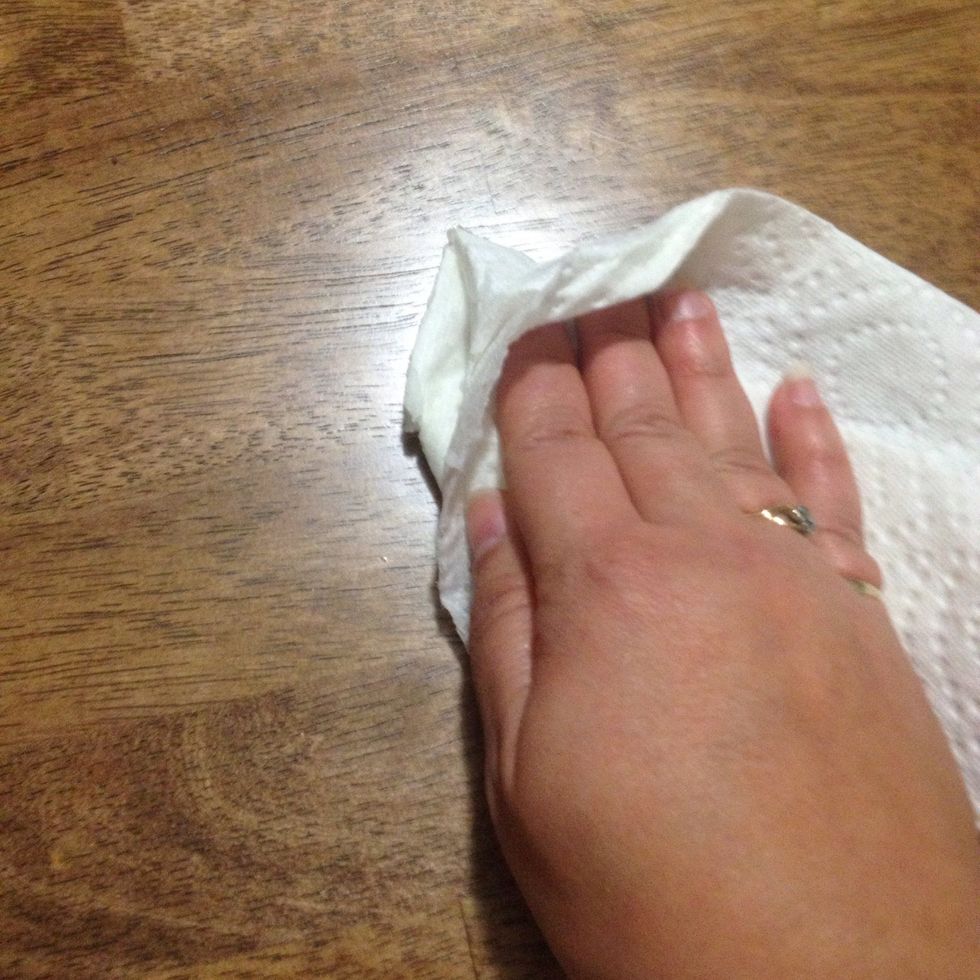
Let the wax dry overnight and then go back in with a clean cloth and buff all of the surfaces. This will bring shine to your surface.
Apply a second layer of wax and wait overnight again to buff. This will create a hard protective surface. The more layers of wax you apply the more durable the surface.
For a table that will be used often, I recommend at least 3 coats of wax.

All done with the table. Now we need to upholster the chairs.
Start by choosing your fabric. I really wanted a printed fabric but I chickened out and played it safe with this soft oatmeal colored burlap.
Things I've learned #4: Don't do what I did and buy pre cut foam, It wasn't quite big enough. Buy the roll and cut to size.
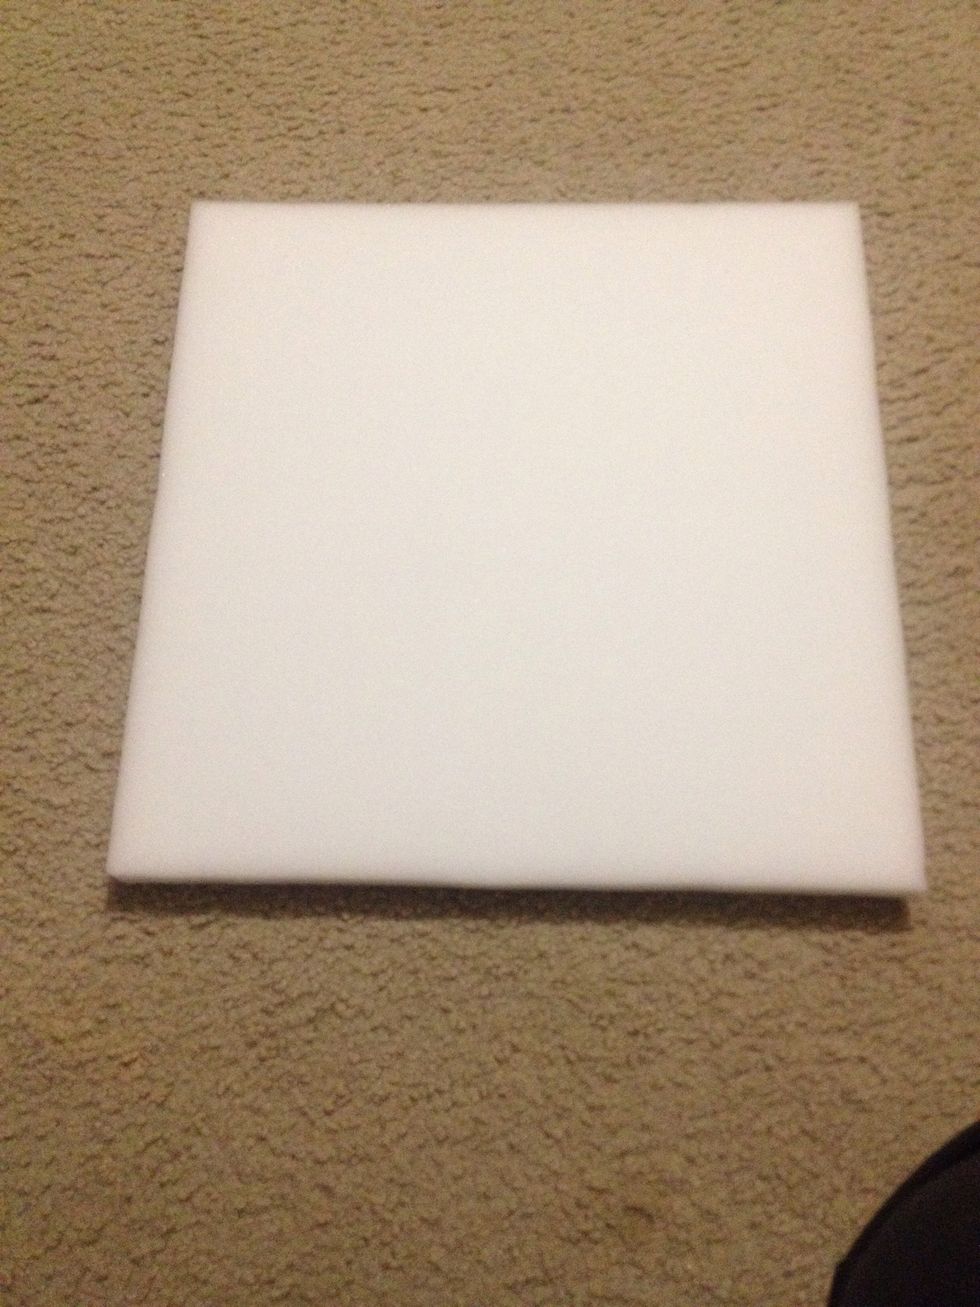
Lay your foam down.

Next spray you seat with spray adhesive and let stand for about 30 seconds to get tacky. Lay it face down on your foam.
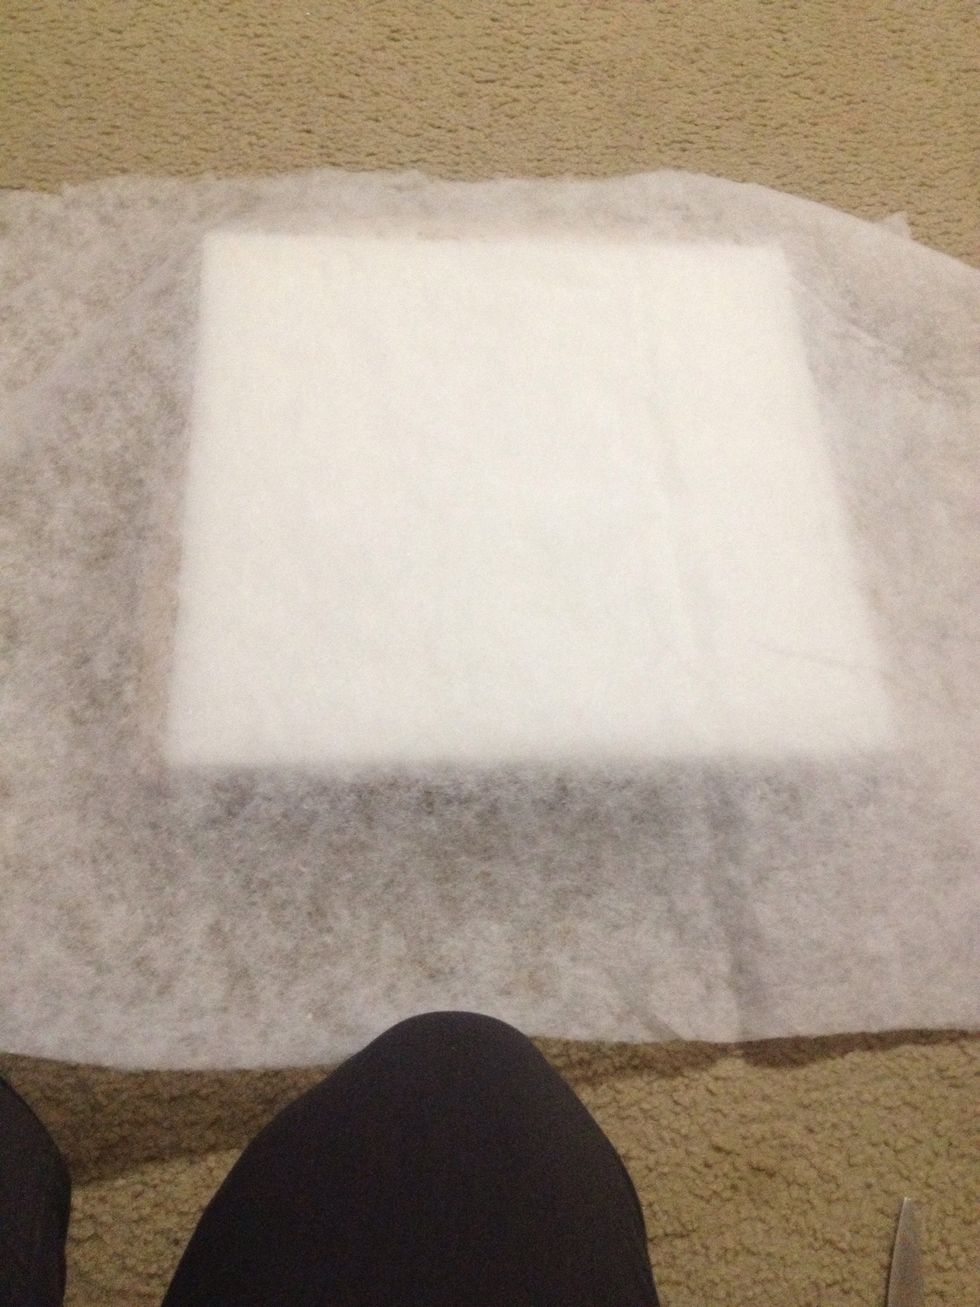
Next. Flip your seat around and cut your batting to size. Make sure you leave a bit of overlap for stapling later.
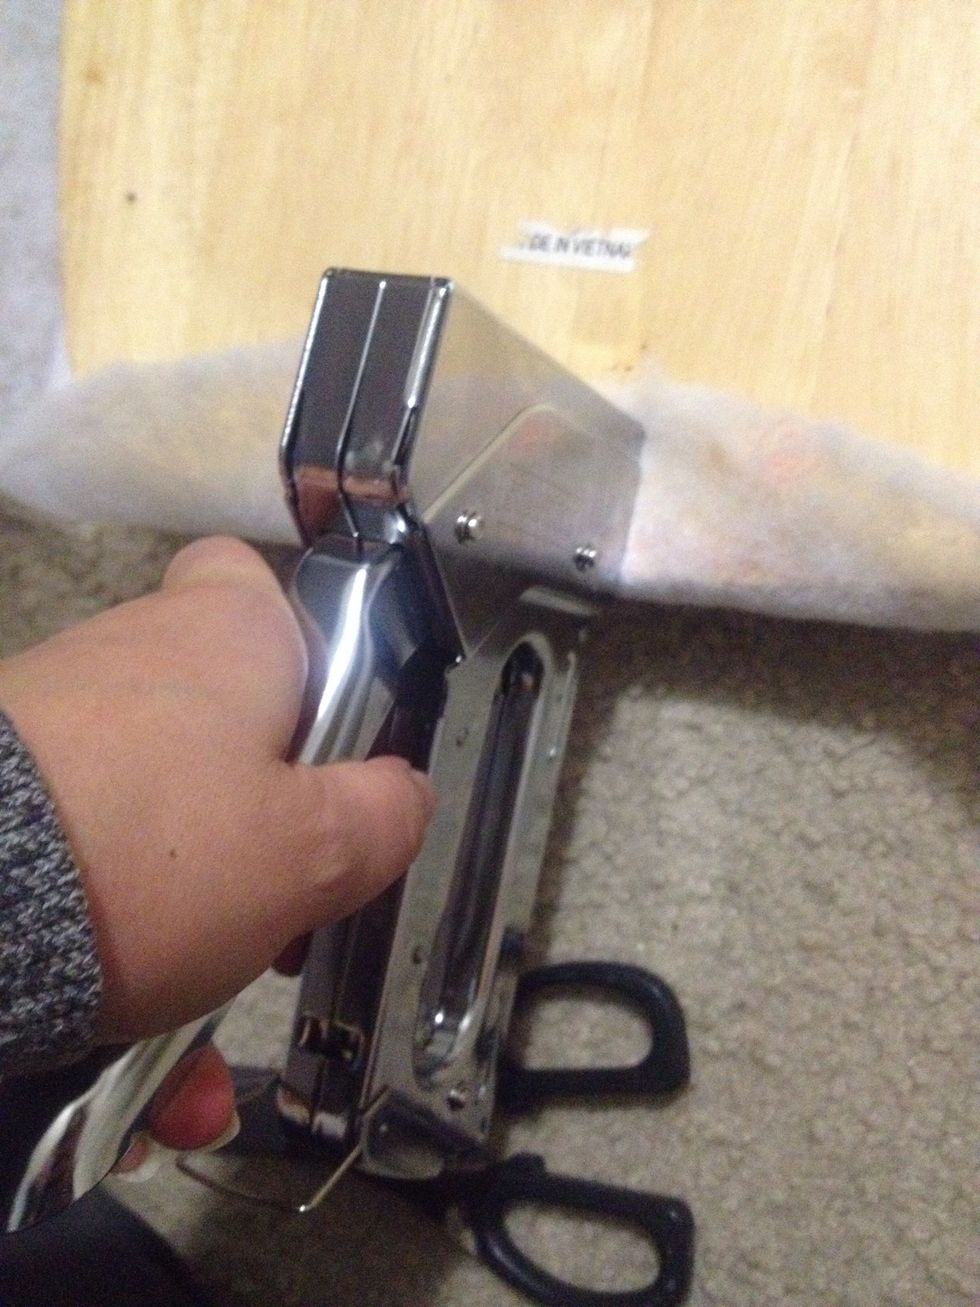
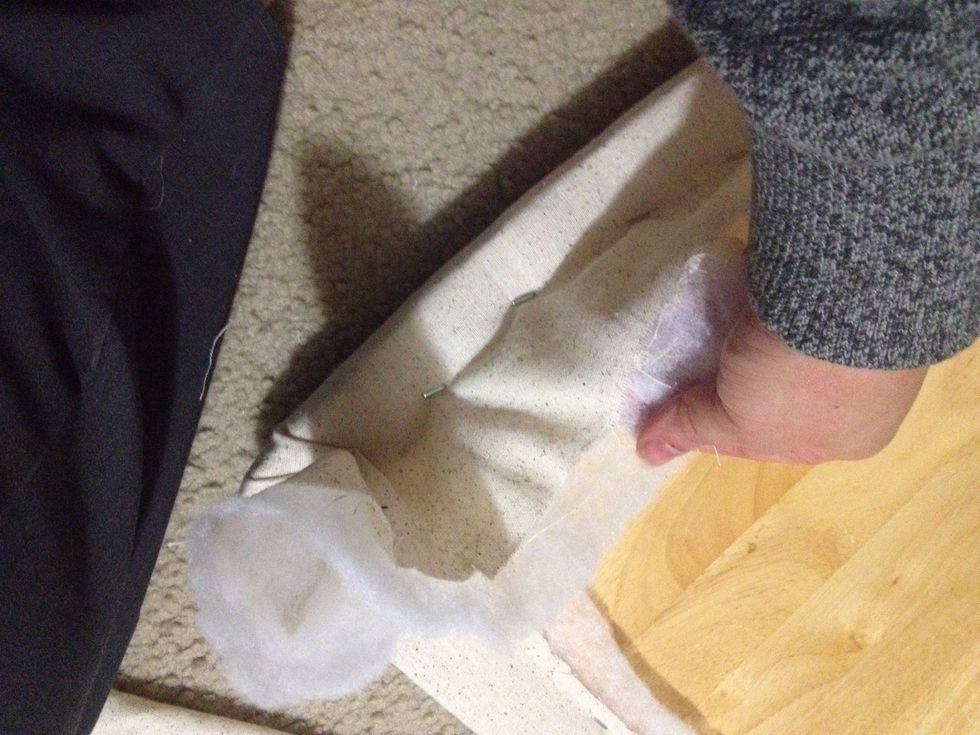
Begin stapling around the edges.
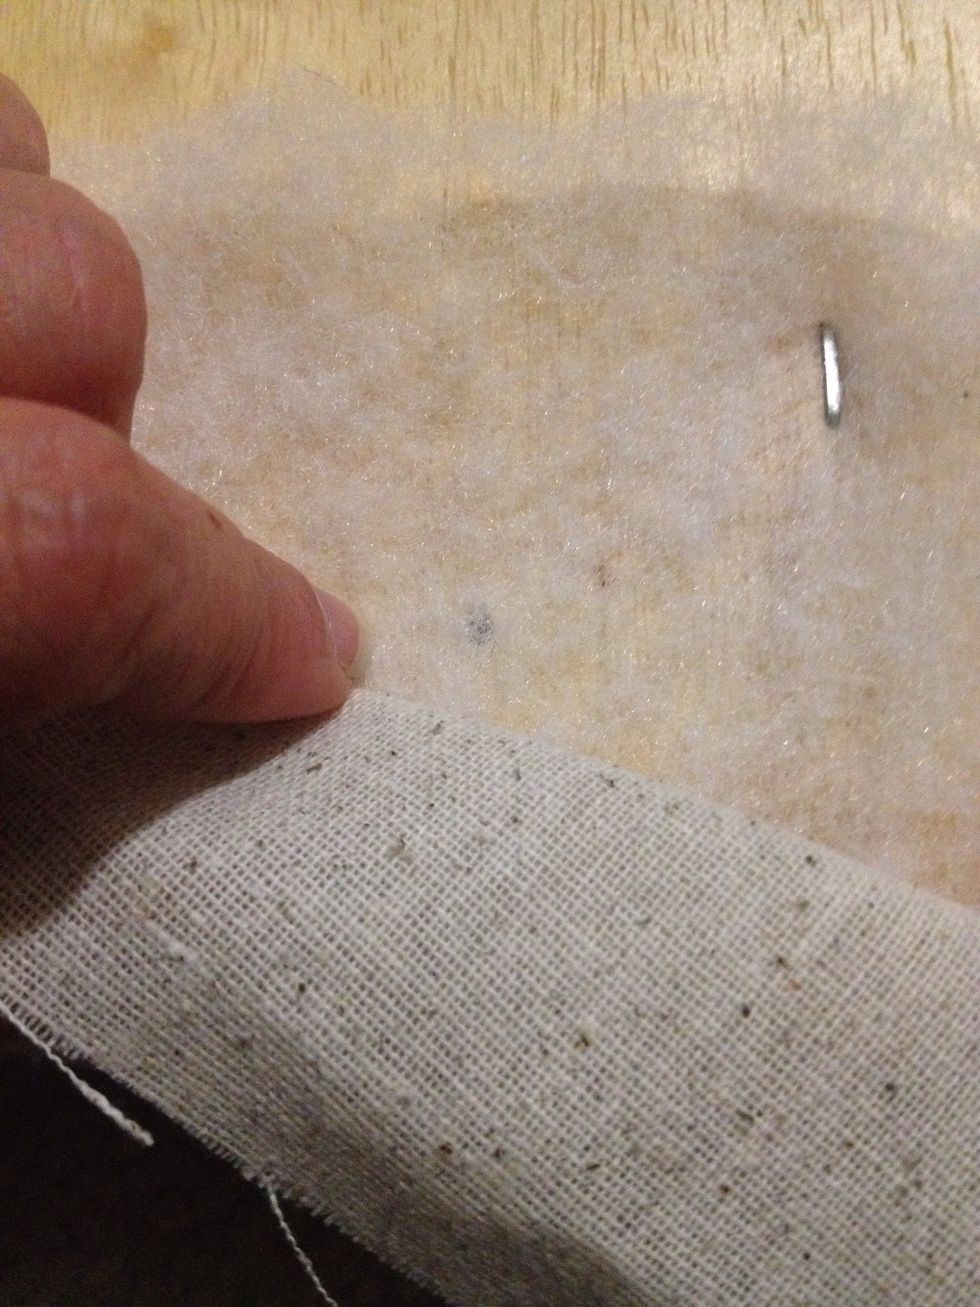
Lay your fabric down, cut to size and do the same. Stay mindful not to staple where your screw holes are.
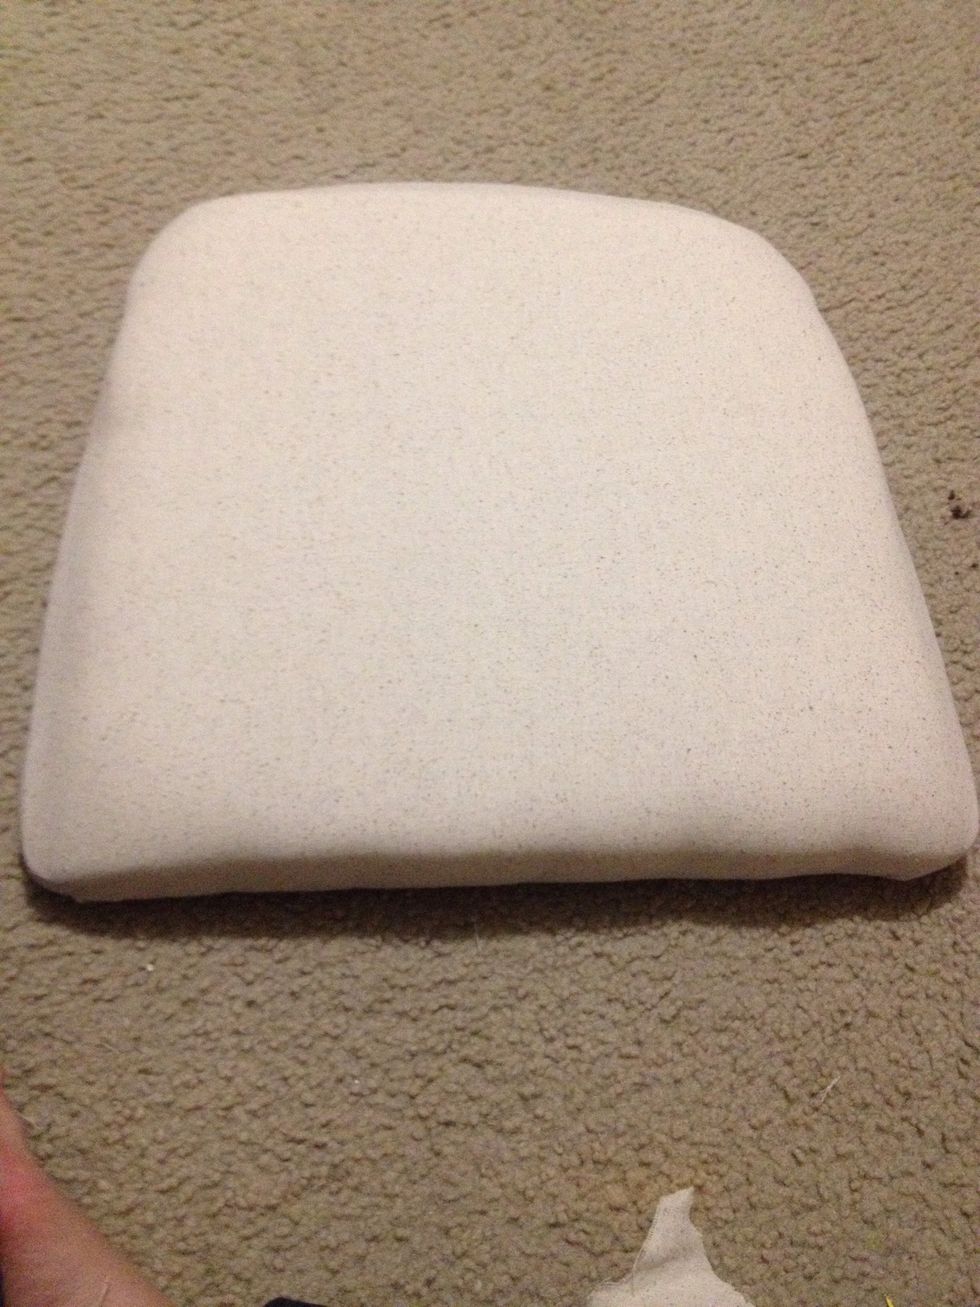
Trim any extra from the edges.
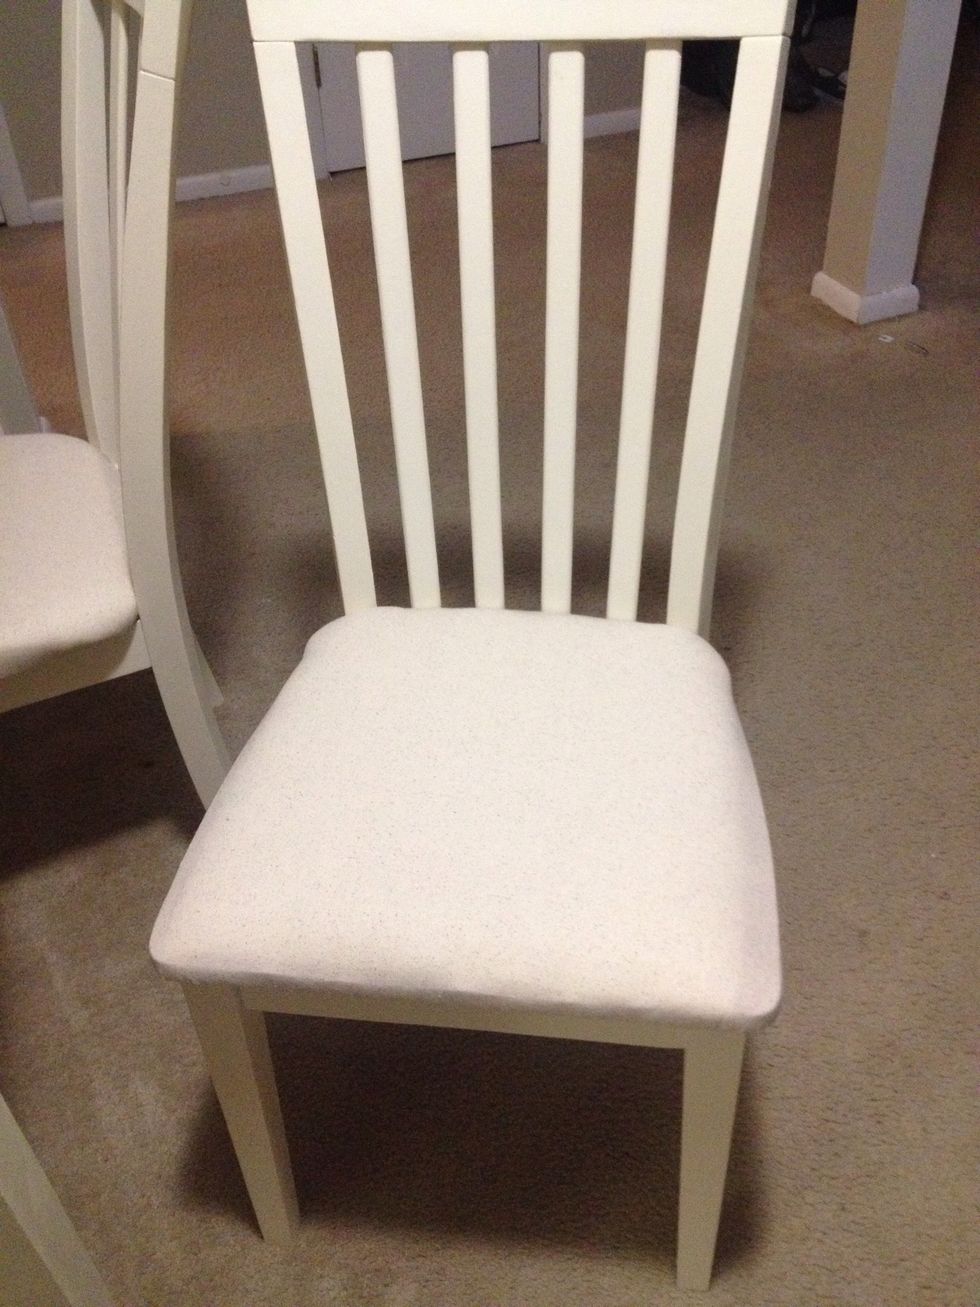
Screw your seat back onto the chair base and you are done!
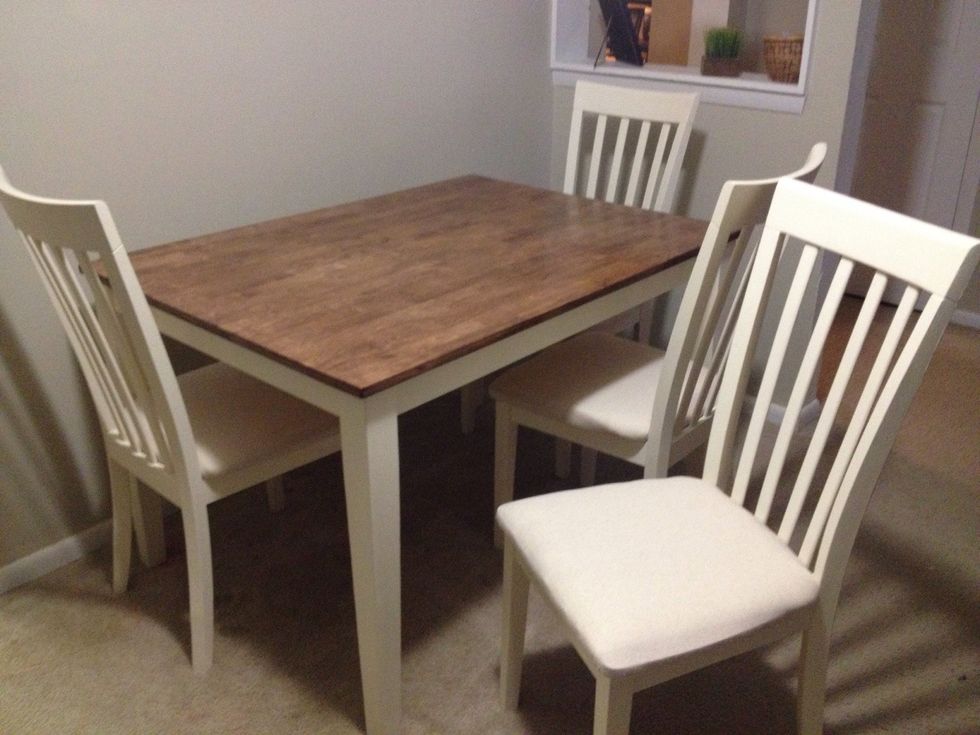
Voila! Finally!
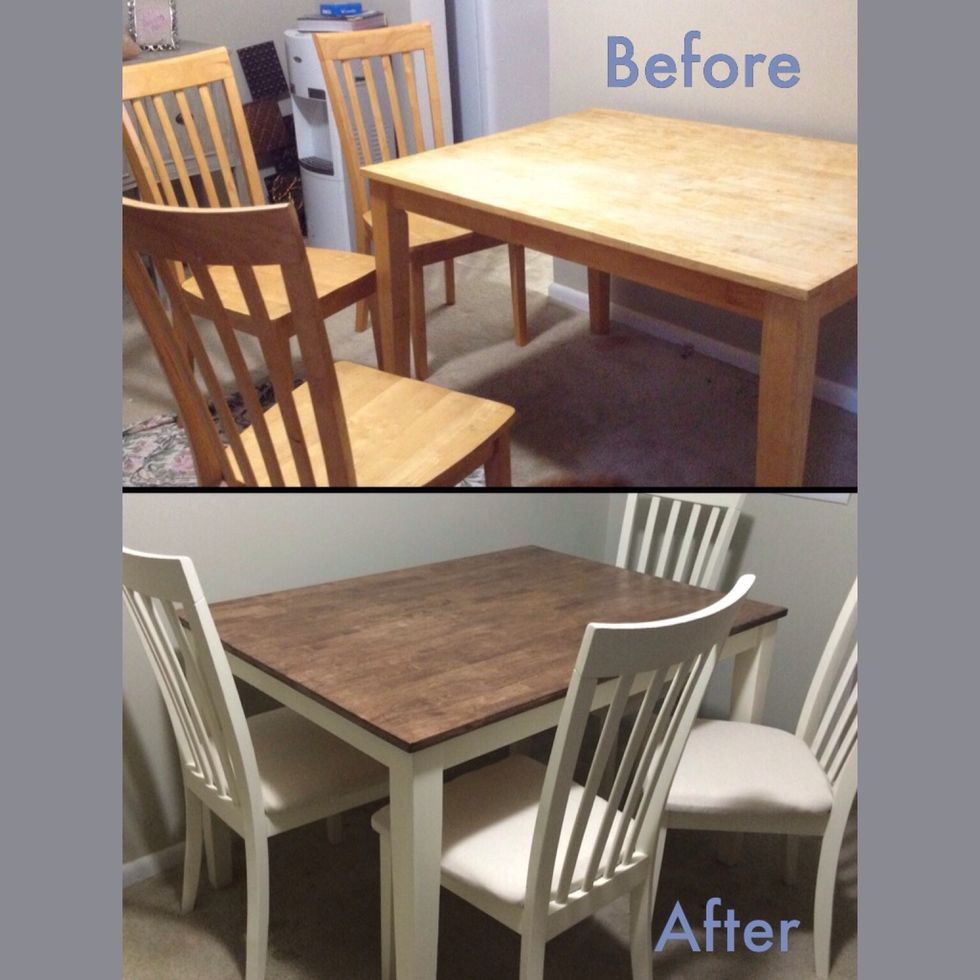
What a difference. A new looking table for a fraction of the price of buying a new one.