The Conversation (0)
Sign Up
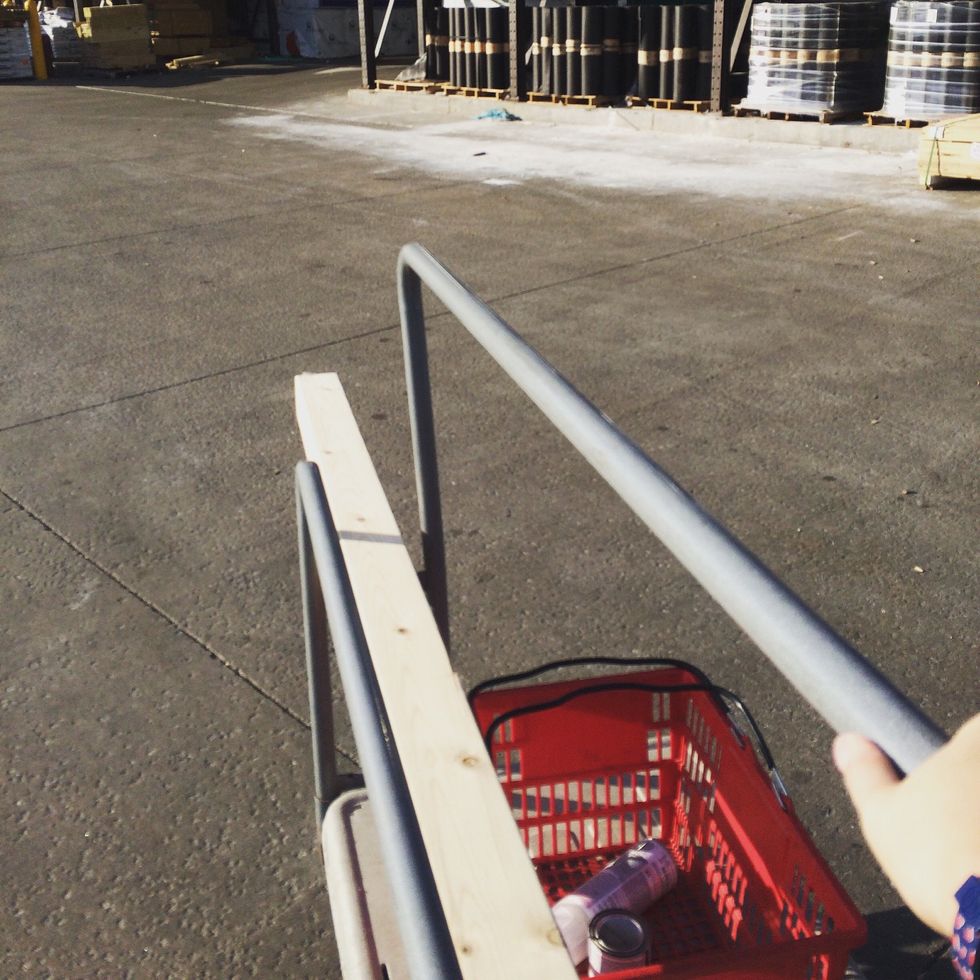
Pick out your wood post. My local Menards only had an 8 ft post, but that was ok with me because I got enough cubes to make four sets of dice for $9! Get the post cut into 3.5" cubes.

For one set you will need 6 cubes. Sand the edges of each to remove any roughness. I prefer to use my mouse sander with a 50 grit pad. But if you have a belt sander it goes even quicker.
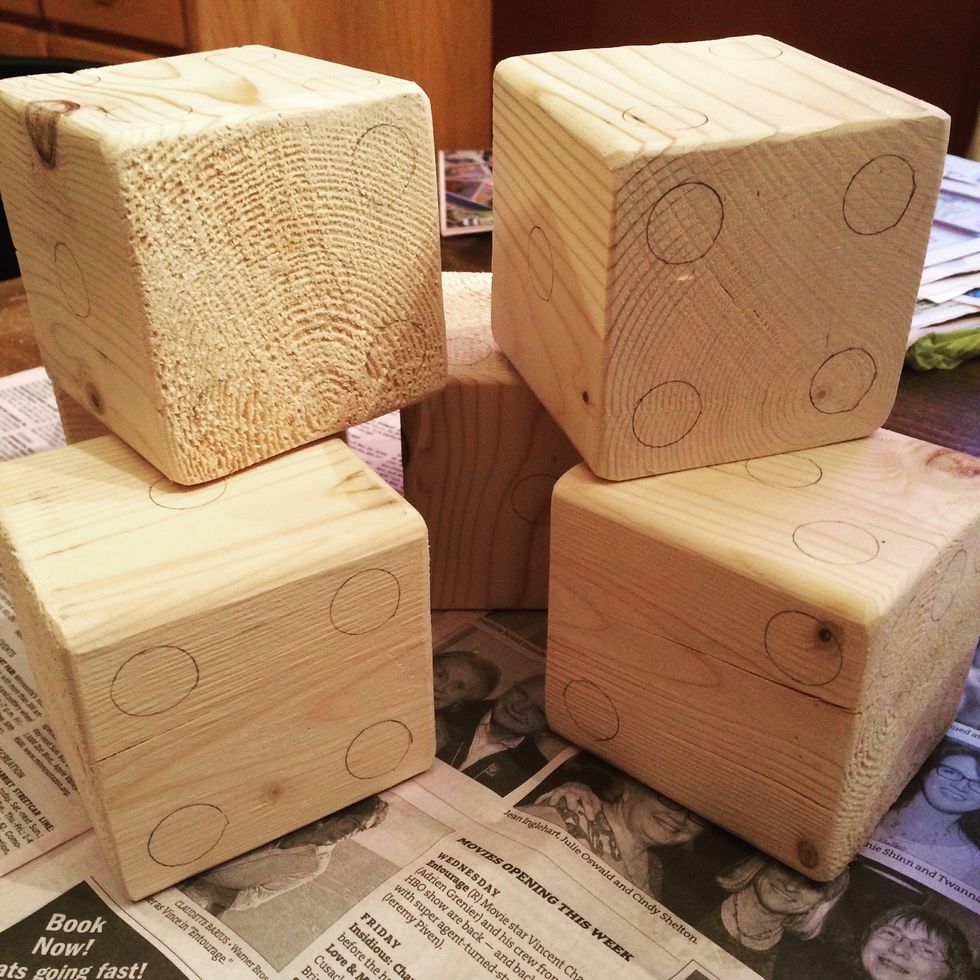
Find a button that is the size you'd like your dots to be. Then use the normal sized dice to get the right dot placement on each of your wooden dice, and trace the button on each side.

Use your paint brush and craft paint to fill in the dots. I'd recommend doing one side at a time and rotating so that by the time you get to the first dice again the paint has dried.
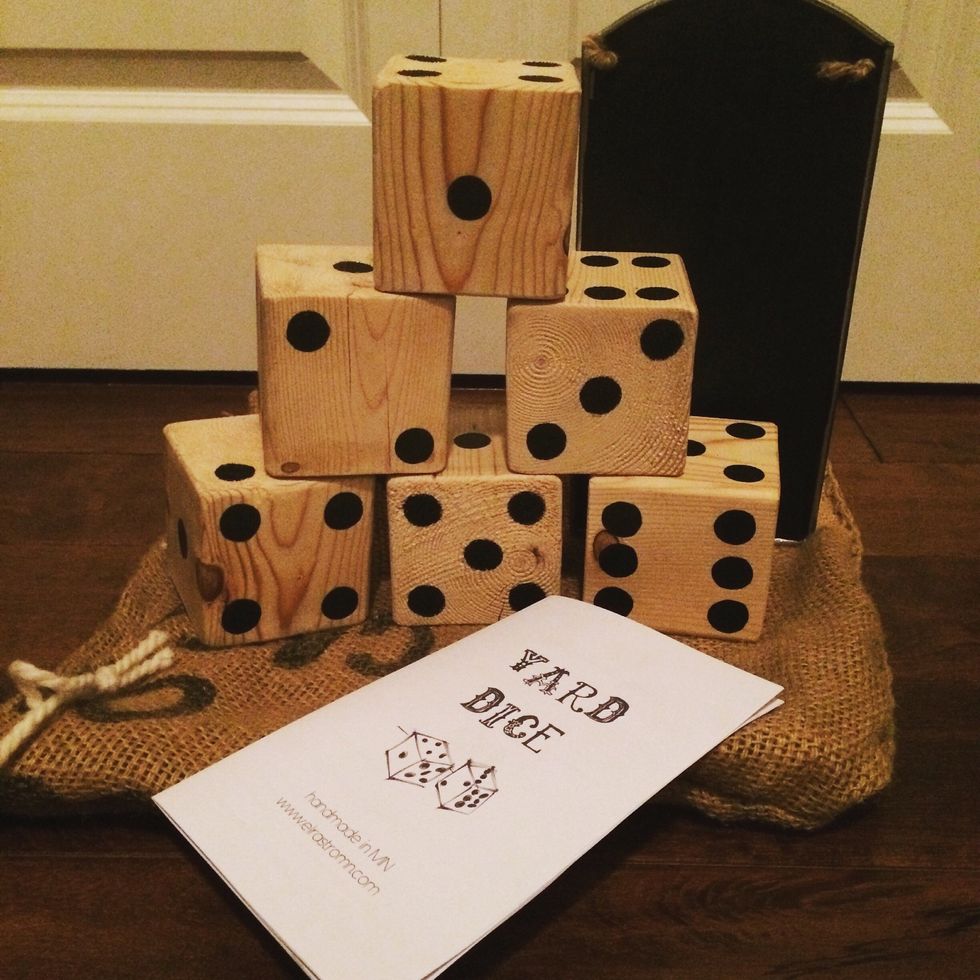
Once the paint is dry coat each side with the clear spray paint to seal it. I also made a chalkboard, game packet and burlap bag to go with my dice.
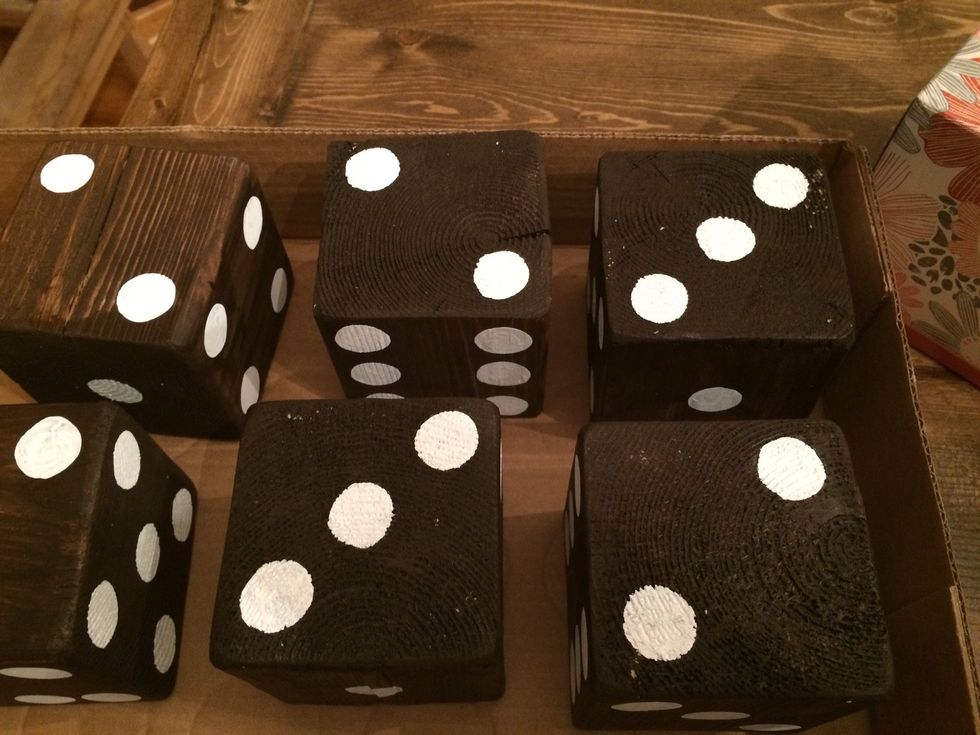
Change up the colors by staining the wood and using a contrasting color for dots. You could even spray paint the cubes and rough them up for a more antiqued look.
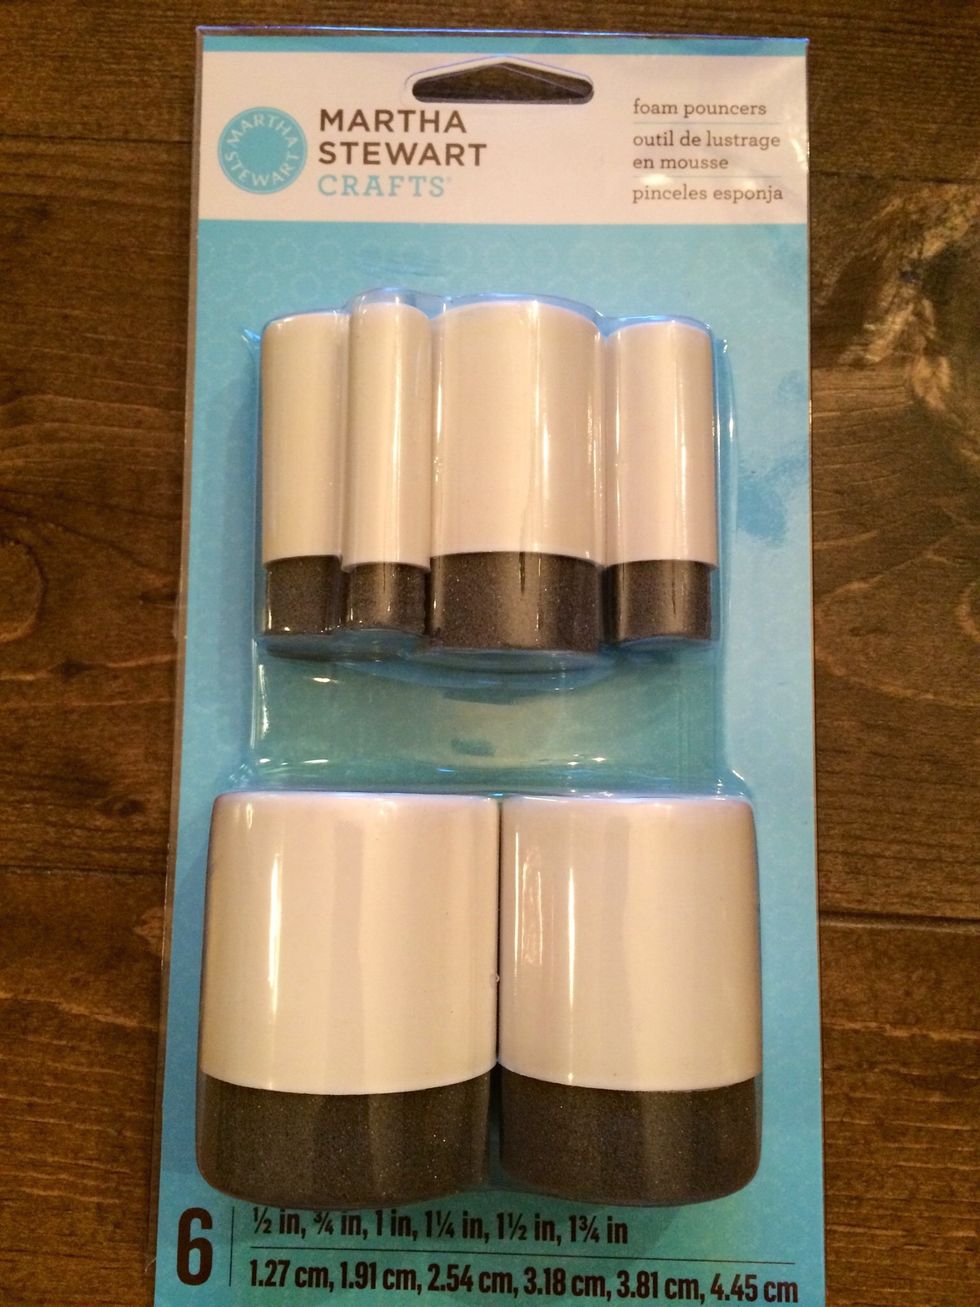
Time Saving Tip: I got these foam pouncers in the stencil section at Michaels, & used one of the smaller sizes to do the dots instead of tracing the button. You still need to fill in a bit w/a brush.