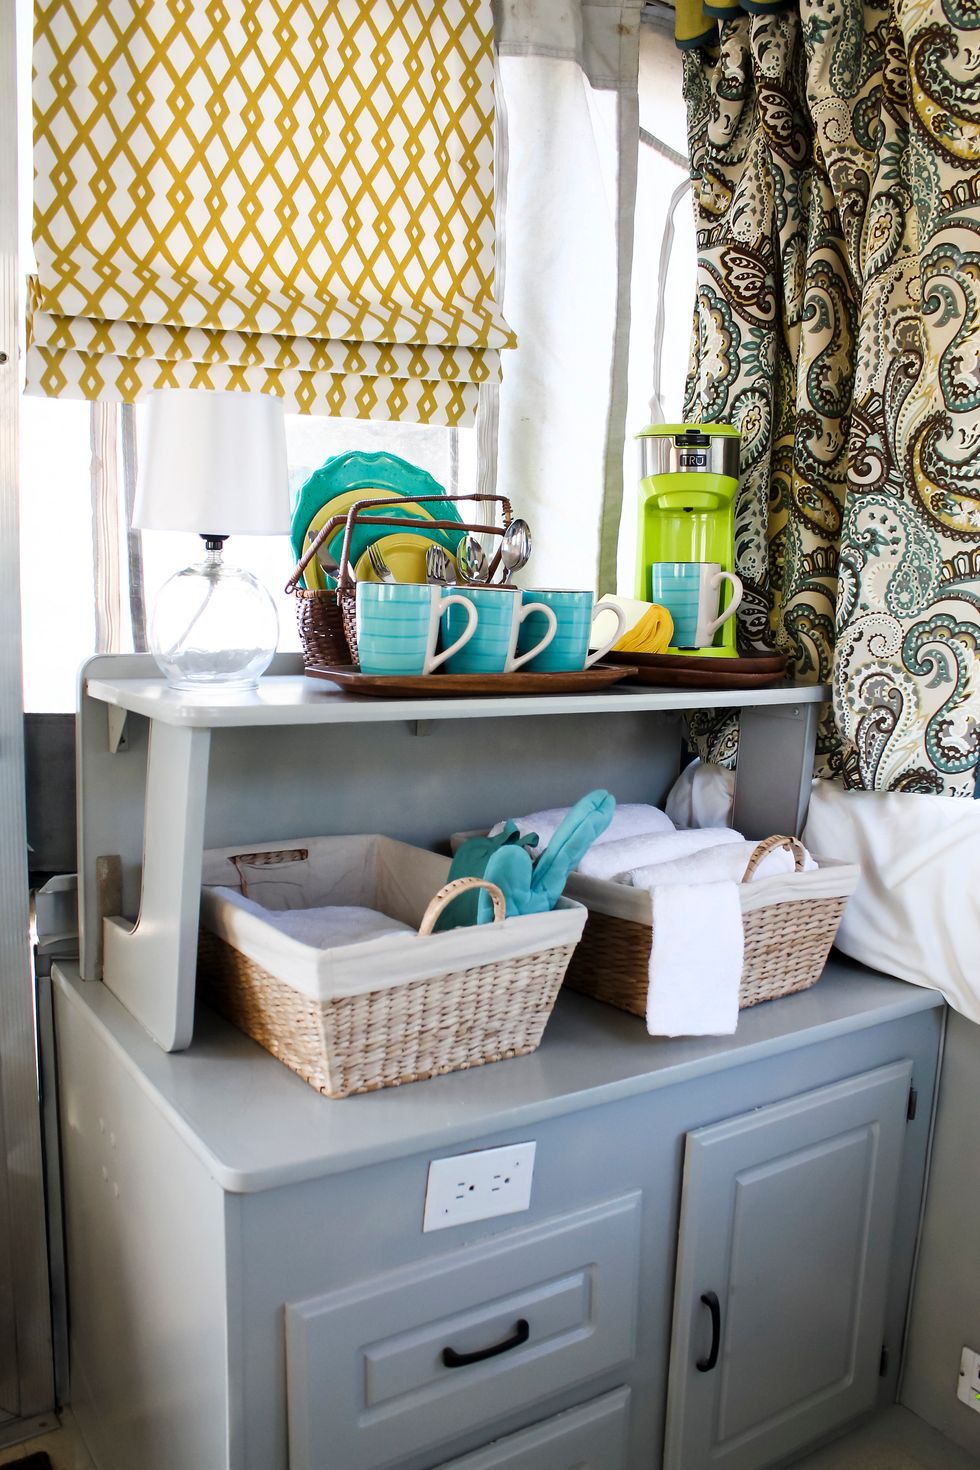
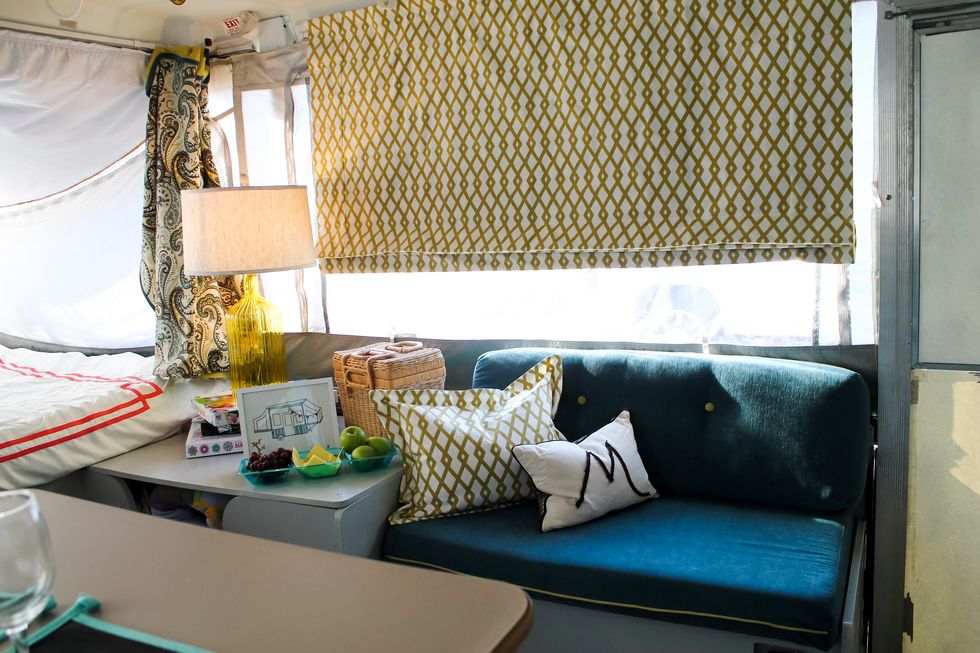
They are perfect for our little camper.

I just love how we can have privacy when we need it. Here's how you can make yours using magnets instead of the cords.

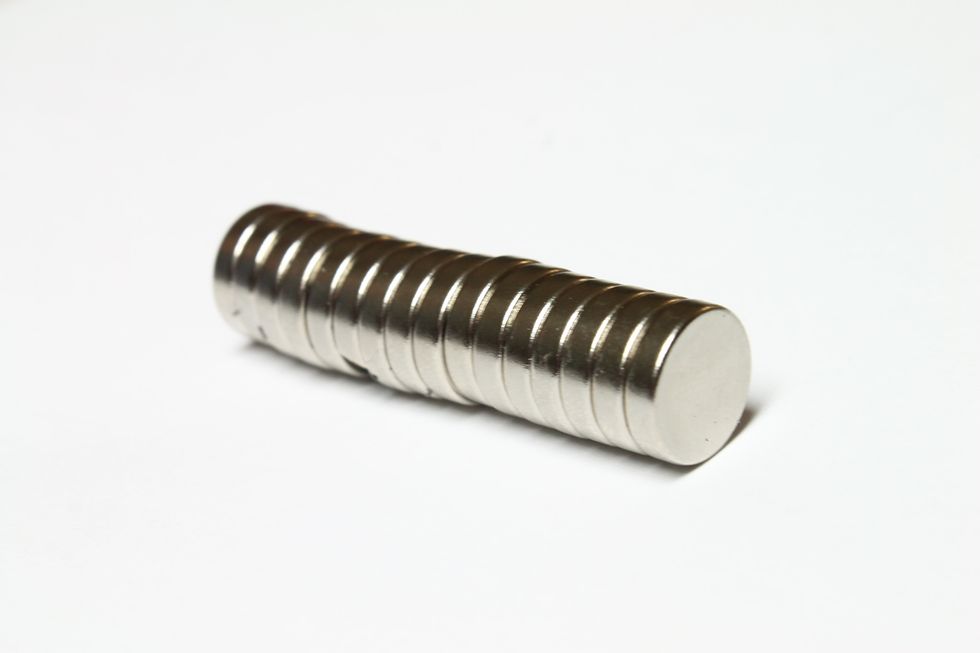
Now these magnets aren't just any ole magnets from the craft store. We tested a lot. They have to be really super strong (available at http://bit.ly/2yXanP2) or they won't support your shade.
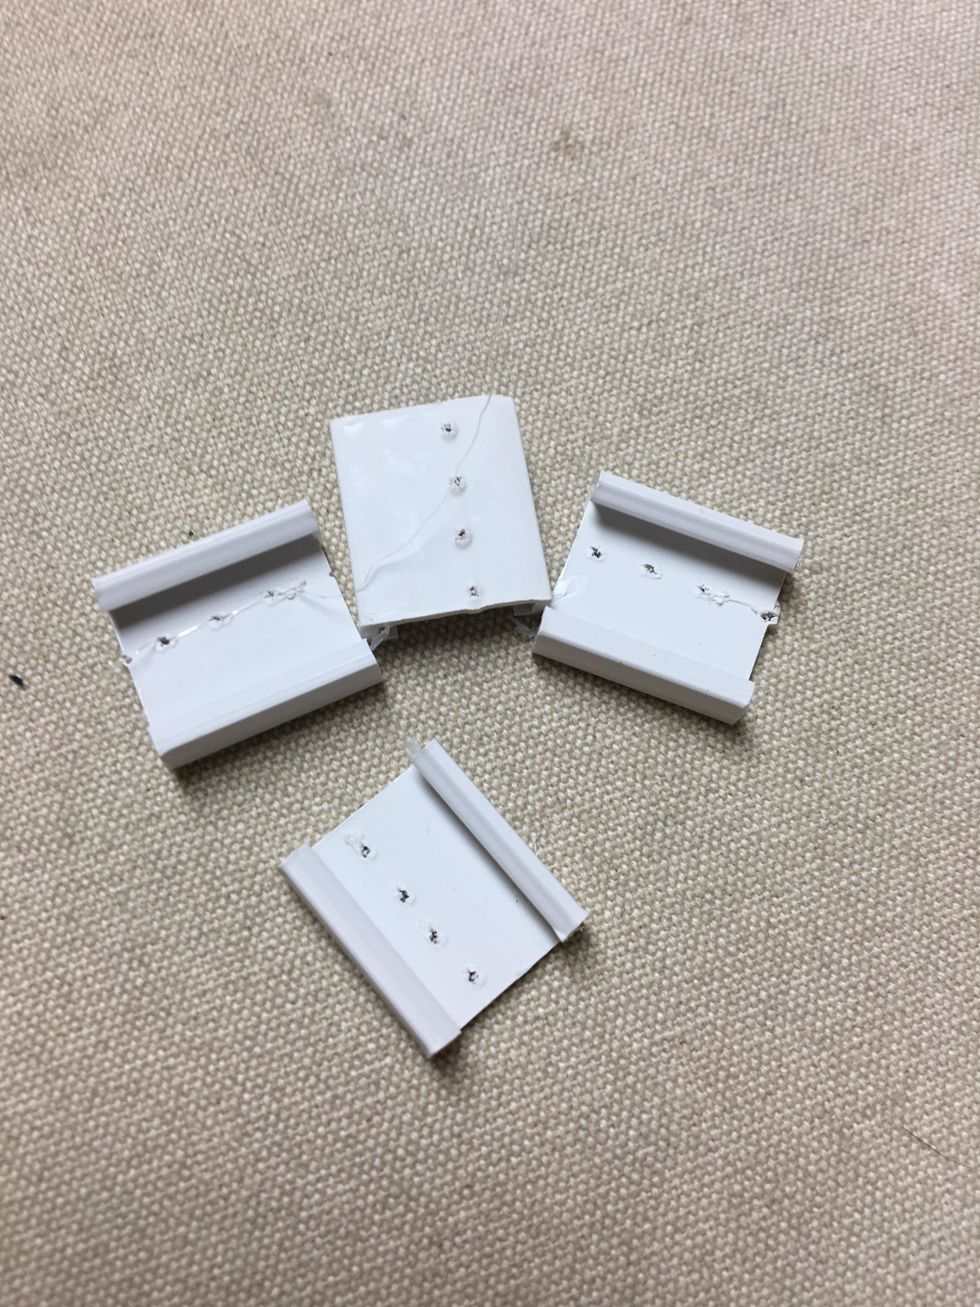
Measure your window and decide on your mounting method. Options are: Outside Mount, Inside Mount or for a Pop-Up Camper like mine, you will sew the clips along the top.
For an Outside Mount you can cut your board the size you want the shade to be. For an Inside Mount you will cut your board 1/4" narrower than the inside measurement of the window. MEASURE TWICE!
For the Pop Up Method with Clips, divide the finished width of the shade by 6" spaces. (1 clip will be placed at approx every 6 inches of shade width). For a 60" window you will need 11 clips.

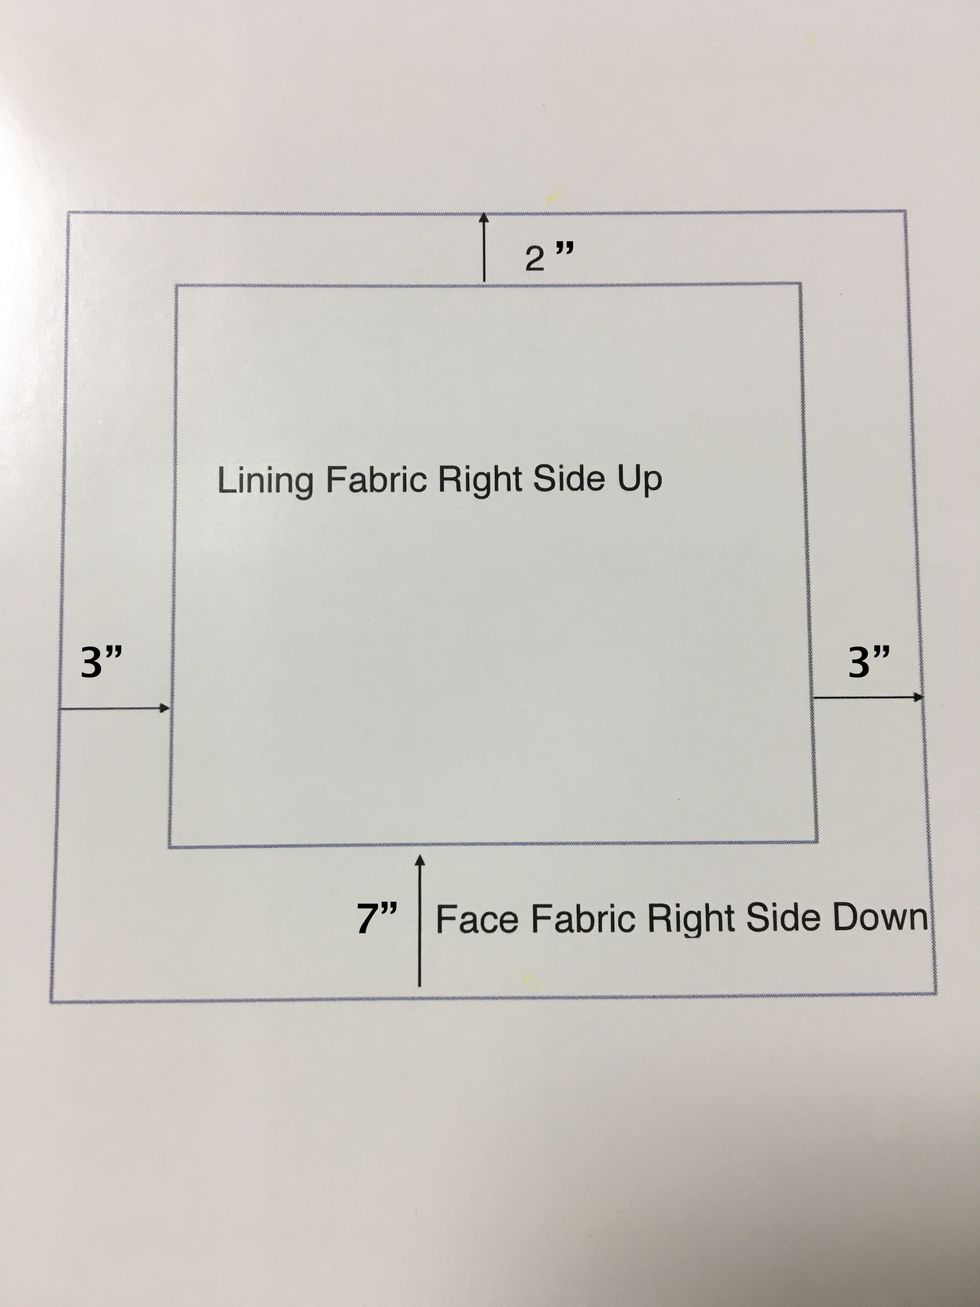
Cut your face fabric the finished width of your shade plus 6" and the finished length plus 9" (7" for board mounted shades - remember I used the clips). Mine was 66" x 51".
If your window is wider than your fabric you'll need to seam the fabric unless it can be railroaded (turned horizontal) I had to match a repeat See our Tips on Matching Repeats http://bit.ly/2hTCIuz
Cut your lining the exact size you want your roman shade to be. Mine was 60" x 41"
Lay your face fabric on a large surface with the right side down.
Then lay the lining fabric on top of the back side of the face fabric - right side up as shown
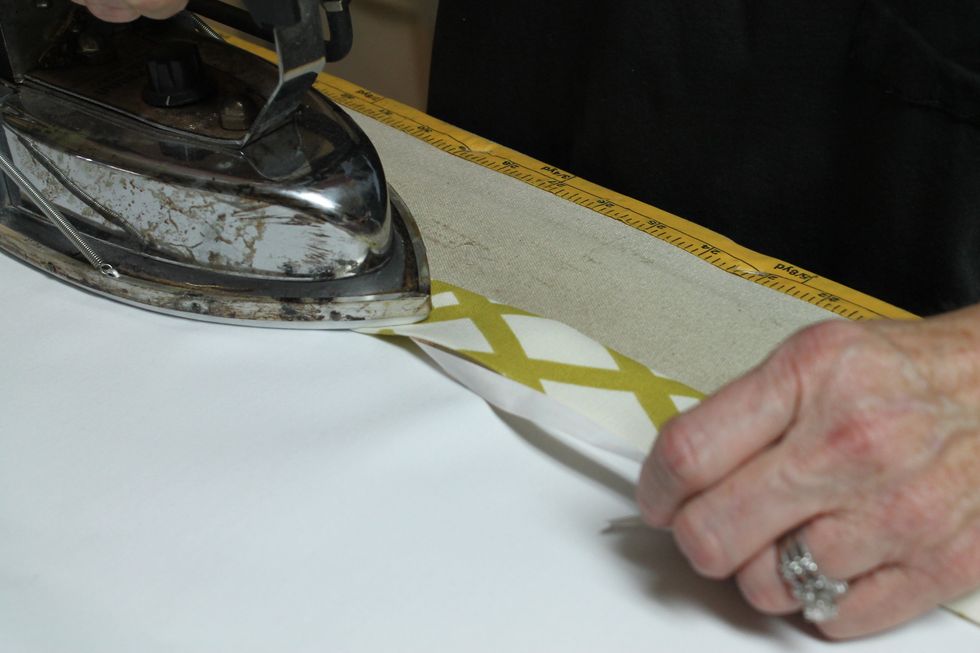
Press double 1 1/2" side hems (fold over 1 1/2" and press then fold over 1 1/2" again and press).
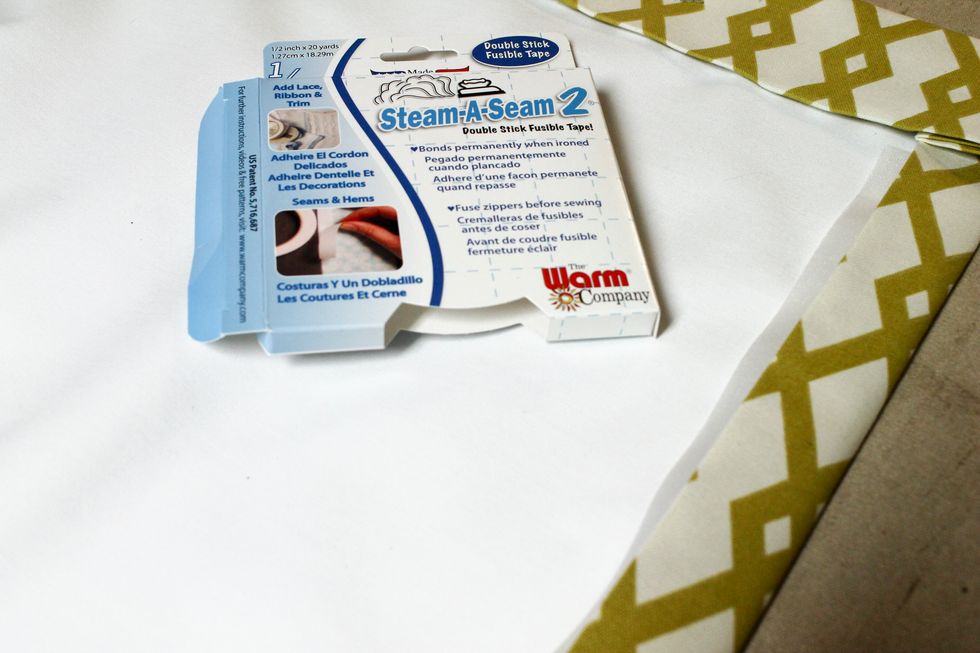
Measure the entire length and cut 2 pieces of SteamASeam2 (available here http://bit.ly/2xbRKSV) the appropriate length. Slip it under the edge of each of the side hems and press
Peel off the paper and press. At this point you are only bonding the side hems to the lining. Most fabrics will bond permanently. Test your fabric. If it is not secure, topstitch close to the edge
Press 1/2" down along top edge and 1/2" up along the bottom edge Next fold bottom hem up 6 1/2" onto the lining and press. (Skip the following for board mount) Fold top edge down 1 1/2" and press
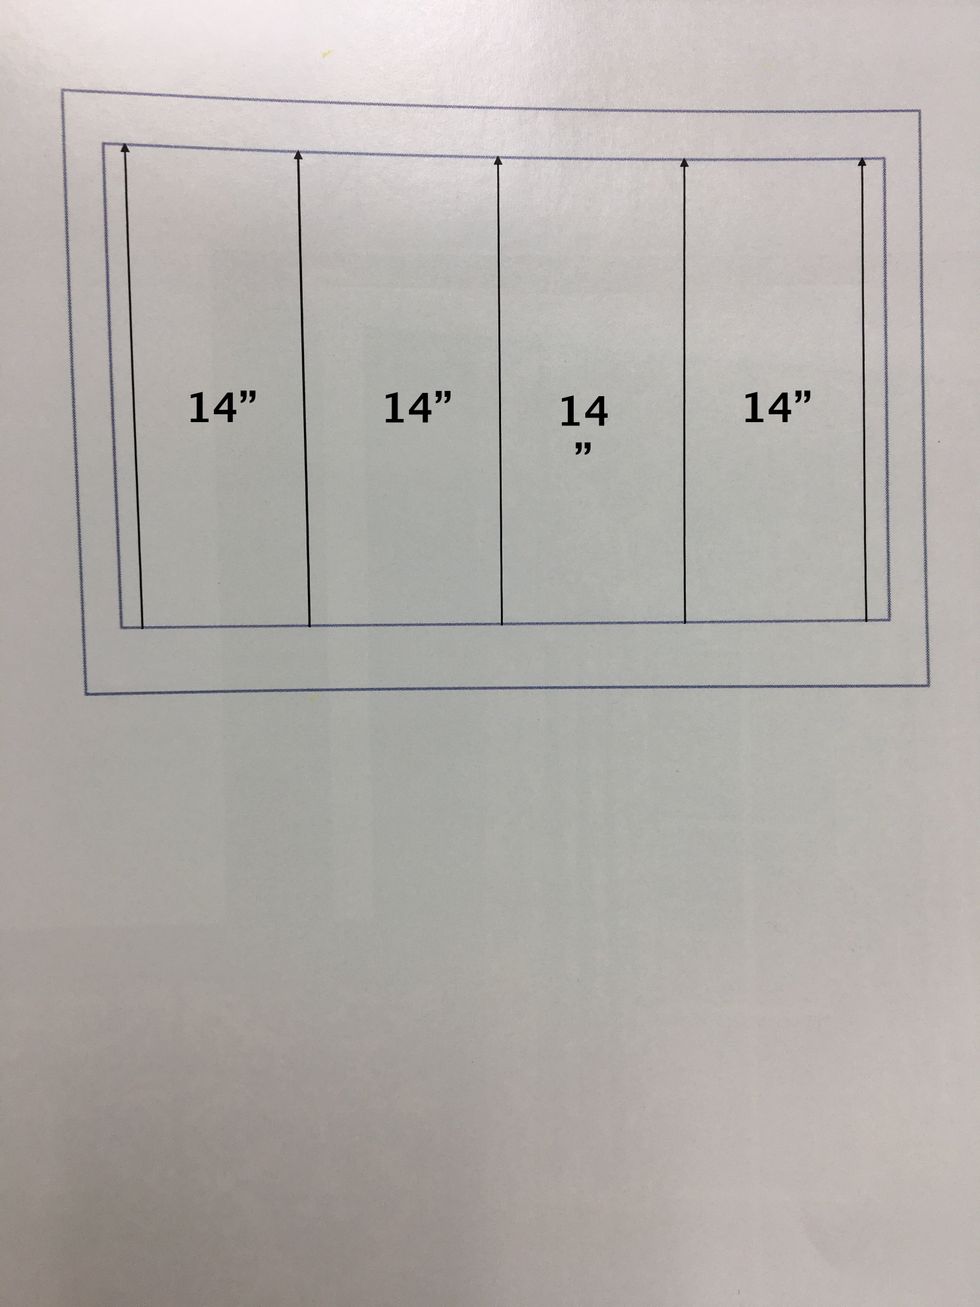
Determine the amount of rows of magnet tape you will need. Usually around 10 to 15 inches apart is fine. My shade was 60" wide so I used 5 rows of tape.
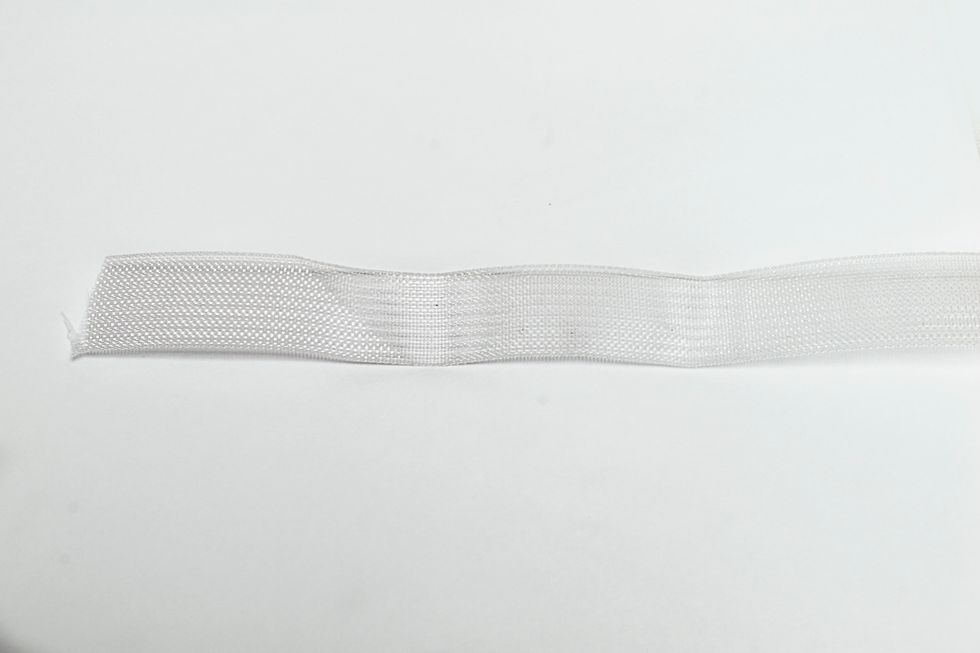
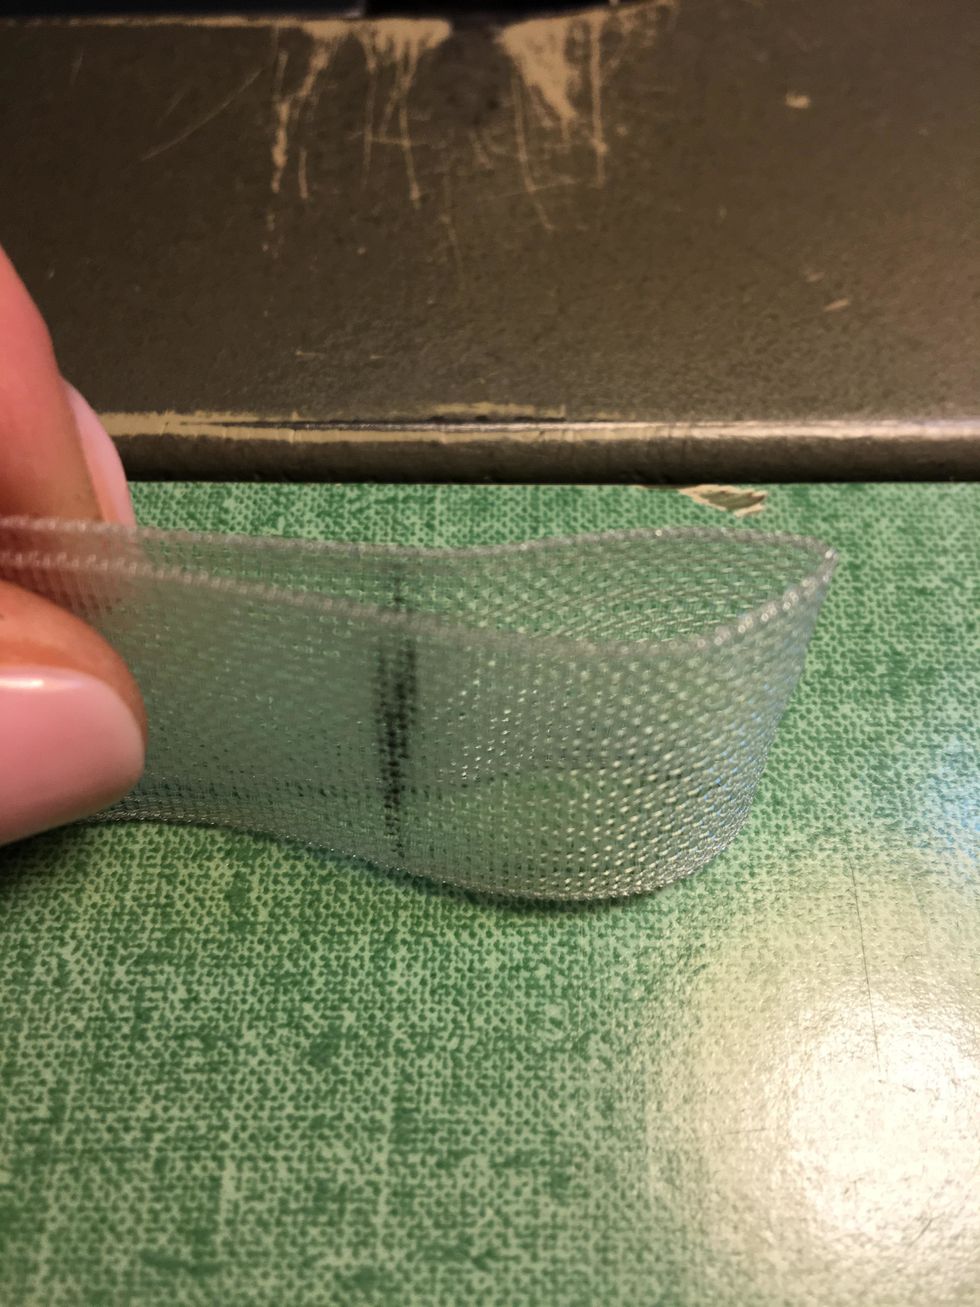
This magnet tape (available here http://bit.ly/2yDyMpW) is a thin but really strong nylon. It doesn't interfere with the strength of the magnets and it's really thin so it doesn't add any bulk.
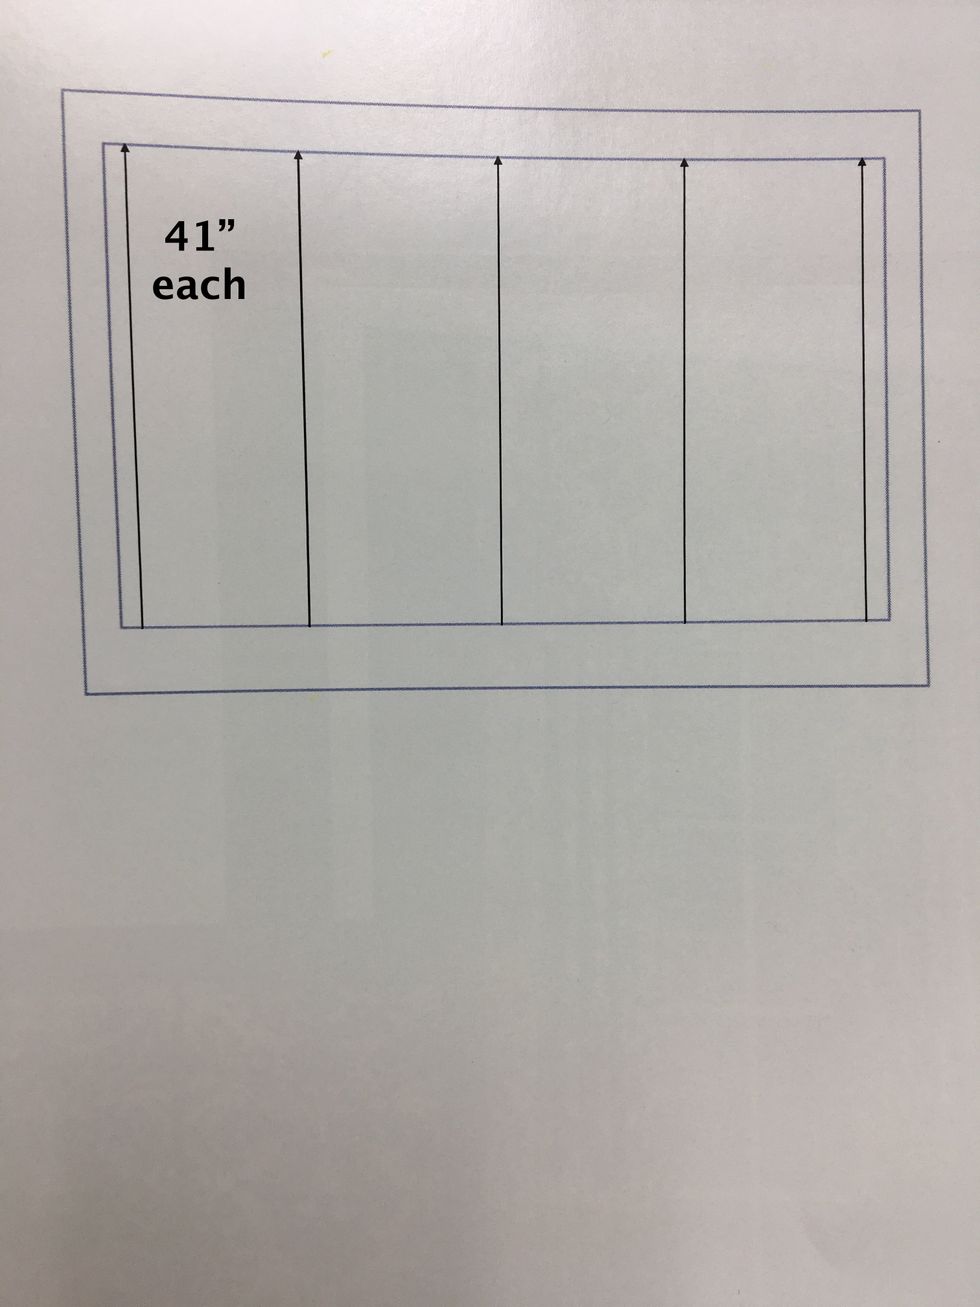
To determine the amount of magnet tape each row will require, measure the back of the shade - from the bottom of the top hem to the top of the bottom hem. Mine was 41" each.
Then allow 2" for each magnet in each row. I had 5 magnets in each row so I added 10" making my strips 51". I cut them 54" just to be safe.
Next mark your tape with a pencil. Mark 1" from the end. Then 2" for the first magnet. Then 6" for the first fold. Then another 2" for the next magnet, then another 6" for the next fold, etc.

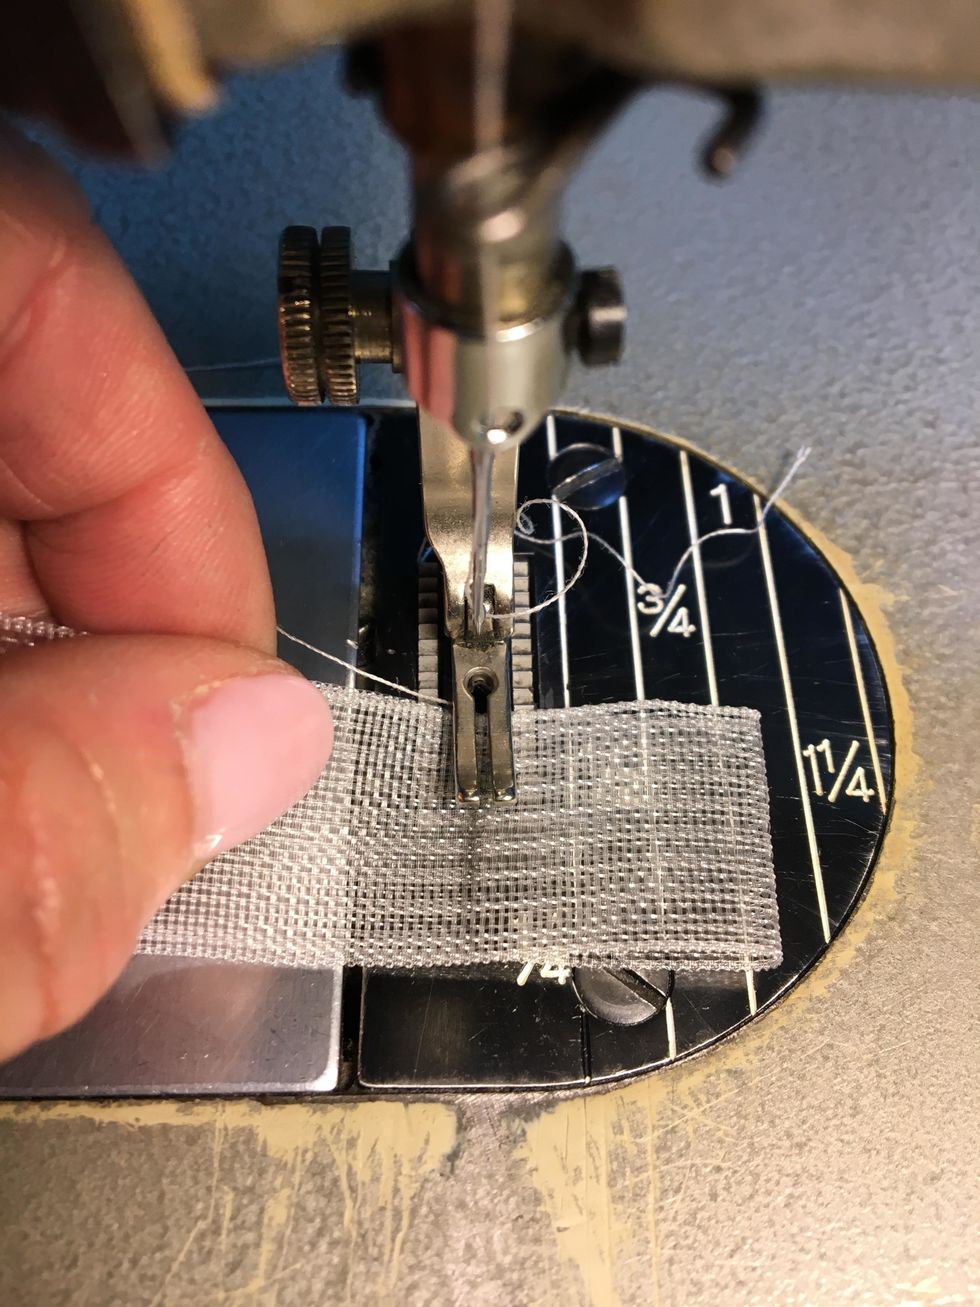
Now you're ready to stitch the magnet pockets. Fold the 2" section of tape so that the two pencil lines meet forming the 1" pocket
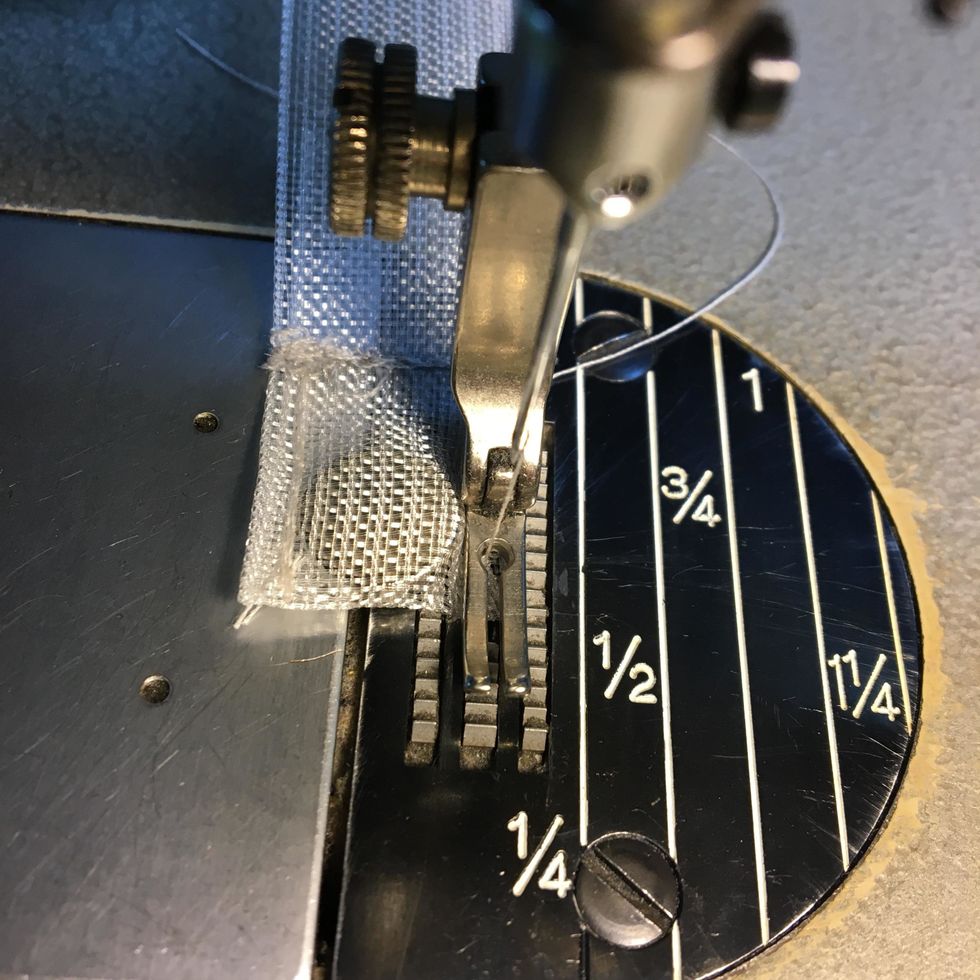
Stitch across the tape along the pencil lines creating the 1" tab. Repeat until your strips have all the tabs sewn in.
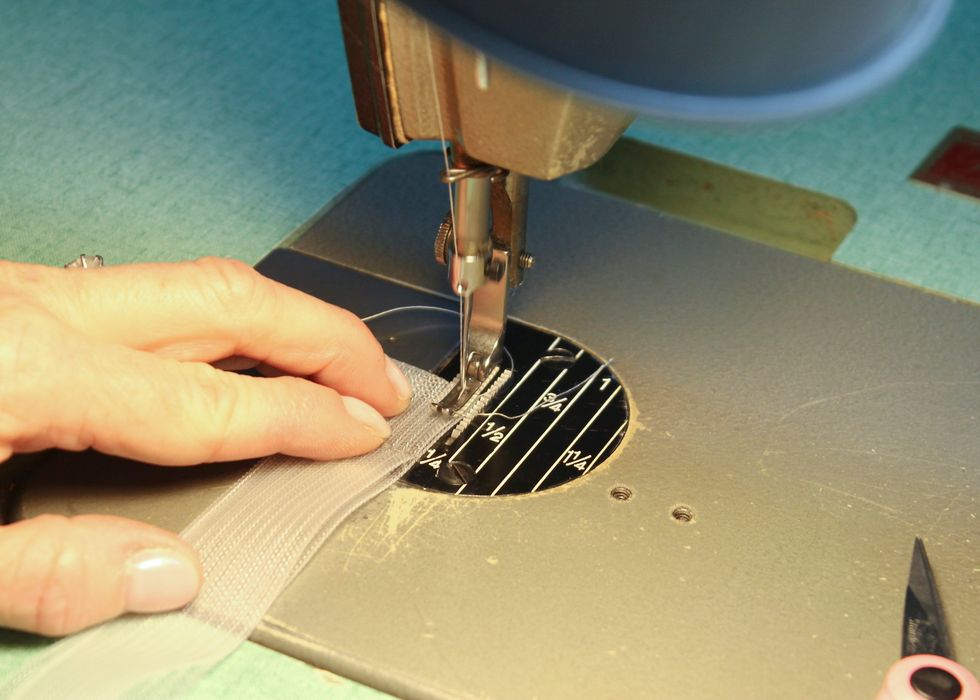
Then stitch all of the right sides of each tab to encase the magnets, leaving the left side open to slip the magnets in.

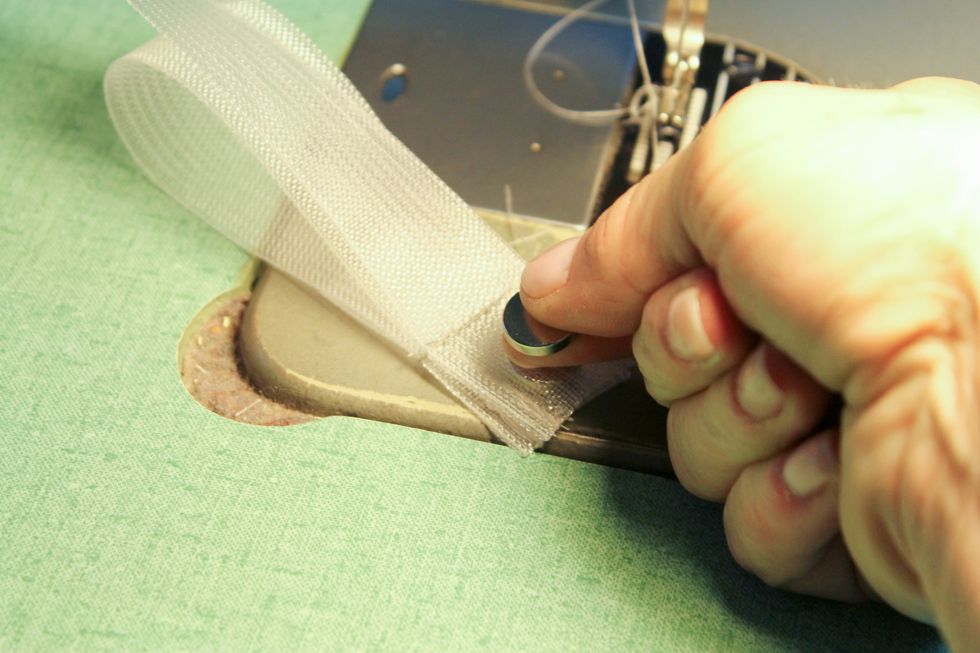
Make sure the negative and positive side of the magnet are connecting before you slip it in. They are hard to flip once sewn in CAUTION They hurt if your finger is in the way when they snap together
Slip magnet into tape pocket
Stitch Closed

Once they are all sewn into the tape it will look like this. Slip the ends of the tape under the bottom and top hems as shown. Make sure the bottom magnet tab is next to the hem.
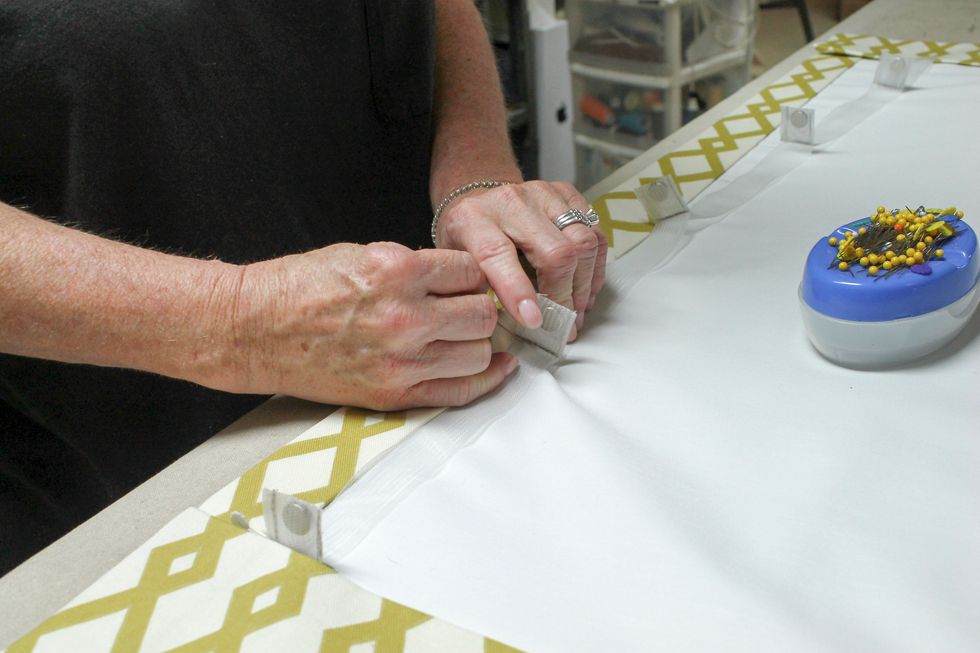
Pin each tab in place. The bottom magnet tab needs to be touching the bottom hem. The top magnet doesn't have to be at the very top.
The tabs should be flipped towards the hem so that your stitch line is going to be on top of the magnets. I pinned them all first then.........
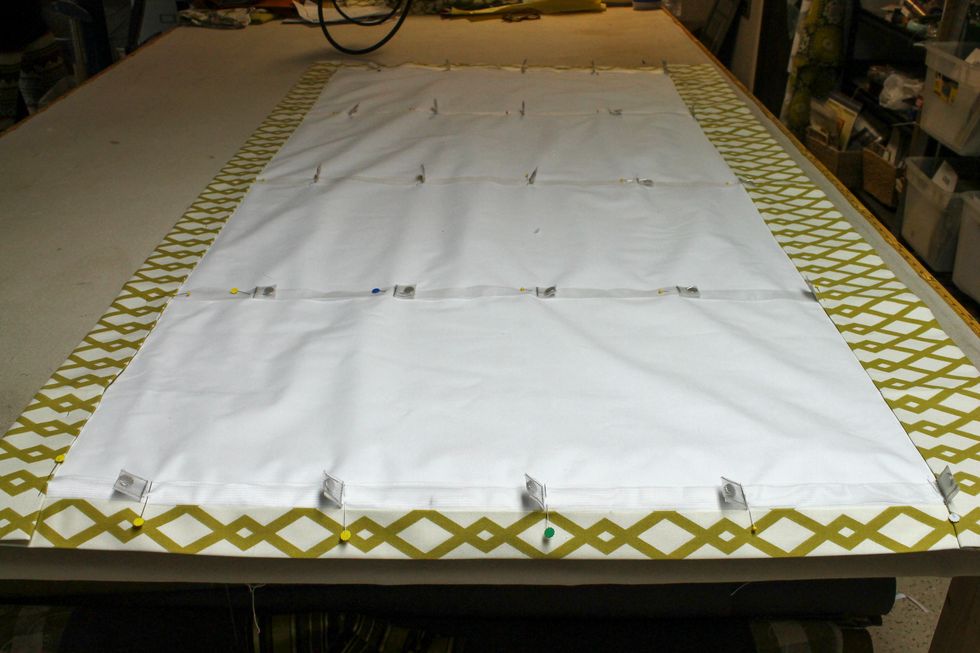
I went back and changed the direction of the pins so that I could sew over them. Its double the work but it's easier to pin them side to side first then go back and change the pins. Notice 2nd row.
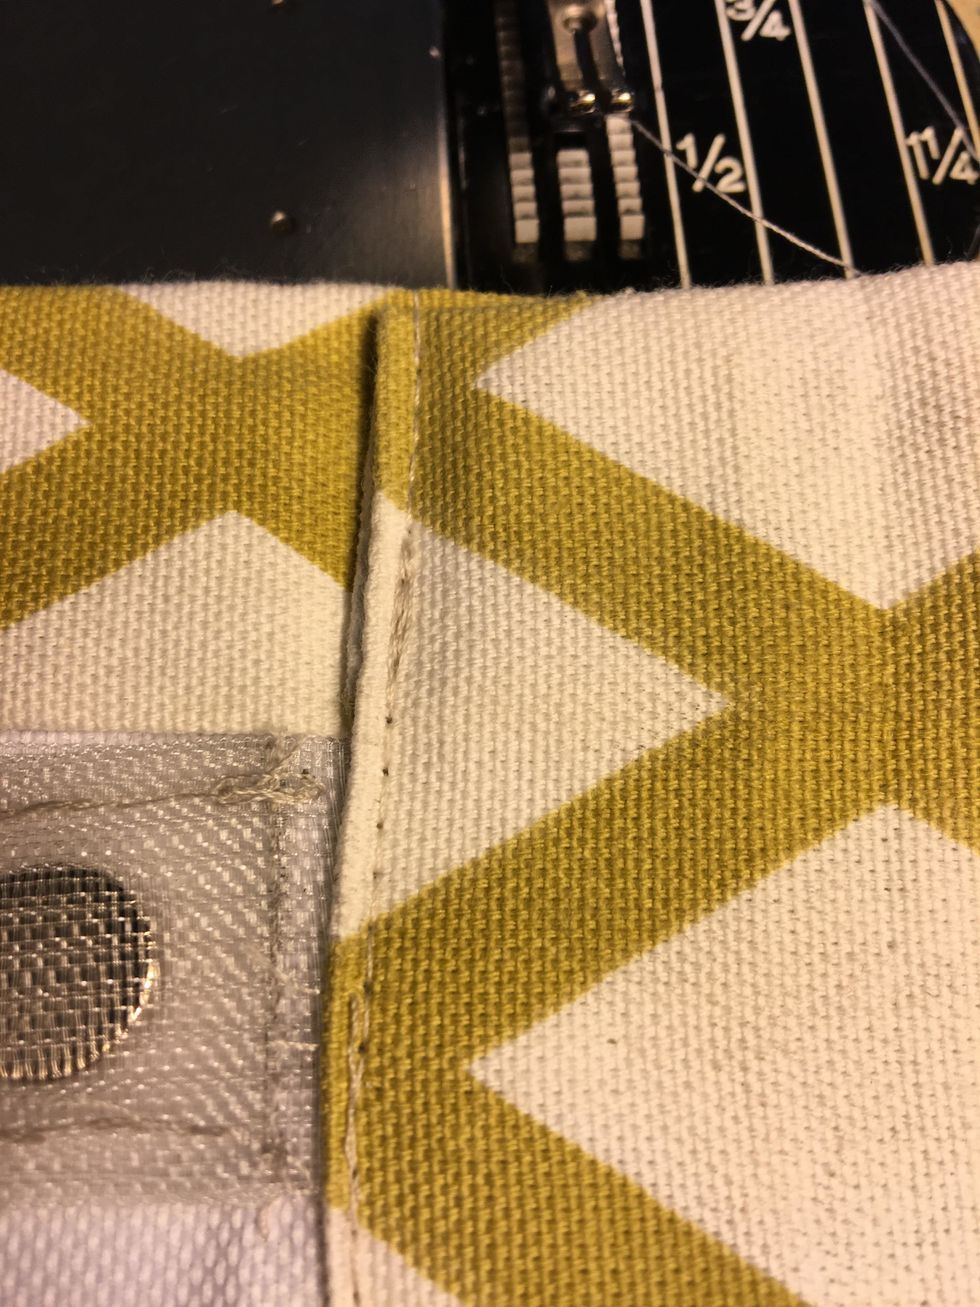
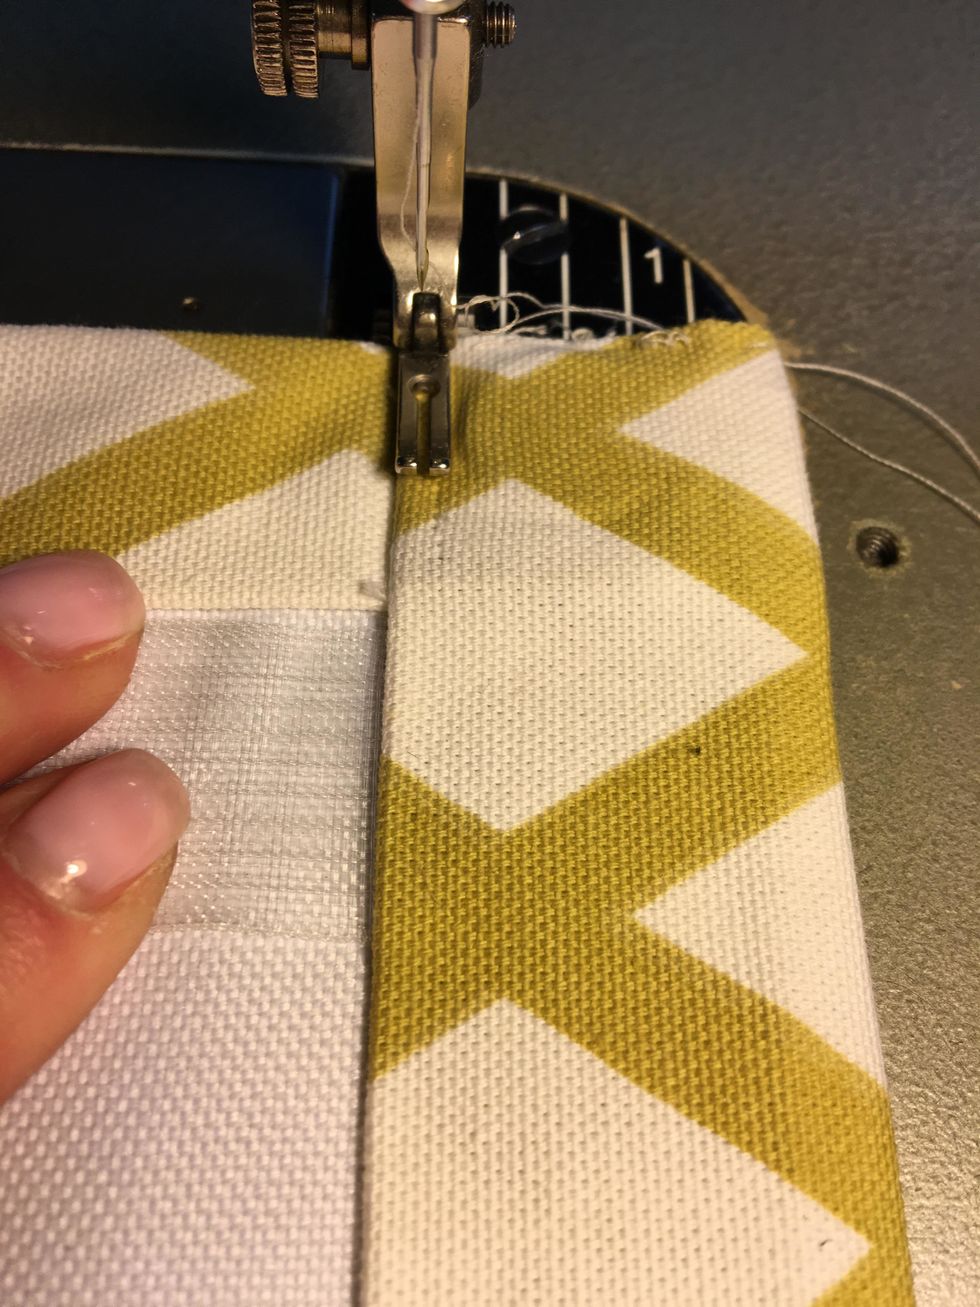
Next, you will stitch the tabs above the magnet. Here's a close up. I back stitched the entire seam. Be sure and use a thread that matches well.

Apply SteamASeam2 to the top and bottom hems and press as you previously did on the side hems.
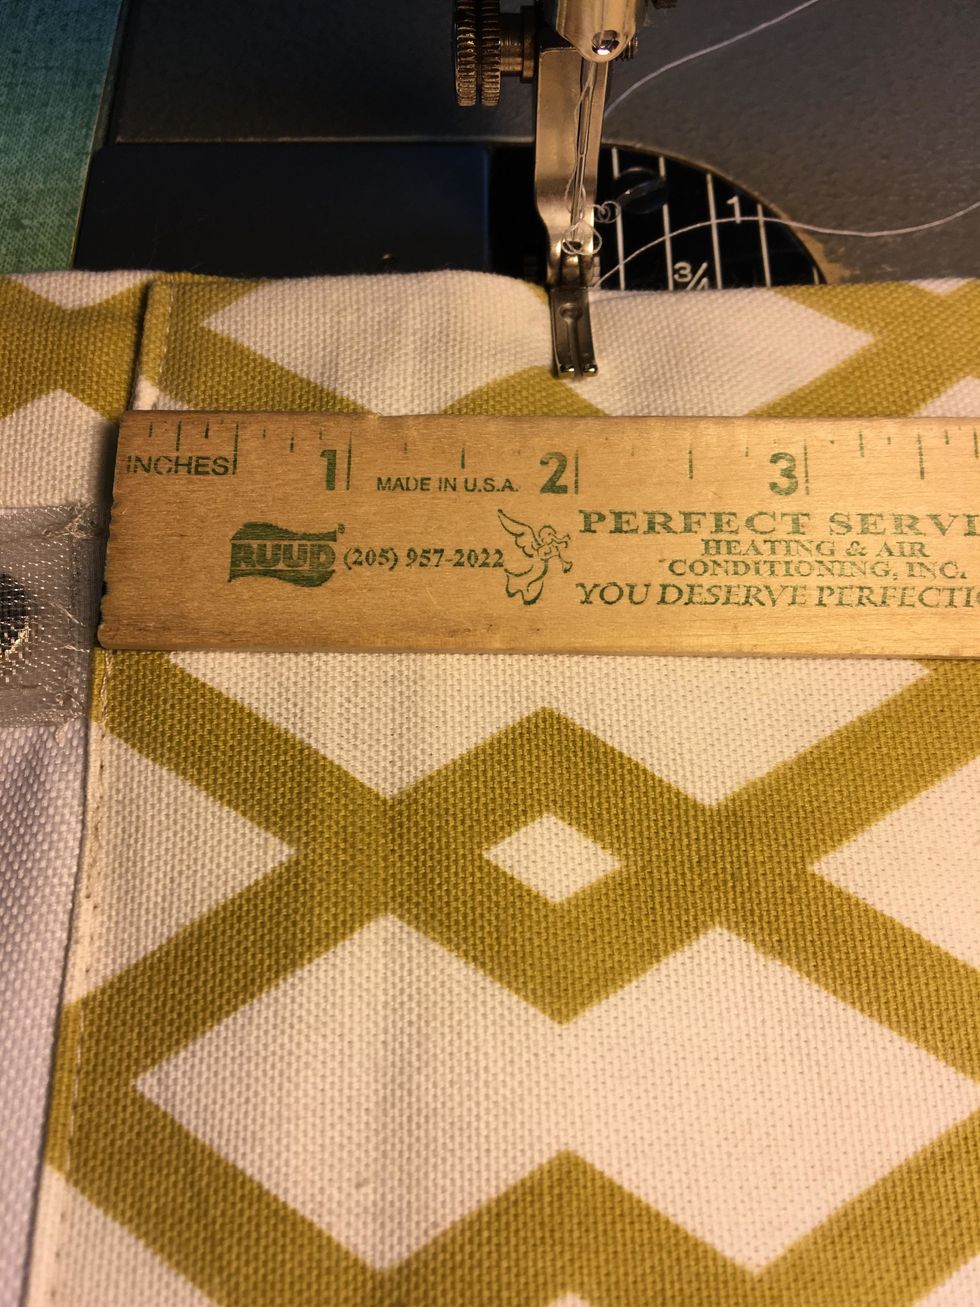
Then top stitch the bottom hem as close to the edge as possible catching the magnet tape but not the magnet pocket as shown
Then measure down 2" and run another top stitch to create a pocket for the weight bar or wood strip.
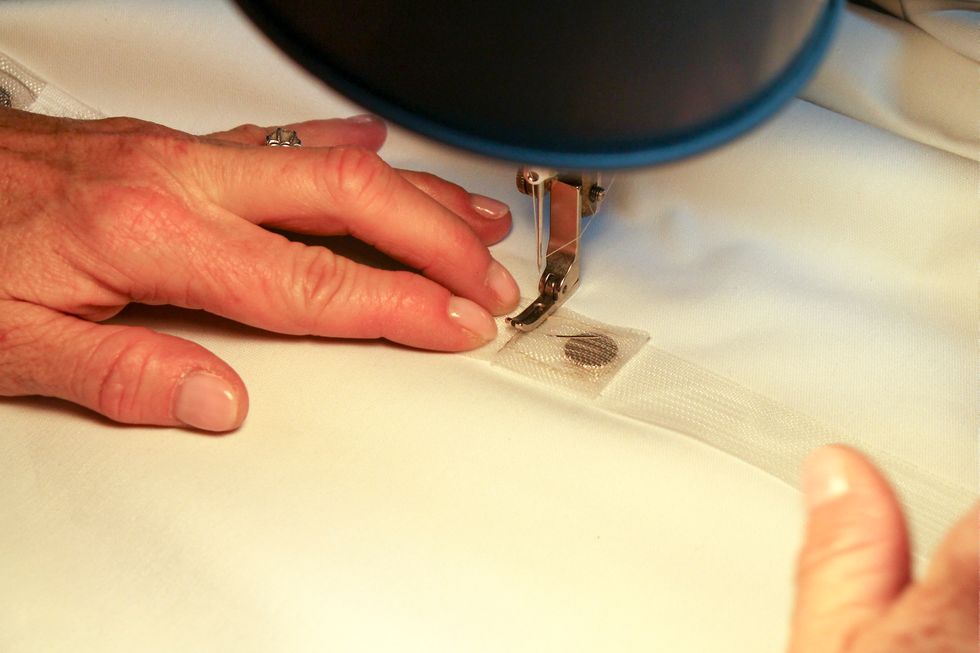
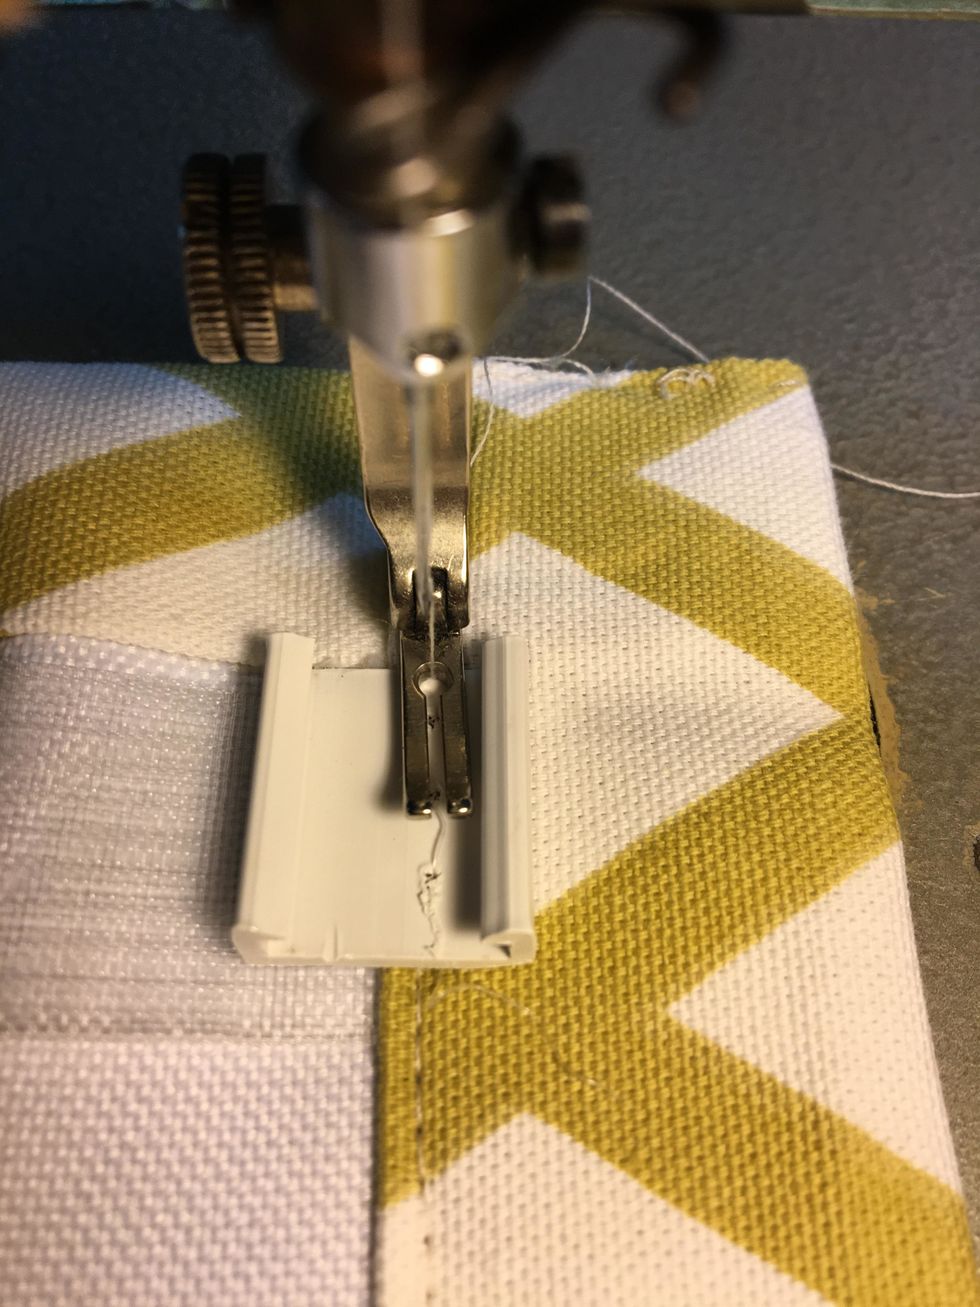
Top stitch the top header (if you are using the clips) as close to the edge as possible catching the magnet tape.
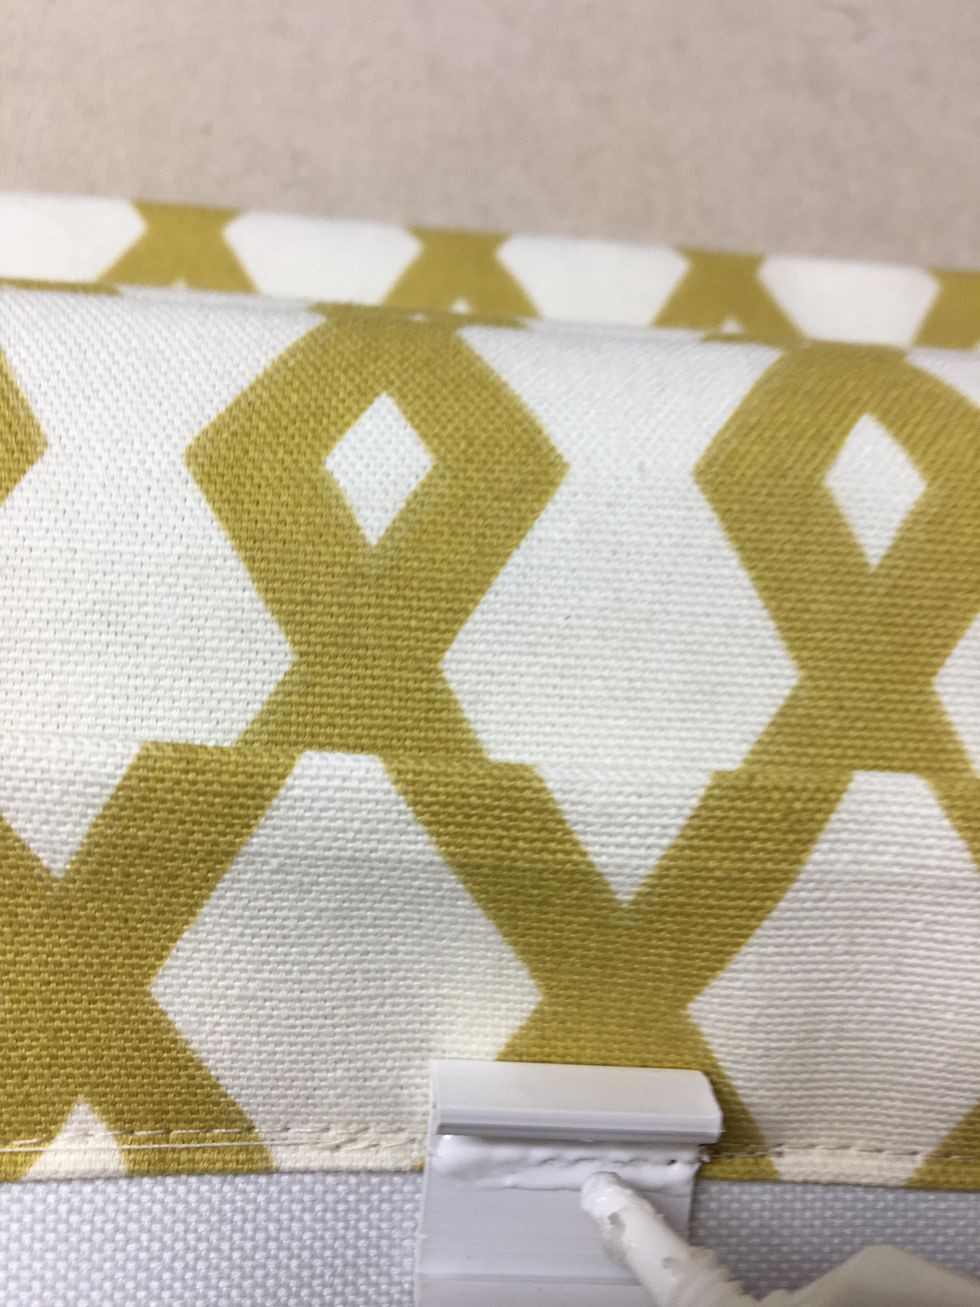
Next, stitch the clips along the top starting your first clip on top of the magnet tape.
I used 6" spacing between them and it worked out great.
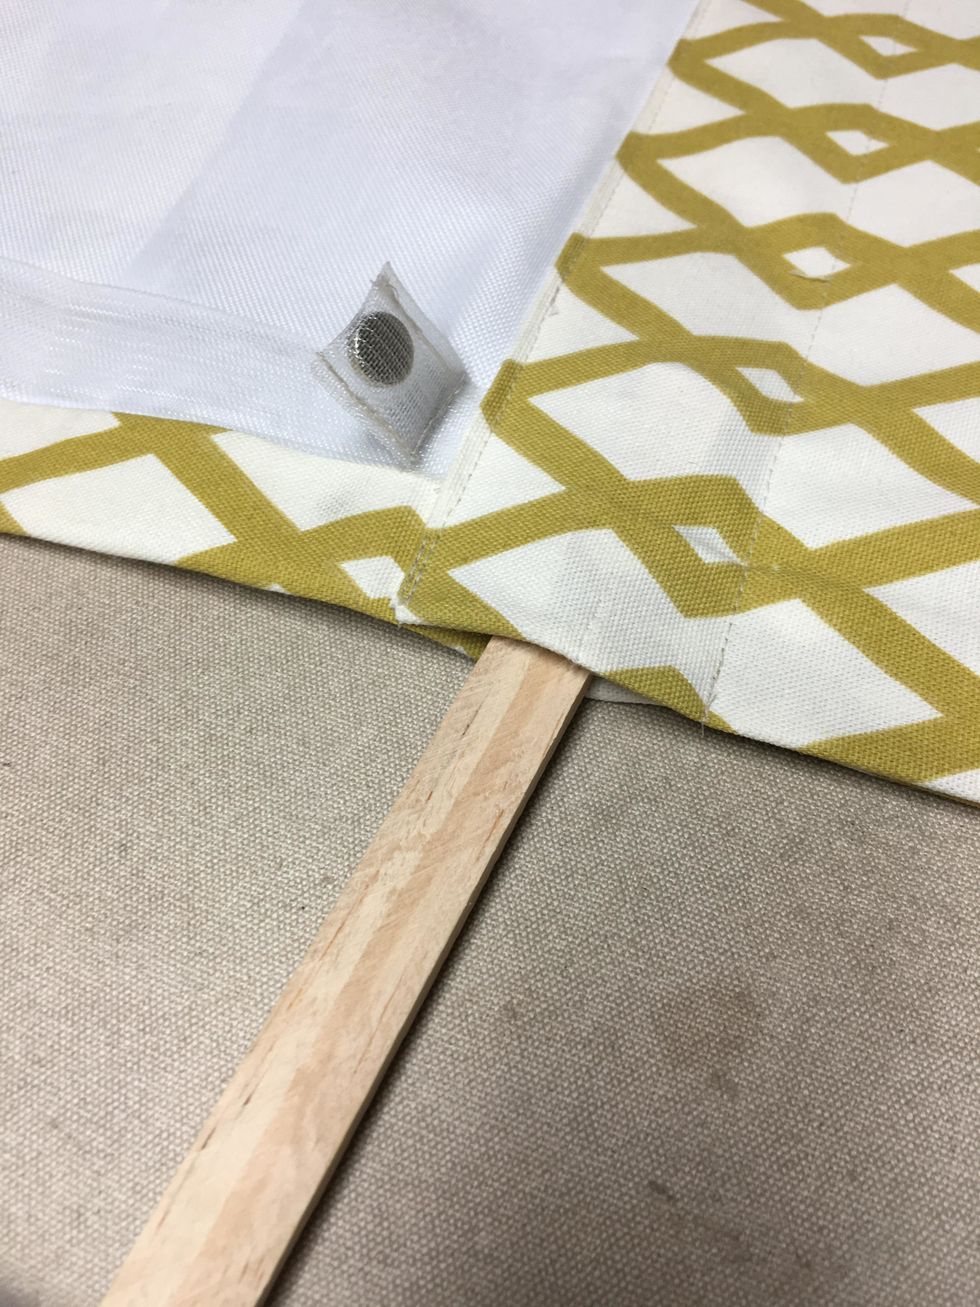
For the weight bar, I used a 1x2x6. We ripped it down to be 1/2" wide and 1/4" thick. It was cut 58" long. It needs to be 2" narrower than your shade.
Slip the wood strip or weight bar right into the pocket. This keeps the bottom of the shade from sagging.
Dab a little Unique Stitch glue along the threads to make sure they are secure.