The Conversation (0)
Sign Up
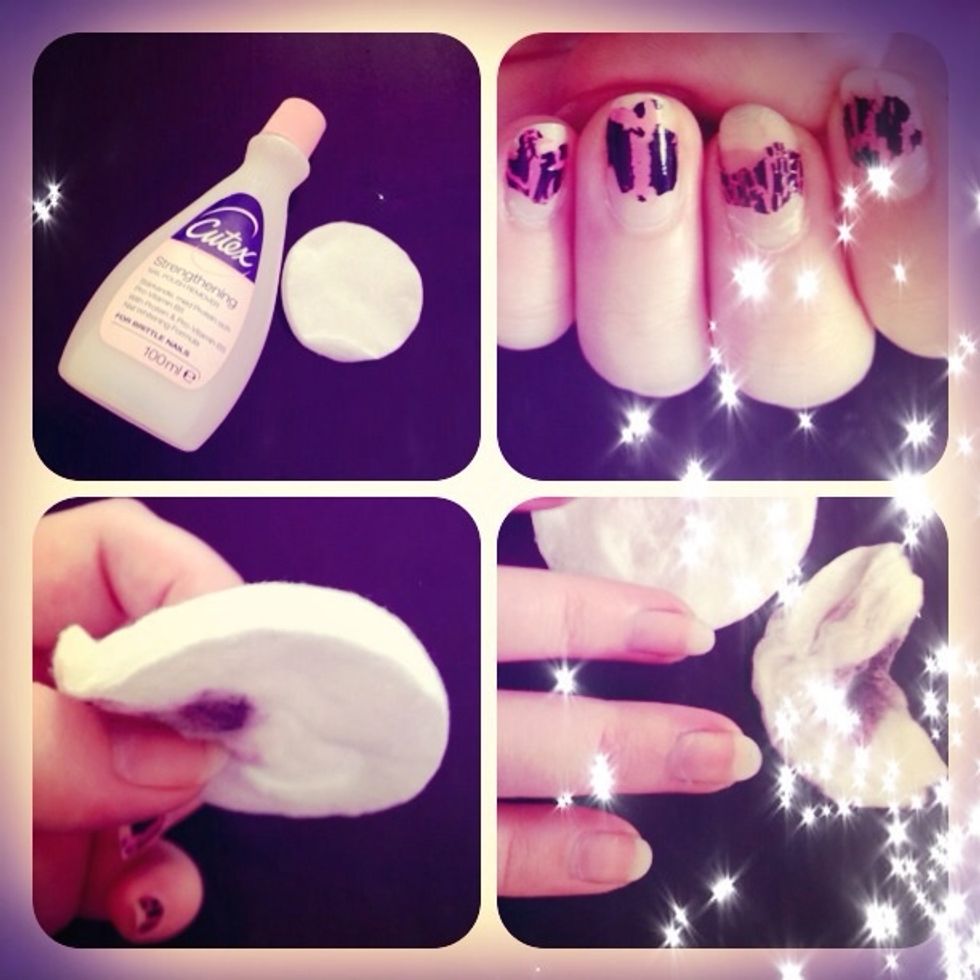
Start by removing old nail polish
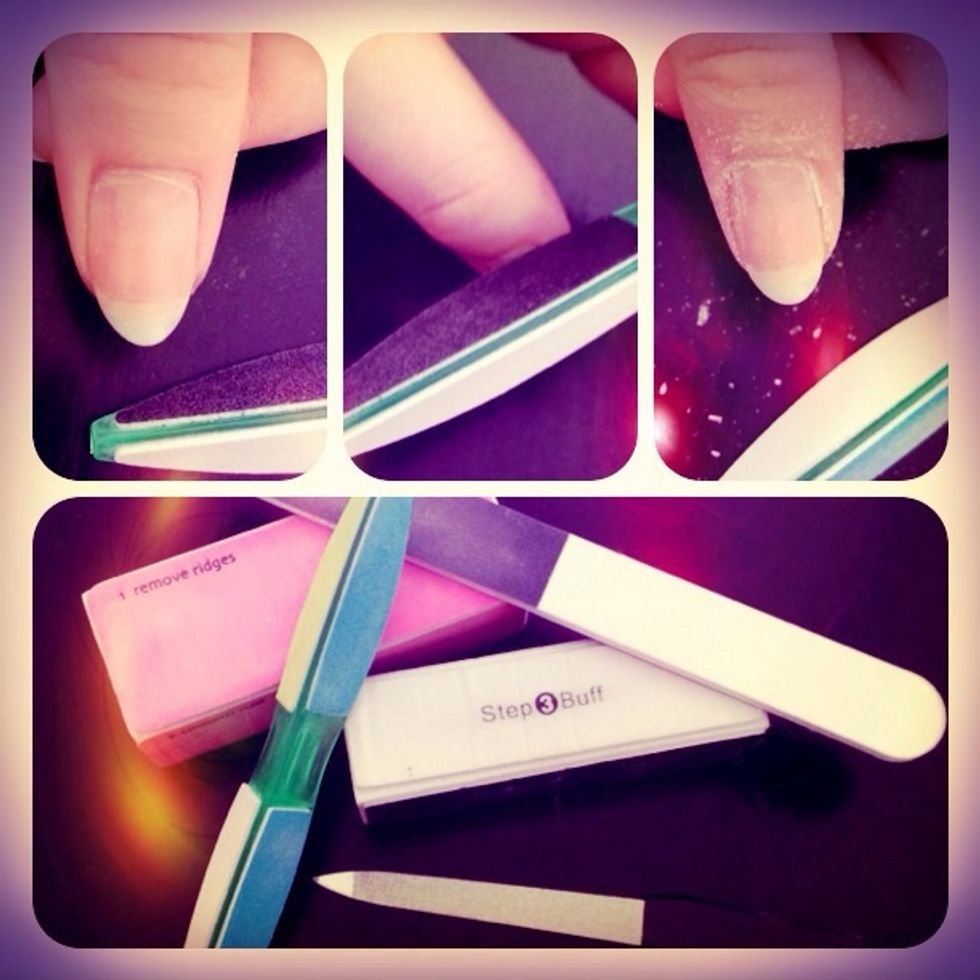
Select a nail file and make your nails pretty and smooth
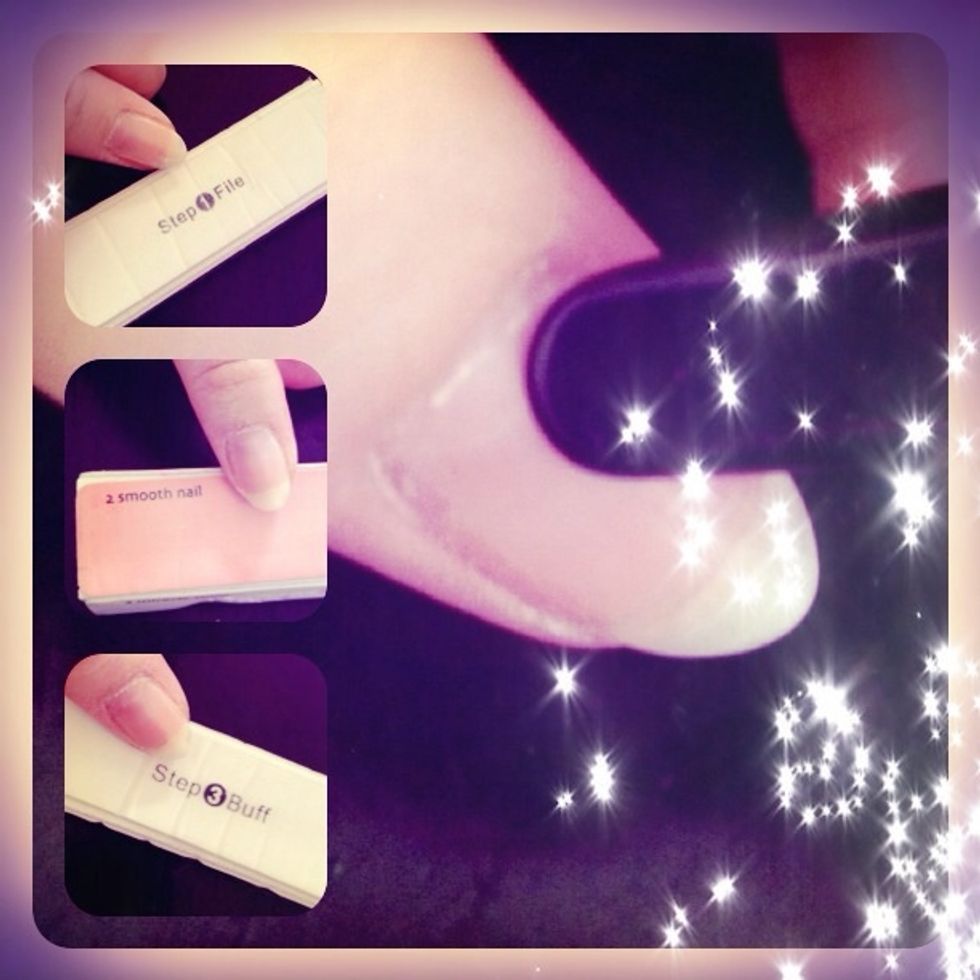
Remove any bumps in Your nails and push back your cuticles
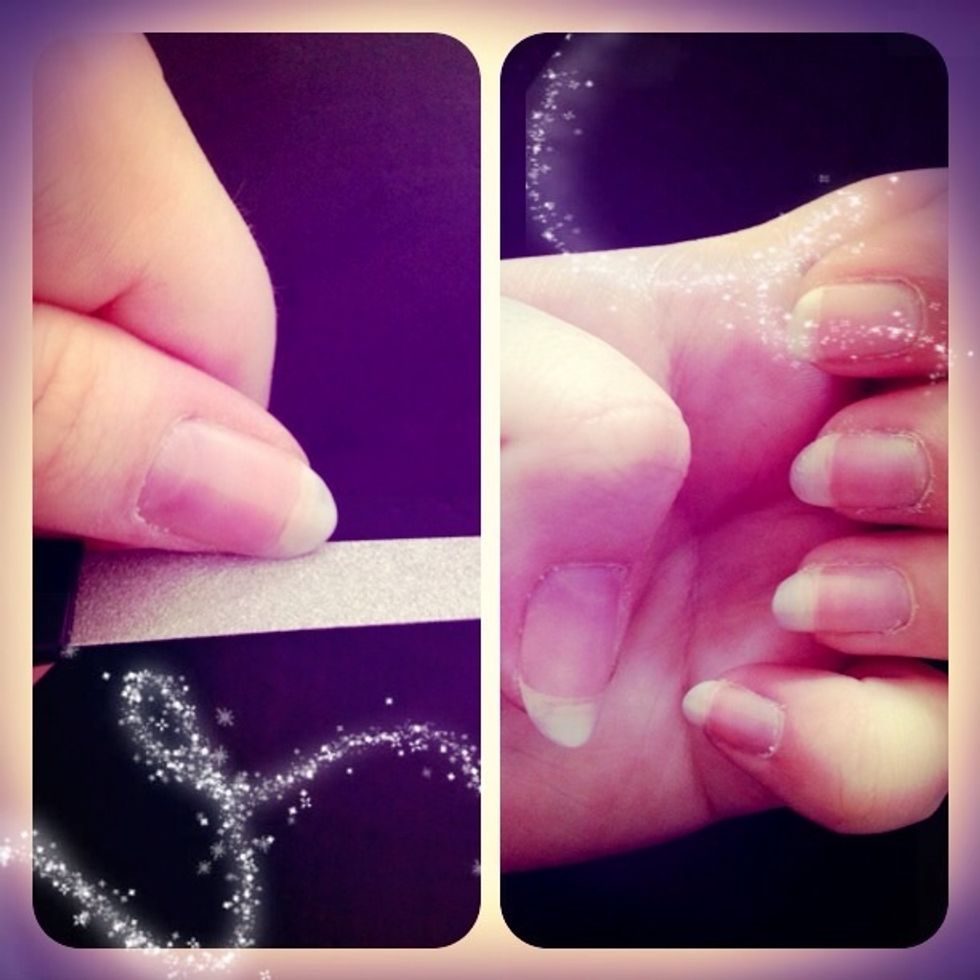
Shape your nails
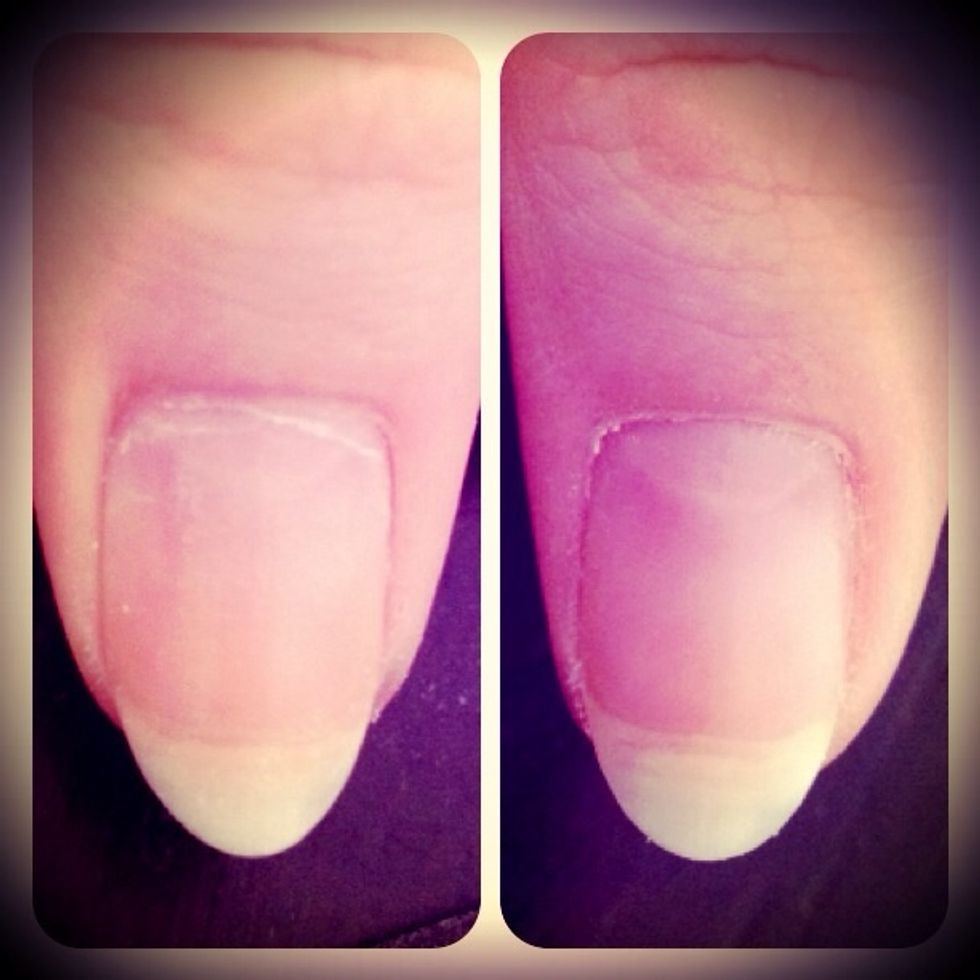
Before and after
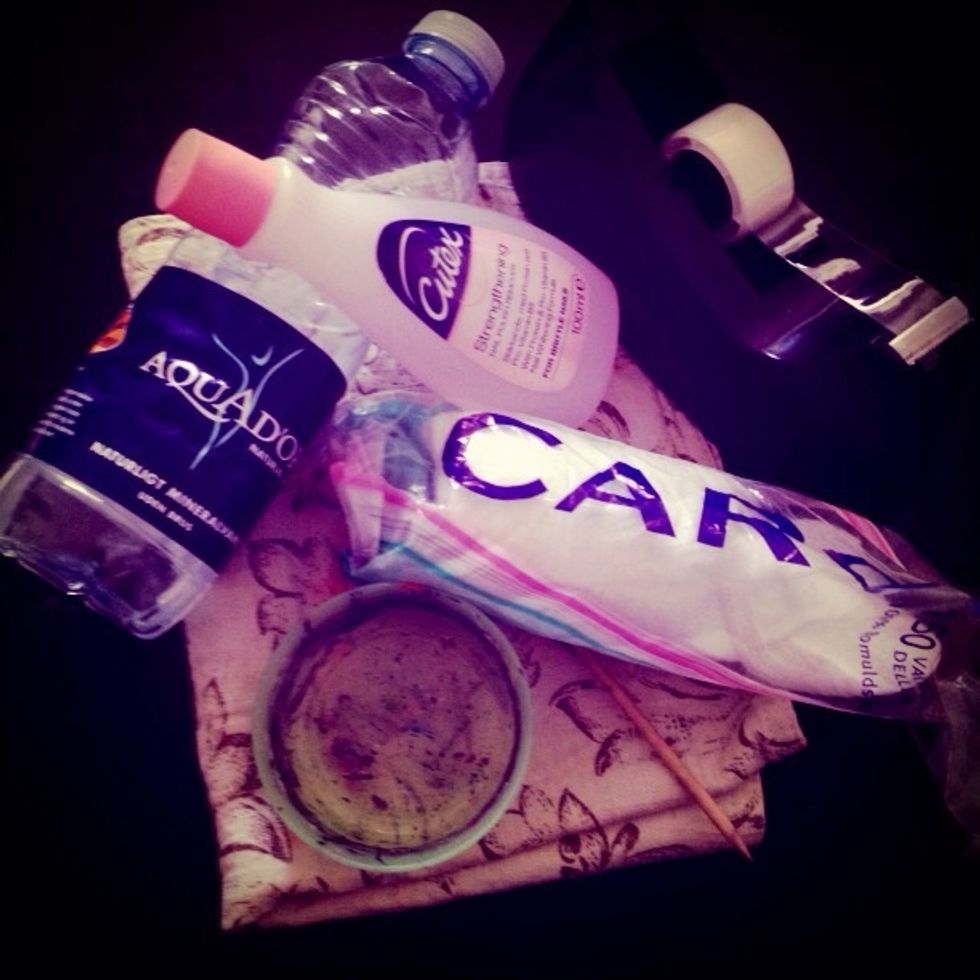
Gather your supplies

Choose a base coat - preferably a light colour
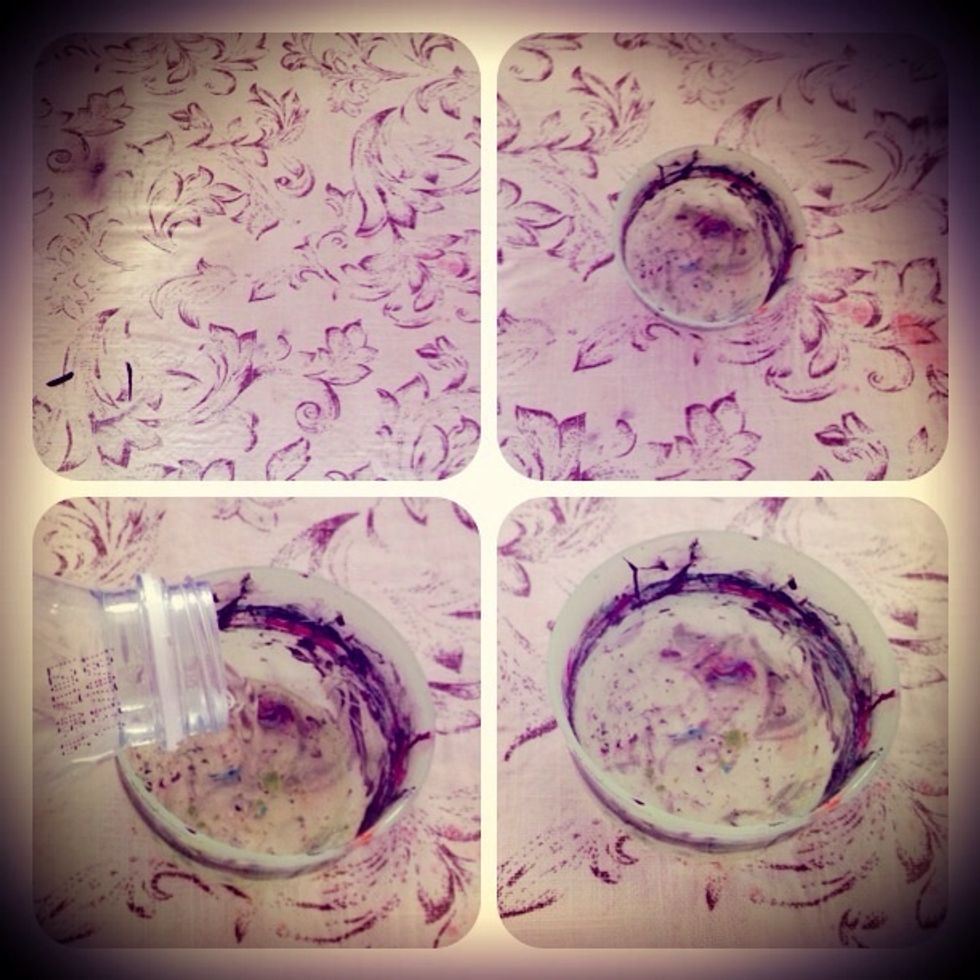
Take your container and fill it halfway with bottled water - it works best if the water isn't too hot or too cold!
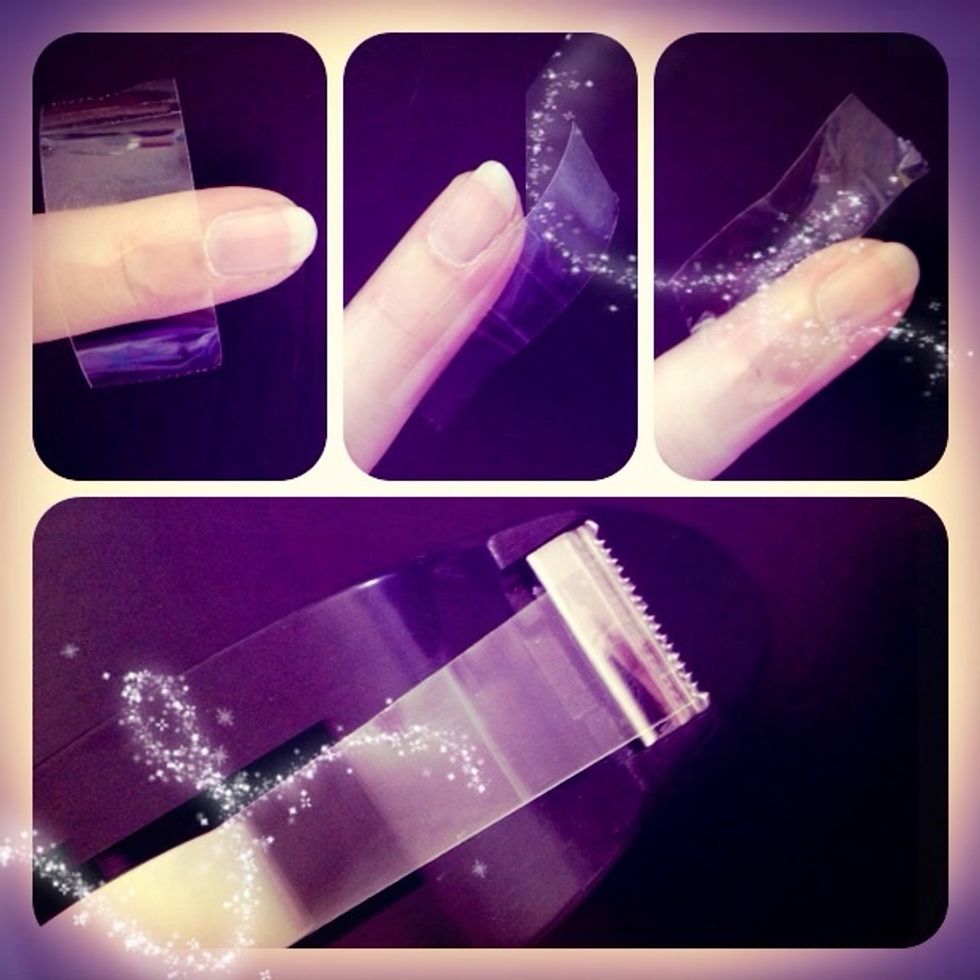
Now.. Take the tape and put it on all your fingers - not on the nails! :)
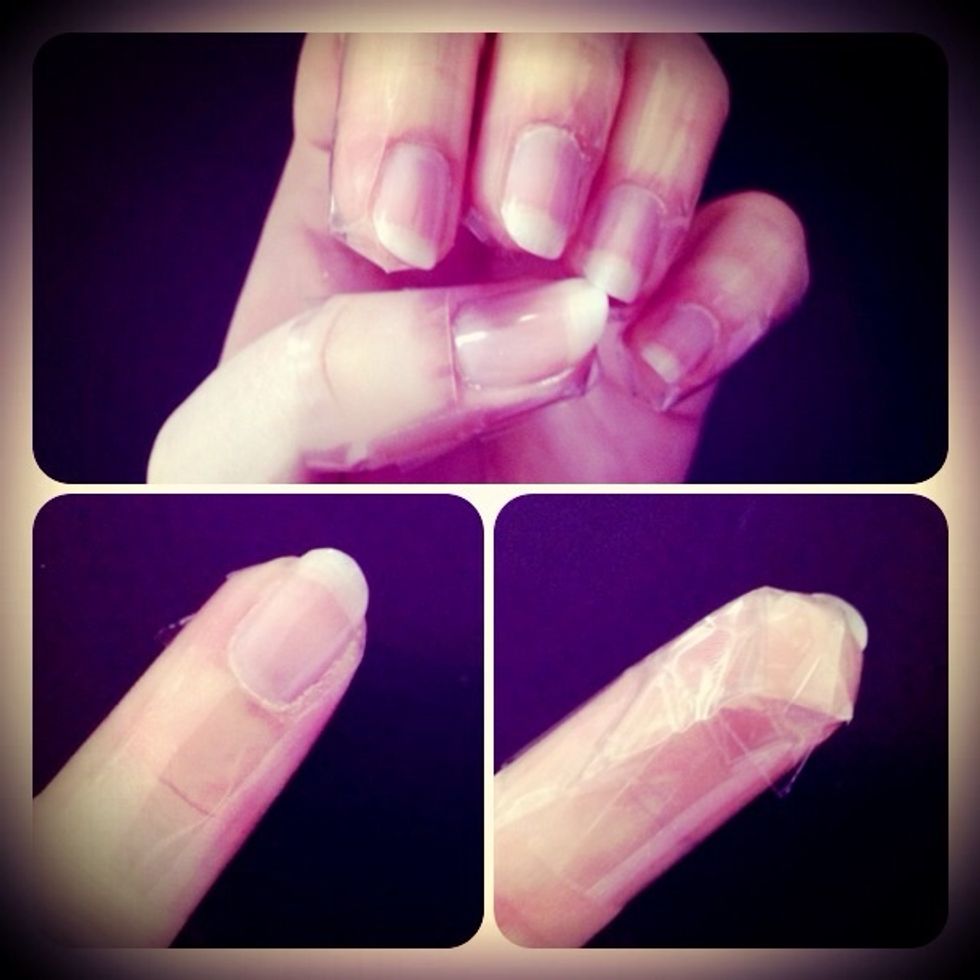
Should look like this
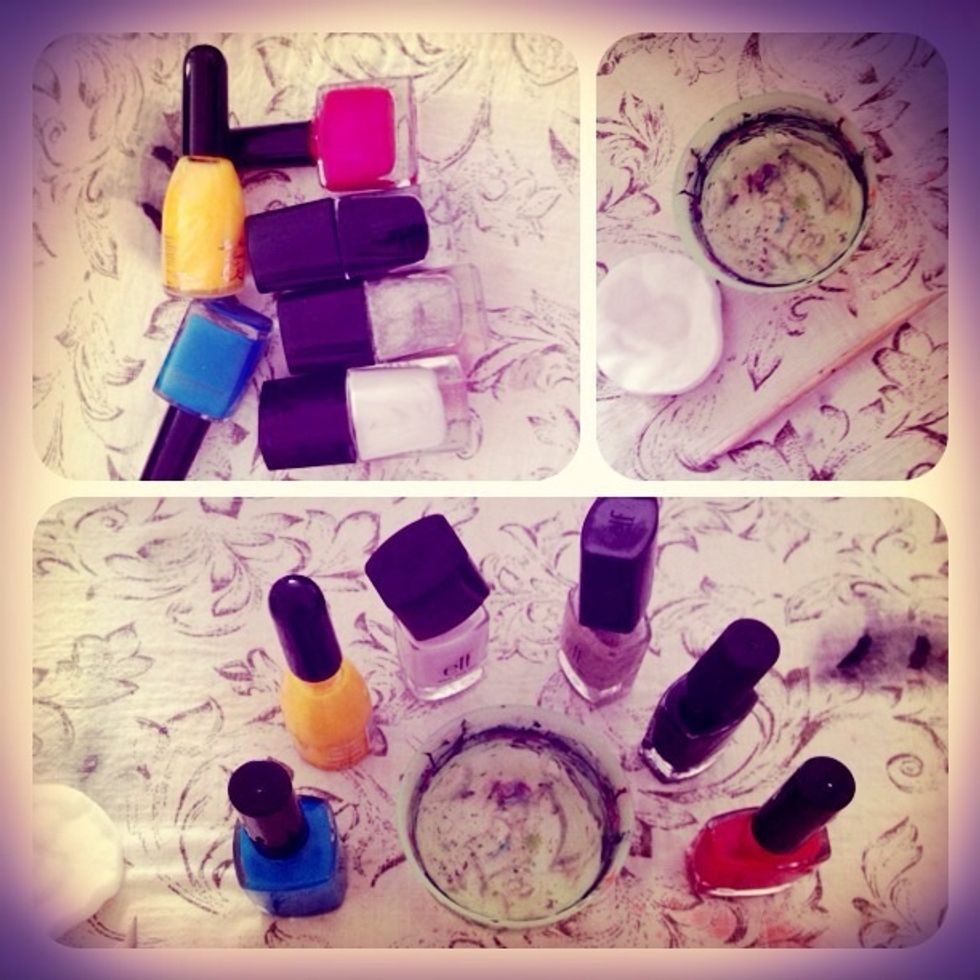
Choose some different nail polishes, if this is your first time - no more than 3!! Practise makes perfect :) Line up your things like on the lower pic (open the nail polish)

Drip nail polish in the water - and hurry!! You can drip 4 times or 12 - but do it fast!
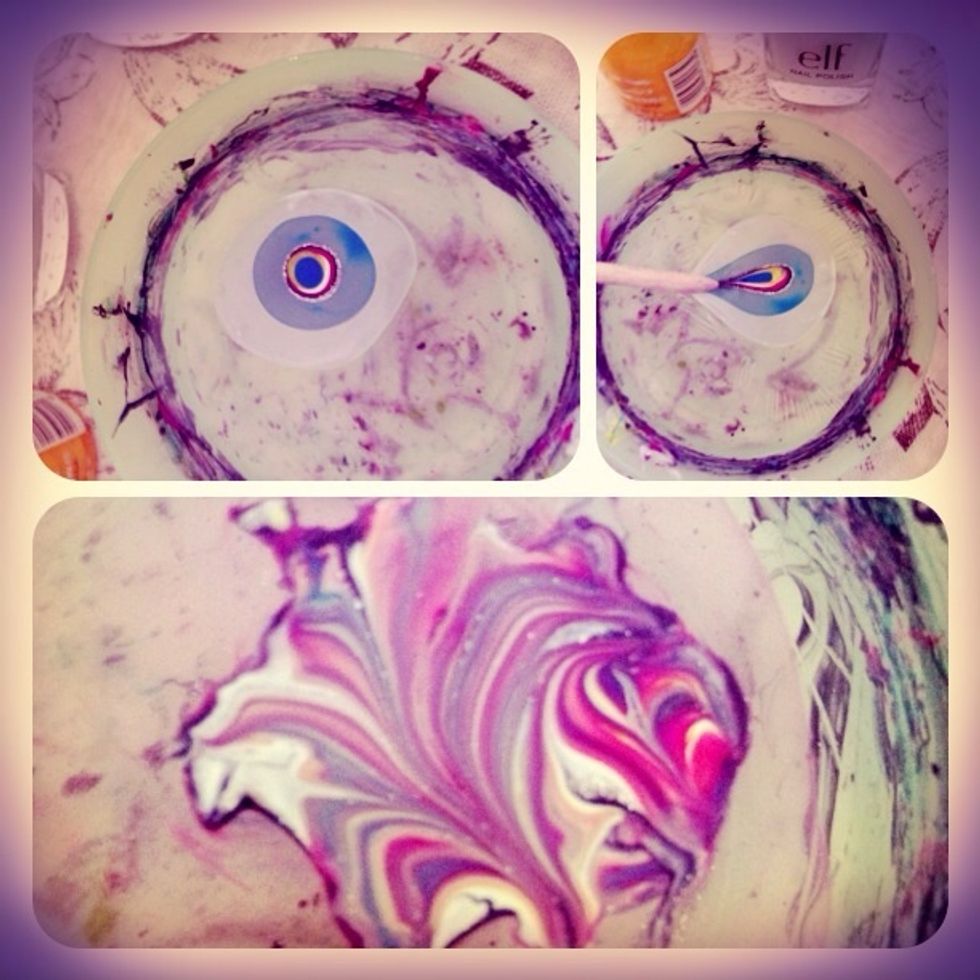
I did this with 8 drops :) then take your toothpick and make a pattern you like
If your pattern is big -you can put 2 fingers in it (to save nail polish) otherwise do one at a time. Anyway.. Place the finger over your favorite spot in the pattern and lower the finger down in it
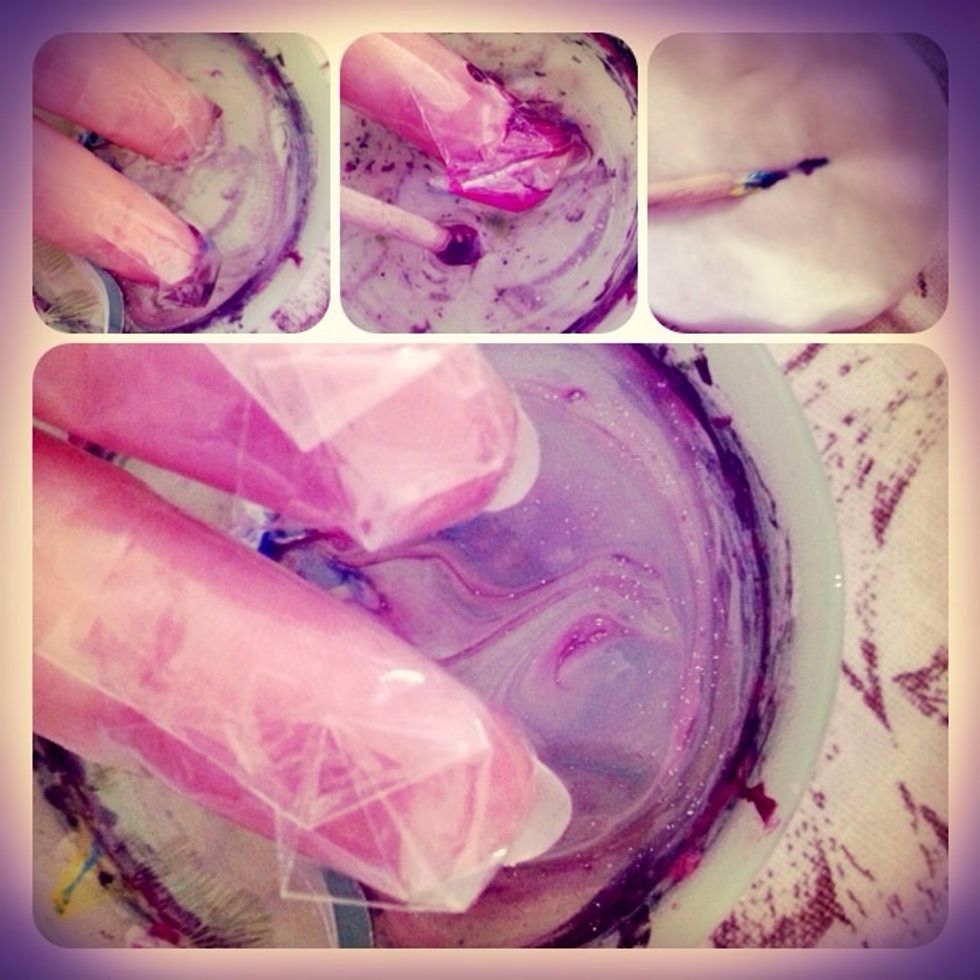
When your finger(s) are in the water - take your toothpick and remove the leftover nail polish in the water around them - you may wanna blow on it to make it dry - and easier to remove :)
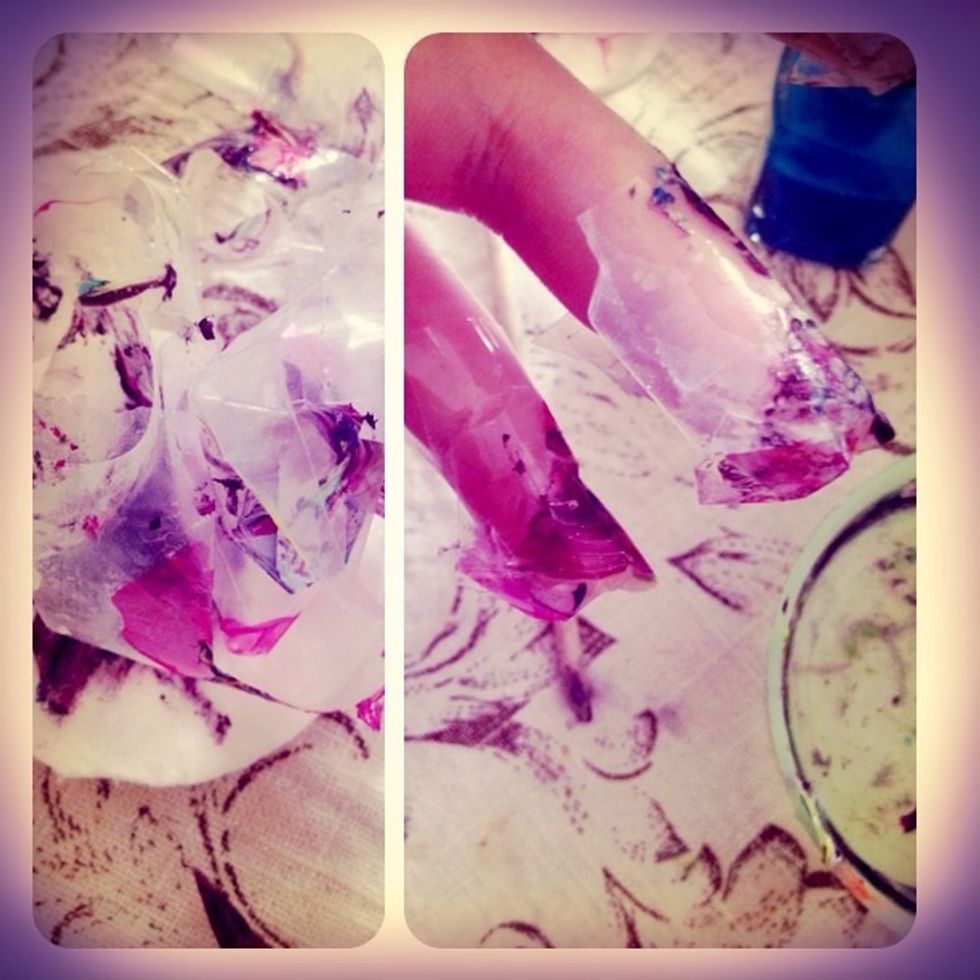
When all 10 fingers are done and dry - remove the tape :)
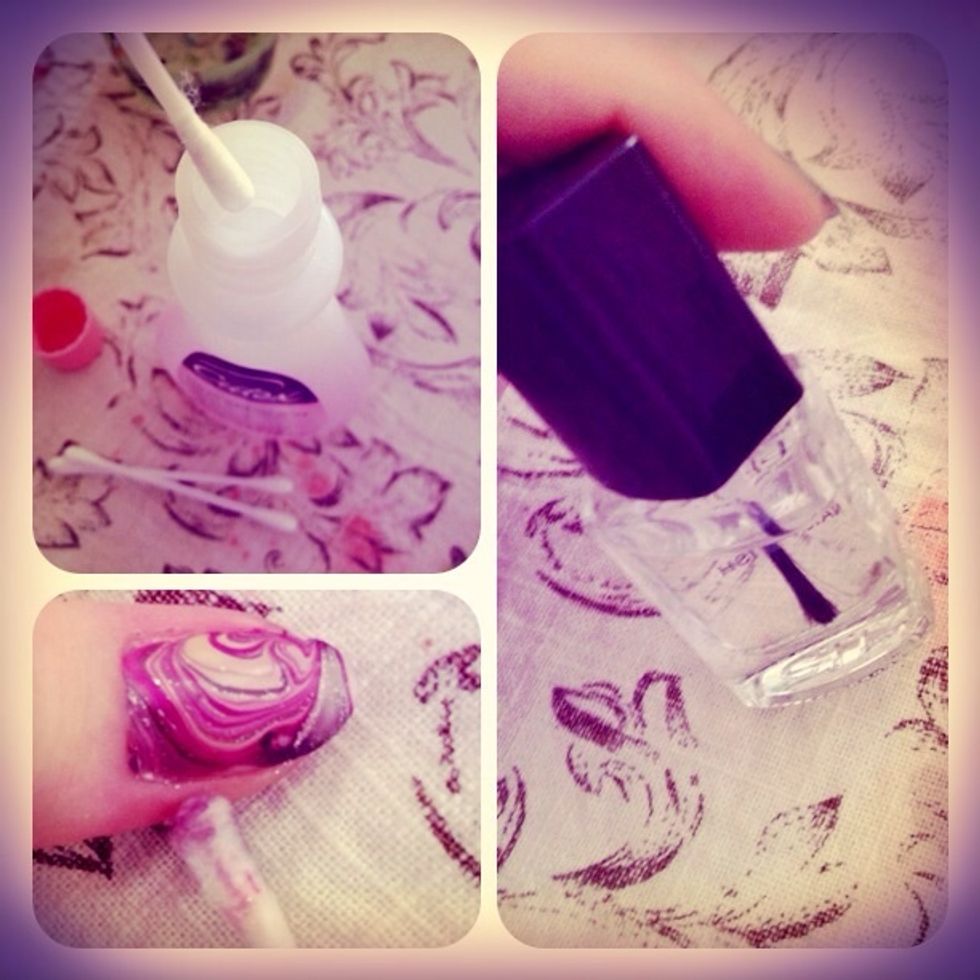
Remove any misplaced nail polish! And take a transparent nail polish and do a quick layer 💅
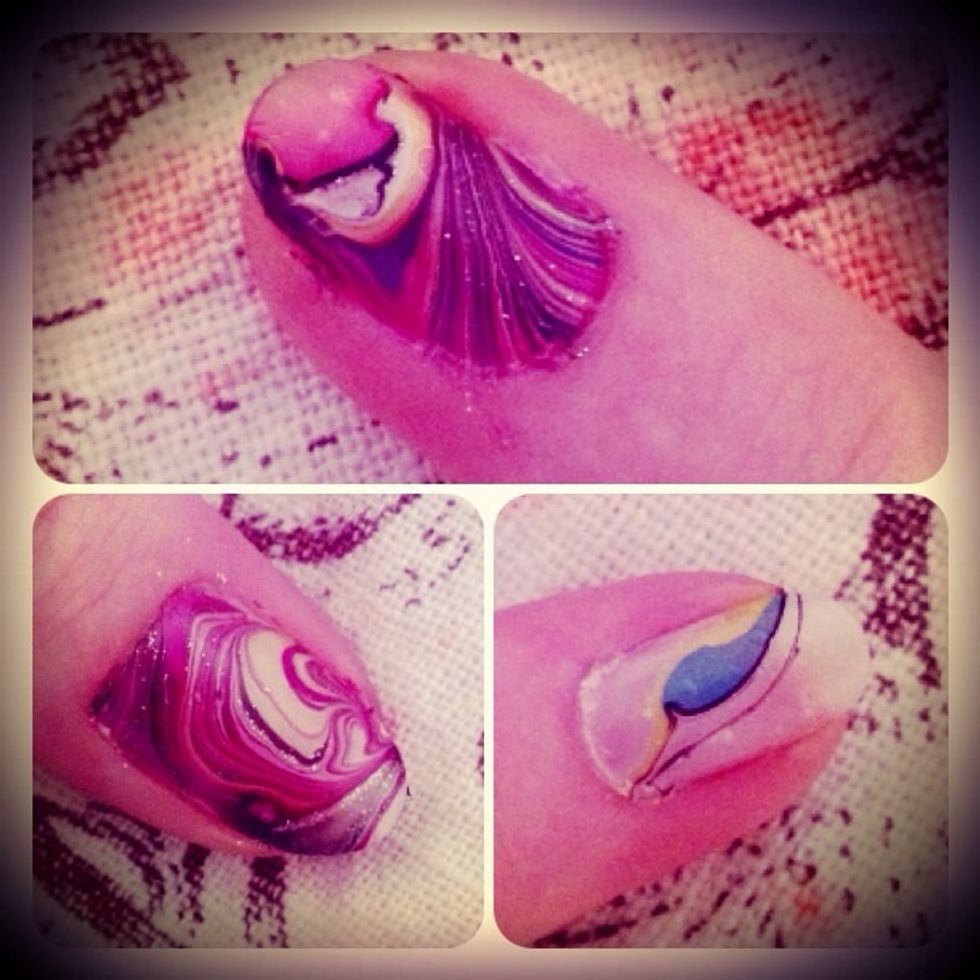
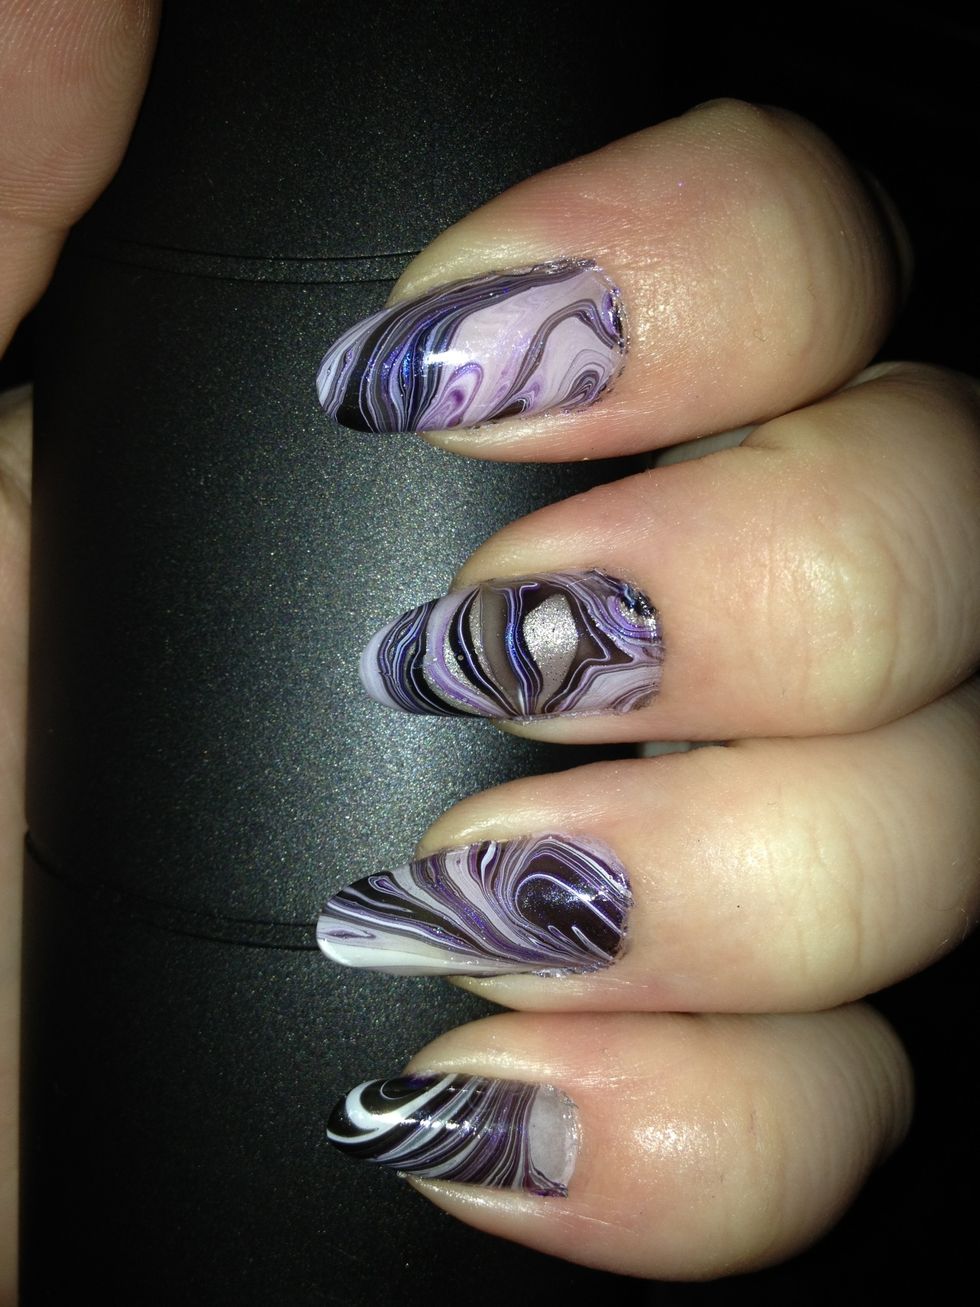
You can make some really pretty designs - simple or very detailed! Here are some of mine - very abstract! You can also do flower, zebra or swirly designs :)
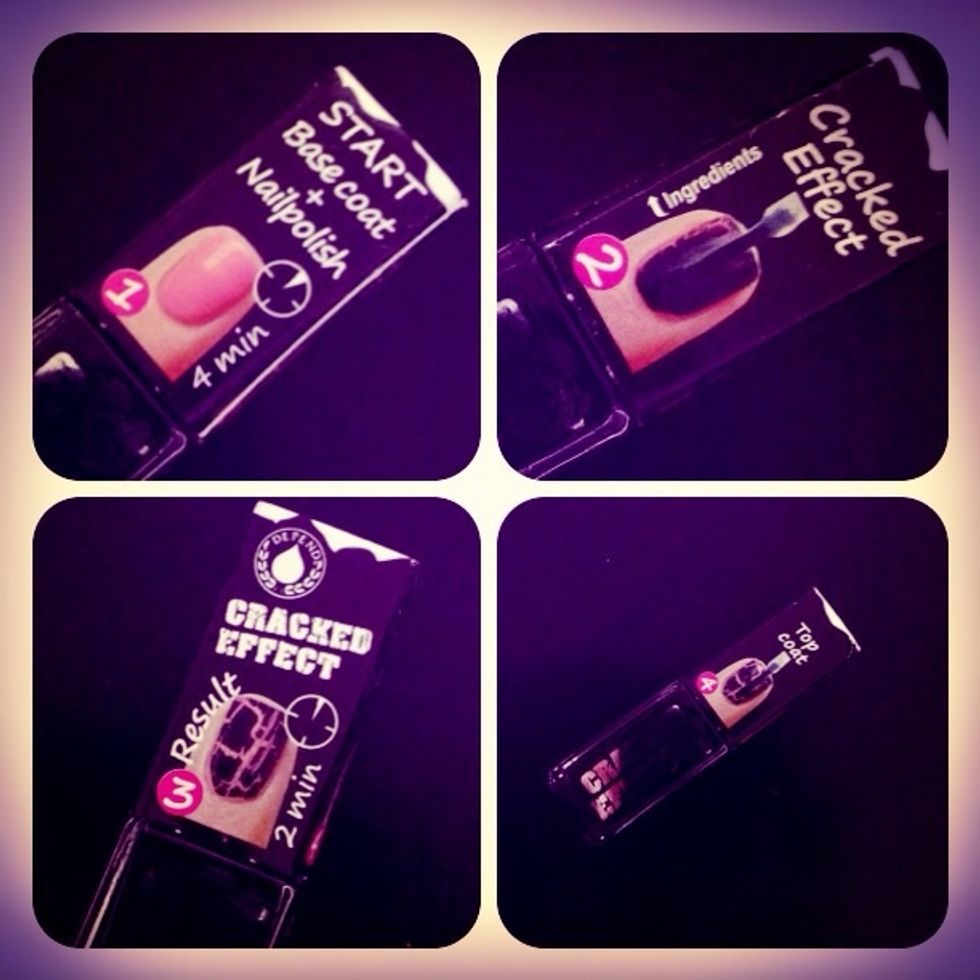
To do a little extra you can put some glitter on or some stones or even take a 'cracked effect' nail polish and put on some spots of your nails :)

This is how mine turned out :) not my best work.. It's quite hard to make nail polish and a guide at the same time 😜
Much better result! 😜