How to make washable contoured nursing/ breast pads
Make Washable Contoured Nursing/ Breast Pads
6109
STEPS
TOOLS
This layering & sewing method works for me but may not suit everyone so adjustments may be needed to personalize.
Each pad has 4 layers: 1 fleece (facing the bra), 2 smaller flannel in center, and 1 larger flannel (facing the breast). The 2 center pieces are smaller to reduce bulkiness on pad edges.
Start by calculating how many you plan to make & then calculate the material amount needed.
I will be making in bulk so my guide will be shown with overwhelming sewing. My goal is 12 pairs = 24 pads total. It will be easier/fun if you plan to make many to have helper(s).
Notes: Use fleece that is not too stretchy. Pre wash all fabrics to get shrinkage out of the way prior to starting.
I will start with the middle layer of 2 small flannels.
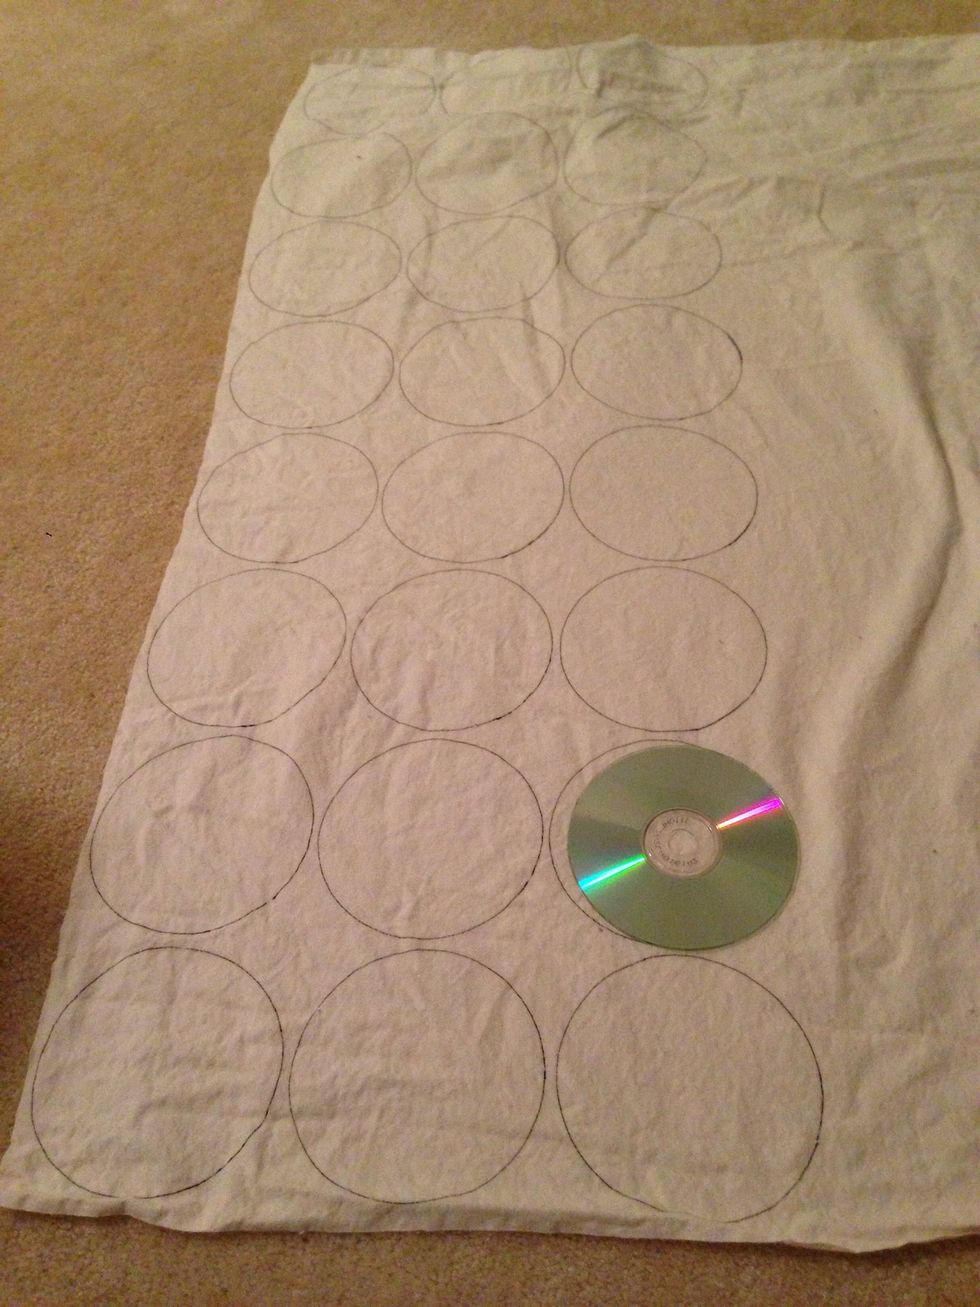
Trace circle from CD. Keep in mind that each pad will have 2 of these inserts so I traced 24 circles but will end up with 48 total.
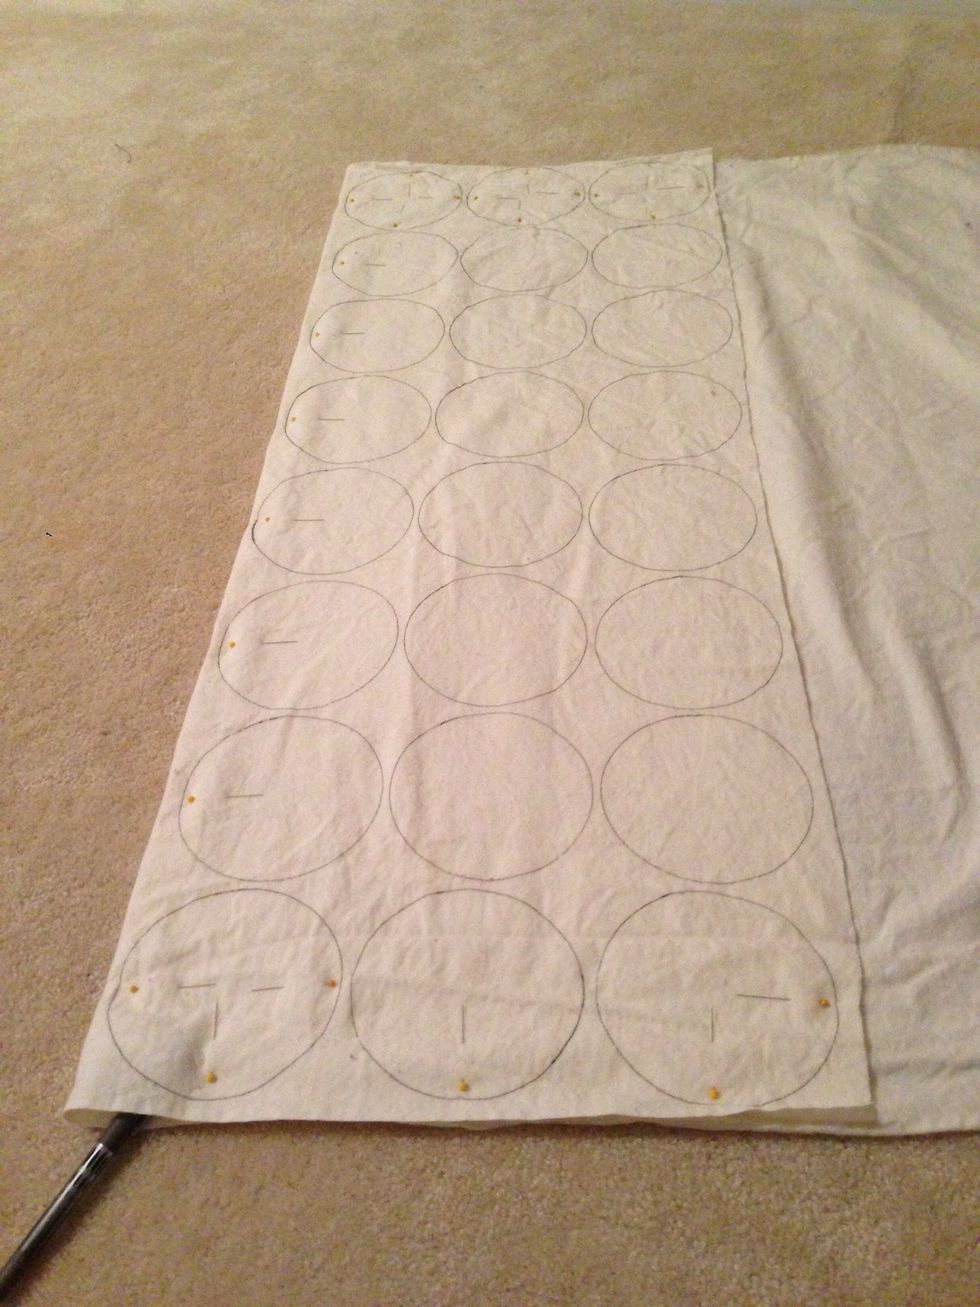
Fold fabric in half & pin so I double my circles.
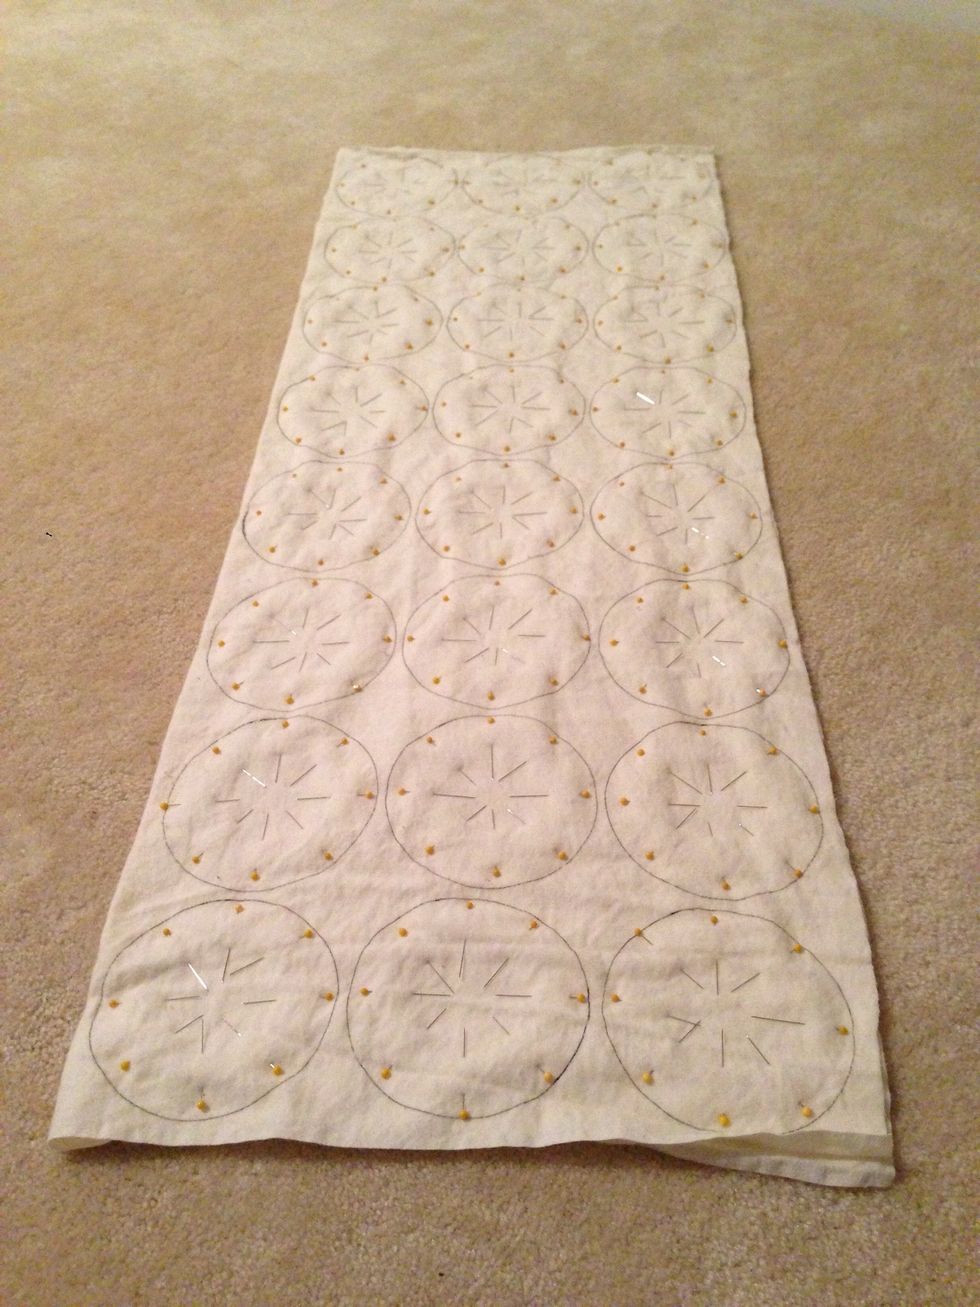
All pinned & ready to cut. I over pinned for easy cutting.
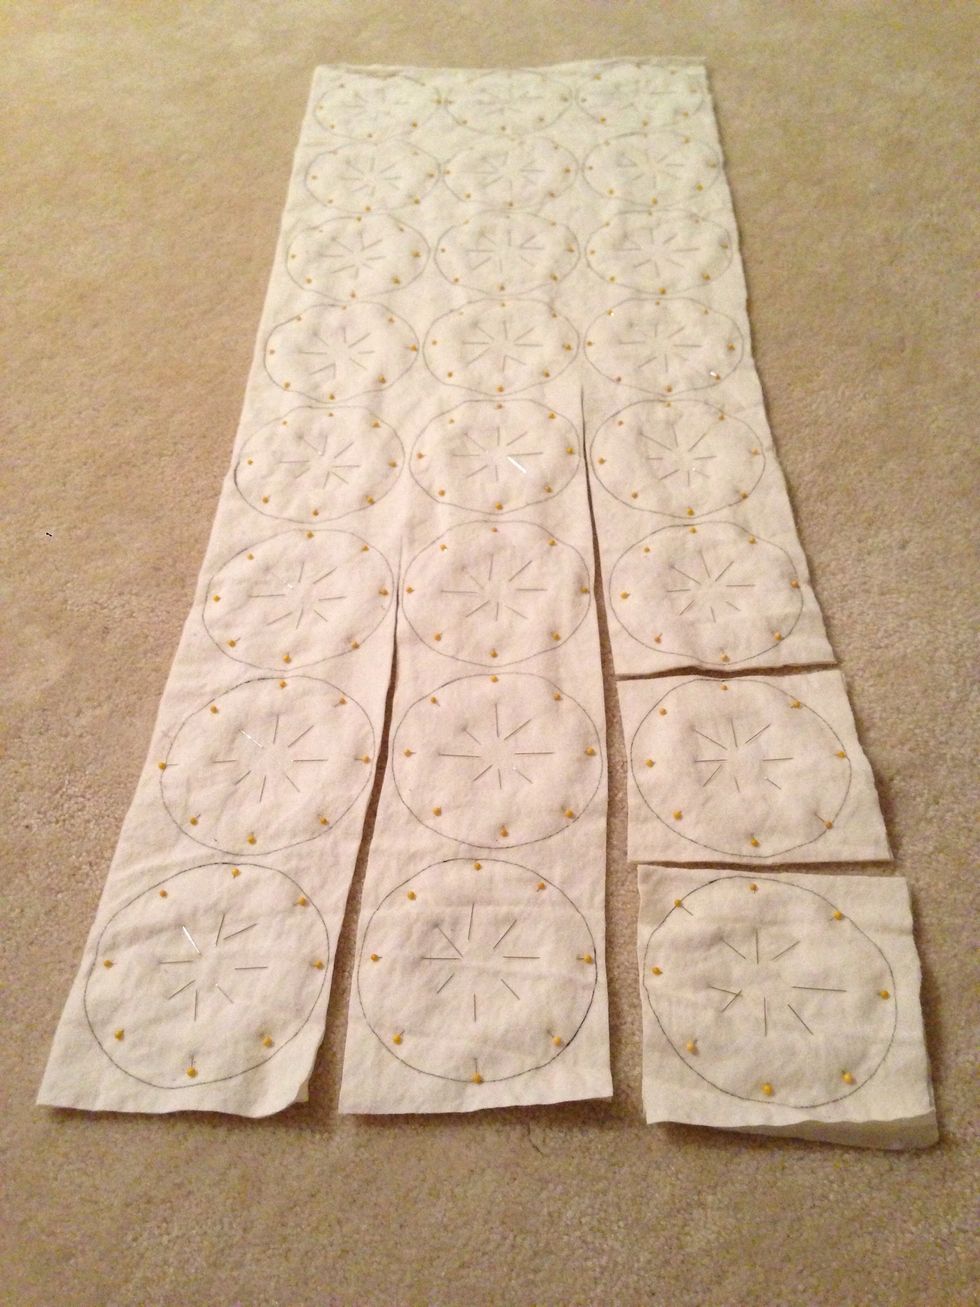
Start cutting each circle.
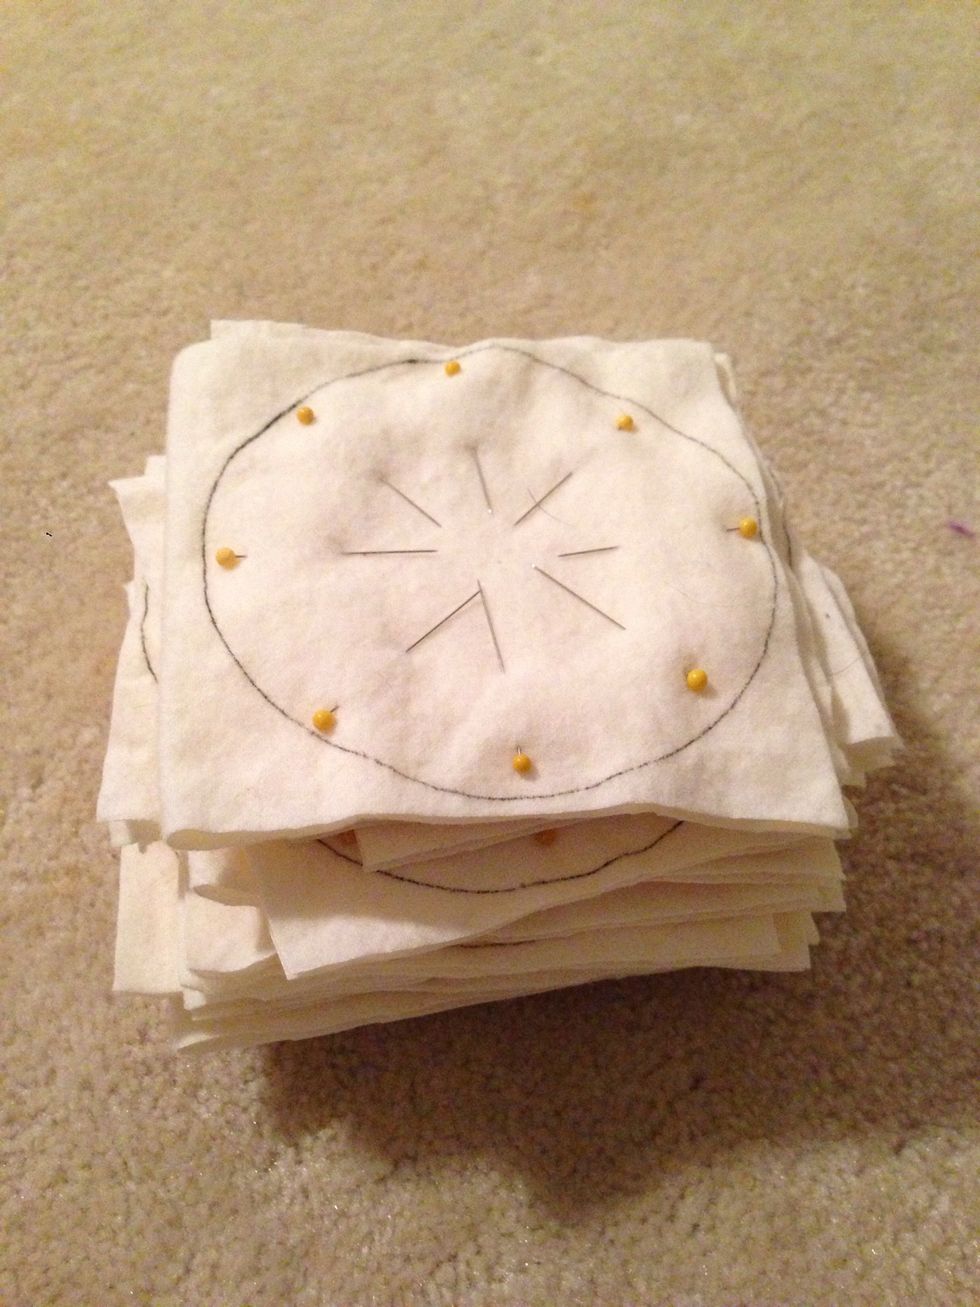
Now trim down to outline.
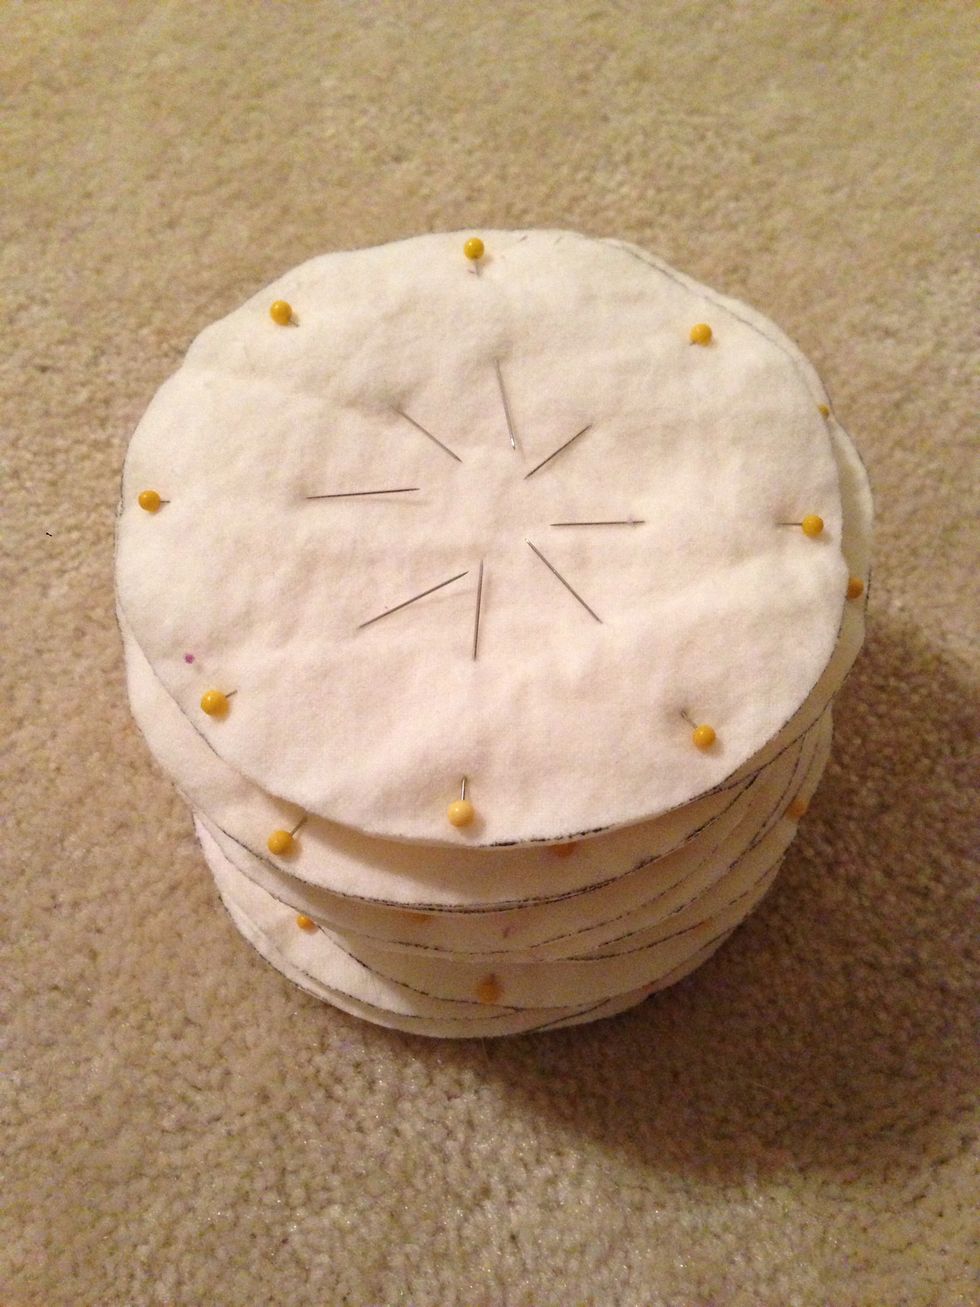
All trimmed.
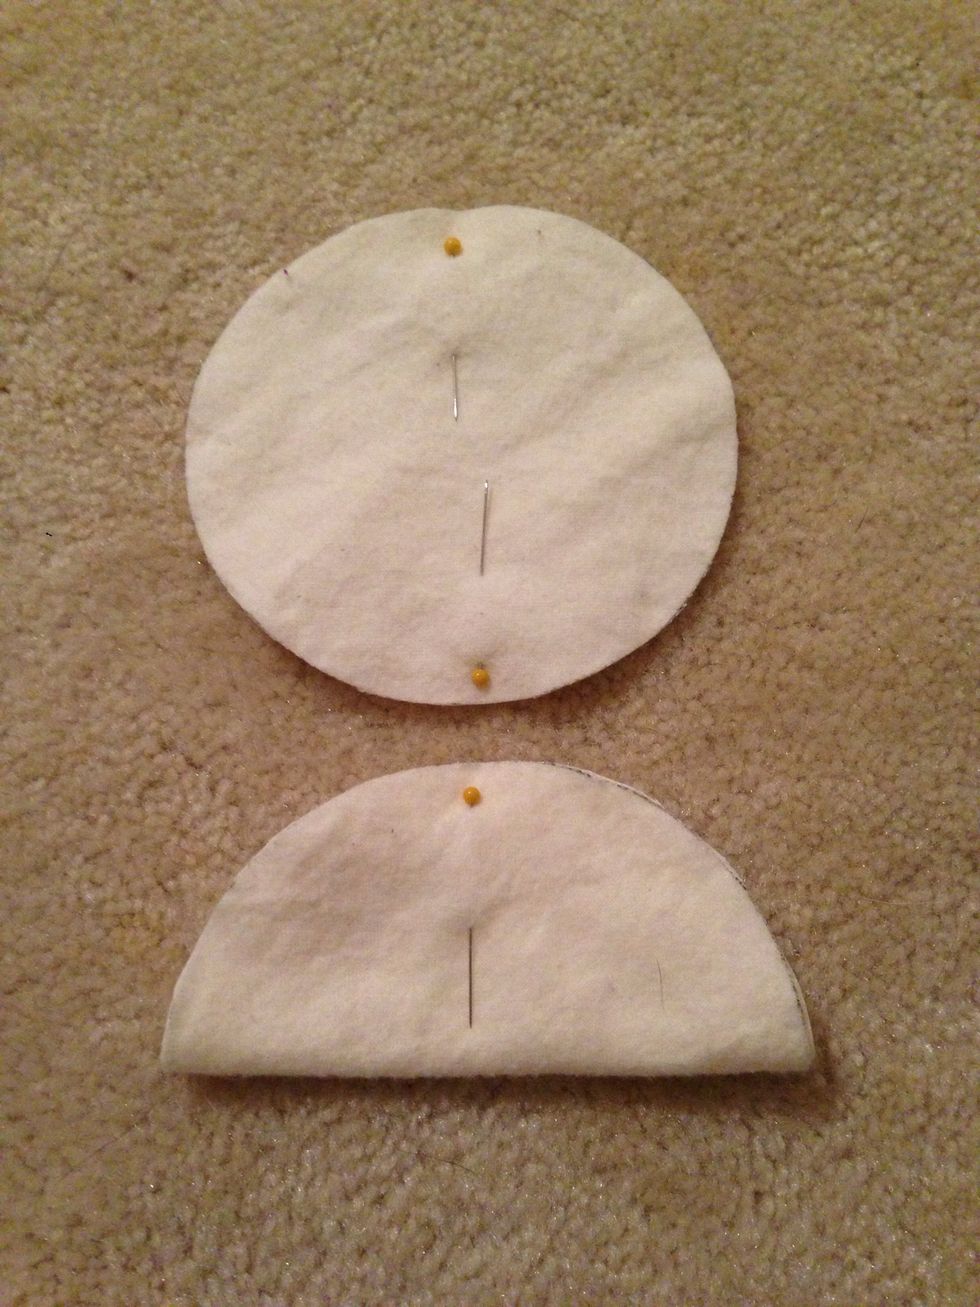
Remove all pins except 2 on opposite sides. Fold in half.

Re-pin according to image. Should look like a flour tortilla when done.
Now moving on to the top fleece and the larger flannel layers. Use any bowl or circle object to trace with. Diameter for both layers are the same but must be larger than the CD (about 6" diameter).
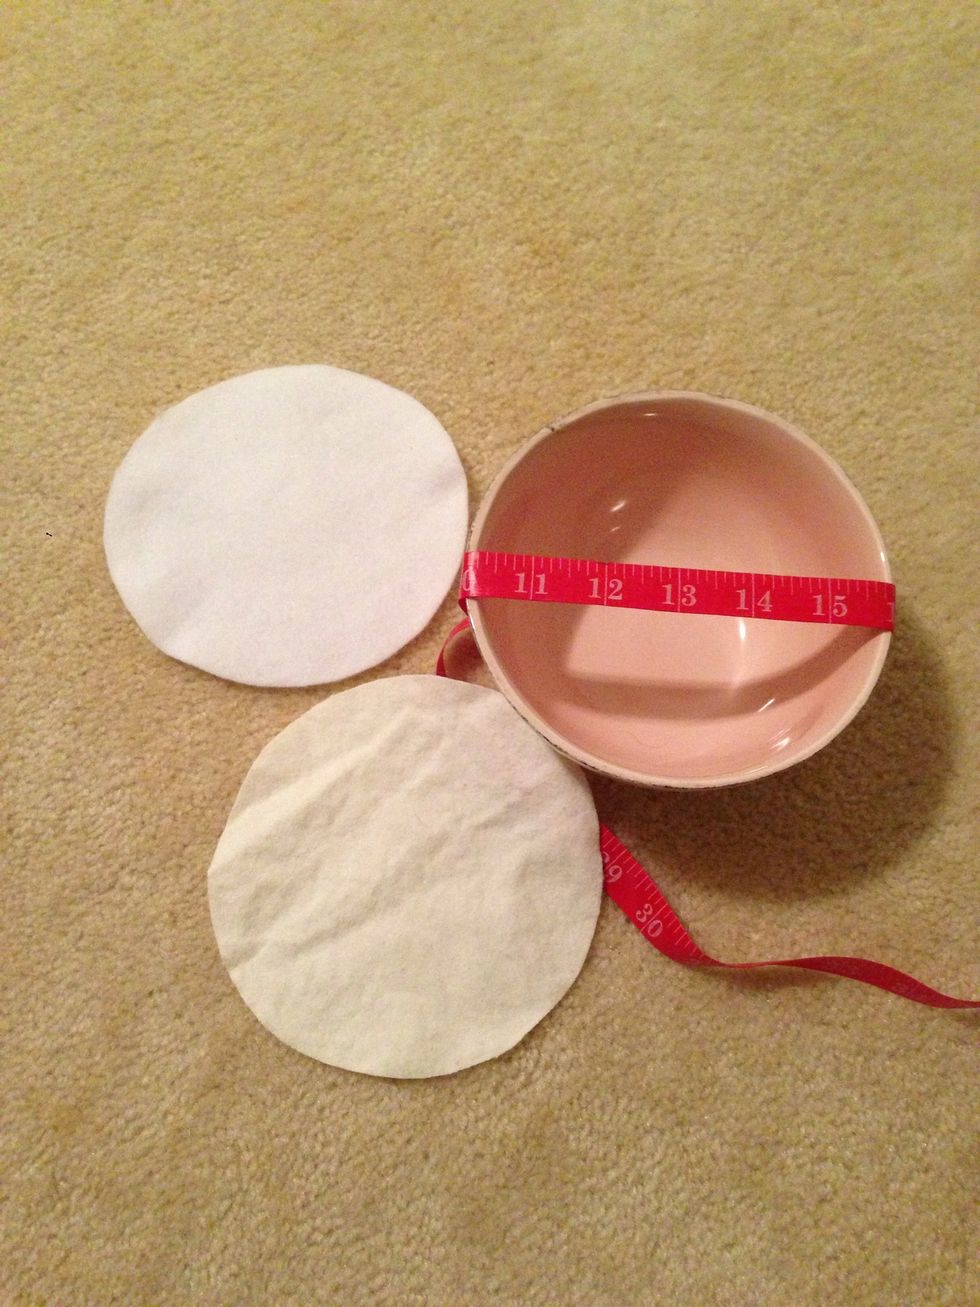
My pink bowl is my tracing template.
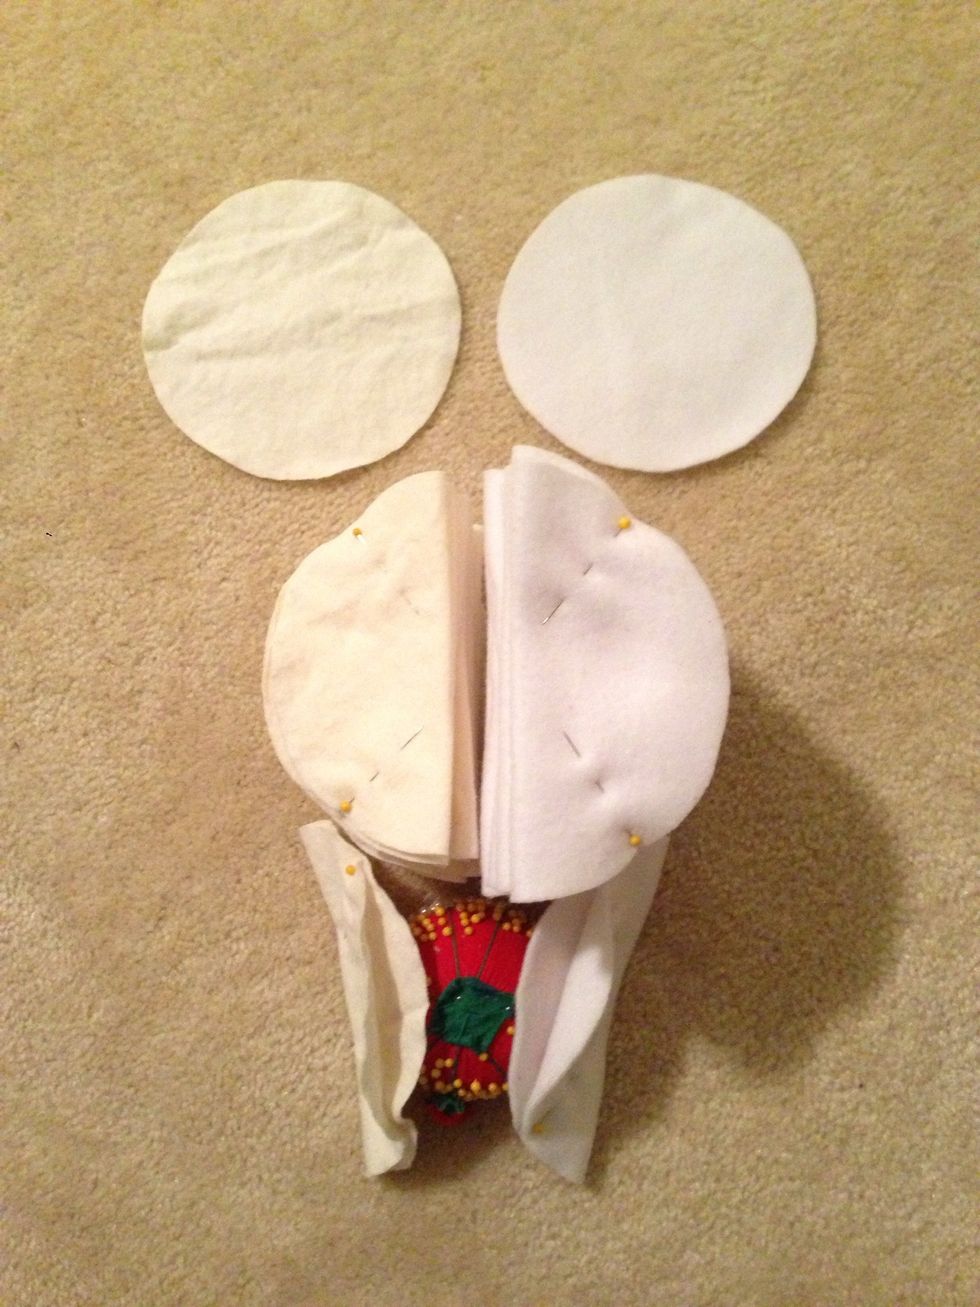
I've cut 24 flannels and 24 fleece so 48 total circles. Then pin each like a tortilla chip as shown earlier.
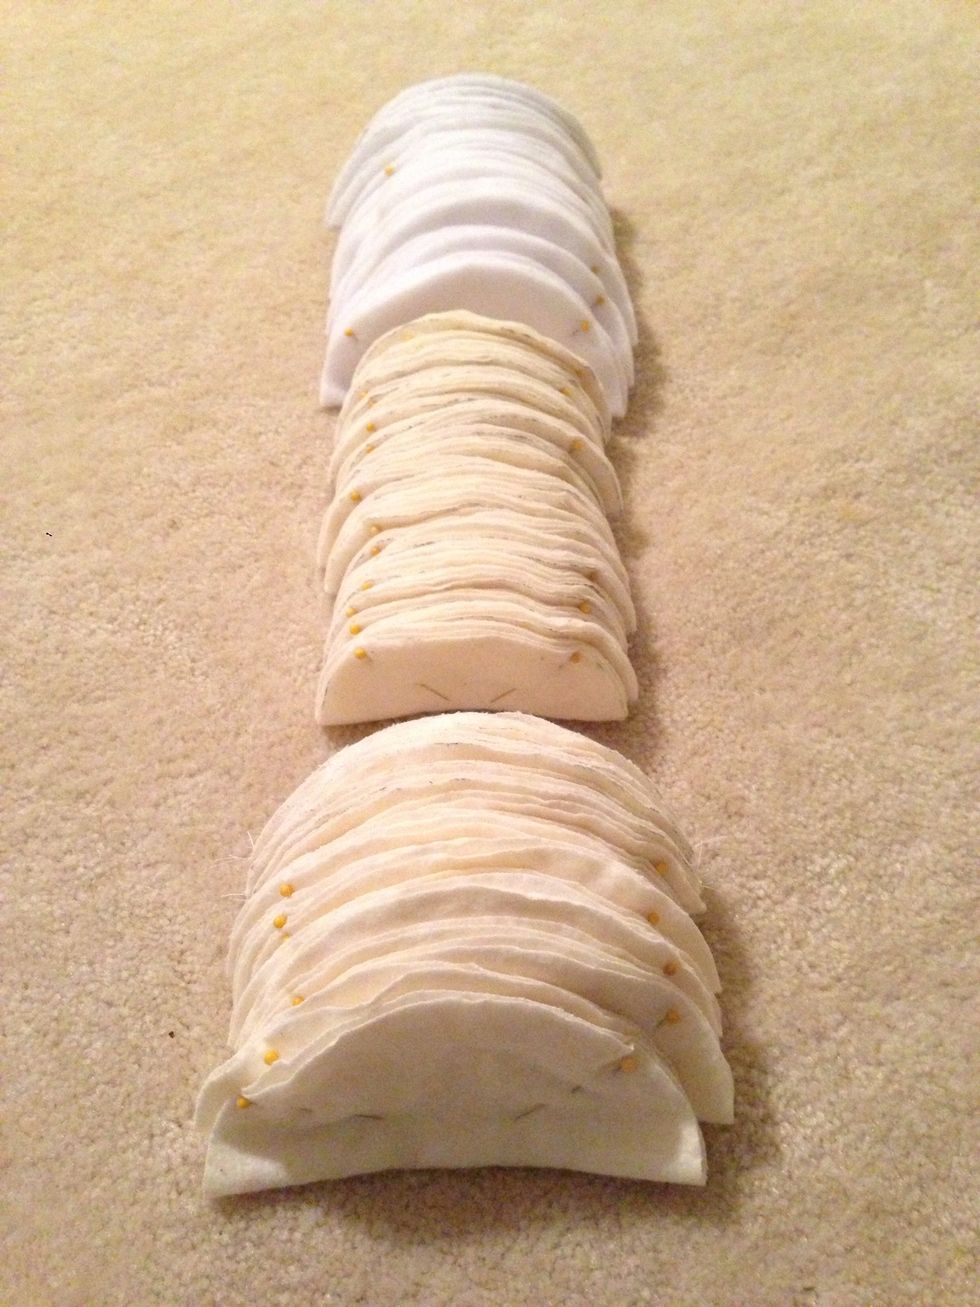
All layers are now ready for contouring

We need to create a template for contouring. Using the bowl again, trace onto a sturdy paper or tape back of paper for added stability. Cut out circle and fold in half.

This dimension works for me but modification may be necessary for each individual. "A" is height from center line. "B" is center gap where nipple goes. "C" concaves, which affects the contour fit.
Height of "A" affects depth of contour, meaning steeper bra cup. "B" affects pointiness of pad. Smaller gap=conelike pad. "C" contours to the curve of breast.
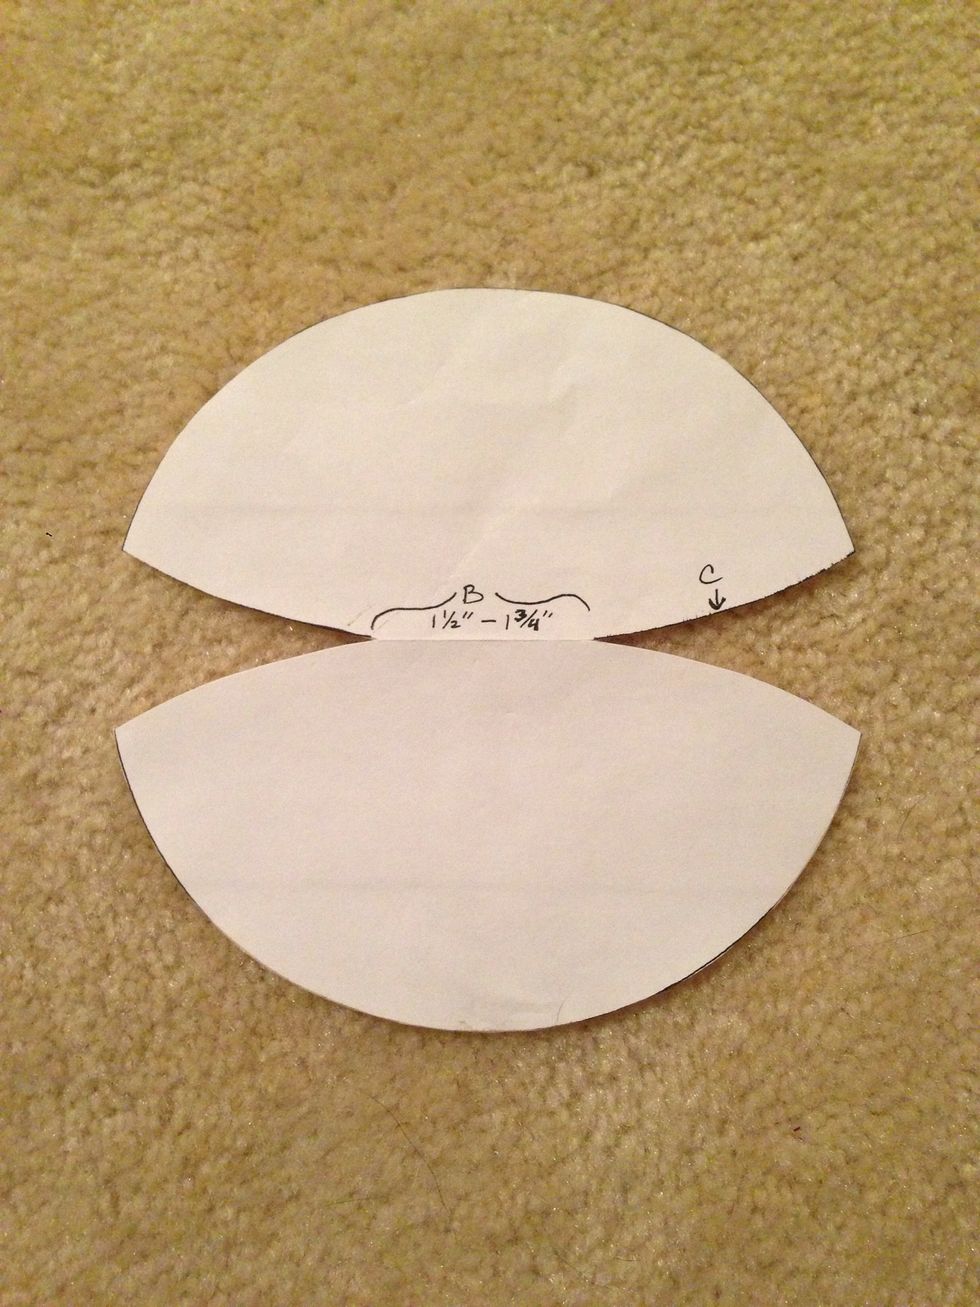
Fold in half and cut according to "C".
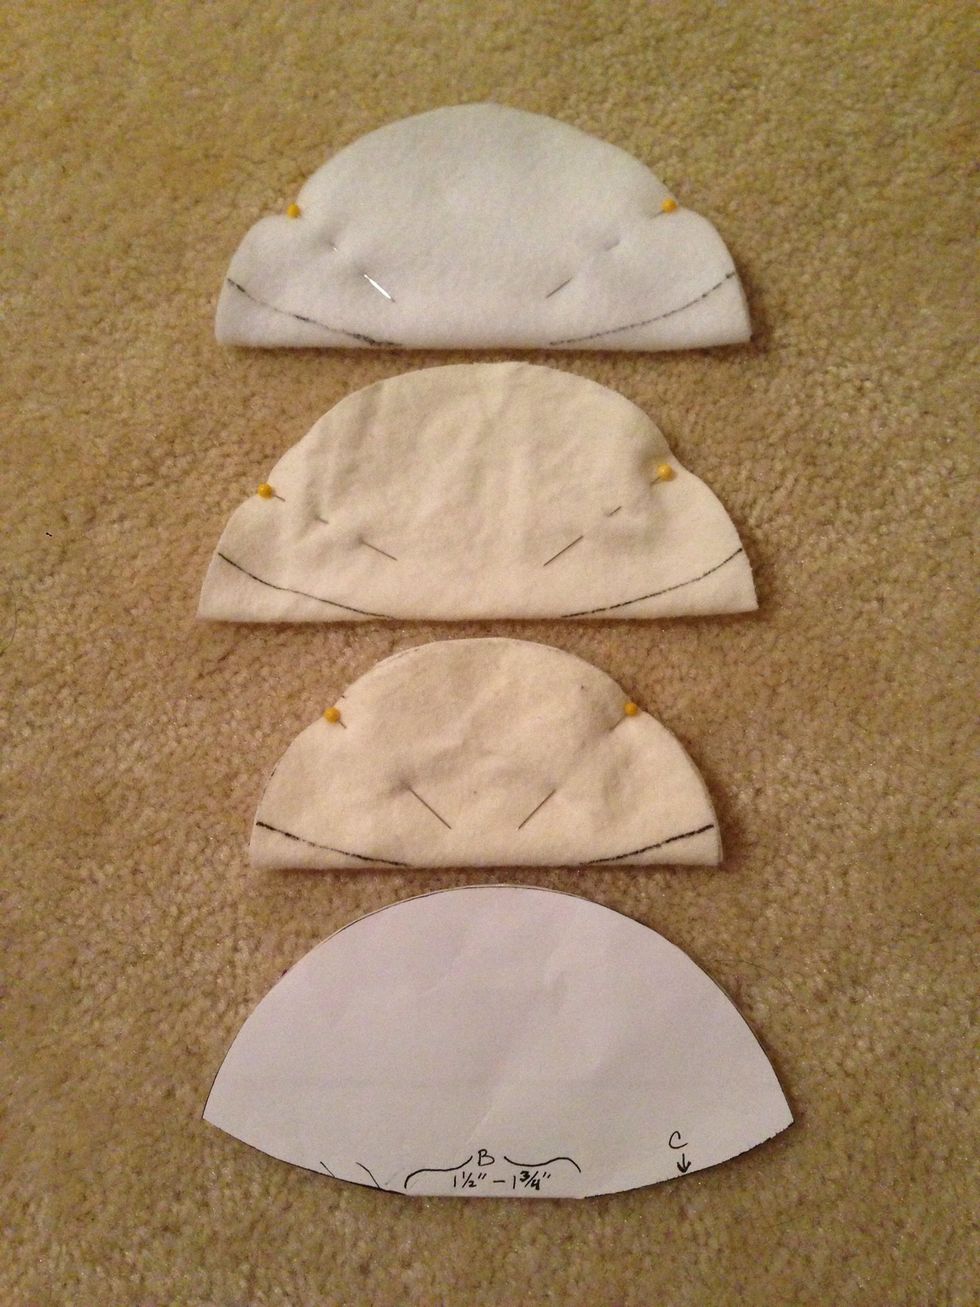
Trace contour shape on all swatches. Read next step first before contouring all swatches.
Baste stitch a large flannel or fleece to test how the contour template works for you. Modify template until satisfied.
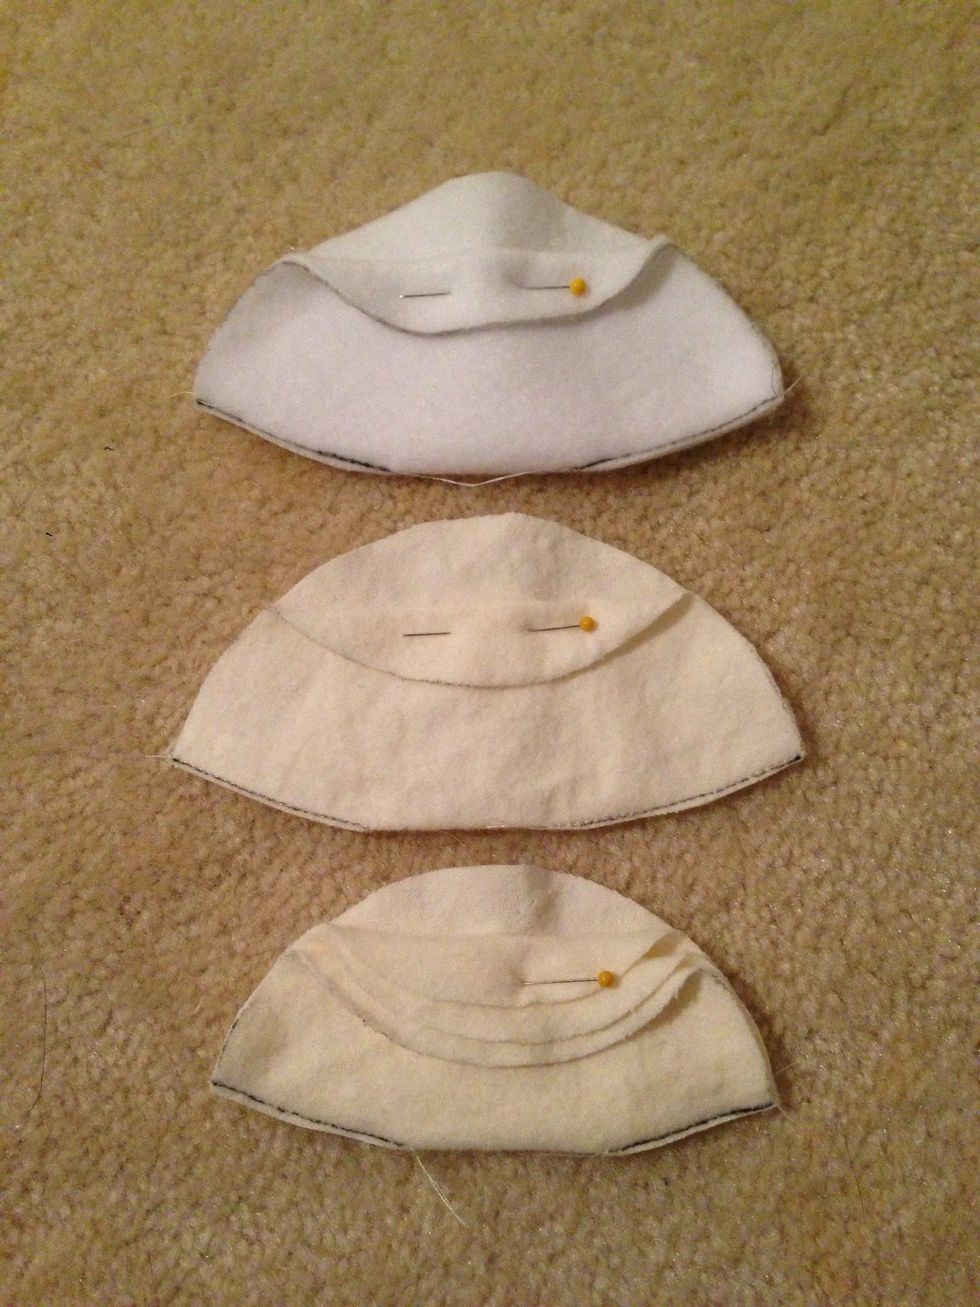
Sew straight stitch along line then trim off access close to seam. Remove all pins. Pin shown just to display layers in end result.
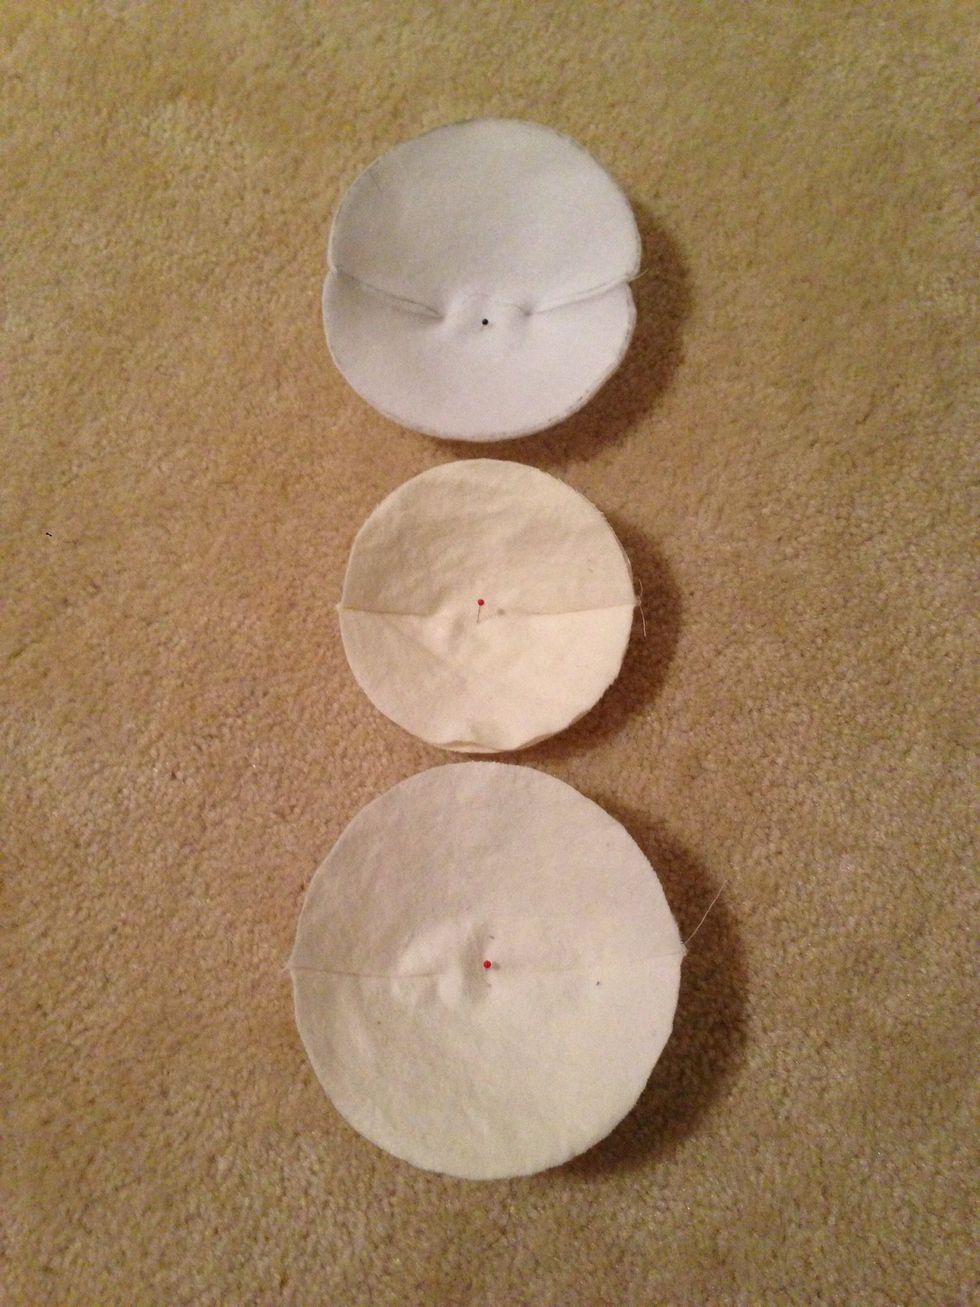
Stack according to layout. Fleece face back while the other 2 layers face up.
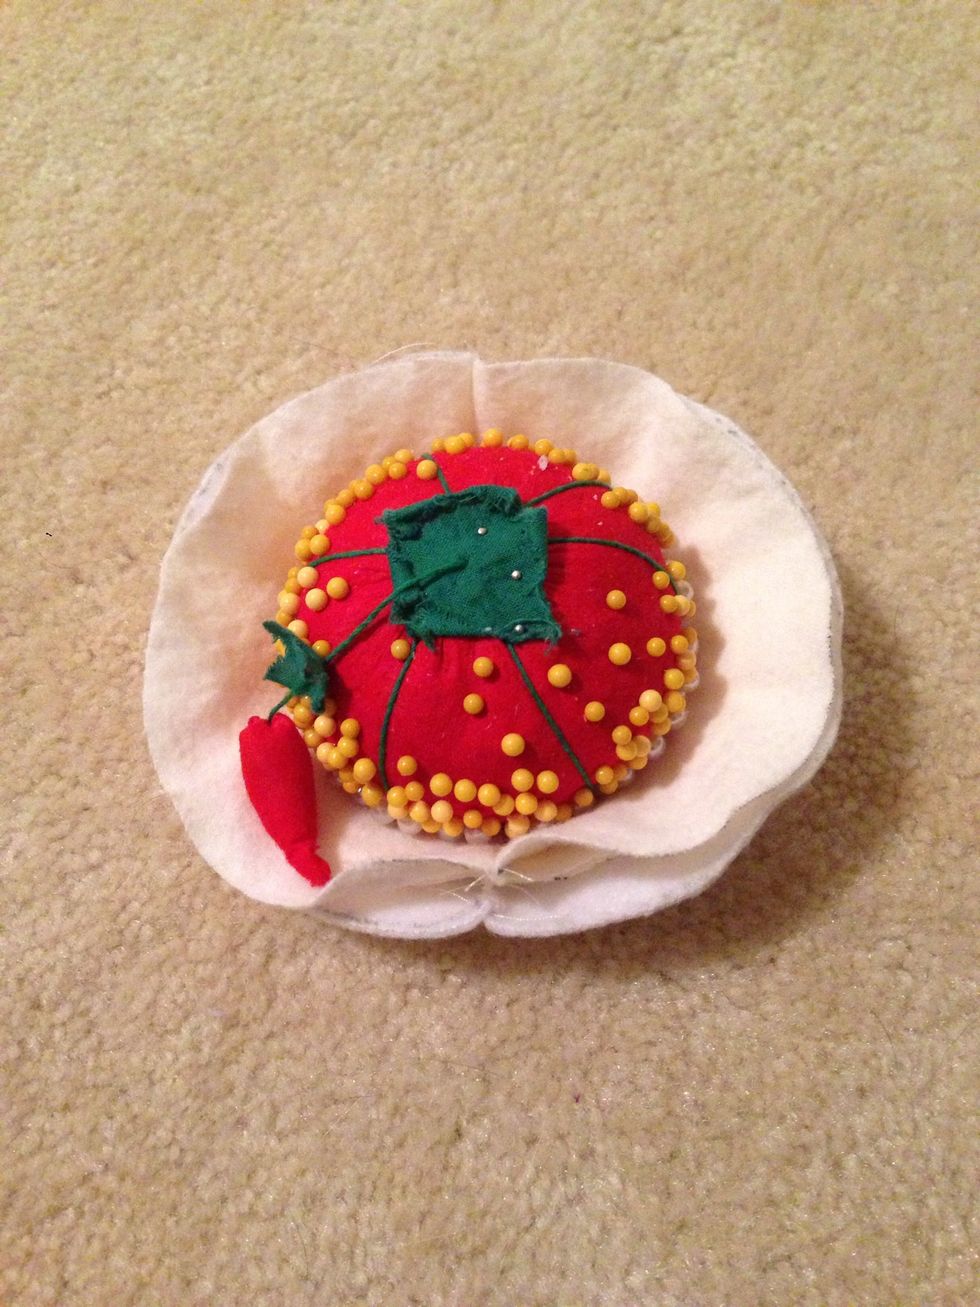
Stick a ball or the pincushion in for shaping. The flannel cups the breast.
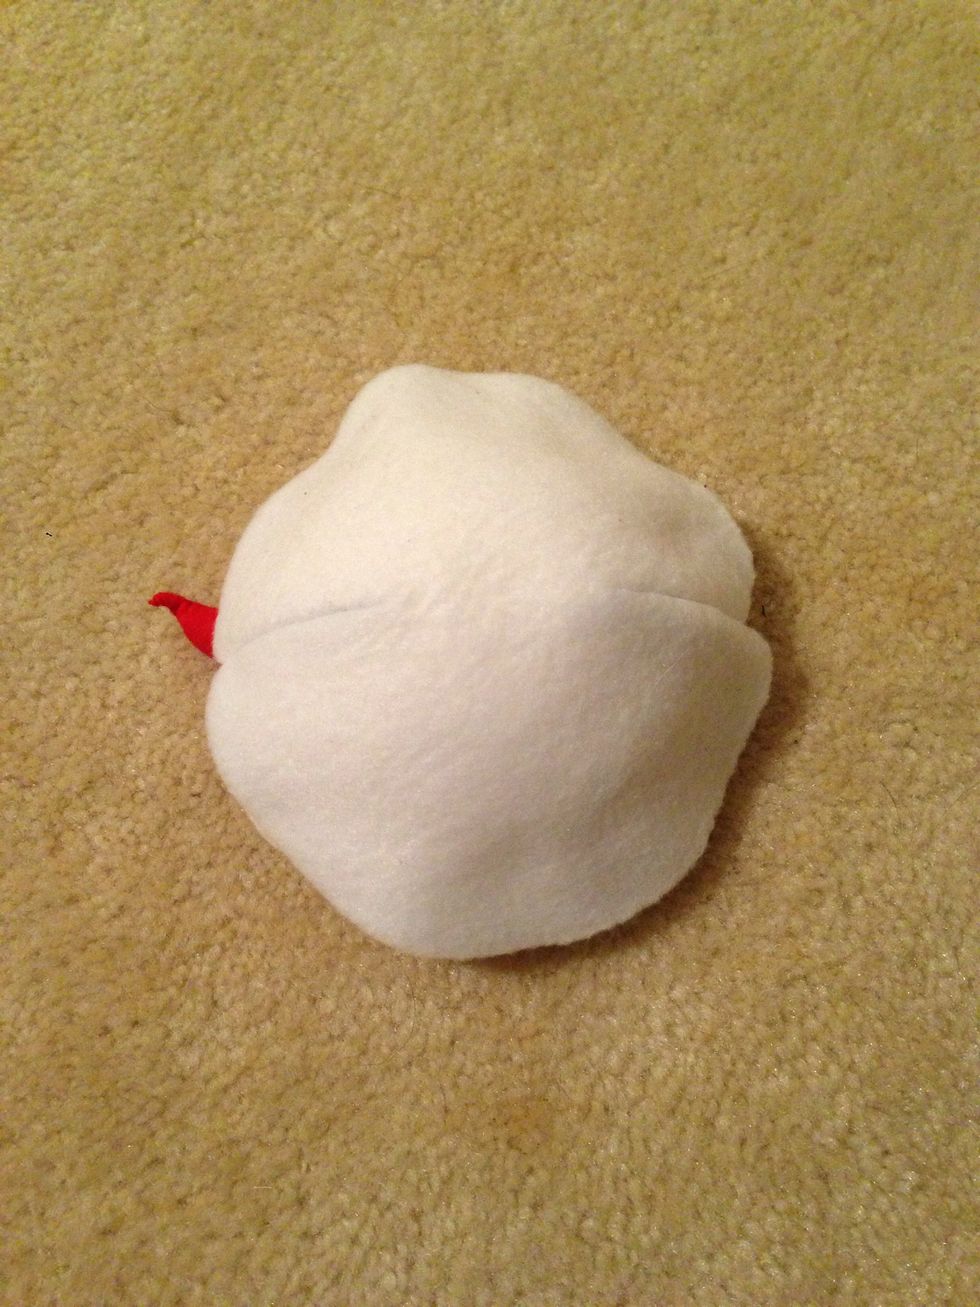
Flip around and this side faces the bra. Mold around pincushion then pin all layers together.
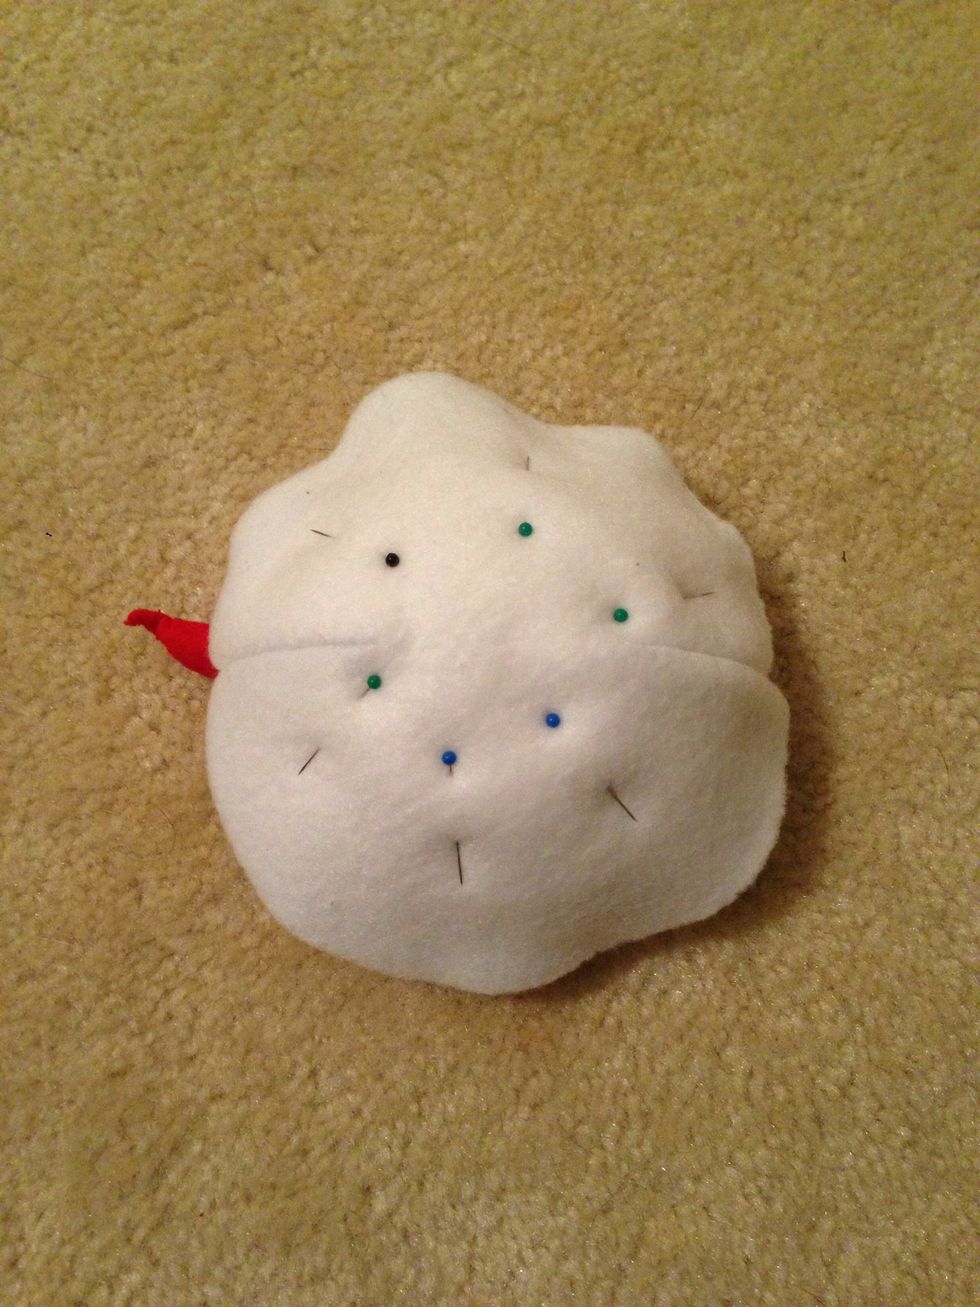
Should look like this.
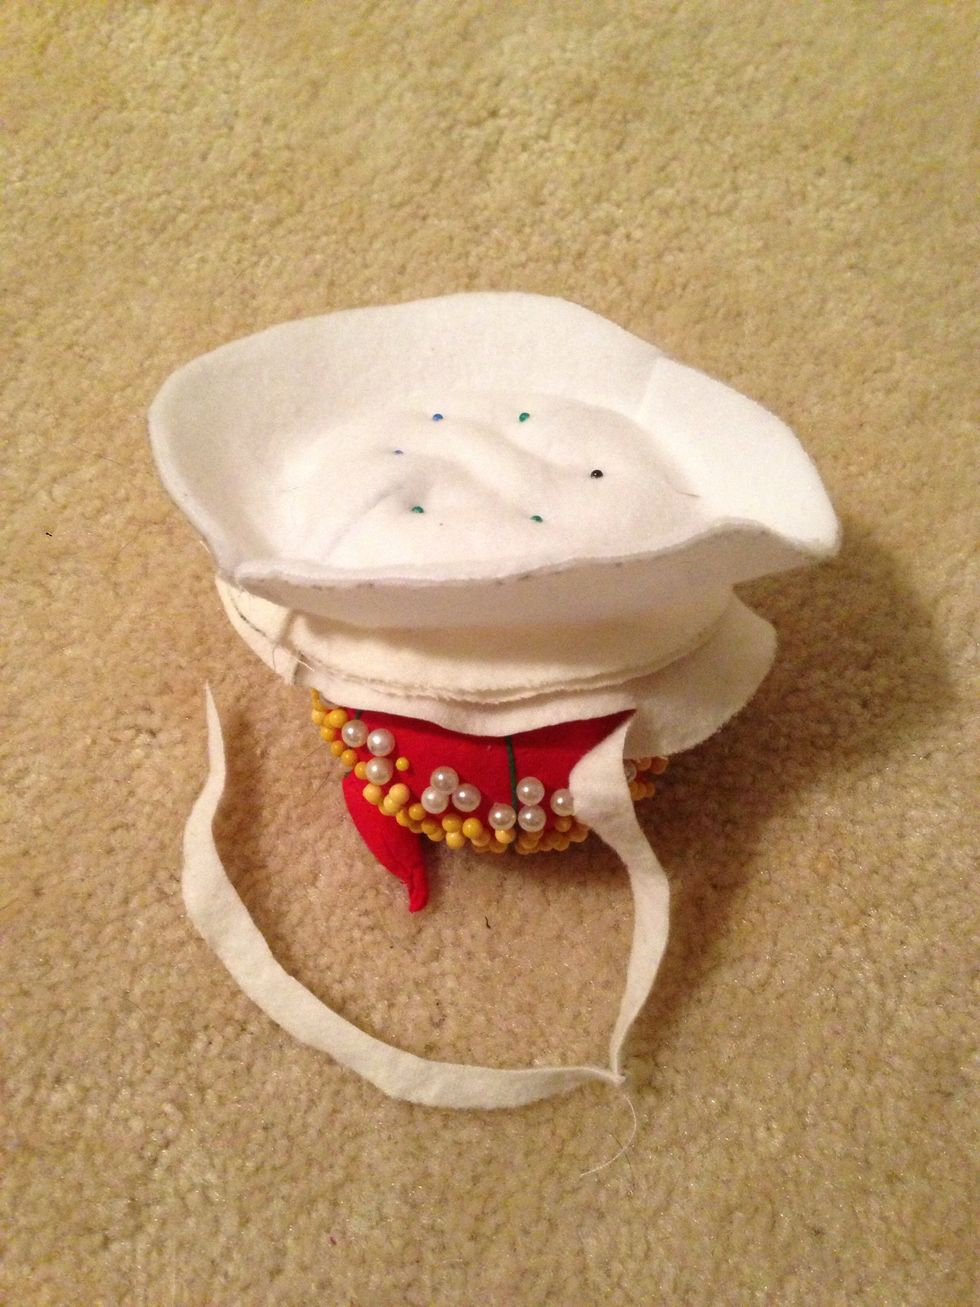
Flip fleece layer away from flannels. Trim larger flannel approximately 1/8"-1/4" from edge of smaller flannel. Goal is edges of smaller flannels get sewn without creating bulky edge on pad.
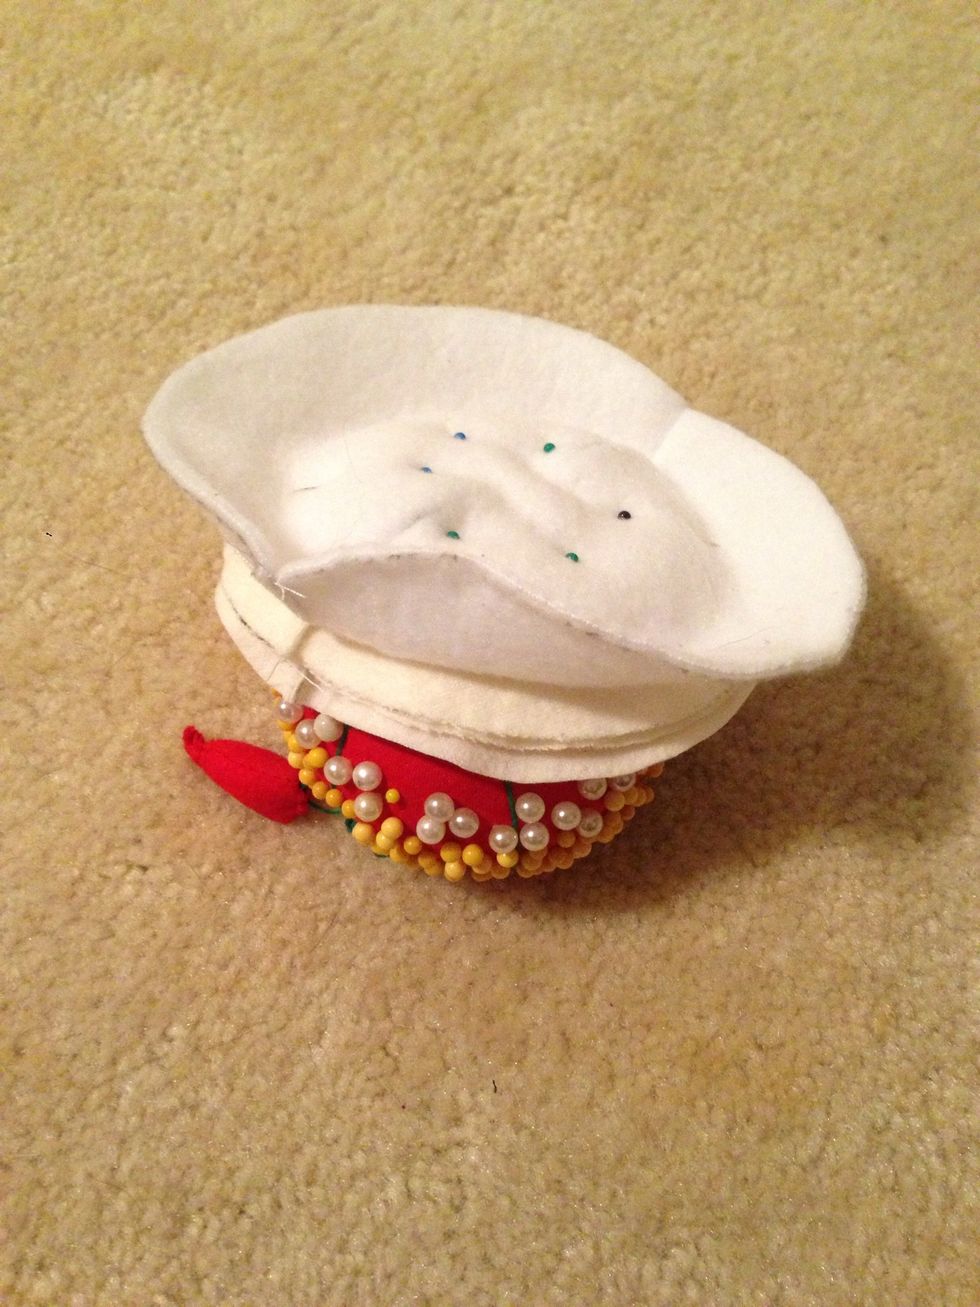
Should look like this.
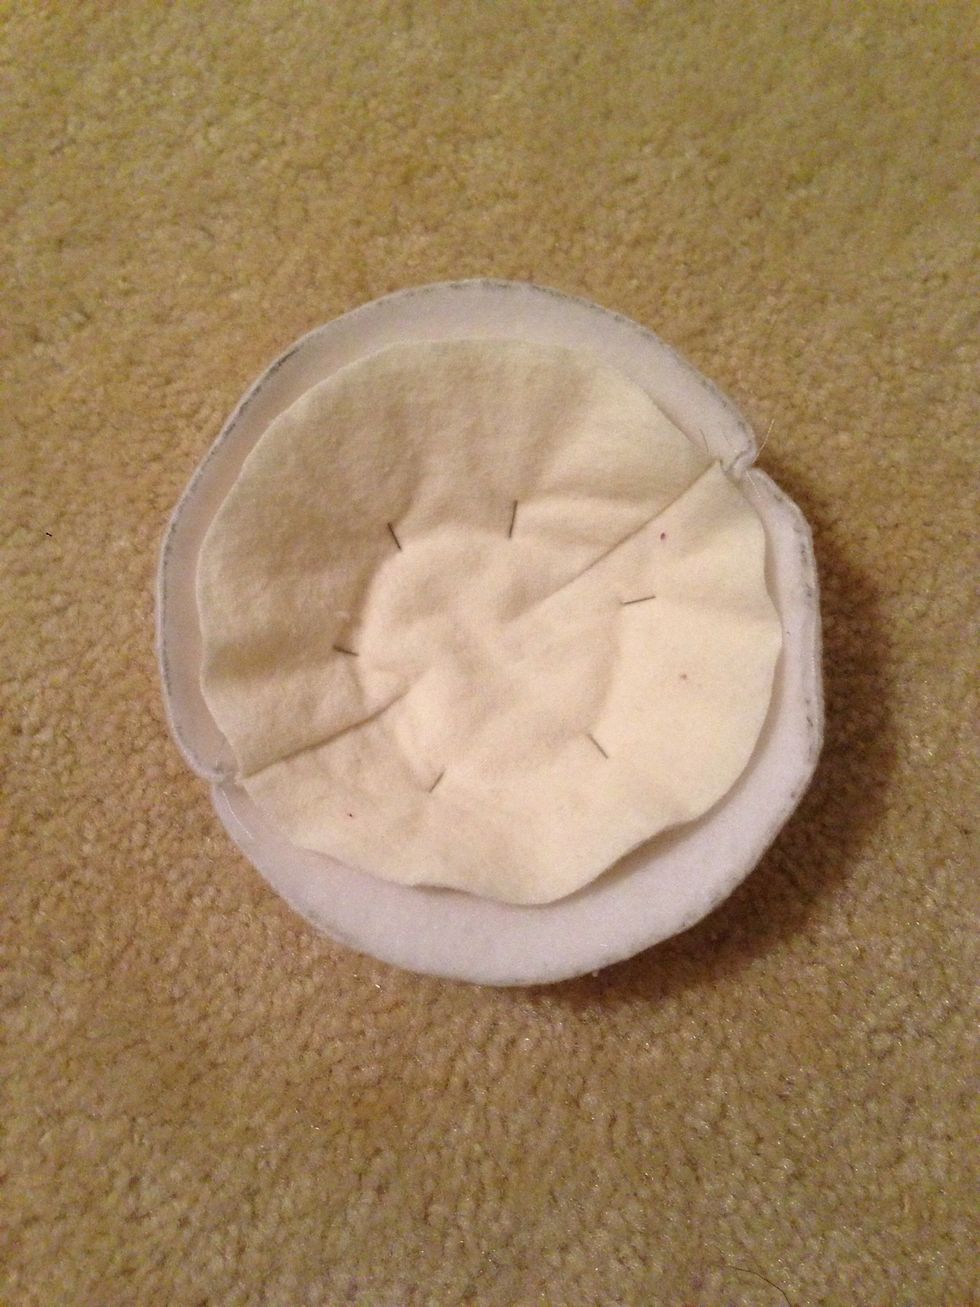
Now ready to sew.
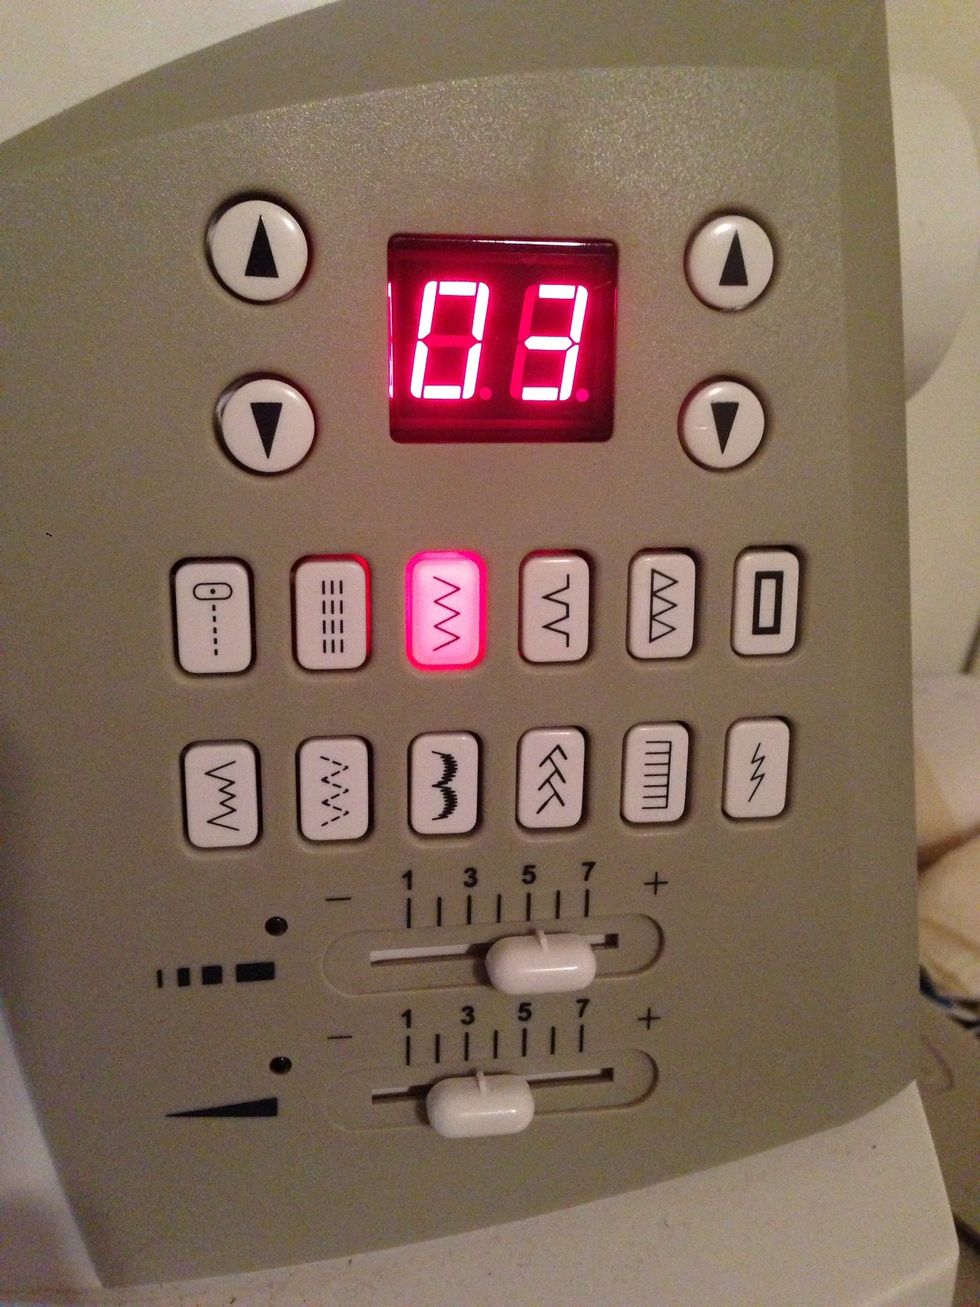
Use zig zag stitch.
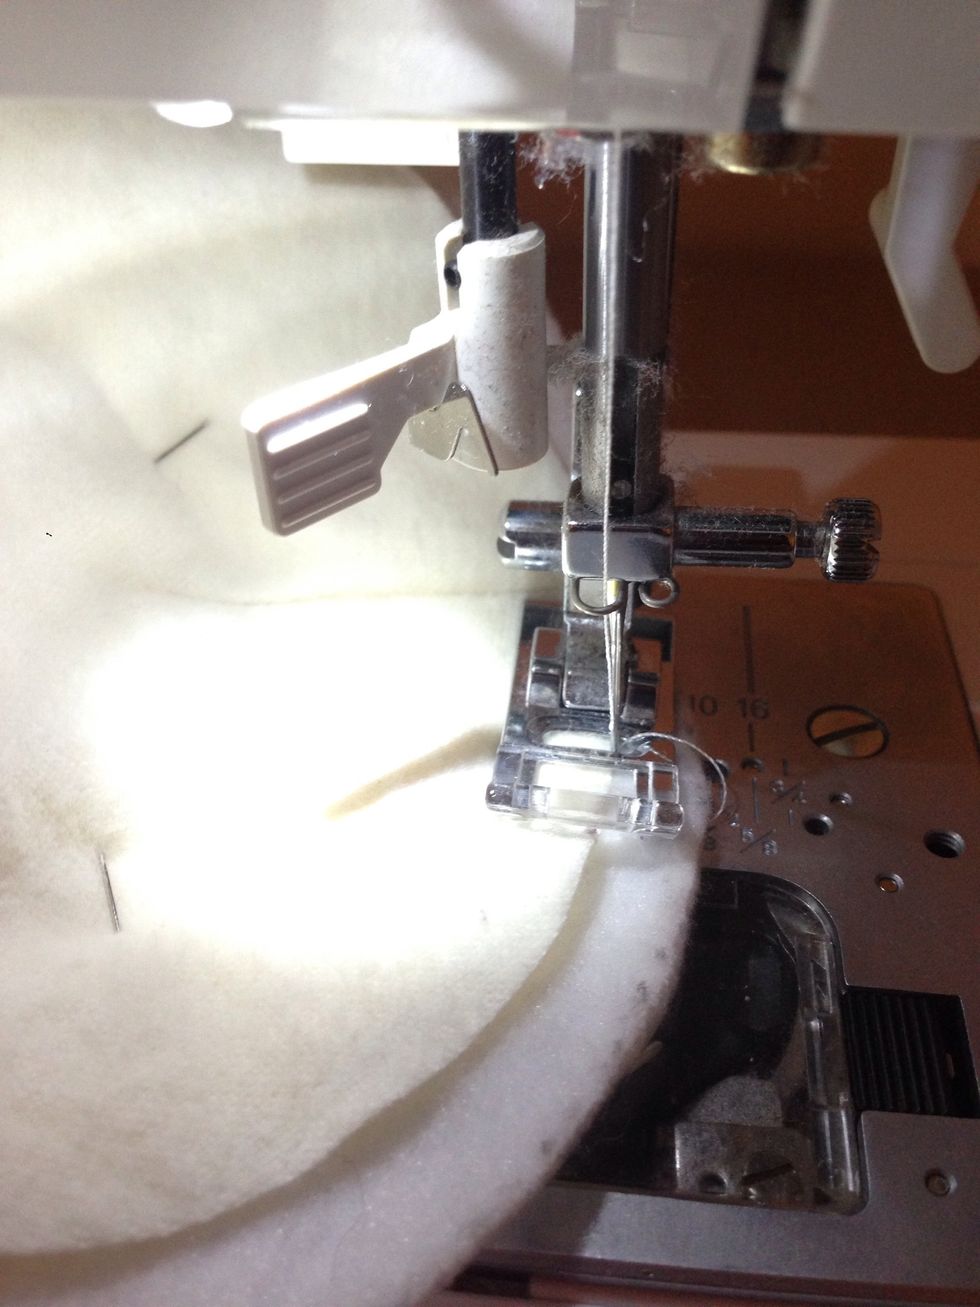
Also need zig zag sewing foot. Sew along edge of flannel.
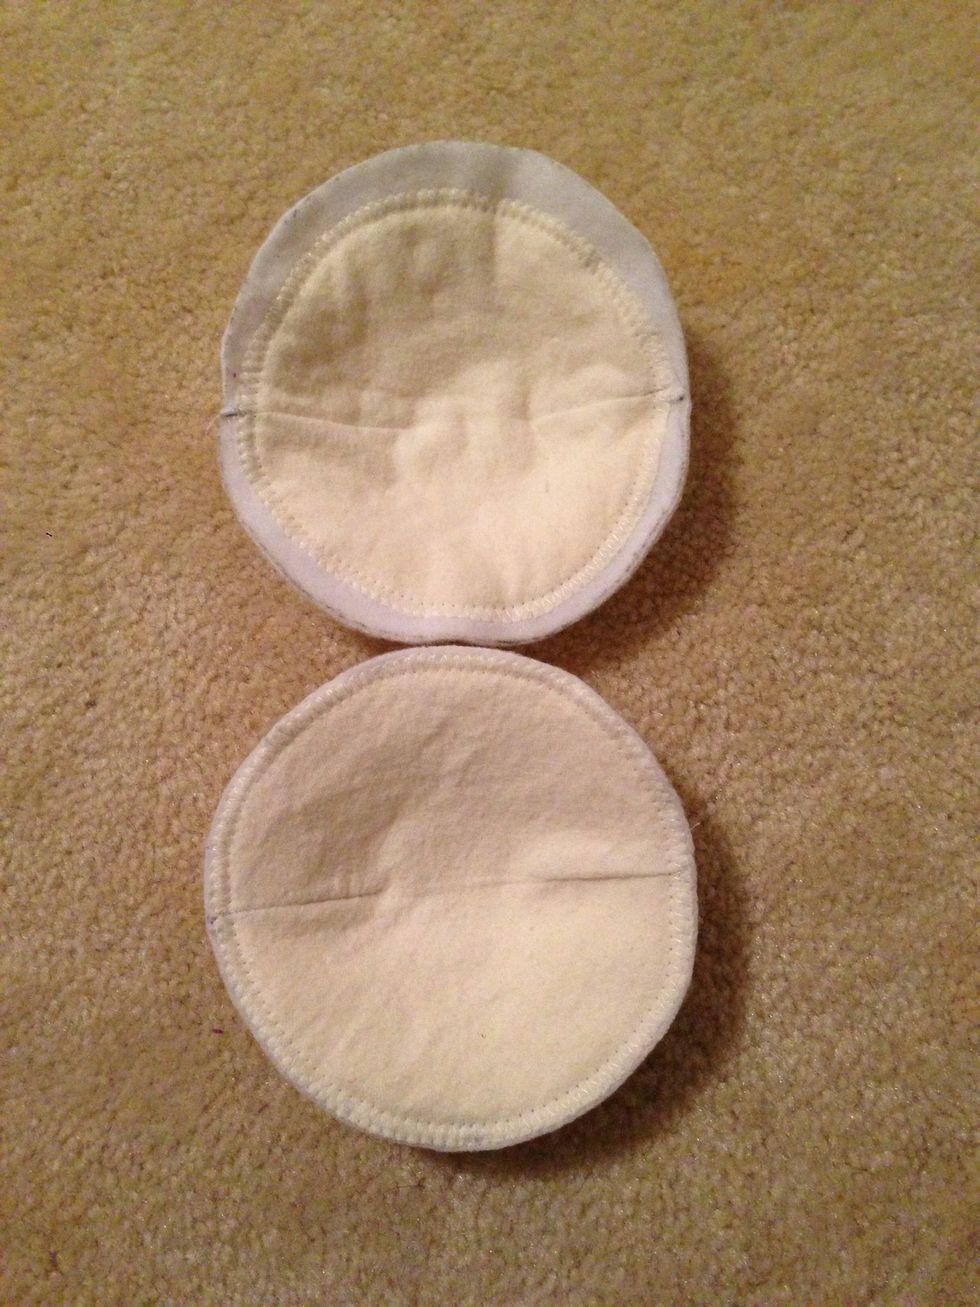
Completed pads from flannel side. Trim access close to seam and ready for use.
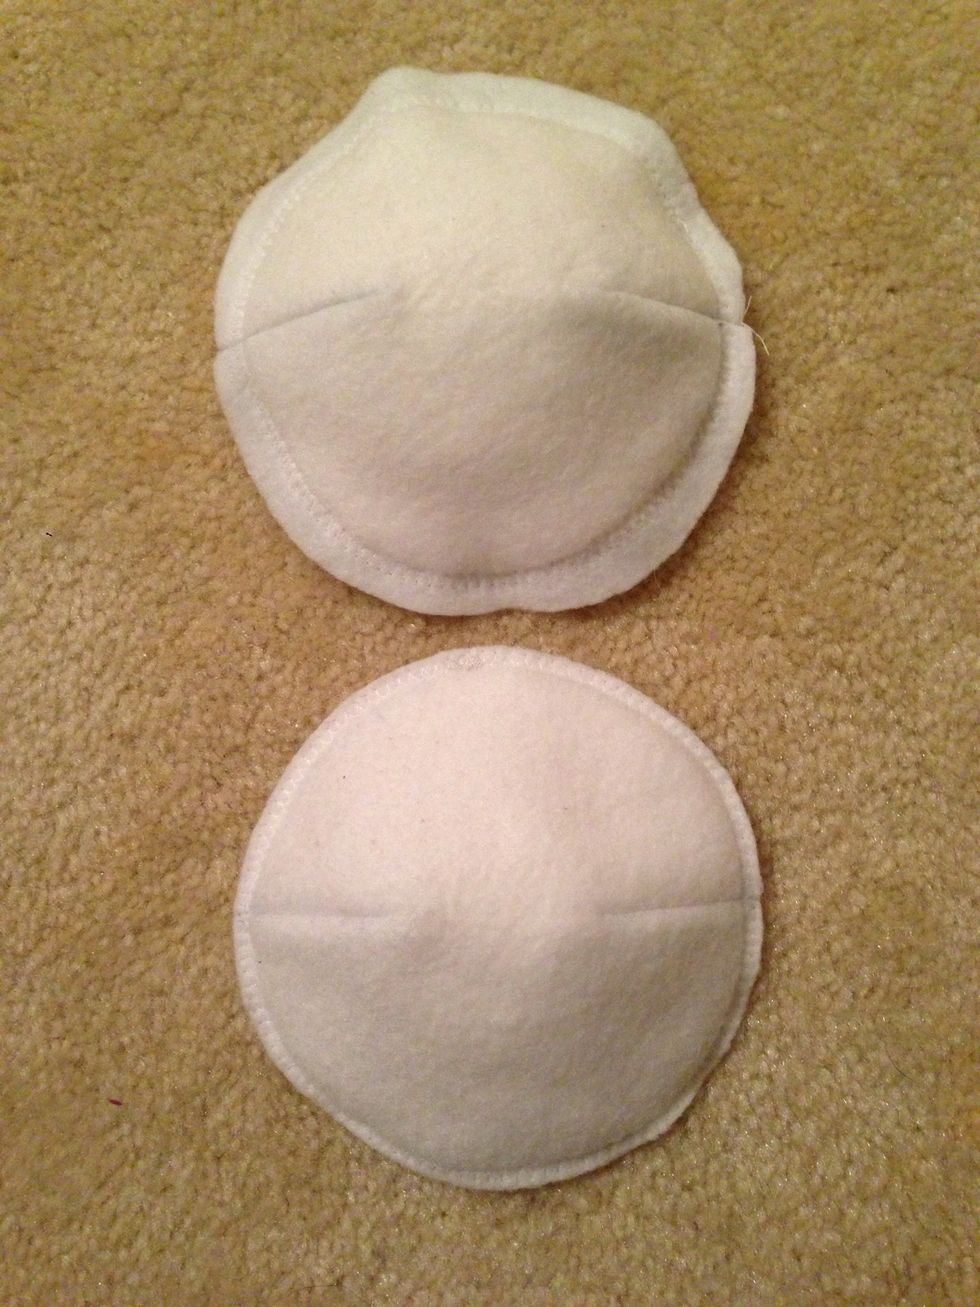
Completed pads from fleece side.
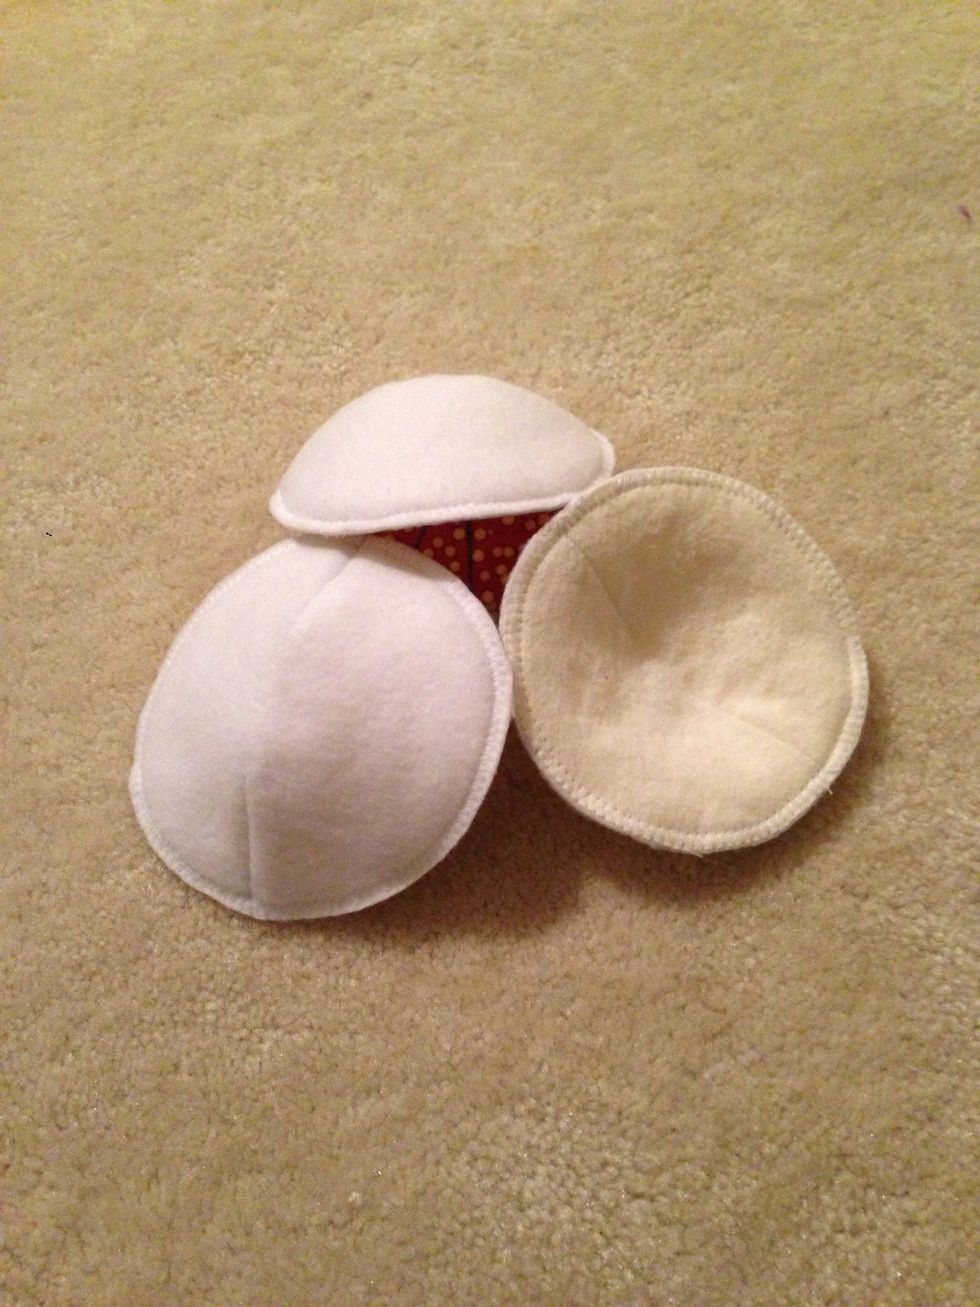
Finished product from all angles. Enjoy!
- Flannel fabric
- Fleece fabric
- Pins
- Scissors
- Thread
- Sewing Machine
- Template paper
- CD
- Round Template or bowl
- Matching thread
The Conversation (0)
Sign Up