The Conversation (0)
Sign Up
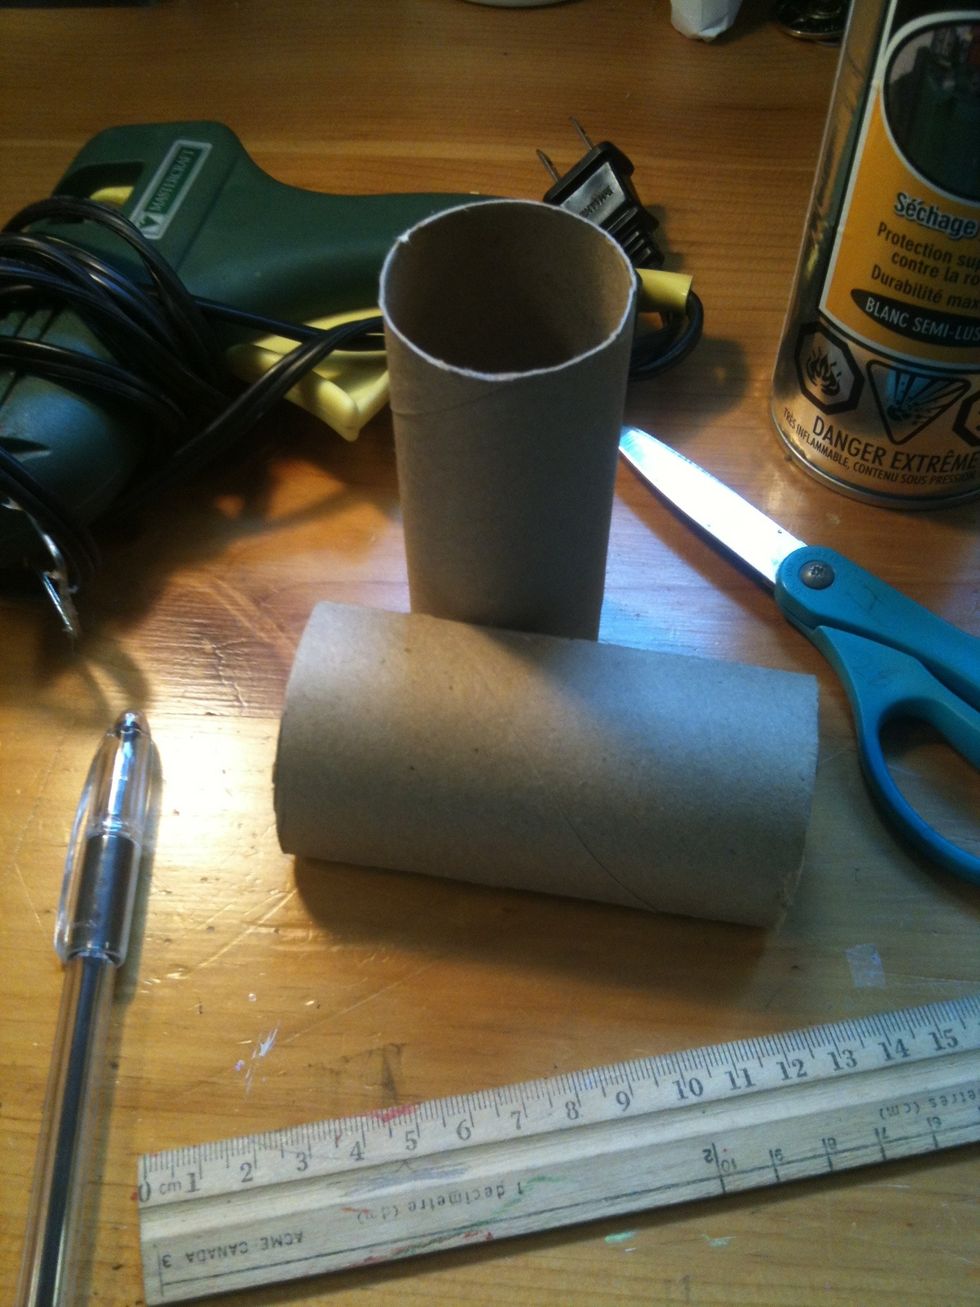
Gather needed supplies.
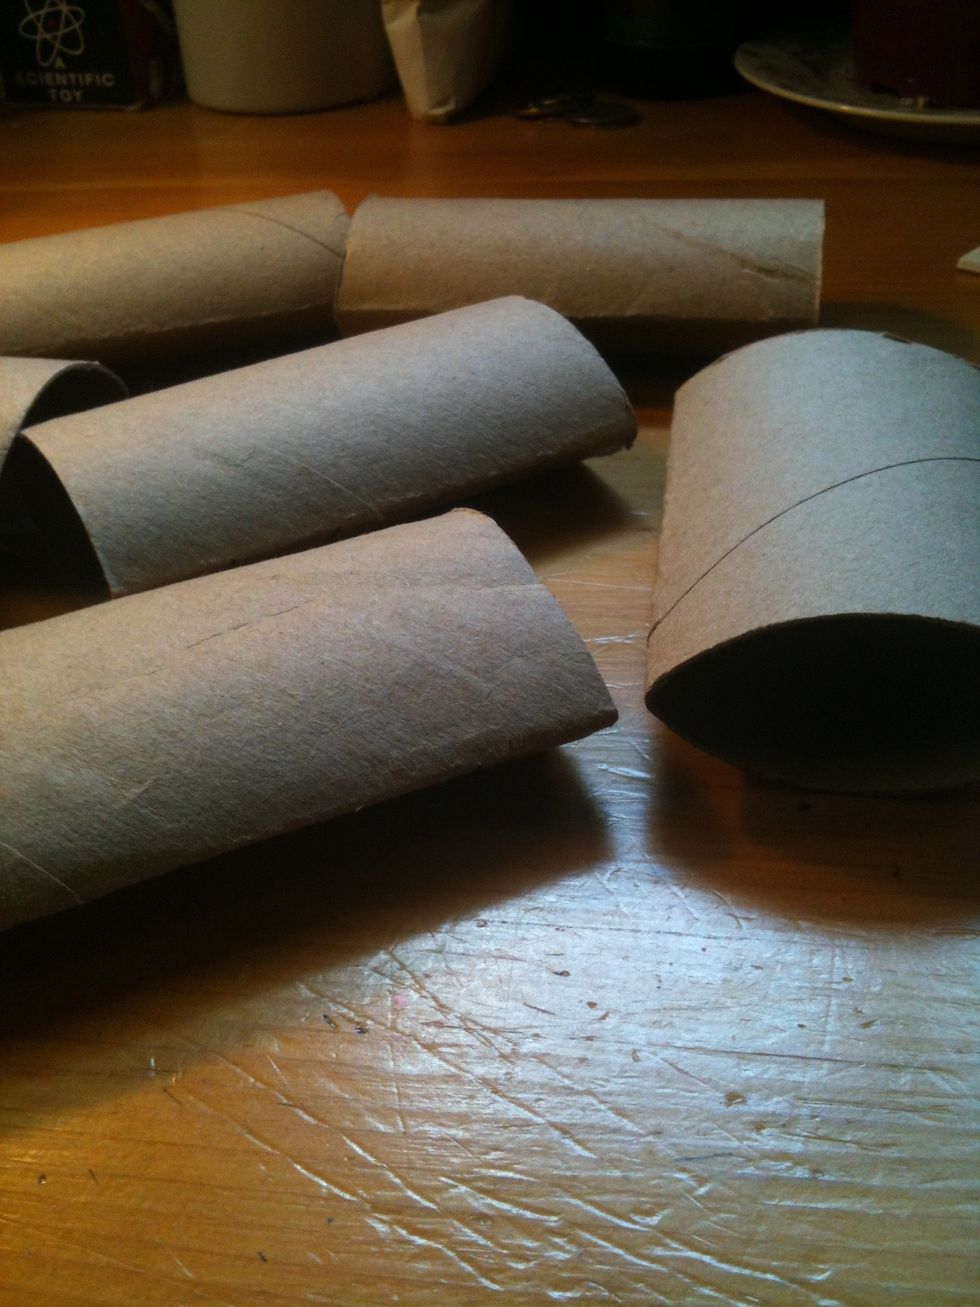
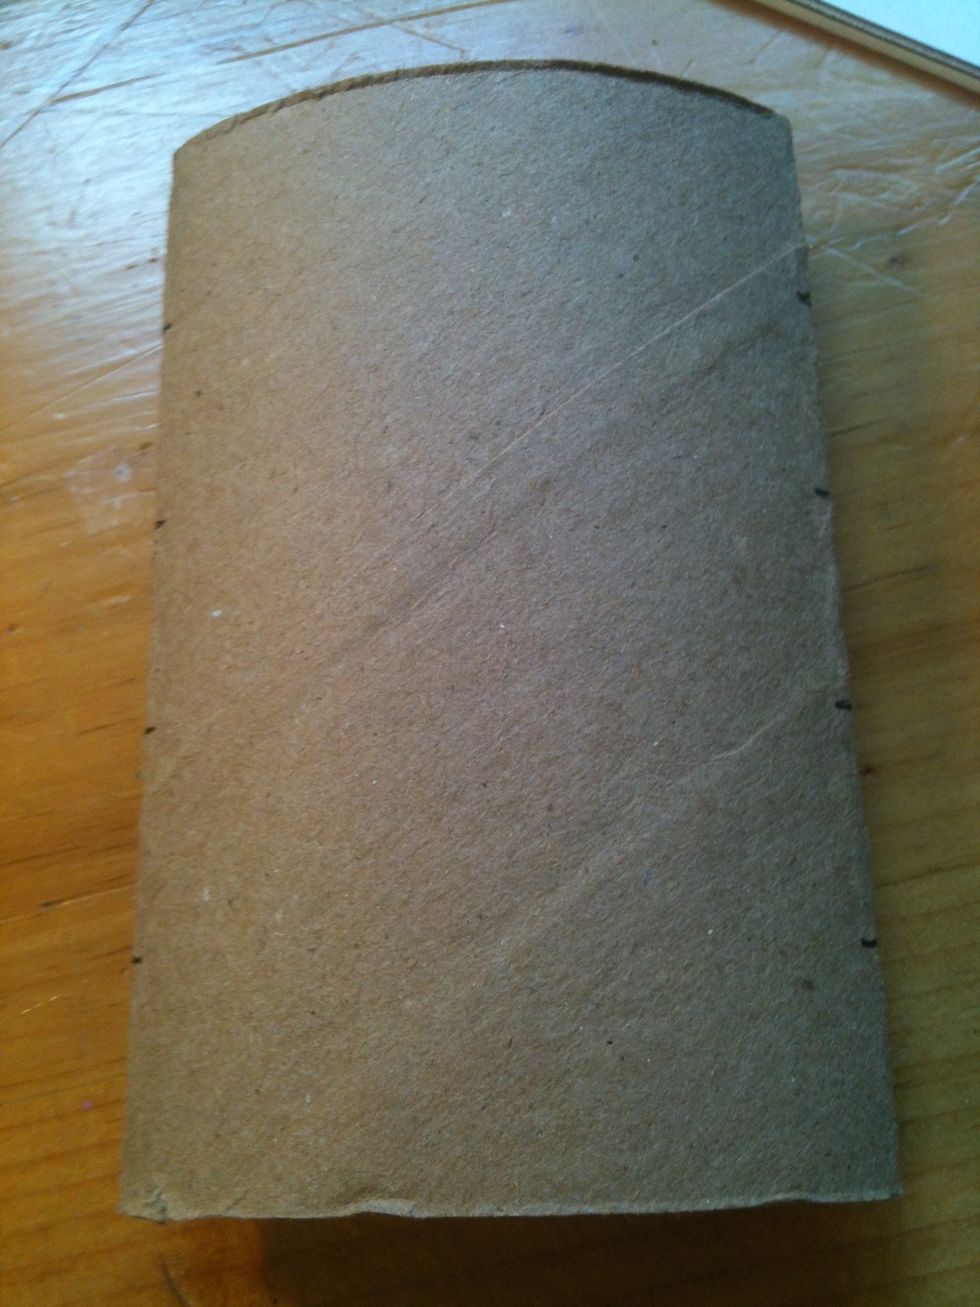
Flatten all of your TP tubes.
Toilet paper tubes are usually 10 cm long. If yours is a different length, alter the next few steps, or trim it to a new length.
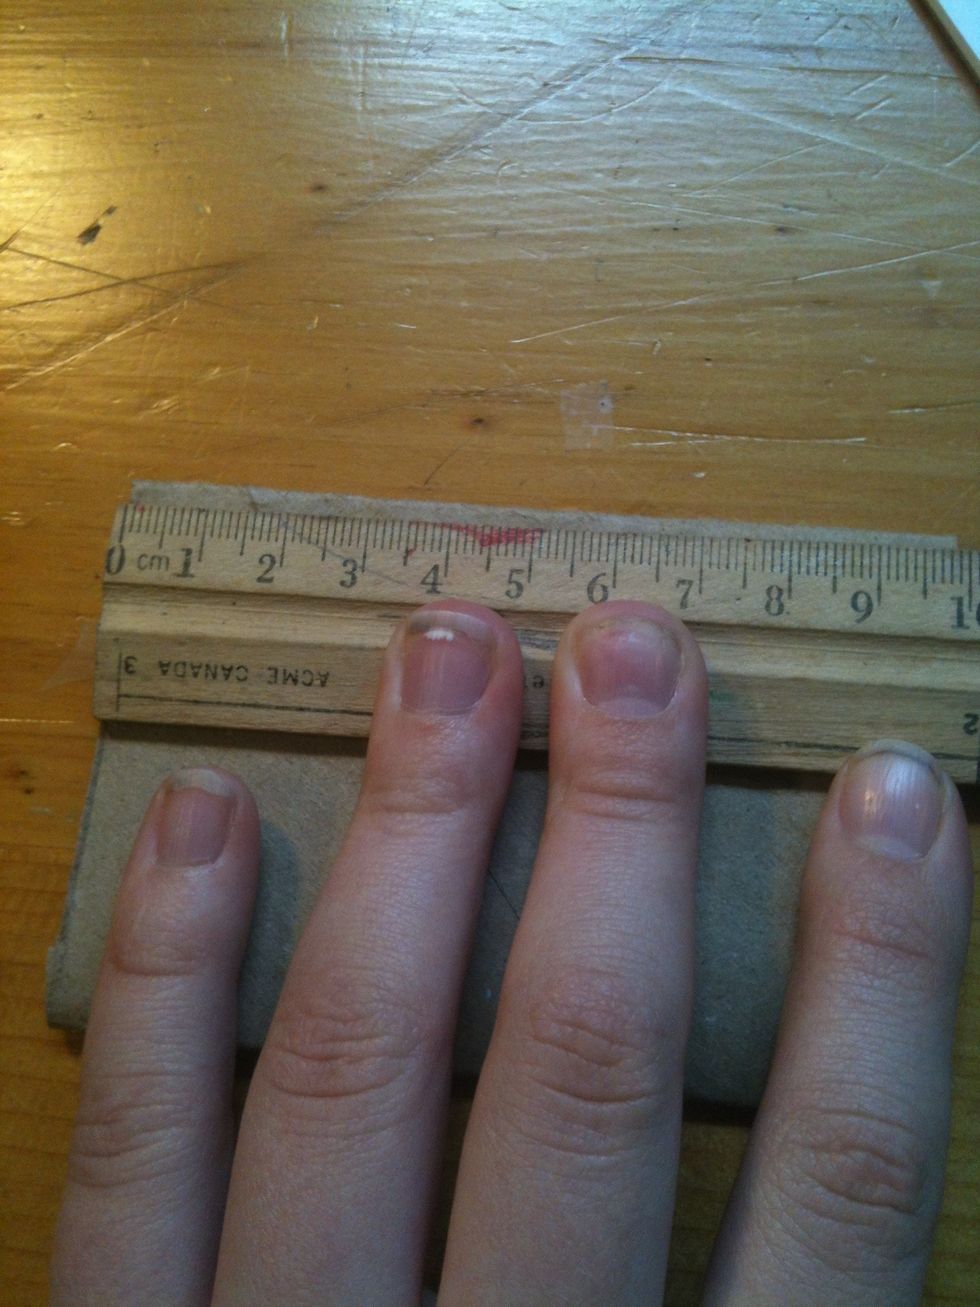
Line up your ruler as straight and close to the edge as you can.
Make a small mark every 2 cm.
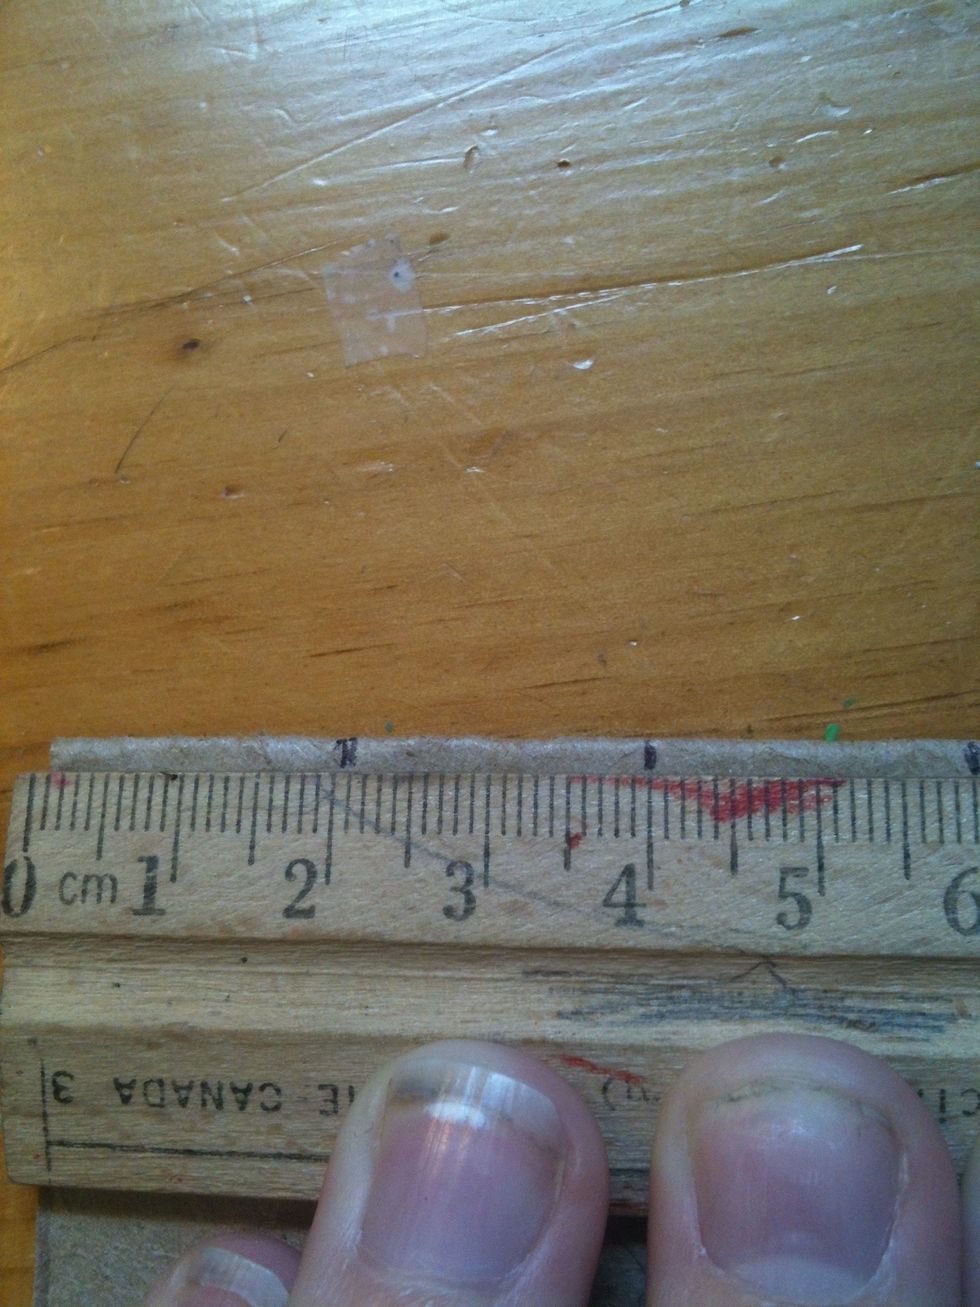
Spin it around and do the same on the other side.
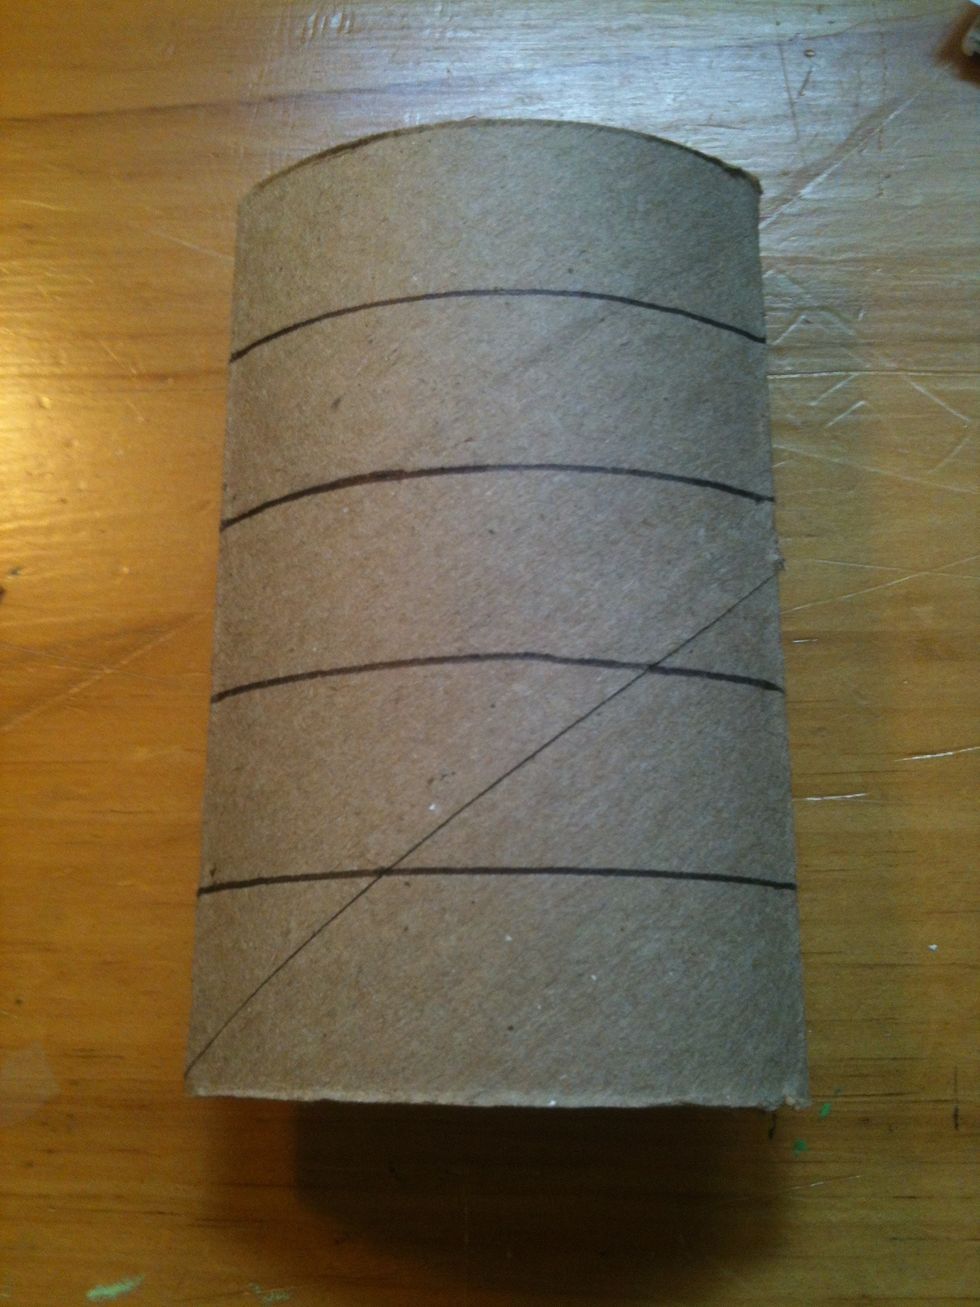
Now connect the marks.
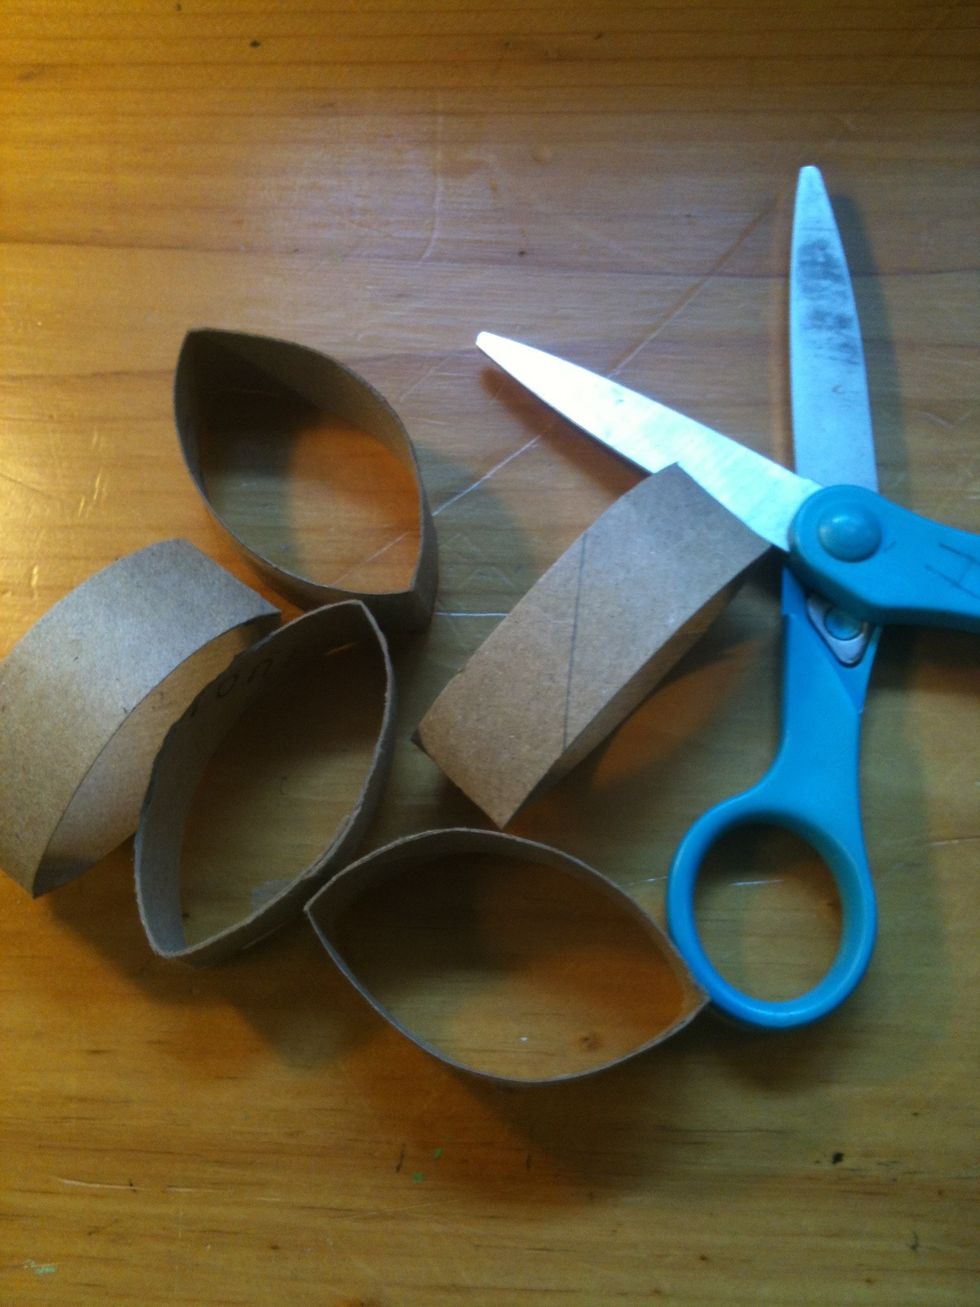
Then cut along the lines to get 5 little pieces.
Repeat steps 4-8 with all of the other tubes. You can keep the pieces in a bowl or basket on the side.
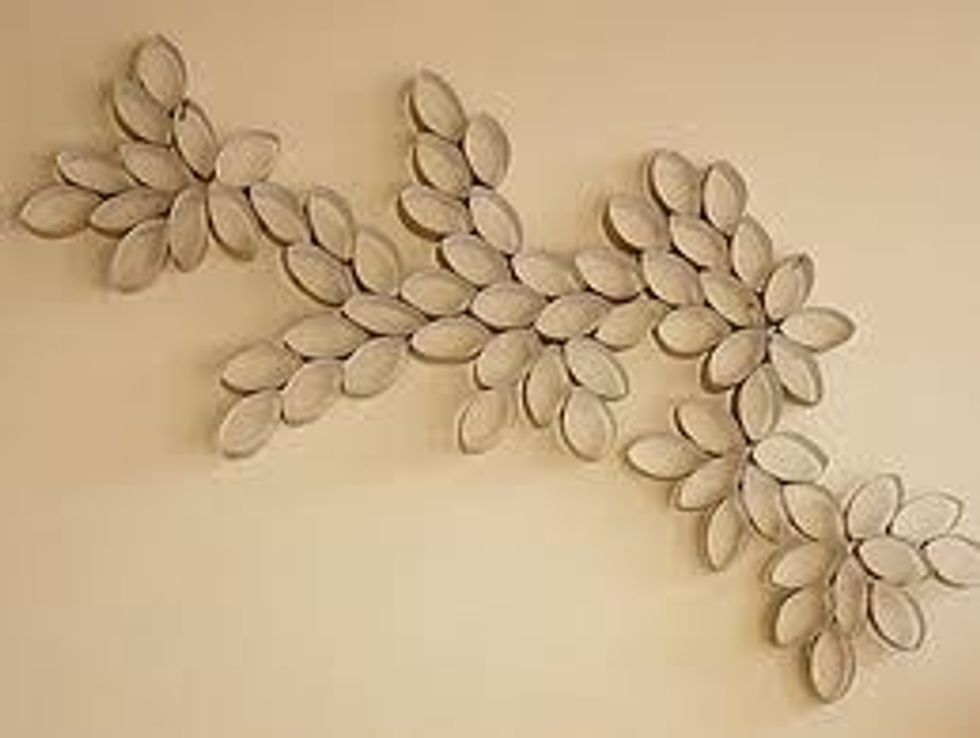
There are many different designs to make. Here are some examples.
.
This one's cool.
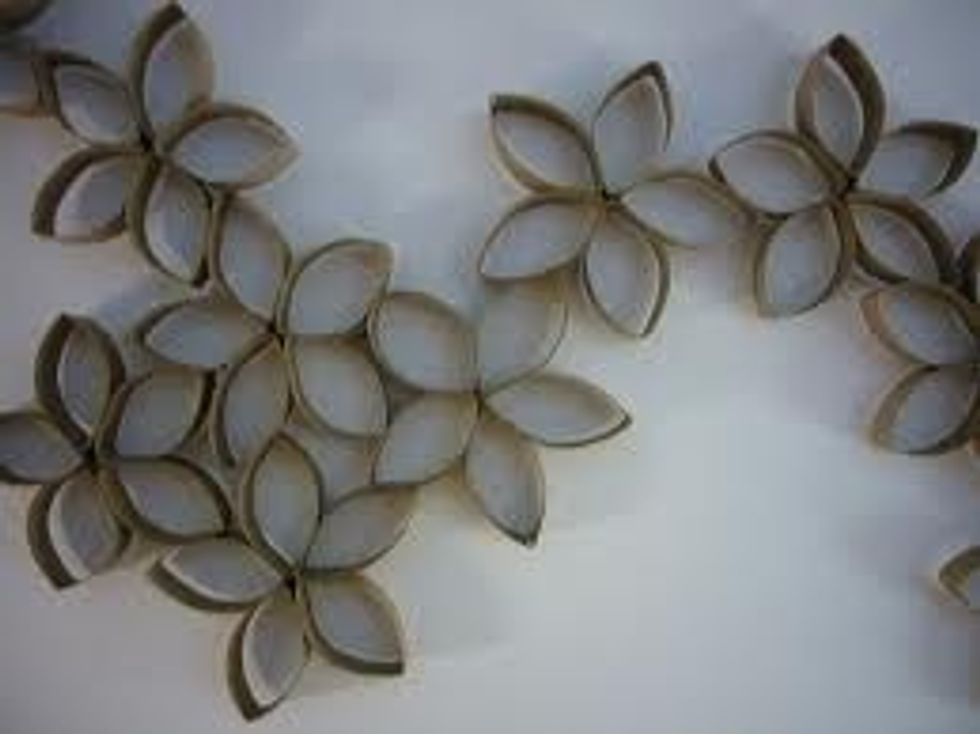
Kinda like mine.
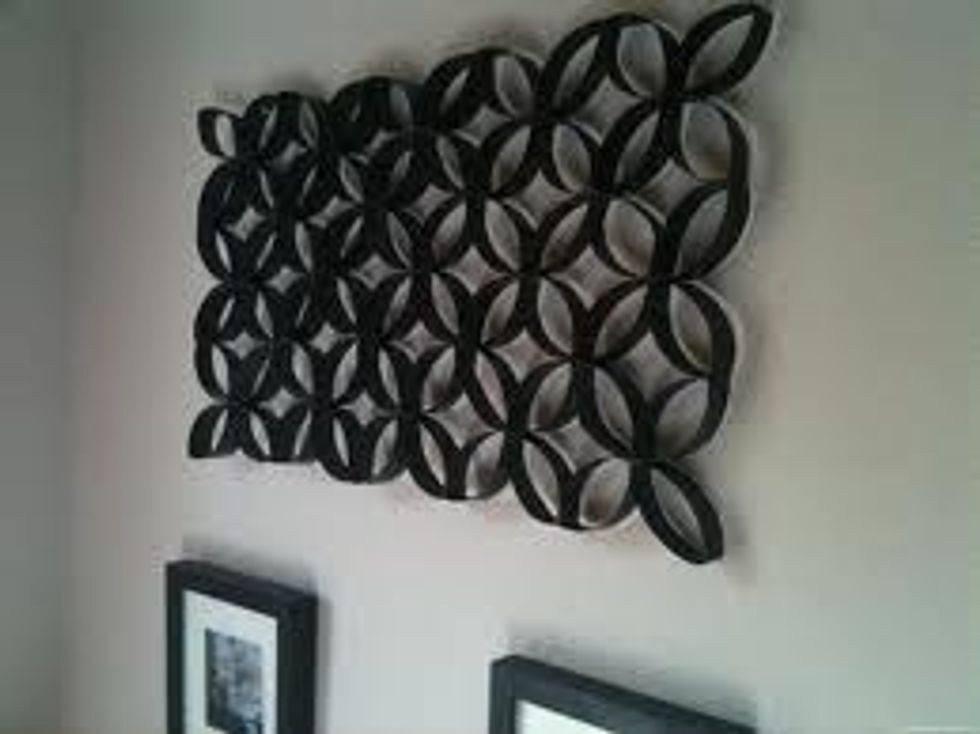
I like this one.
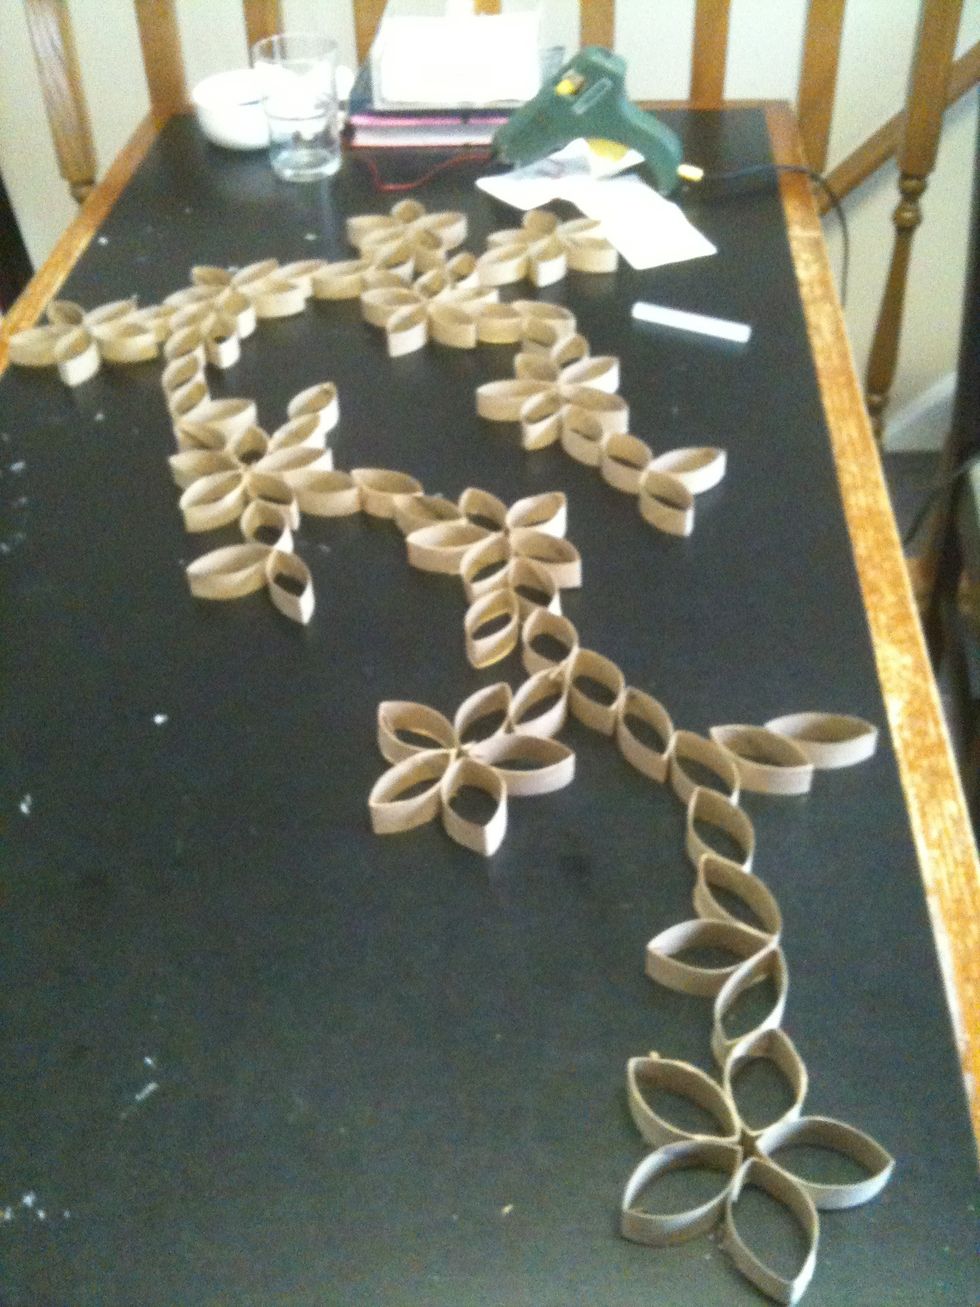
Lay out the pieces in the design you want.
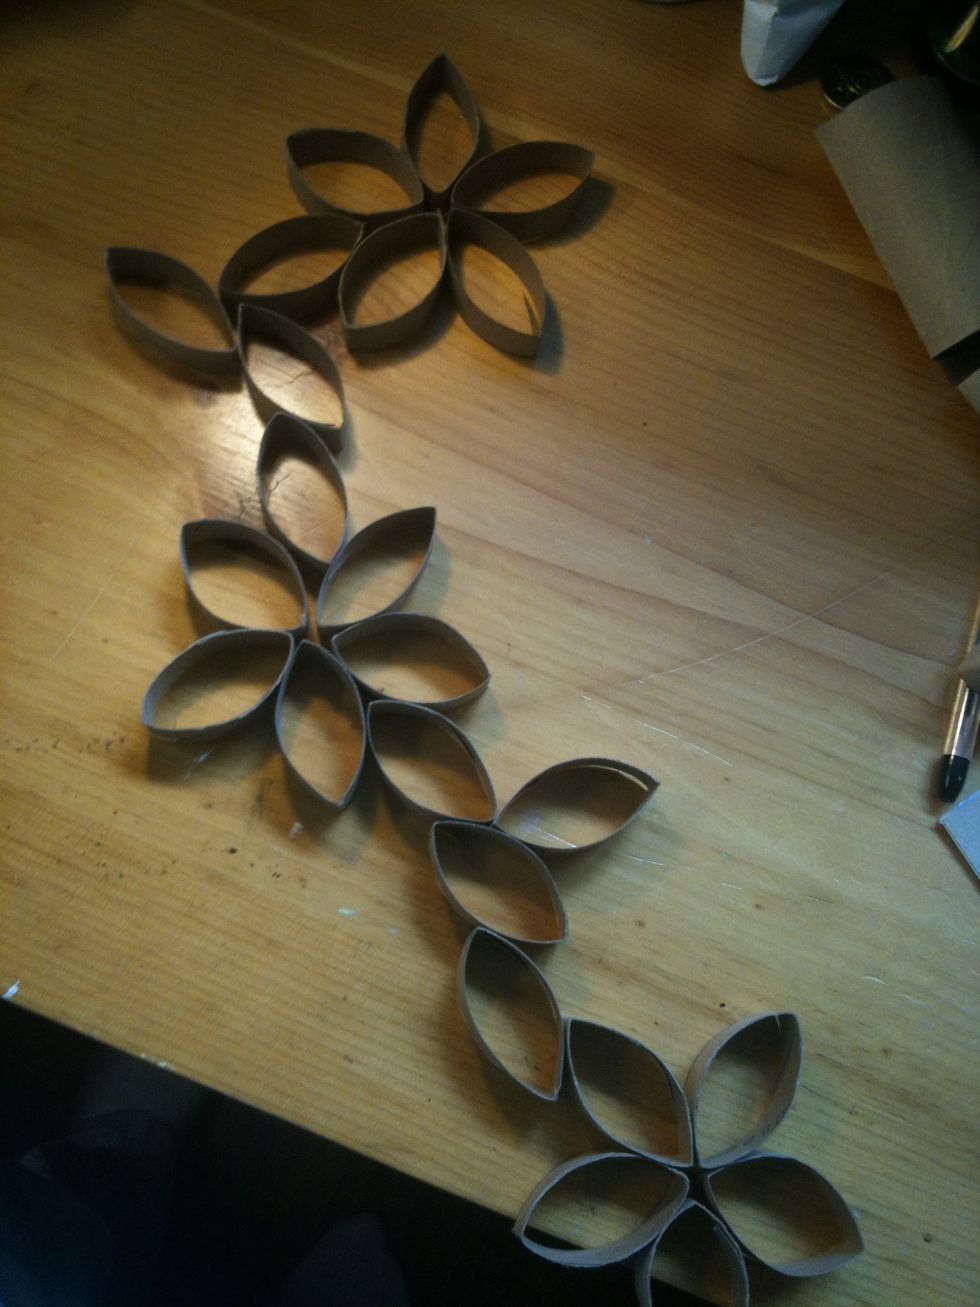
The beginning of mine.
Once you have decided on a design, and have it all laid out, you can start gluing it together.

Don't use too much glue, otherwise it will get everywhere and the finished product won't look as good.
All glued!

If your wall art is like mine, you'll probably want to glue wire to the back to support it like I did.

Then spray paint it your choice of colour.
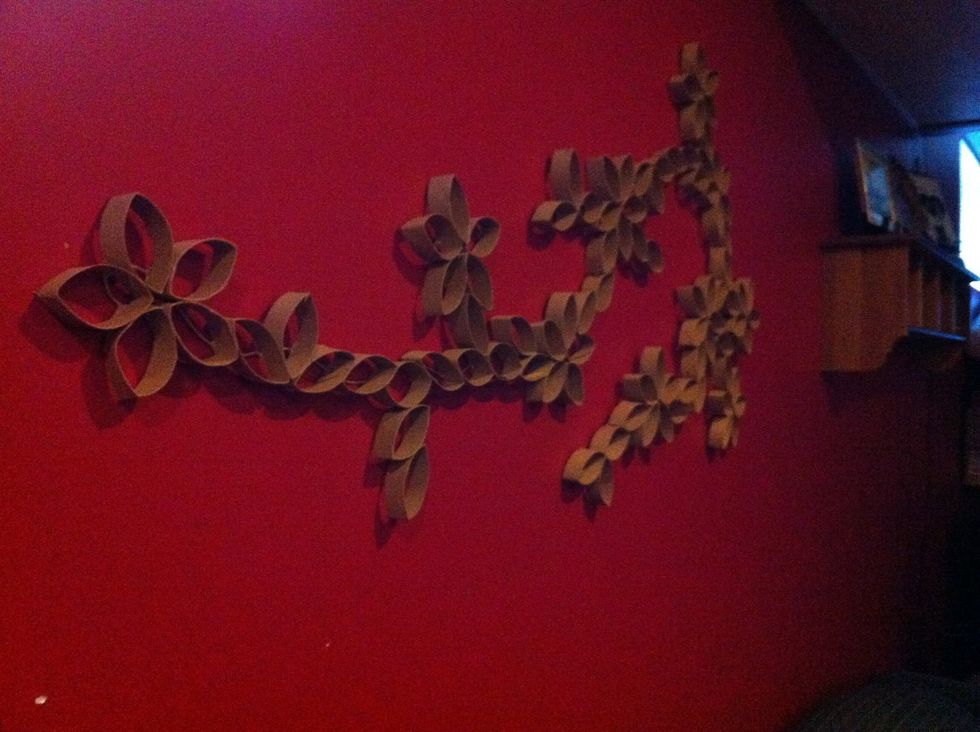
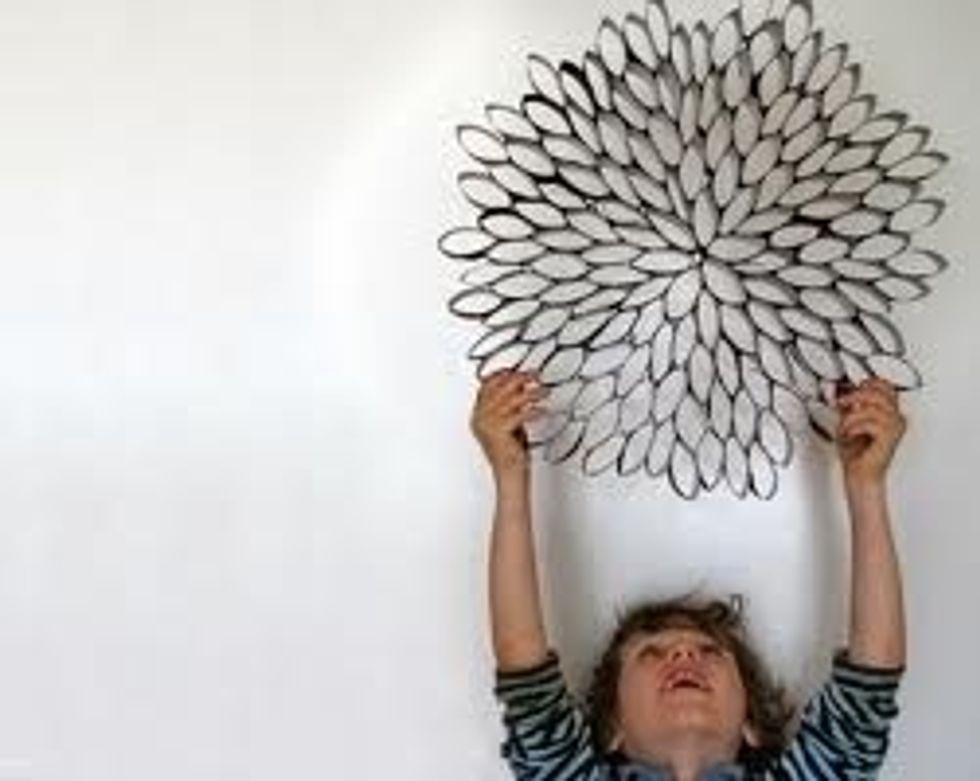
When you're done, hang it up!

Looks great!