The Conversation (0)
Sign Up
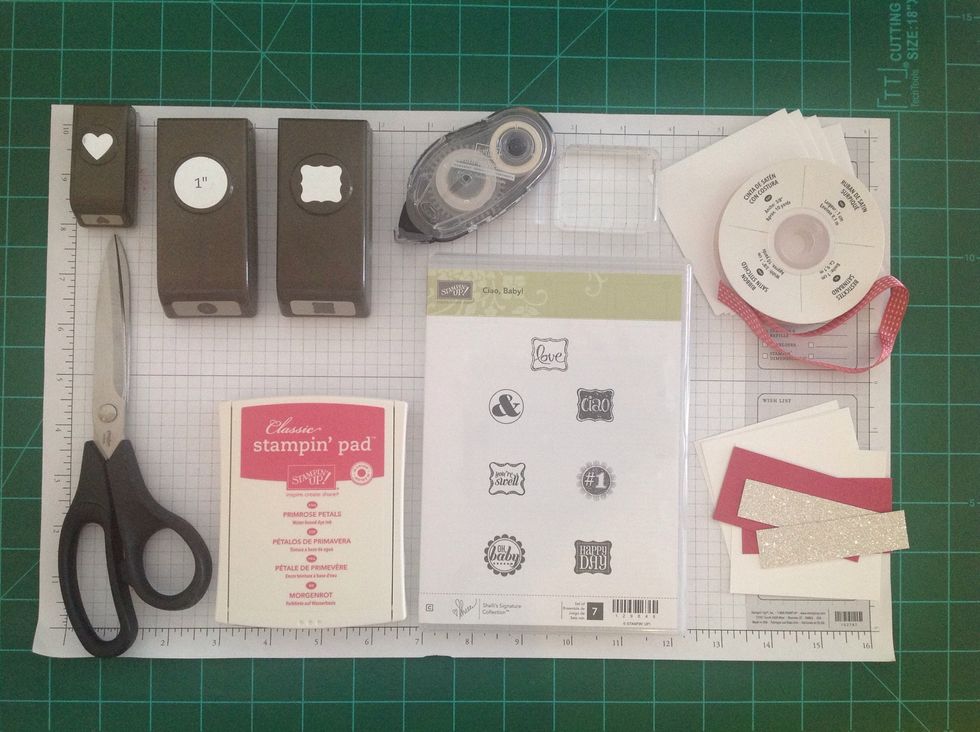
Here's all the supplies. The "Ciao, Baby!" Stamp set is from the 2013 Spring Catalog, and the Mini Curly Punch is from the 2013 Sale-a-Braation Catalog.
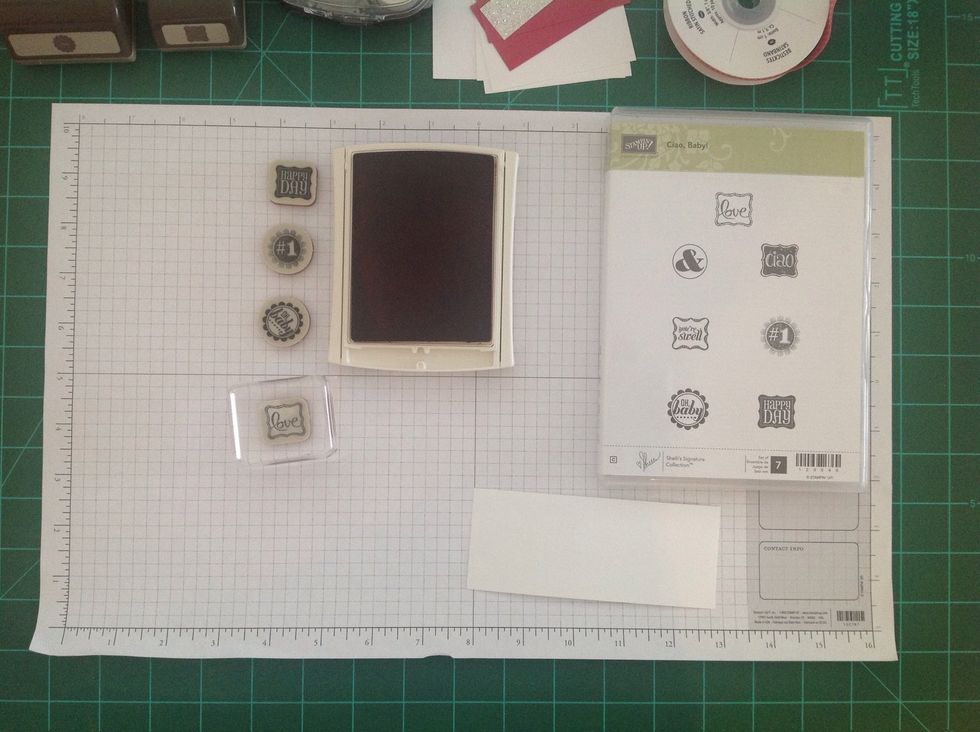
First, we'll stamp...
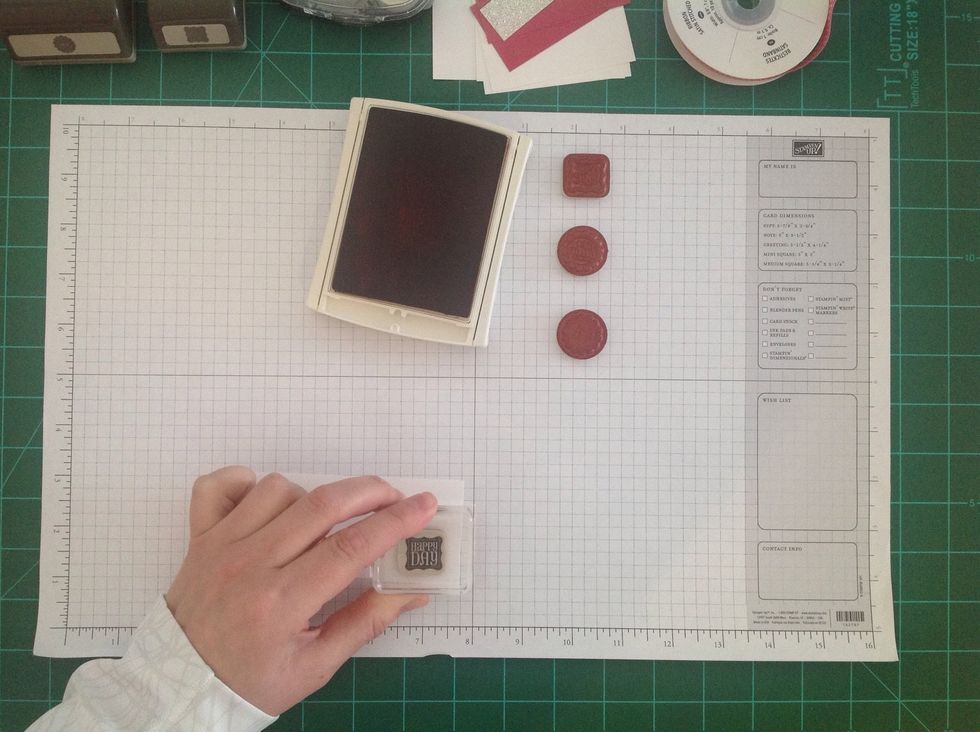
Stamp all of the images onto a piece of Whisper White cardstock, using the Primrose Petals ink.
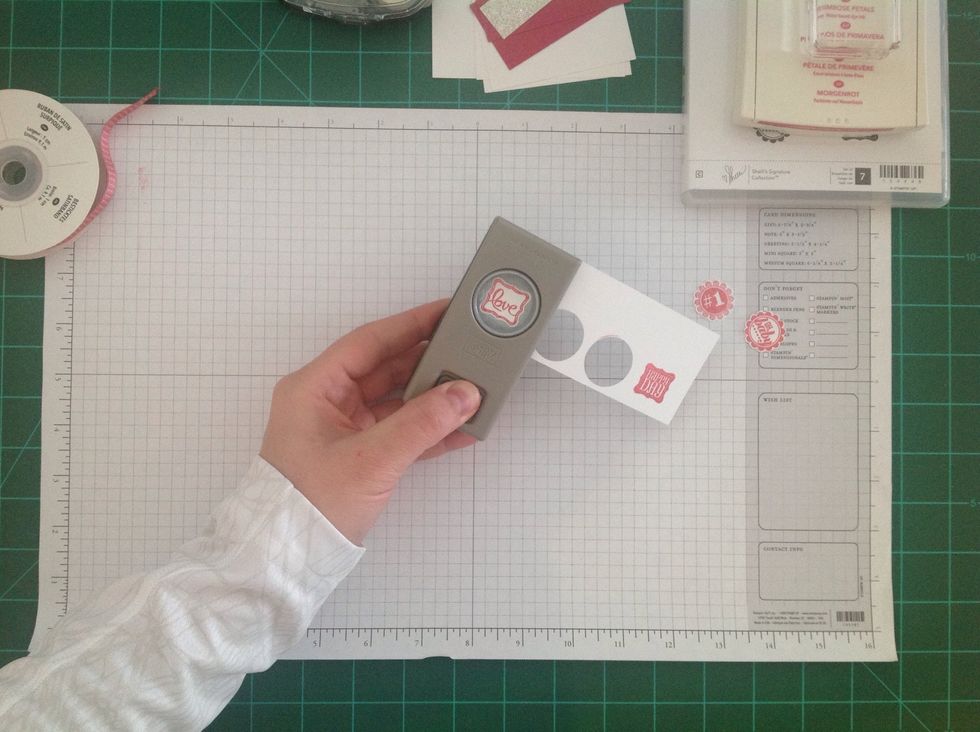
Then use the punches to cut them out. You can either use the 1" circle punch or the new 7/8" scallop circle punch for the round images.
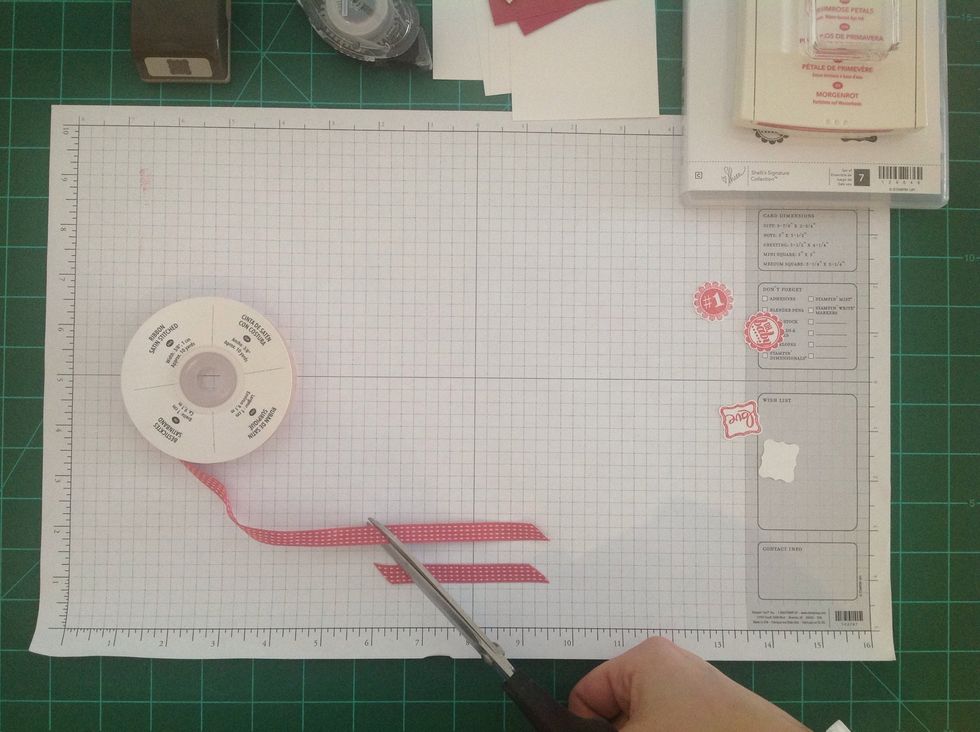
Then cut 3 1/2" pieces of ribbon. Be sure to angle your cuts as shown.

Apply adhesive to the center of the ribbon.
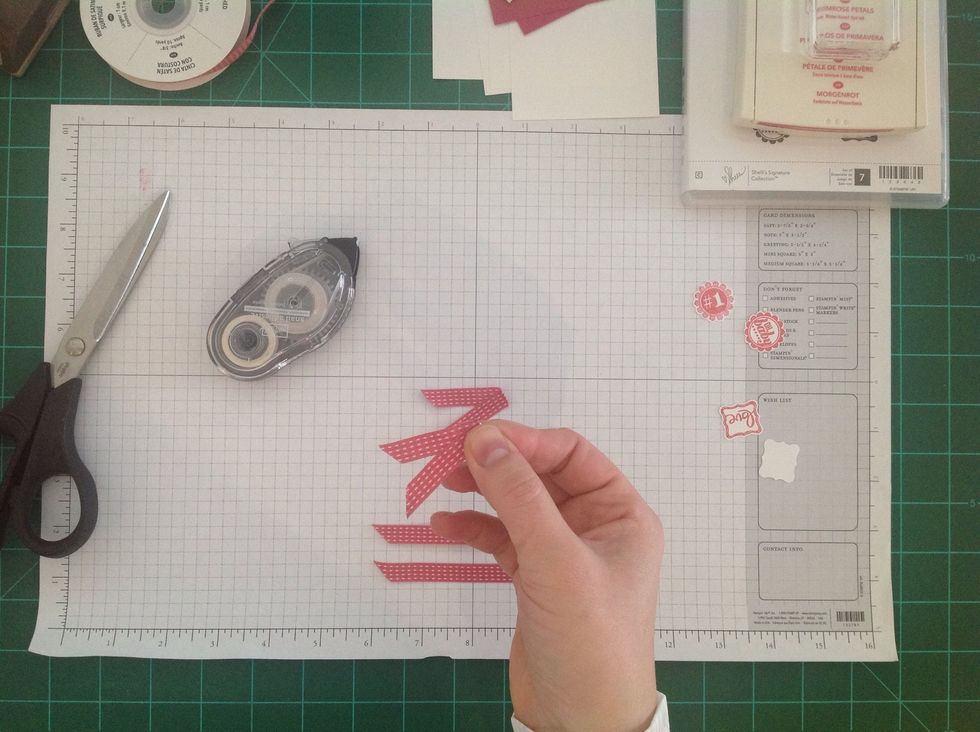
Then fold over (so the adhesive sticks together) to make a ribbon tail.
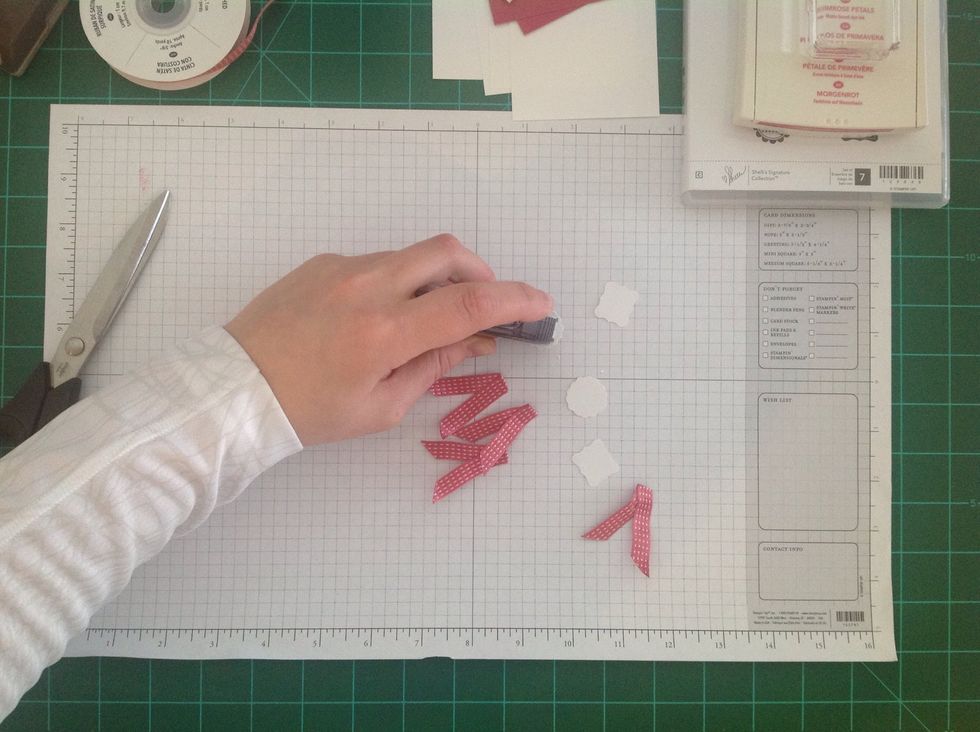
Add adhesive to the backs of the stamped and punched images.

Then stick the images to the ribbon as shown.
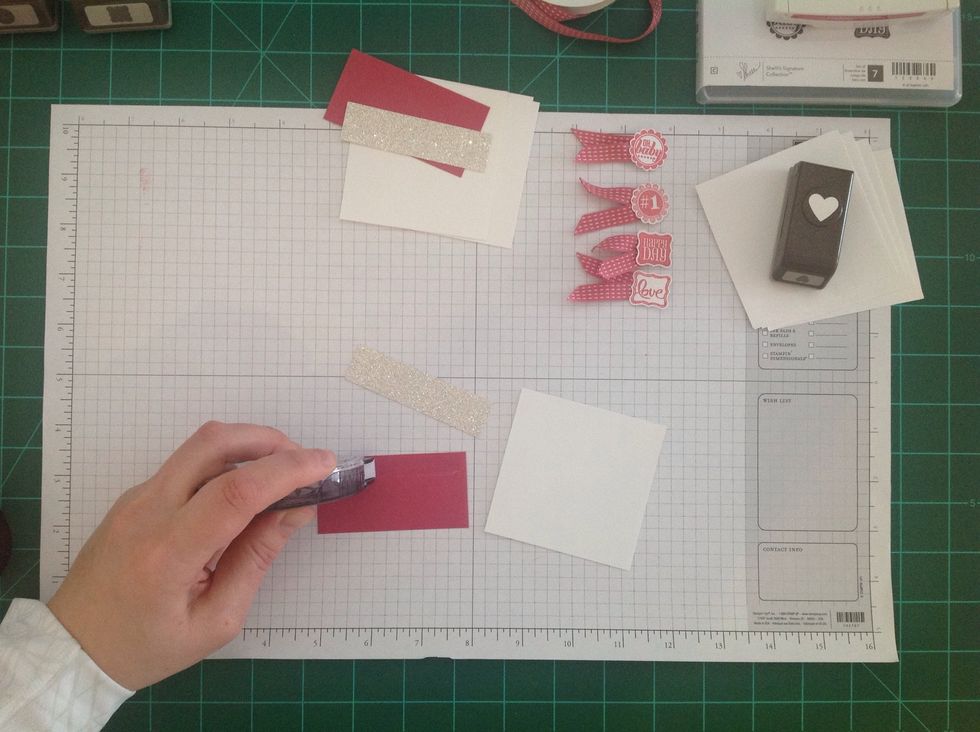
Next, apply adhesive to the top (long edge) of a 3" x 1 1/2" piece of Rose Red cardstock.
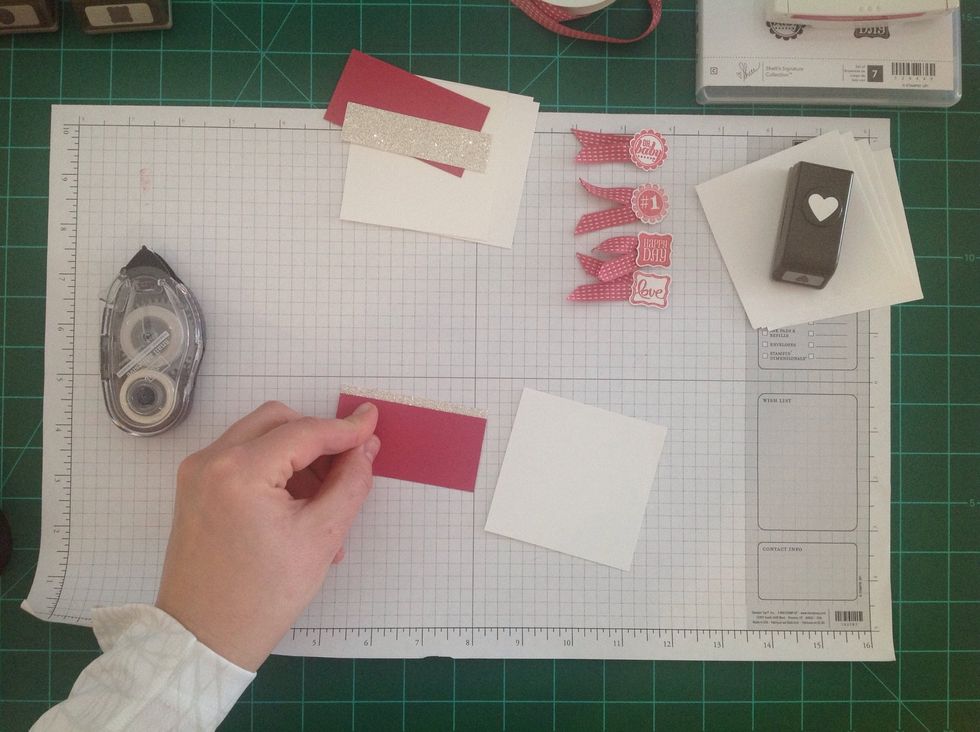
Adhere the strip of Silver Glimmer Paper to the cardstock, revealing as much or as little as you want.
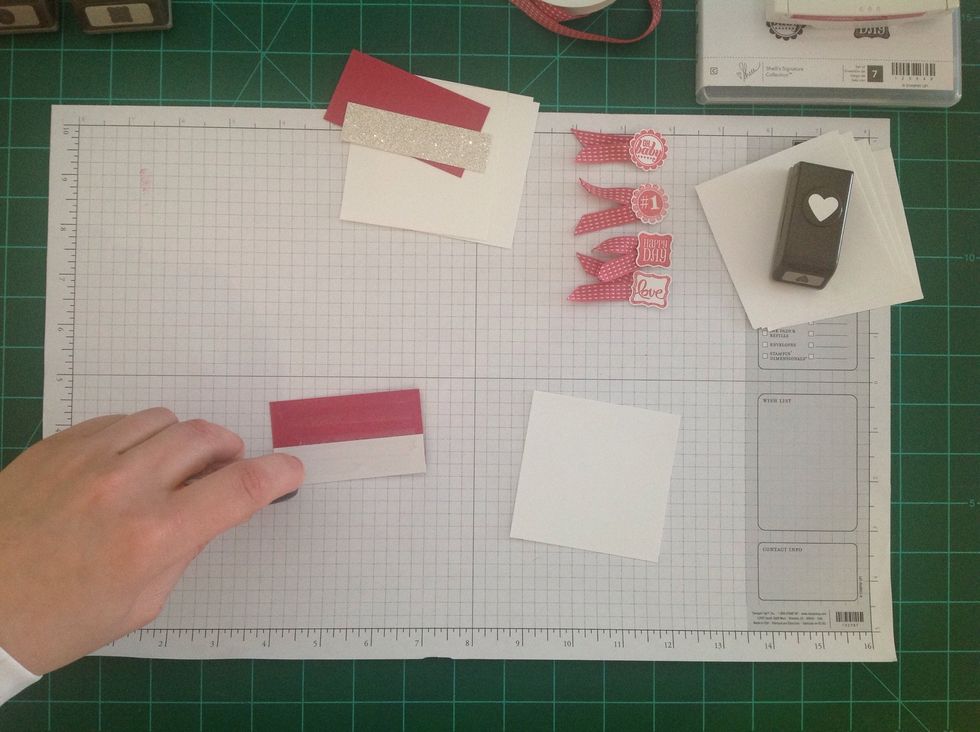
Then, add adhesive to the back of the cardstock and glimmer paper.
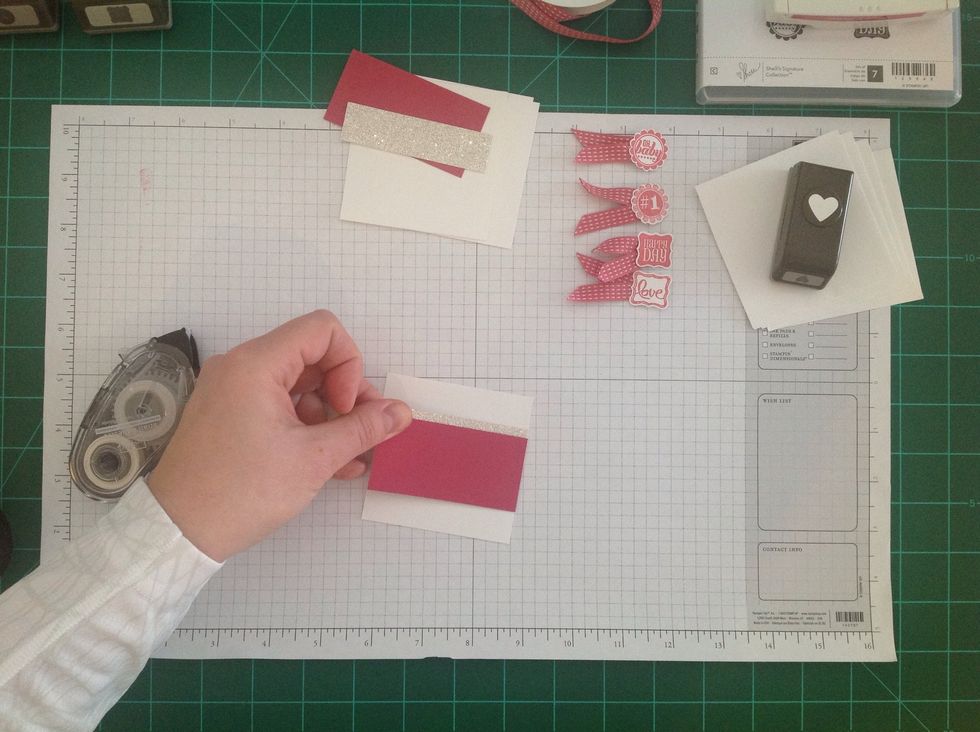
And adhere it to the center of the 3"x3" square of Whisper White cardstock.
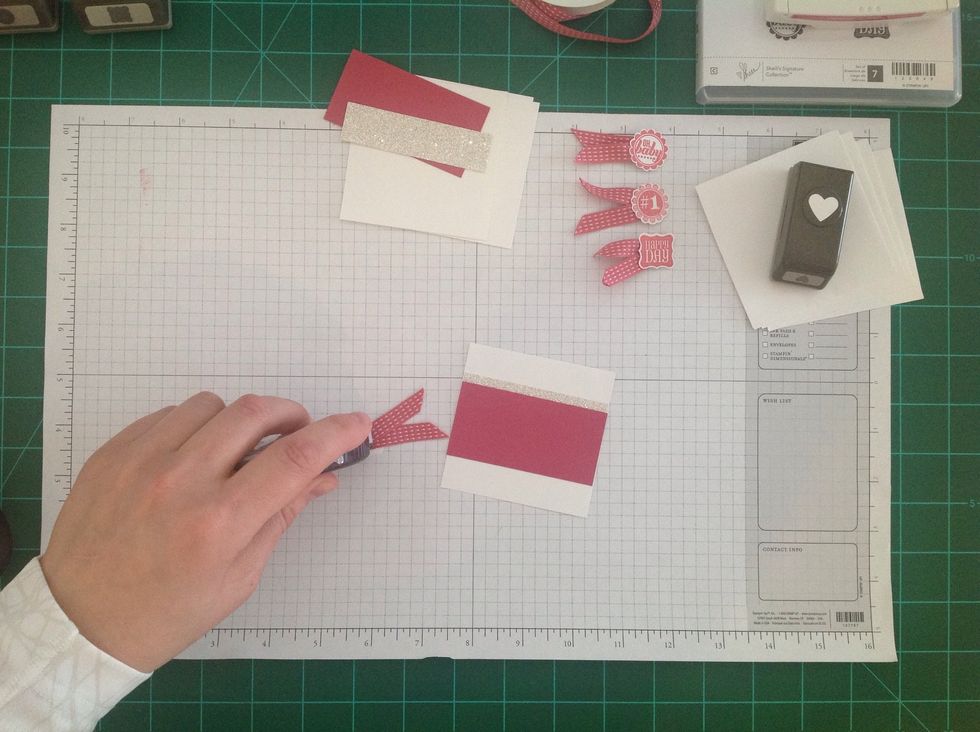
Next, apply some more adhesive to the back of the ribbon flag and punched image.
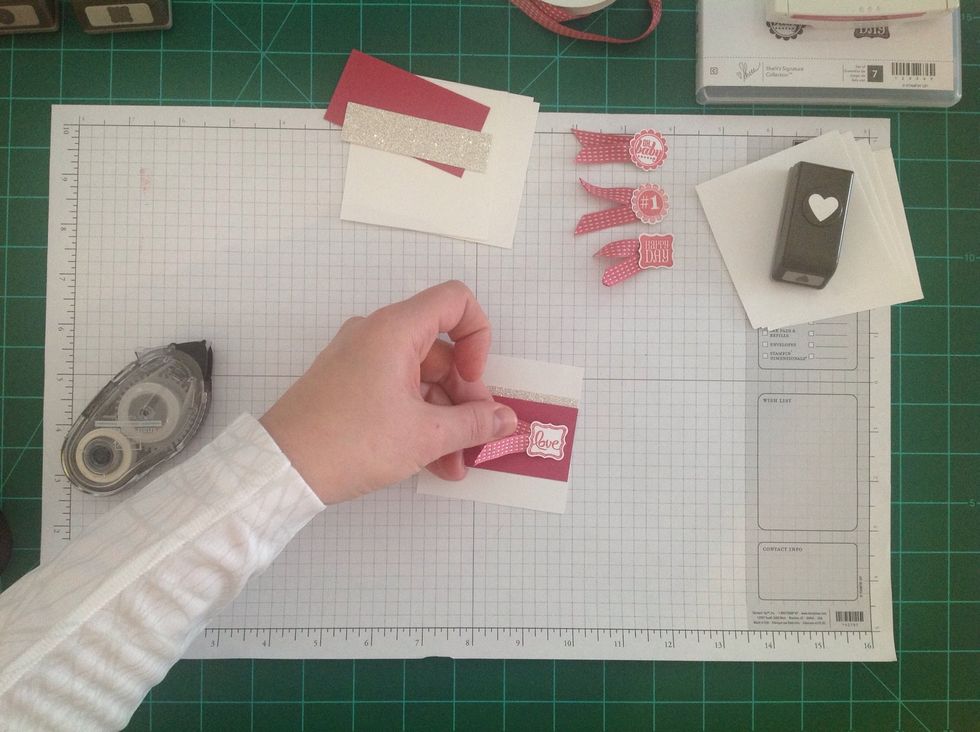
Adhere it to the card as shown - and you're done with the card!

Punch out a mini heart for the back of each envelope.
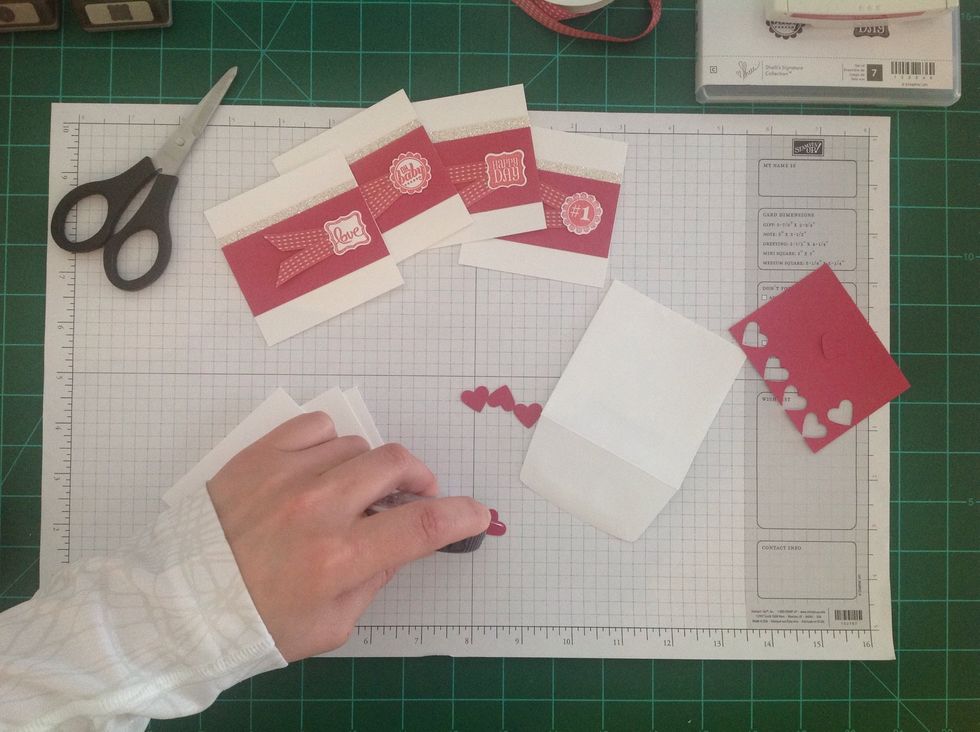
Add adhesive to each heart.
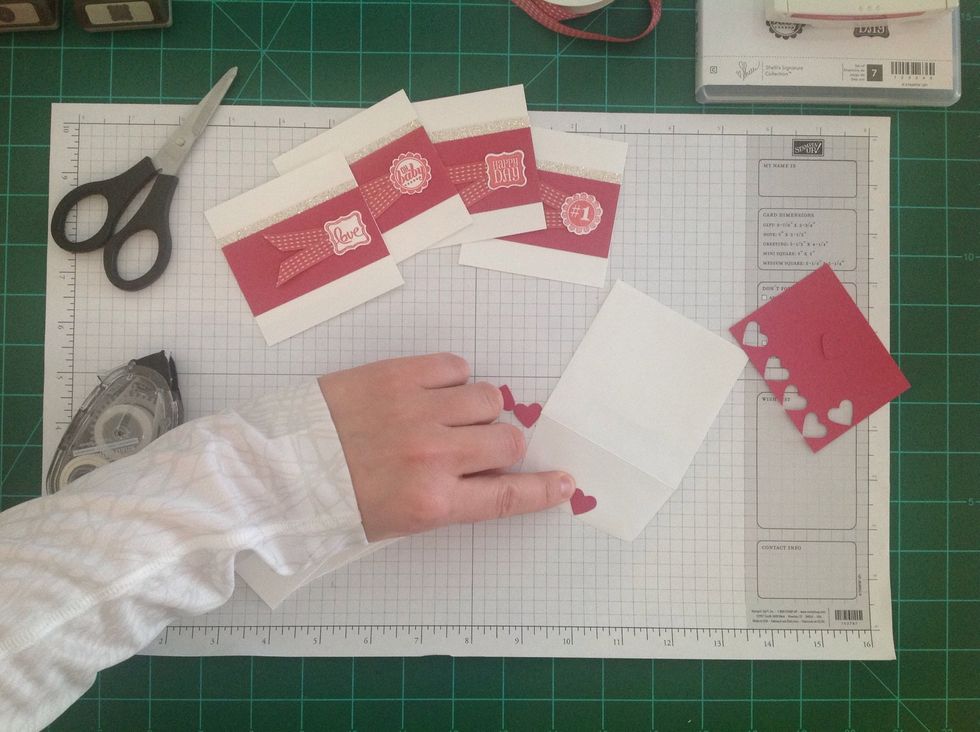
Adhere the heart to the envelope flap, making sure it's right side up when the flap is closed.
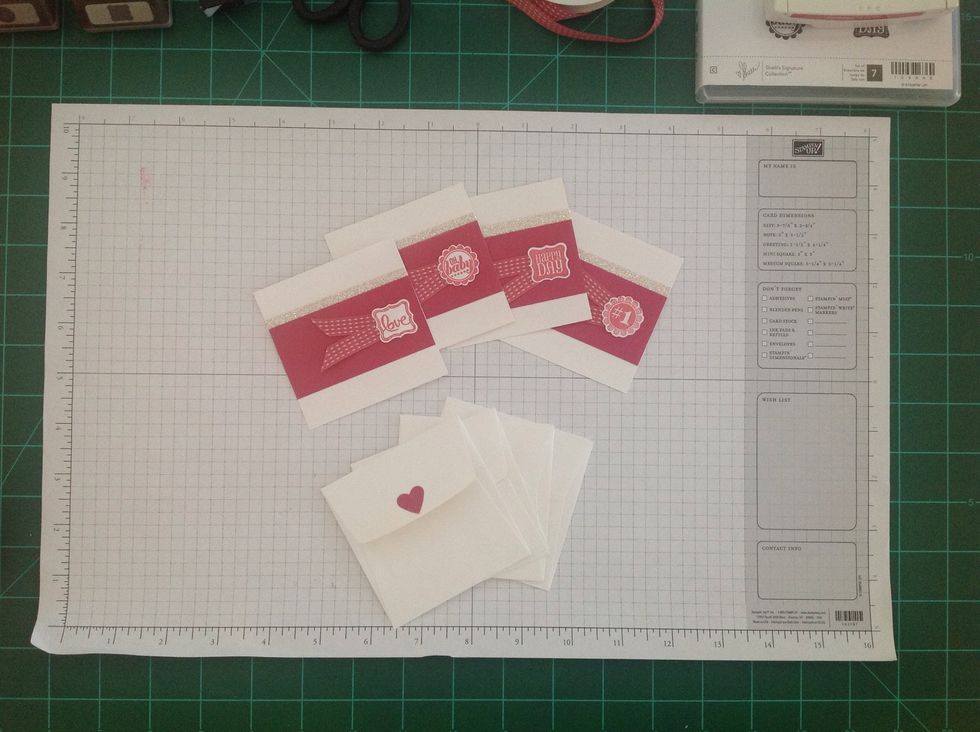
To purchase the supplies for this project, check out my blog post at: http://www.impressionsbynicole.com