The Conversation (0)
Sign Up
this project is great for kids! they will have lots of fun spraying the stencils and watching the patterns and colors emerge. be sure you cover work surface AND kids as this project WILL BE MESSY!

layout cardstocks on covered worksurface. you can get 10 ATC cards from 1 - 8 1/2 X 11 sheet of cardstock.
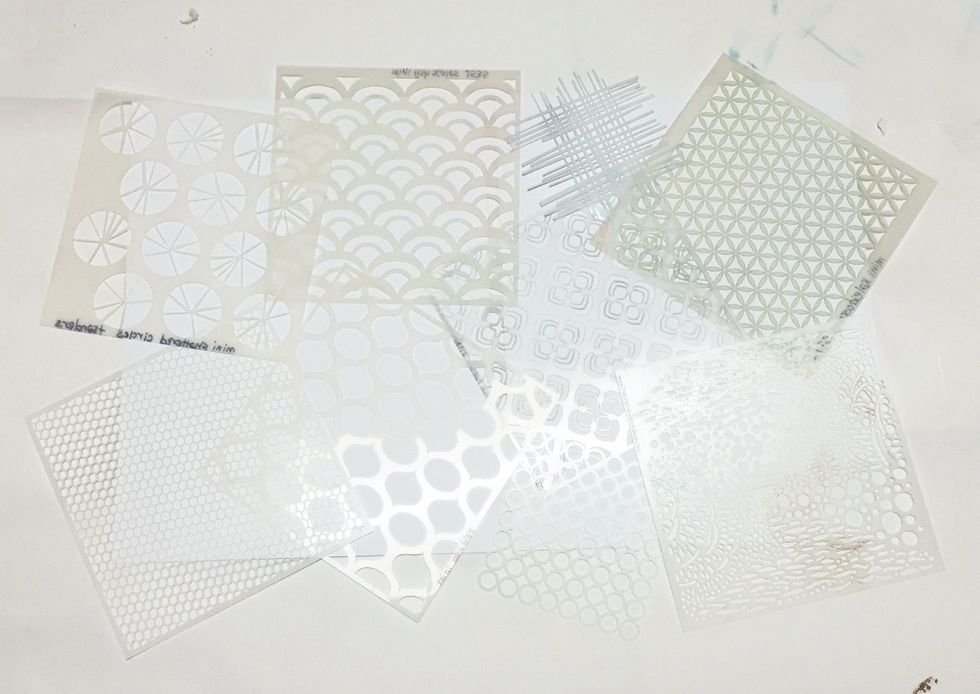
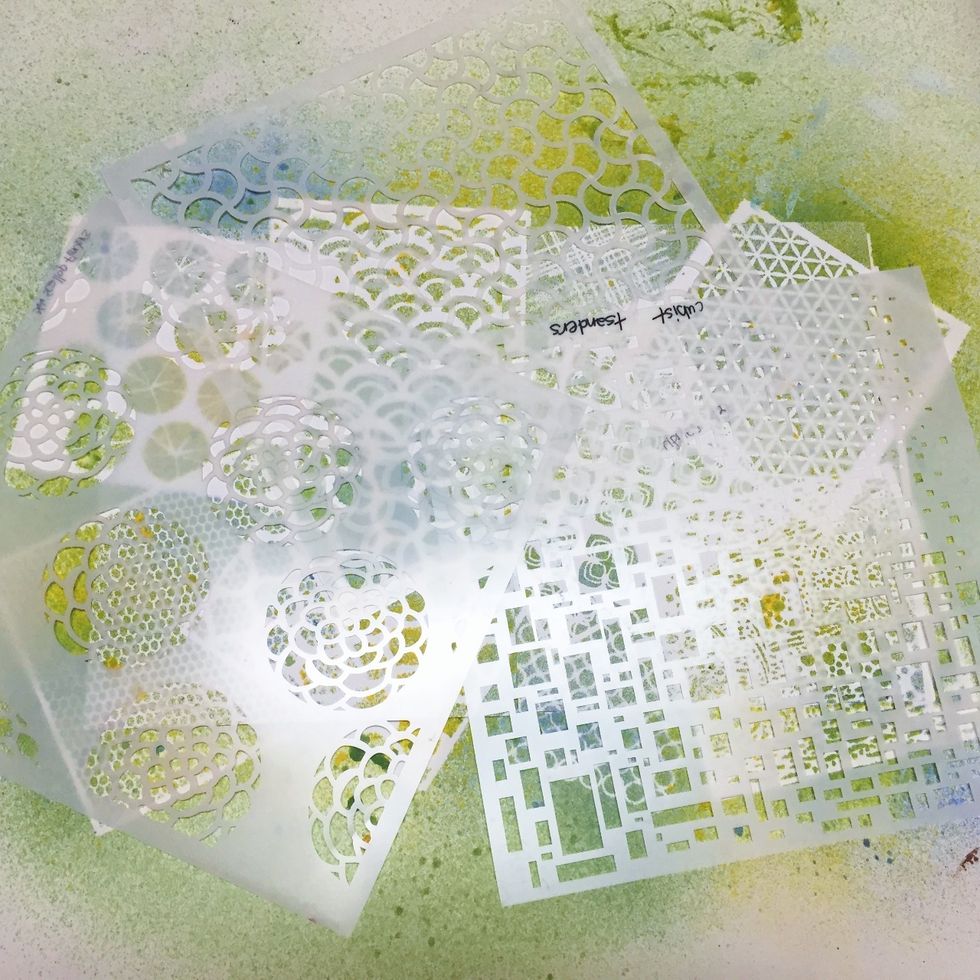
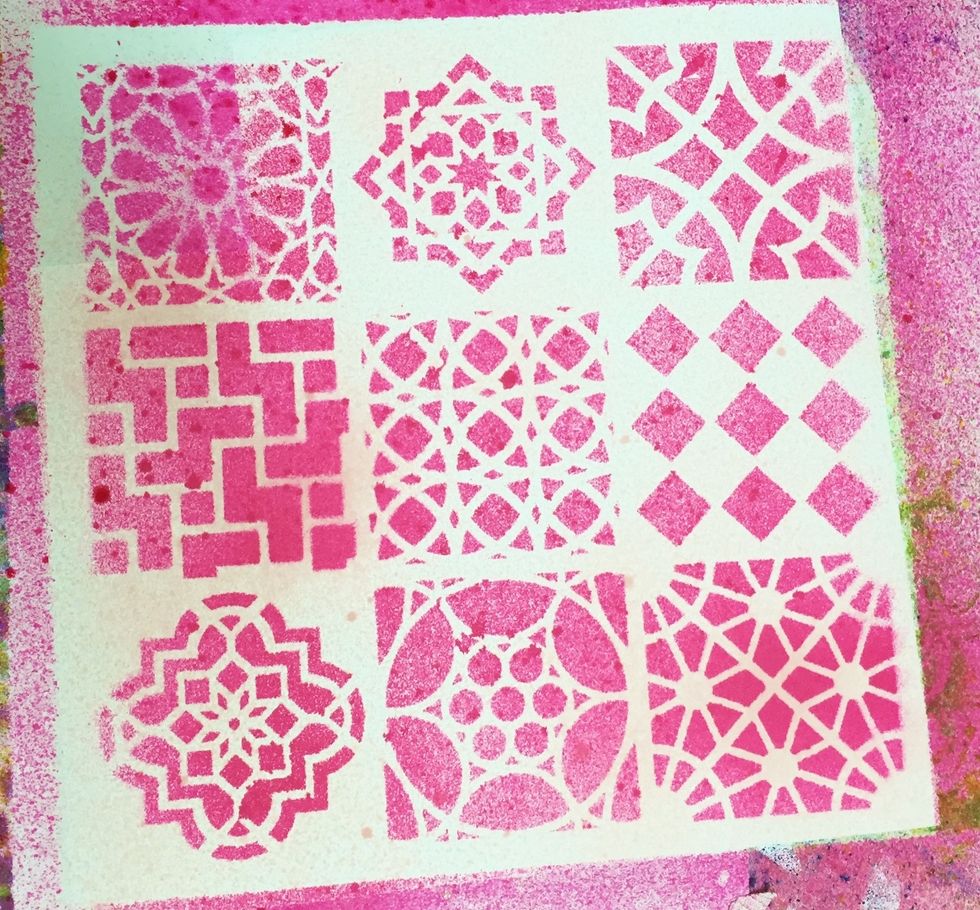
cover the cardstock with stencils that have smaller style designs. you can overlap and layer them if you wish.

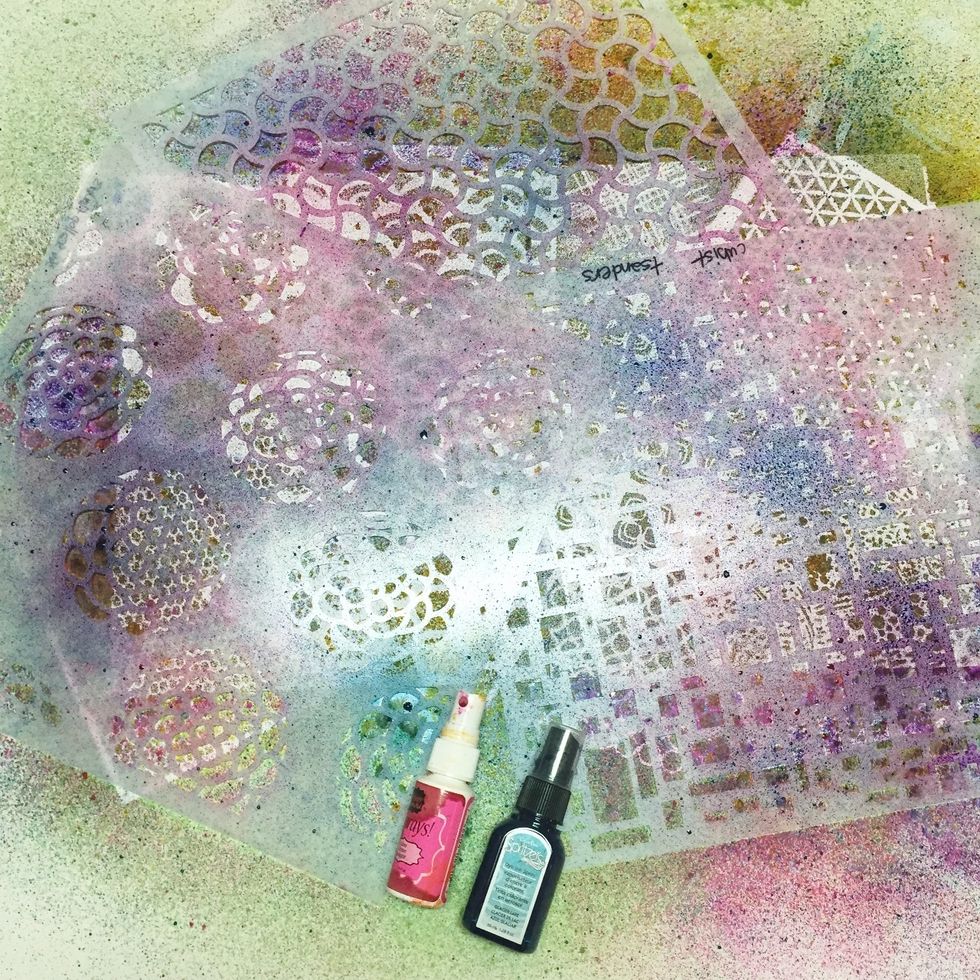
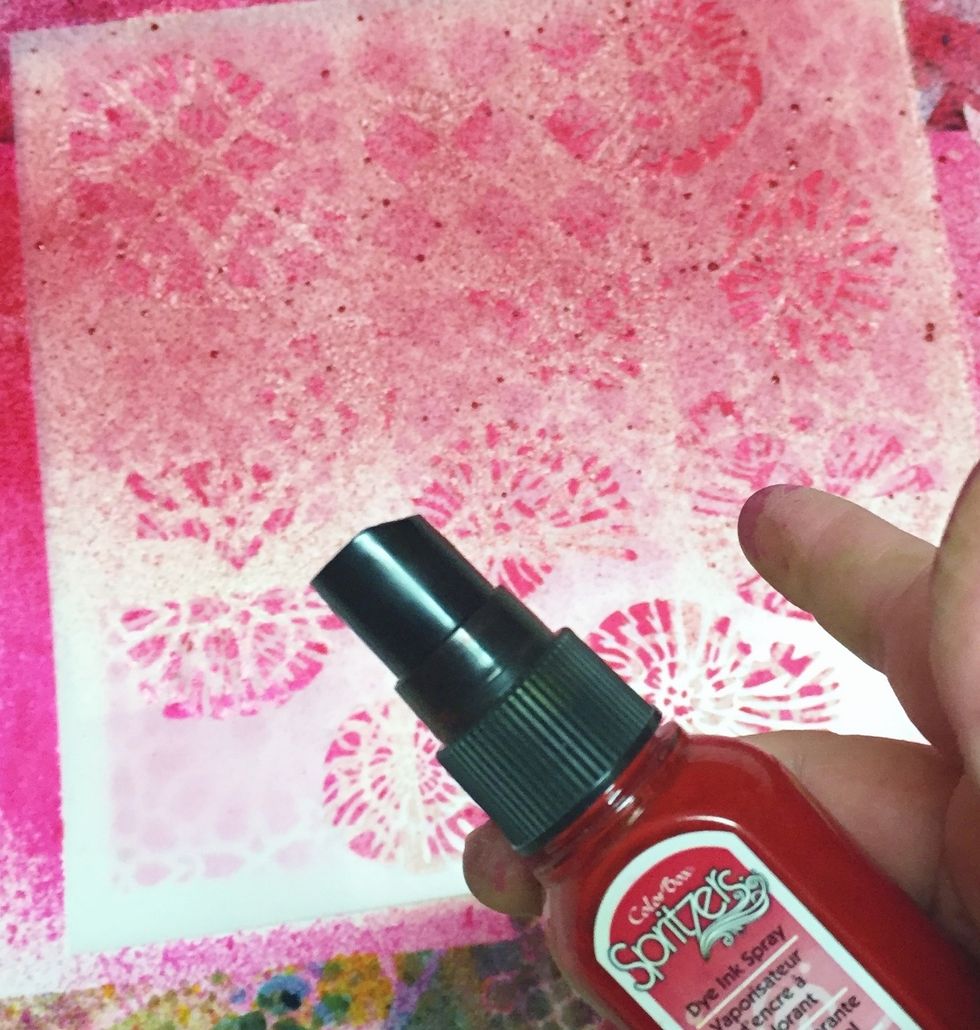
begin spraying papers using lighter colors of spritzers and sprays. start with a light base background, then build up with darker colors.
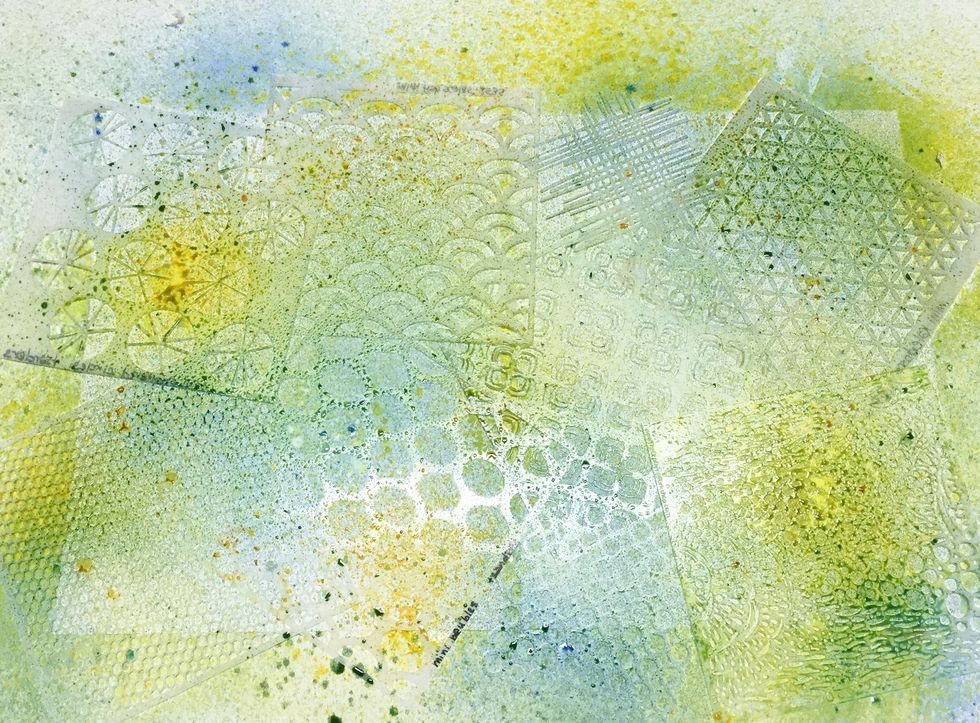
keep adding colors until you are happy with them. remember to spray different areas of the papers different colors, overlapping some. if you spray all the colors over all the papers - you'll get BROWN
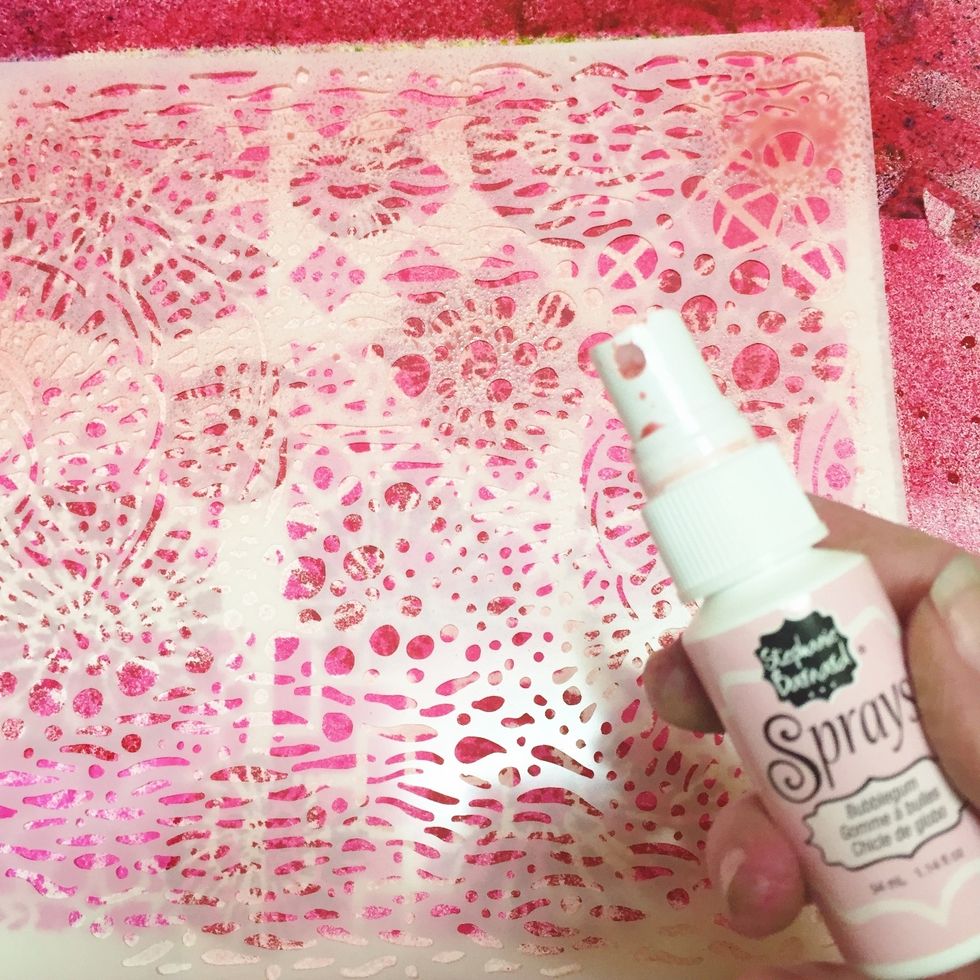
waste not - want not! you can reuse the excess ink that will be on the top of the stencils. take a blank piece of cardstock, flip stencil inky side down, rub with your fingers or a paper towel.

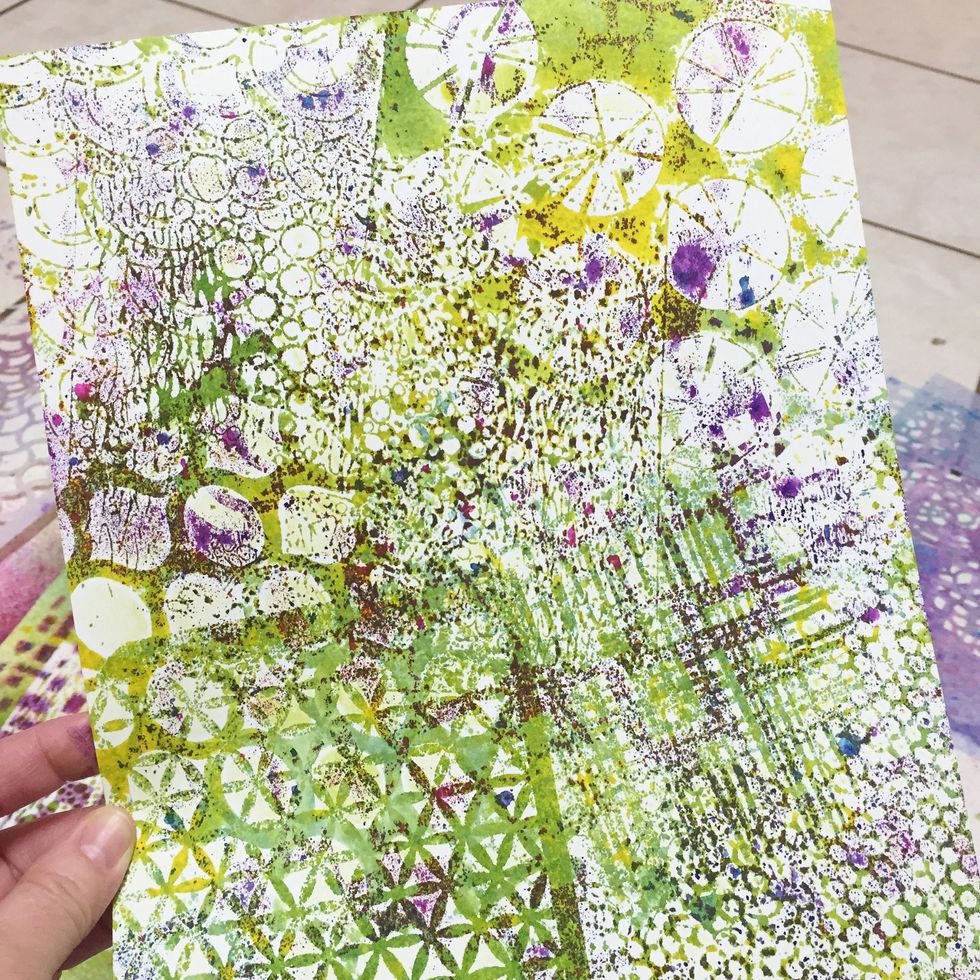
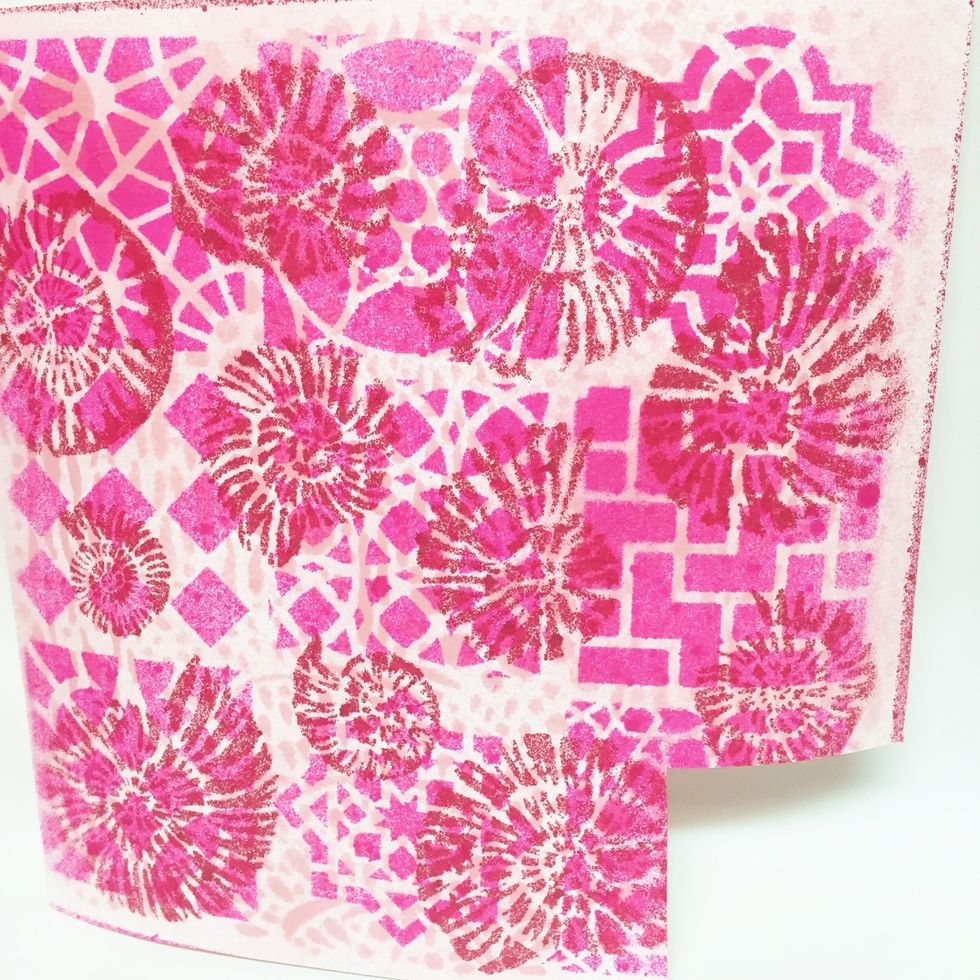
here's what my cardstock looked like after i'd rubbed all the inky stencils onto it.
and here are what my two cardstocks looked like after i removed all the stencils. ready for next layer!
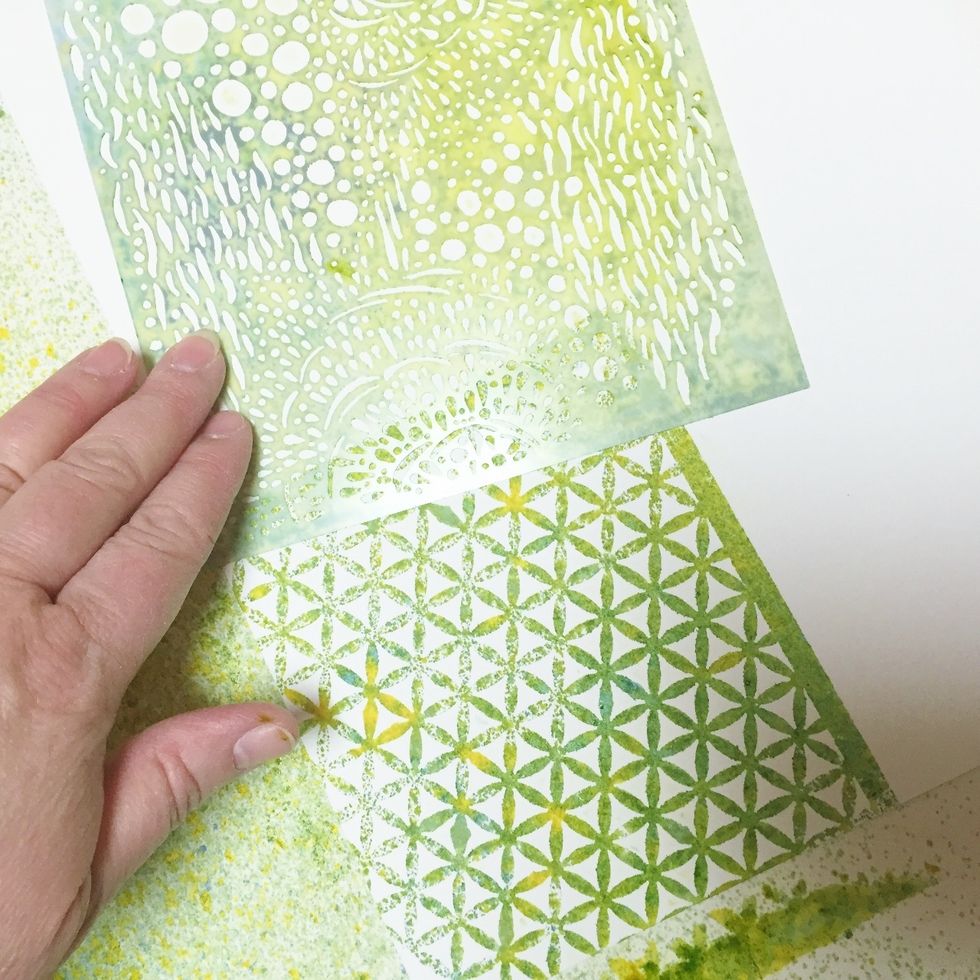
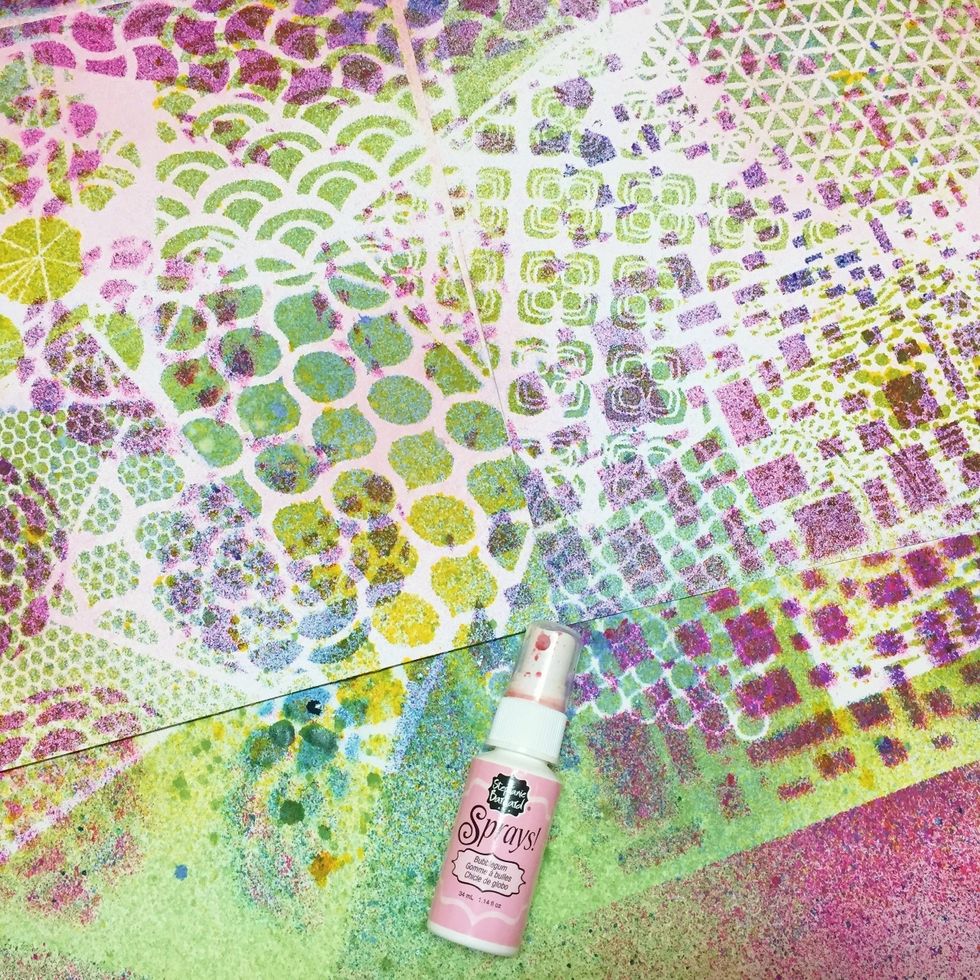
cover cardstocks with stencils that have larger or more distinct patterns. it's kind of hard to see what's going on as the white areas look like stencils too! i used all 12" this time.
this time spray with darker colors. you are building up layers of color. always work light to dark. you won't be able to see lighter colors applied over dark ones!
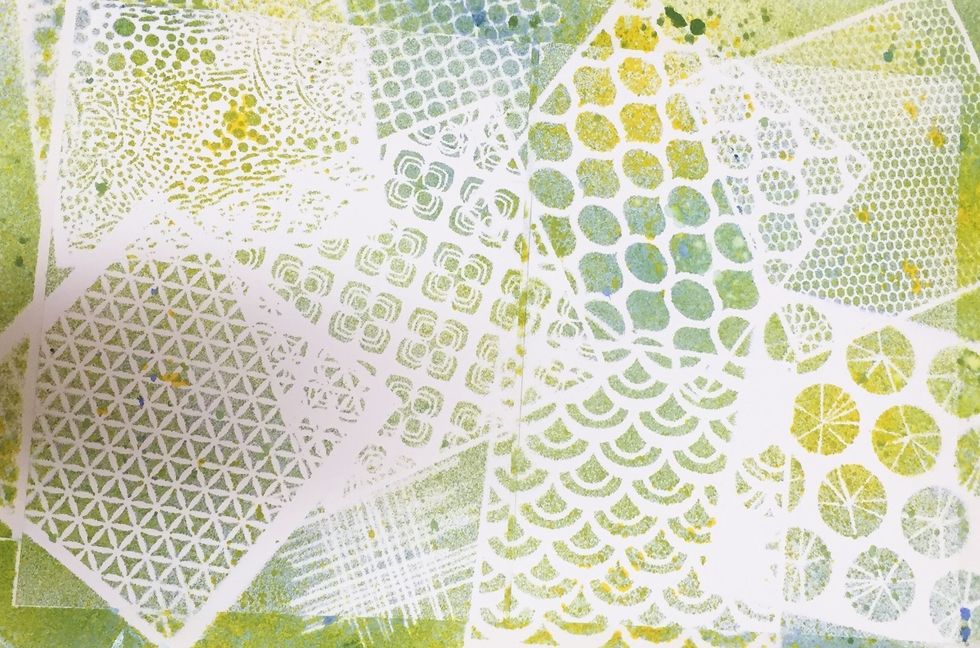
here's my paper after i rubbed the inky stencils on it.
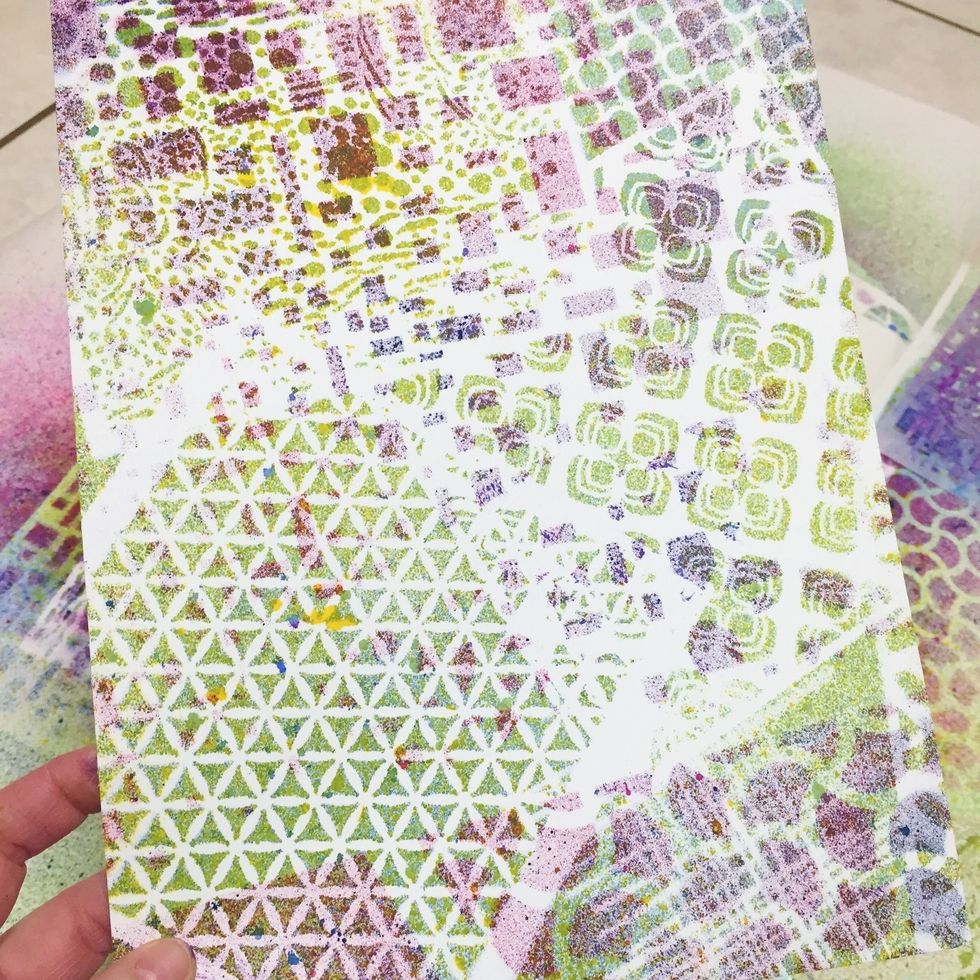
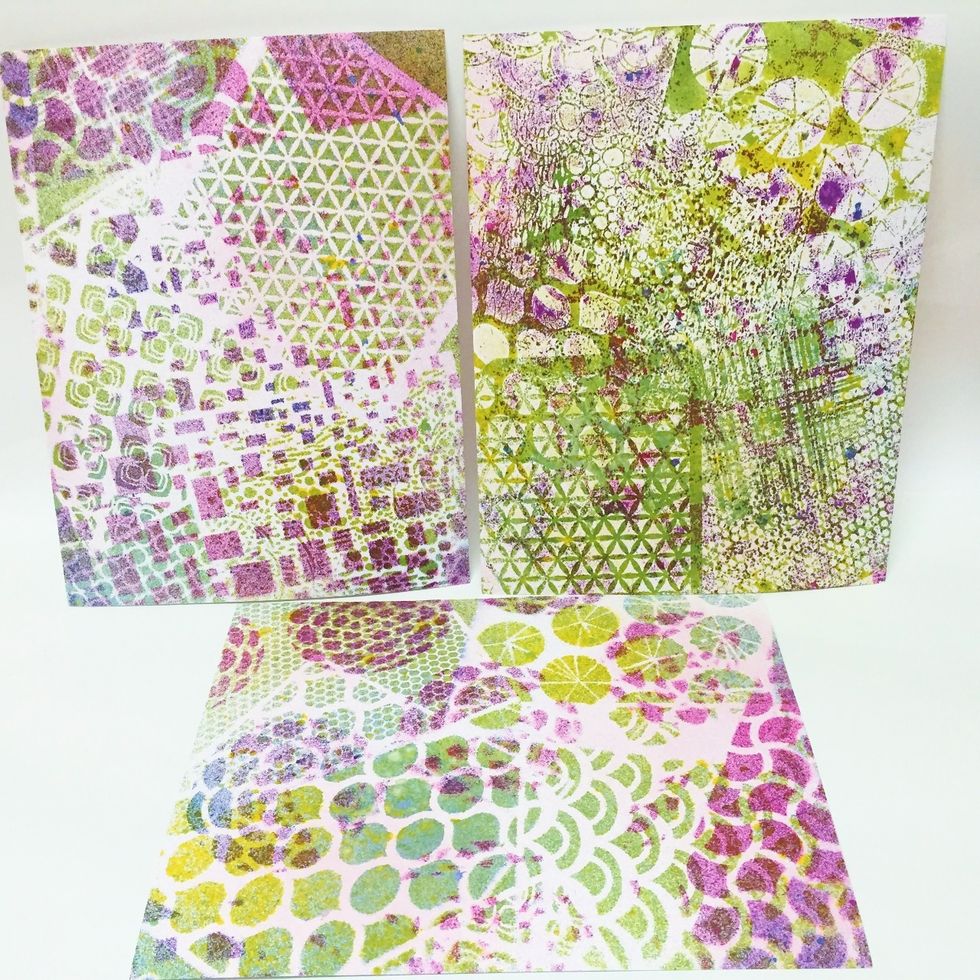
and here is one of the papers that i sprayed.

and here is the other one.
why stop there?! i decided i didn't like the "white" areas of the cardstock, so i sprayed both papers lightly with a light pink spray.
i set all 3 papers aside to dry. i'll be able to get 30 ATC's out of these 3 - 8 1/2 X 11 pieces of cardstock.
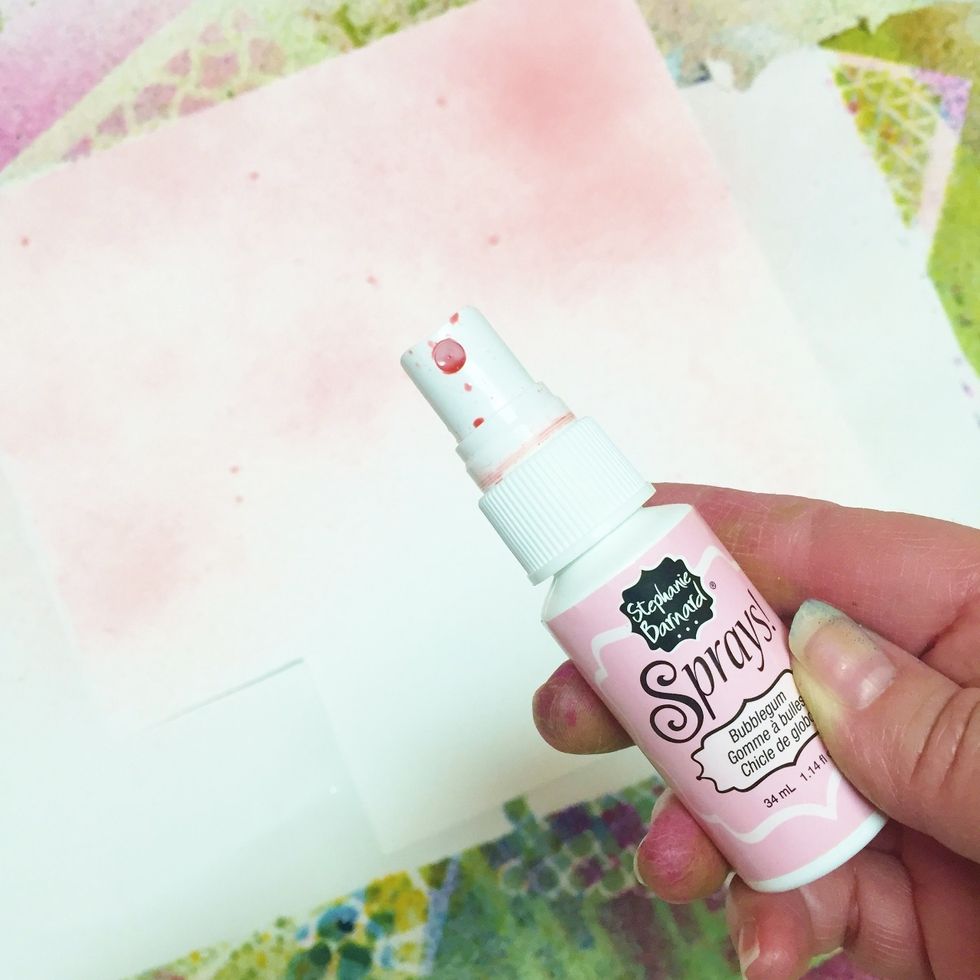
i wanted to make a different paper to cut hearts out of to layer on the atc's. so i started by spraying a scrap piece of white cardstock with a light pink spray.
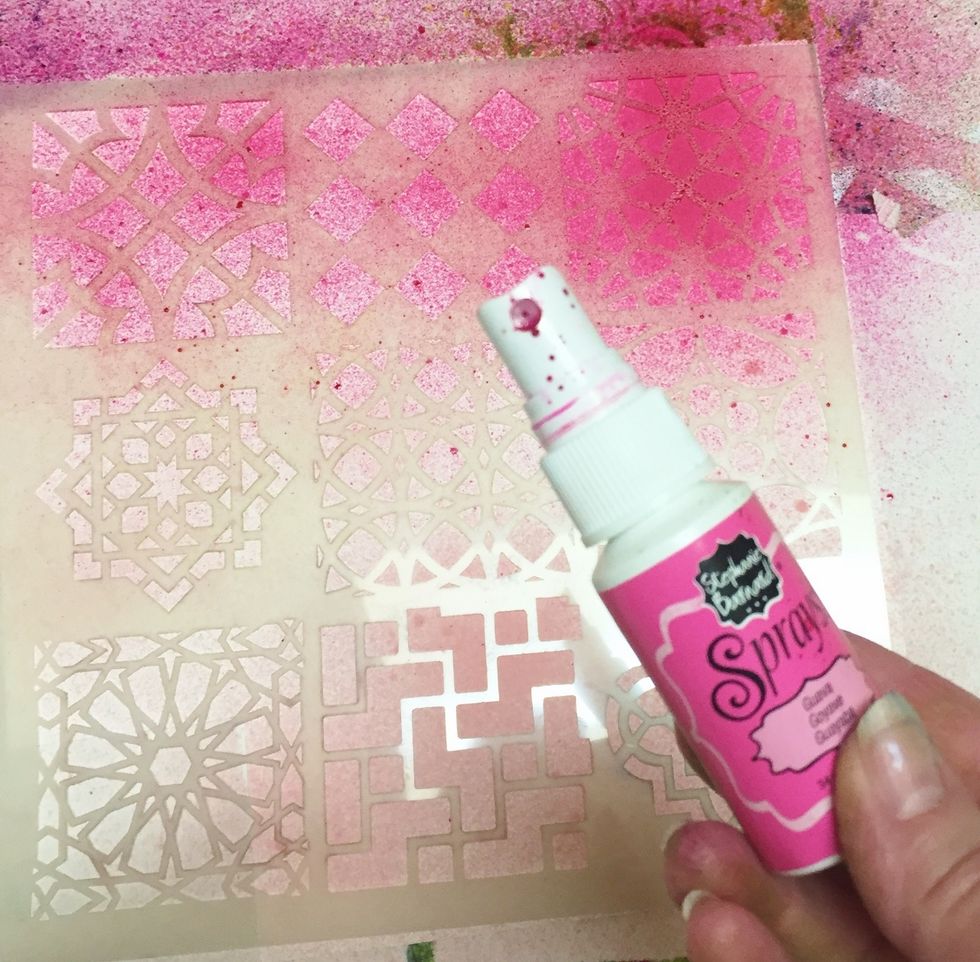
next, i added a stencil with large designs and sprayed with a darker pink spray.
here's what it looked like after the 2 layers of inking.
i decided to add one more layer. i used the Nautilus stencil which has fossil-like sea shell designs. BUT - i liked the texture it would add, and once the hearts are cut out, you won't see seashells!

here's the paper after the Nautilus stencil was sprayed with a red spray.
but again - why leave well enough alone!? i added another layer using the light pink again to fill in some of the white areas with a smaller design.
here is the finished paper; it was set aside to dry as well. the ColorBox Spritzers and Stephanie Barnard Sprays dry fairly quickly, depending on how much you use.
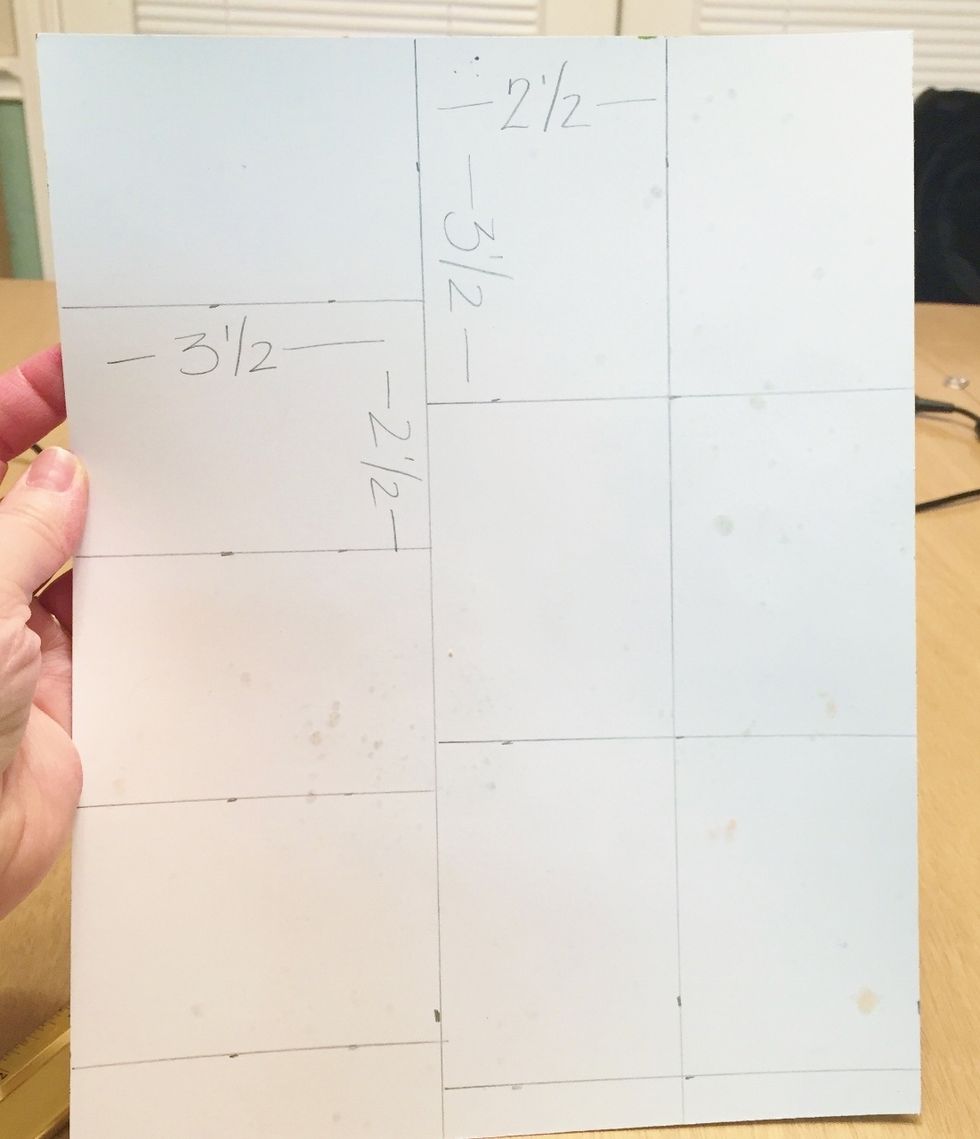
here is how to cut the cardstock. you'll get 1 horizontal row of 4 cards, and 2 vertical rows of 3 cards each for a total of 10. traditional ATC size is 2 1/2 X 3 1/2.

here is a set of 10 cards. you can see the variety of patterns and colors on each.
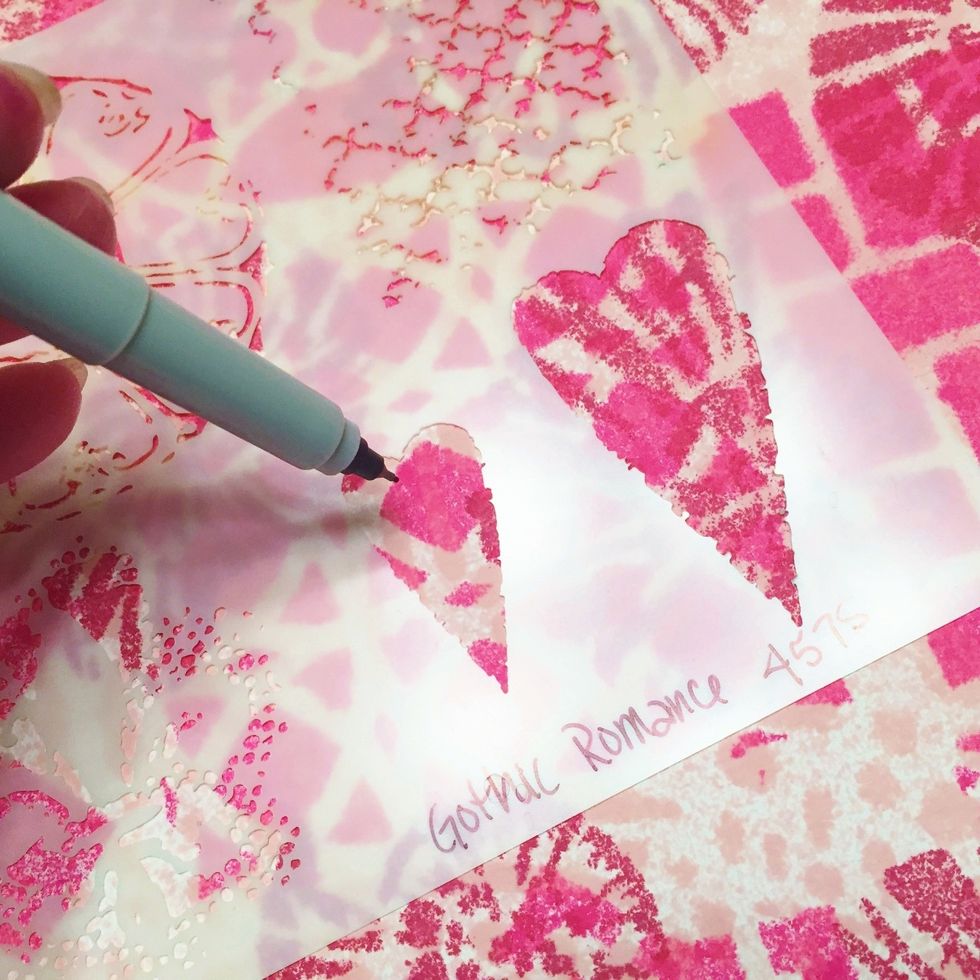
next, i used another stencil to draw the hearts with a black fine tip pen. you can move the stencil around to see what patterns you like and their placement.

don't worry if you don't trace them exactly - this particular stencil has lots of irregularities to the edges - which is why i like it! but you don't have to trace EVERY nook and cranny exactly.
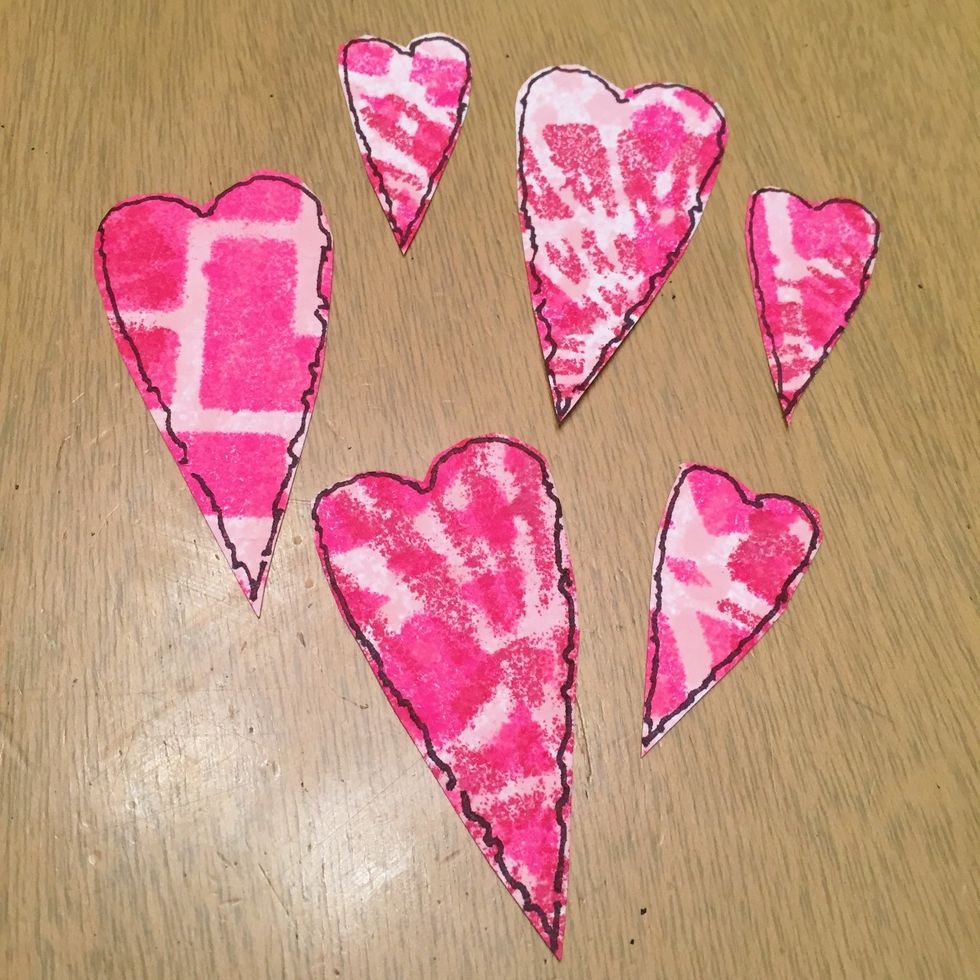
cut out hearts, again, don't try to cut them out exactly, just leave a little border around the edges.
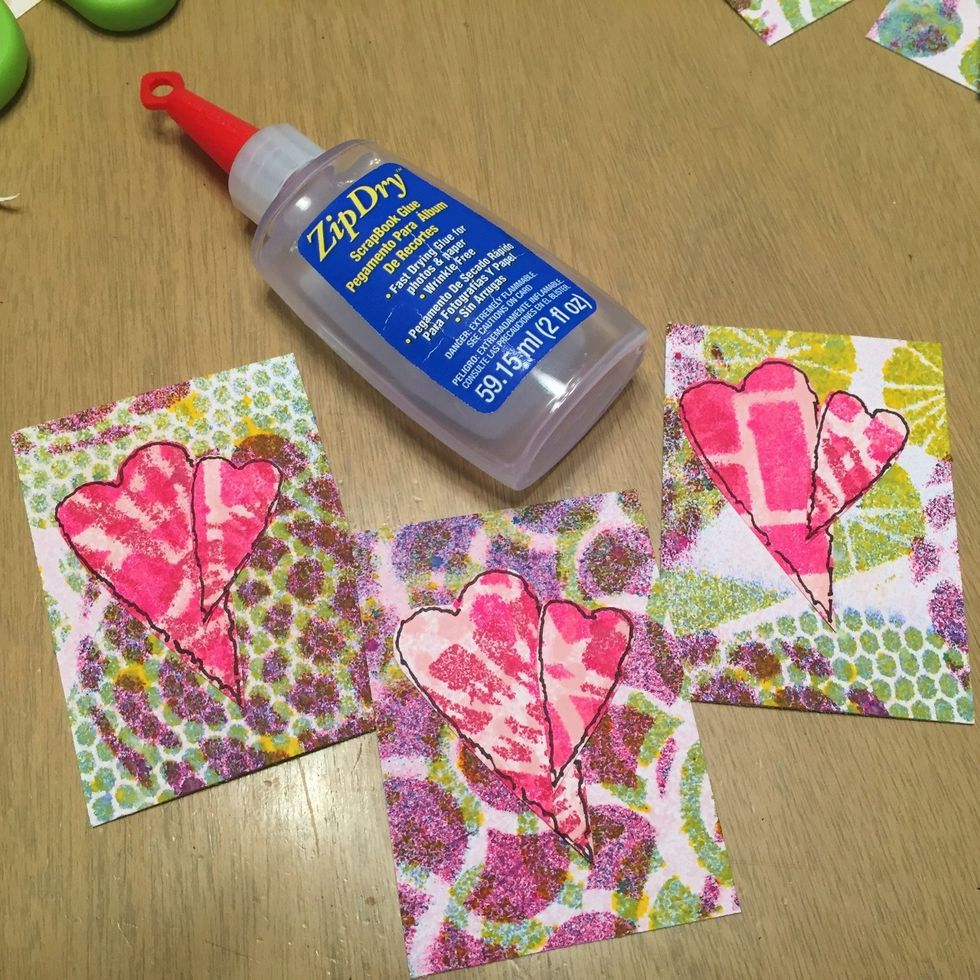
next, layer and glue hearts to card fronts.
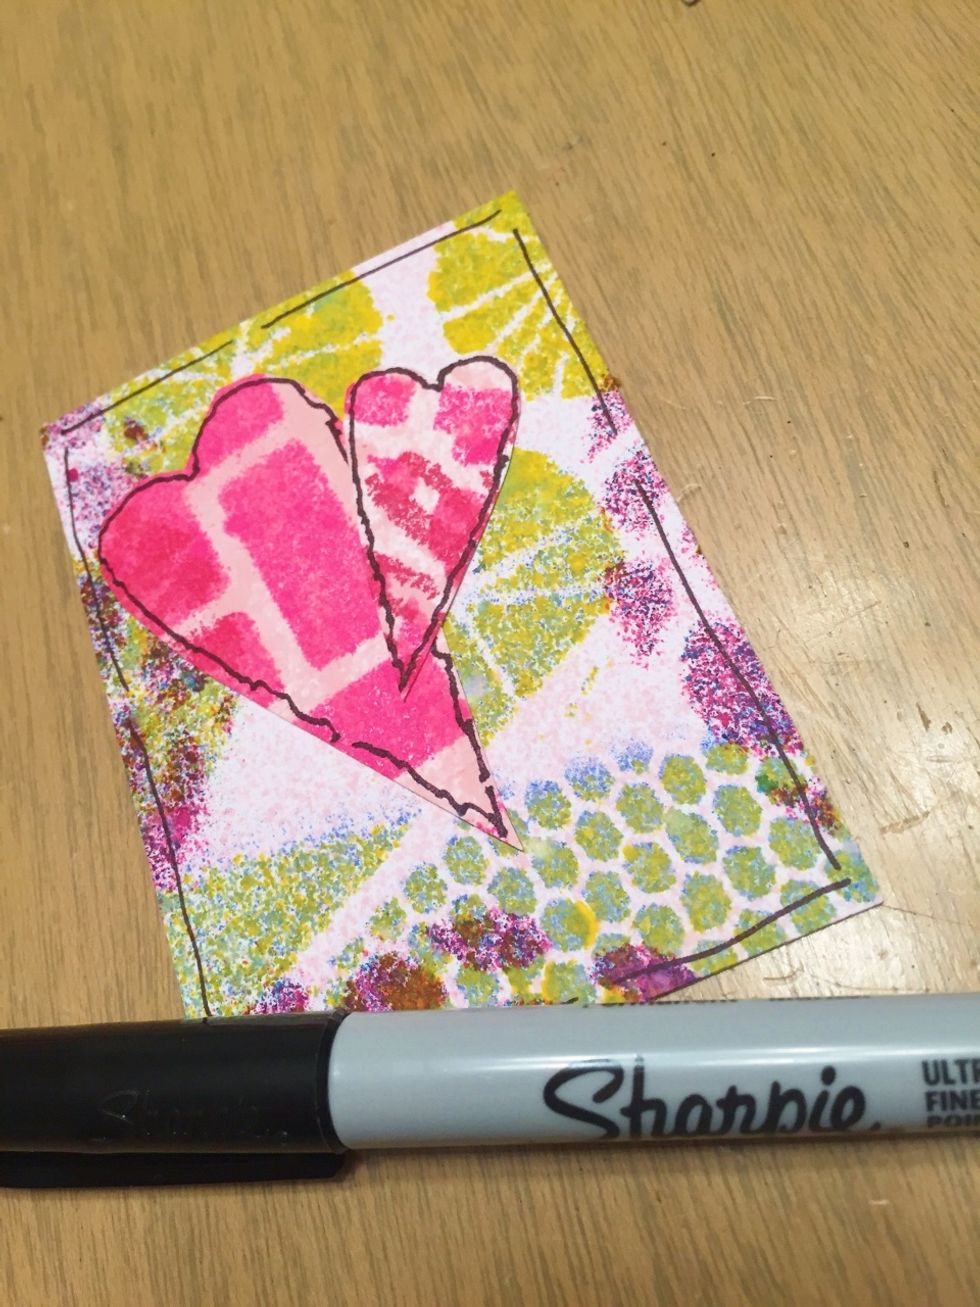
i thought the cards needed an outline around the edge to set off the black outline around the hearts.
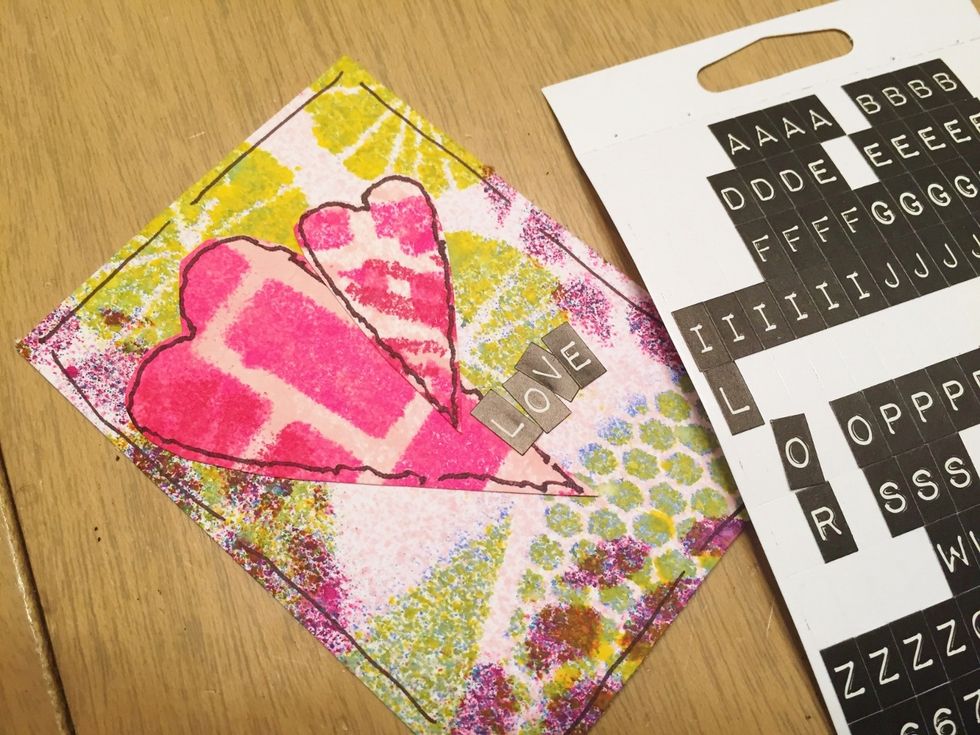
to finish, use tiny alpha stickers to add love or friendship words and phrases.
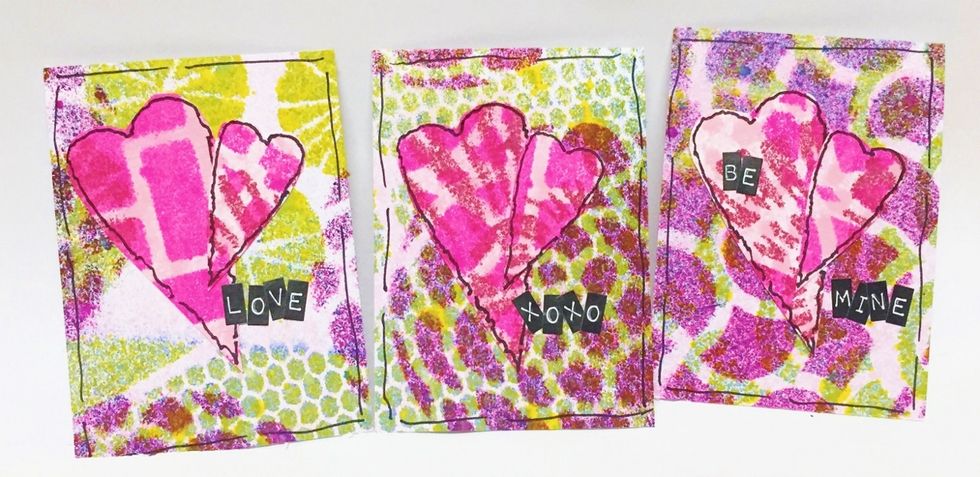
and here are some of the finished cards. easy to do assembly line style, but ALL different and unique!
i hope you will try this project with your kids. you can make similar cards for other occasions, including full size cards, using these same techniques...
please visit The Crafter's Workshop Blog for MORE great projects from the DT... http://www.thecraftersworkshop.com/blog *** and you can find me at www.tamisanders.com *** tami sanders * paper crafter