The Conversation (0)
Sign Up
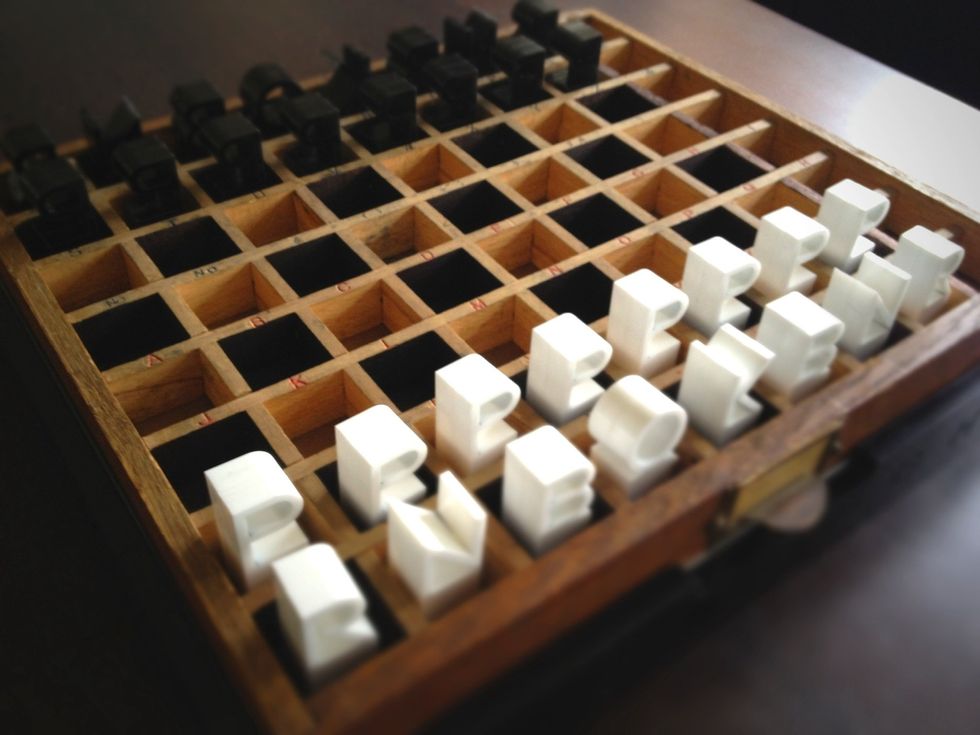
Finished result. I also made draughts pieces (not shown).

Sketch to work out building from Perspex
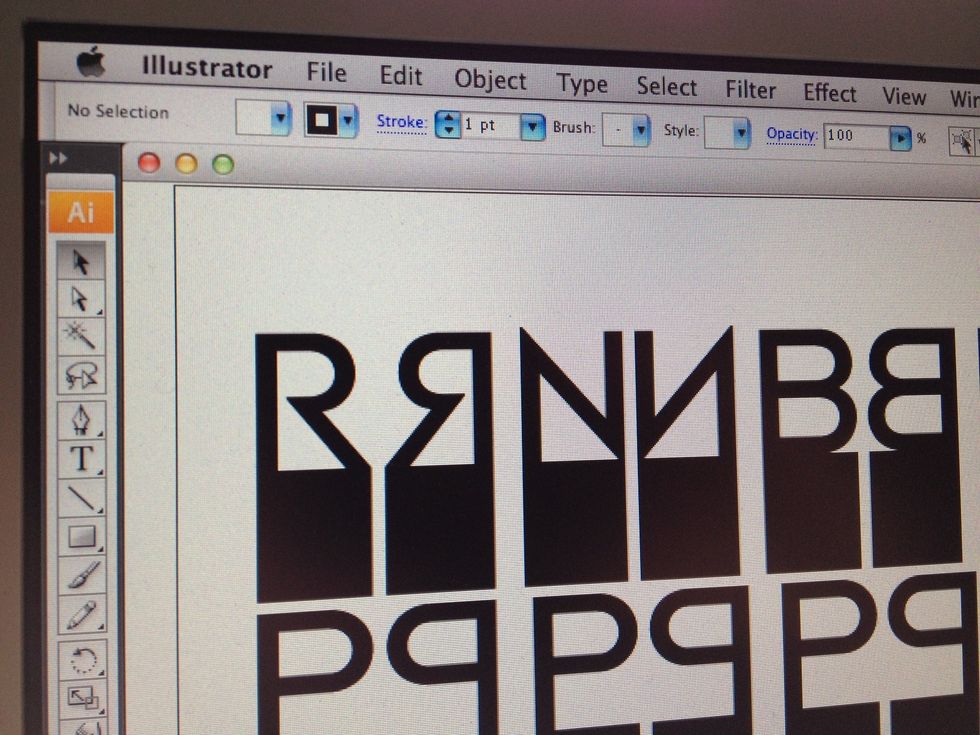
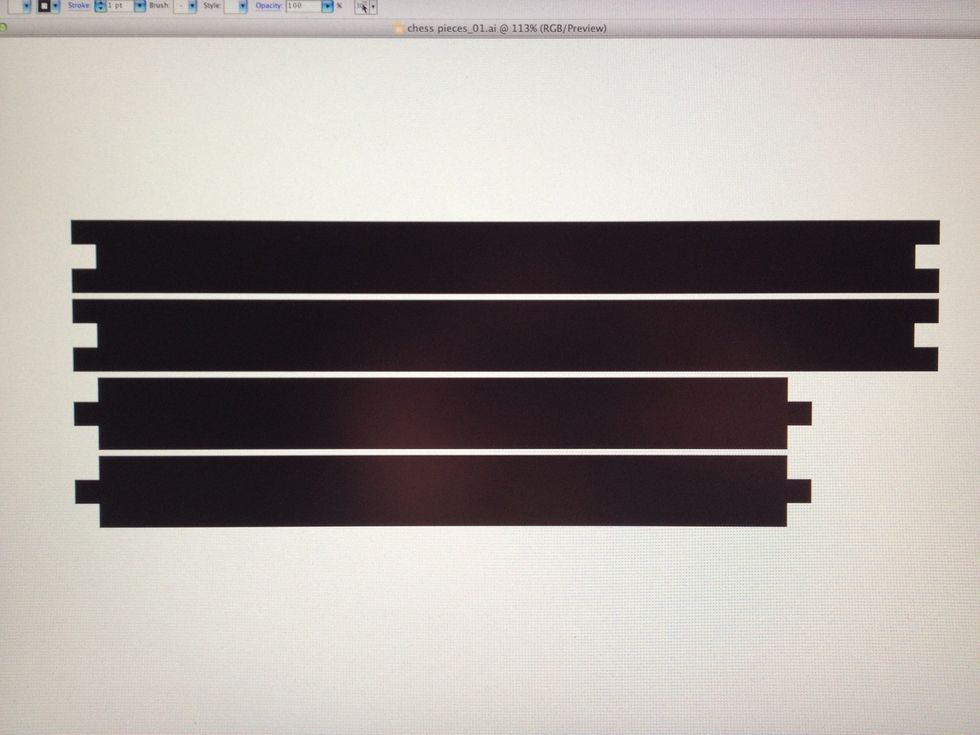
Illustrator create shapes for laser cutting. I flipped letters to take into account 'laser burn' which can cause top/bottom of Perspex to have slight rim to edge. By flipping I could pick best side.

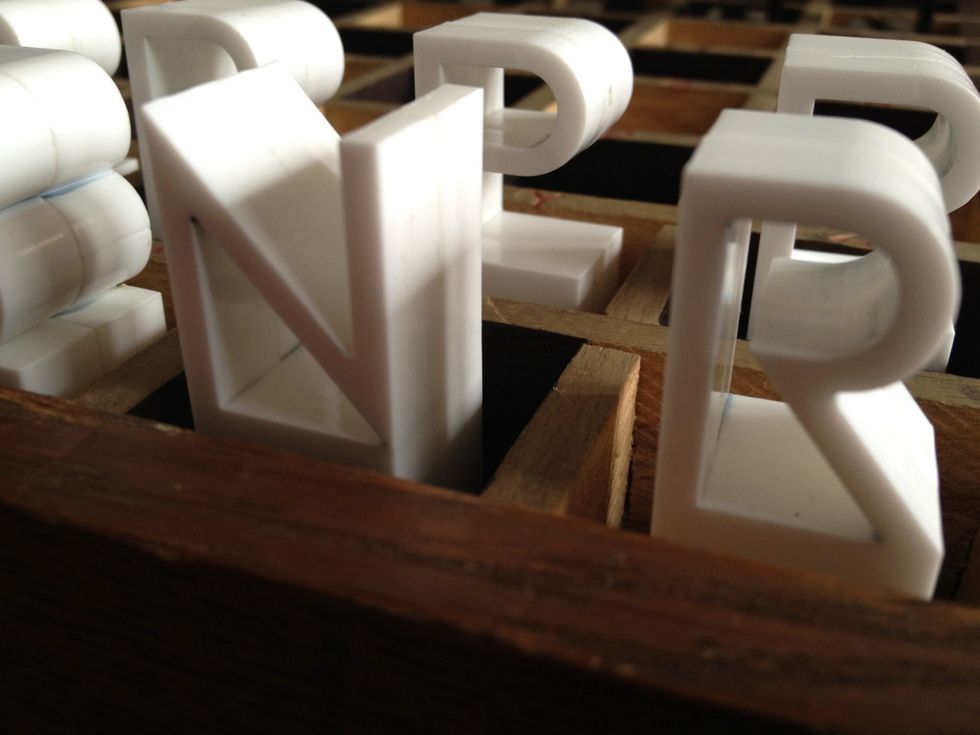
Full set. For knight I chose to make as 'N' used in chess notation but also it stands for nobleman, thesaurus equivalent of knight. Separate from King. Circles & square made up draughts pieces.
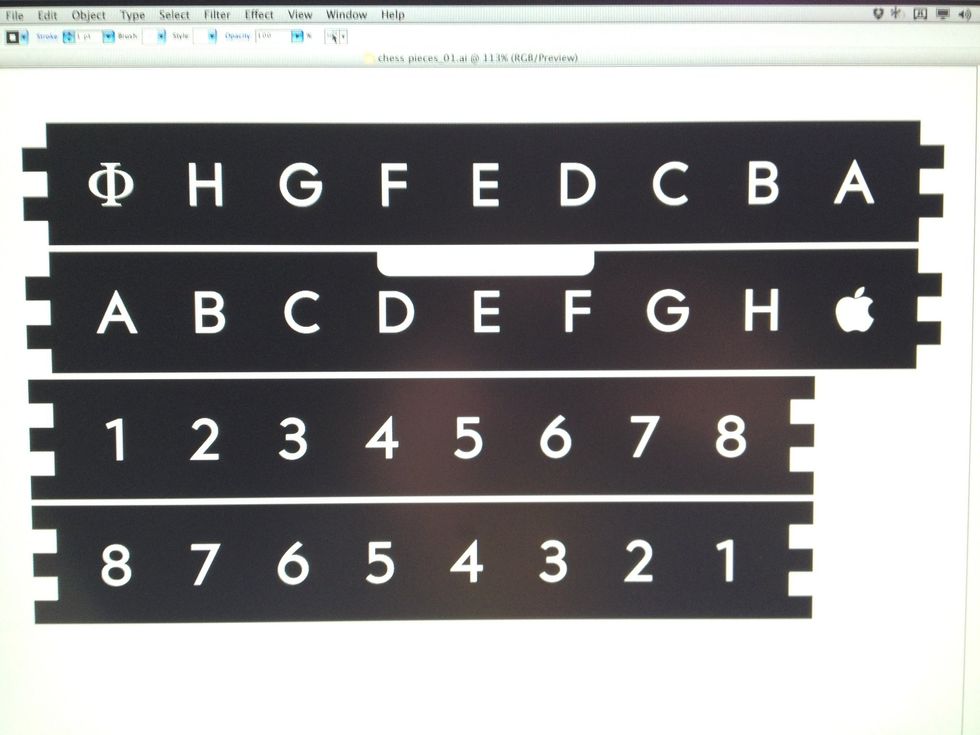
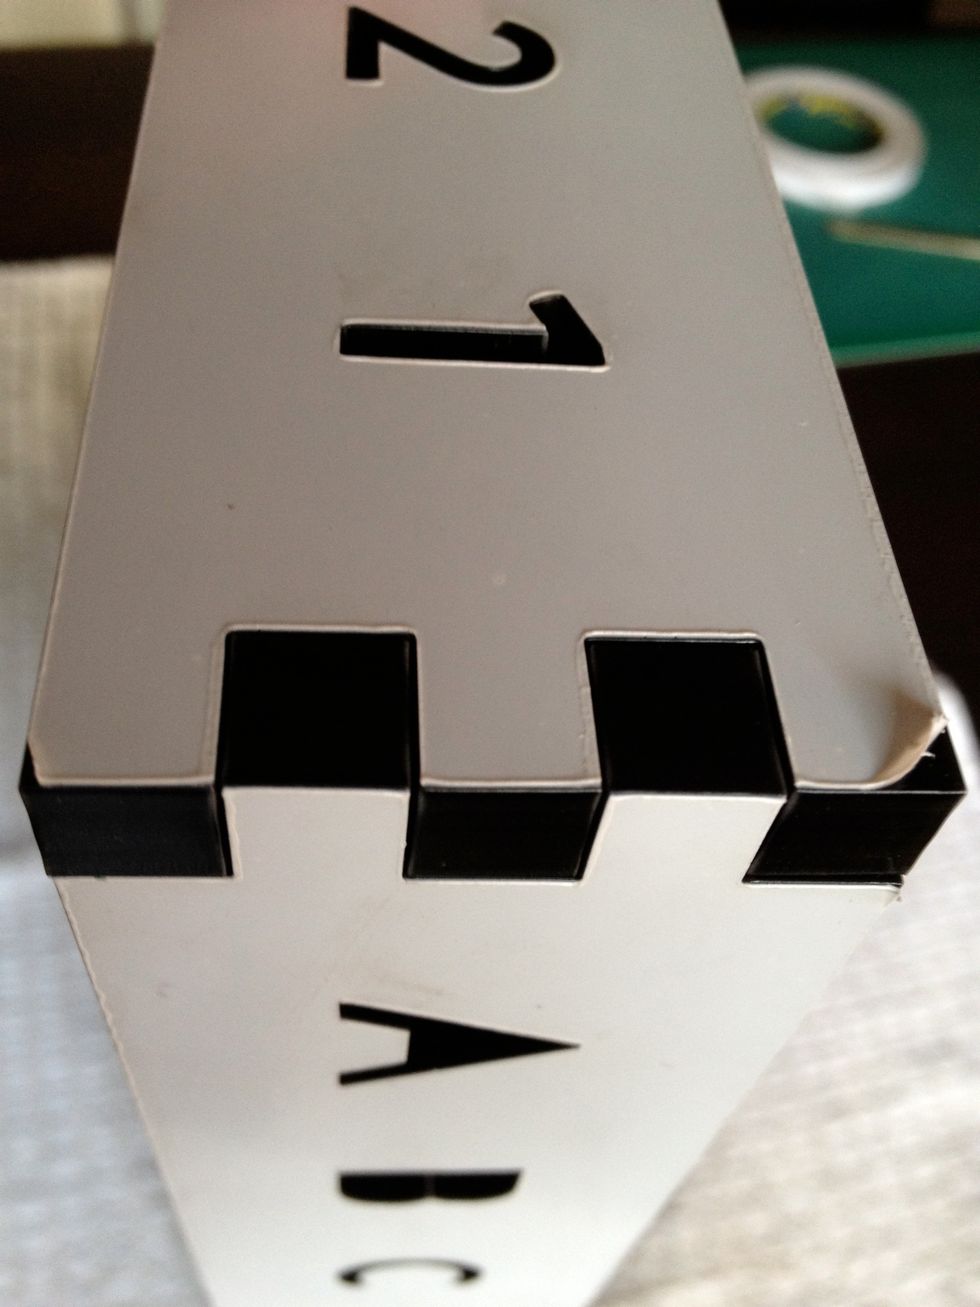
Outer sides of the lid. Rows of letters & numbers cut out on the sides so inner white parts of the lid show.
Inner sides of the lid. They rest on wooden drawer edges. These will be cut in white perspex.
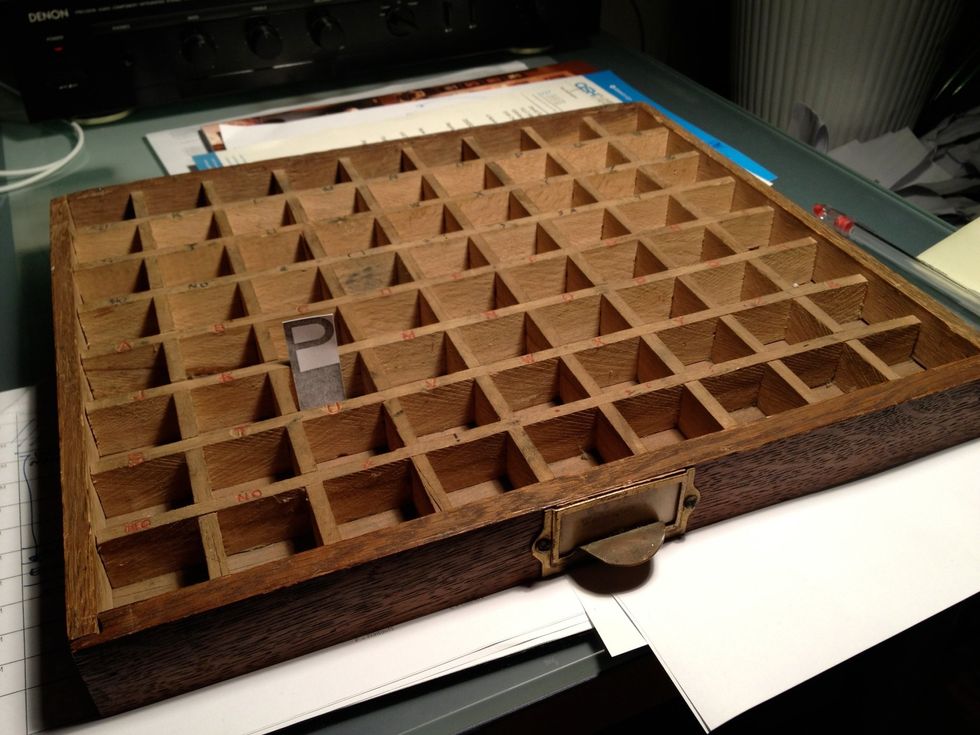
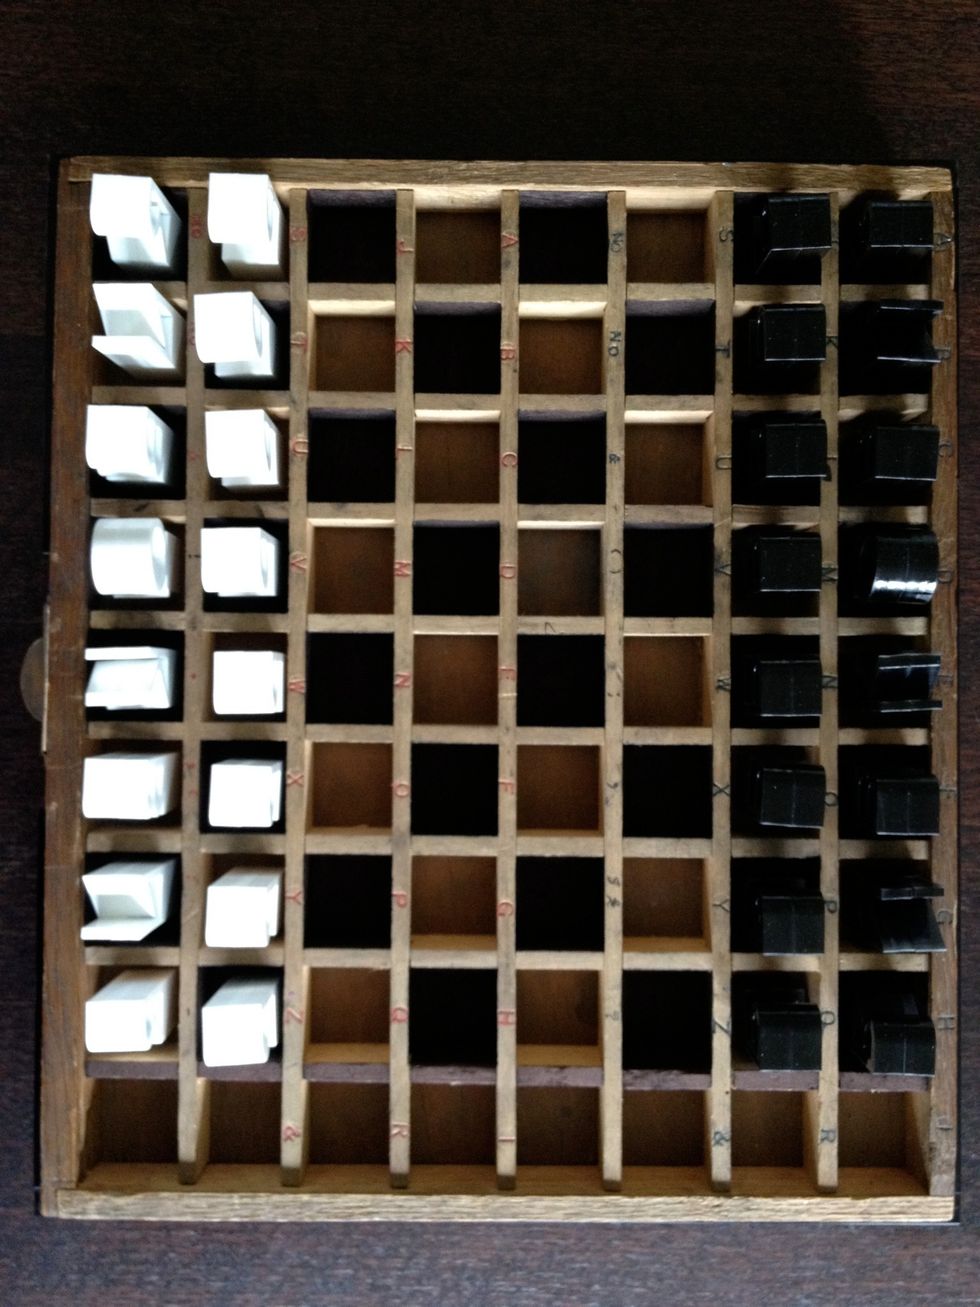
8x9 rows wooden type drawer on eBay. Chess piece drawn in Illustrator.
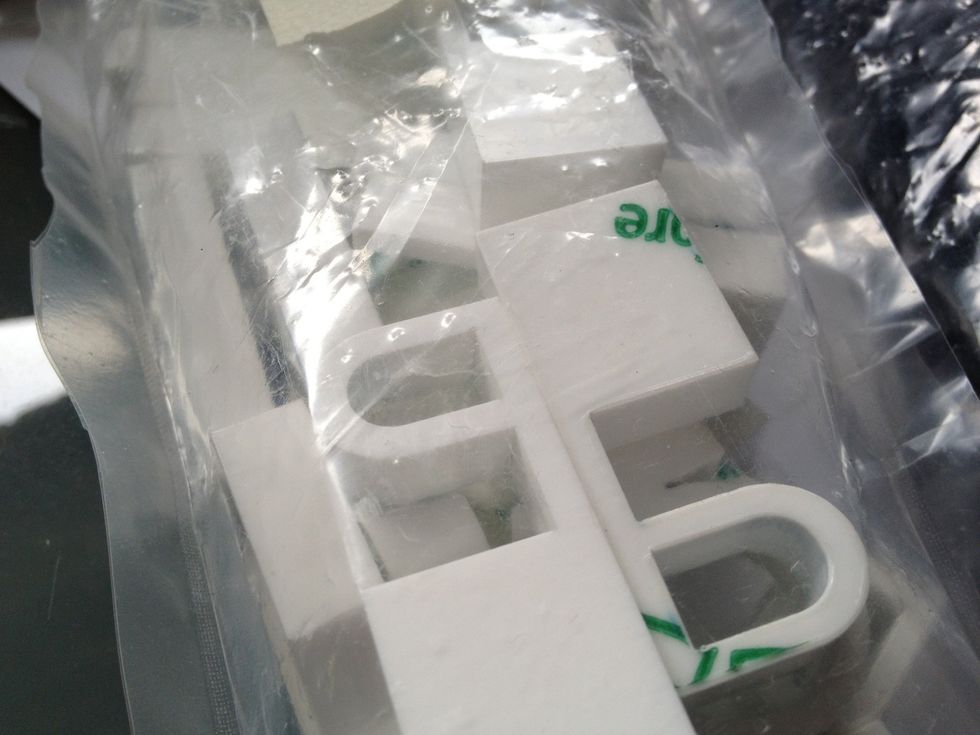
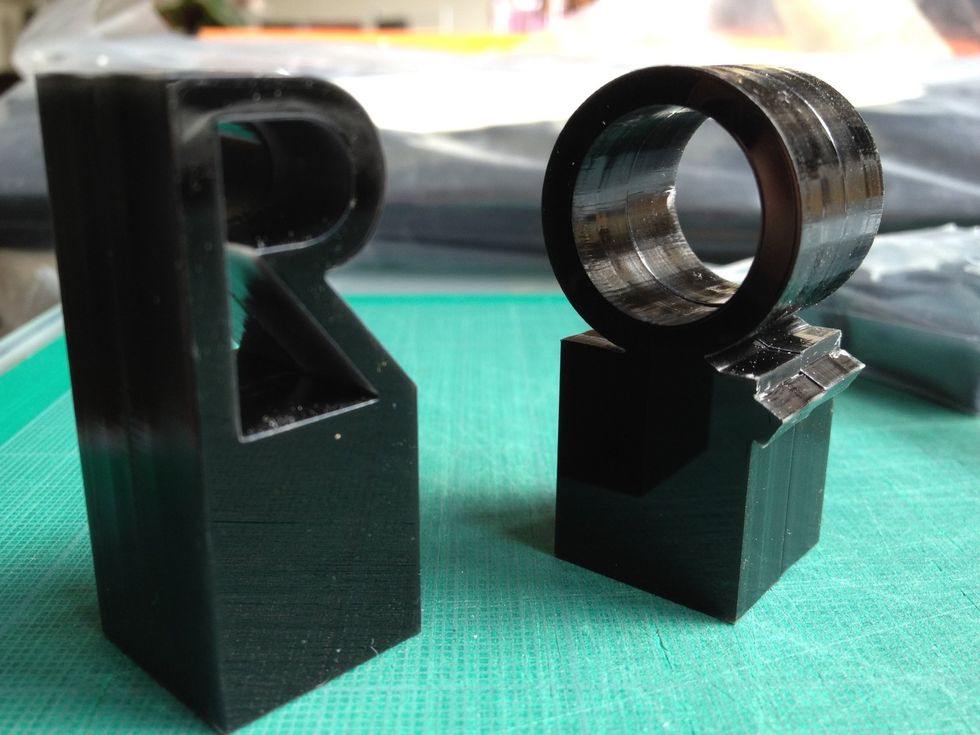
Individual letters, cut from 10mm Perspex. Once doubled up (piece of double sided tape inbetween) they form 2cm square base with character on top.
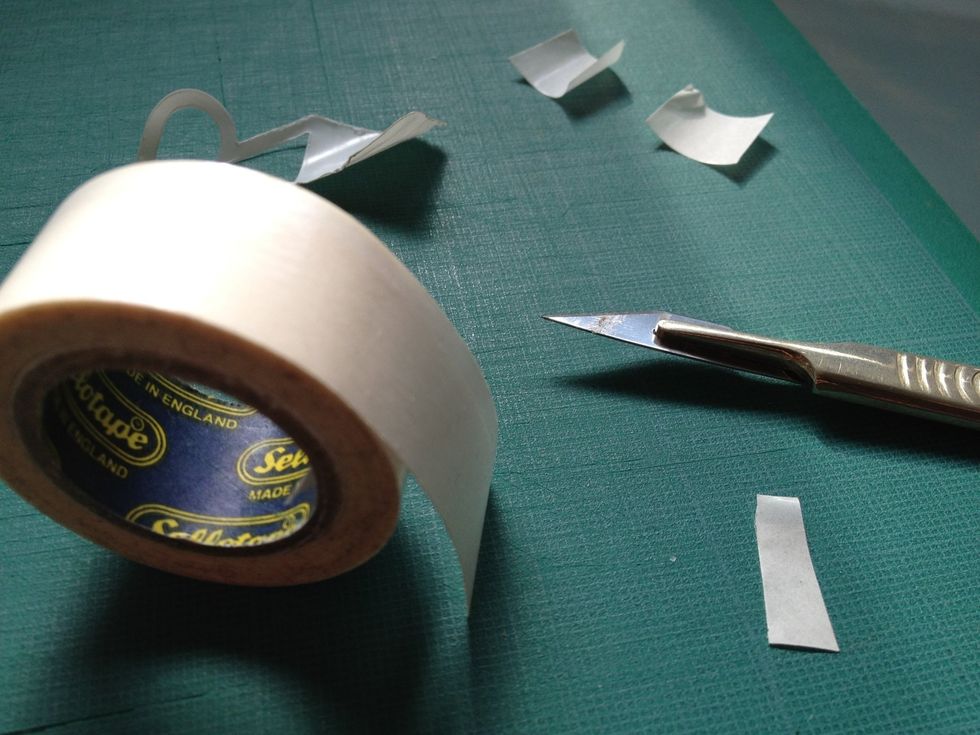
I used thicker tape for the pieces and thinner 10mm tape for sticking all the lid edges together.
Queen piece.
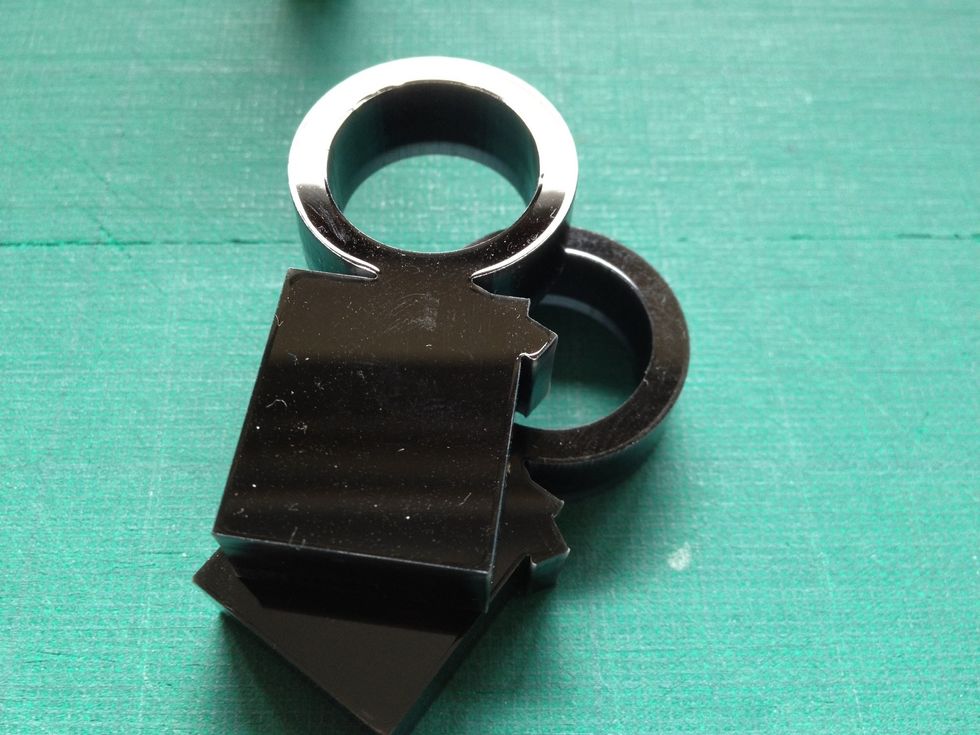
Queen and Rook put together.
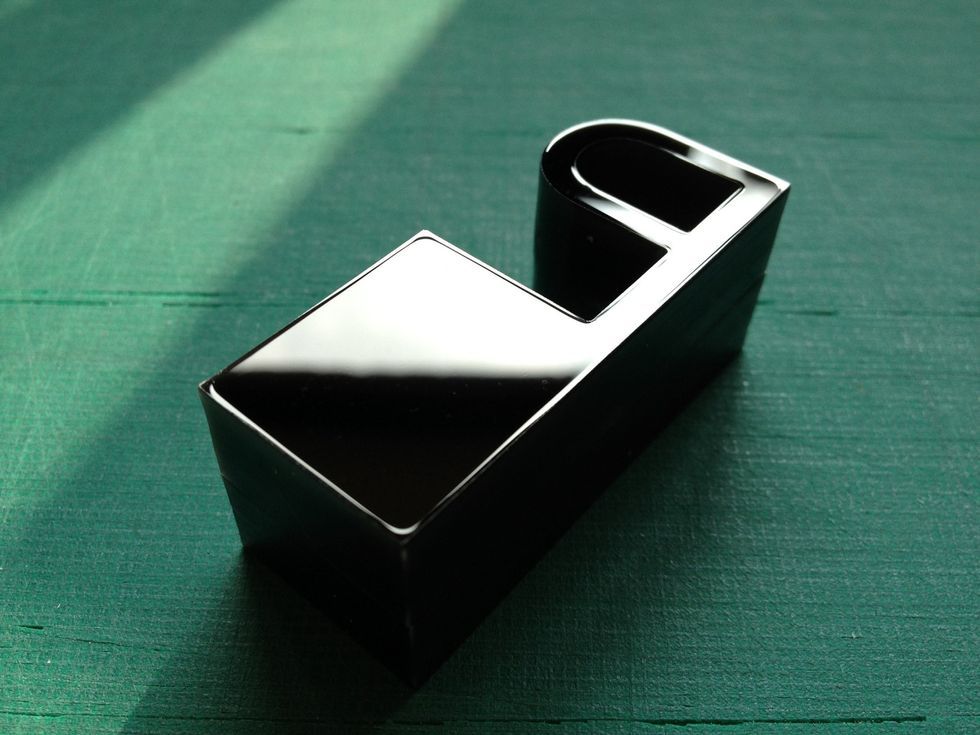
Reversed 'P' pawn. You can see slight ridge caused by laser melting.

(inside edge) of outer lid edge. Square bits of tape for sticking white inner edge in place, long thin piece for sticking to lids top. I wasn't sure about glue as this can crack/damage Perspex finish.

Inside view of the first lid edge stuck on.
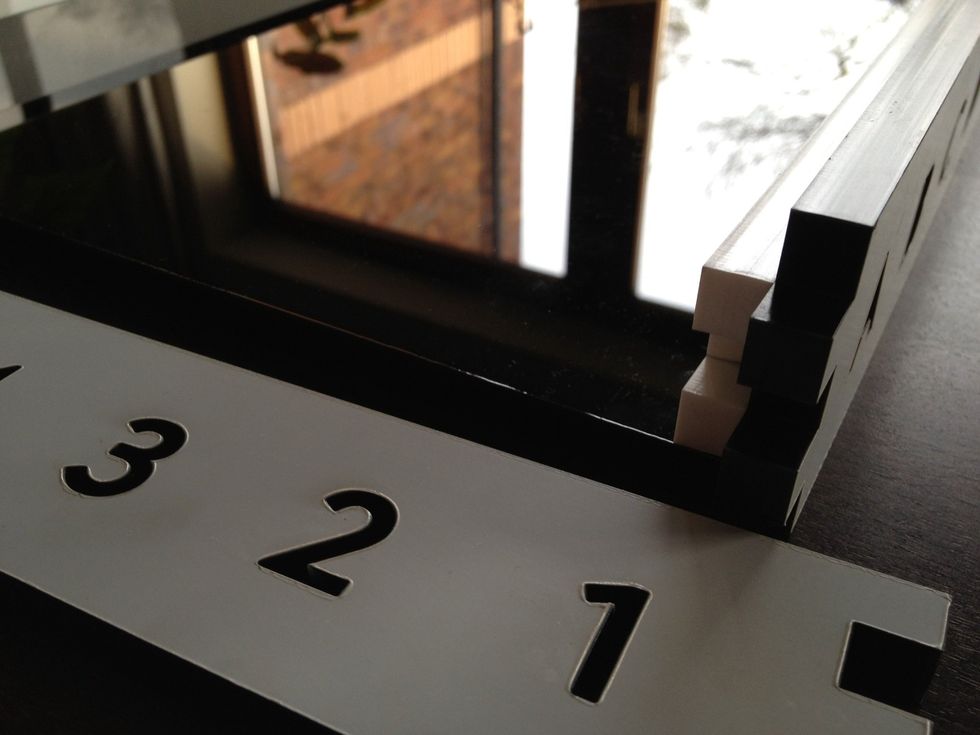
Before last outer edge goes on. (it looks white due to the protective film.)

Sides all together, time to take plastic film off which protects the Perspex.
Plastic protection.
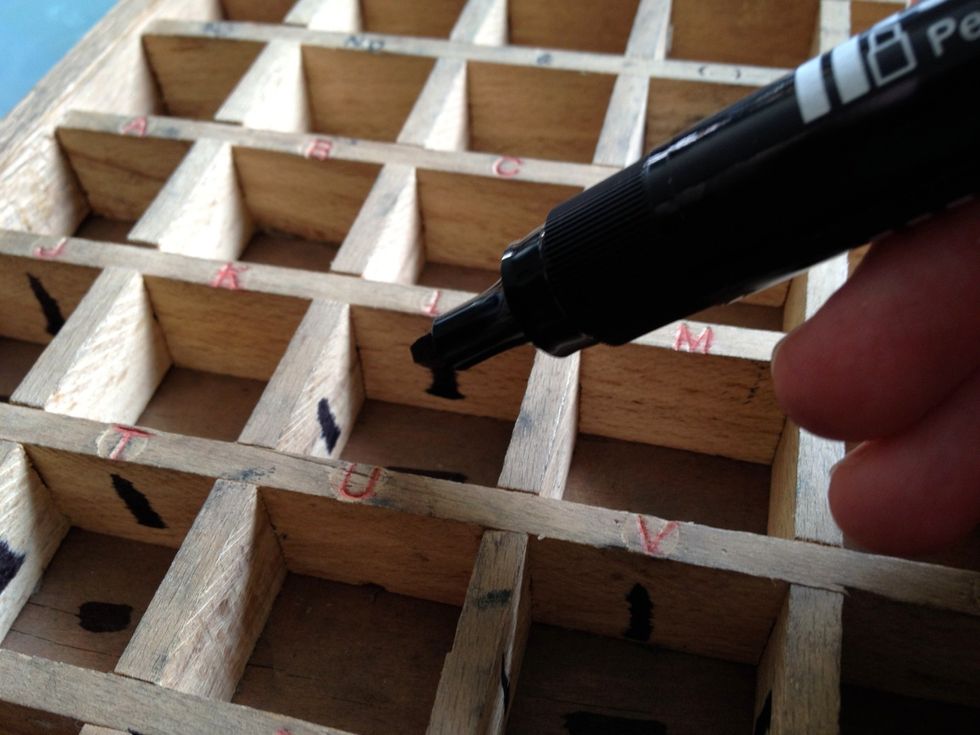
Carefully marked which edges need to be black.
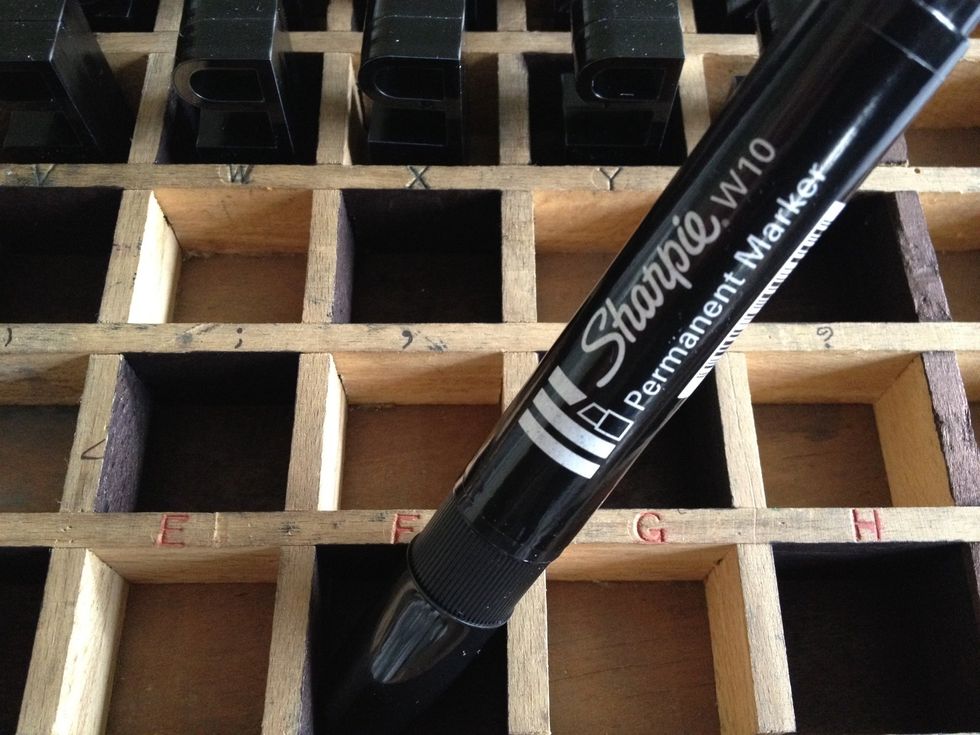
Carefully filled in each square.
Finished board.